2/26/16: Teak Rails (part II)
The work described here was performed in the late Summer and early Fall of 2015.
With the cap rail removed, it was time to clean up the toe and rub rails, and the following photo shows the situation after some hours of work.

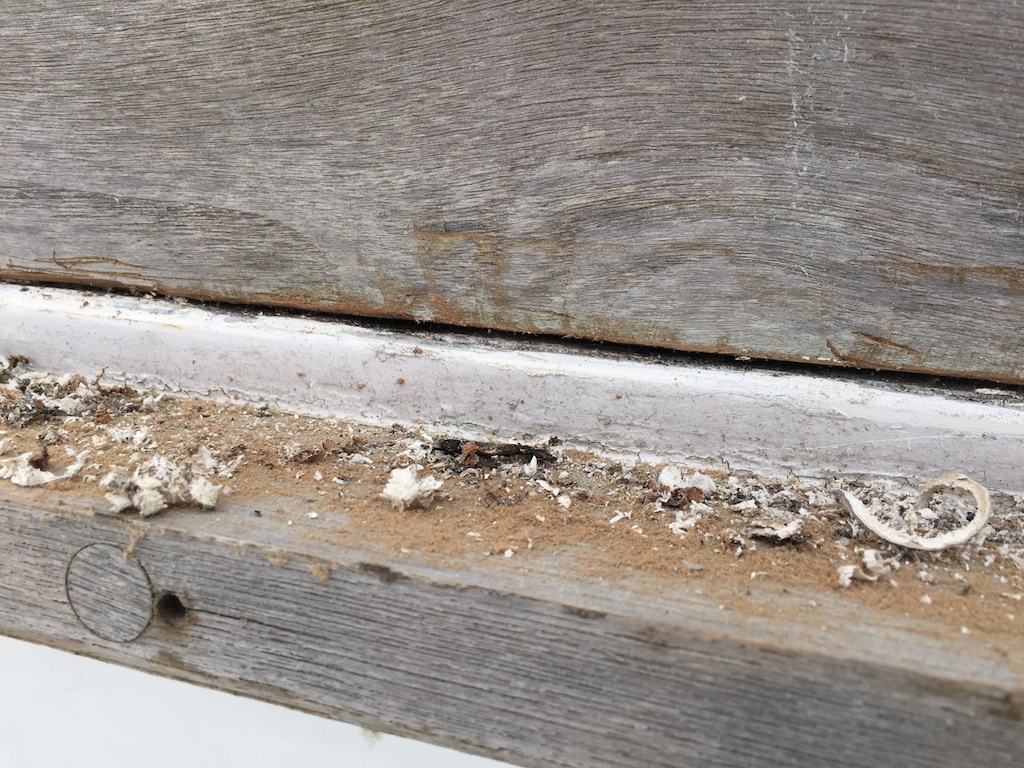
But let’s back up. The following photo is a closeup of the toe rail (top) and the rub rail (bottom) and the small sliver of hull, which defines the boundary between deck and topsides. You can see there is black sealant that is seeping out from where the wood meets the fiberglass, and you can see that the wood is rough and needs a lot of sanding.

There is no gap between the rub rail and hull, but there is a small gap between the toe rail and deck from which the old sealant can be dug out, as you can see below.
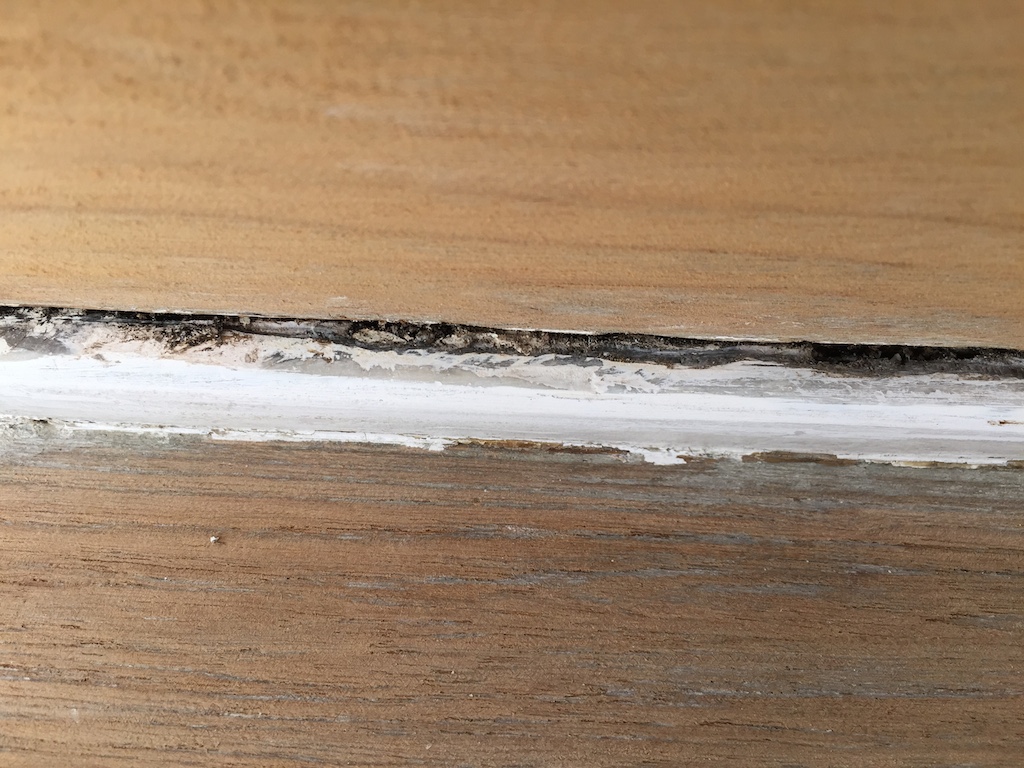
The next photo shows the situation after there has been a lot of sanding and cleaning out of the gap. There are some chips in the gelcoat and fiberglass that will have to be repaired. It hasn’t been decided whether the gap will be filled with a thickened epoxy or a more flexible sealant like 5200.
Sanding the top of the rub rail was performed, in part, by a belt sander.
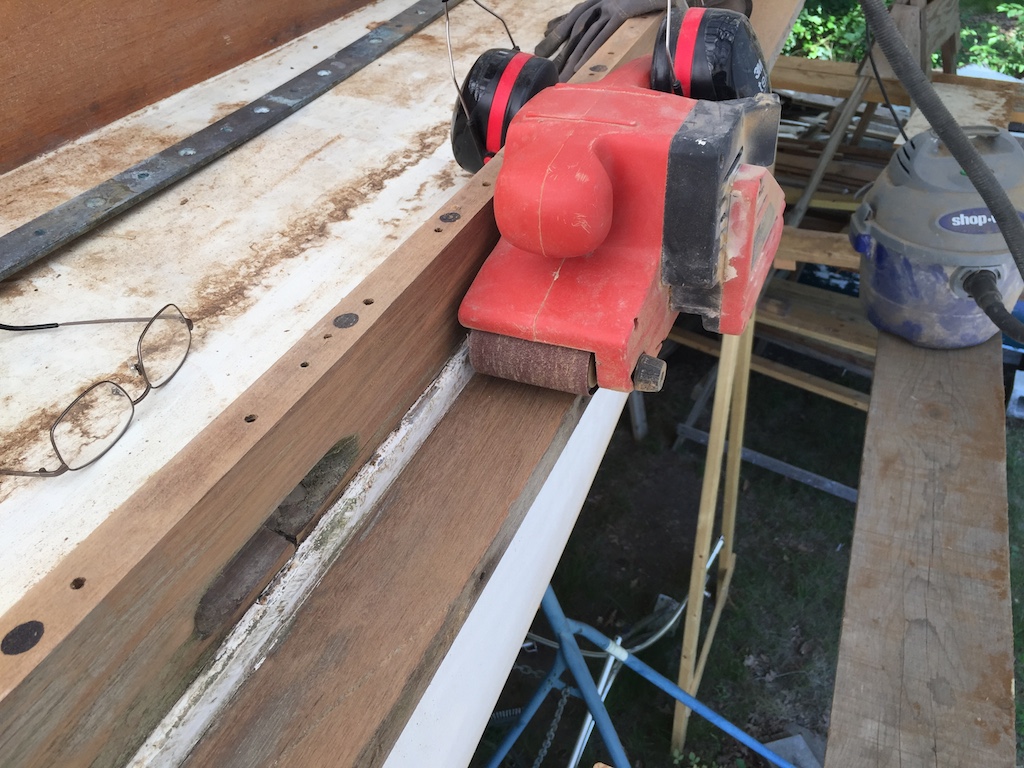
The bottom of the rub rail contains a groove, and on the starboard side (see photo) the groove is narrow and irregular, making it near impossible to sand and clean up.
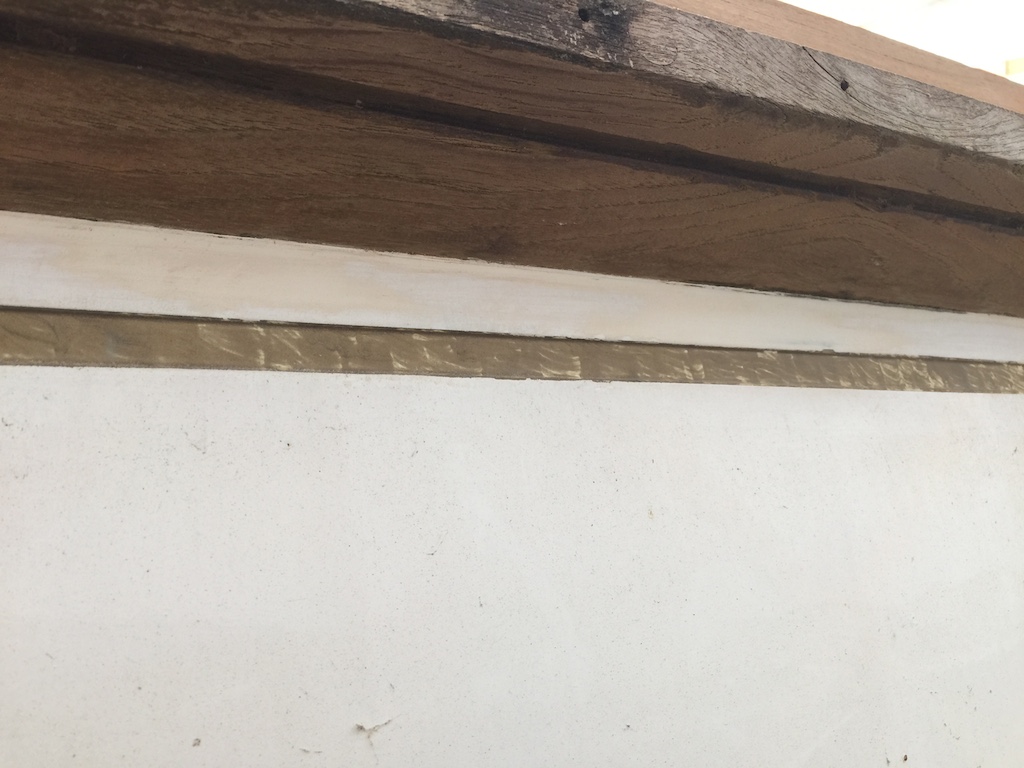
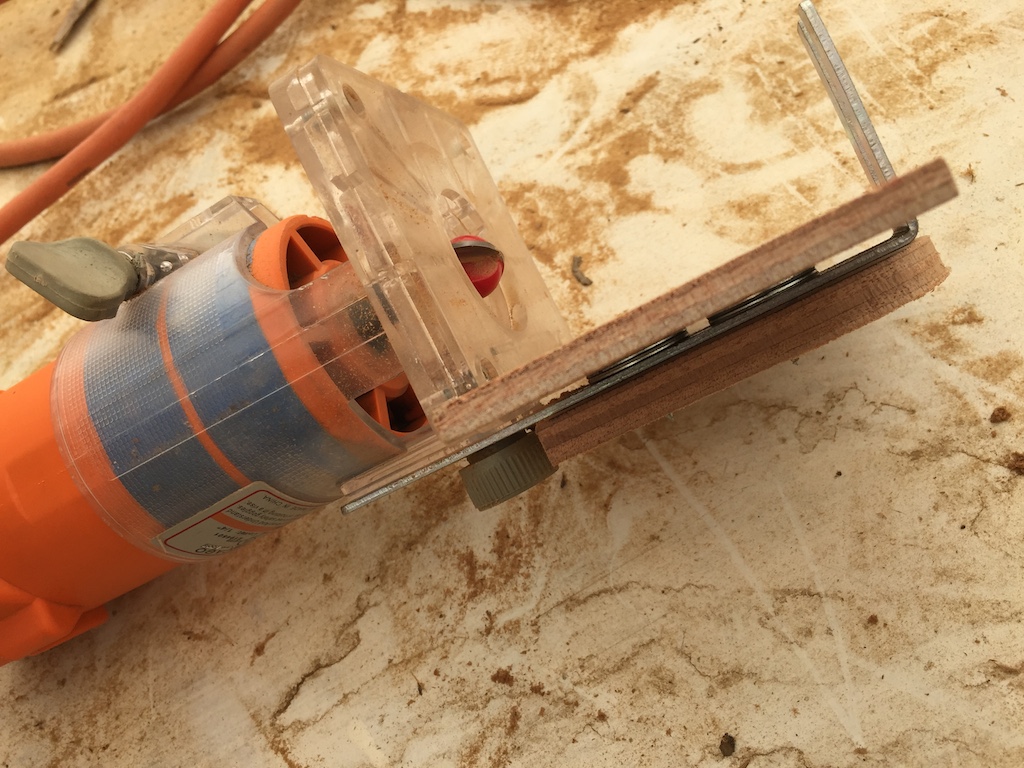
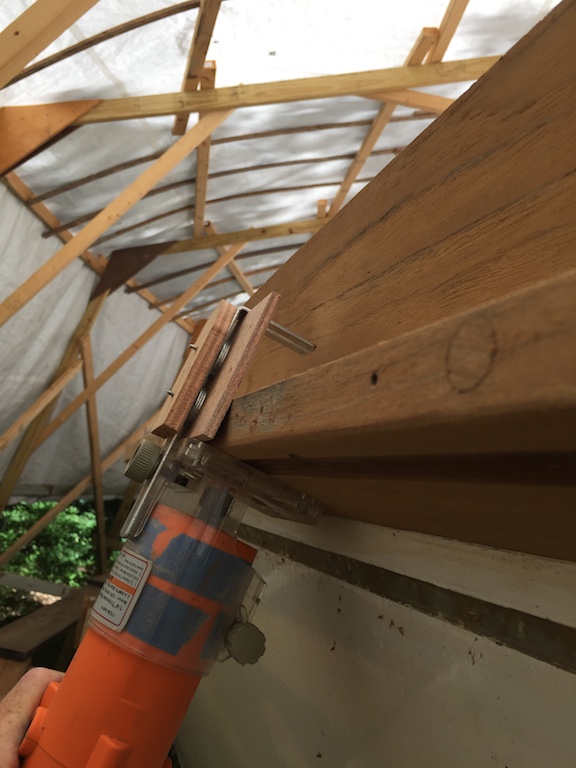
Opening up and smoothing out the groove was performed with a detail router with a round bit. The router was fitted with a guide, but the distance from the groove to the edge of the rub rail was not uniform, so the guide had to be adjusted a few times.
The next steps are to finish sanding the rub rail and toe rail and then address the groove between the toe rail and deck.