4/17/16: Bulkheads
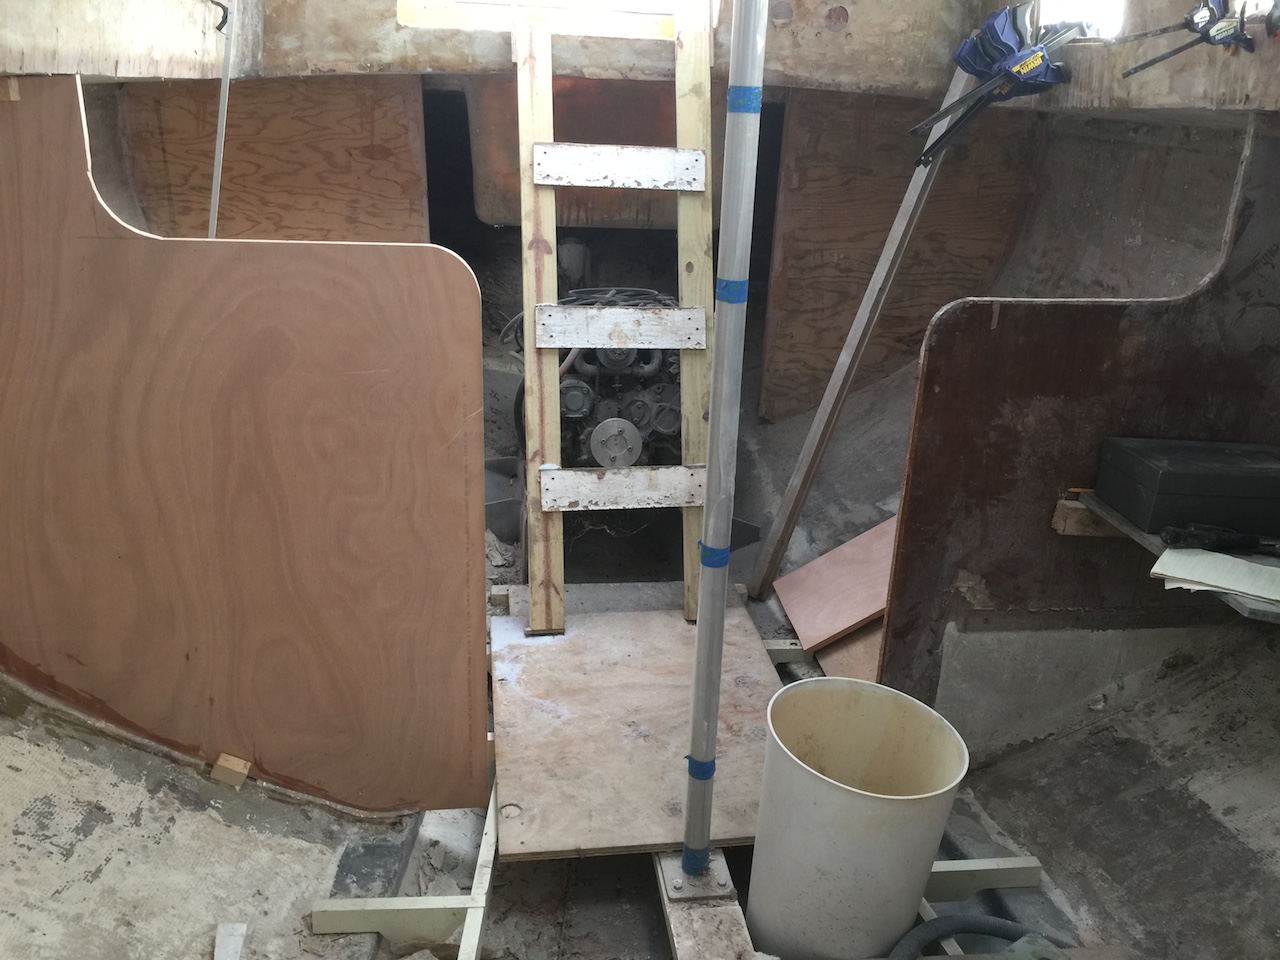
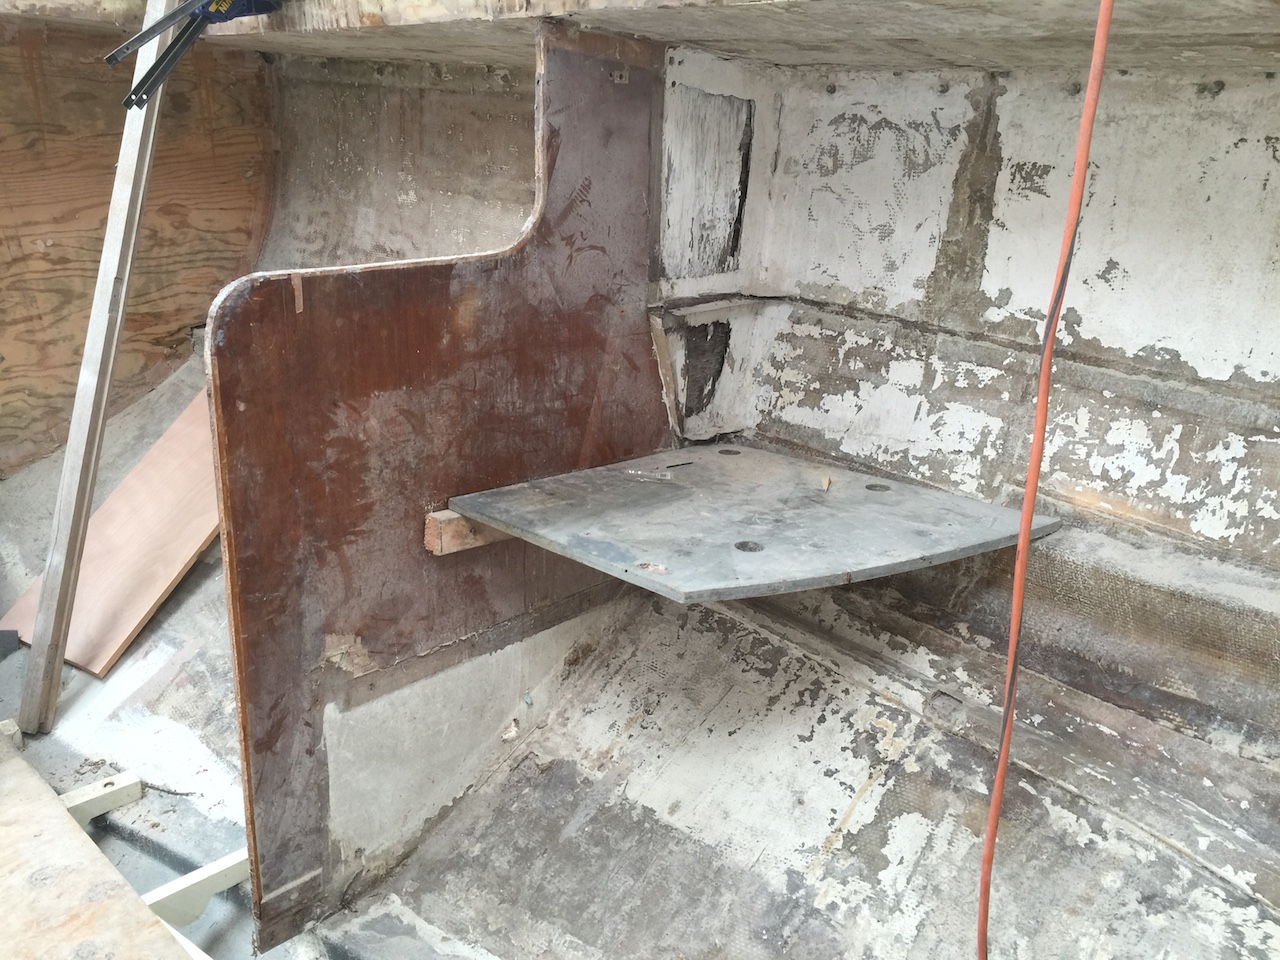
There are seven bulkheads that will be made from 3/4-inch plywood. Two of them separate the main salon area from the galley/quarter-berth/companionway area. In the photo below we are looking aft and at the starboard bulkhead. This bulkhead replaced the original bulkhead (see page titled “Phase 1”), but it was made of thin plywood that was only weakly bonded to the hull. Thus it will be replaced.
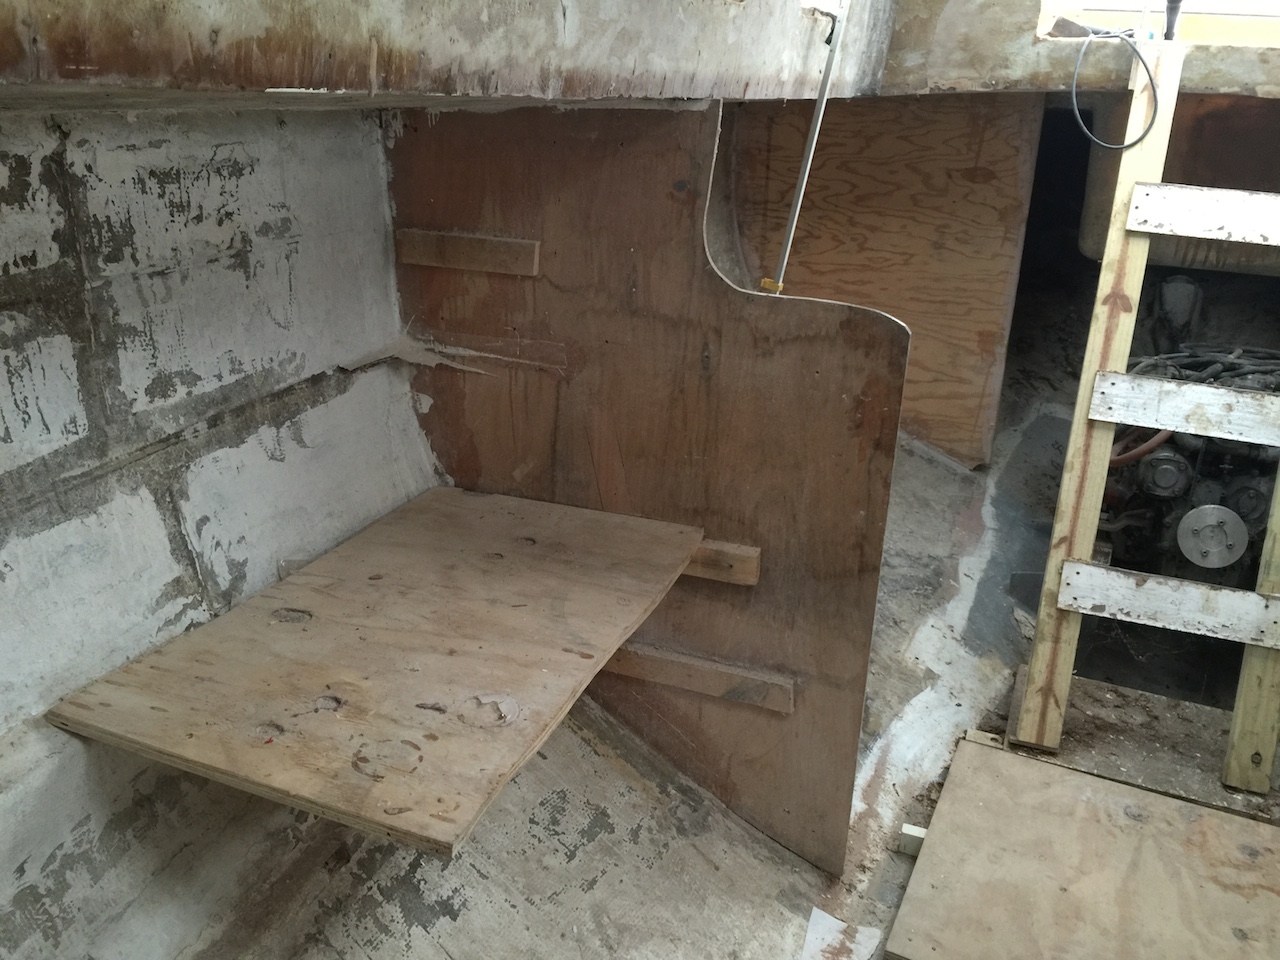
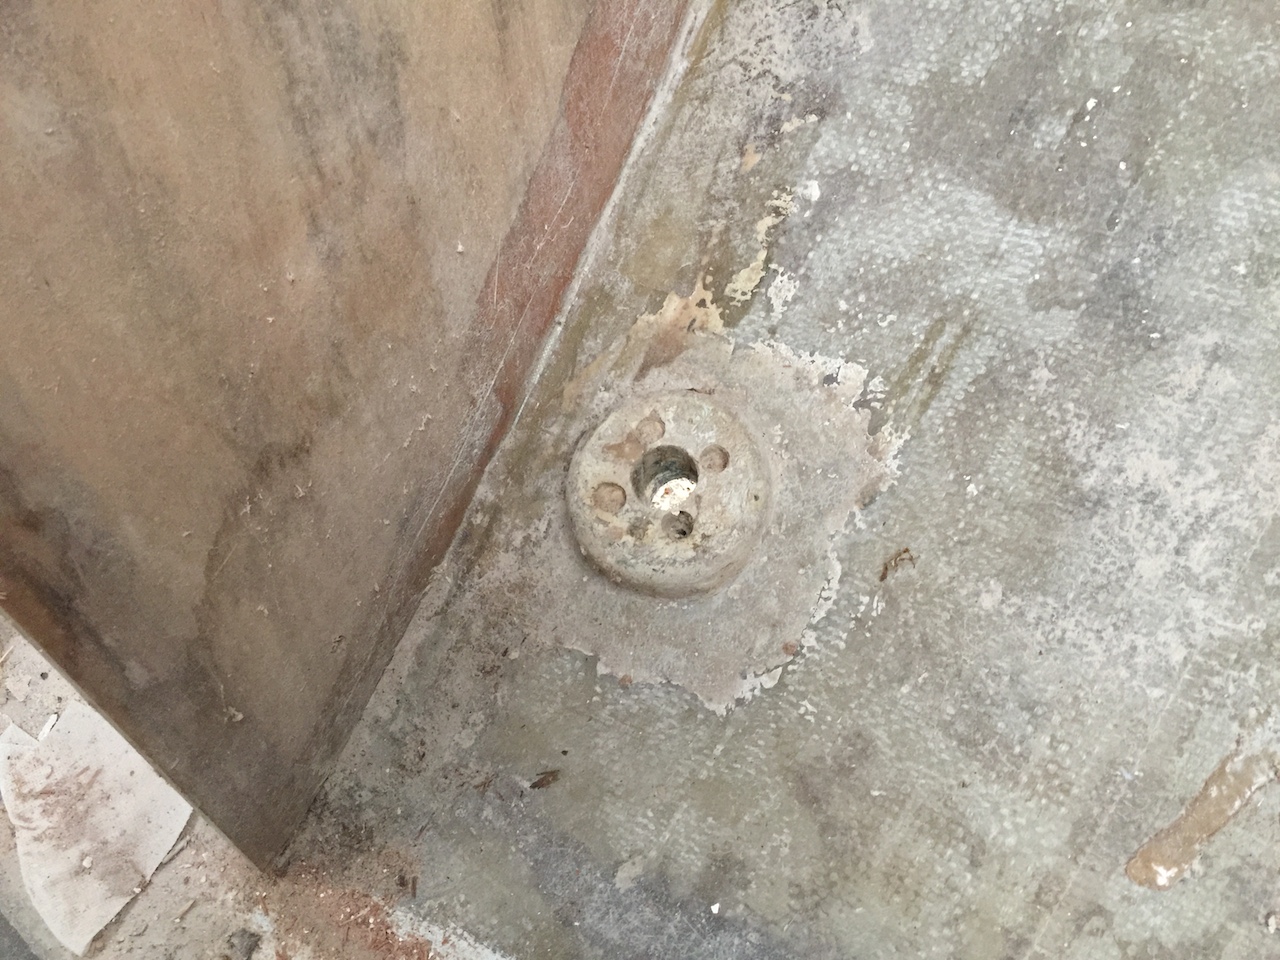
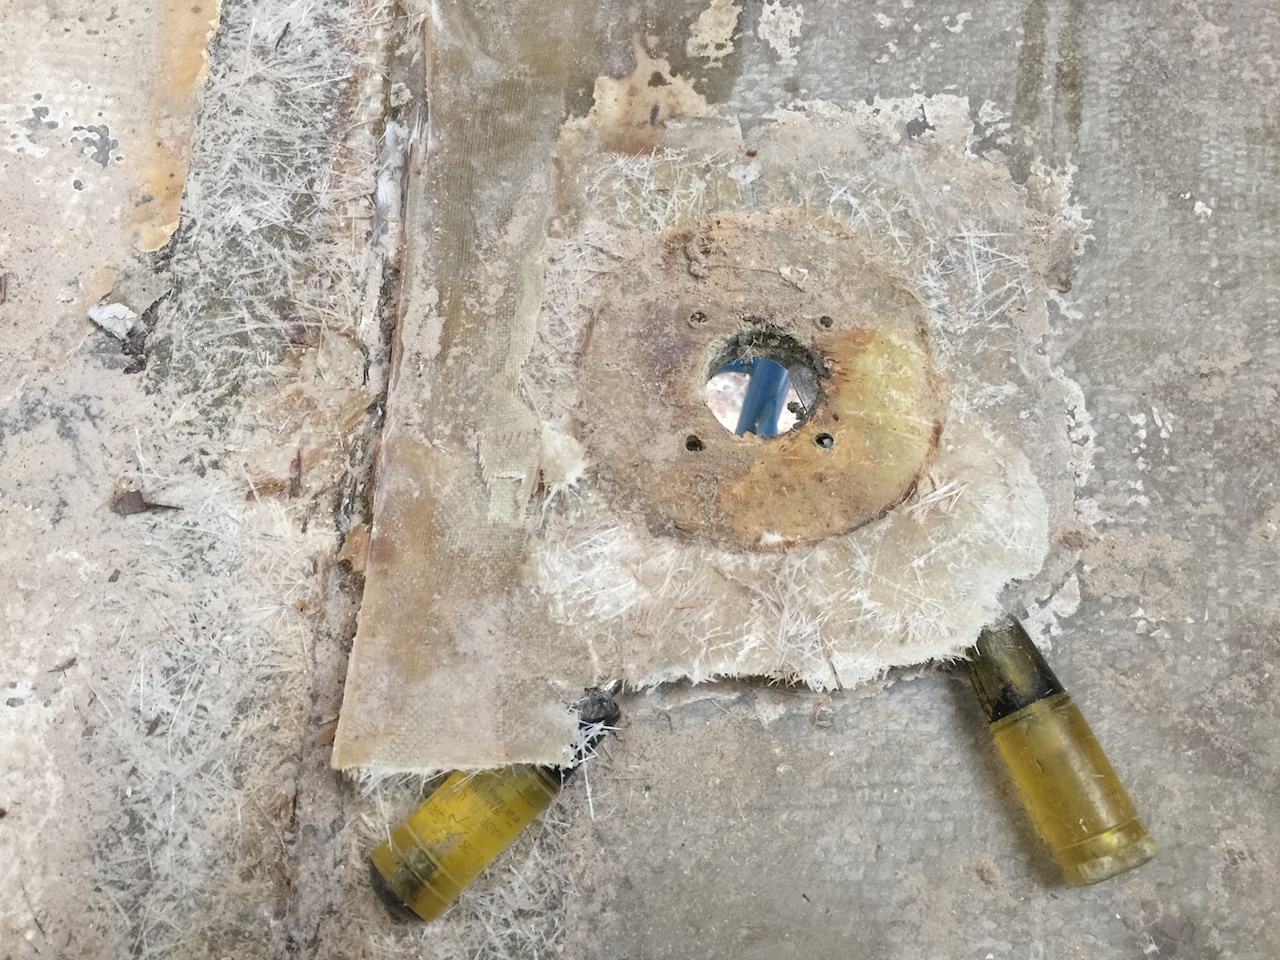
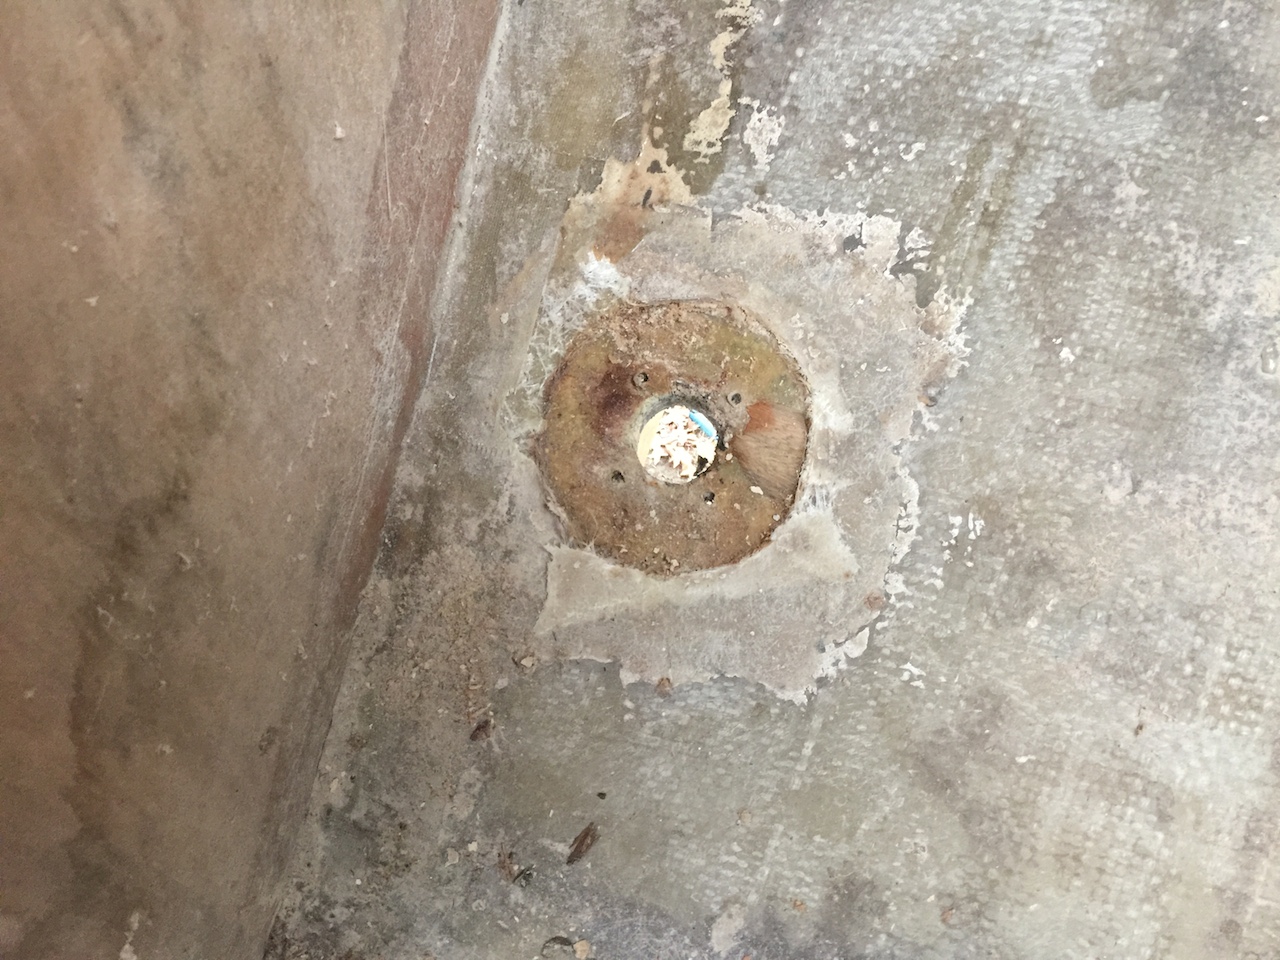
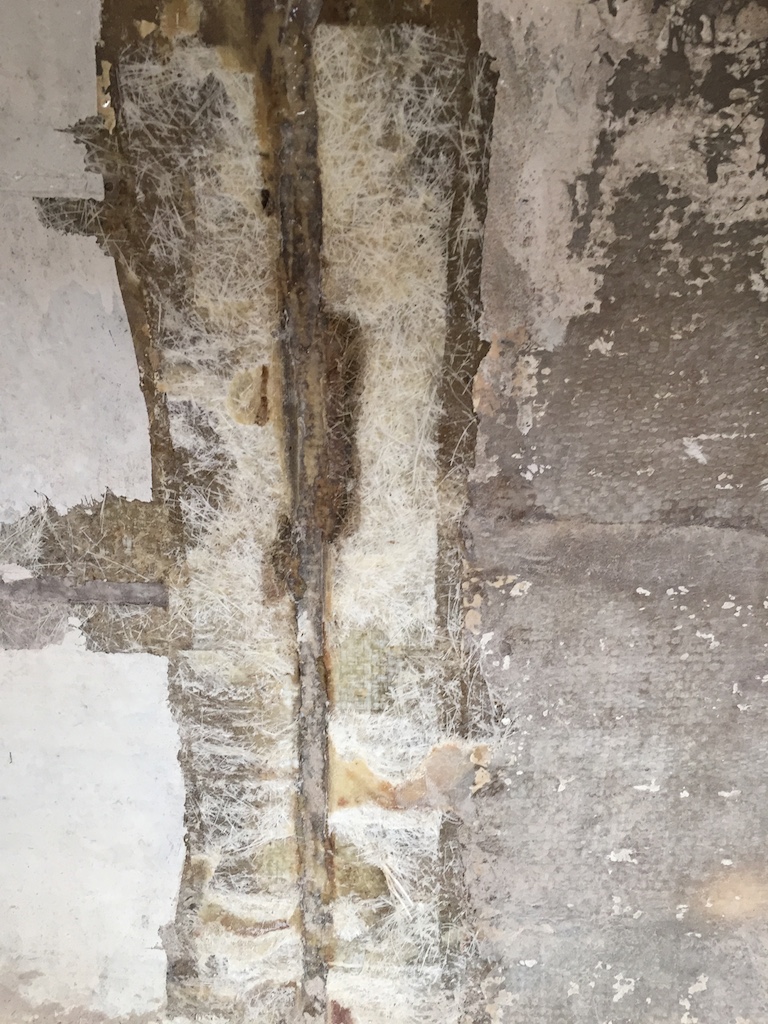
On the aft side of the bulkhead was a through-hull that once supported a depth-finding transducer. This was cut out and the hole will eventually be closed, as it’s unlikely that a new transducer will be installed in the same location.
The temporary table was removed, the tabbing was cut, then the bulkhead came loose with little fuss.
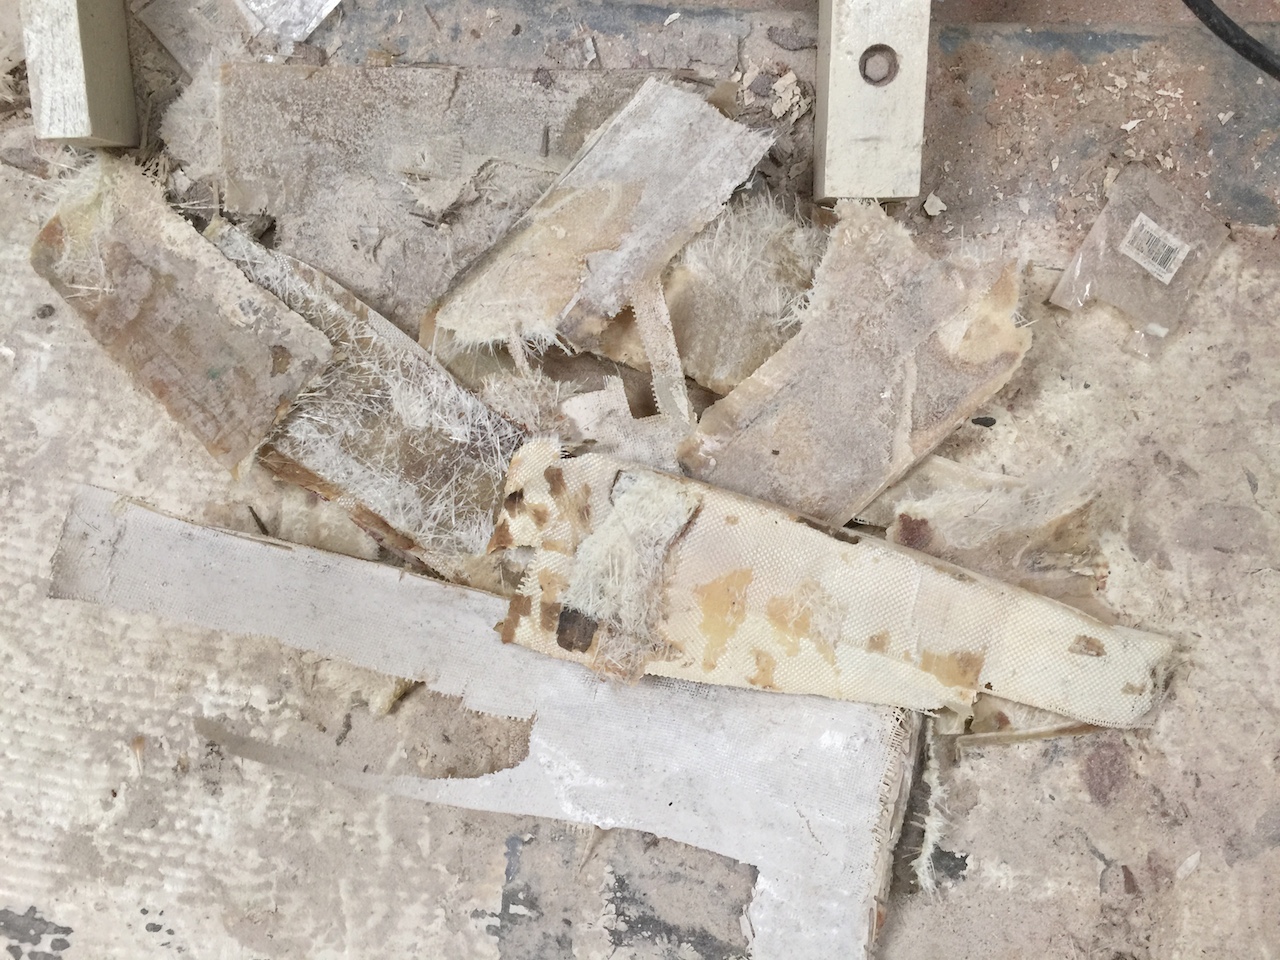
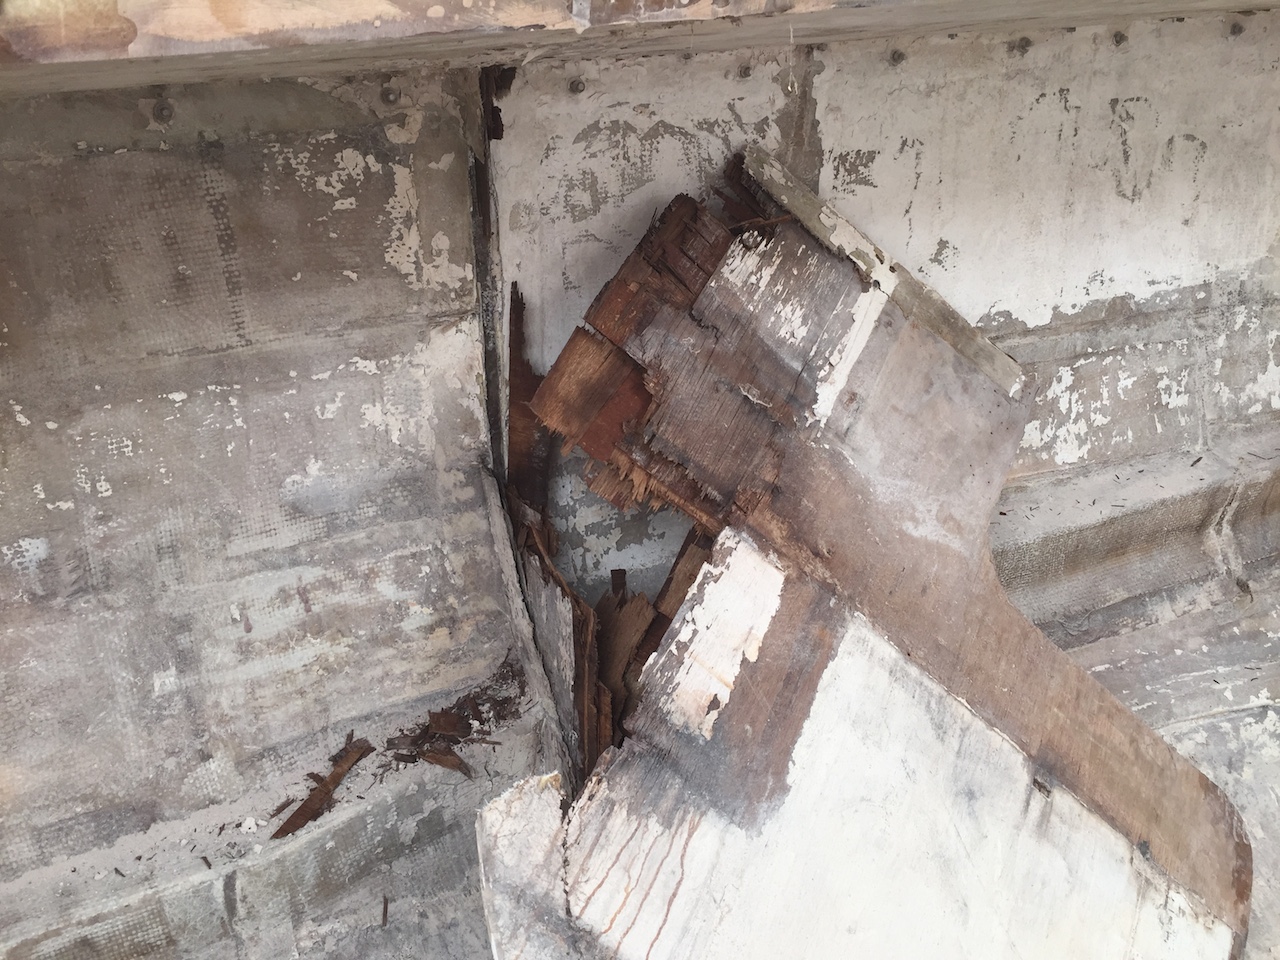
Most of the original hull-side tabbing remained, however, creating a job to remove it. The following photo shows a small sample of the old tabbing that has been pried off with old chisels and hammers.
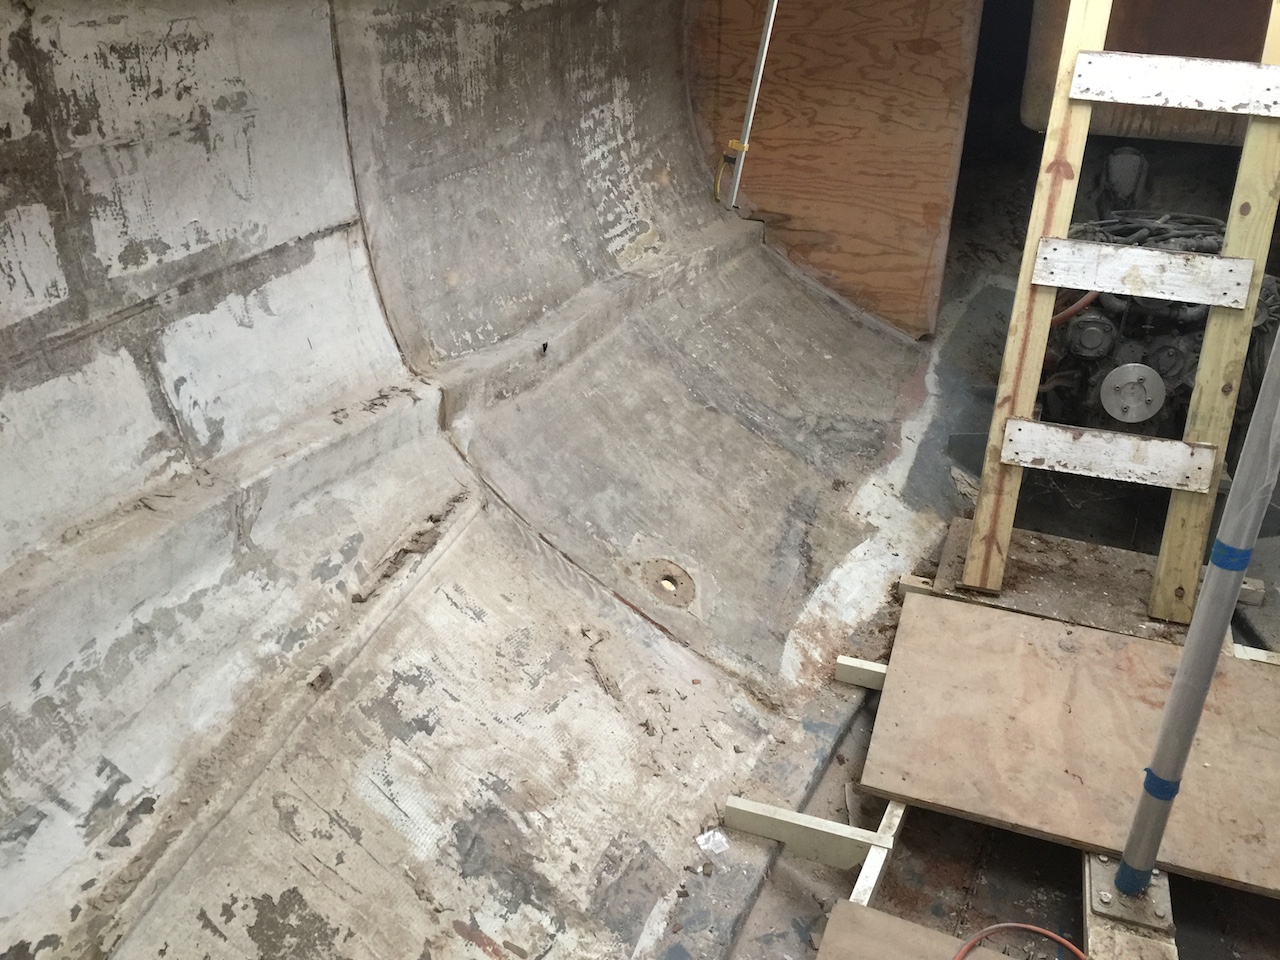
The messiest part of the job is the heavy sanding to get the hull smooth. This task requires the full-face respirator. Here is the hull just before sanding:
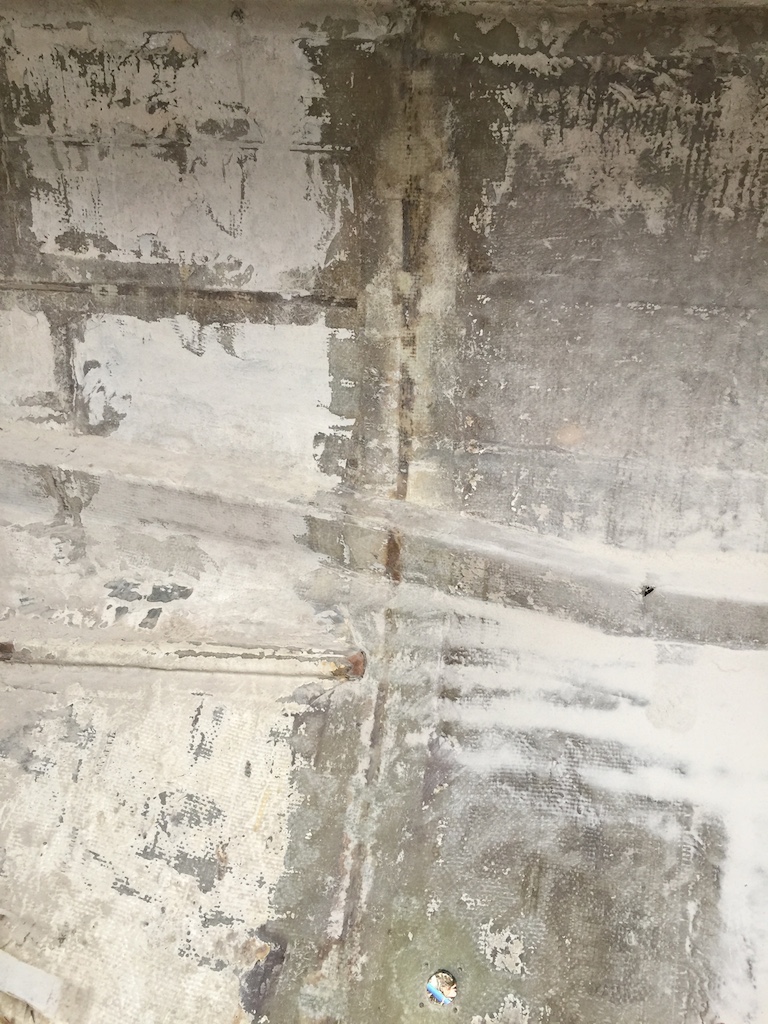
Here it is after:
Next, some measurements were made on the port-side bulkhead. (Incidentally, this is the only remaining original bulkhead, and you can see that it is in poor condition where it lies against the hull.) These measurements confirmed a conjecture that the inboard edges of the bulkhead (those not attached to the hull or deck) are either horizontal or vertical.
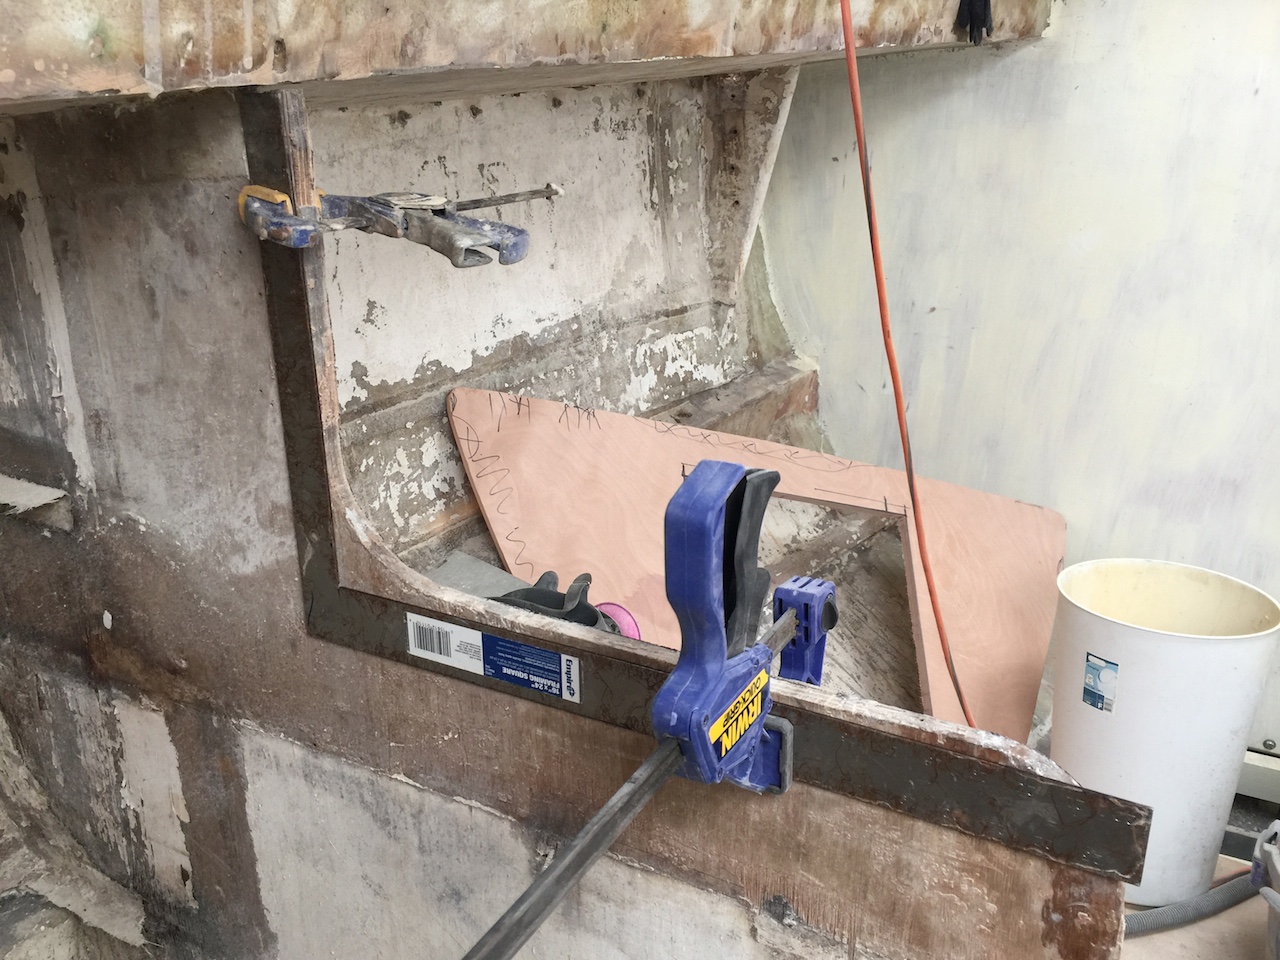
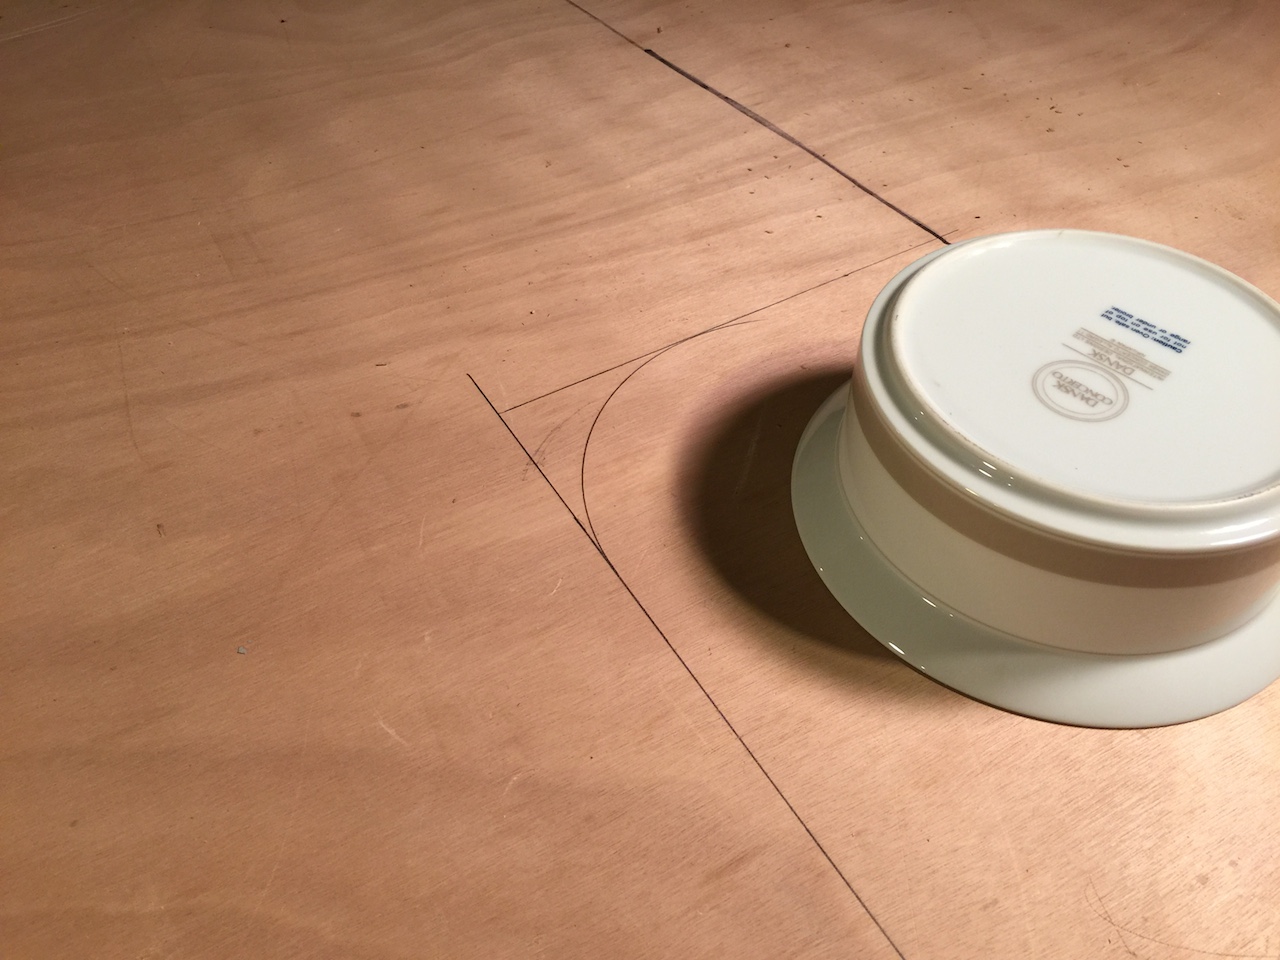
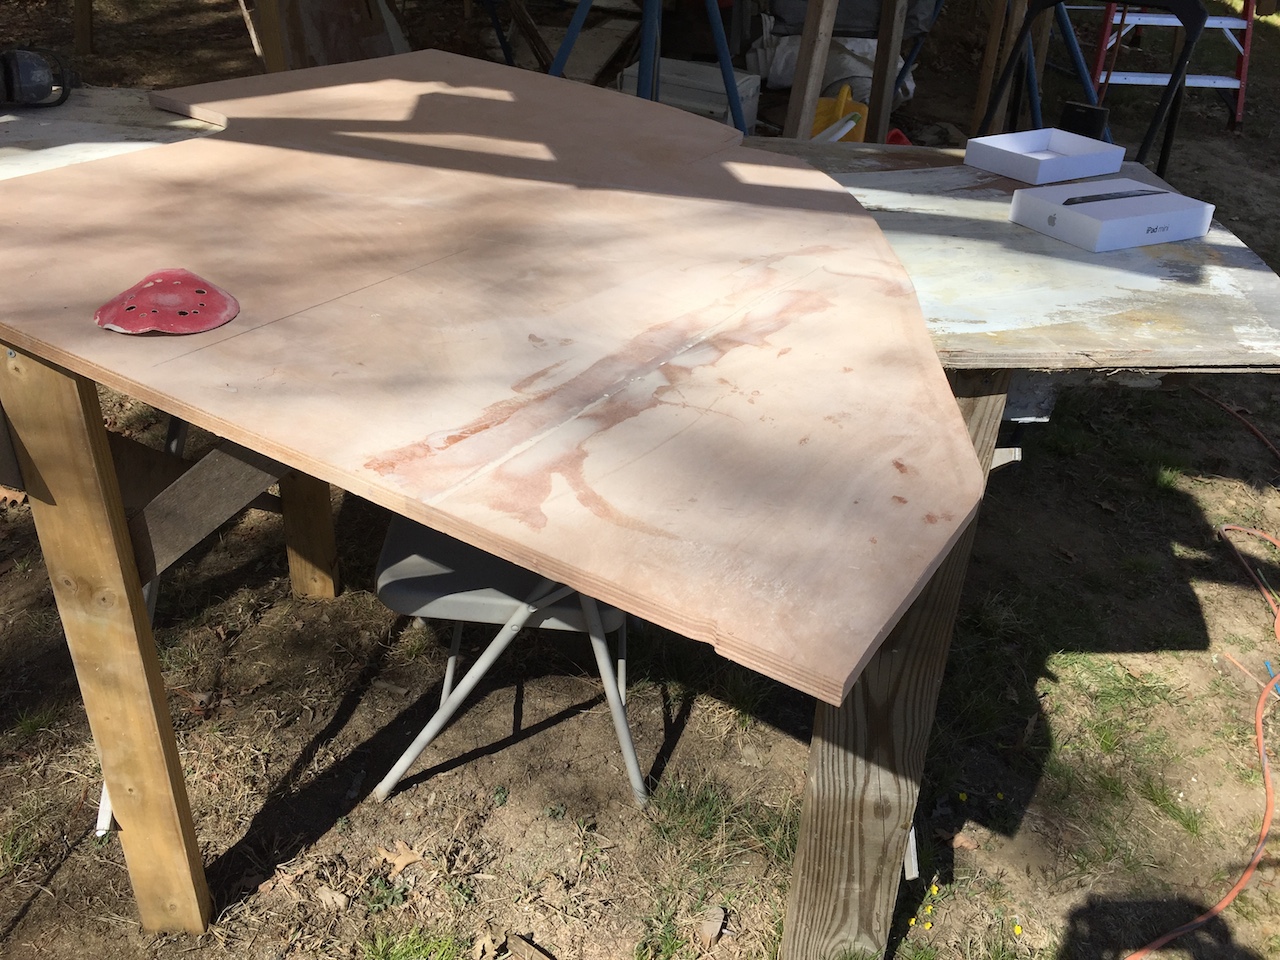
Next, the removed bulkhead was used as a template for the new. A large bowl from the kitchen had just the right radius to make the corners.
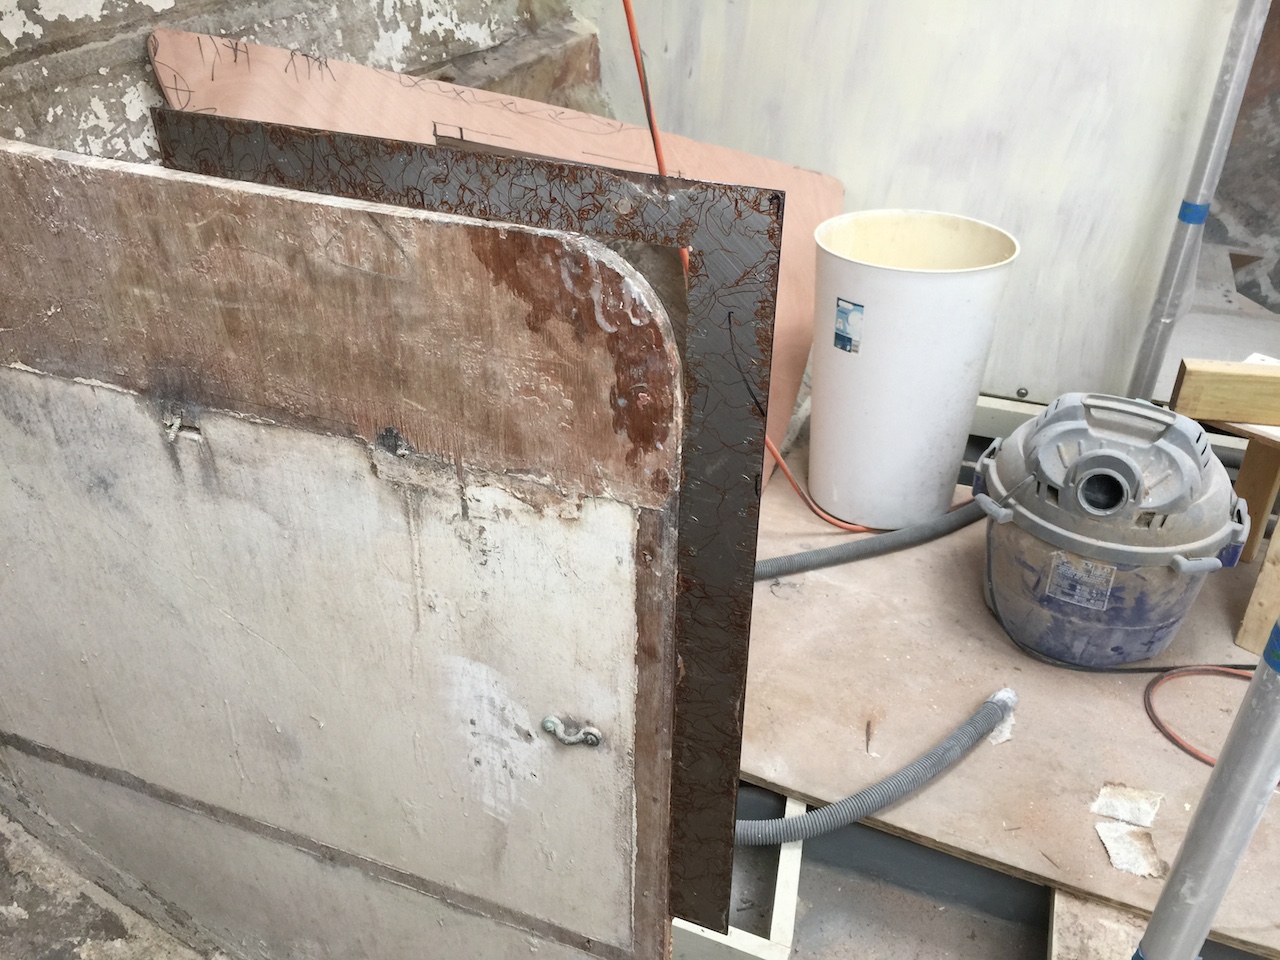
Note that the original bulkheads here were not the same width, with the port-side bulkhead extending about 12 inches further inboard than the starboard. It was decided, for the sake of symmetry and other considerations, to make the both bulkheads as wide as the wider of the two. As we will eventually see, this choice will simplify installing the starboard and port settees.
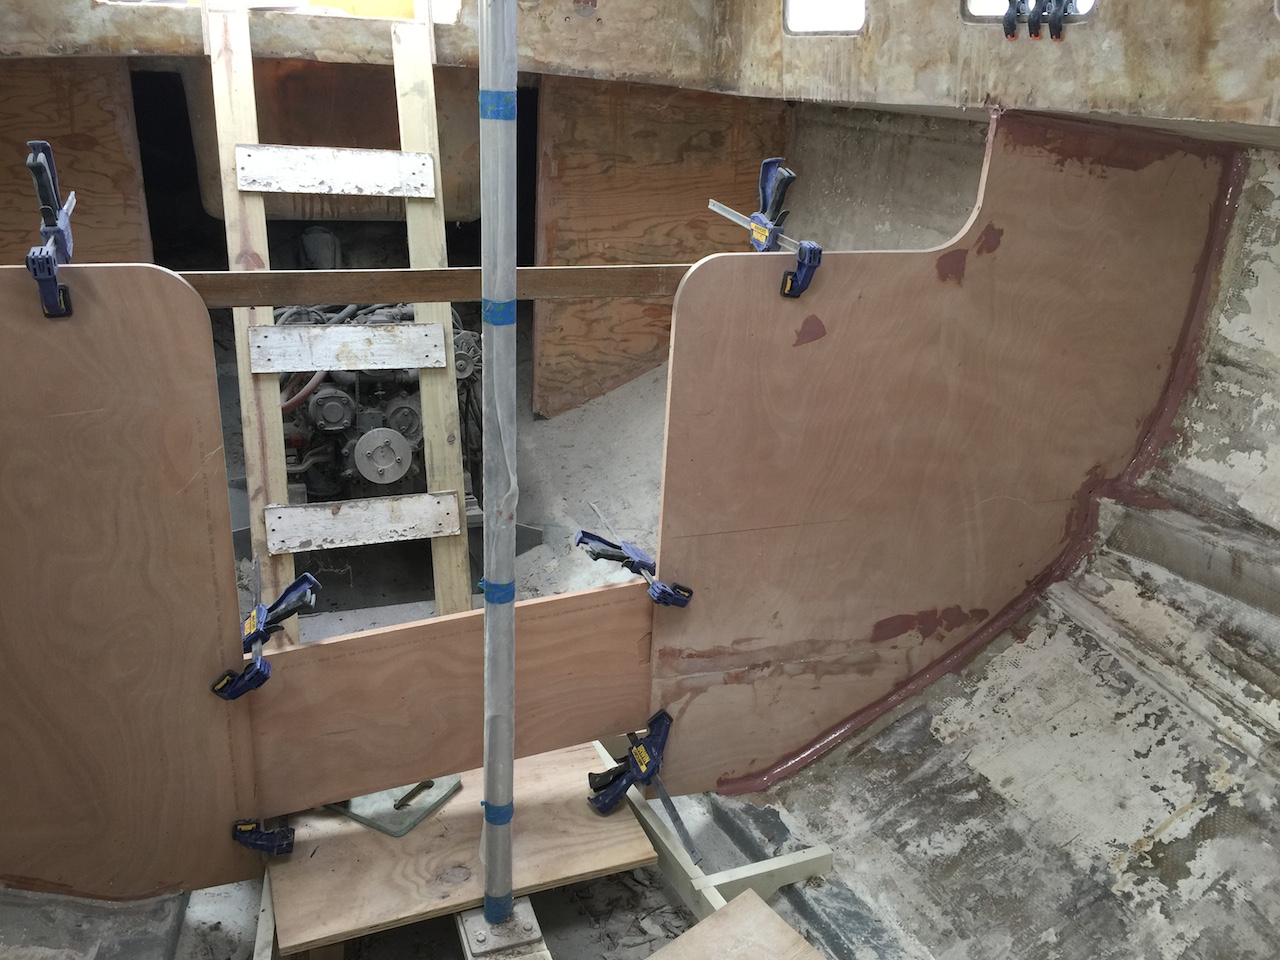
The port-side bulkhead was left in place so that it could be used to align and stabilize the starboard-side bulkhead during its installation. Some glue-blocks were used to stabilize the bulkhead, then a fillet of thickened epoxy was run over parts of the perimeter along the hull. When the epoxy dried (overnight) the bracing was removed, resulting in the scene below.
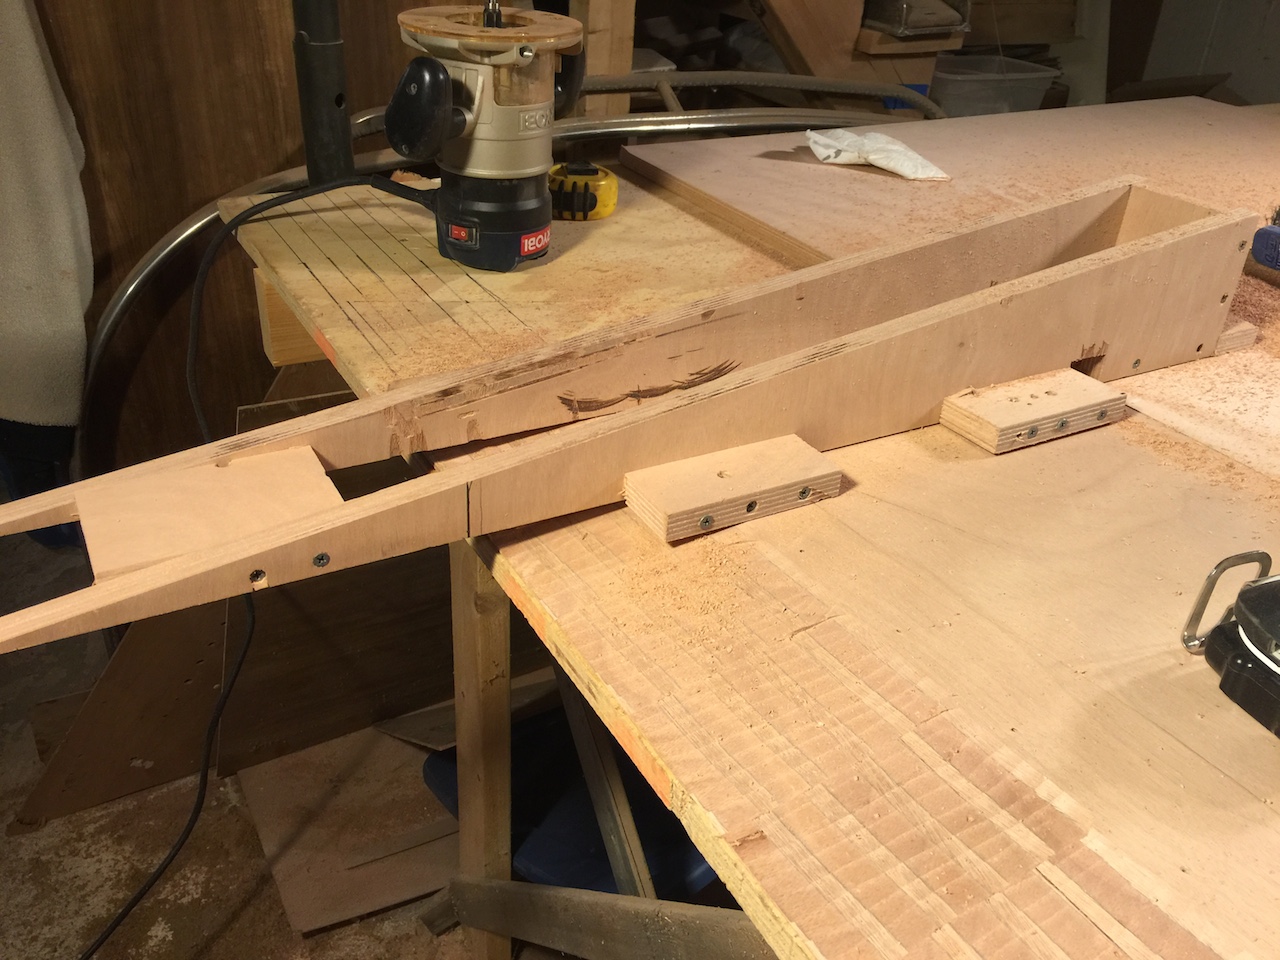
The largest remaining piece of plywood wasn’t quite big enough to make the port-side bulkhead (which will be identical to the starboard-side bulkhead), so the scarf jig was set up and work began on the scarfs.
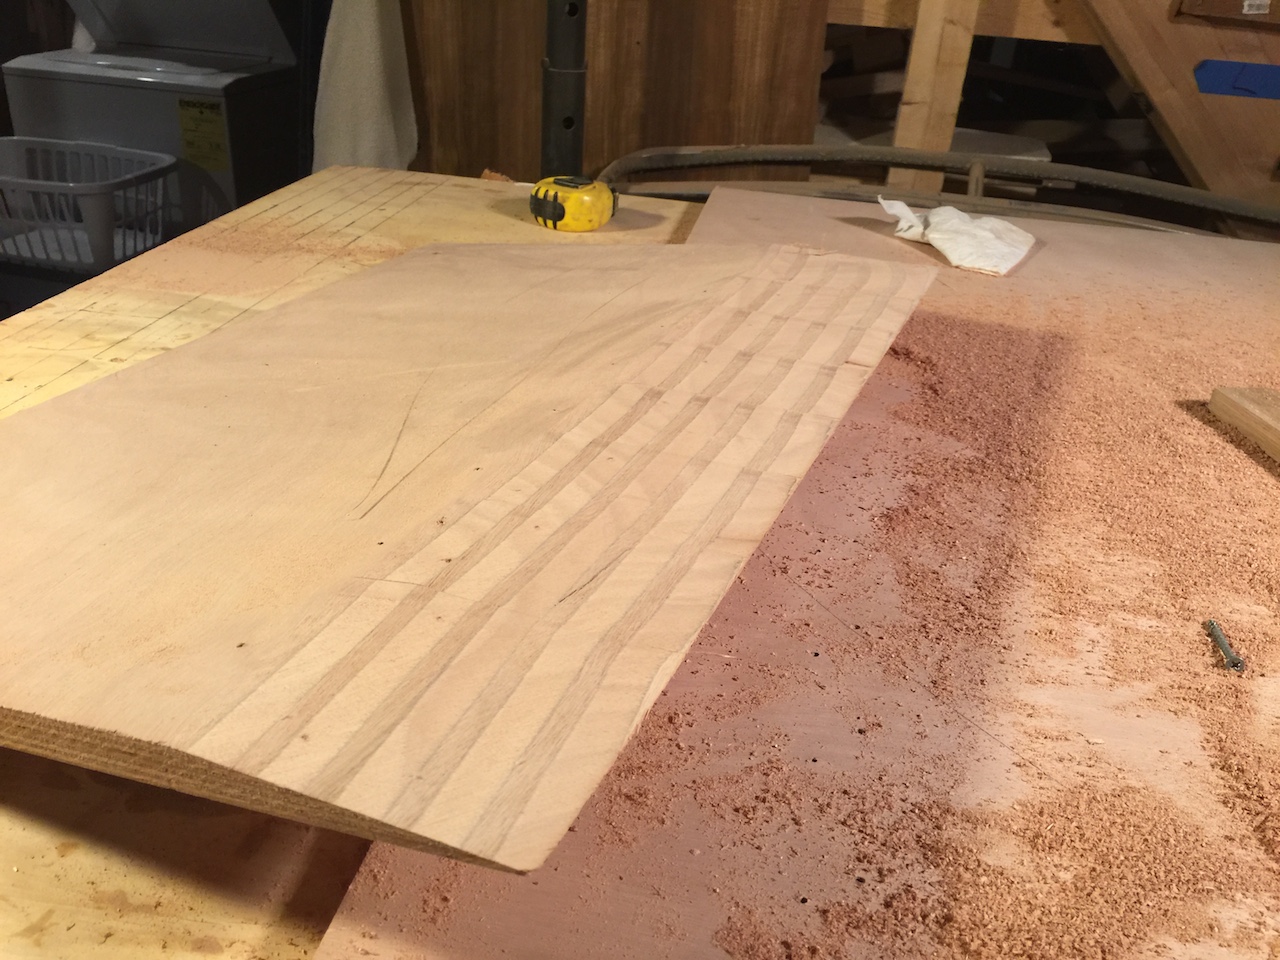
Below is the scarf in the smaller piece, sanded and ready to go.
Scarfs were cut in both pieces, then the two pieces were glued up and clamped. The clamping will stay overnight, and then the bulkhead can be cut out of the finished piece.
Meanwhile, the port-side bulkhead was removed.
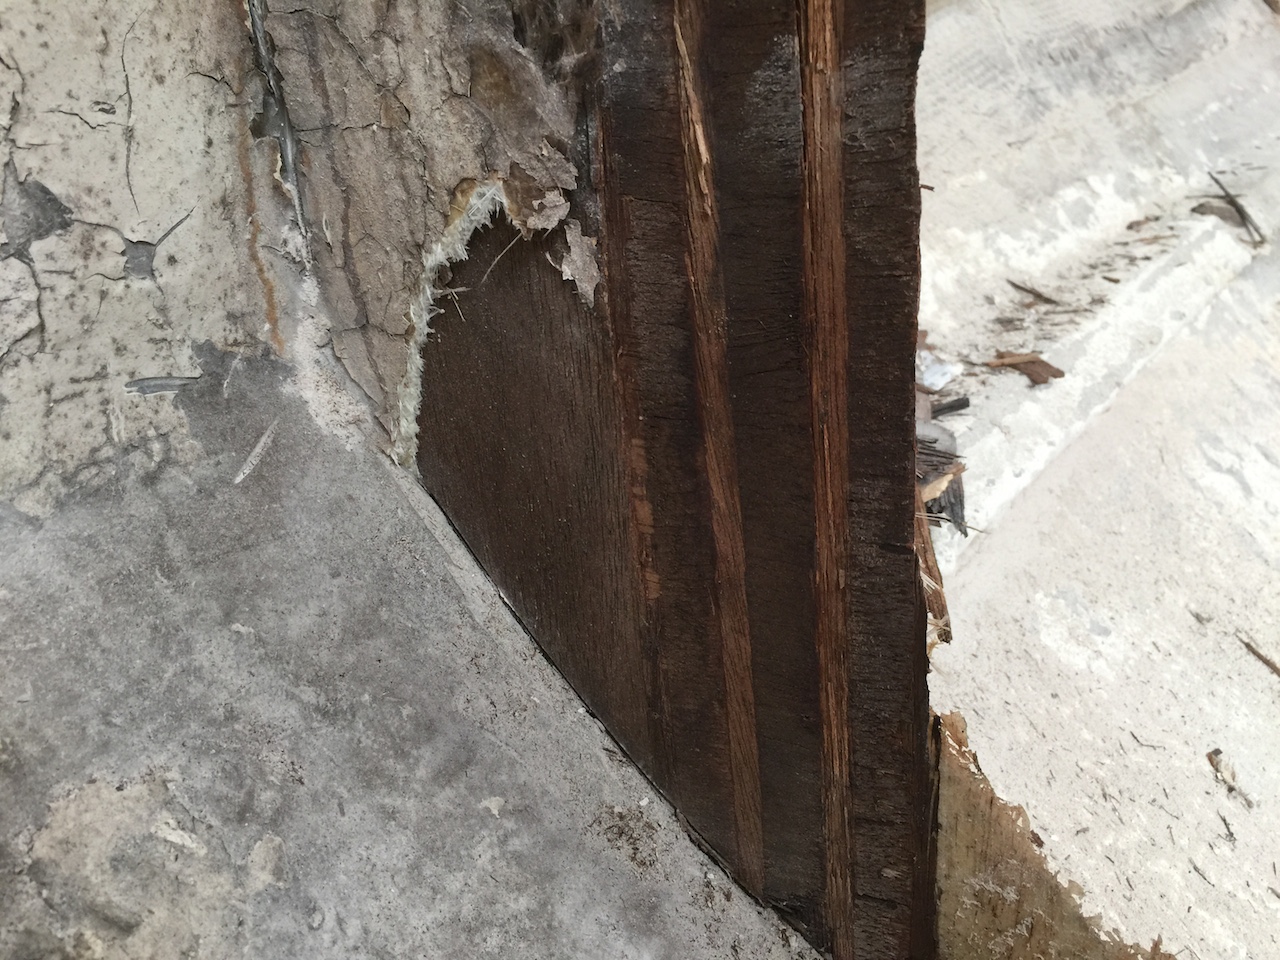
The following photo reveals that this bulkhead was originally made by more than once piece (you’re looking at a 46-year-old scarf). The scarf broke cleanly, indicating that the glue had failed, probably due to water penetration and damage.
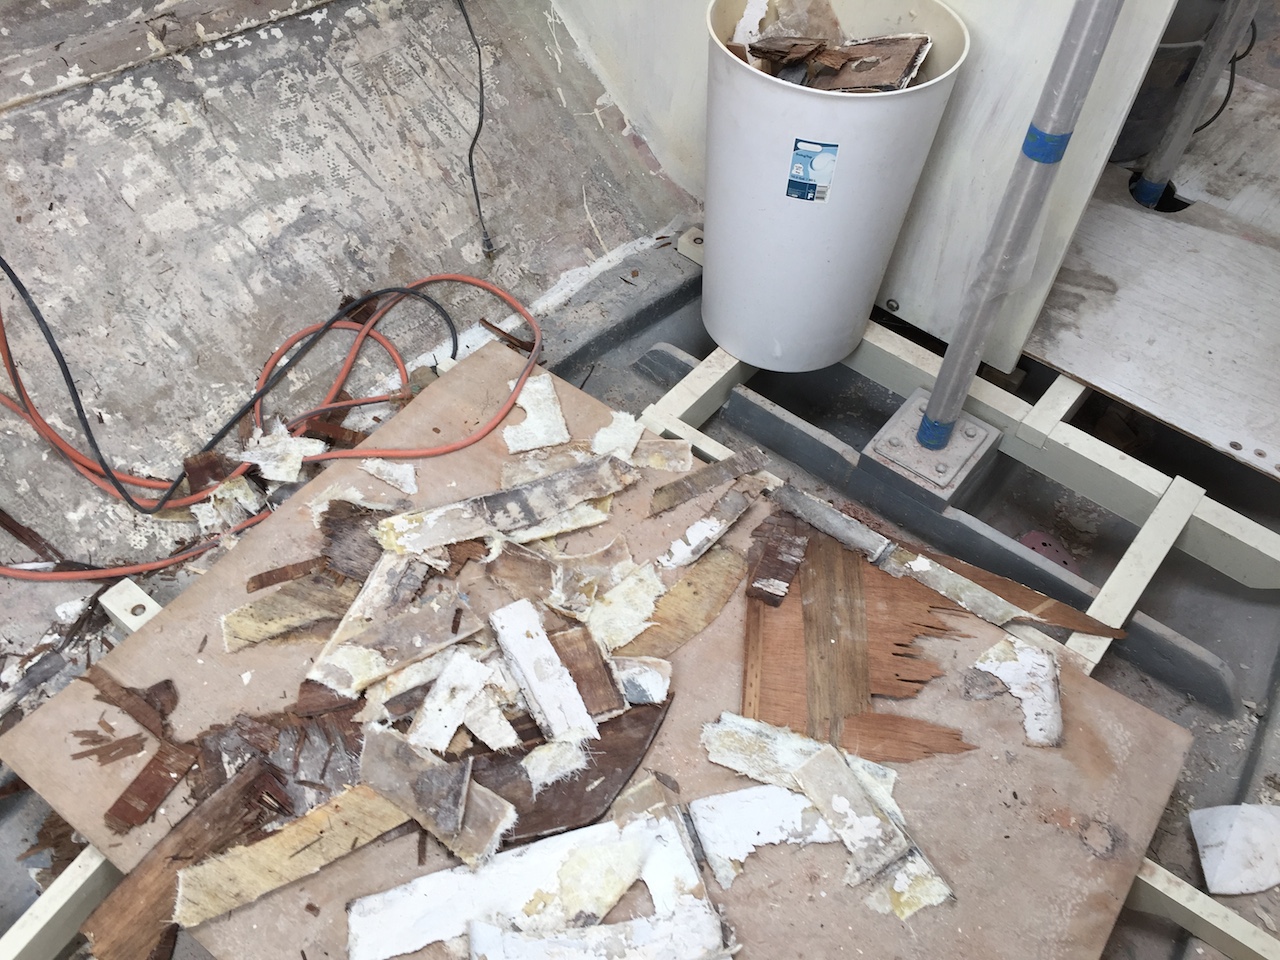
The photo below shows the collection of old tabbing generated by this job.
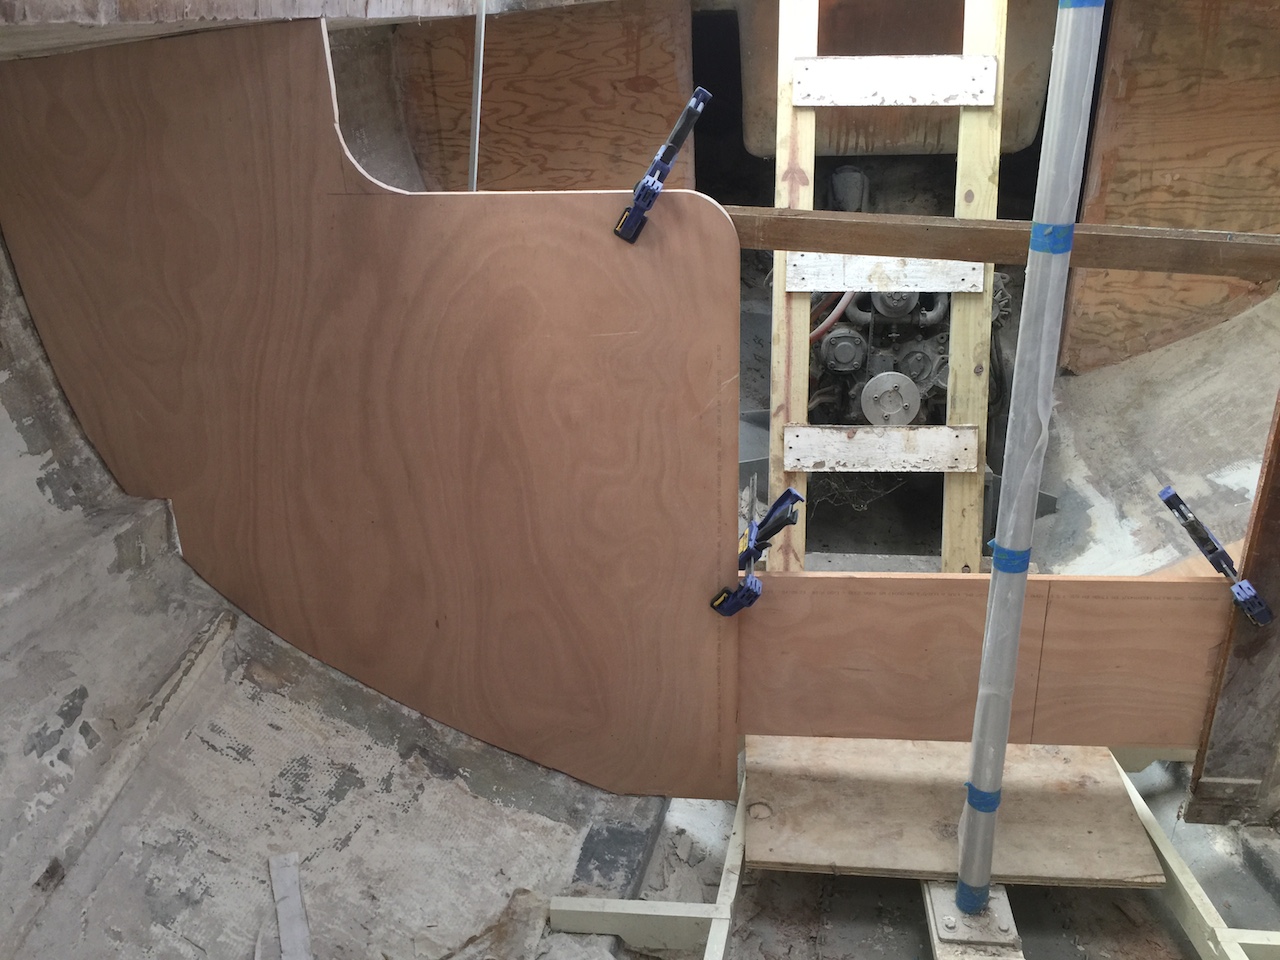
Once the scarf in the new bulkhead was dry, the bulkhead was taken outside for sanding, and then the inboard end was trimmed with the router. Next, the pattern-lines were cut, and here we see the bulkhead ready to be hauled aboard for fitting.
Once aboard, the bulkhead was fitted in place, and aligned with the starboard-side bulkhead, then a filet of thickened epoxy was run along the perimeter.
The next steps are sanding and more filleting in preparation for the fiberglass layup along the hull- and deck-side perimeter.