Phase 2
Thalassa’s decks were 3/8-inch thick teak planks that were fastened with thousands of screws to a perfectly viable cored fiberglass deck. After years of service, it is inevitable that the caulked seams will fail and water will get under the teak and through the fiberglass, wetting the core and, ultimately, the cabin. Thalassa was hauled again in Fall 2008 for a deck and cabin-top restoration, which would take care of many leaks and improve Thalassa’s looks considerably.
A dry environment was required, so a frame was built and covered with white tarpaulin. Thalassa has a thick teak rub-rail on which the frame was fastened. In this way there was no interference between the frame and the deck and I was able to work freely on the deck. The frame was constructed out of two-by-fours connected by triangles of plywood. Furring strips fastened with drywall screws were gave structural support in the form of cross beams and a roof.
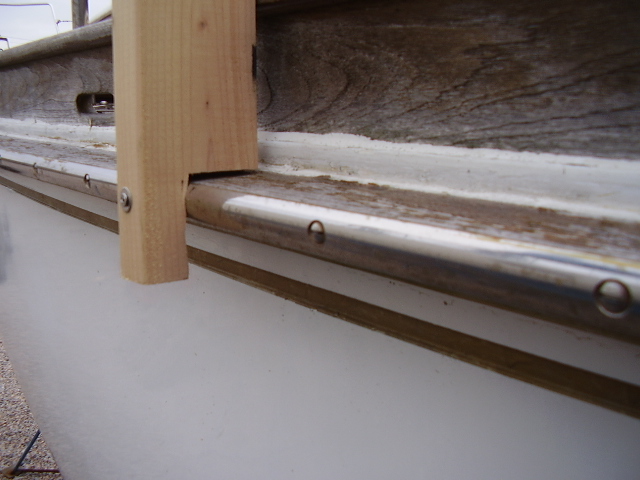
One of the frame sections attached to the rub-rail.
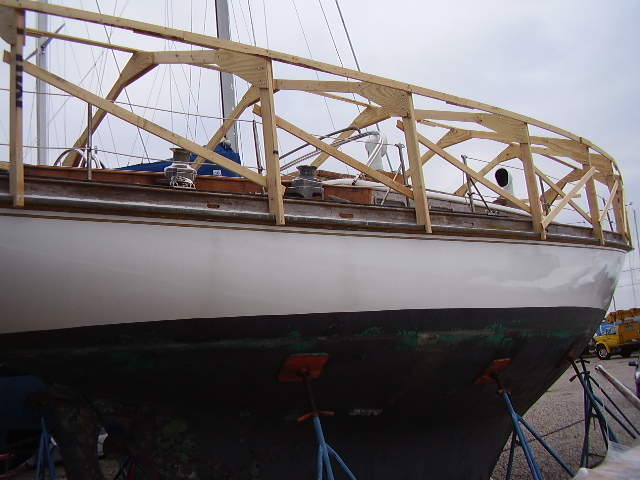
The frame is taking shape. Many furring strips still need to be fixed to the roof of the frame in order to support the tarp.
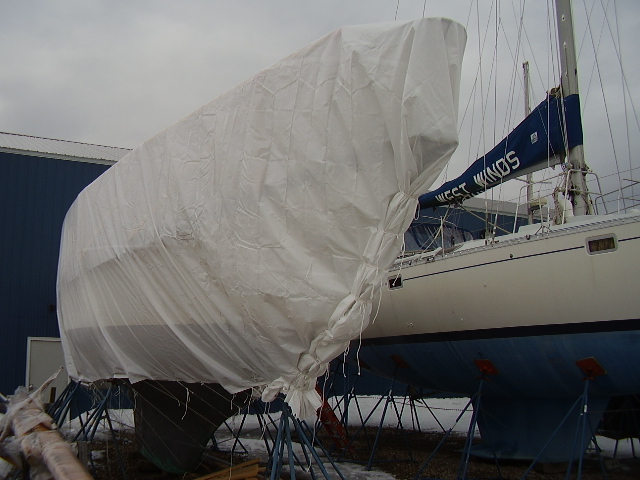
The tarp was 30’x60’. The ends were sewed up to make a nice package, then work could begin. The boat was facing south, so there was some protection from the north and the east.

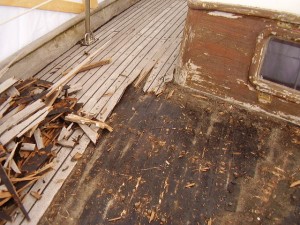
A view from the deck (looking forward) just before starting the work of pulling up the old teak.
With a hammer, screwdriver, and pliers, the deck planks were hacked off one by one. This part of the work – removing the old deck – took a few weeks and was relatively easy.
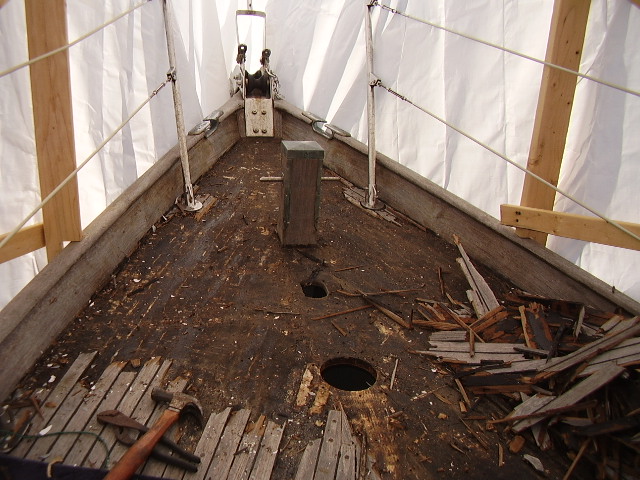
The old deck was removed, starting from the bow and moving aft.
This is a view from the forward deck looking aft (and starboard).
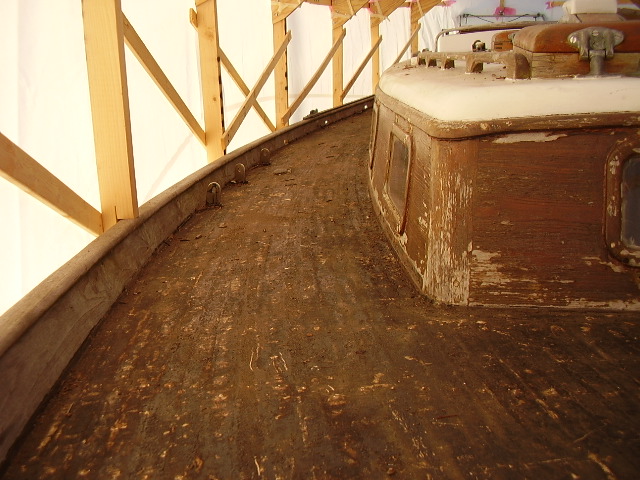
Now the Thiokol that bonded the teak to the fiberglass must be removed.
Cheoy Lee knew they were laying teak over the fiberglass, so they made no special effort to ensure the glass was perfectly smooth (which would have allowed the sealant to be scraped off fairly easily). A combination of 24-grit disc sanding and heavy scraping was required. This process took weeks.
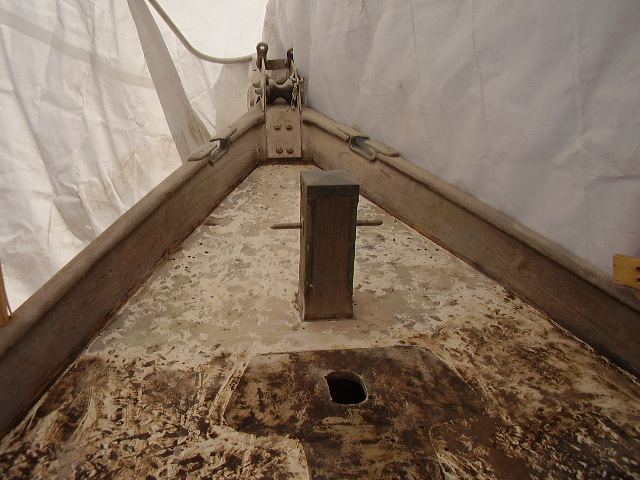
Taken during the initial stages, several square feet at the bow have been cleaned of the black sealant.

Here work progresses down the starboard side, working aft.
Chopped-strand mat was laid up using West System epoxy resin.
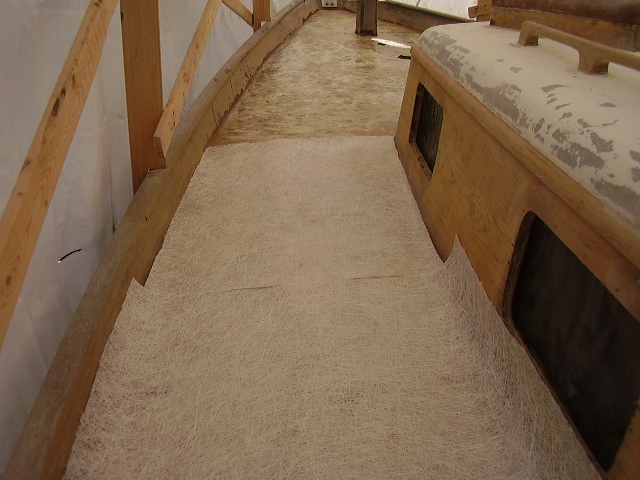
Dry-fitting the chopped stand mat.
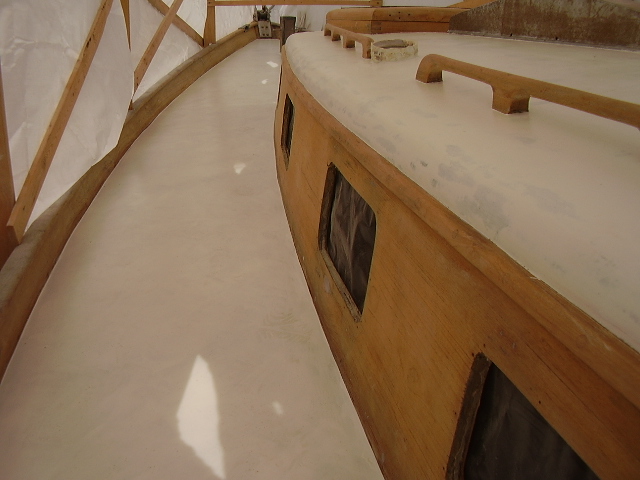
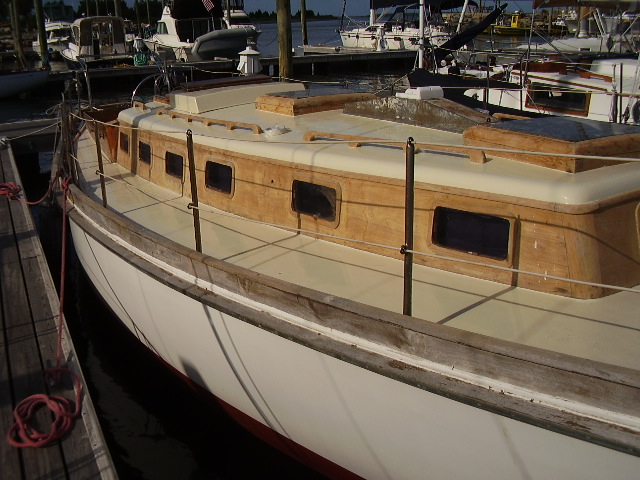
The layer of mat also required smoothing in preparation for primer. The outer window moldings were removed and the teak around the house was sanded. Lots of sanding. Handrails, hatches, dorade boxes. Eventually it was time to start painting the decks.
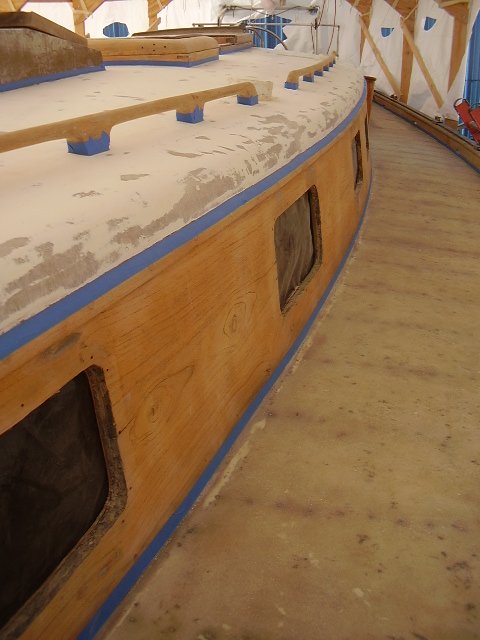
Taped off and ready for primer.
Two coats of two-part primer.
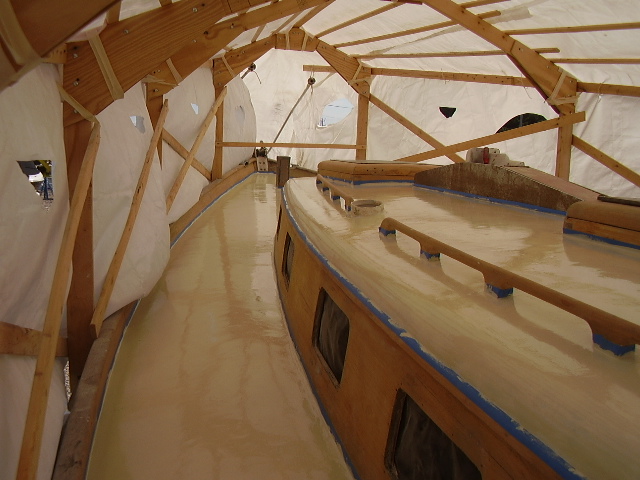
The house and deck after two coats of two-part polyurethane paint. Other people are launching their boats. (Note the ventilation holes in the tarp.)
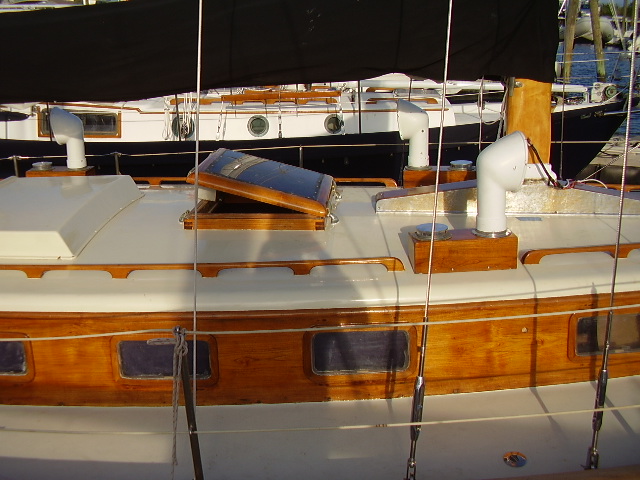
The painting was progress, but there was much more to do. Window moldings, that drip from the bottom of the keel, the masts and booms (everything needed complete re-stripping and varnishing), non-skid for the deck, new chain plates, rigging, and varnishing the house and hatches, and reinstalling the deck hardware.
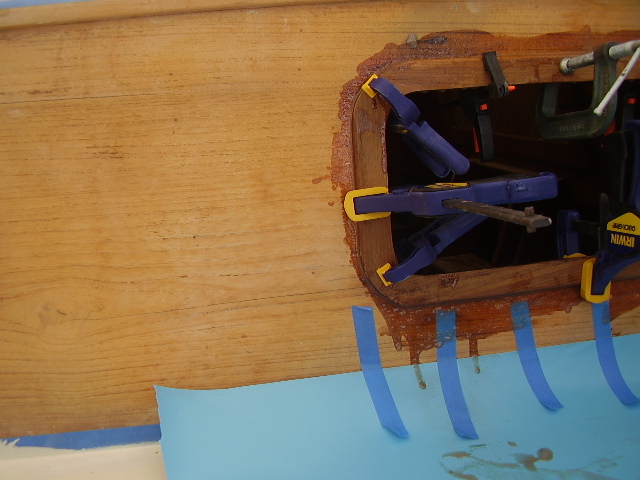
The first window molding being glued into place using West System epoxy.
The original varnish on the masts had failed due to poor surface preparation. The masts had to be stripped down to the wood and revarnished.
I was allowed to use of the indoor shed for my work on the masts and booms.
The nonskid involved another coat of the paint with non-skid beads mixed in. These beads are very small, but when mixed with the paint form surprisingly rough surface. This method gives a professional finish and the non-skid dulls the surface (both preventing glare, and masking imperfections in the underlying deck).
In the water and ready for varnish on the house and non-skid on the decks.
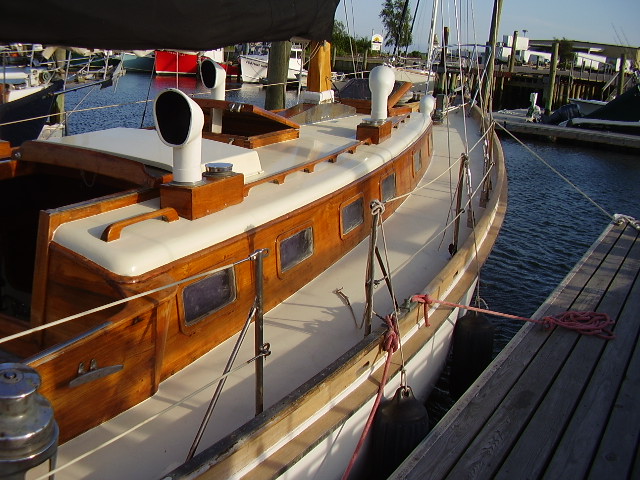
Two coats, three more to go.
Five coats. The masts are up. Hatch hardware installed.
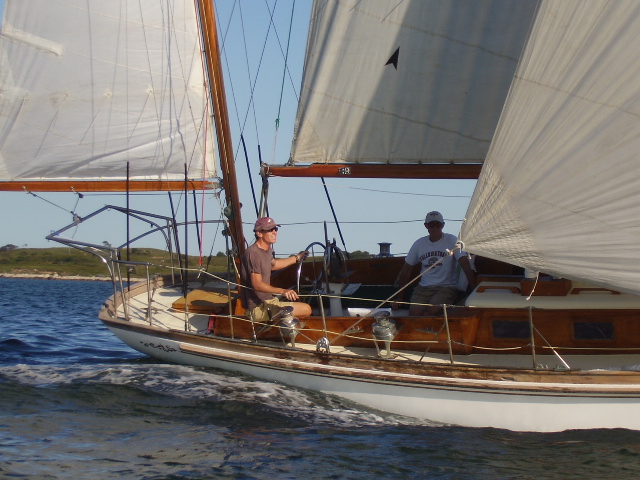
Sailing near Cuttyhunk.
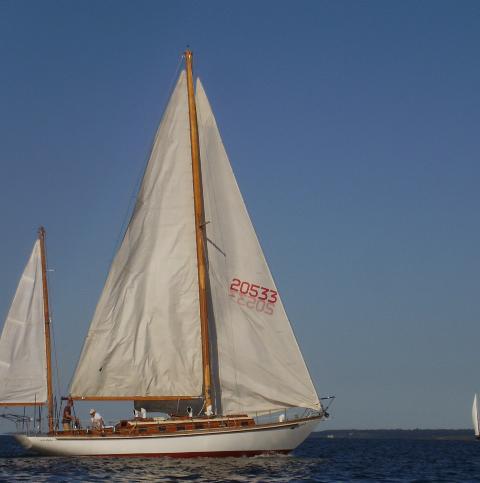
Tacking.
Kristina La Bonte
03/24/2023 — 1:33 am
THALASSA spent many a nights in cuttyhunk! On our honeymoon we woke up and we’re aground. Her large keel stuck in the muck. Waiting for tide to rise and my first experience kedging off. Very special spot. She also spent time in Hadley harbor, and the Elizabeth islands. Martha’s Vineyard. But our favorite spot was Block islands great salt pond, every summer!
Mike
03/24/2023 — 11:21 am
Cuttyhunk or Block Island will be the first night away from port this summer.