5/14/16: Icebox
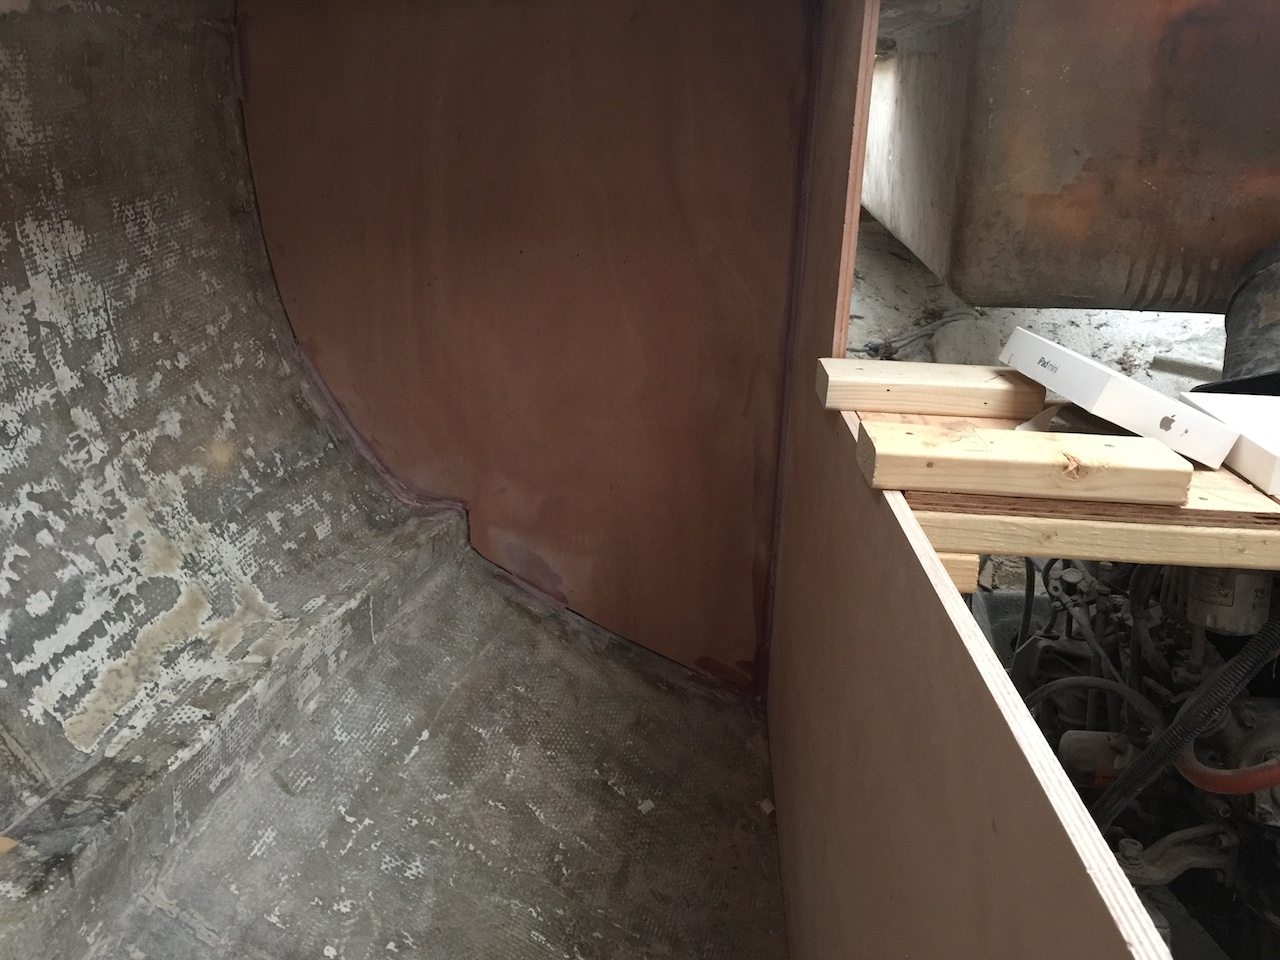
Here we are looking aft, at the bulkhead that separates under-cockpit area from the starboard-side galley. The first fillet has dried and the glue blocks have been removed, and you can see gaps where more filleting is needed.
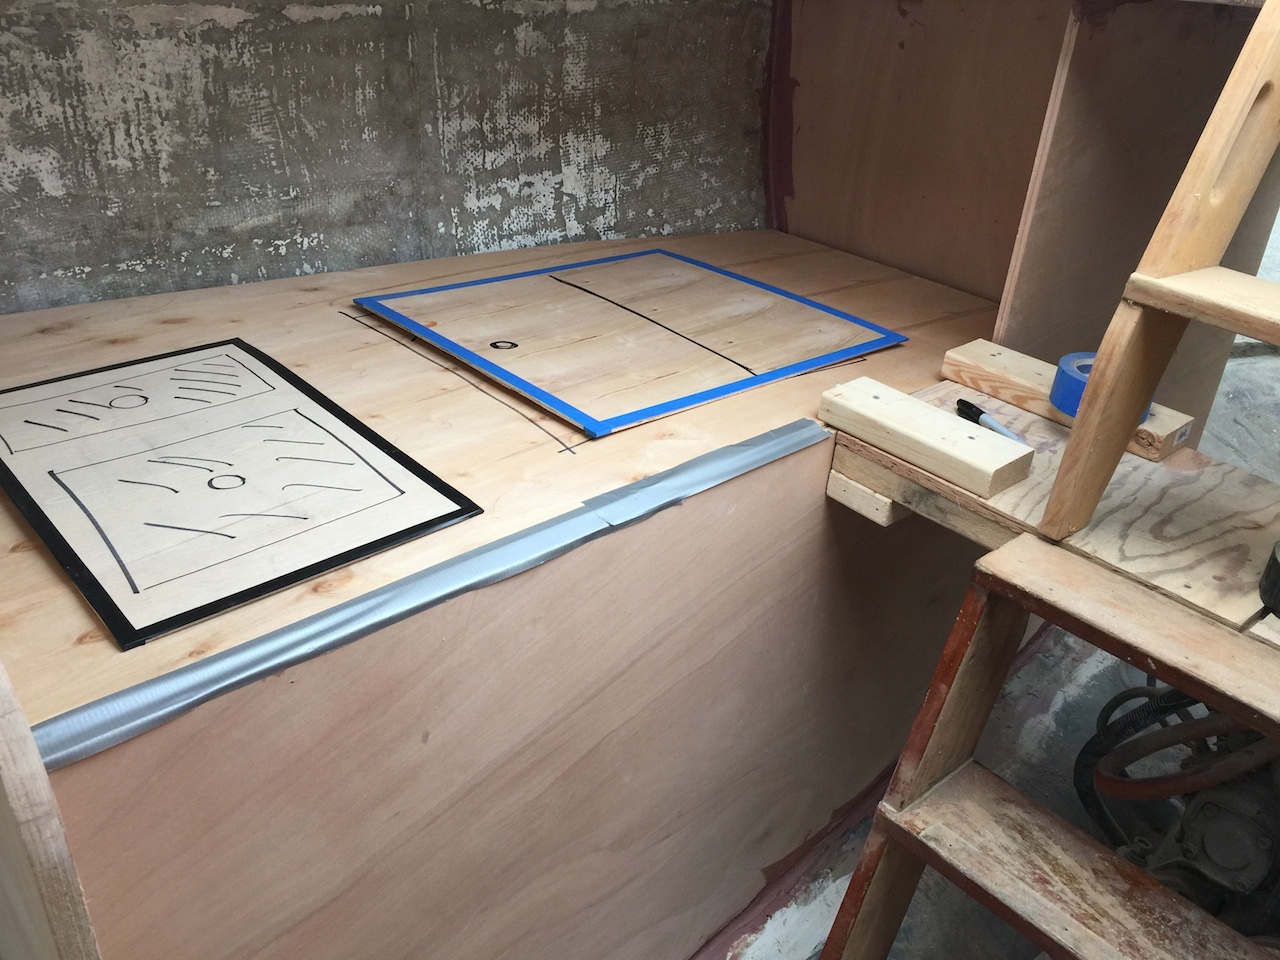
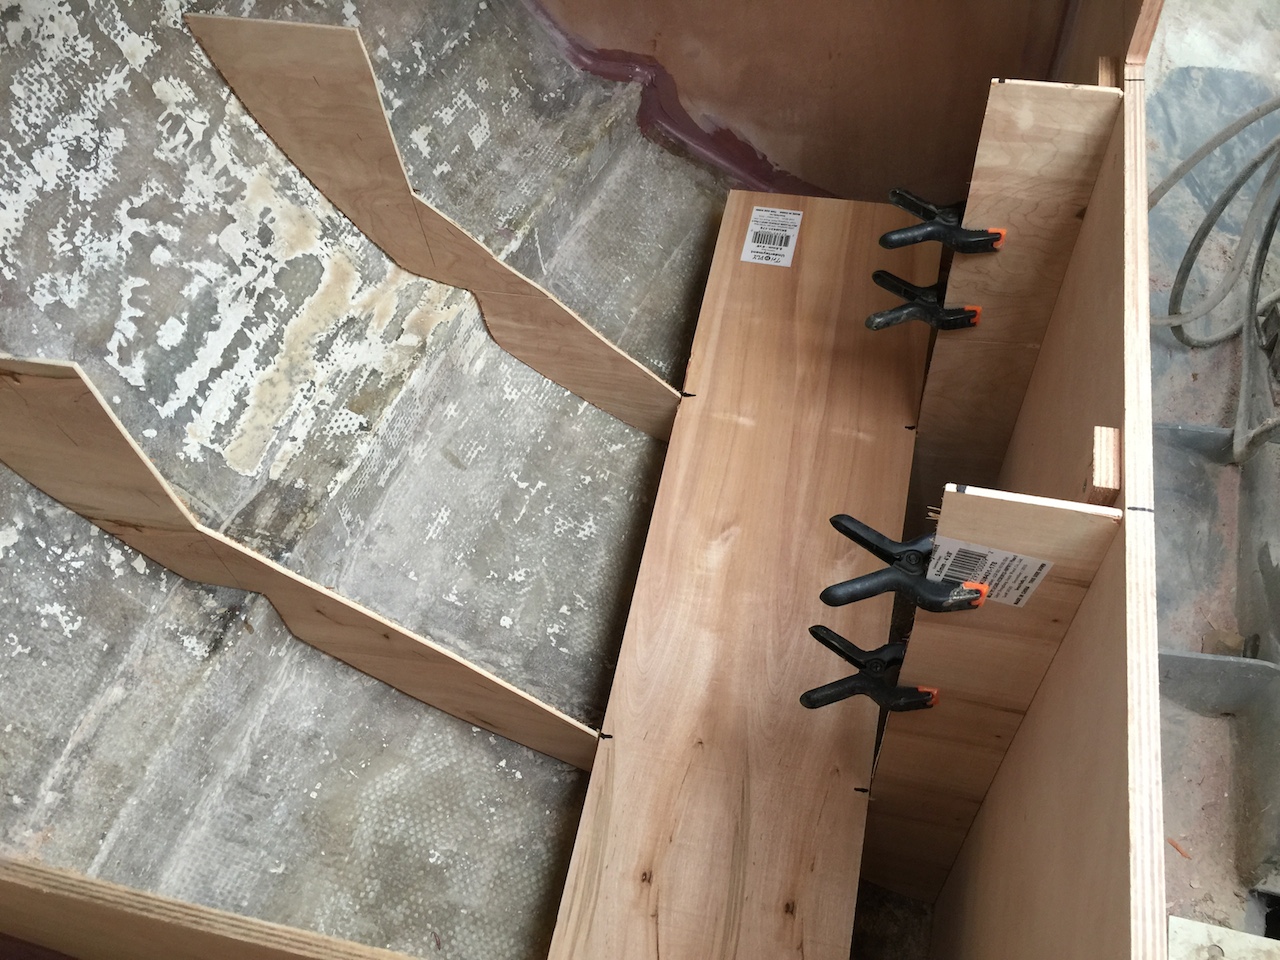
Next, false galley tops were made from cheap, 1/4-inch plywood, as well as mock-ups of a double sink, ice-box lid, and stovetop. With the false tops in place, the mock-ups of the appliances could be moved around to experiment with different layouts. The photo below shows the starboard side, with a double sink forward of the ice chest.
The port side is shown below, where the drop-in stovetop is forward of an under-counter storage area that will also house a fuel tank.
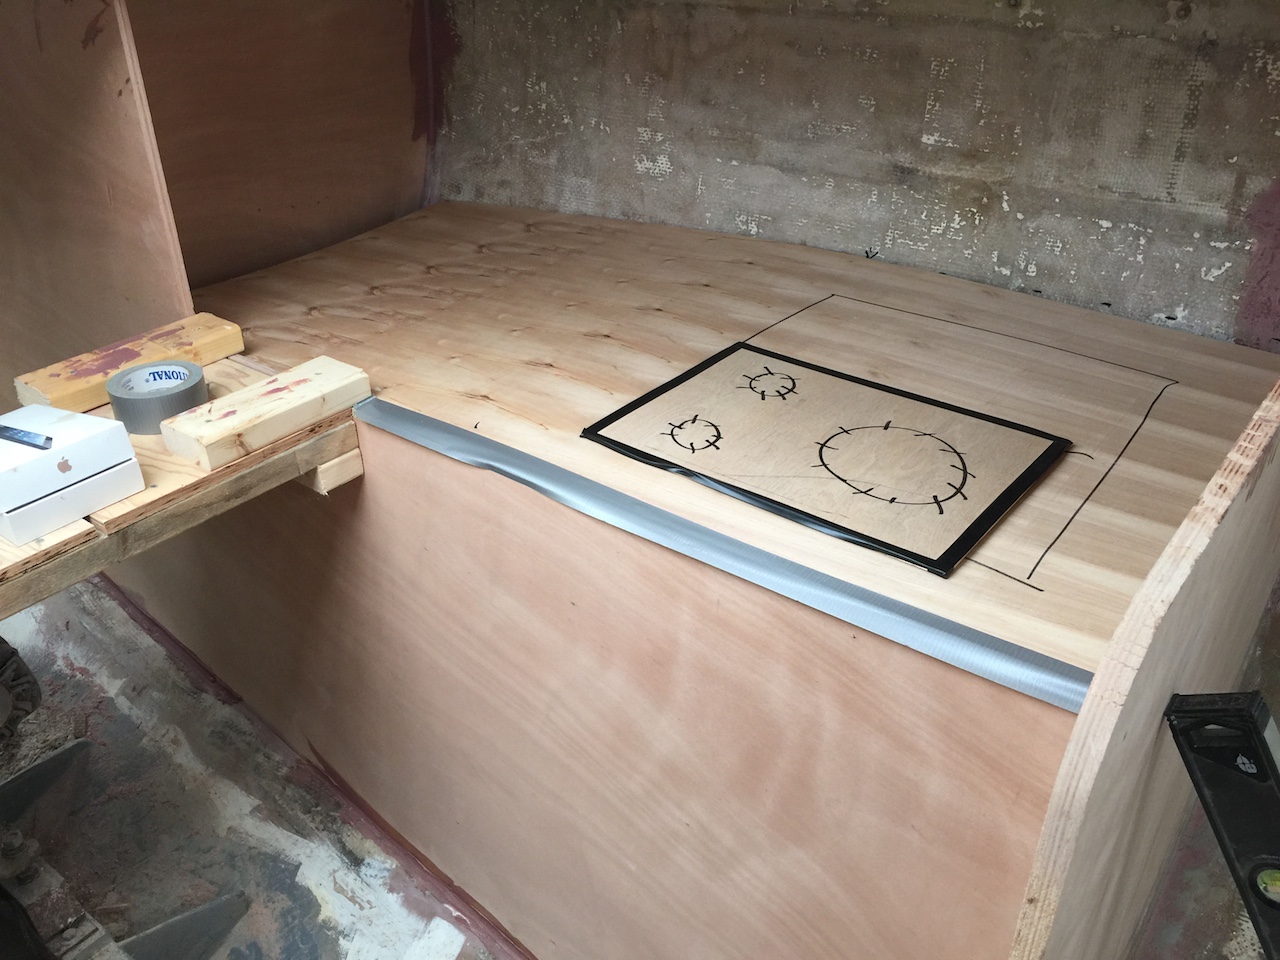
Both the sink and stove will be used frequently and for extended periods of time (washing dishes and cooking). Keeping them forward is ergonomically efficient, while separating them means that when one crew-member is cooking, another can be washing dishes.
:NOTE: You’ll notice that from now on I’ll be using the first person voice. The disadvantage to this change will be the frequent appearance of the first-person pronoun I, whose overuse is considered by some to be impolite or immodest. The advantage to this change is that the “active” voice will arise more naturally. Thus, instead of “the starboard and port sides of the galley were checked for symmetry” you might see “I checked the port and starboard sides of the galley for symmetry.” The passive voice holds the reader in suspense and the writing becomes unnecessarily verbose, and sometimes imprecise. The first-person voice will be easier to write, and should allow me to share certain details (e.g., a color preference) that would be difficult to share in the third person voice. :END NOTE:
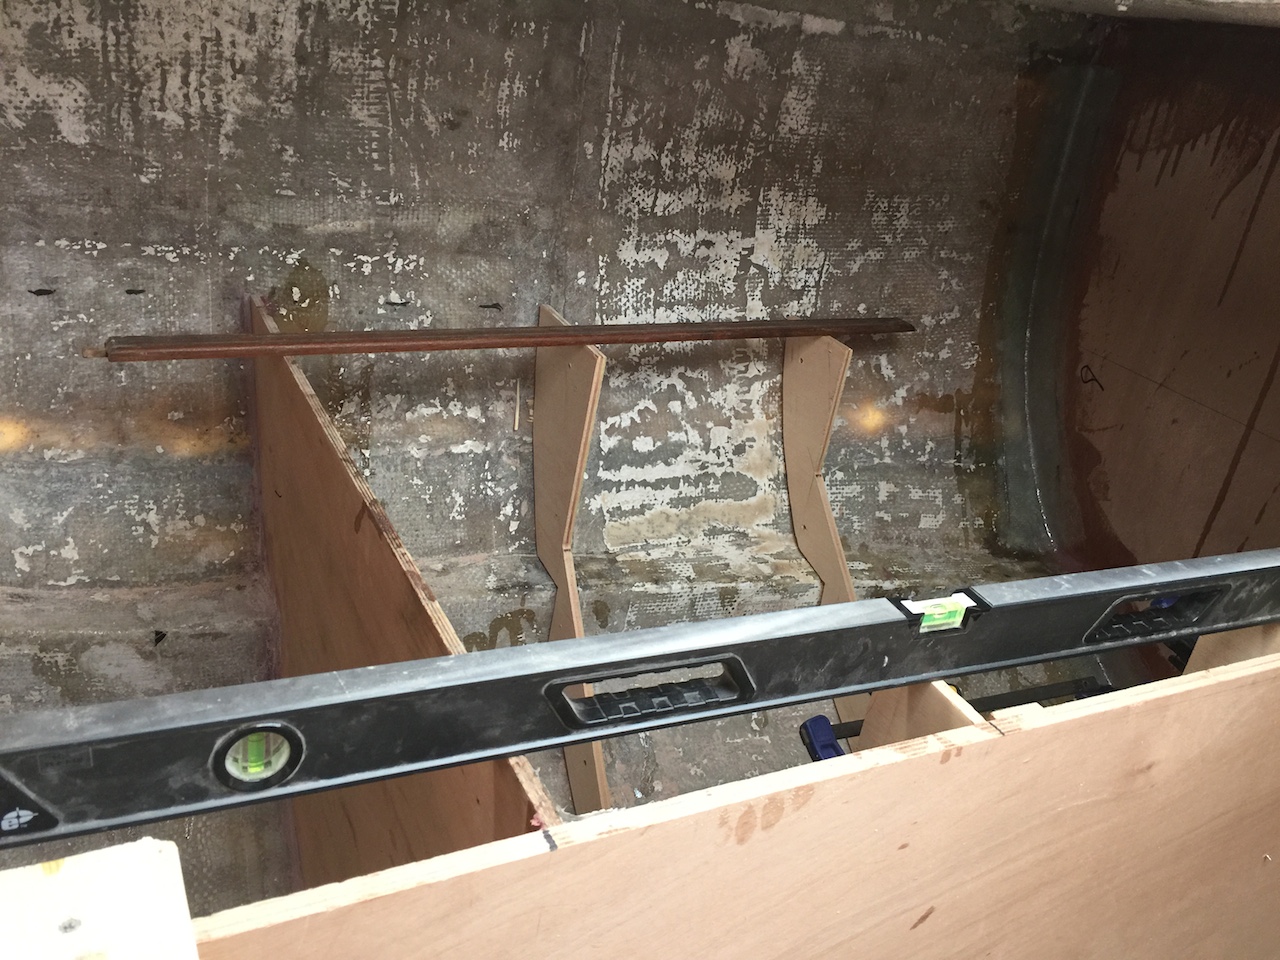
Before going on, I checked the port and starboard sides of the galley for symmetry. I also established the countertop level all around. A taut string used to establish the countertop level on the forward end of the galley. I used a level and tape measure to show that the countertop heights on the port and starboard sides are equal to within 1/4 inch.
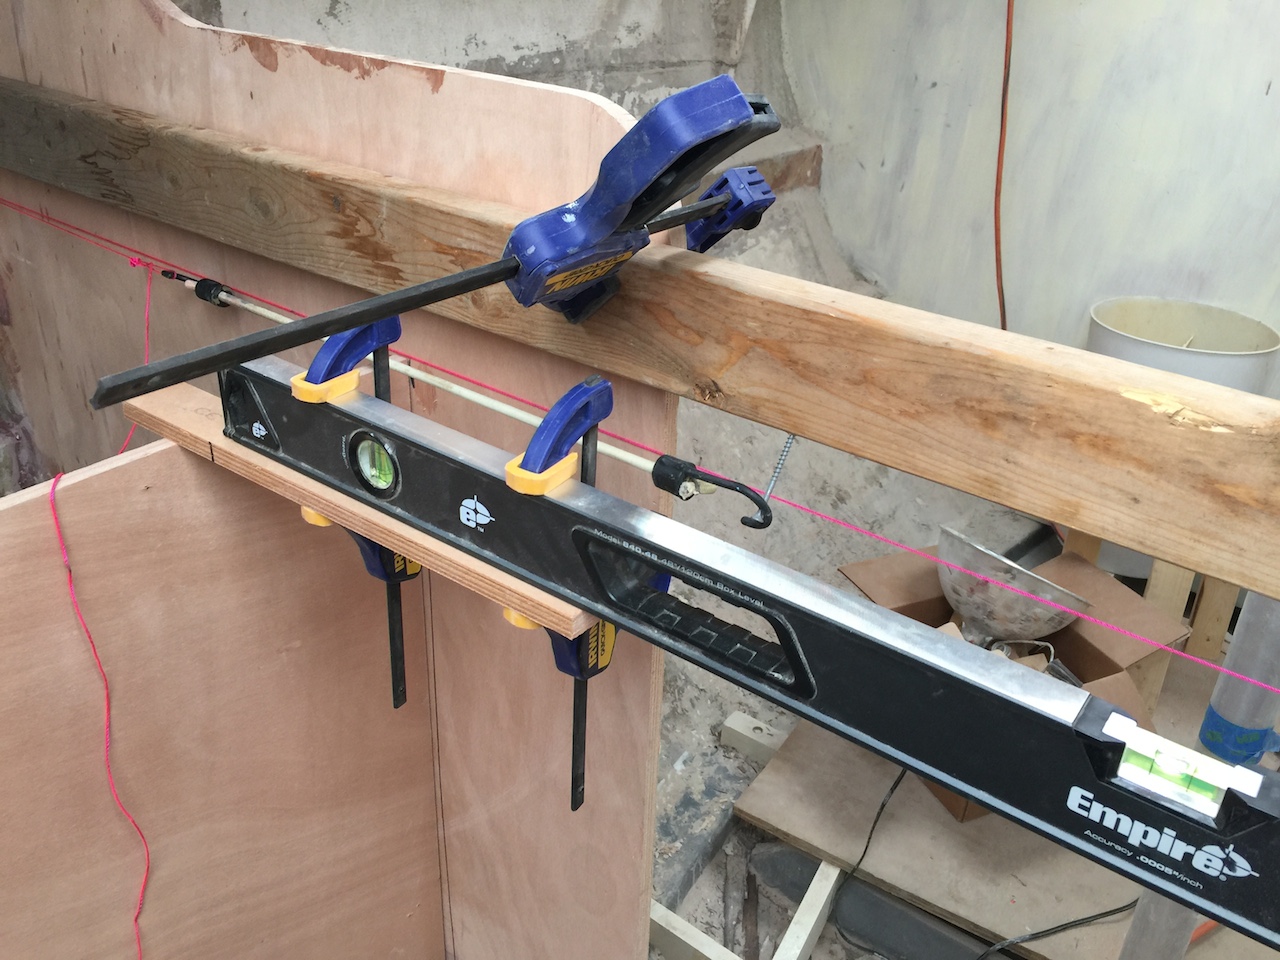
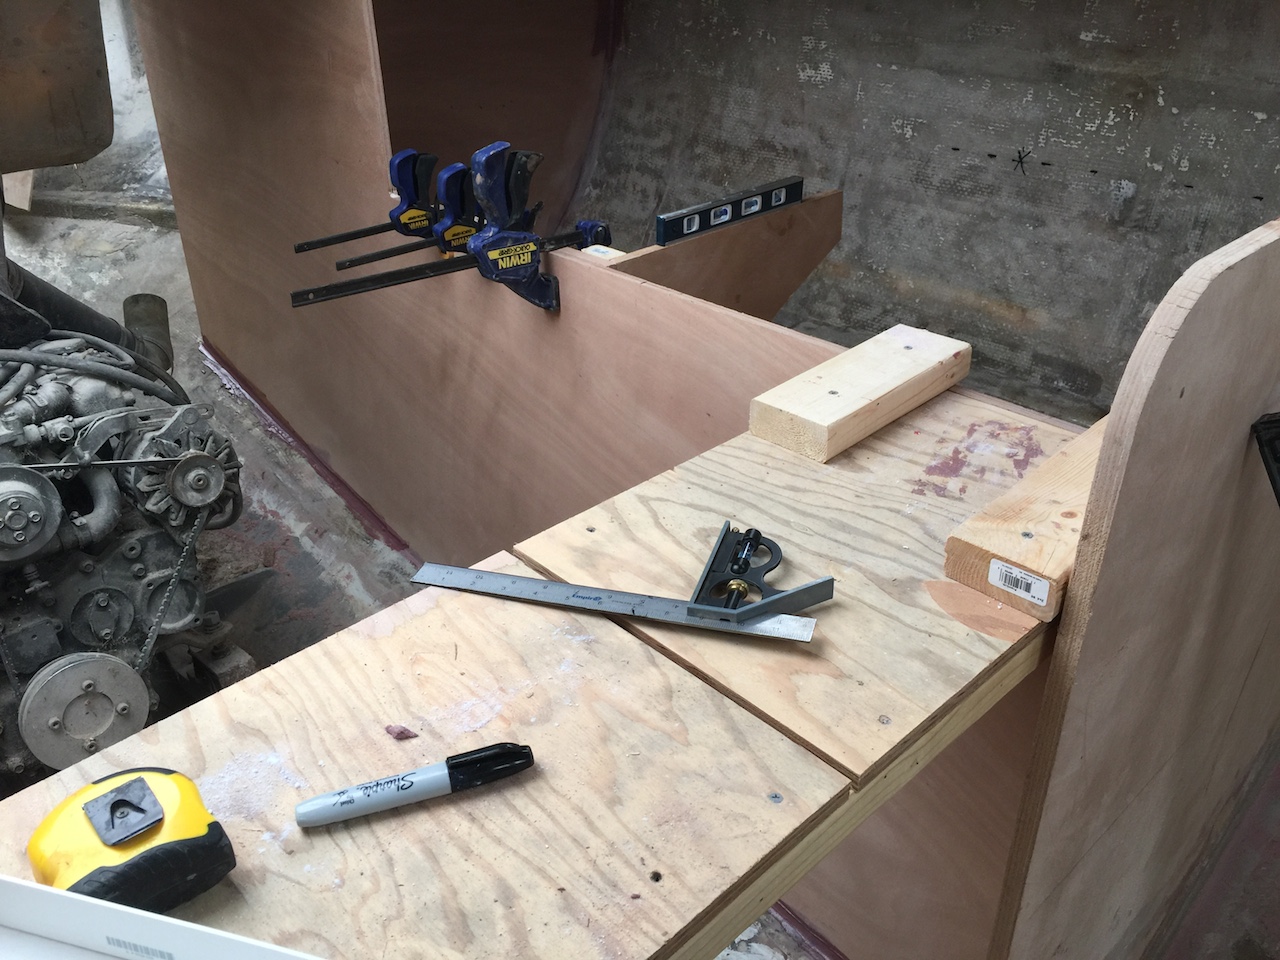
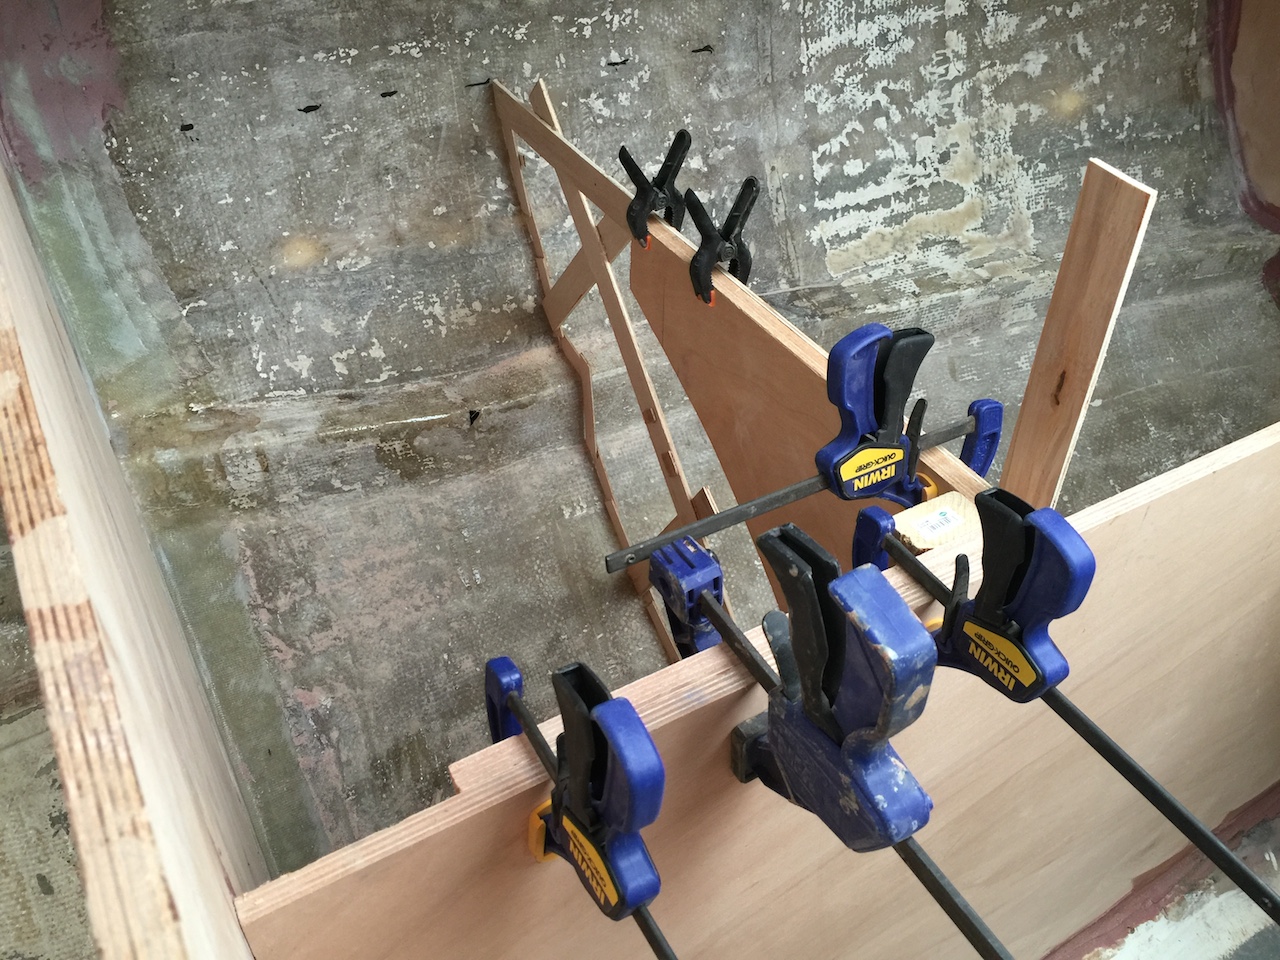
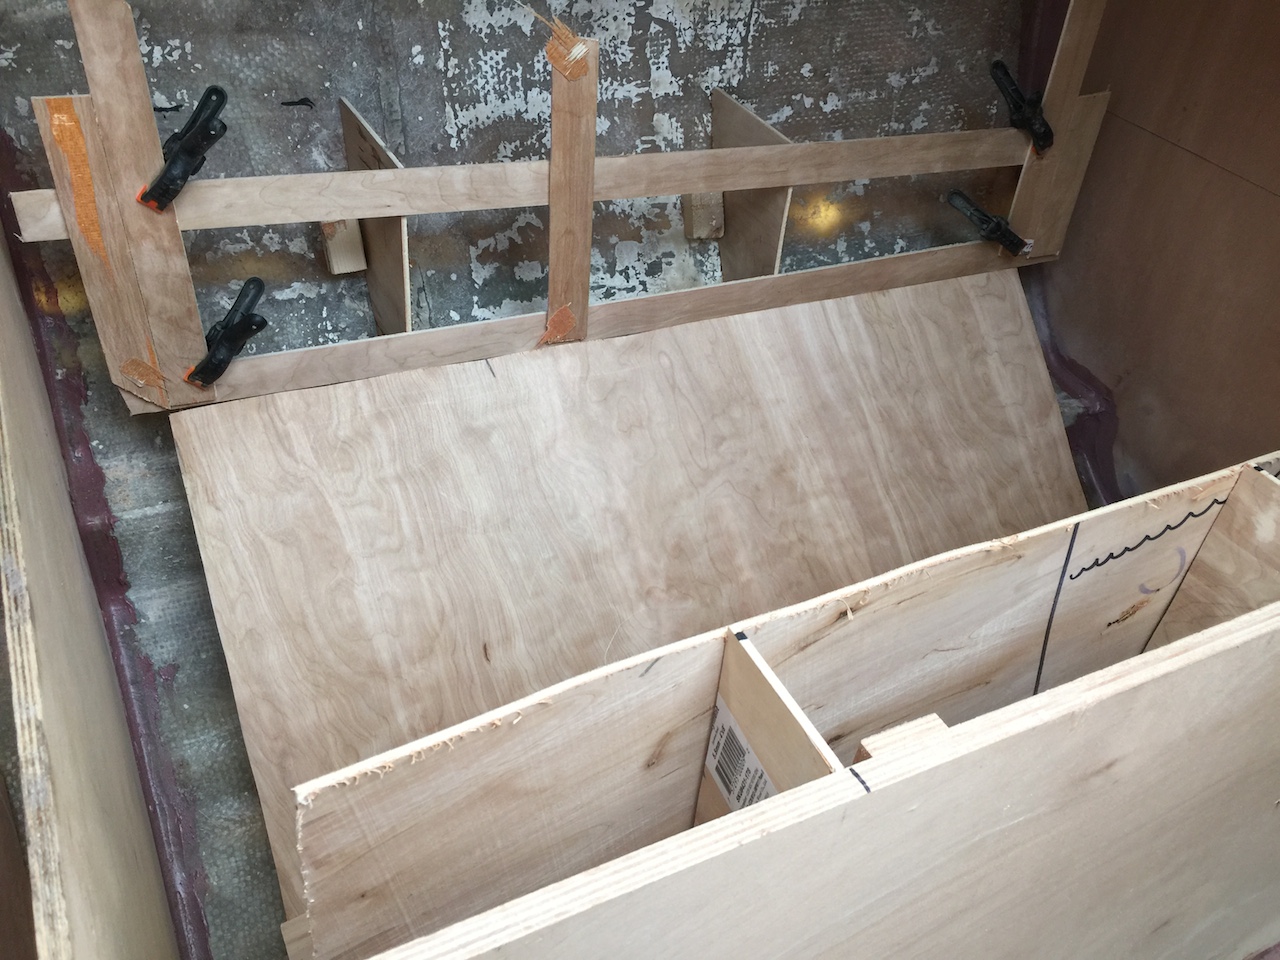
The jig in the following photo is clamped to an engine-flanking bulkhead and creates a straight, horizontal edge that can be used for a variety of tasks. (Note that I’ve slid the temporary shelf forward to make room for the clamping.)
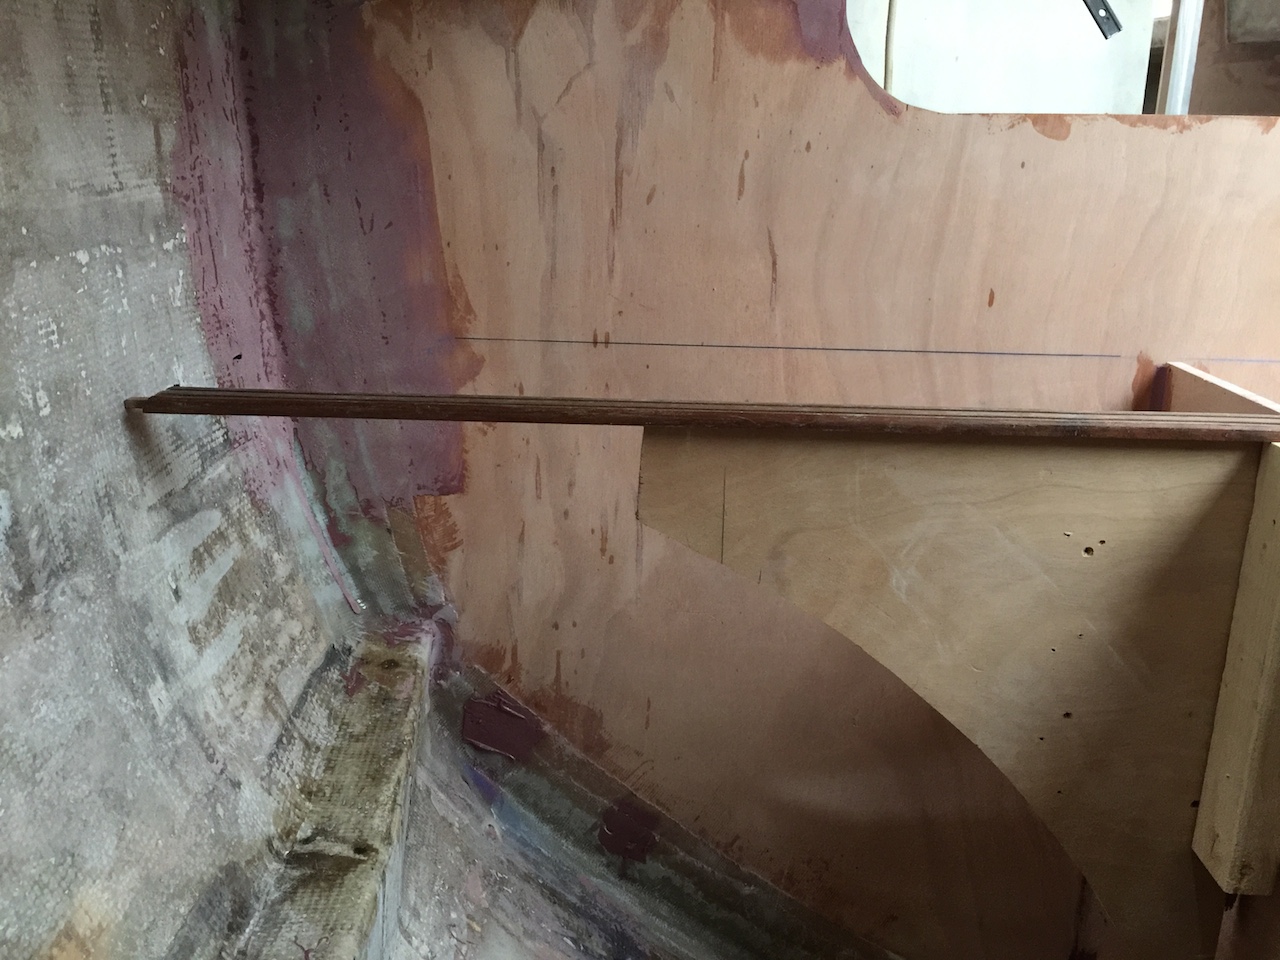
Here I’ve run a piece of straight teak along the horizontal edge and can now mark the countertop level on the hull.
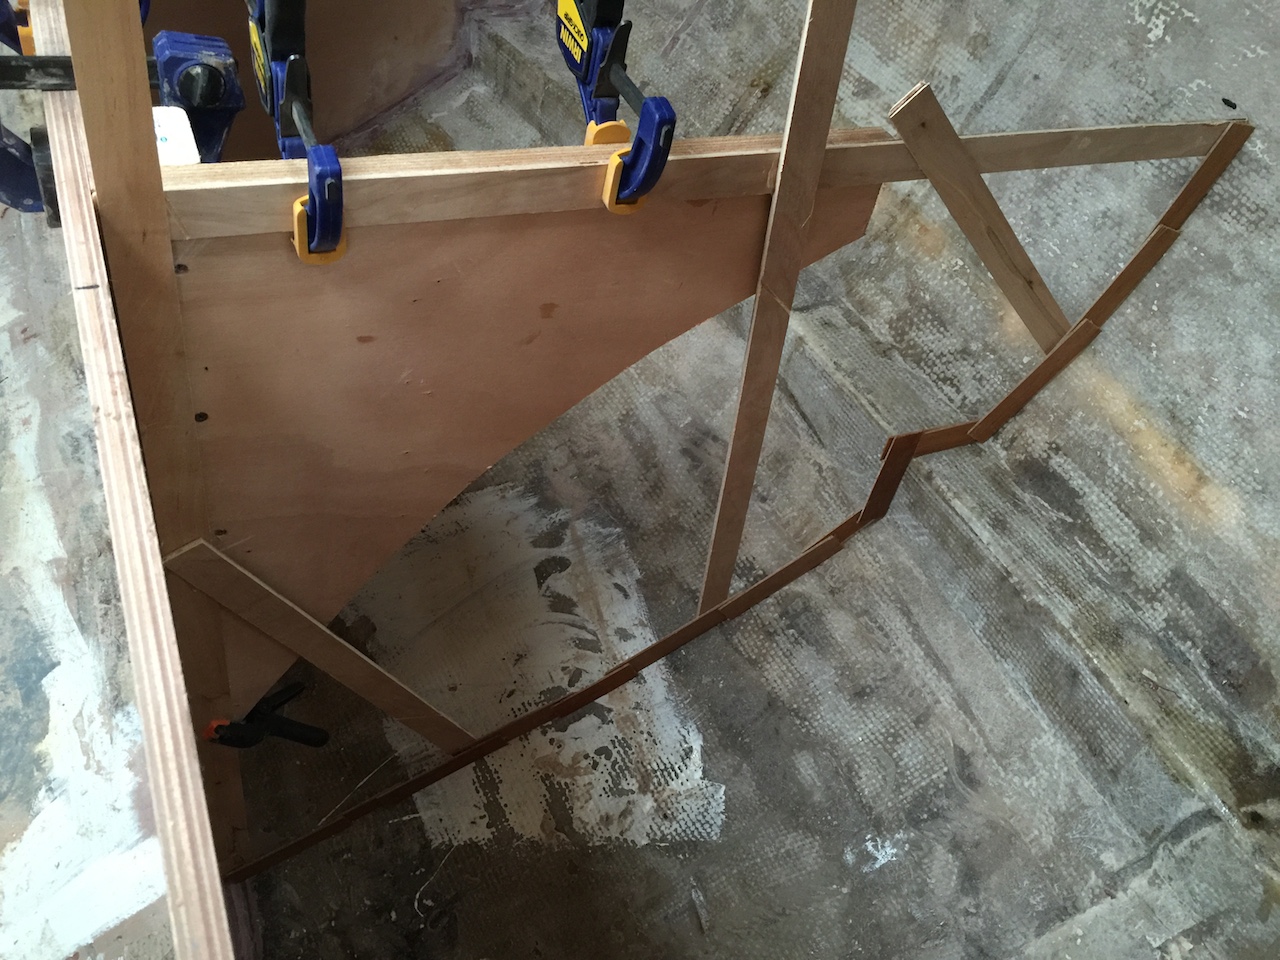
Next, I made two bulkheads–one that separates the under-stove space with the storage space just aft, and another that separates the under-sink space with the ice box. In the following photo I’m using the jig as a base for making a pattern for one of the bulkheads.
The pattern was transferred to scrap plywood to make a template.
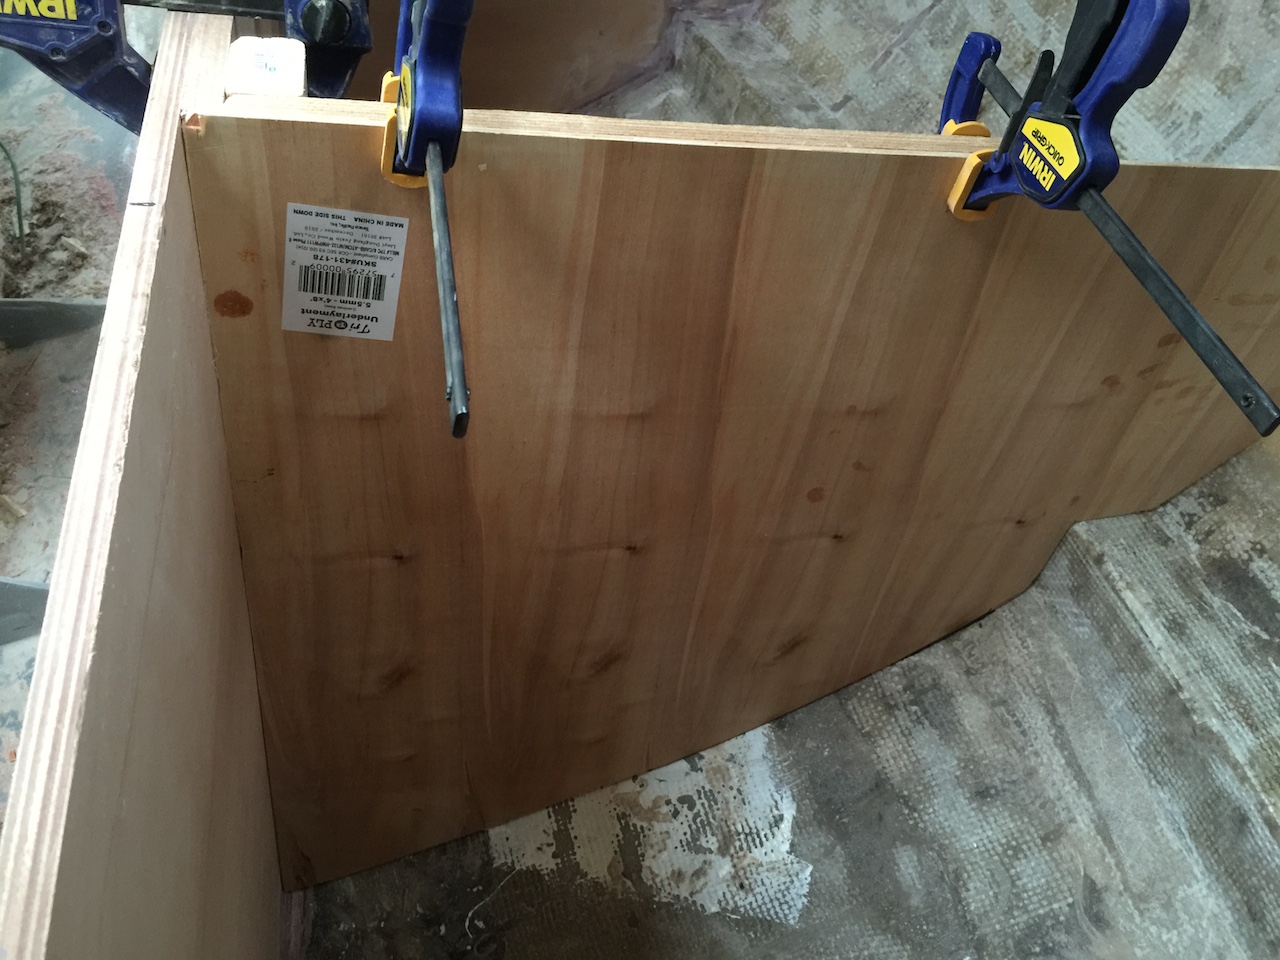
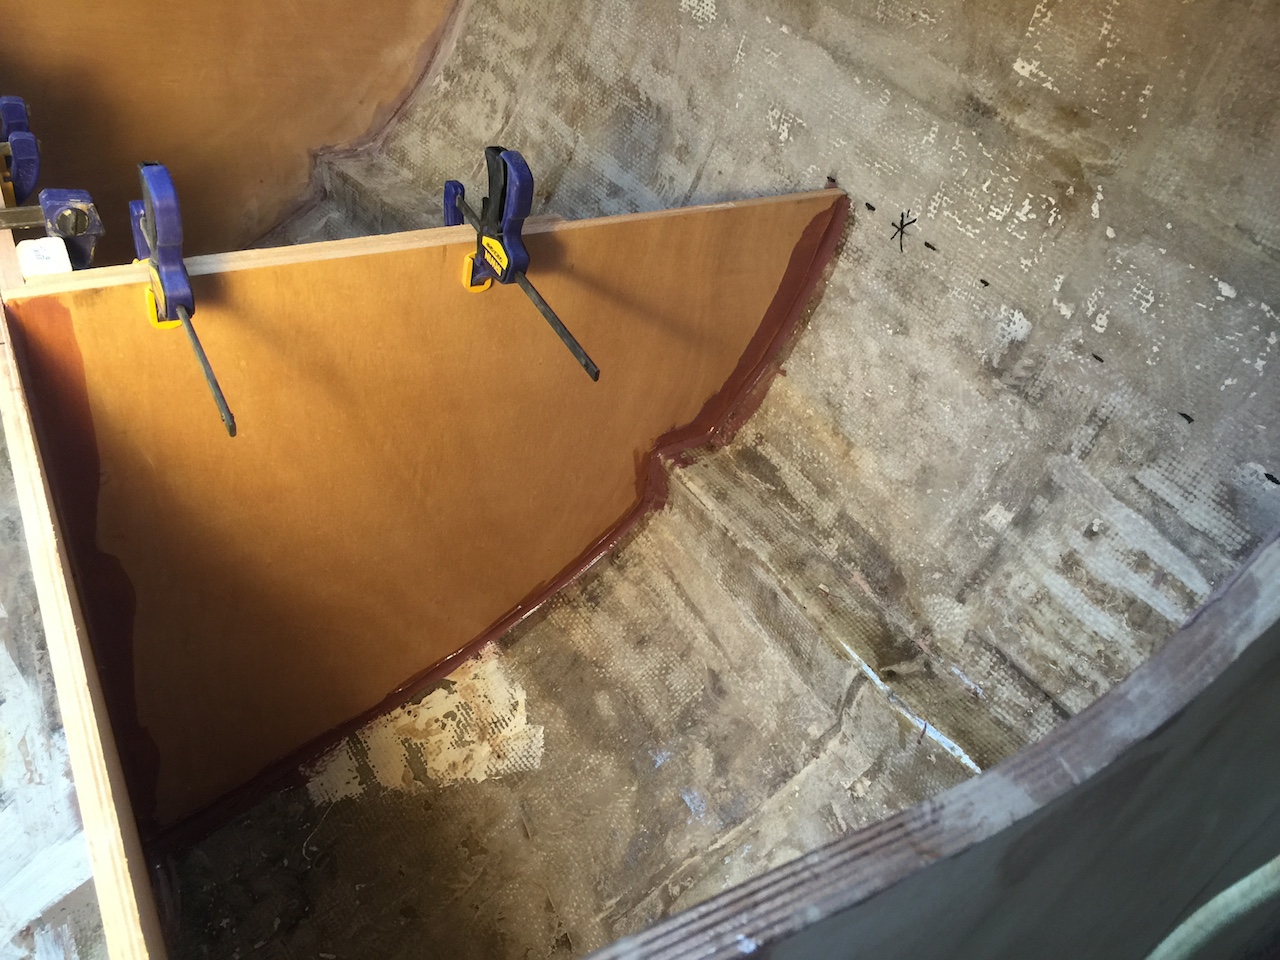
The template was used to trace out the pattern for the bulkhead and here you see that I’ve added a fillet of thickened epoxy along the hull.
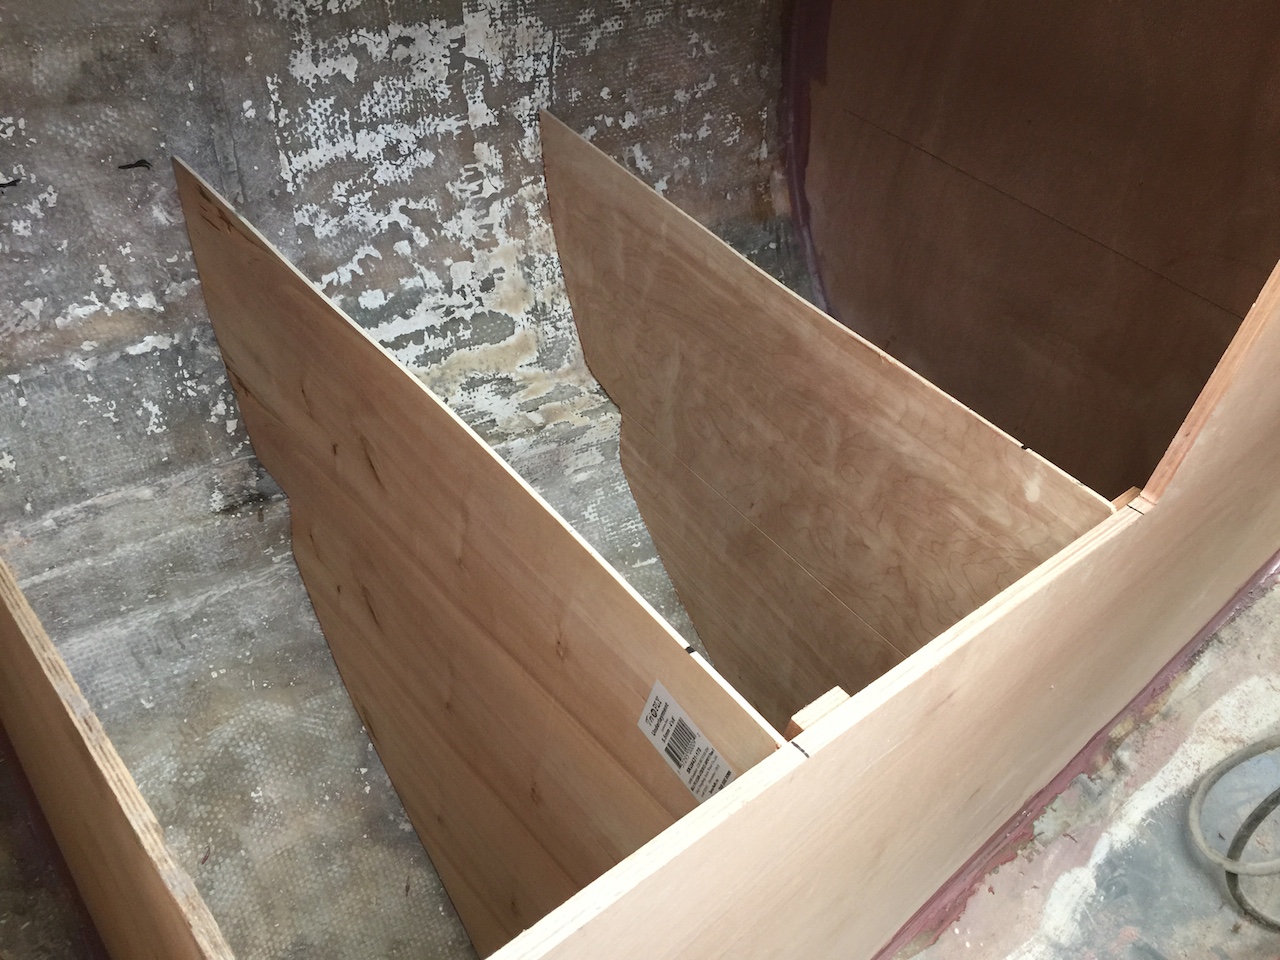
I created the bulkhead on the starboard side in the same way, and the next photo shows some of that work.

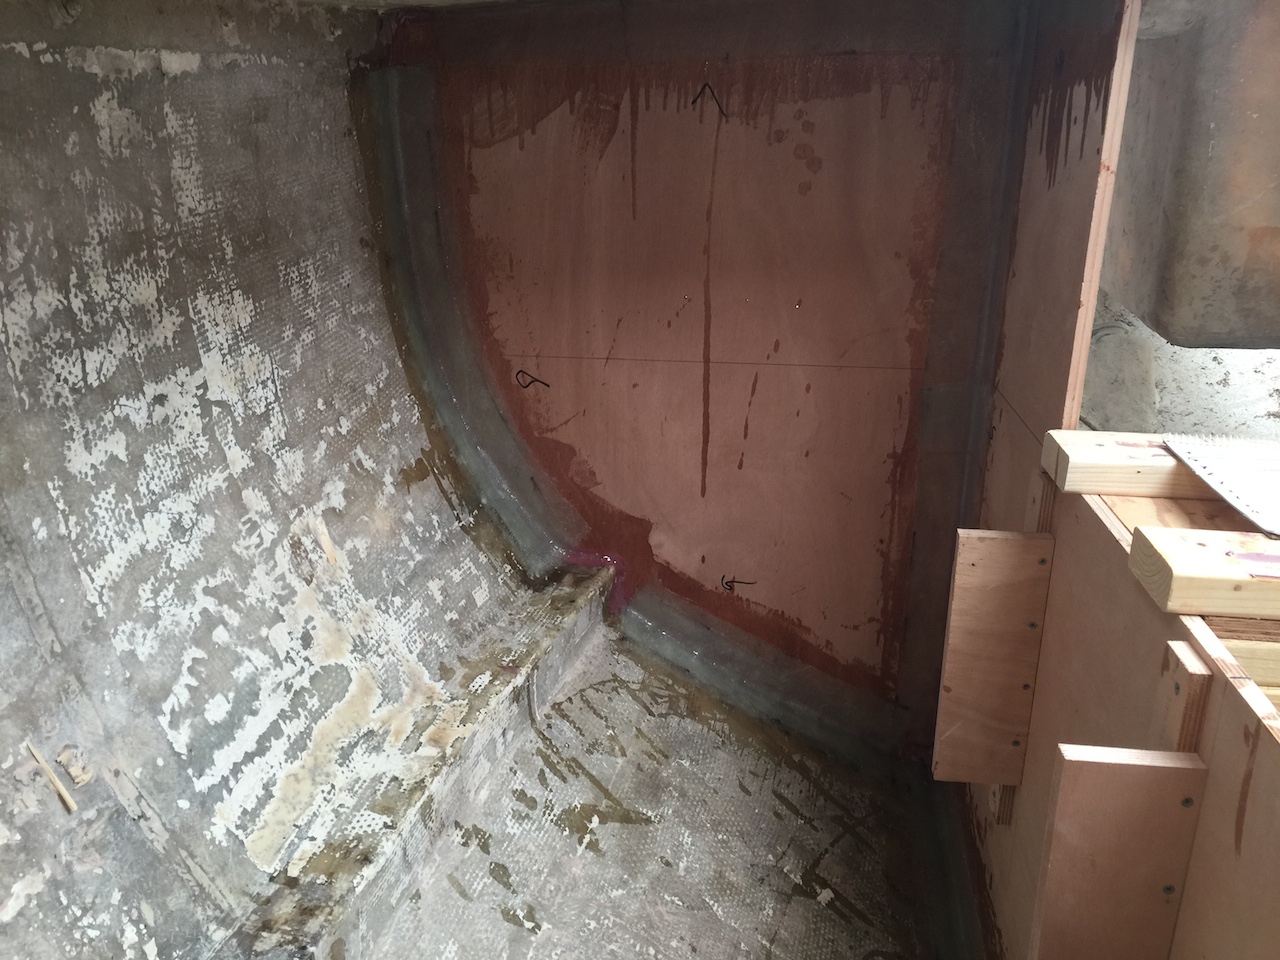
I tabbed everything in the icebox area before starting work on the icebox. The laminating schedule here was two layers (5″ and 3″) where wood meets hull and one layer (5″) where wood meets wood. The photo below shows some of the completed tabbing.
Next, I made patterns for the two plywood icebox supports.
The patterns were transferred to mock-up plywood, and you can see the two templates below.
I removed the templates, then cut out the outline of the icebox, and test fitted the bottom panel.
Patterns and templates were made for the sides, but the fore and aft sides will be patterned once the sides are installed.
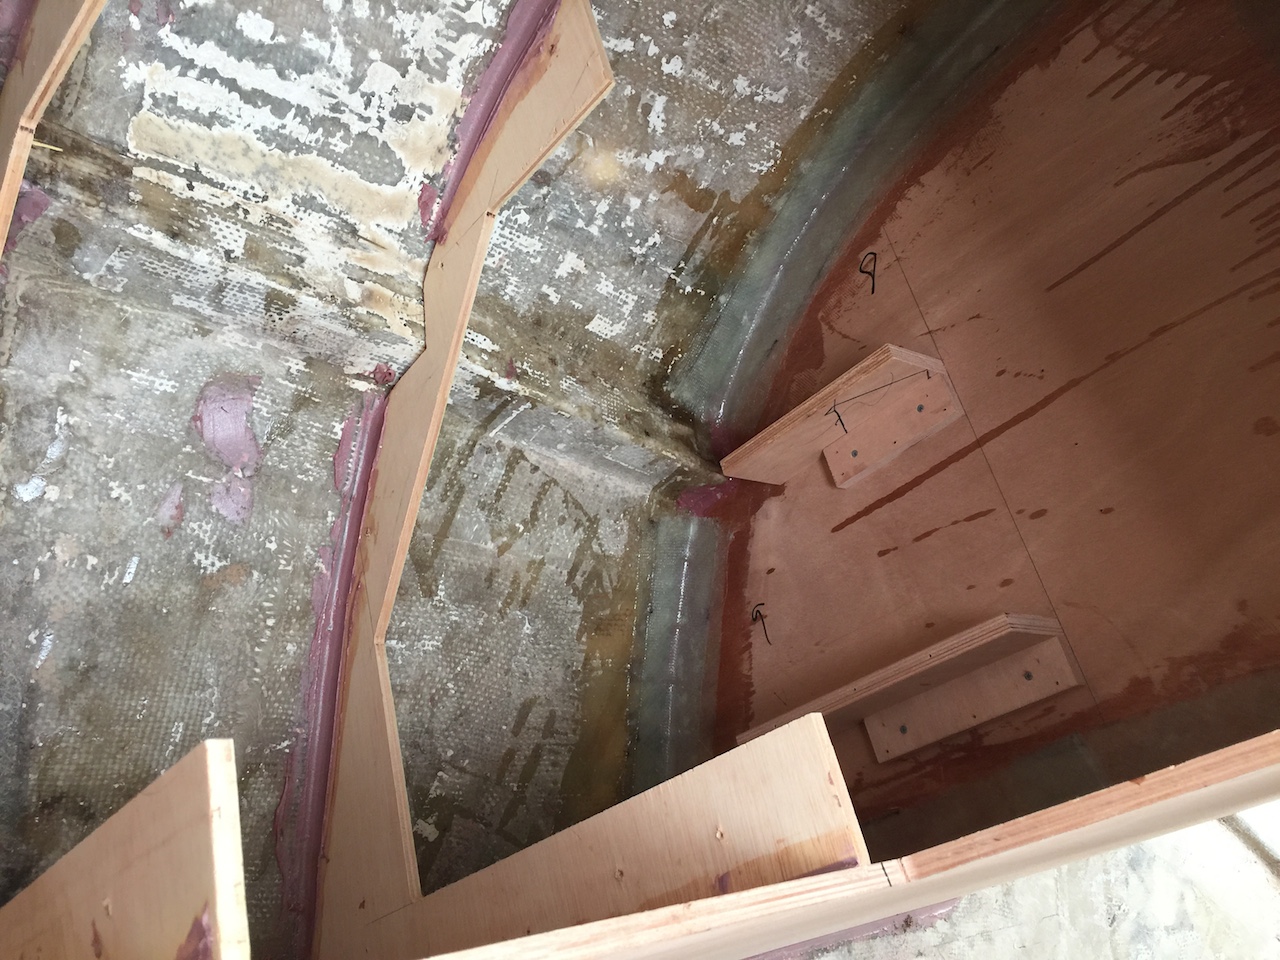
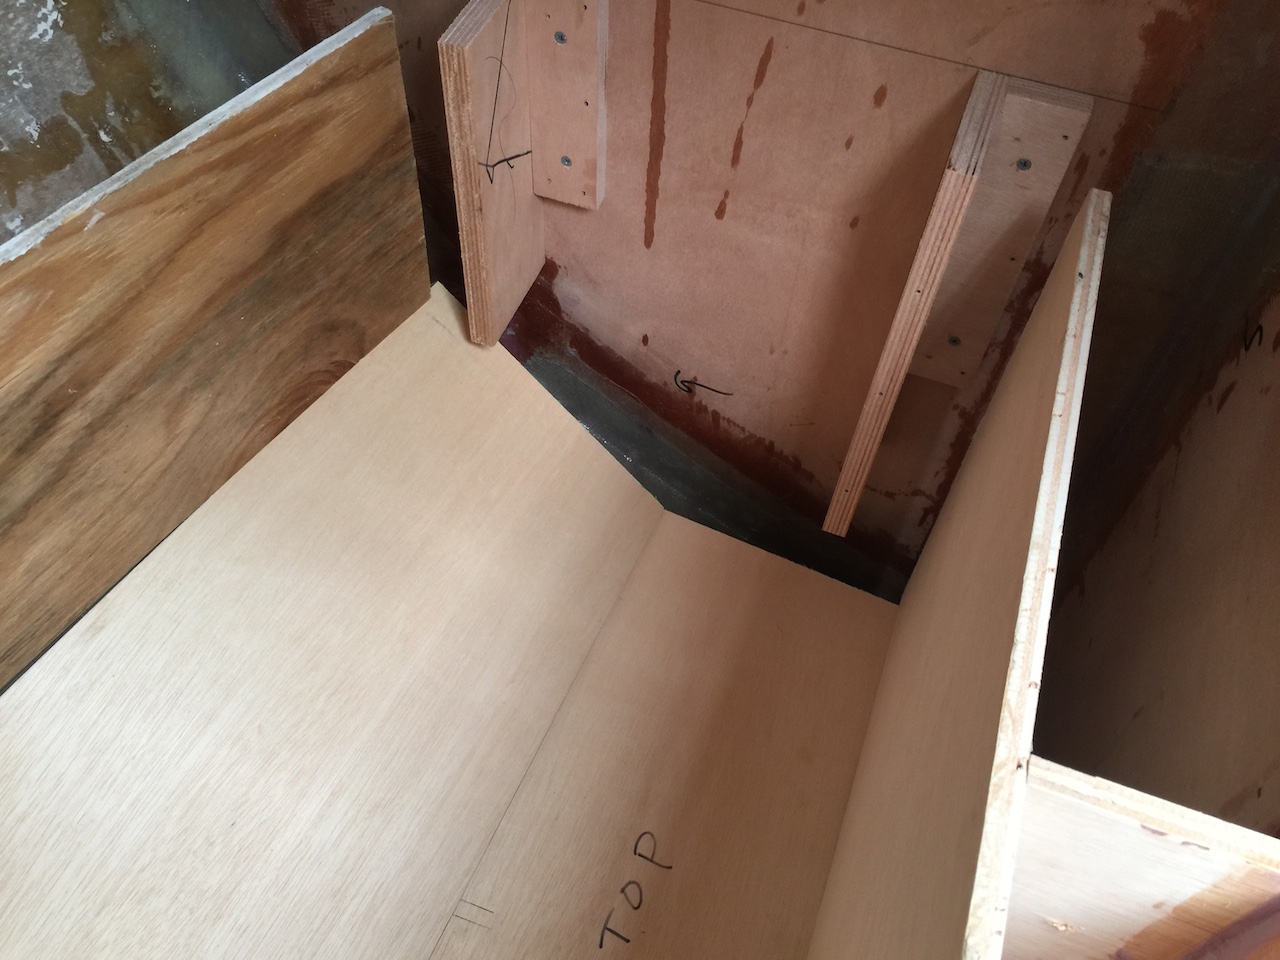
I used the templates for the supports to cut out supports from 1/2-inch non-marine plywood. Here you can see that I’ve laid straight-edges along bulkhead and the tops of the supports to check that the tops of the supports are at countertop level.
I created a fillet of thickened epoxy along the edges, and made plywood blocks for supports of the fore and aft ends of the icebox.
I used plywood scraps to create final templates for the icebox sides, which will be cut from 1/2-inch Okume.
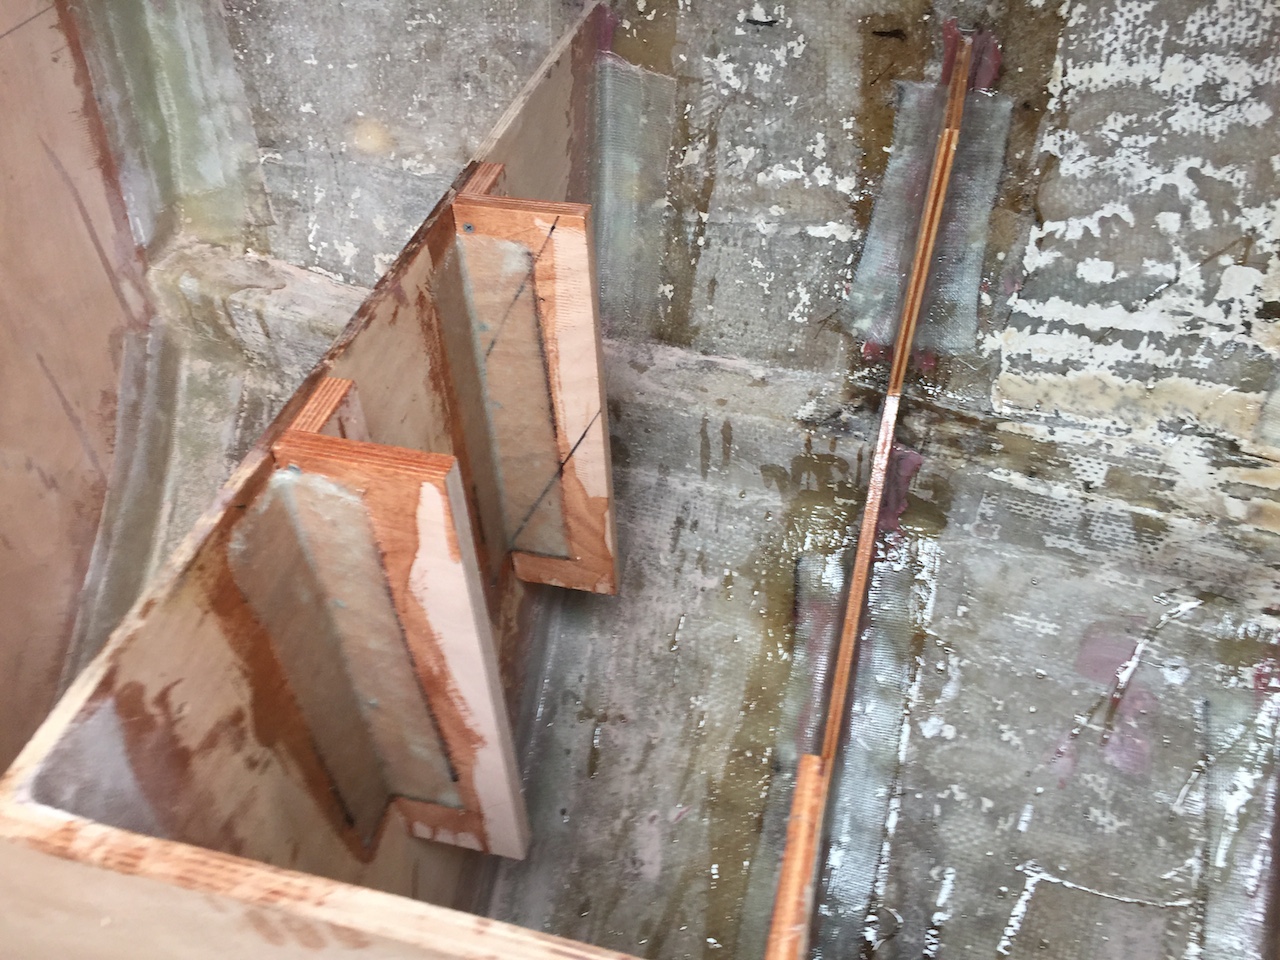
Next, the supports were tabbed in place with one layer of 5-inch wide biaxial cloth. The glass must be wet out and applied properly, but neatness in this area does not count. The icebox will be insulated with two-part polyurethane pour-in foam, which will completely fill the spaces around the box. The thickness of the insulation will be 4 inches or more everywhere.
The icebox project is a long, complex job with many steps. I’m probably only about 20% done at this point. This week I will cut the sides from marine plywood and glass one side in preparation for sanding and painting. Side jobs will include sanding fillets in other areas and beginning the glassing of the the through-hull holes.