6/5/16: Aft Hatch, Icebox, V-berth Bulkhead
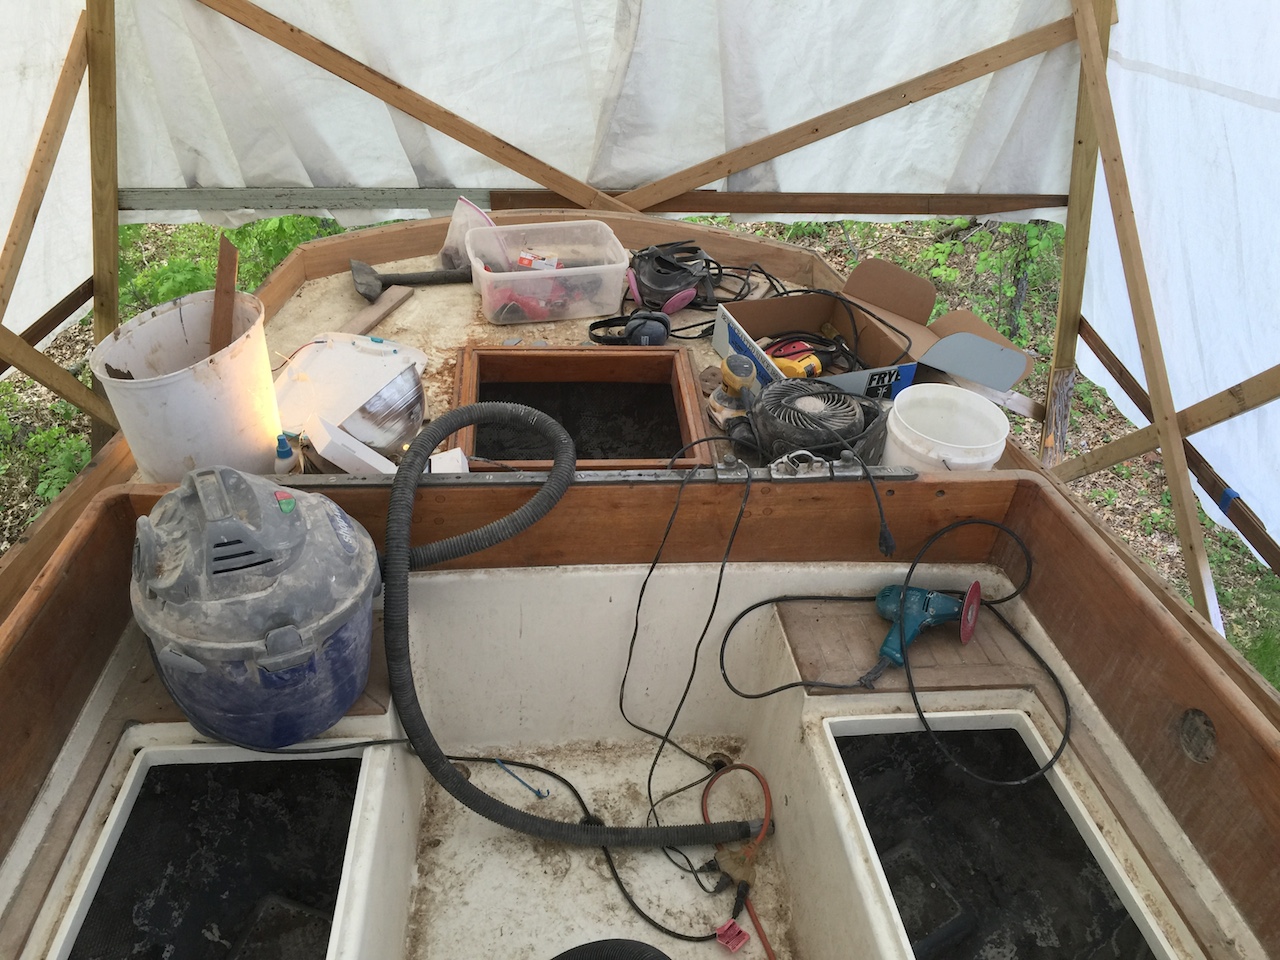
AFT COMPARTMENT
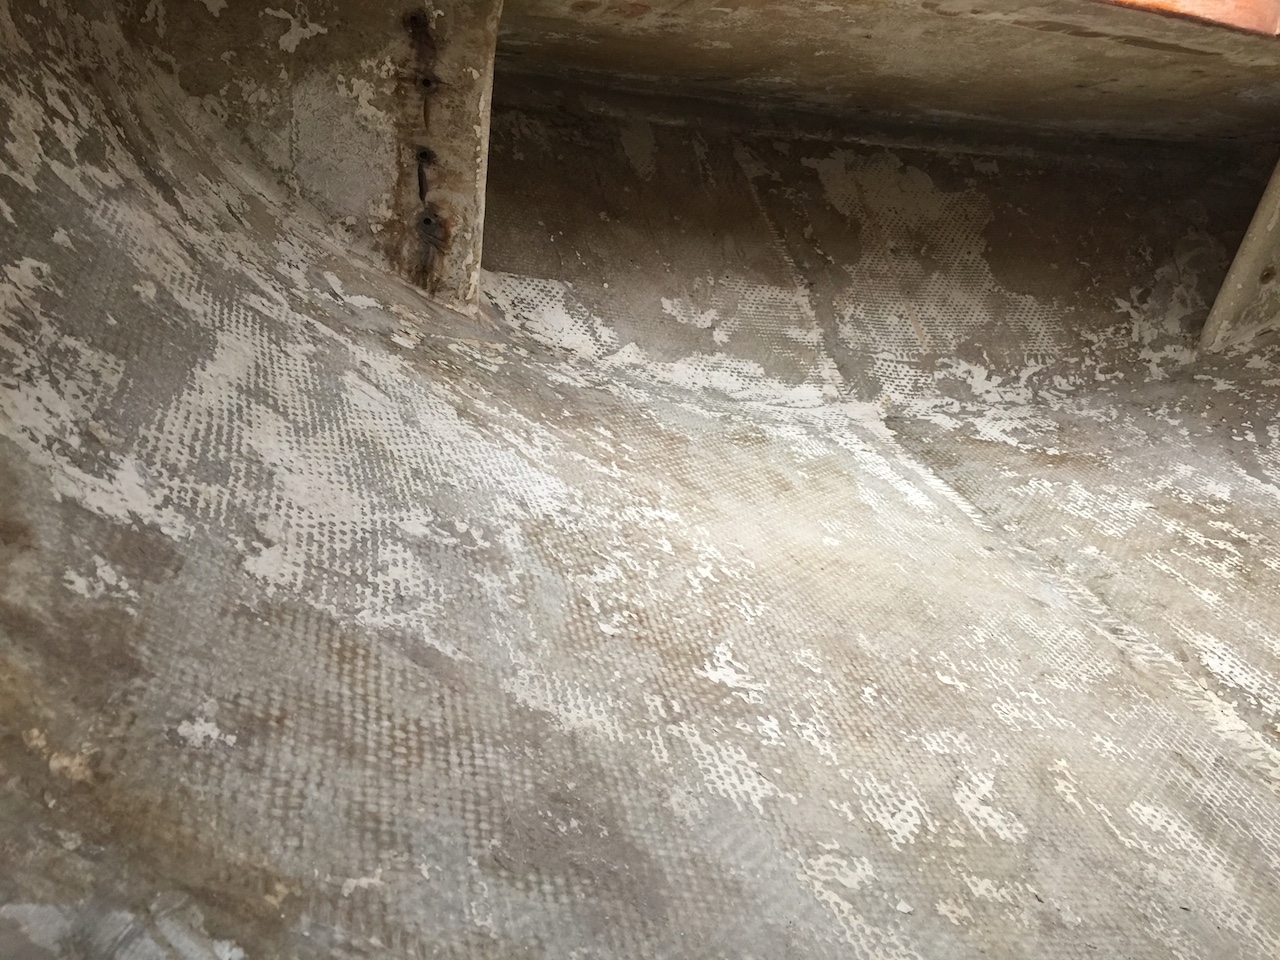
A few cool days inspired me to poke around in the small space under the aft deck. There is a bulkhead under the mizzen step, which sits just forward of the aft hatch.
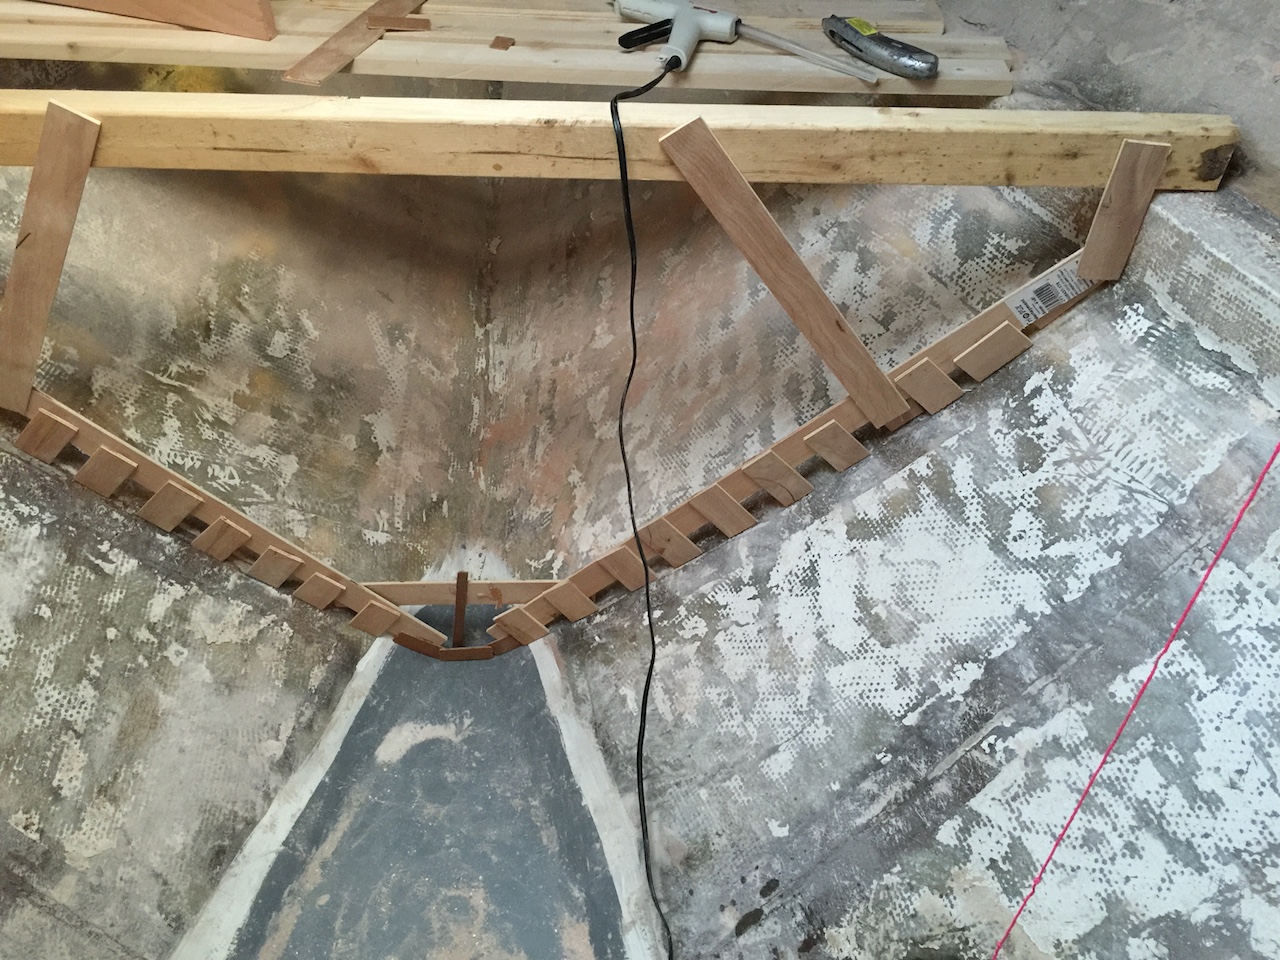
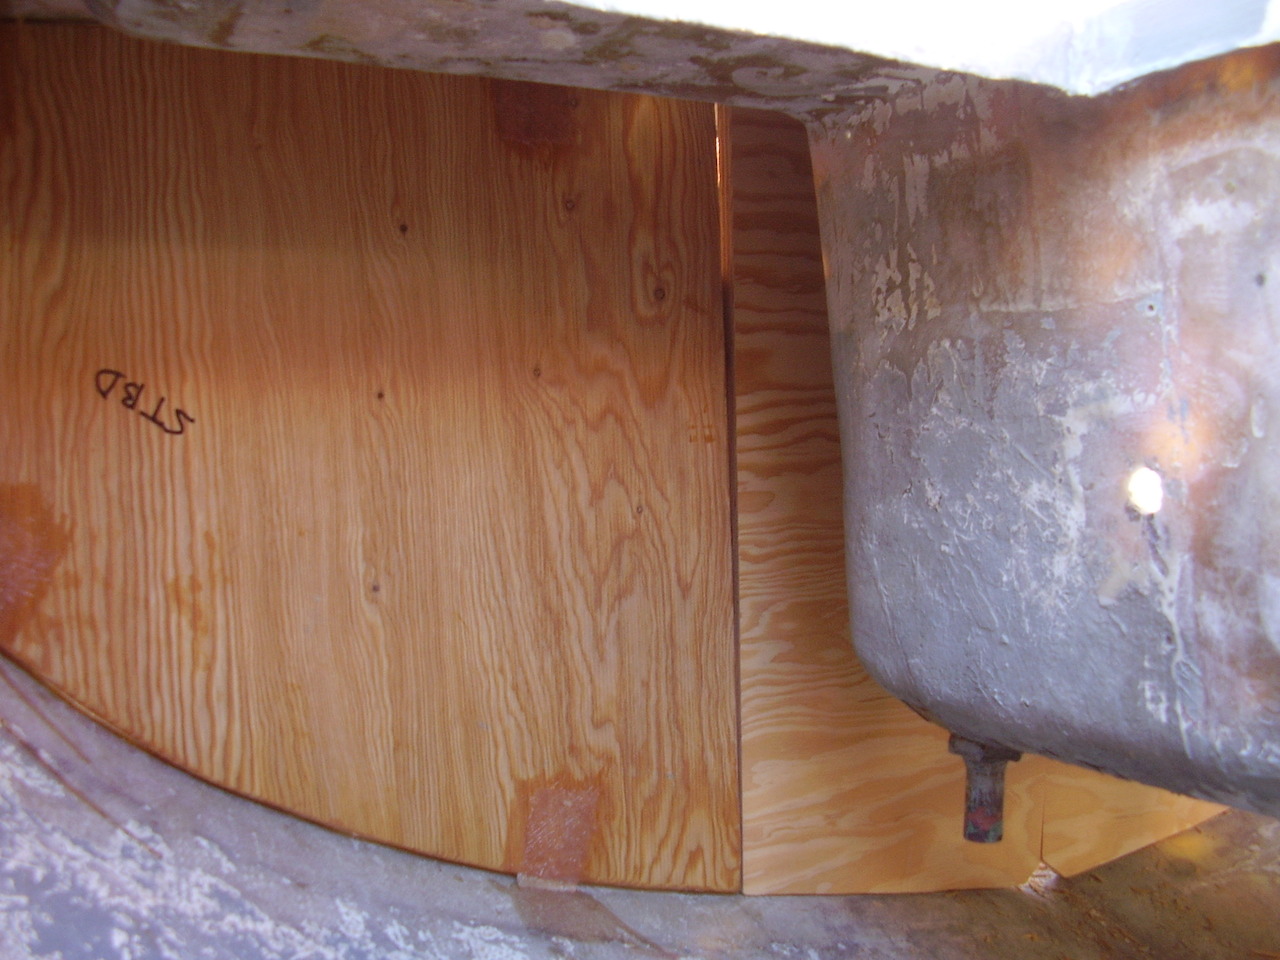
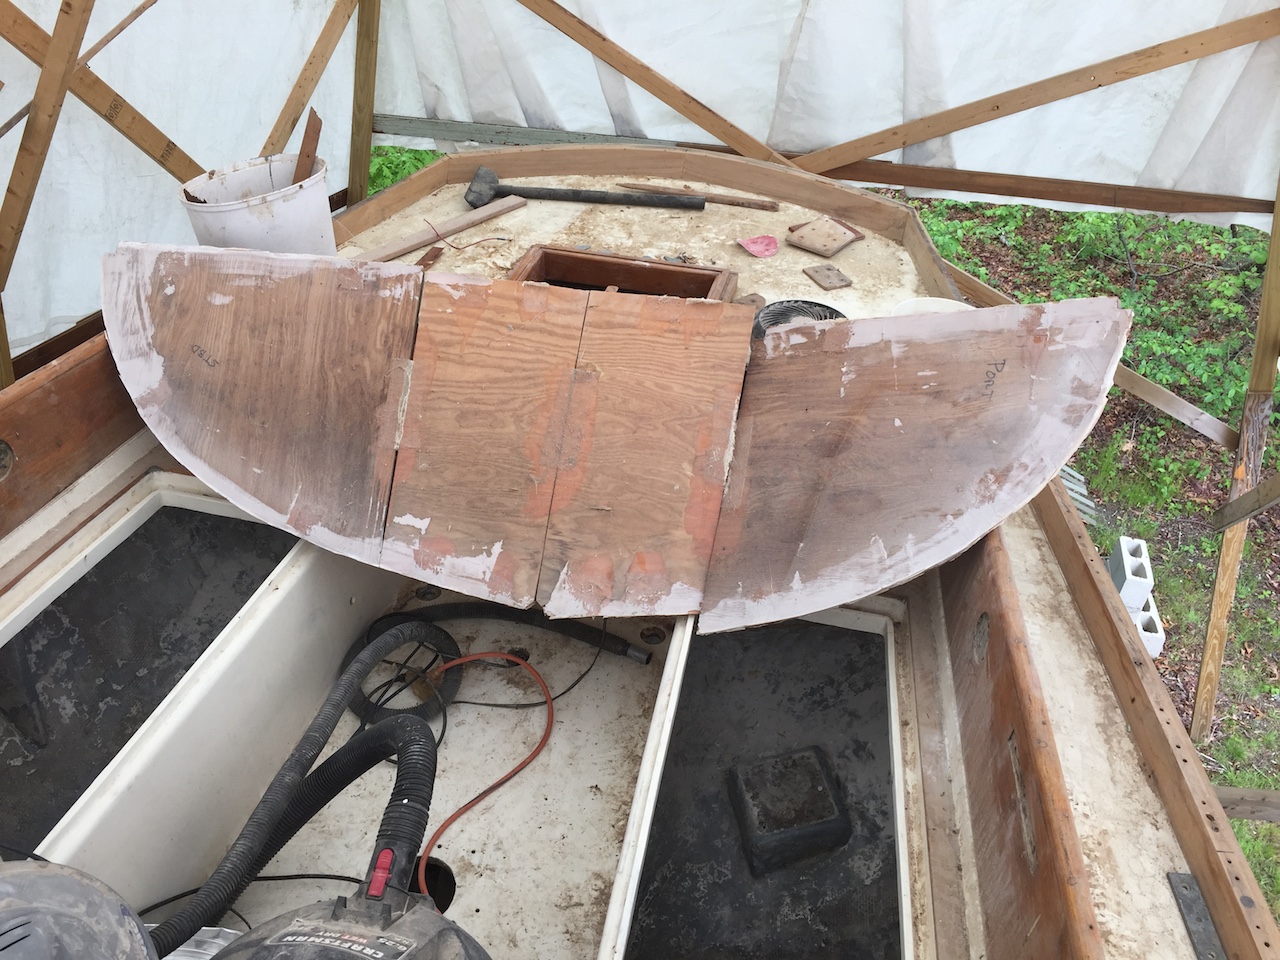
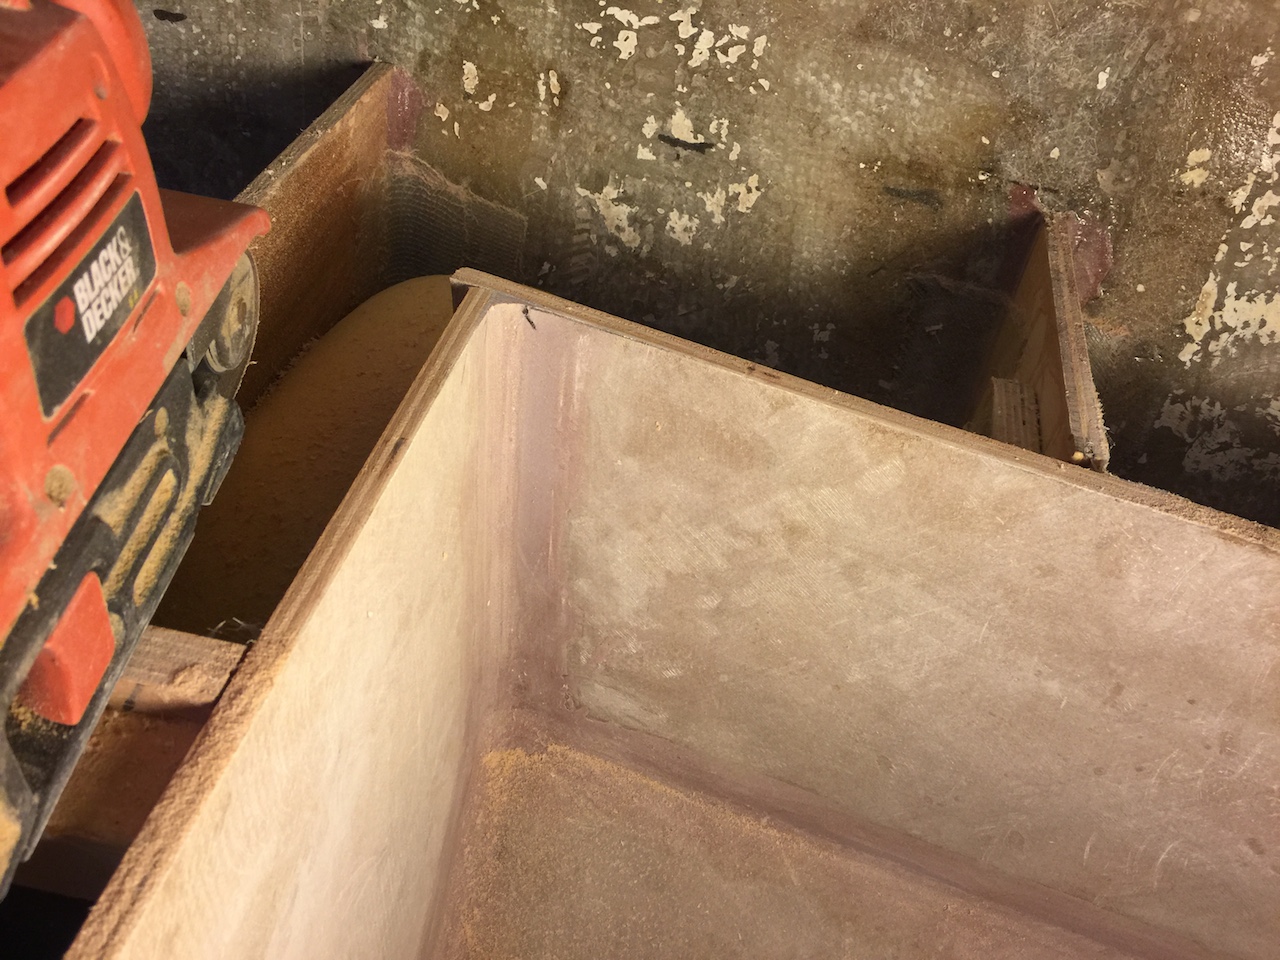
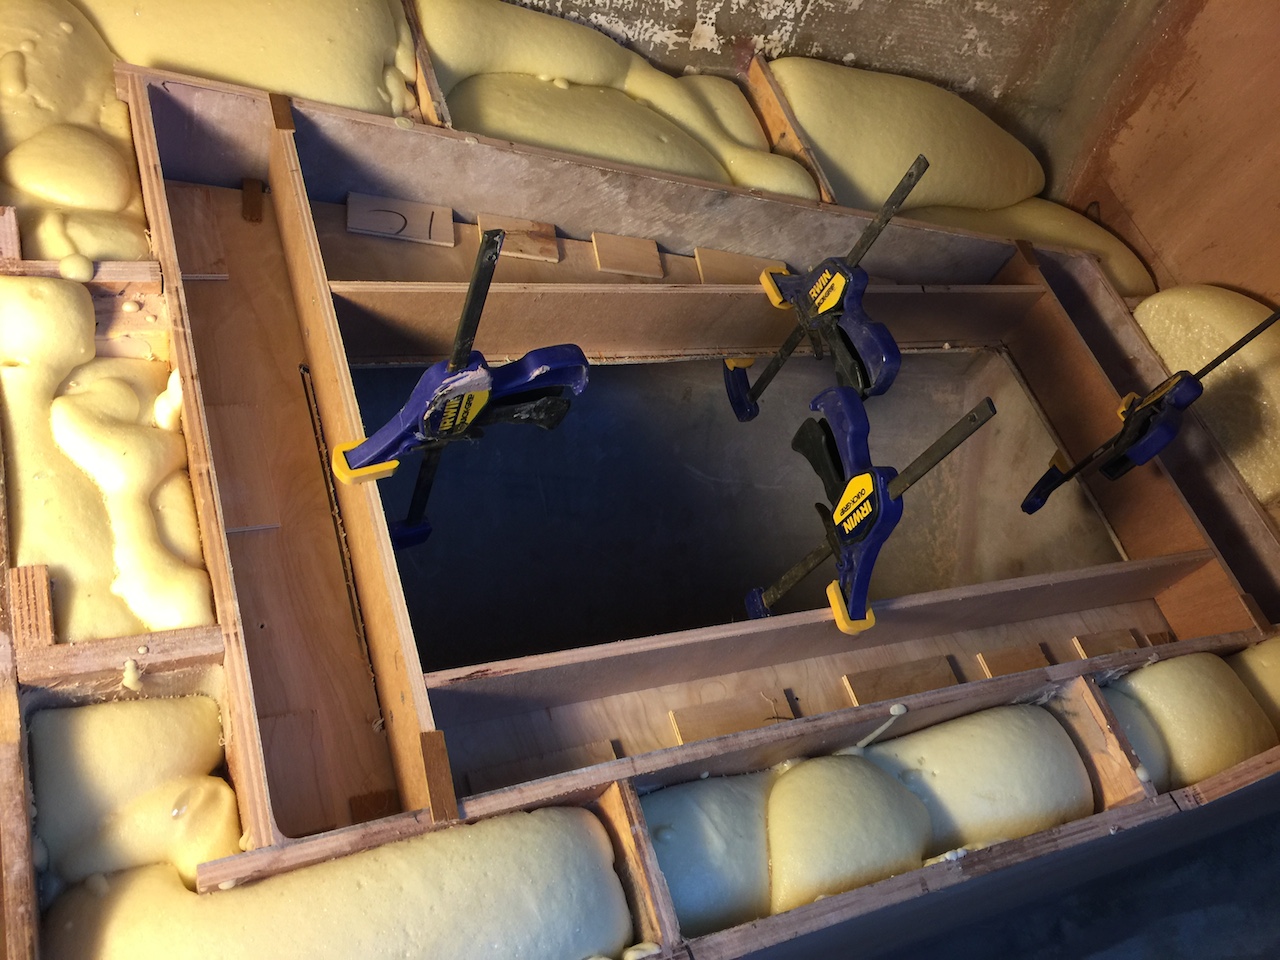
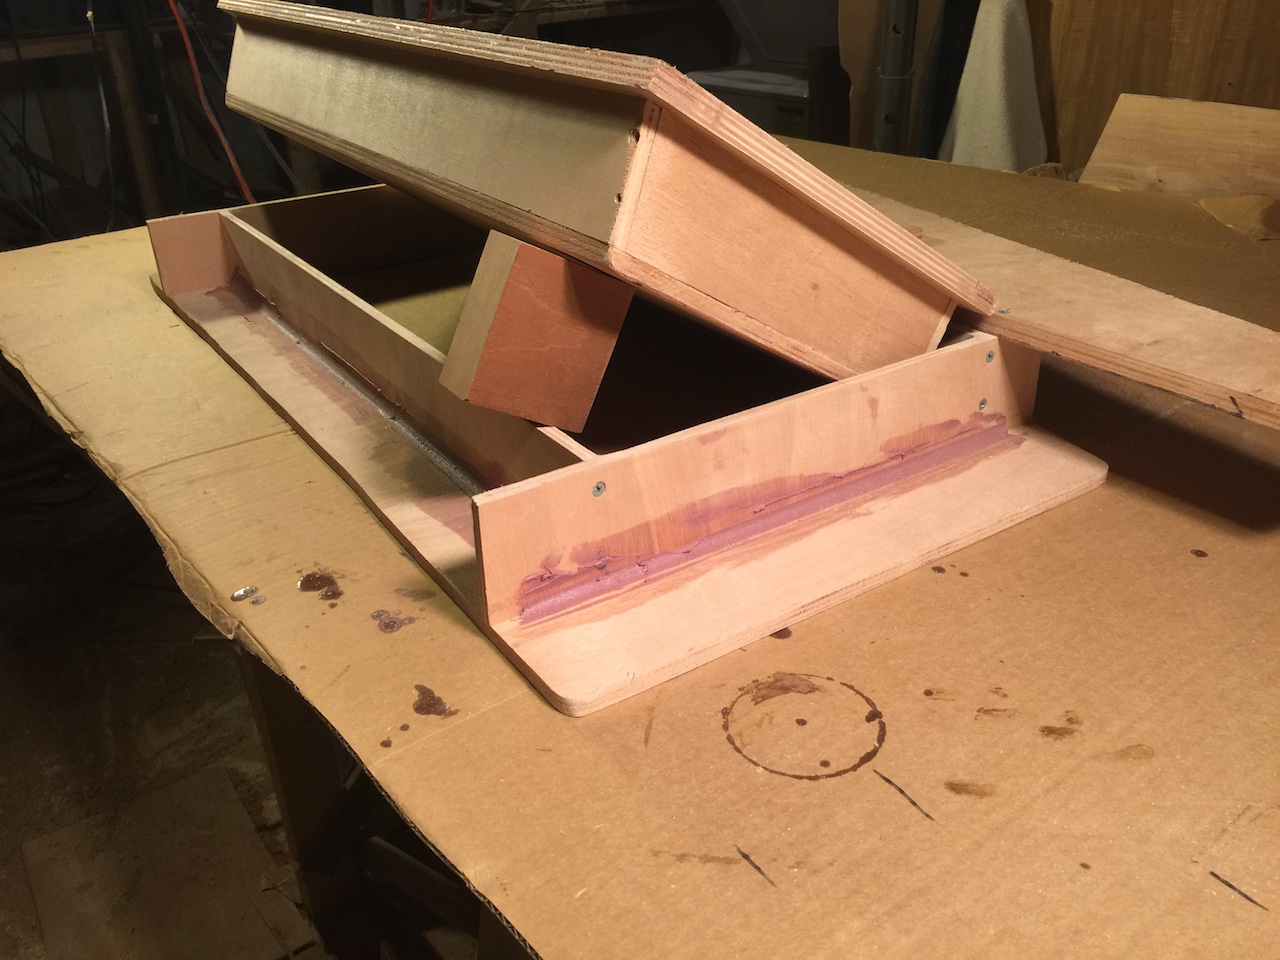
The original bulkhead was made of just 3/8-inch plywood and was badly warped under the mizzen step. In 2008, while I was re-coring the aft deck, I cut out the warped part of the bulkhead and installed a strong compression post under the mizzen step. In 2010, shortly after the current project began, I removed the original bulkhead and began installation of a new bulkhead, which you can see in the photo below. At the time, the rudder was still installed and the location of the rudder post forced me to install this bulkhead in four pieces. The rudder is out, so there is an opportunity now to make a new bulkhead in fewer than four pieces.
OLYMPUS DIGITAL CAMERA
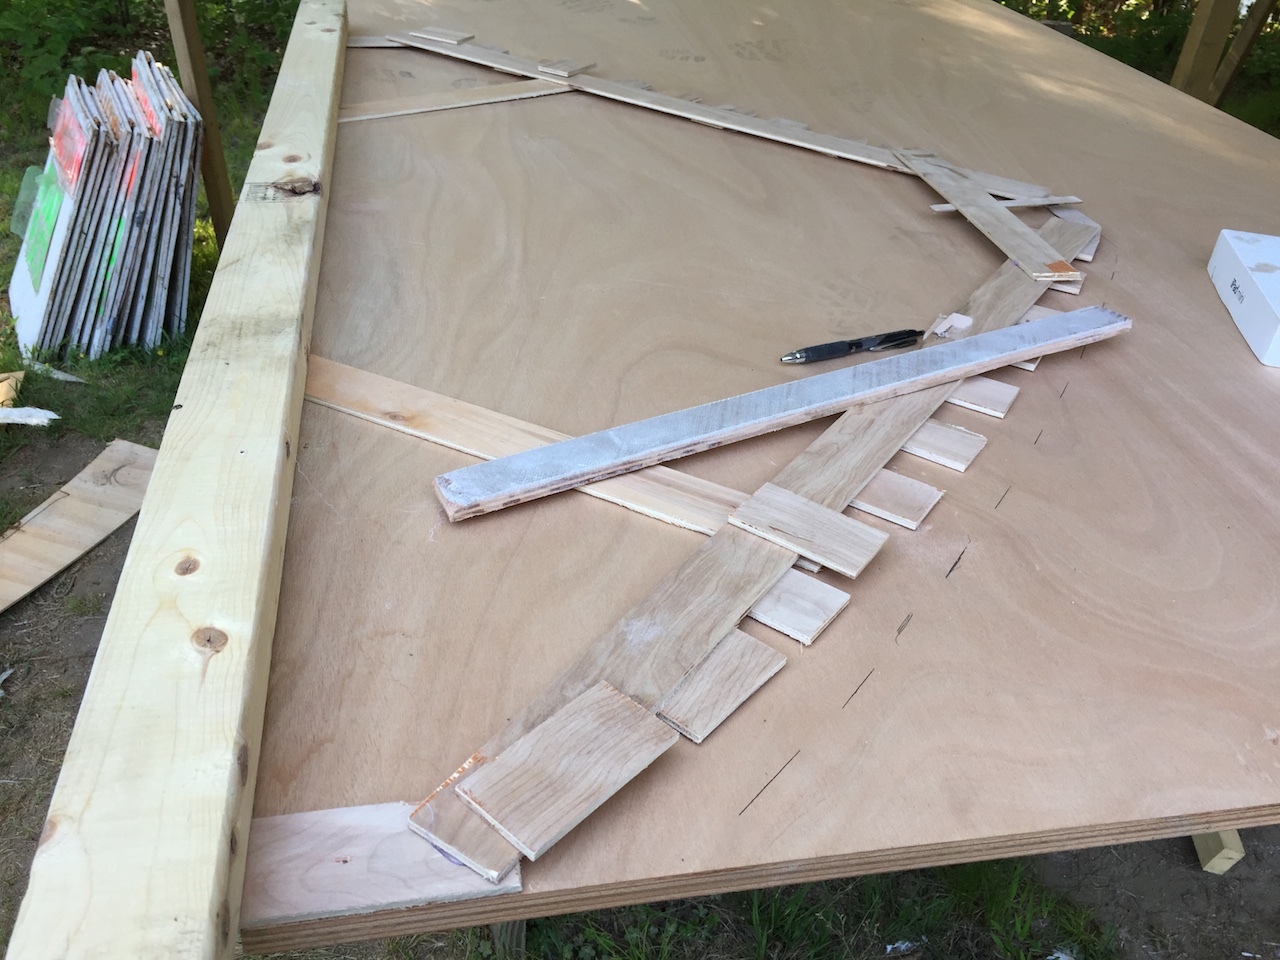
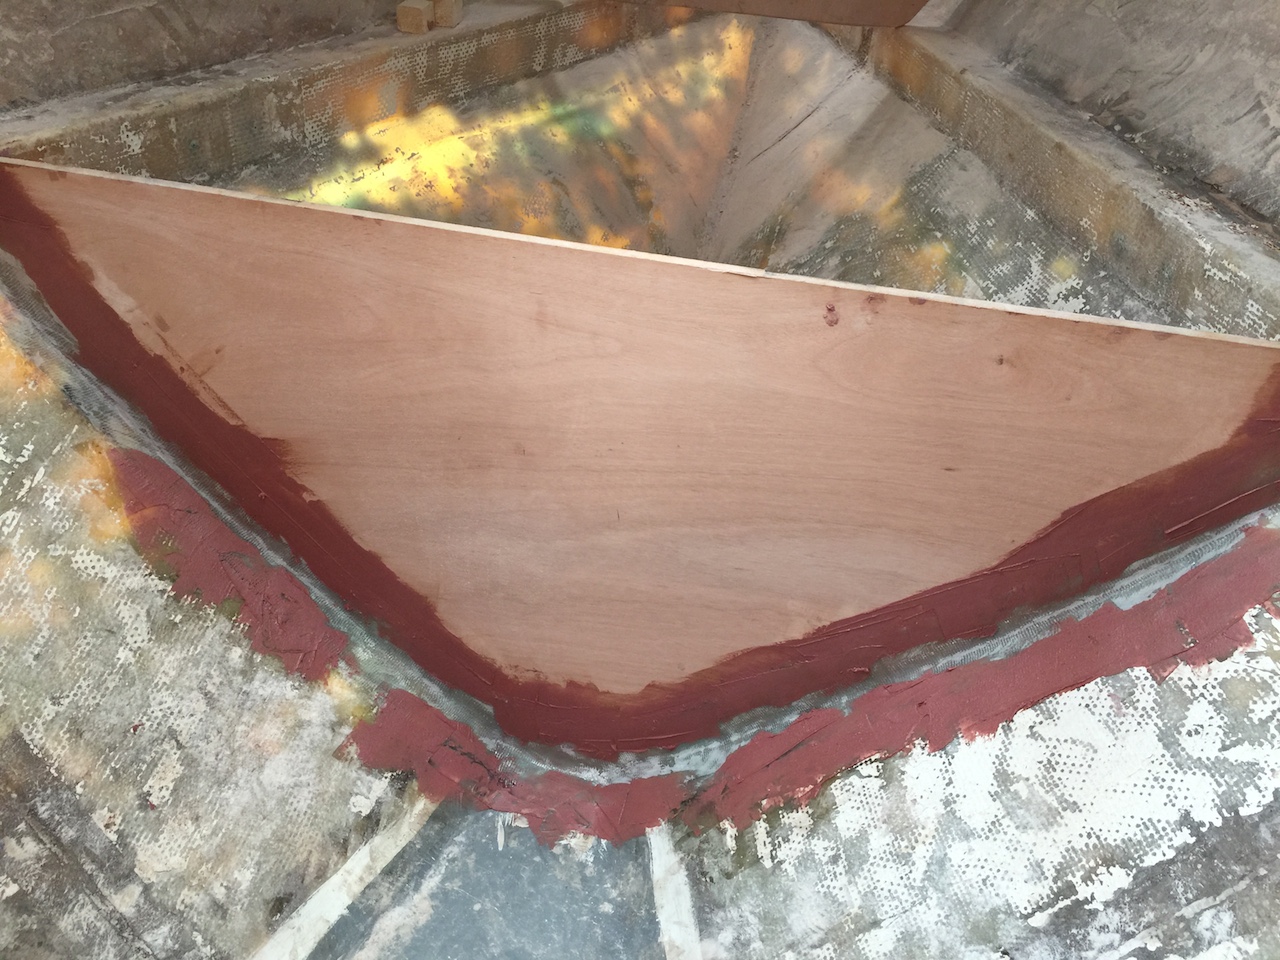
Thankfully I never got around to glassing in this bulkhead, so removing it required only grinding away the epoxy fillet. The following photo shows the bulkhead, after removal, and I expect that the new one can be made in only two pieces. More on that later.
I can crawl into the aft compartment, but it’s a tight squeeze, so I took advantage of the temporary extra legroom to scrape and sand the area, then apply one coat of primer.
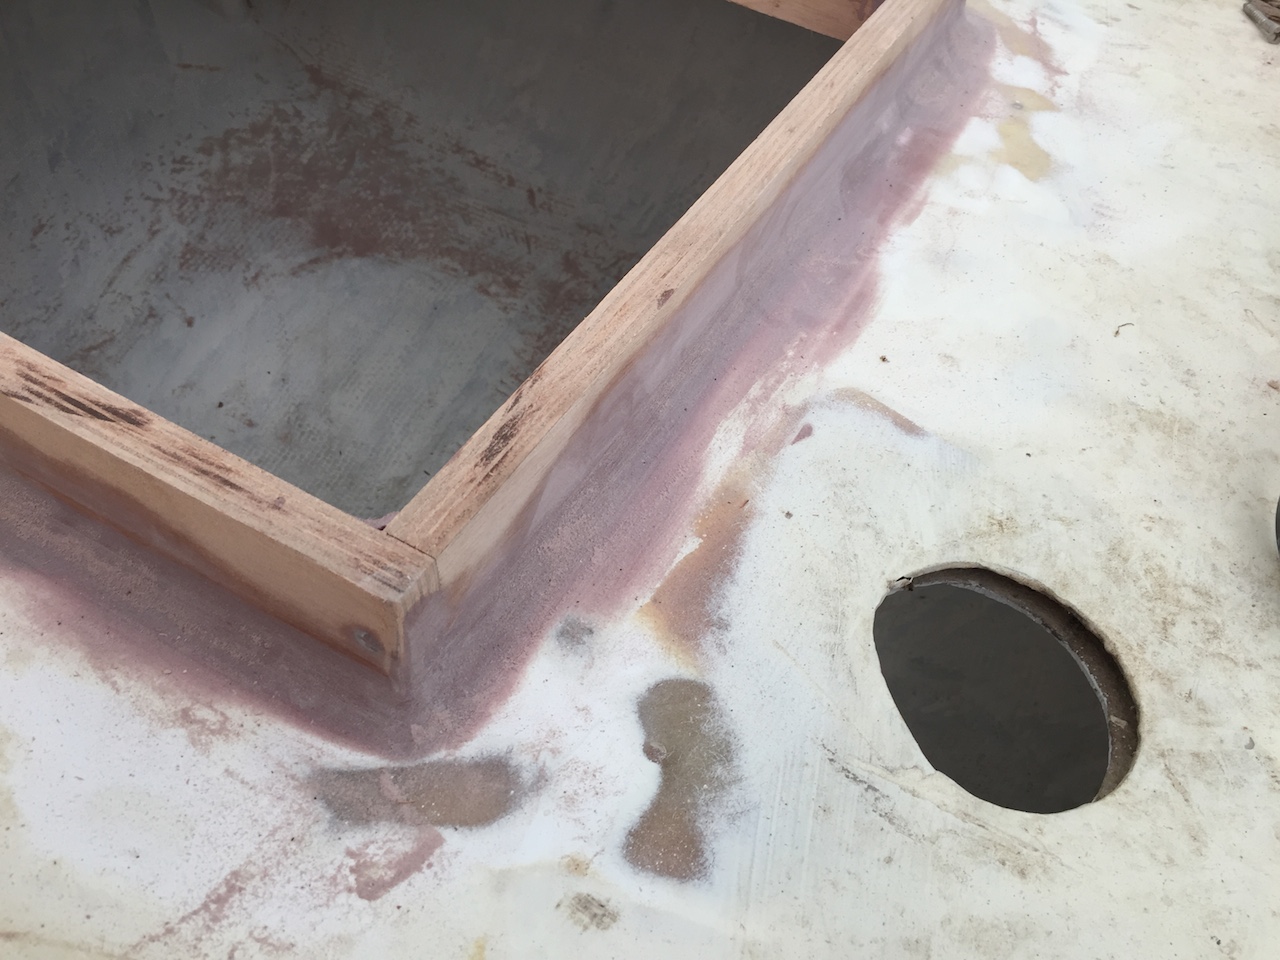
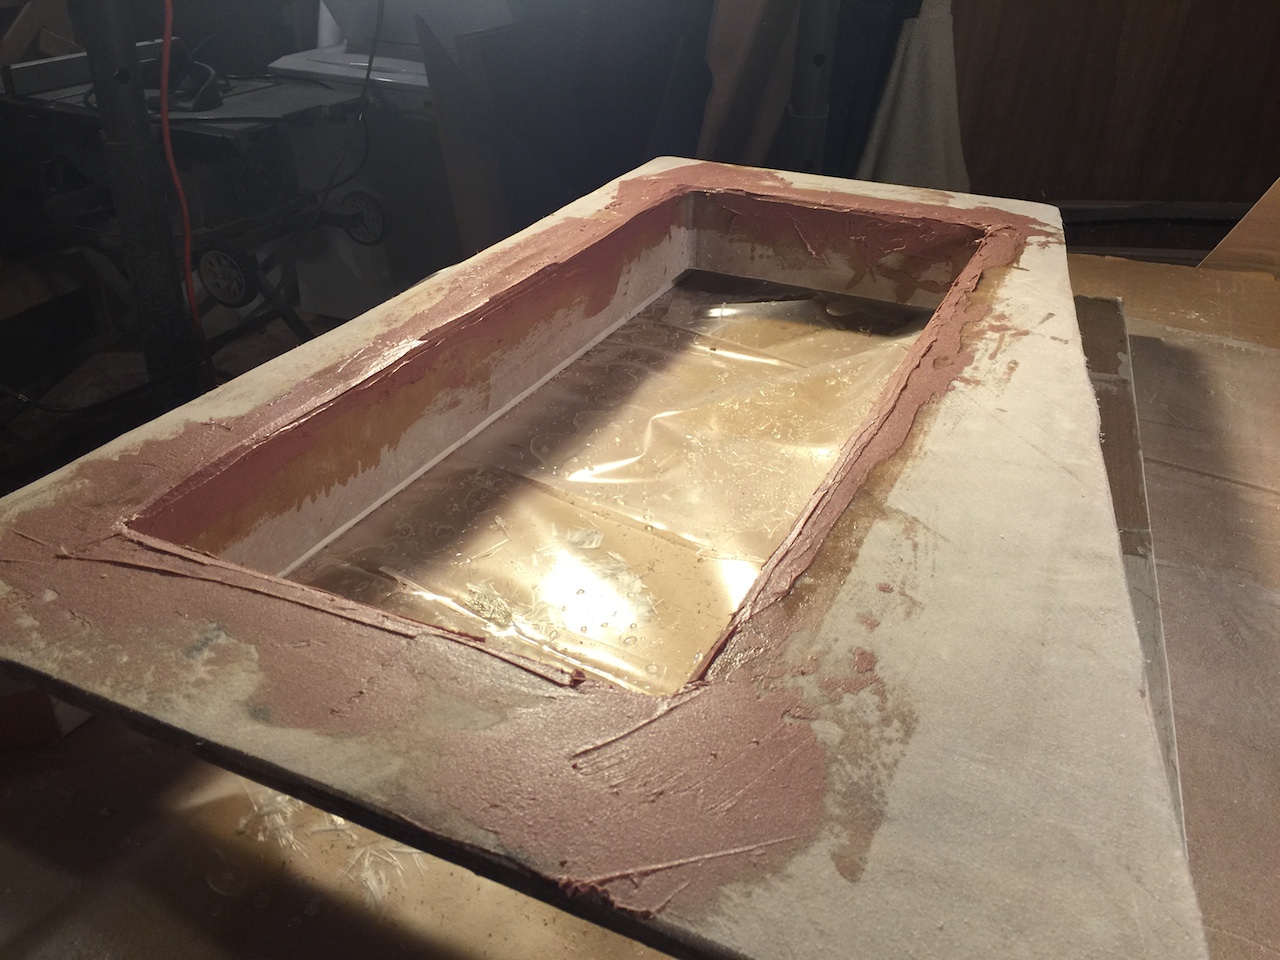
I tried to remove the aft hatch frame to facilitate some aspects of the work to be done in the aft compartment. In doing so, and after some research, I decided to simply hack it off and build something new. Here is the hatch opening without the frame:
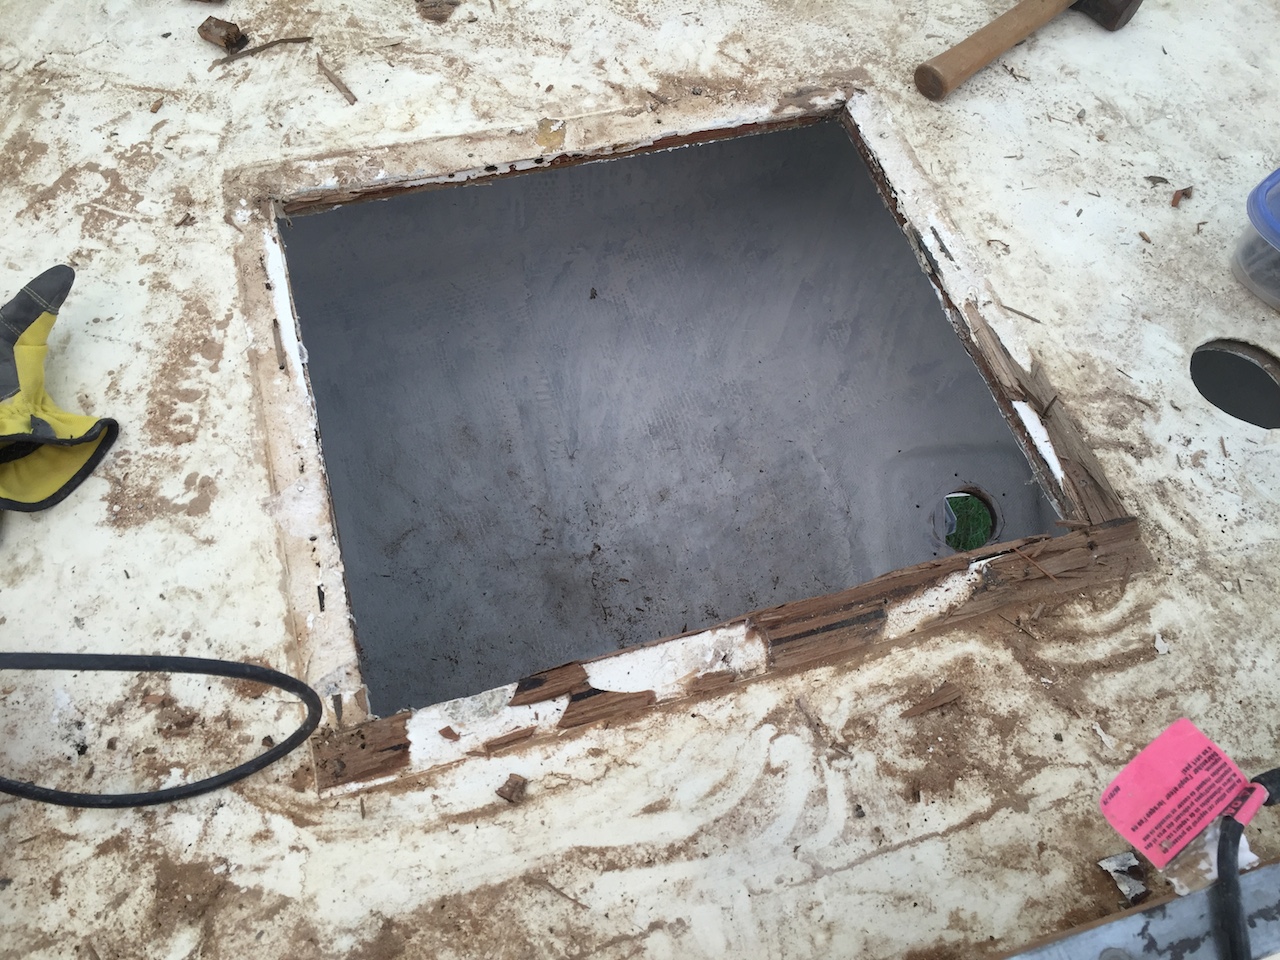
I enlarged the opening by a few inches in each dimension. (Yes, I checked to be sure that the mizzen boom is high enough to allow a larger hatch to open underneath.)
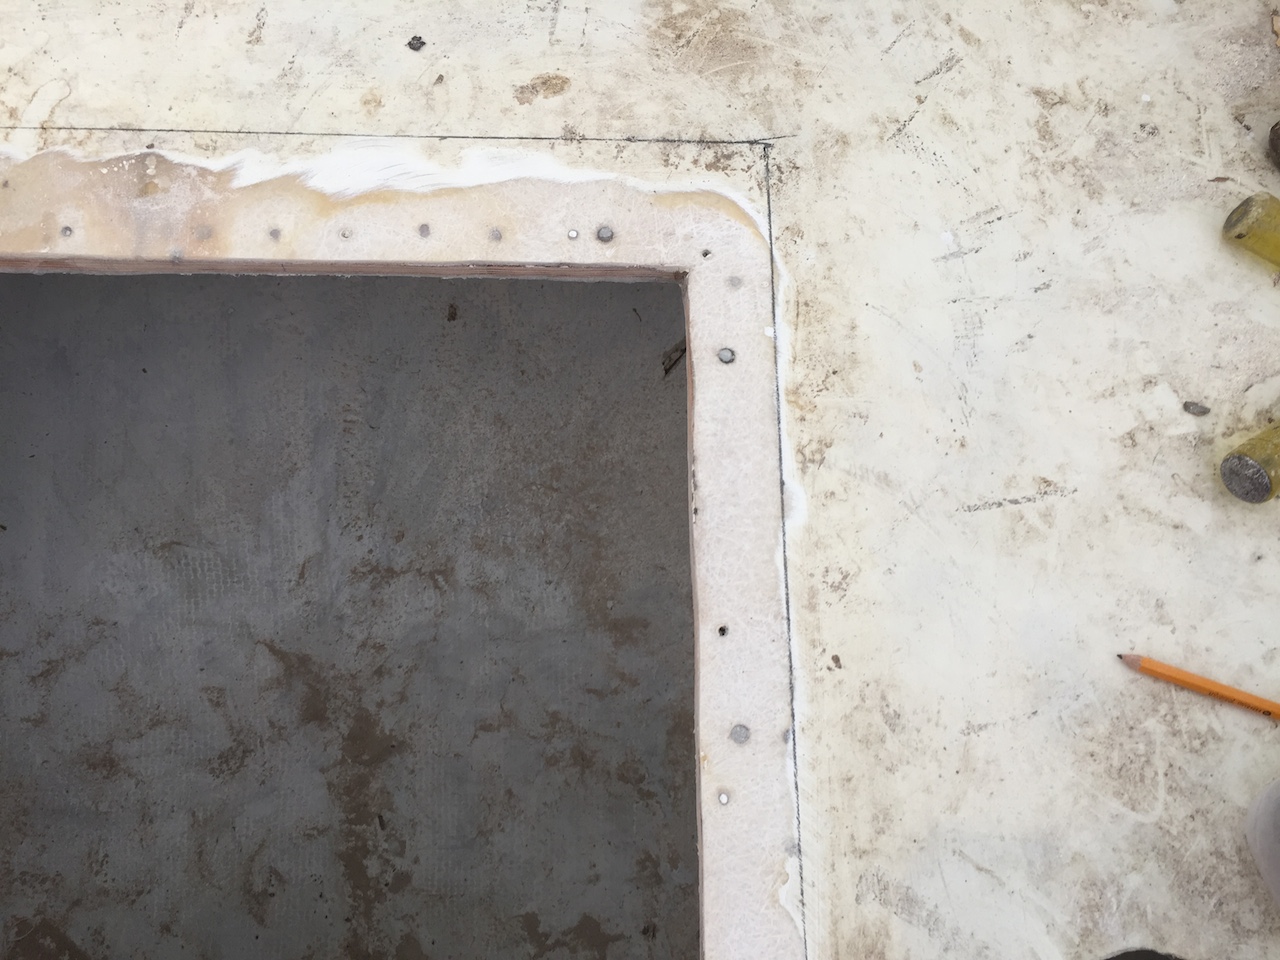
Routing the perimeter makes a perfect rectangle.
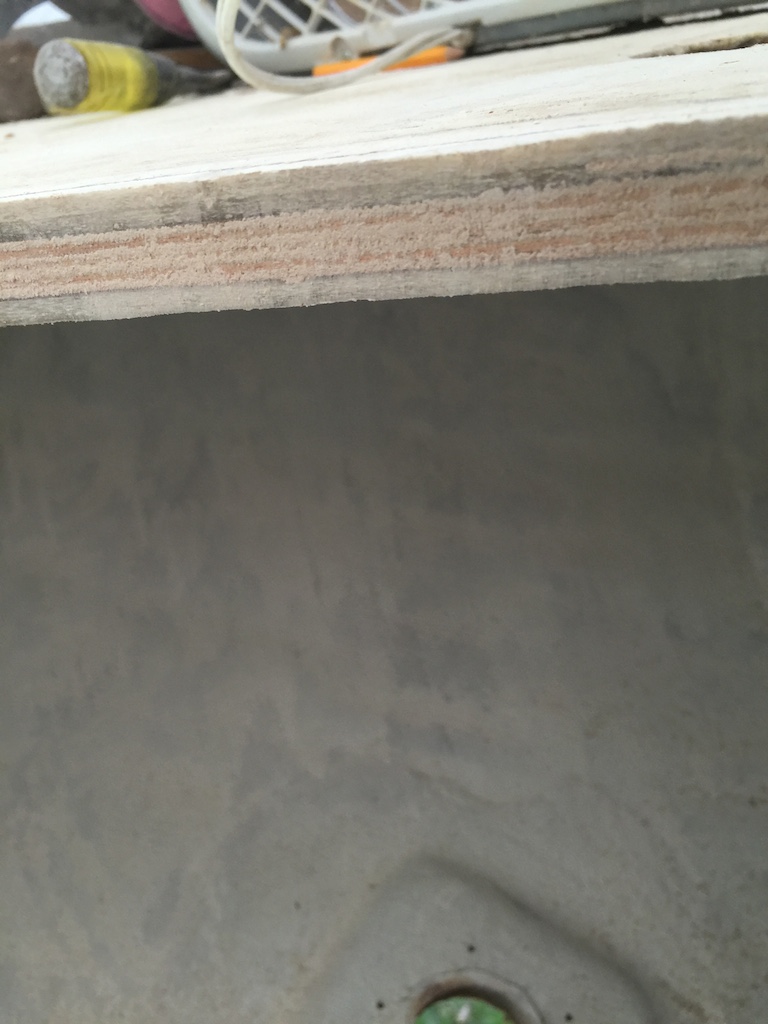
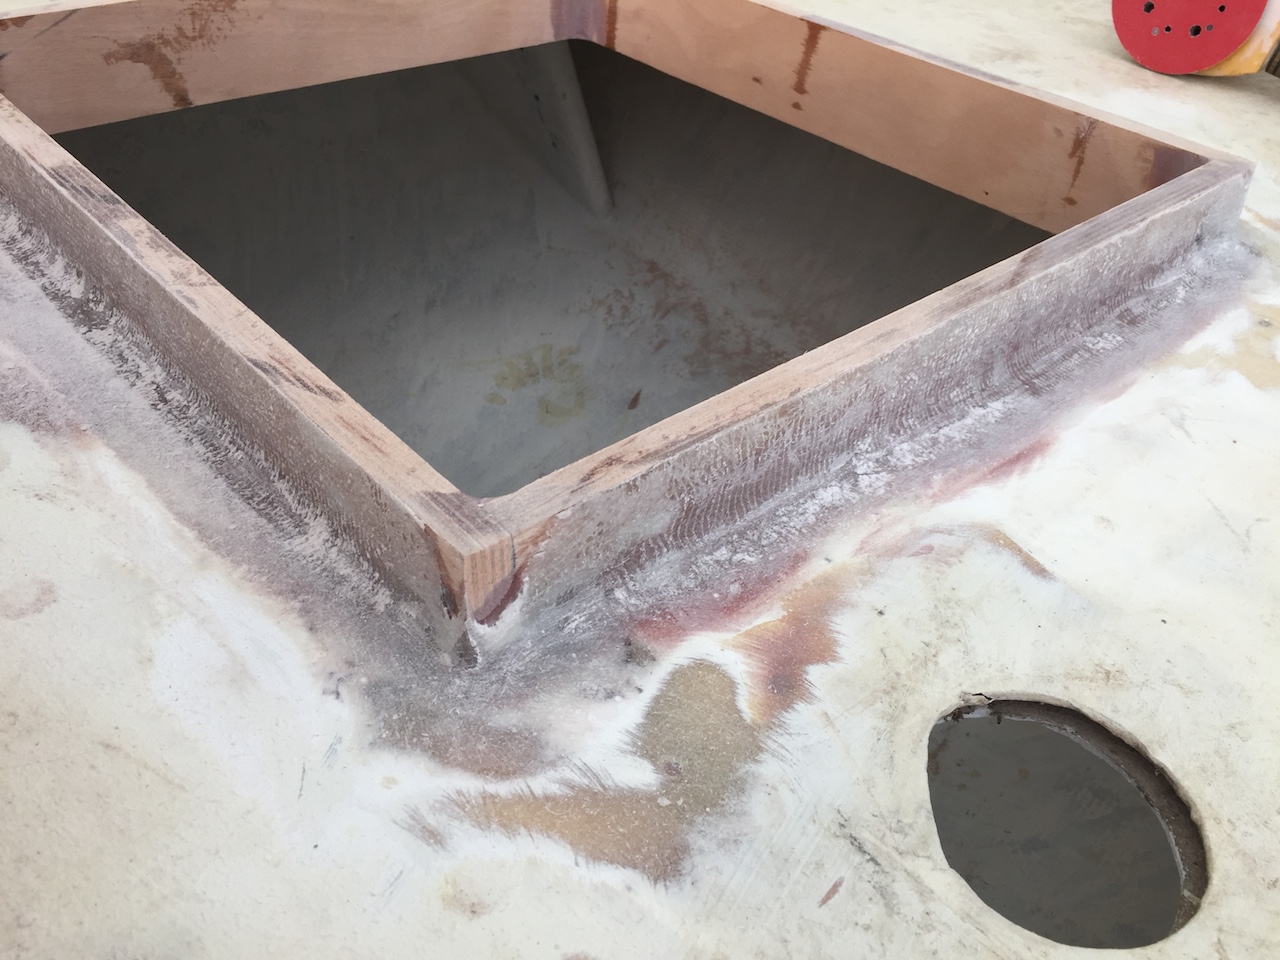
This work allowed me to inspect the condition of the aft-deck core, and here we see that it’s perfectly dry and tightly laminated.
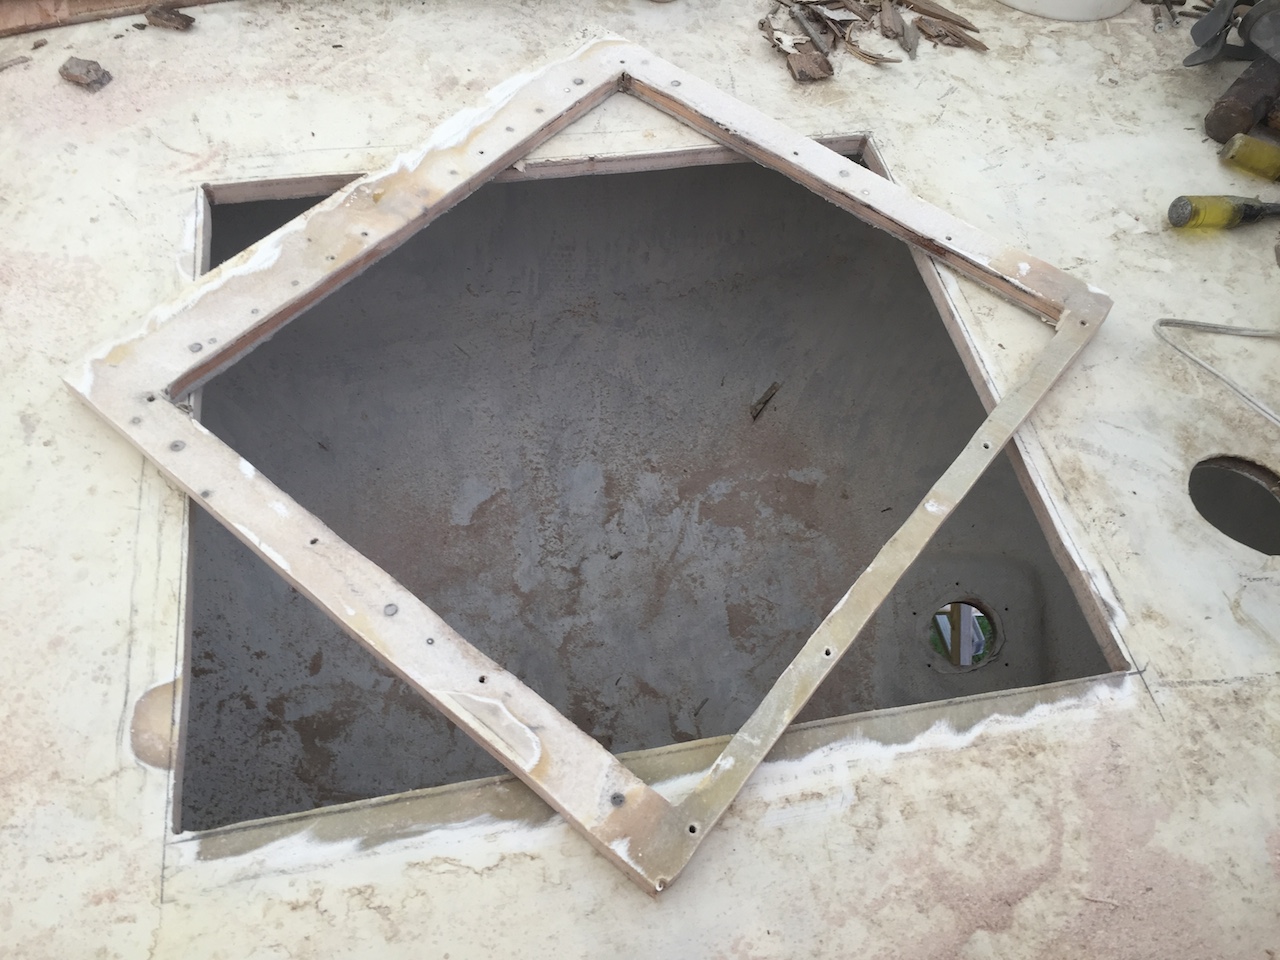
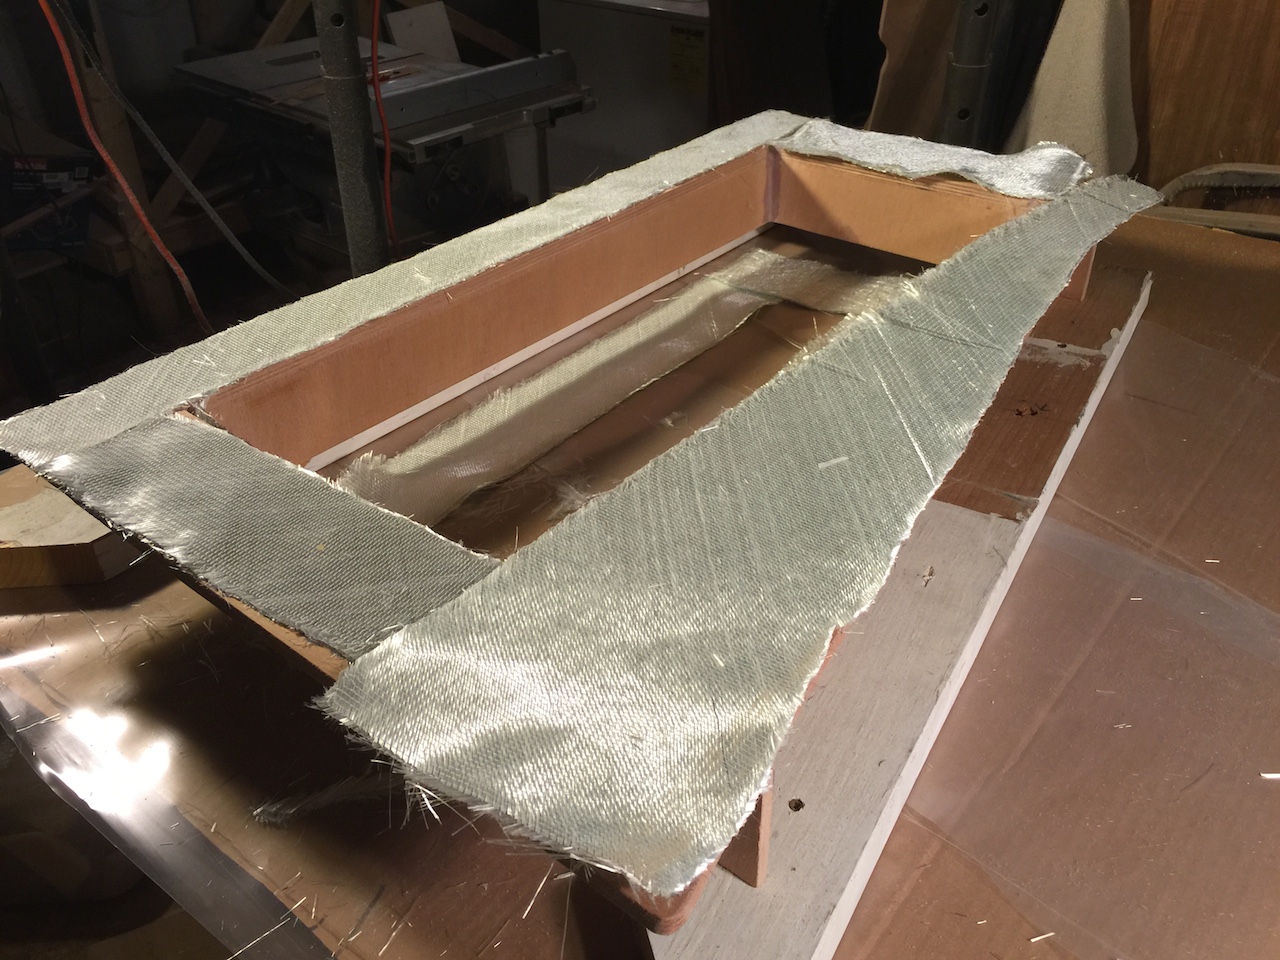
Next, I created a frame from 3/4-inch Okume.
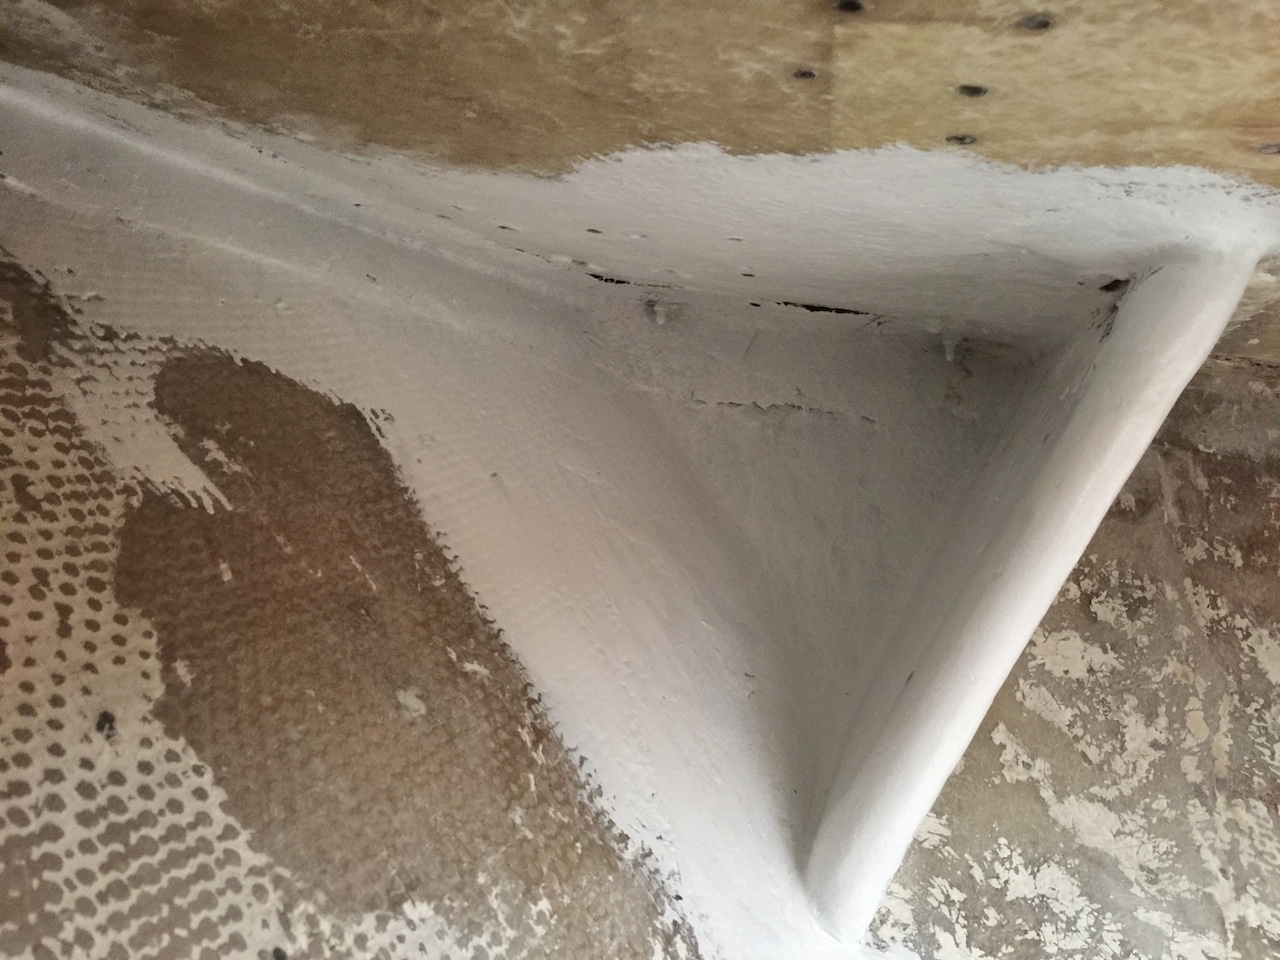
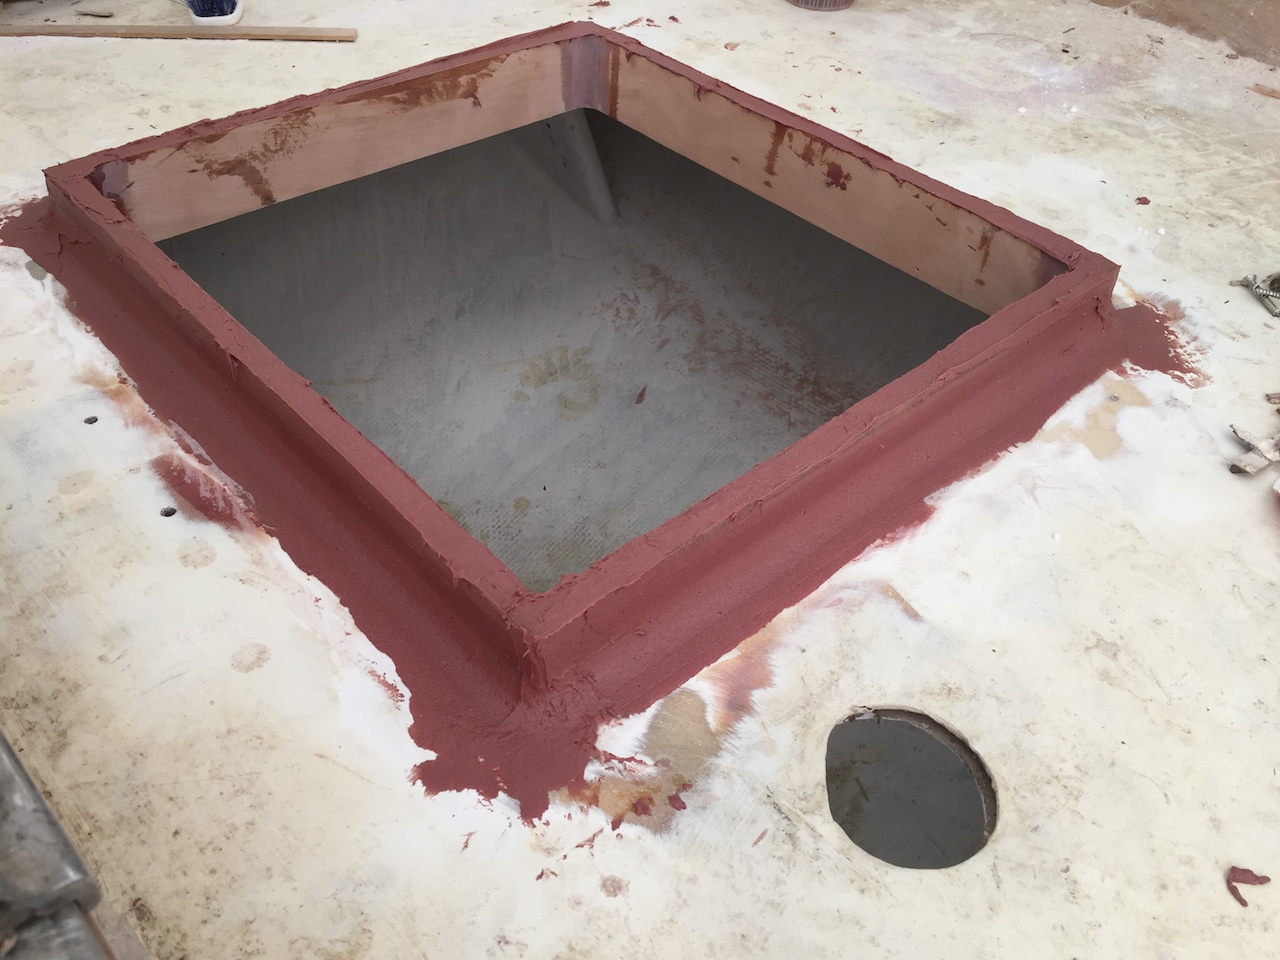
I used clamps and blocks to position the frame, then weighted it down so I could apply a small fillet of epoxy from underneath.
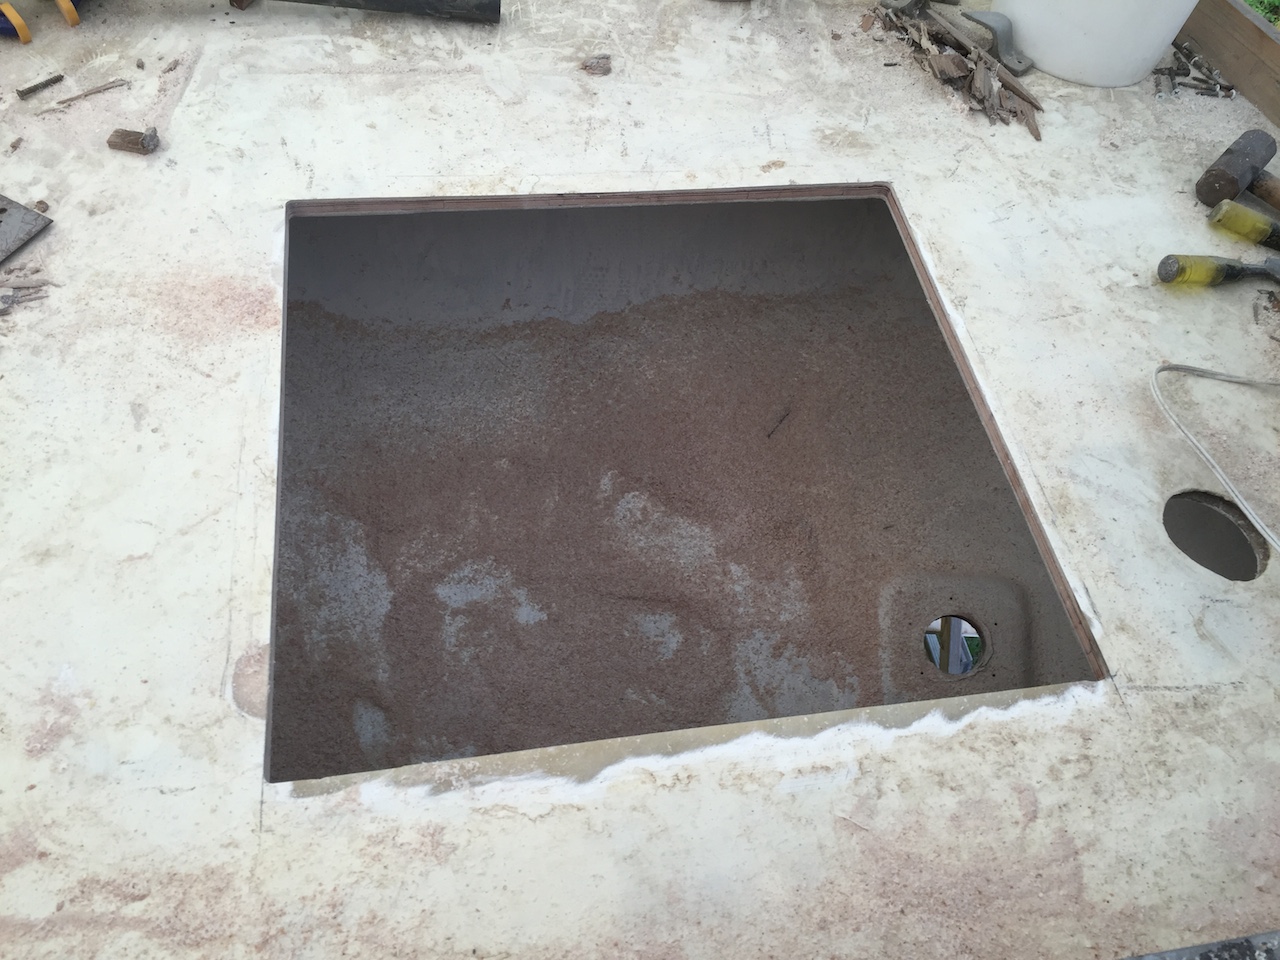
When the underneath fillet had dried, I created wider fillet on the top.
A layer of biaxial cloth provides plenty of strength.
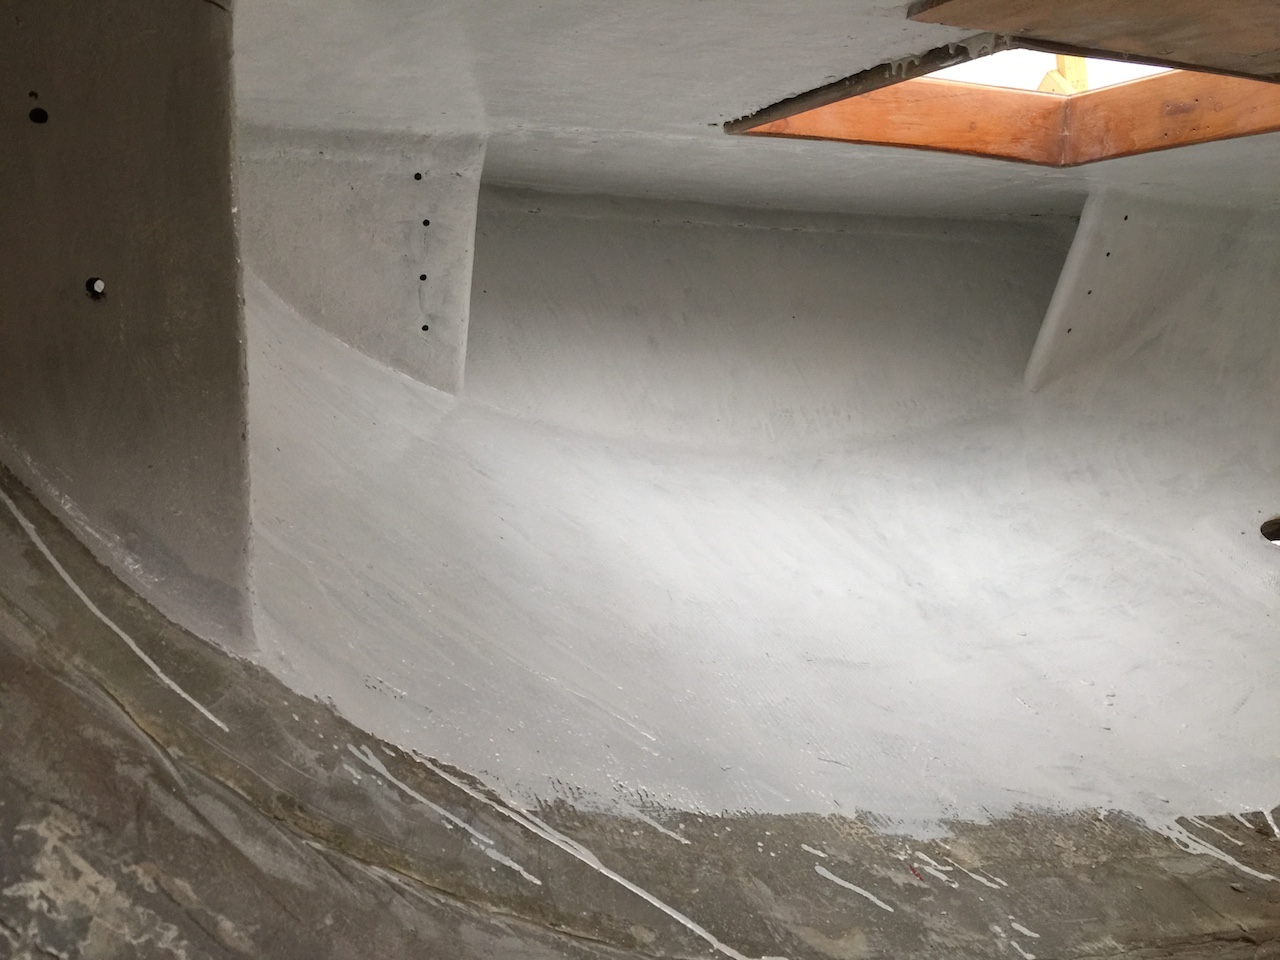
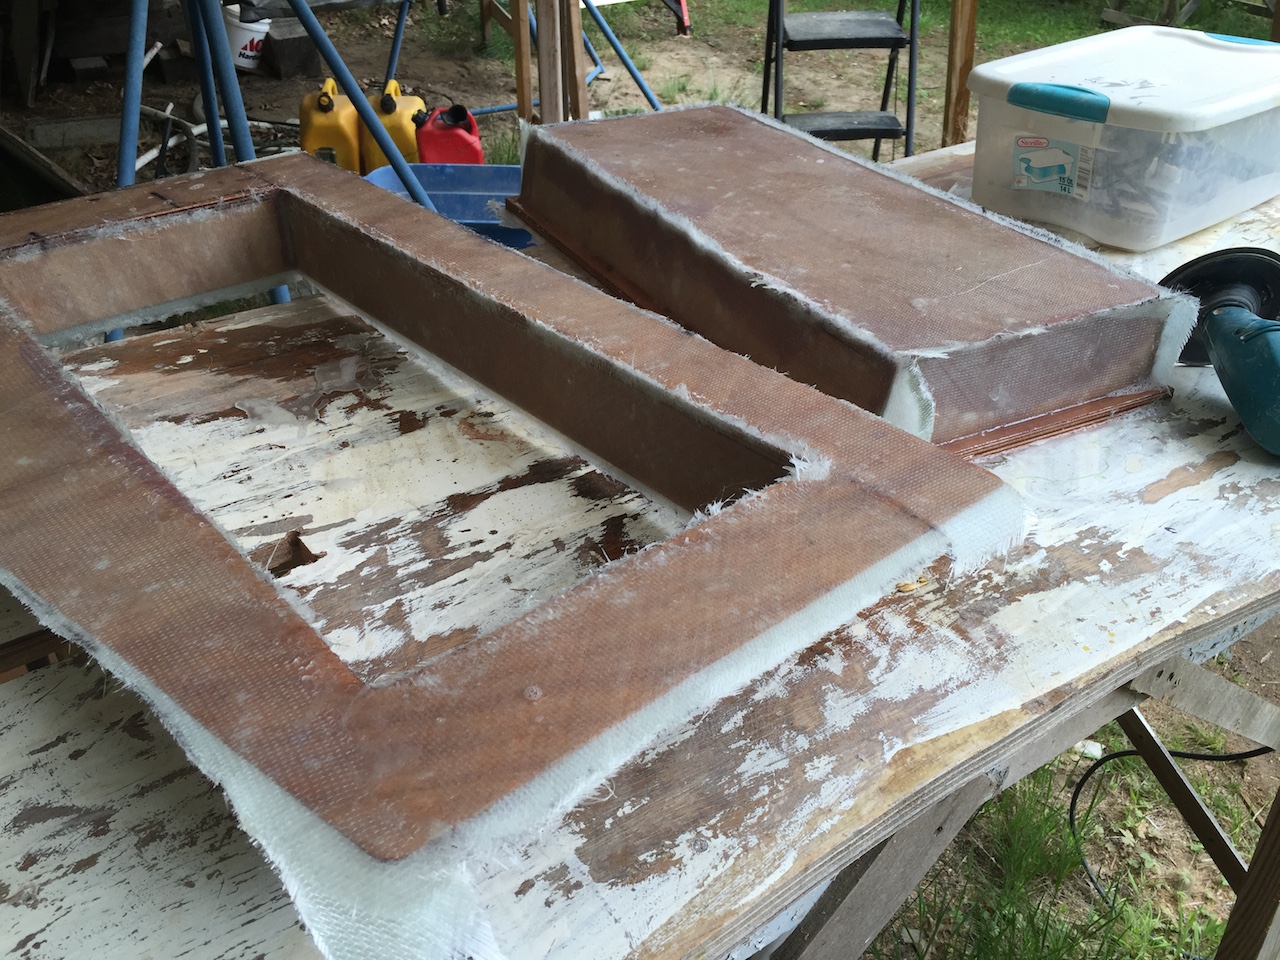
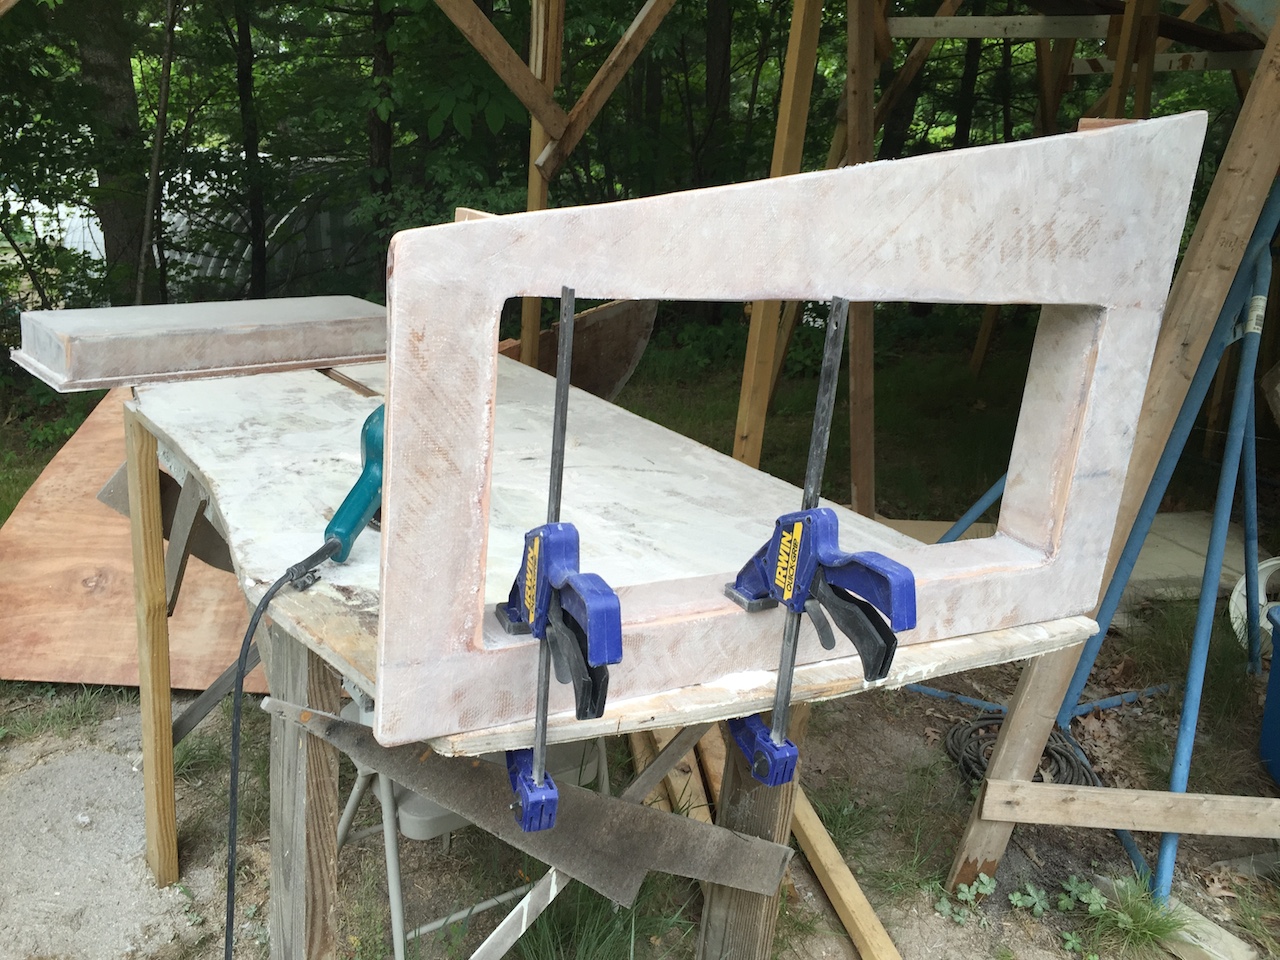
We’ll be ready for paint here after a few more rounds of filling and fairing. Stay tuned.
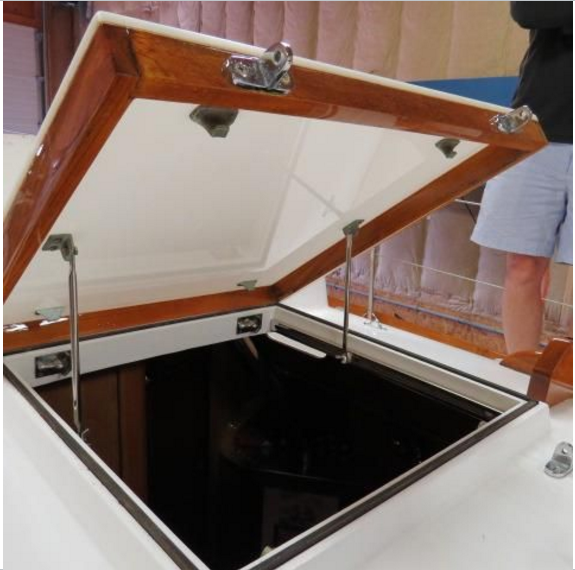
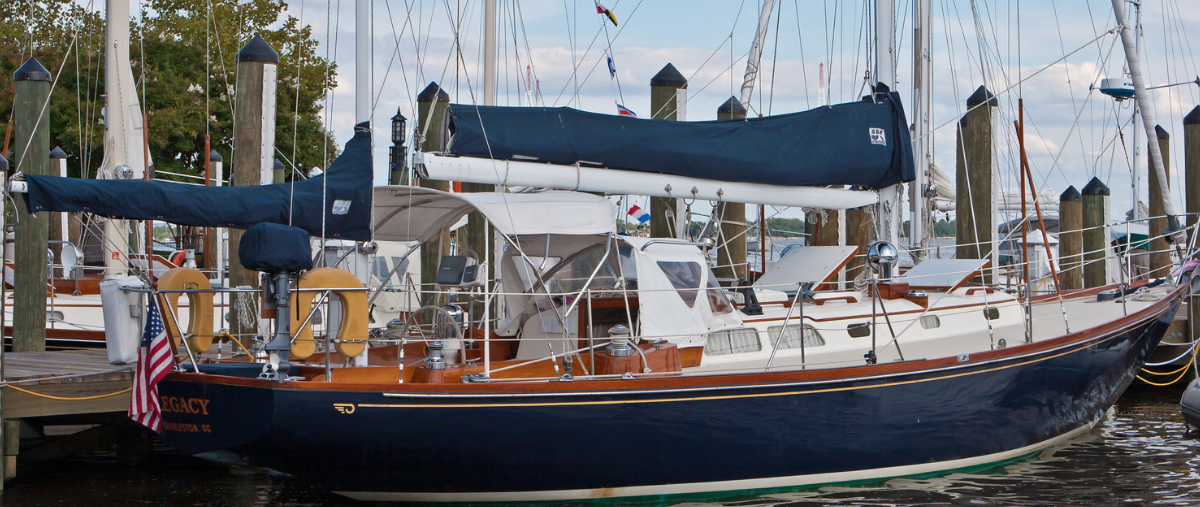
The following three photos show the hatches on Hinckley Bermuda 40s. The frames are molded into the cabin-top, so the only place for leaks is the hatch cover, whose Lexan top extends beyond the frame. I need to consider how water sloshing around on the aft deck might get up and under the hatch cover, but I’ll deal with those thoughts while the hatch cover is being build.
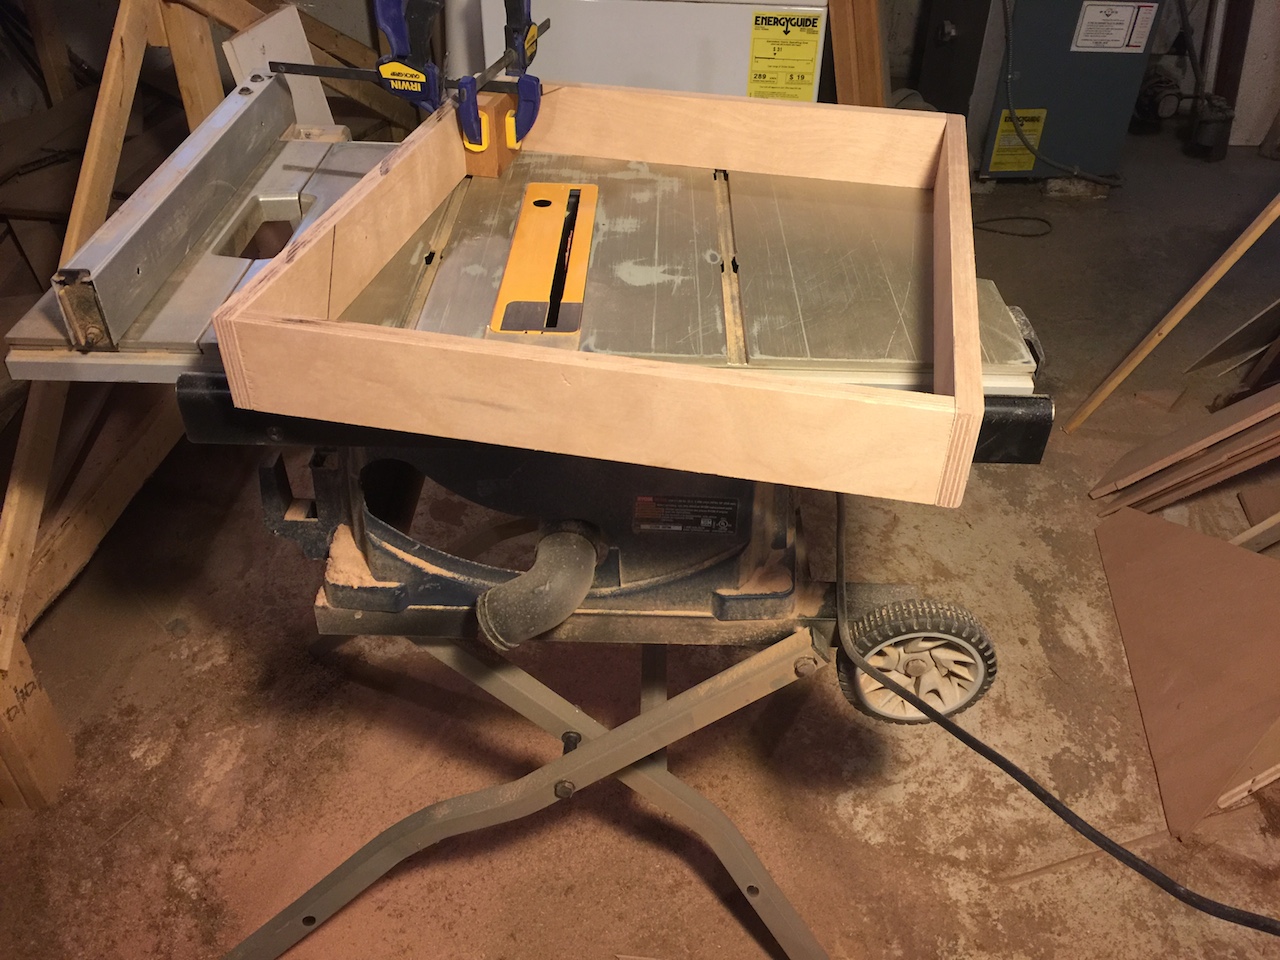
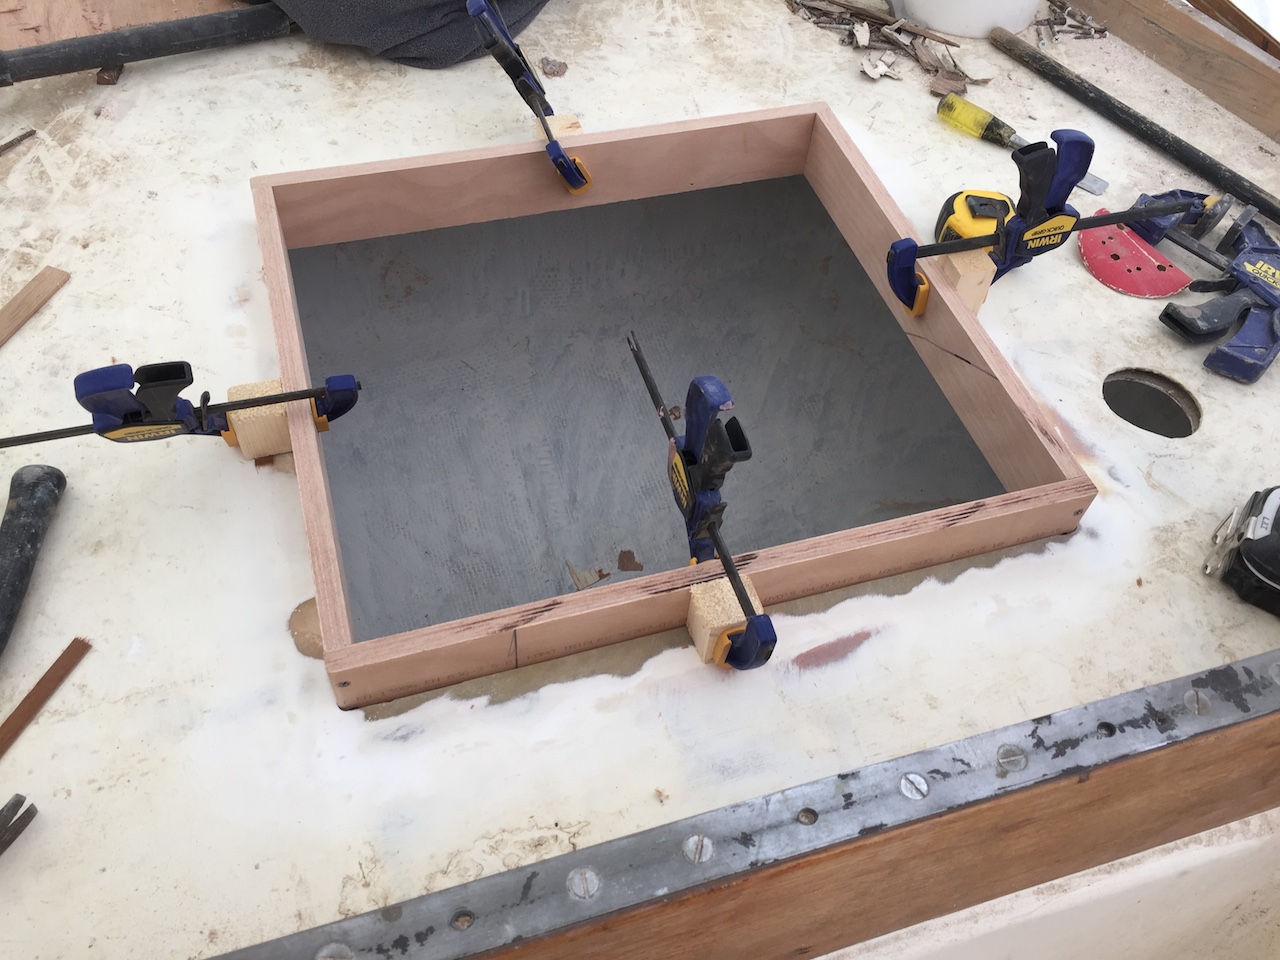
ICE BOX
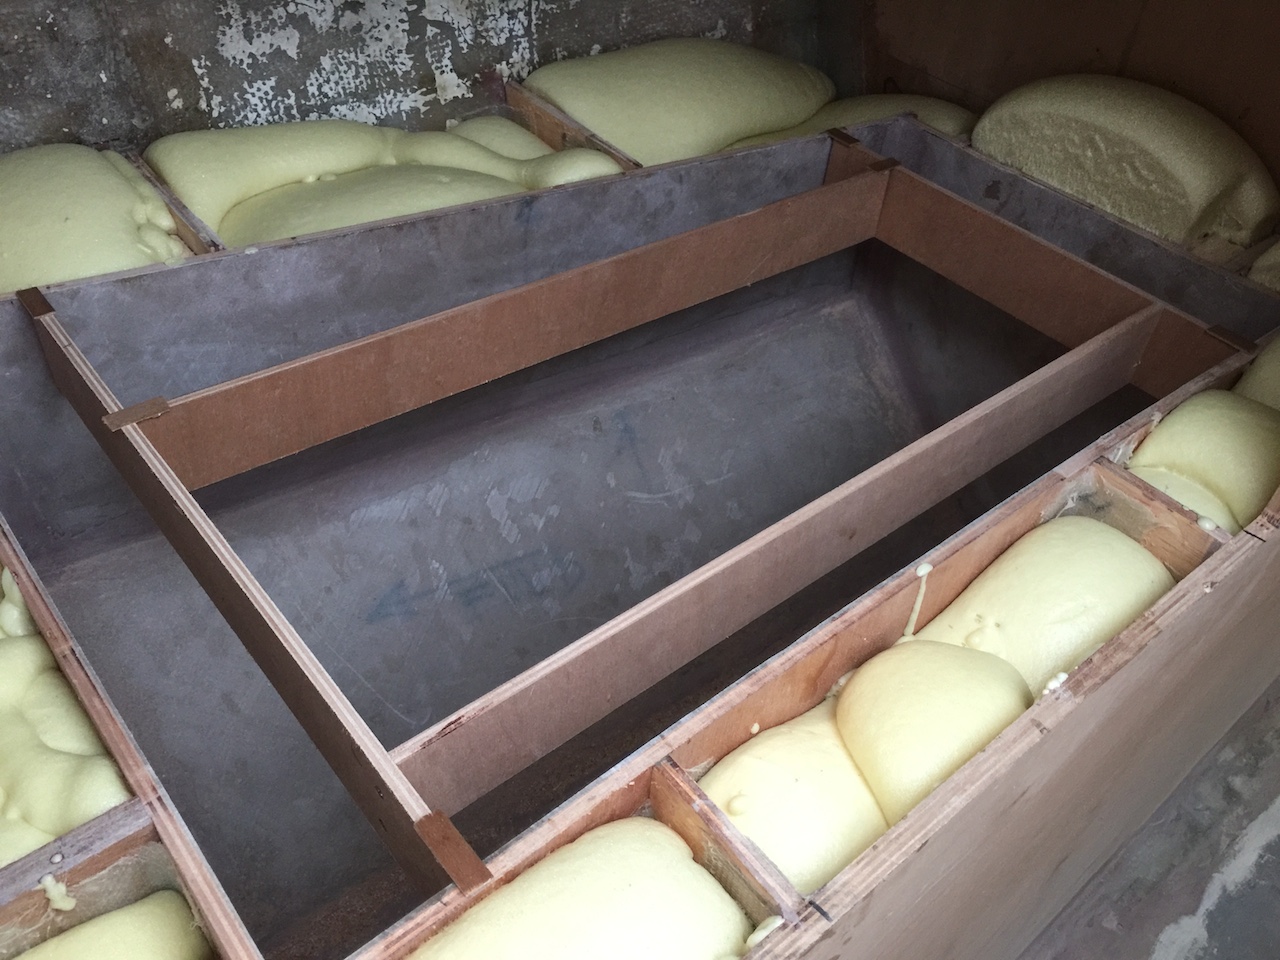
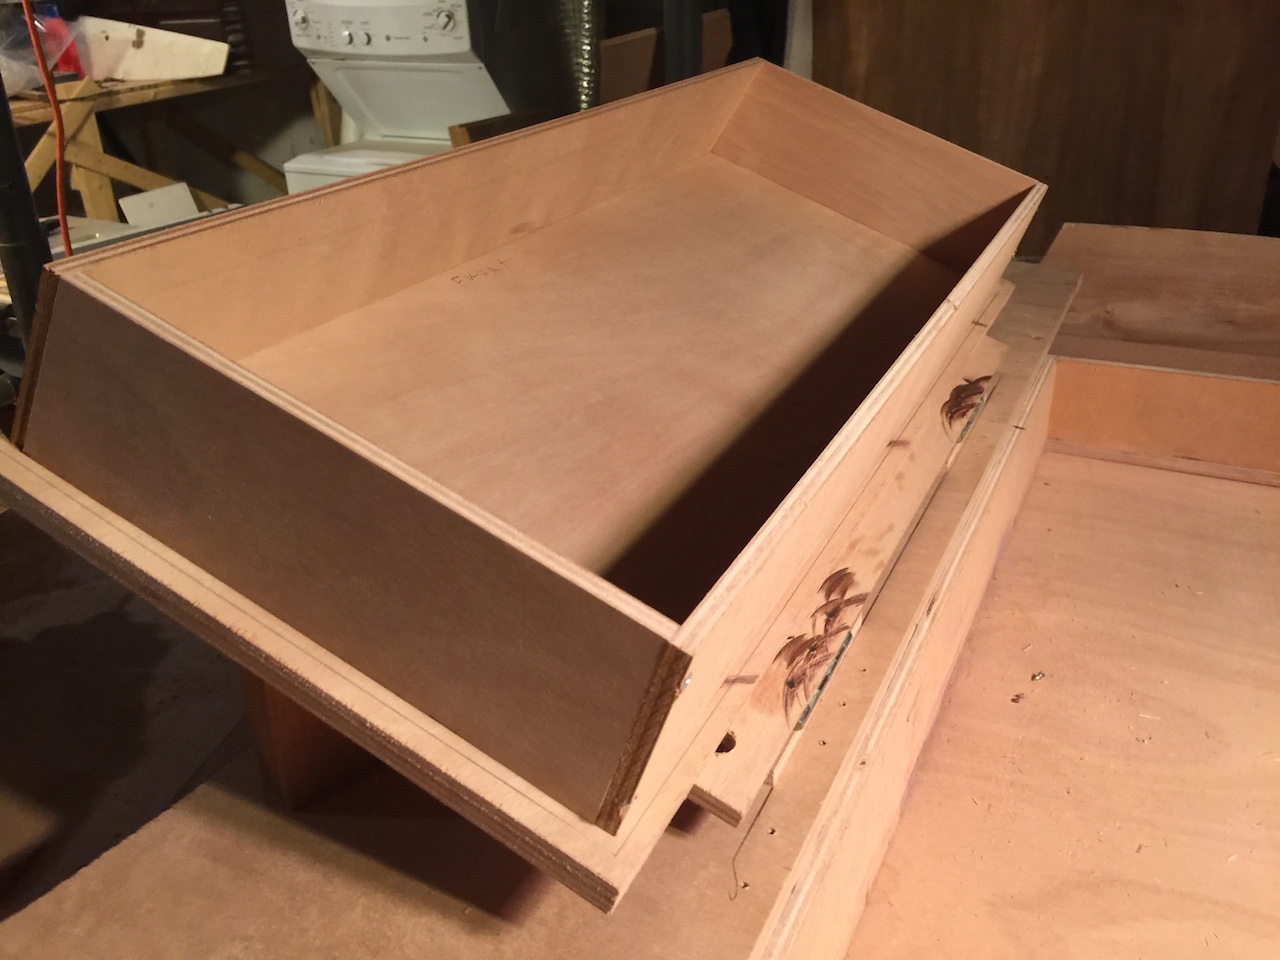
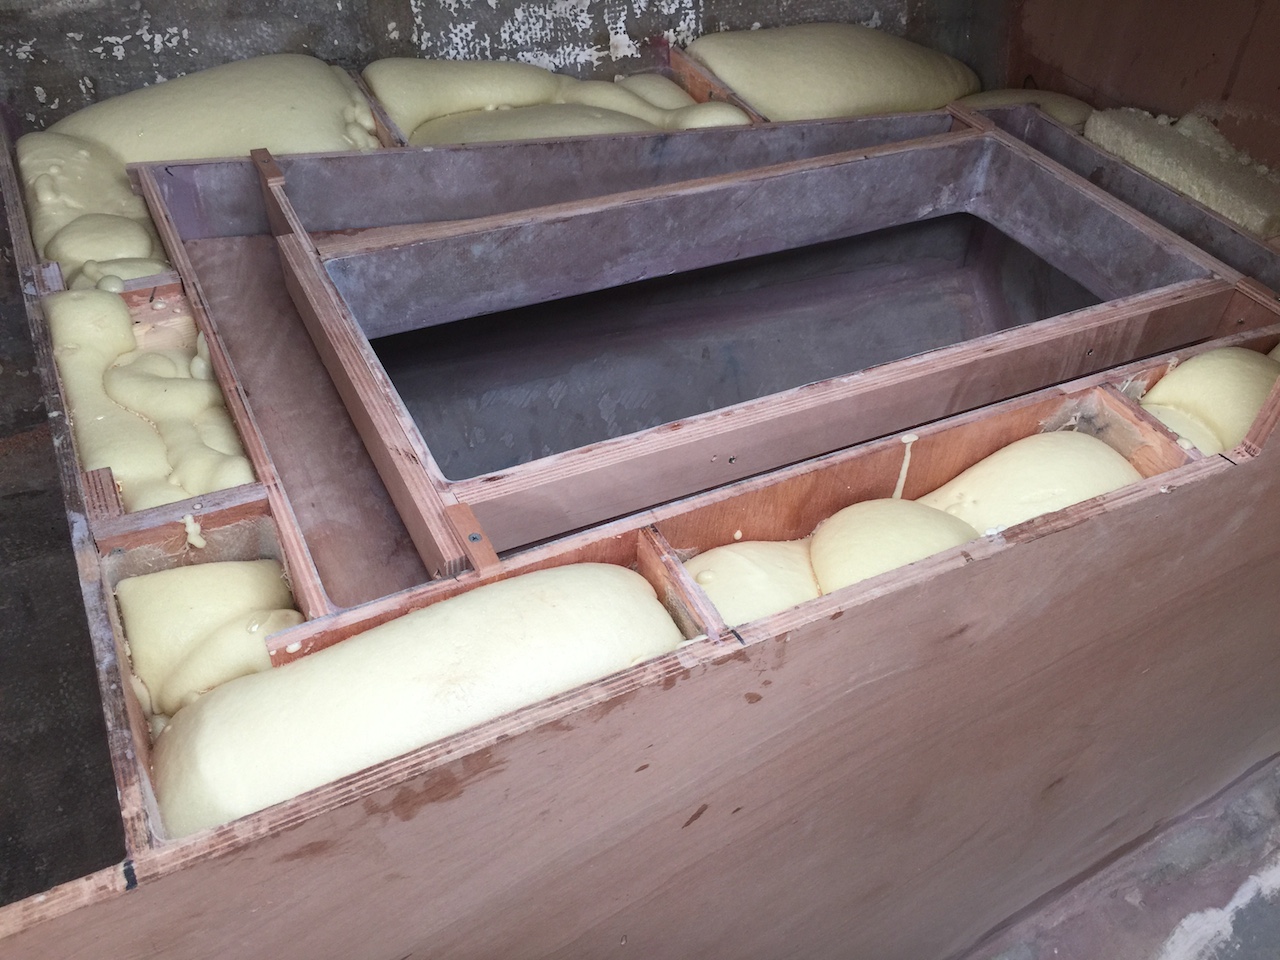
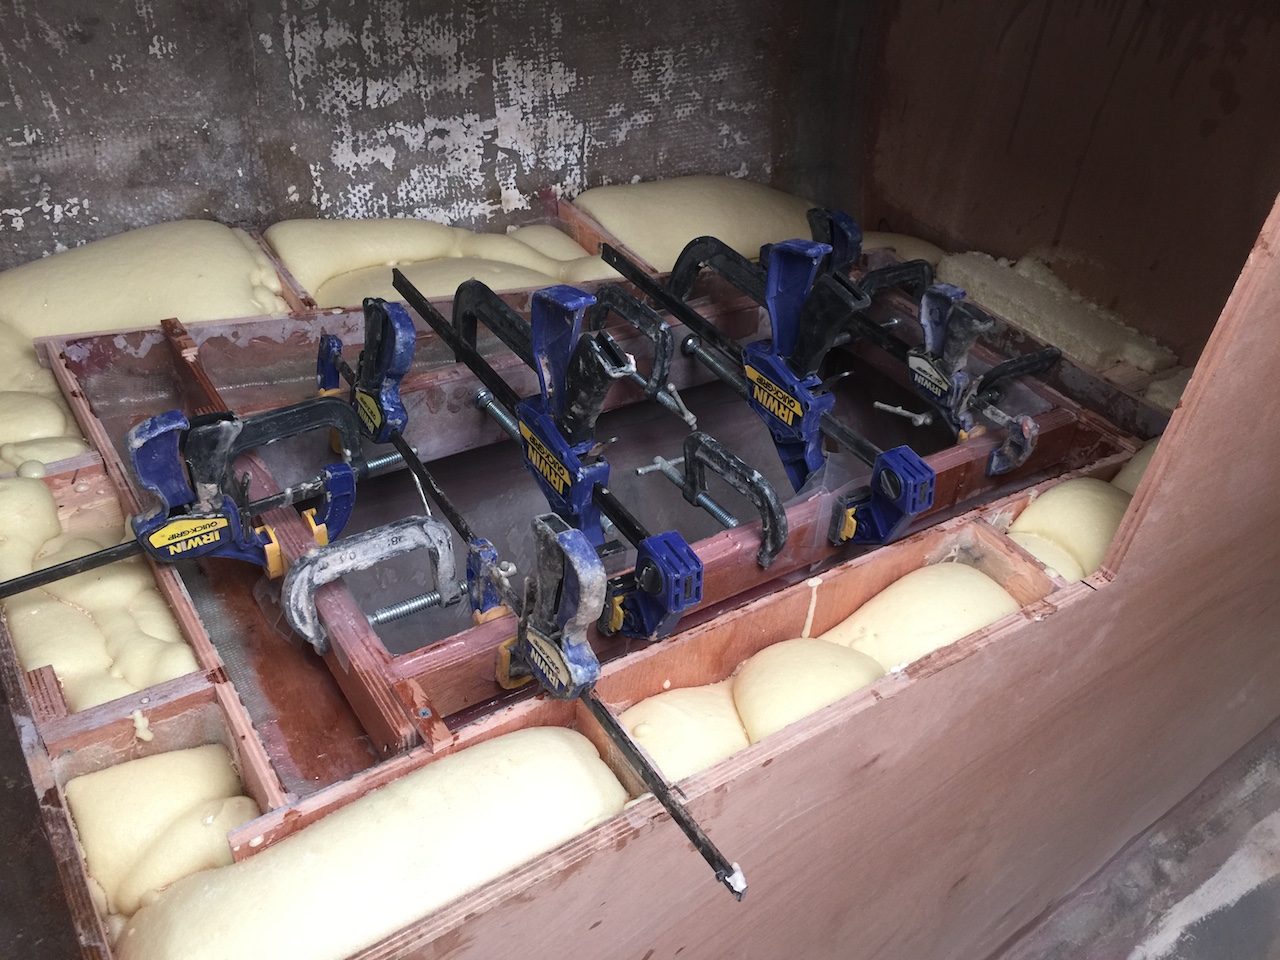
This is where we were at the end of the last post, with the icebox sides and bottom installed on the frame.
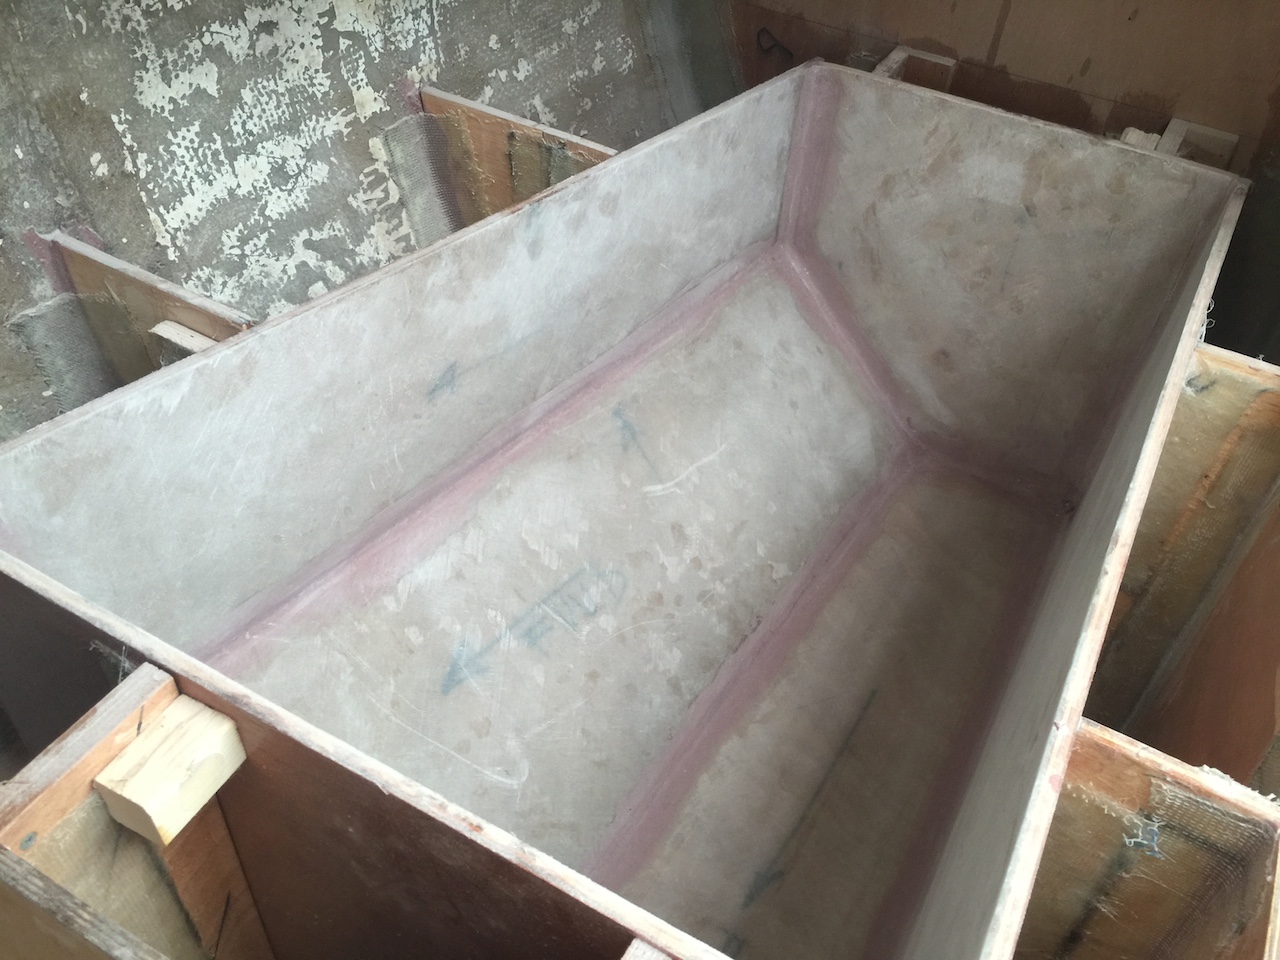
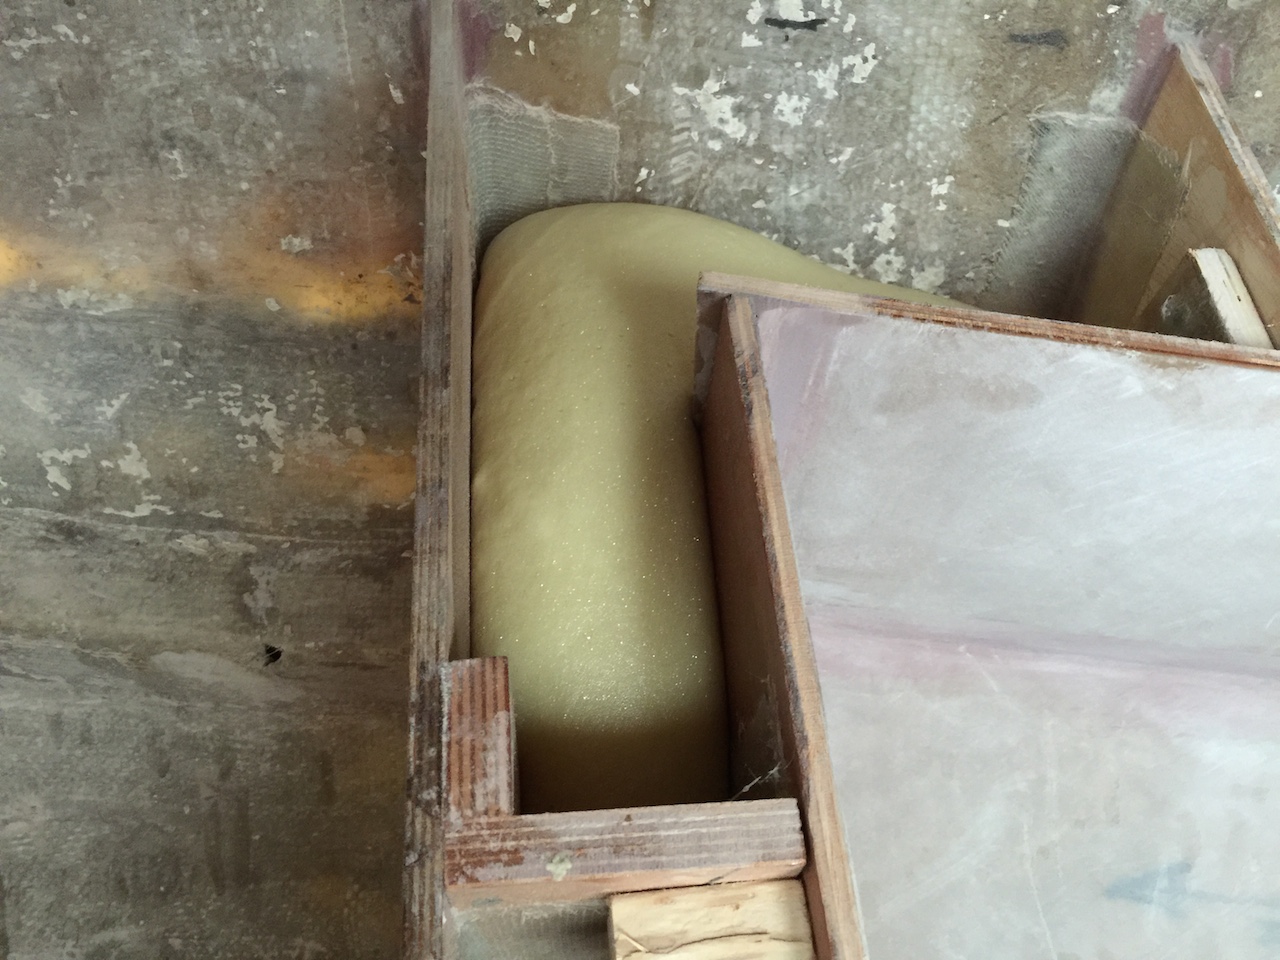
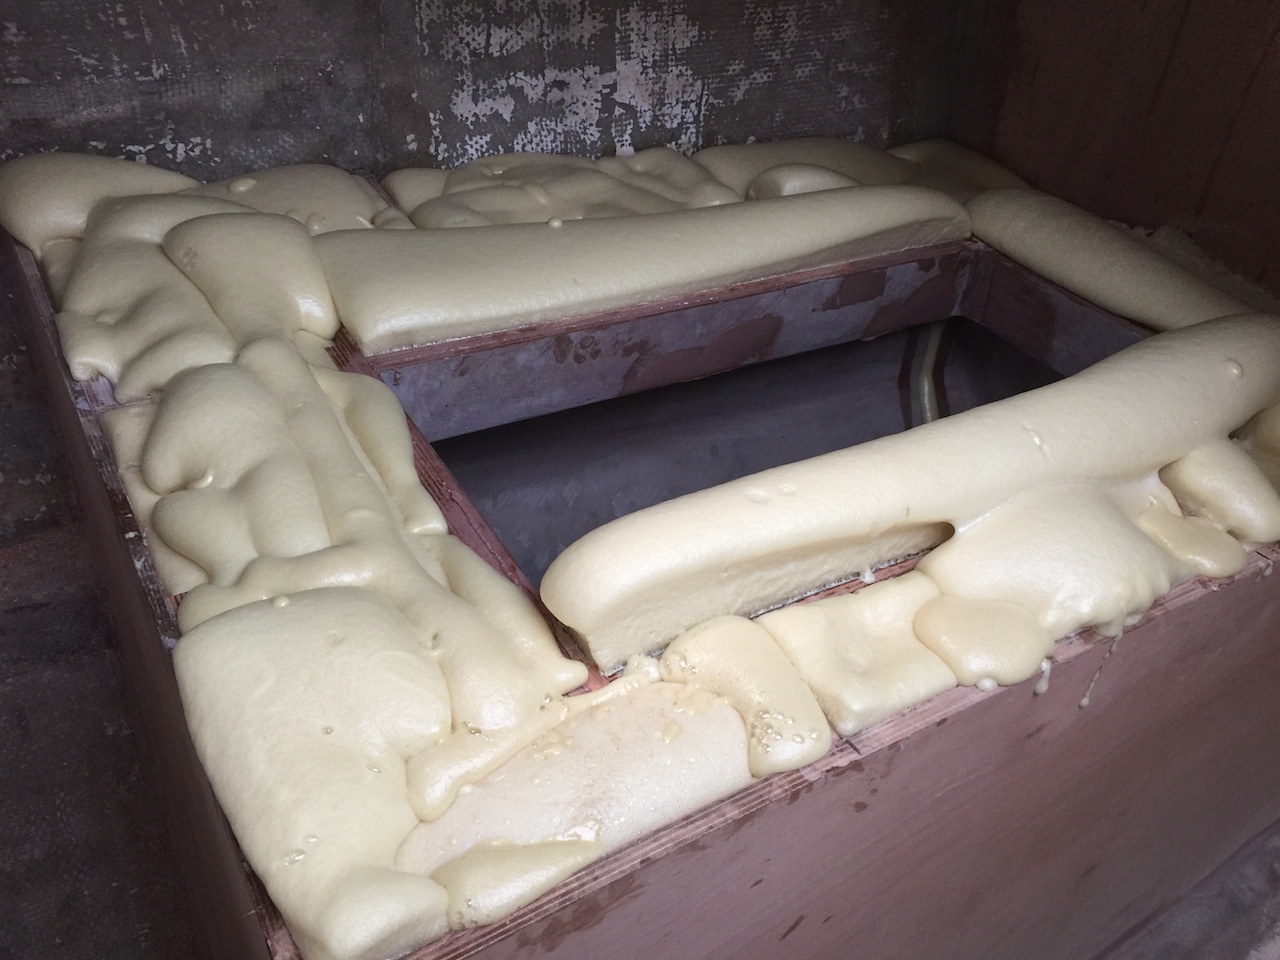
The icebox insulation is a two-part, pour-in foam with an expanded density of 2 pounds per cubic foot.
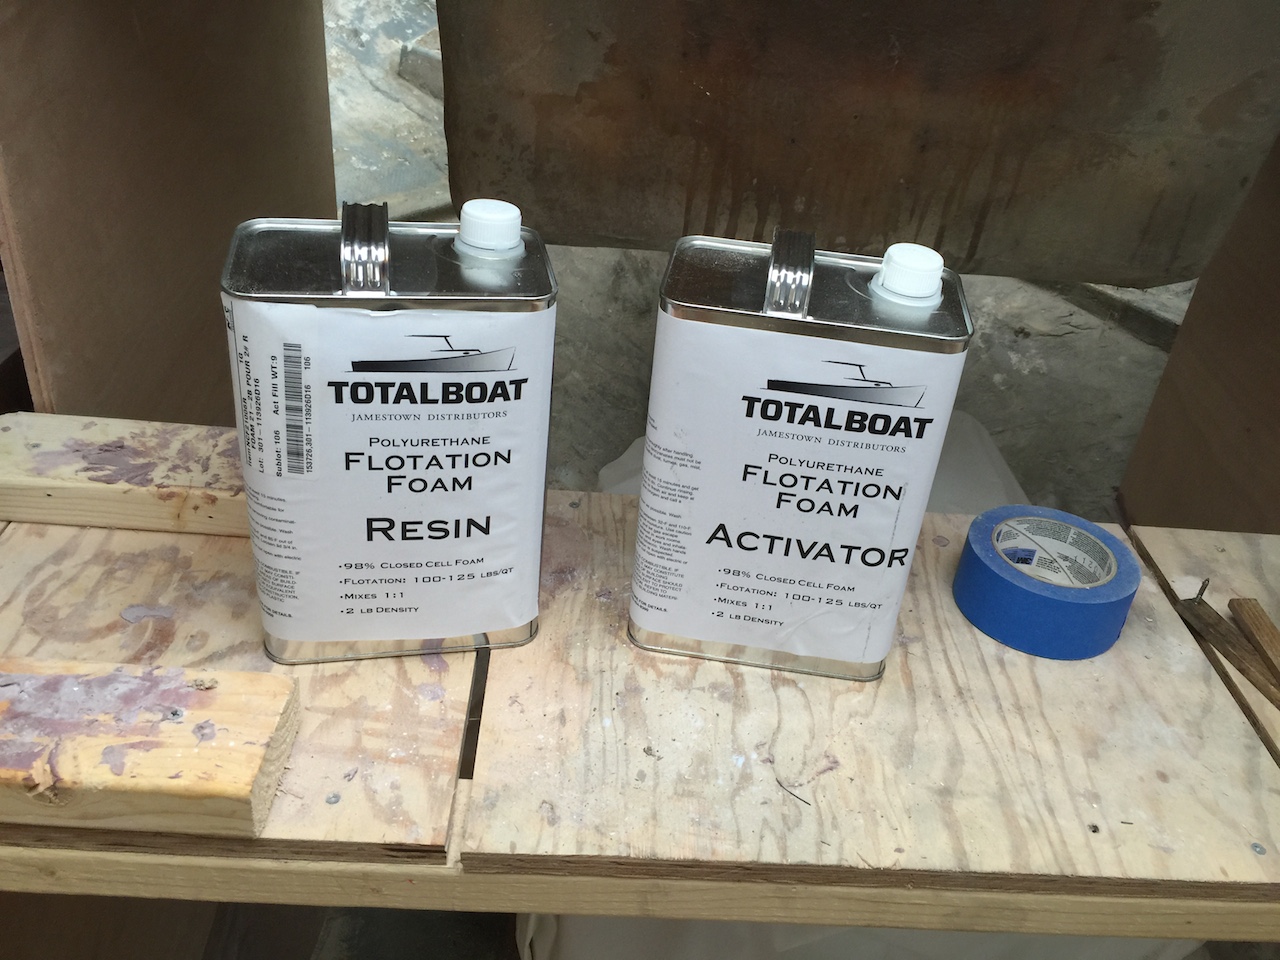
There was a lot of space to fill, and the 2-gallon kit wasn’t quite enough. The foam cures to a stiff consistency that can be easily cut with a knife or sanded.
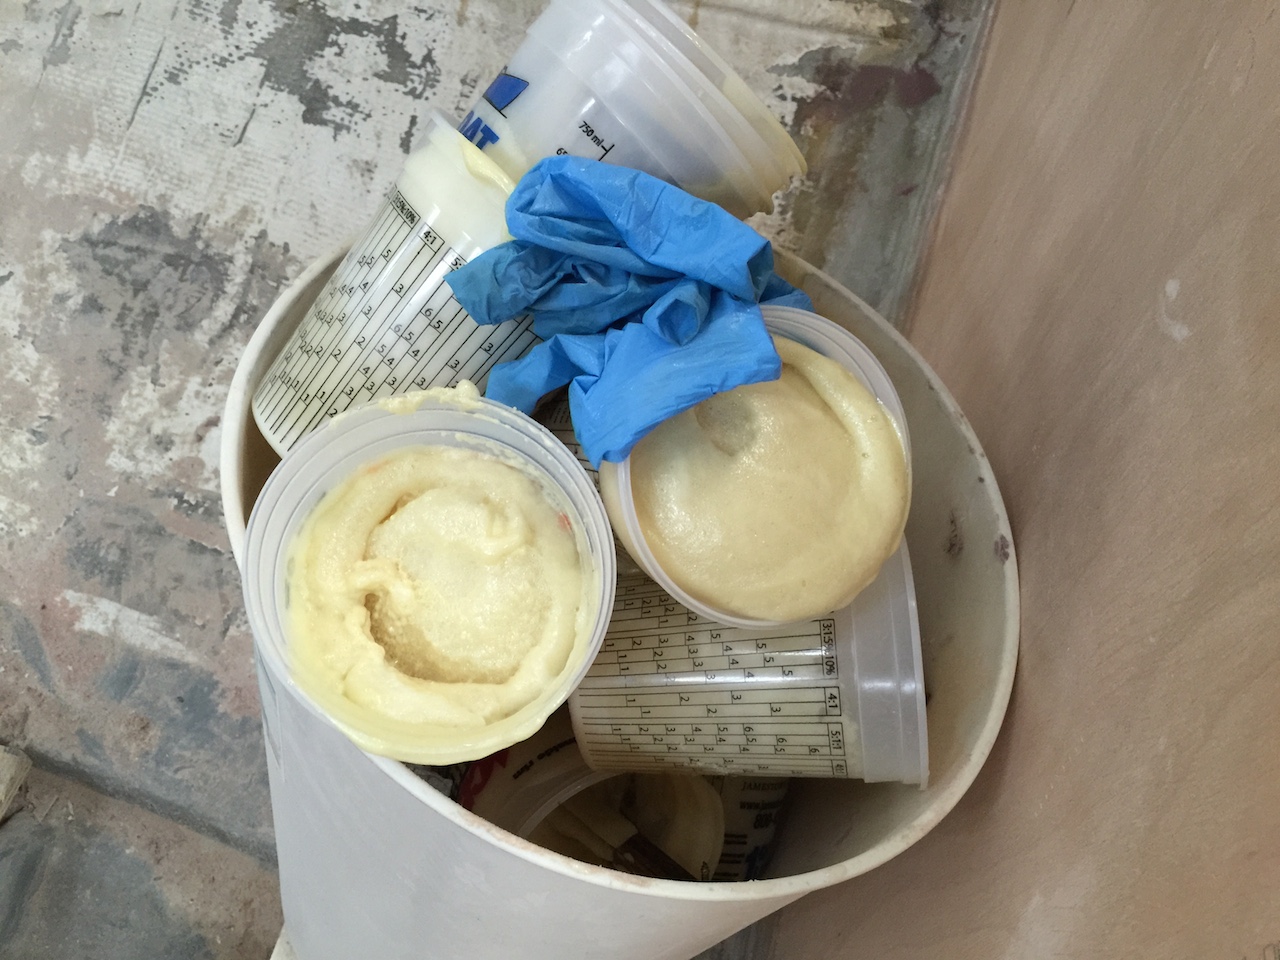
Just a little residue left in the mixing cups expands to fill the cup.
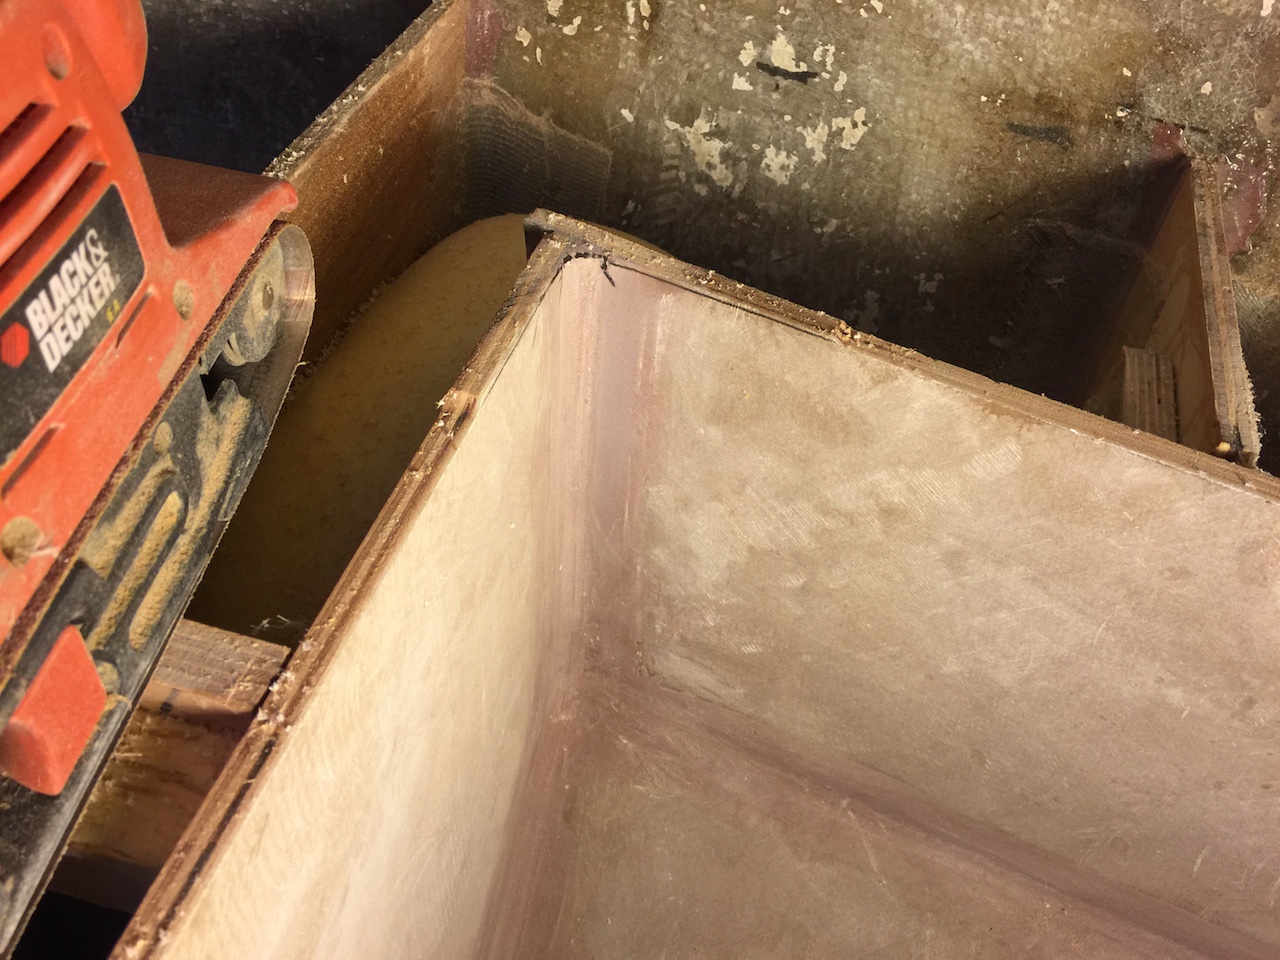
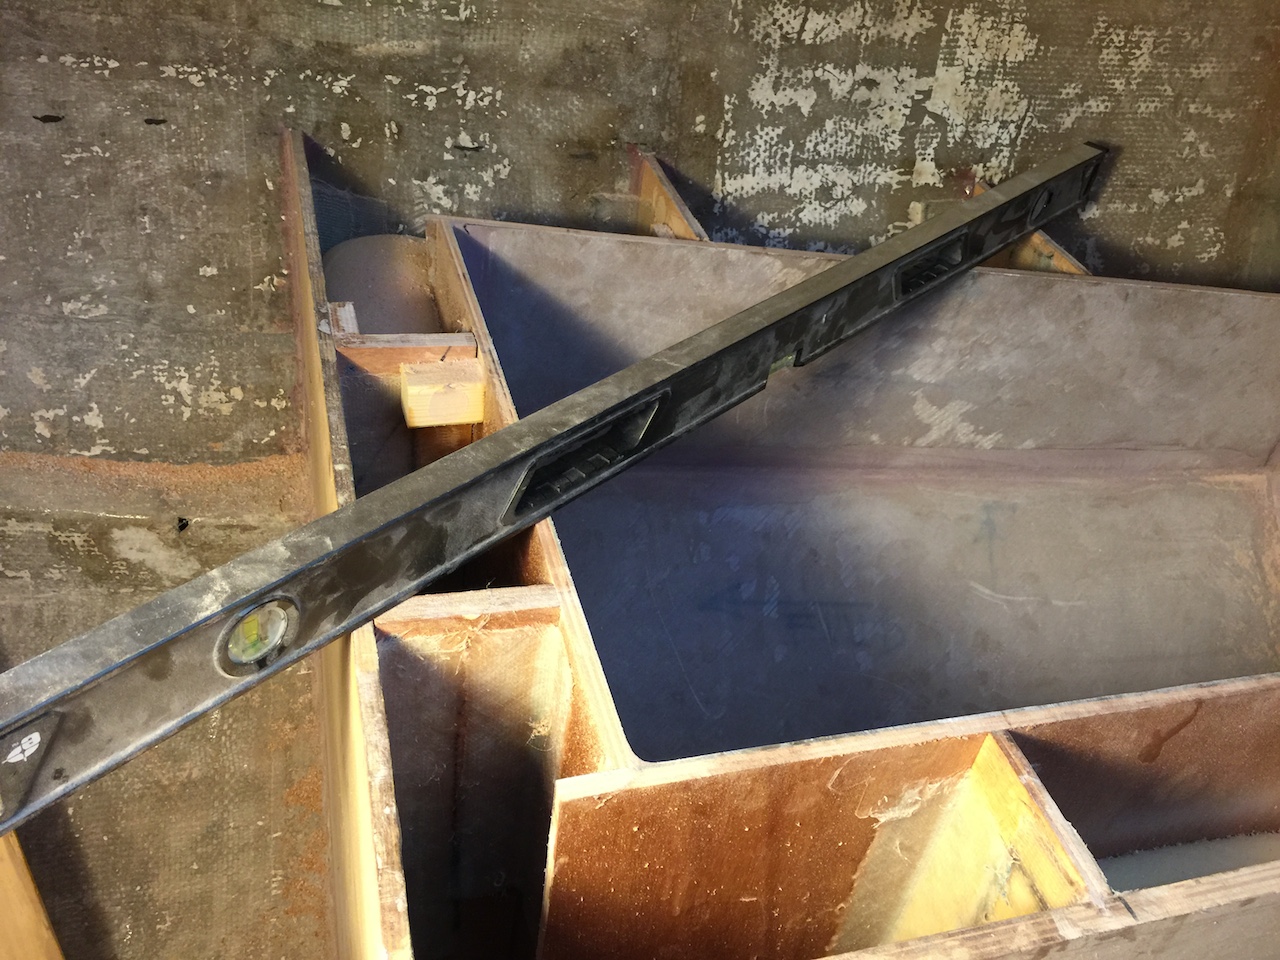
Before moving on, I trimmed parts of the icebox rim to make all edges at precisely countertop level.
The belt-sander removed what I couldn’t reach with the router.
Here the straightedge is just touching the highest point of five different pieces, confirming that everything is at the same level.
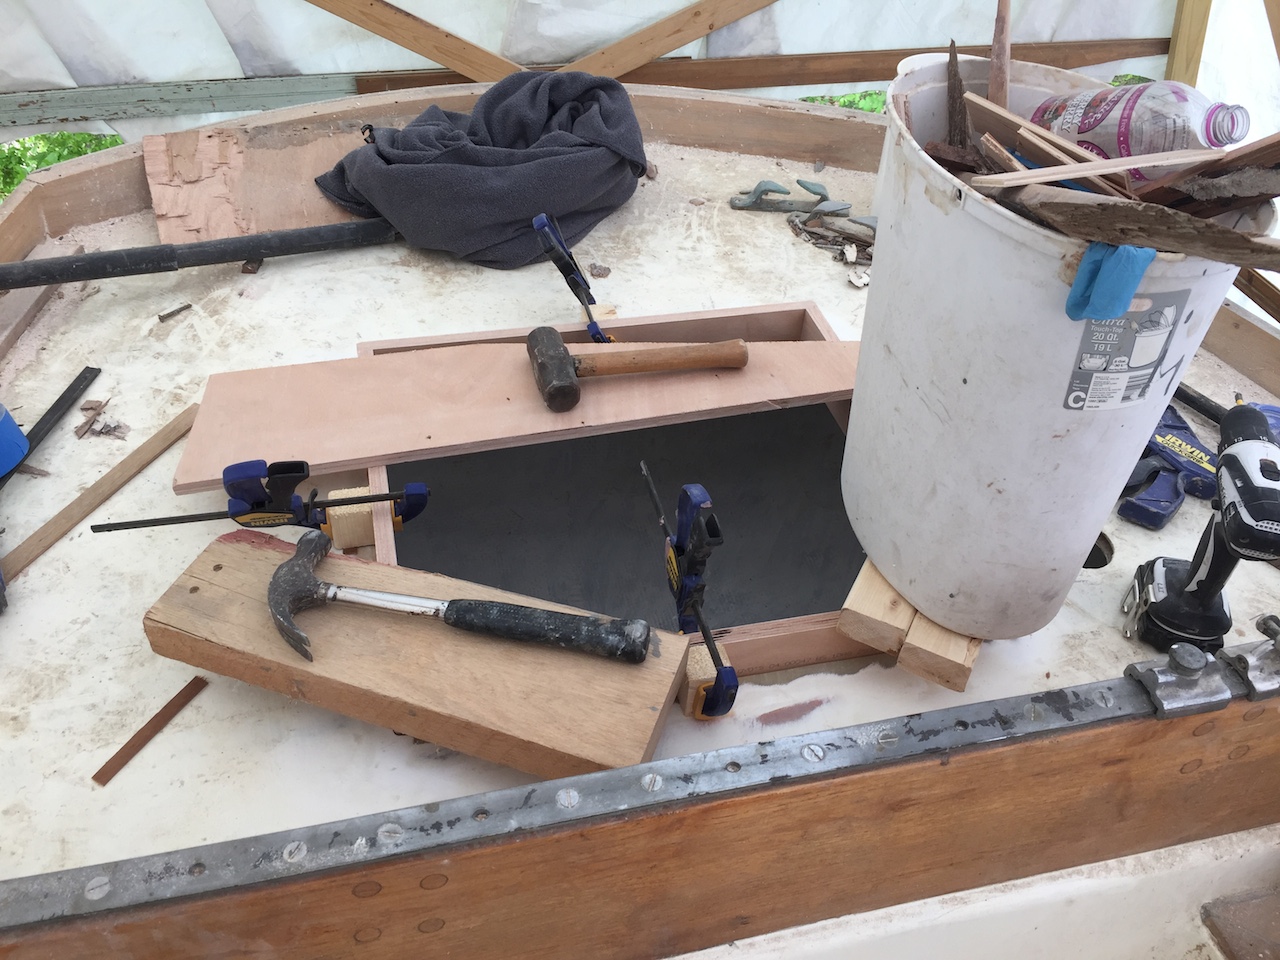
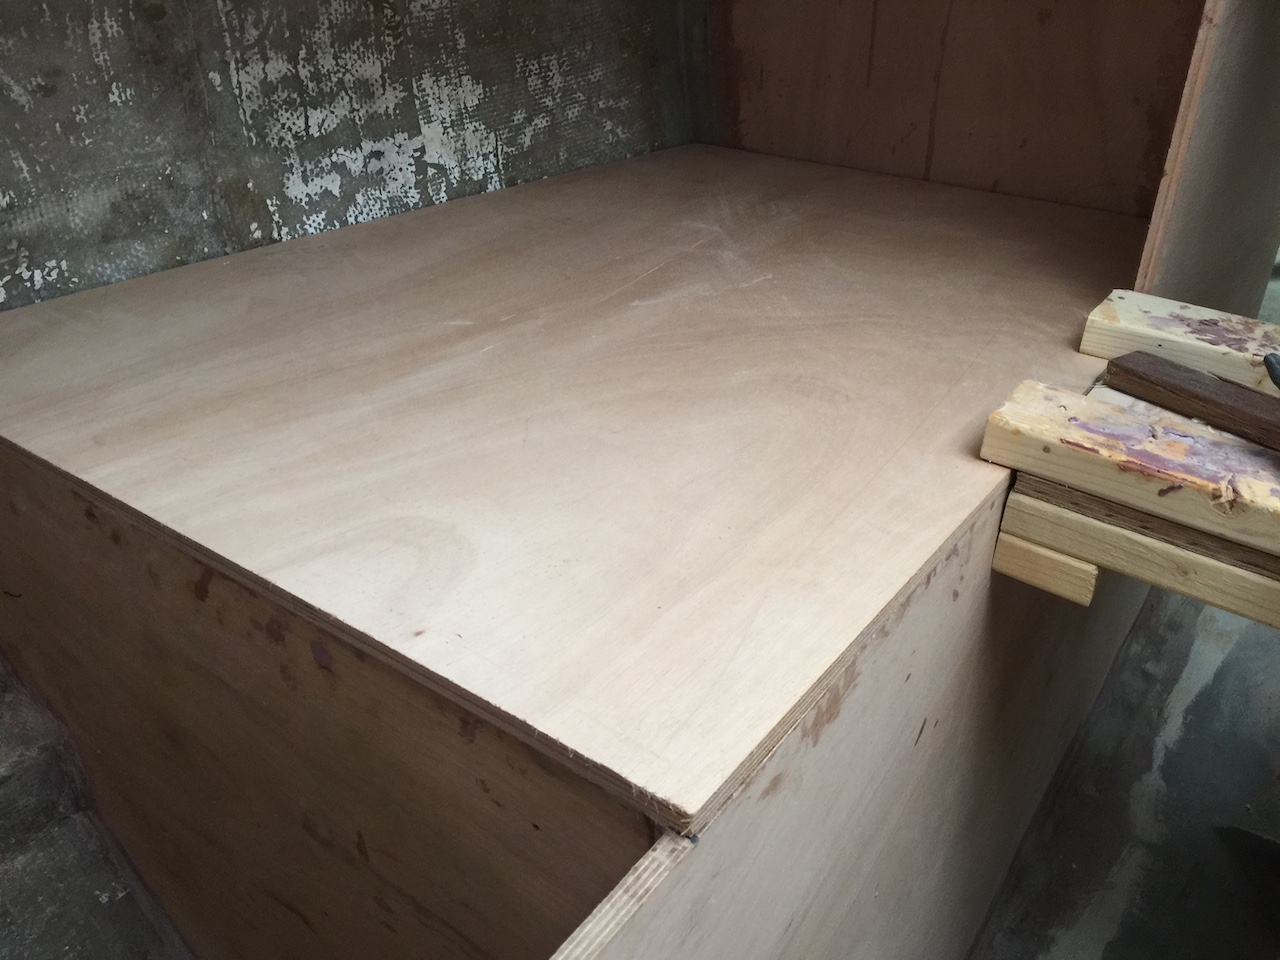
I made a template for the countertop (not shown) and cut out the countertop (shown) from 5/8-inch Okume.
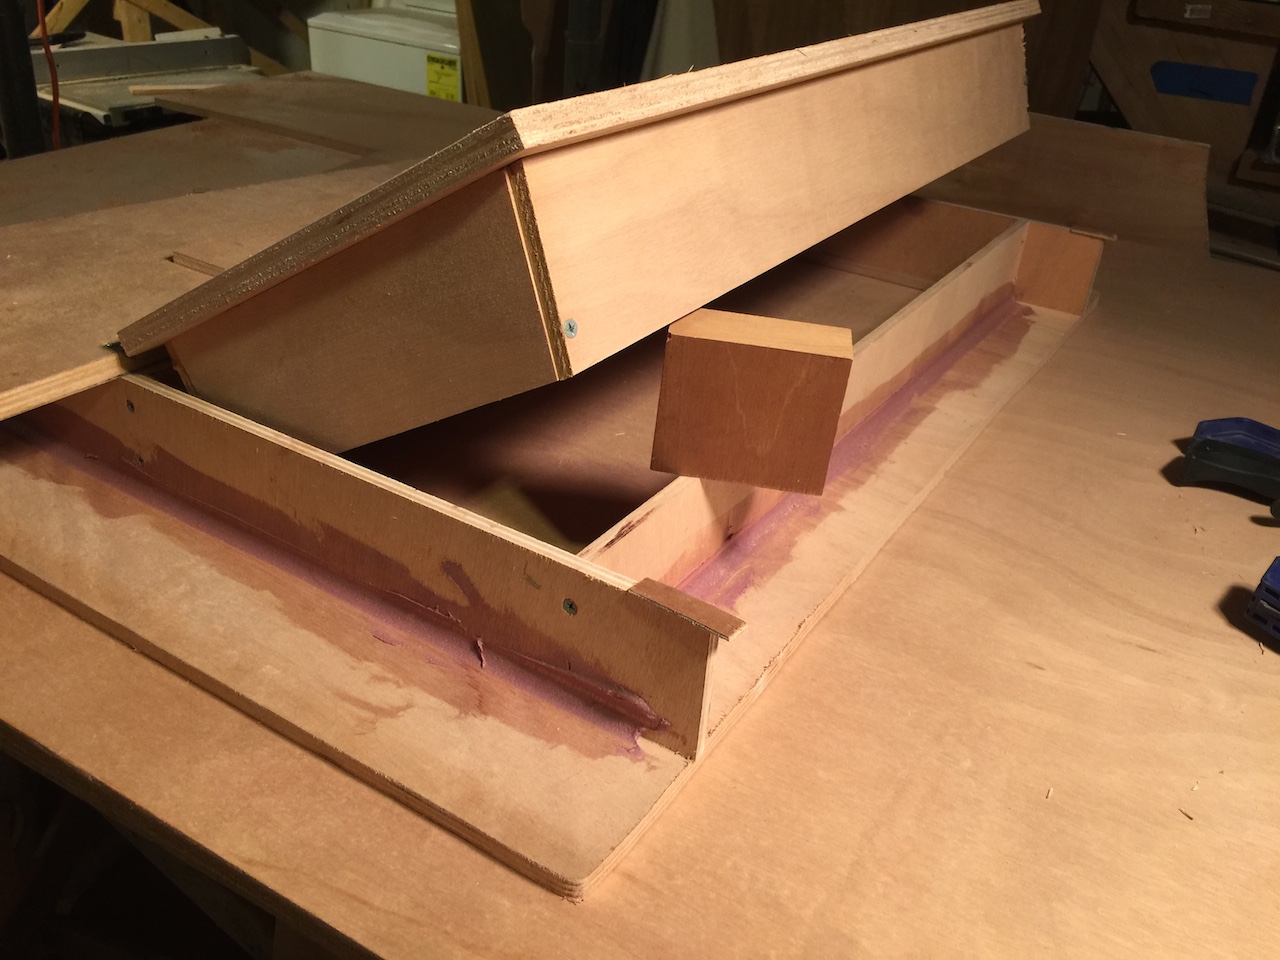
Initially, I thought that I might make one giant lid for the icebox. It would be hinged somewhere in the middle. I decided instead to make an insulated roof for the icebox with a smaller cutout for a one-piece lid. The two photos below show the idea, and there is a mock-up lid in the second photo.
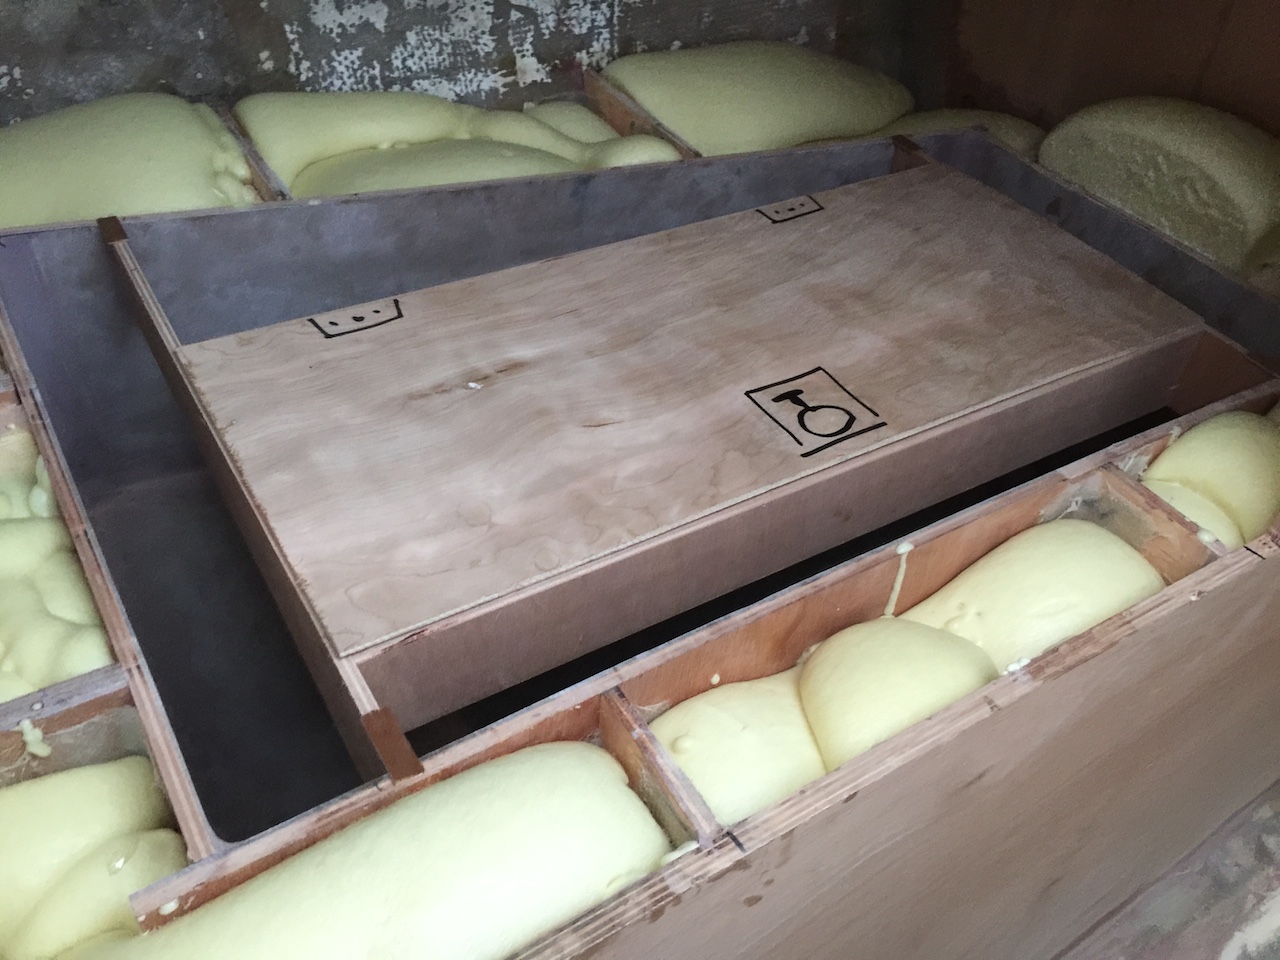
Here I am making a template for the roof.
Here the roof is cut out and I’m making a piece for the top of the lid.
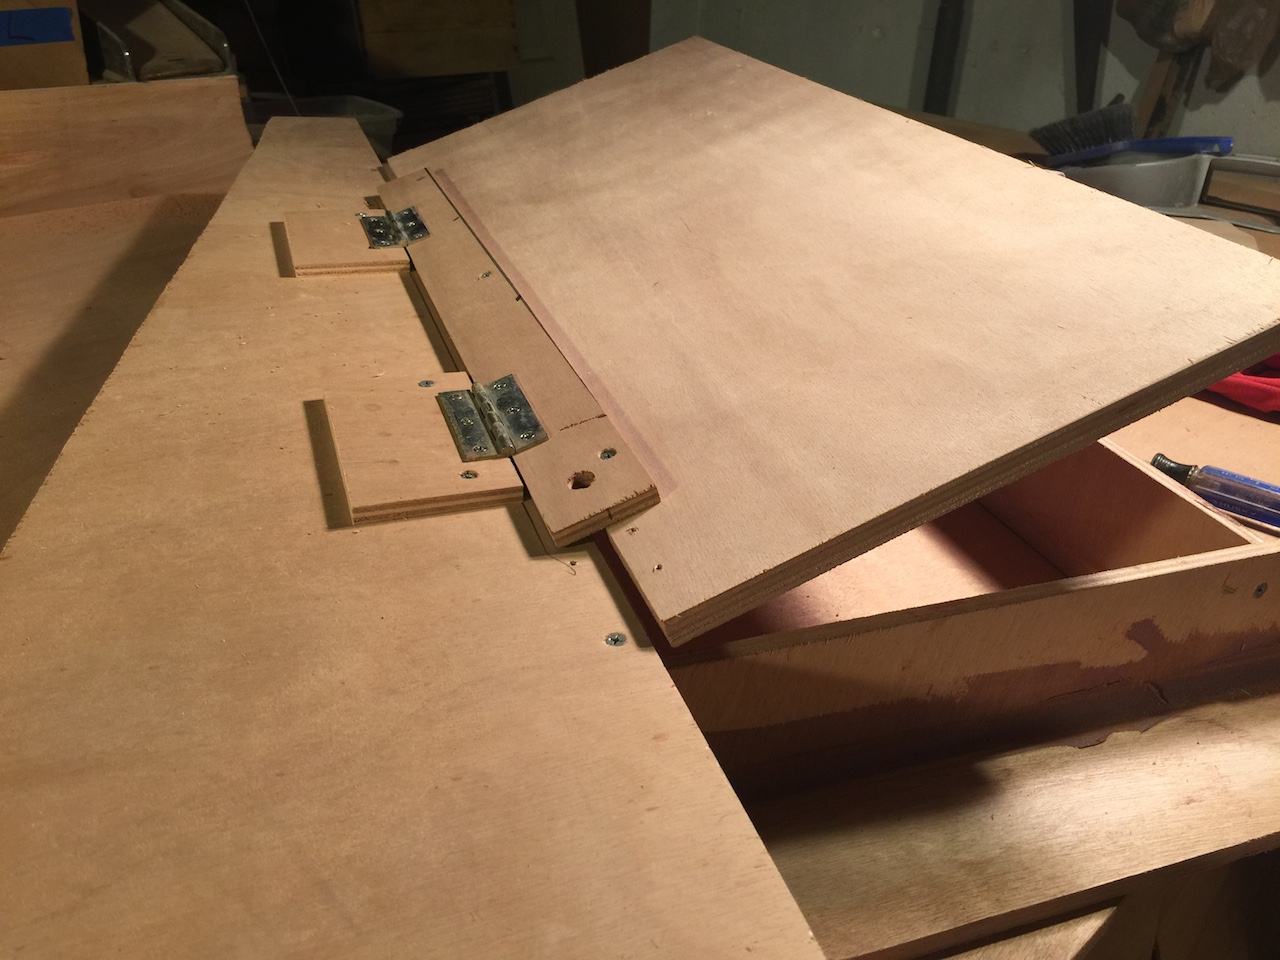
A piece of scrap 5/8-inch plywood was attached in a way that allowed me to test the fit of the lid.
The lid must be insulated, so here I have built sides for the insulated part of the lid.
The lid, being about 4 inches thick, must be tapered on the opening side so that it can swing open freely.
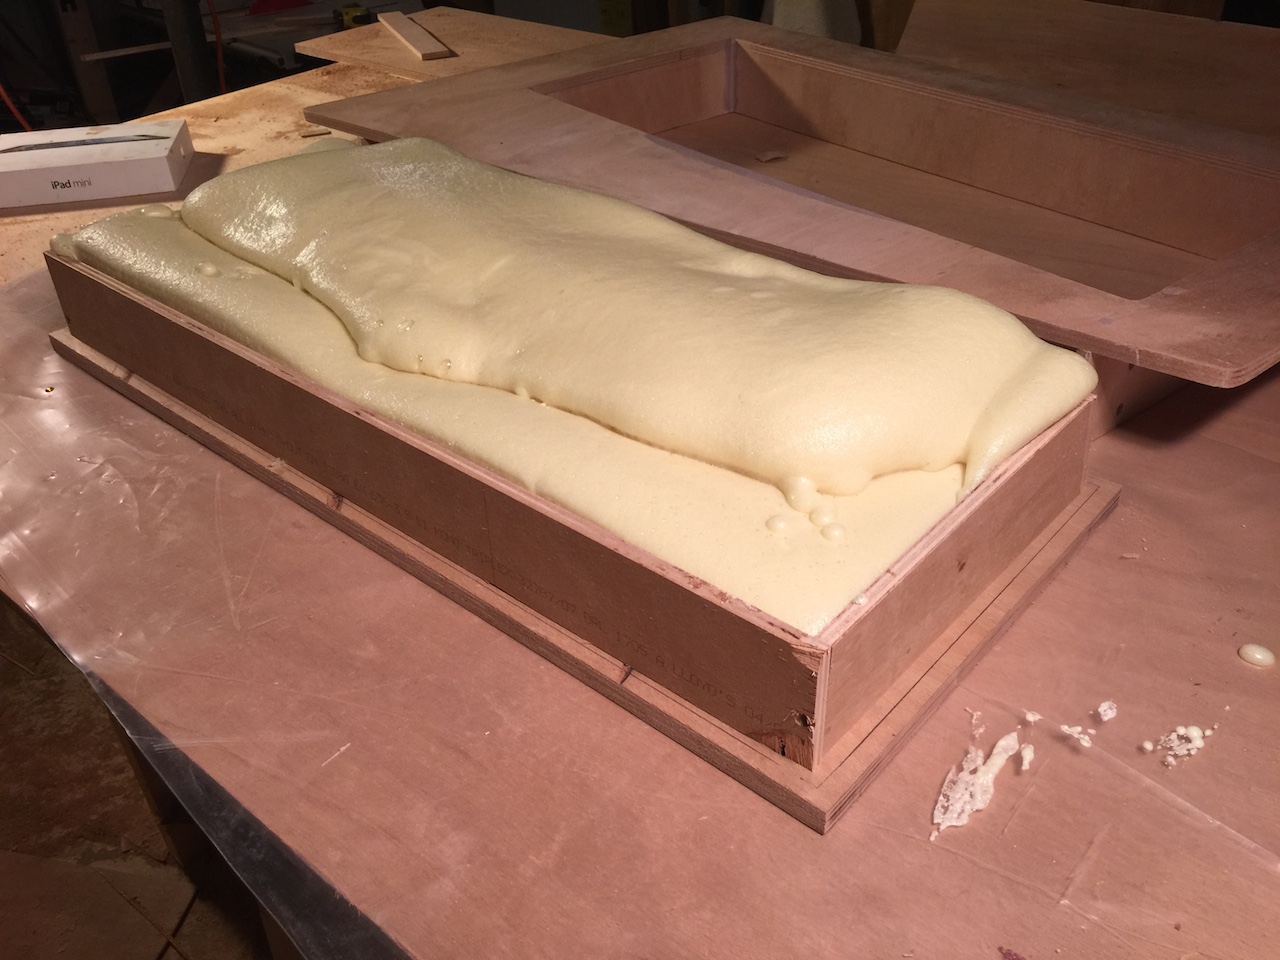
Next, I filled the top with foam, then cut away the excess with various saws, and then the thickness planer.
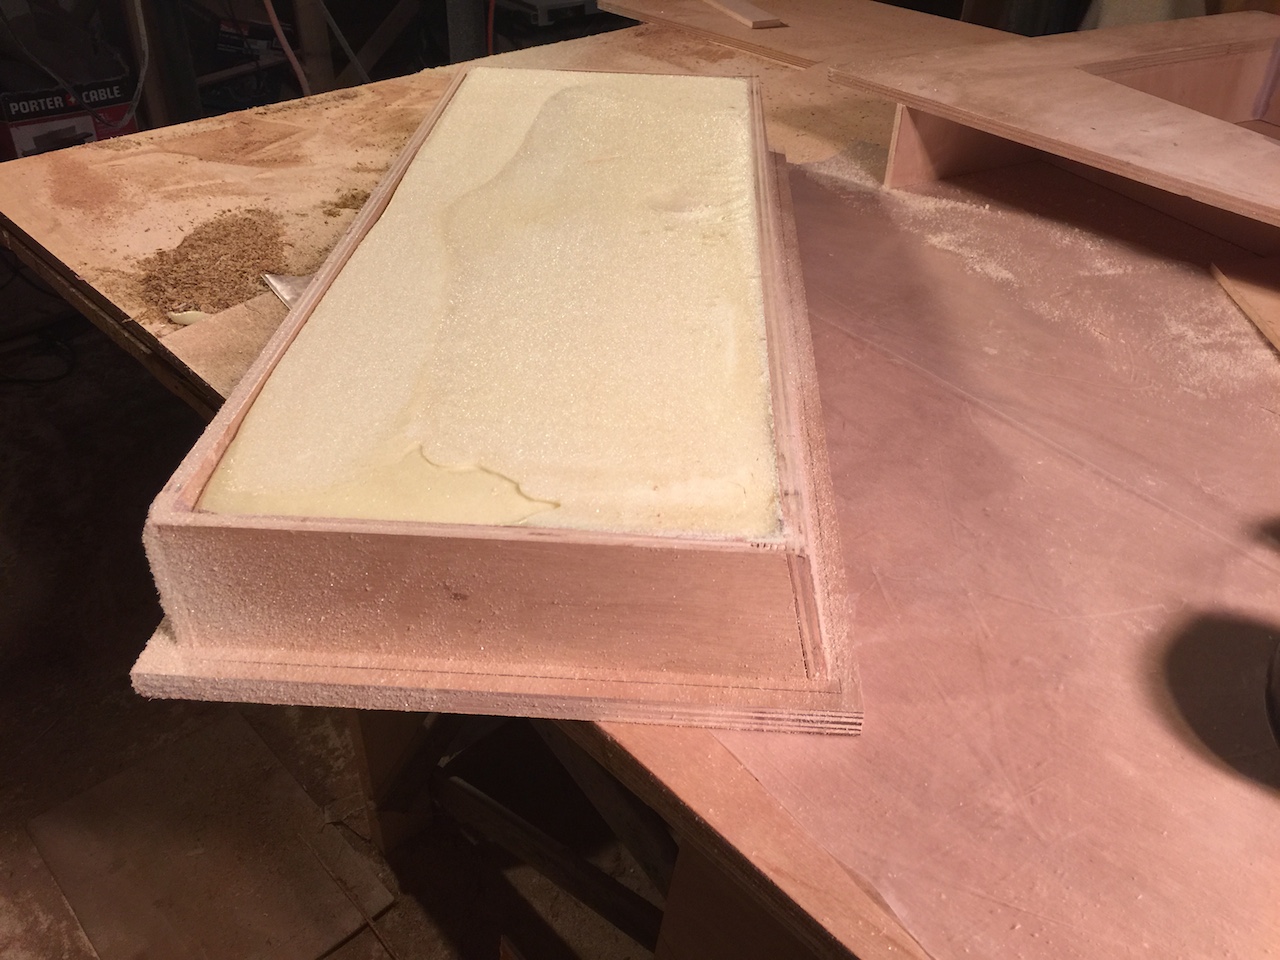
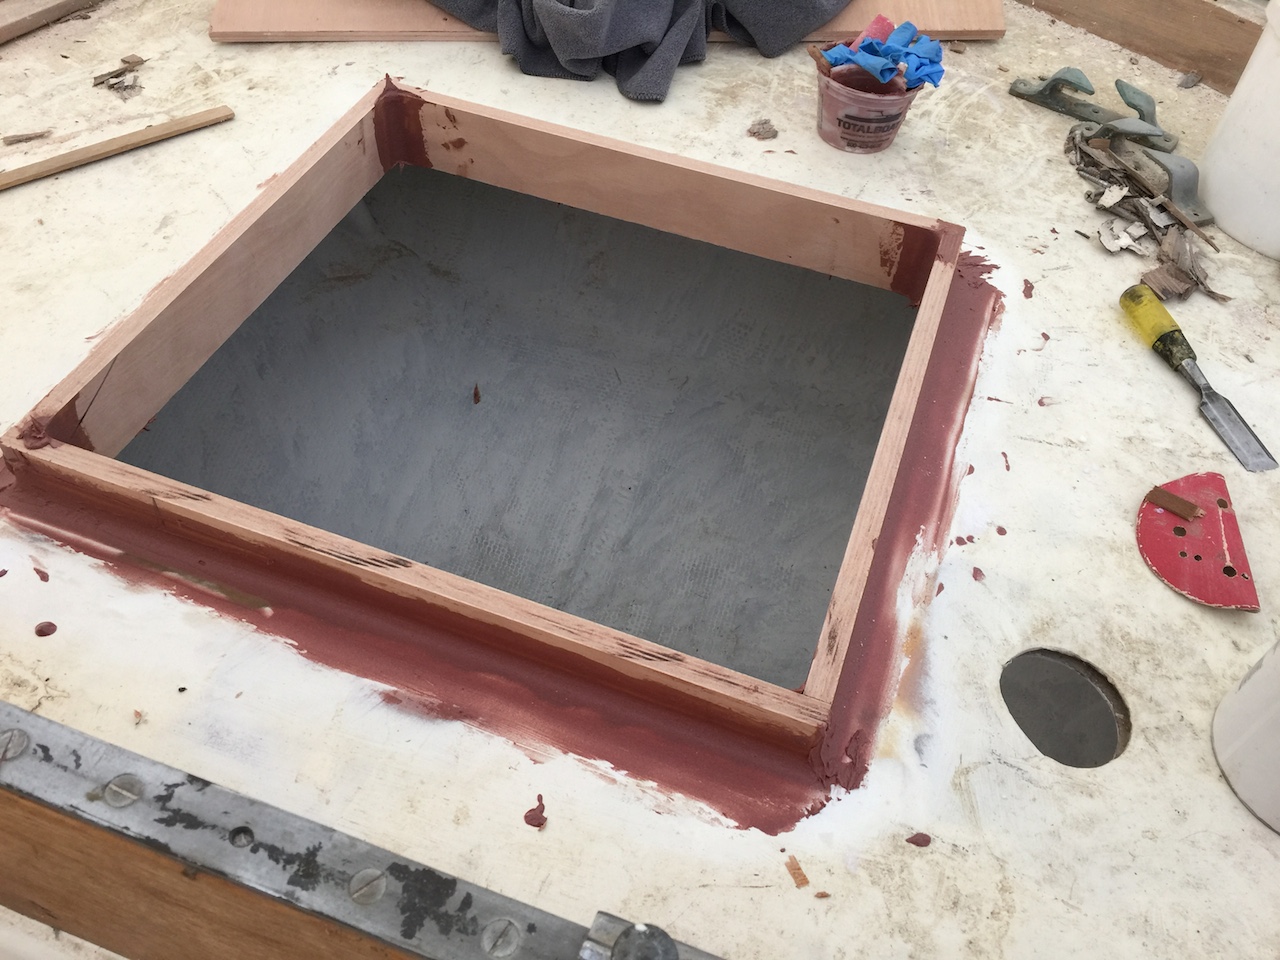
The bottom of the top was installed, and everything was checked again for fit.
I allowed 1/4 inch extra space all around to account for the thickness of the fiberglass.
All corners and edges are rounded, but not nearly round enough to allow the biaxial cloth to make the turn. In the next photo, all the glass is dry, but there is still a lot of sanding, filling, and fairing to do.

Meanwhile, back on the boat, I set up the roof. Note the four little scraps I’ve screwed to the roof to hold everything at countertop level while I apply fillets and glass. You can also see here where I’ve added plywood strips to add thickness to the opening.
A fillet of thickened epoxy and glass holds the roof to the sides, and epoxy and clamps hold the thickening pieces in place:
When everything dried, I filled the roof and any remaining voids with more foam.
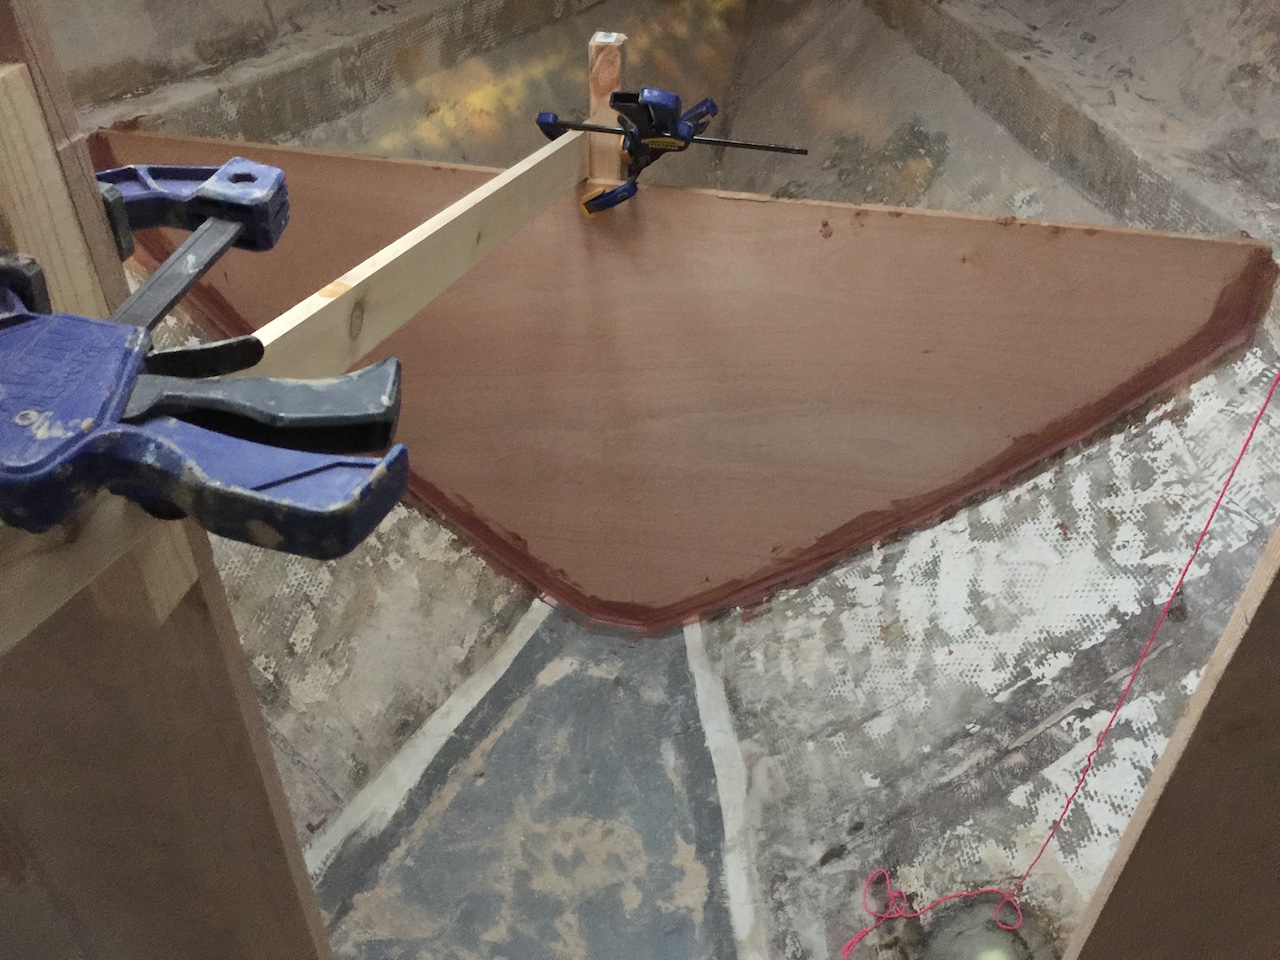
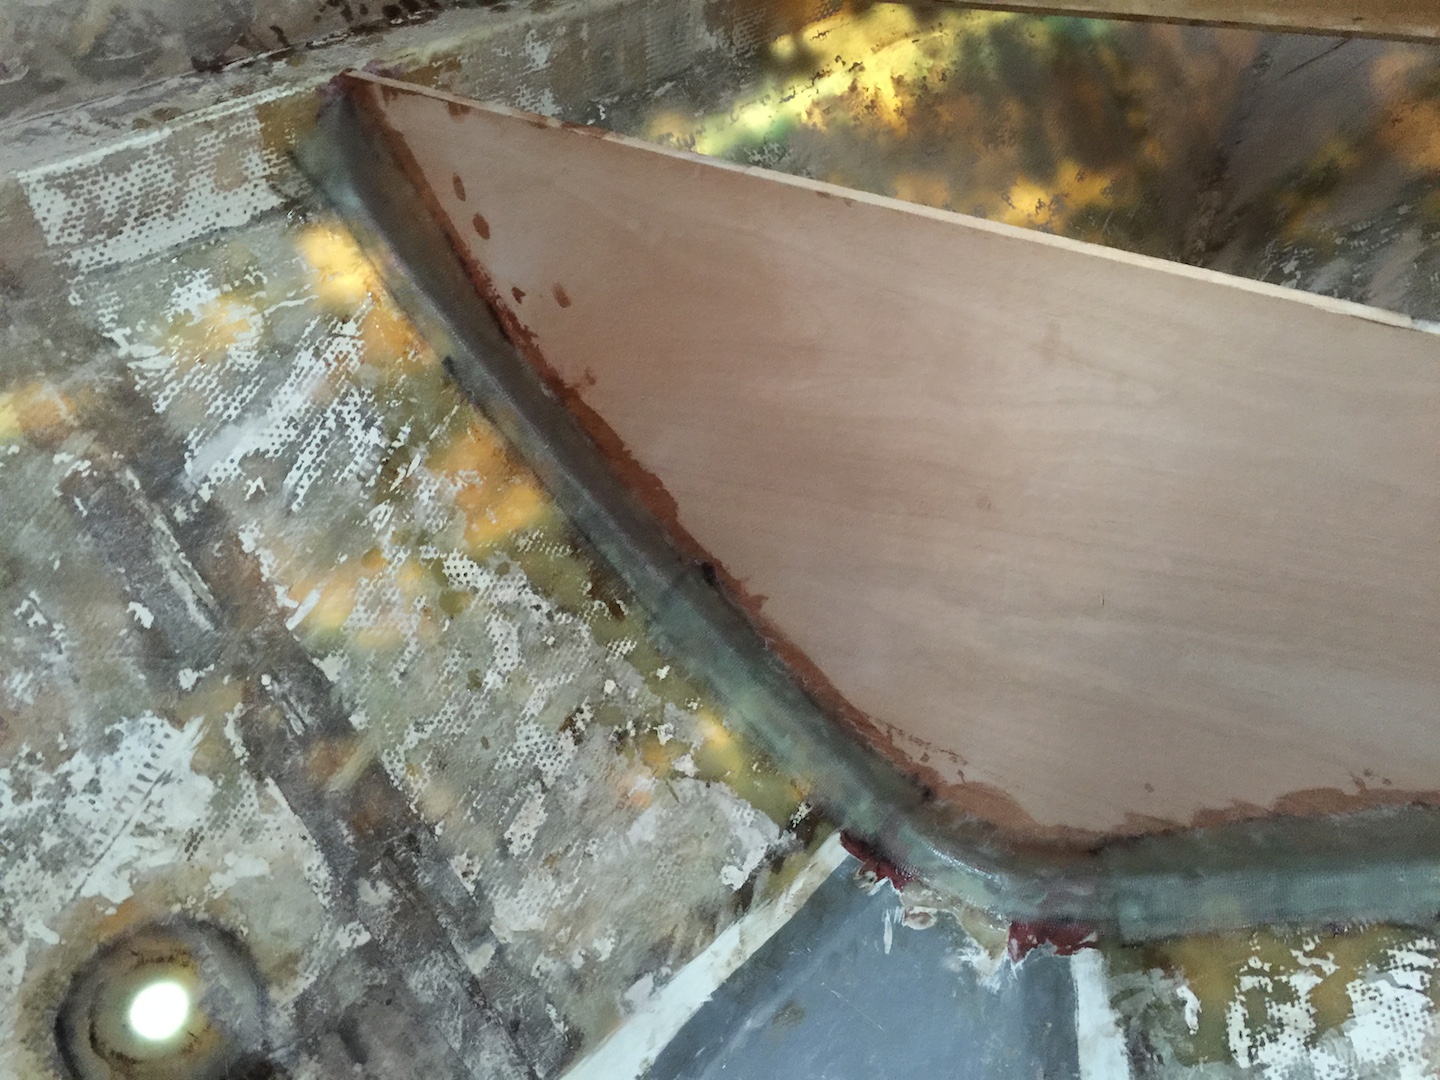
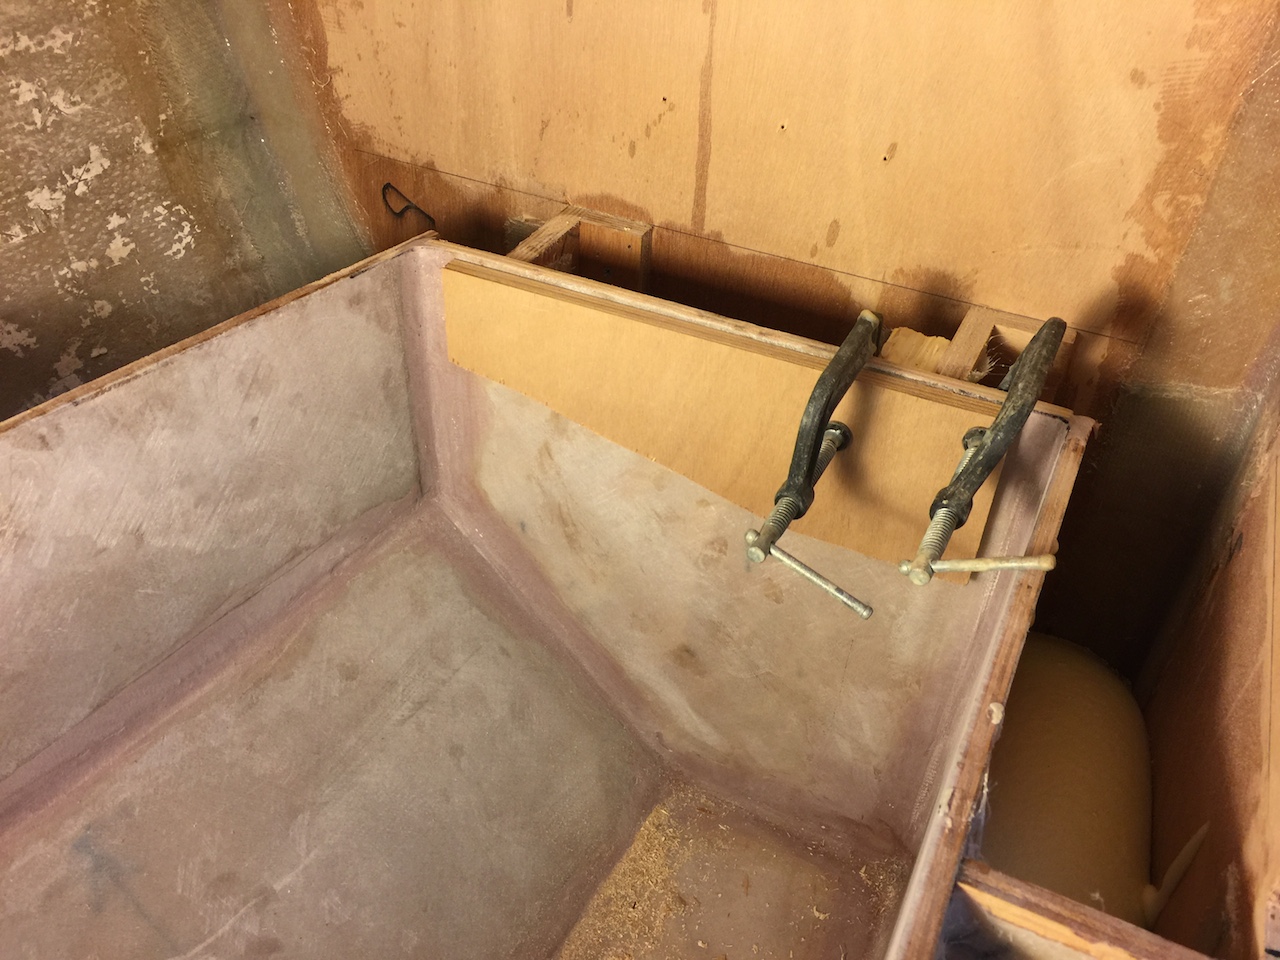
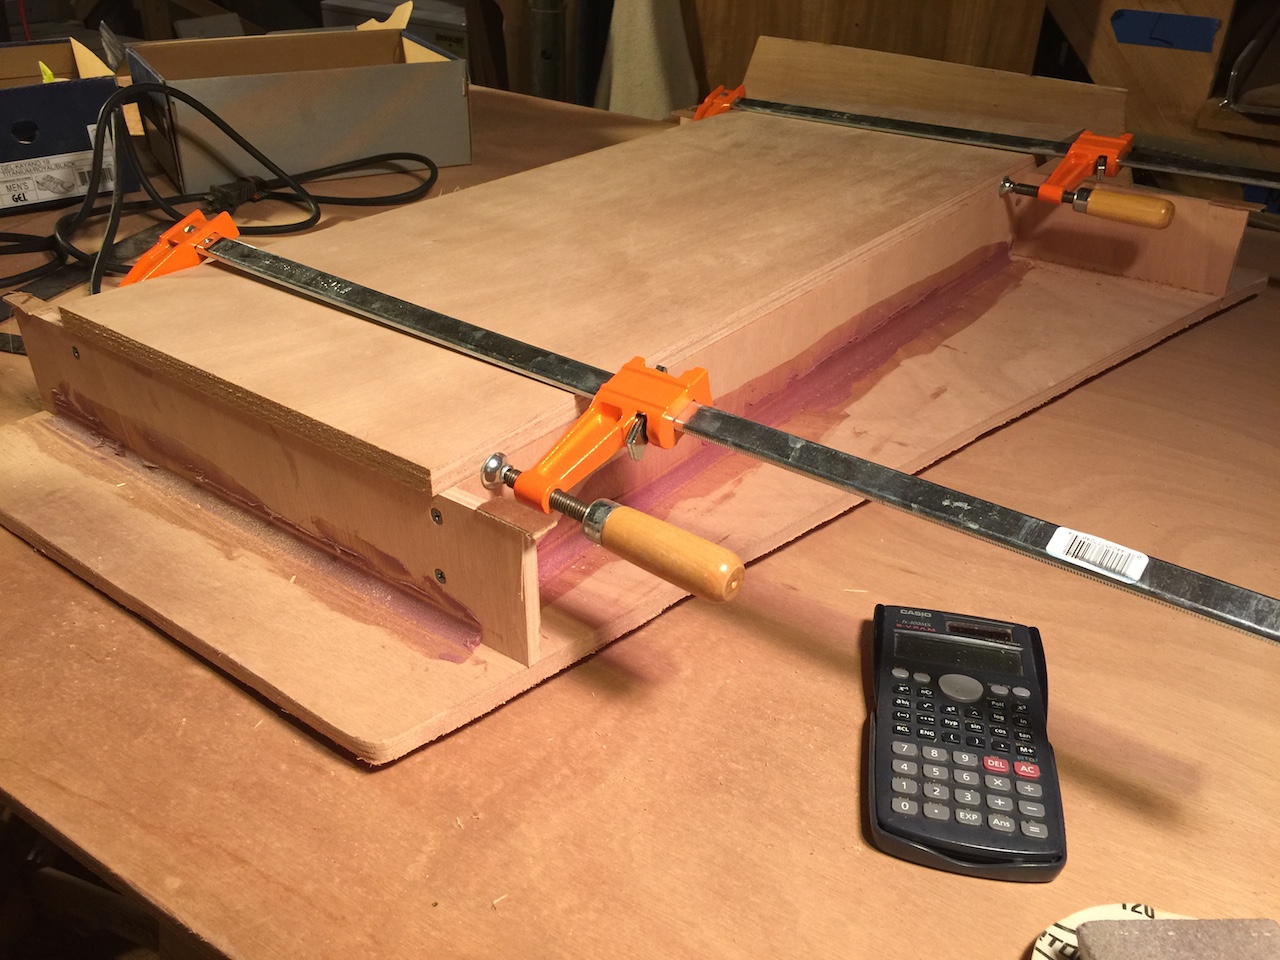
V-BERTH BULKHEAD
In between working on the icebox and aft compartment, I made and installed the primary bulkhead that sits under the “V berth” area. The following photos show some of the details.