Phase 4
A thorough restoration would be impossible with Thalassa in a boatyard. In Summer 2012 she was moved to the backyard.
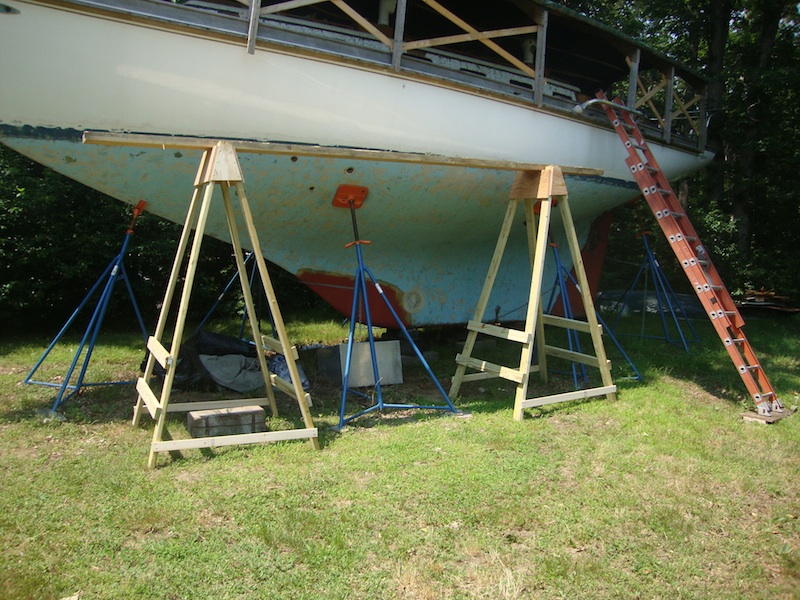
In the back yard. Note the scaffolding, from which work on the deck may be done.
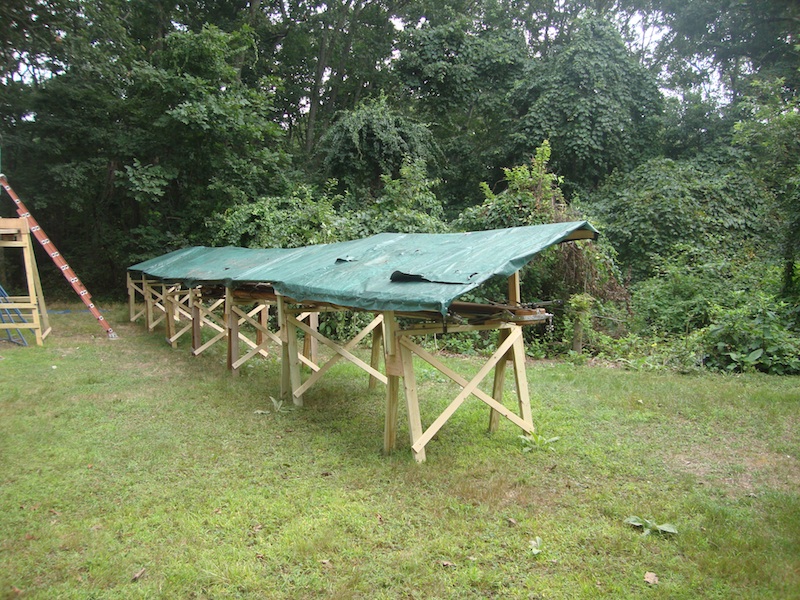
The masts got a cover, too.
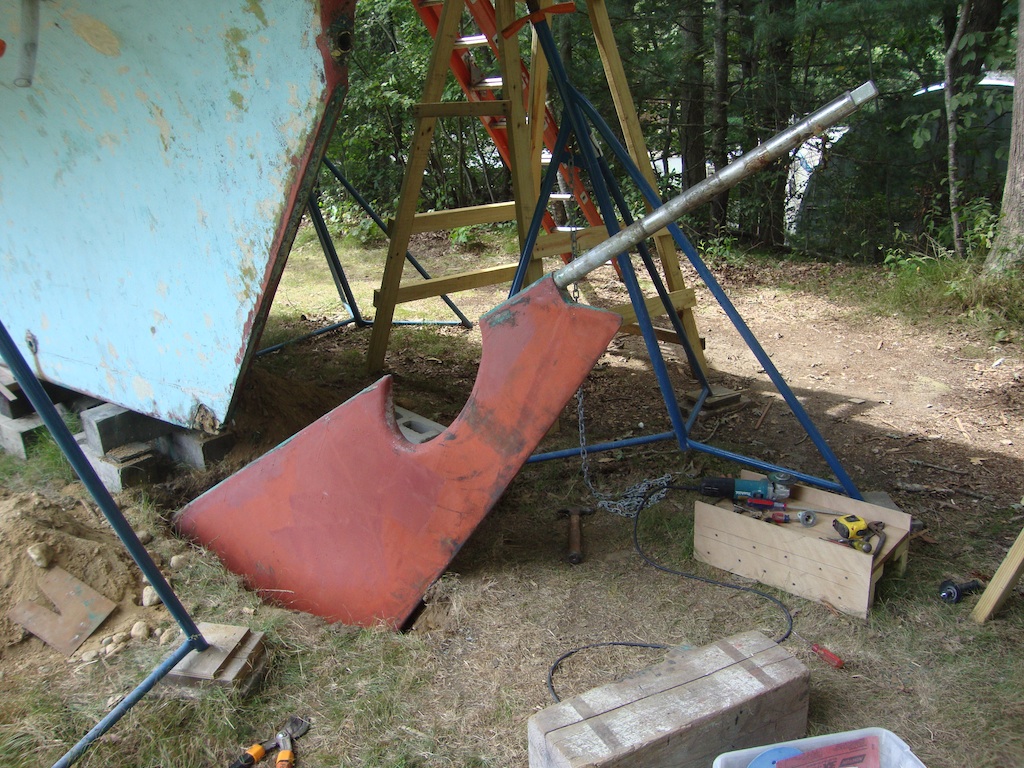
The propellor and shaft were removed and then the rudder was removed.
The Deck (Again)
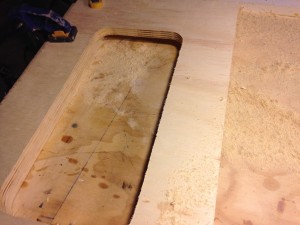
Up to this point, only the aft deck has been recored. To have the strongest, stiffest deck possible, the core must be dry and firmly bonded to both the upper and lower deck skins. Thalassa’s decks were cut up in pieces and the wet core material was removed and discarded.

The deck was cut up in sections and the soggy core was removed.
Note the 4-inch lip the was left around the edge. This undercut saw was helpful in cleaning out the core left between the lip and the bottom skin.
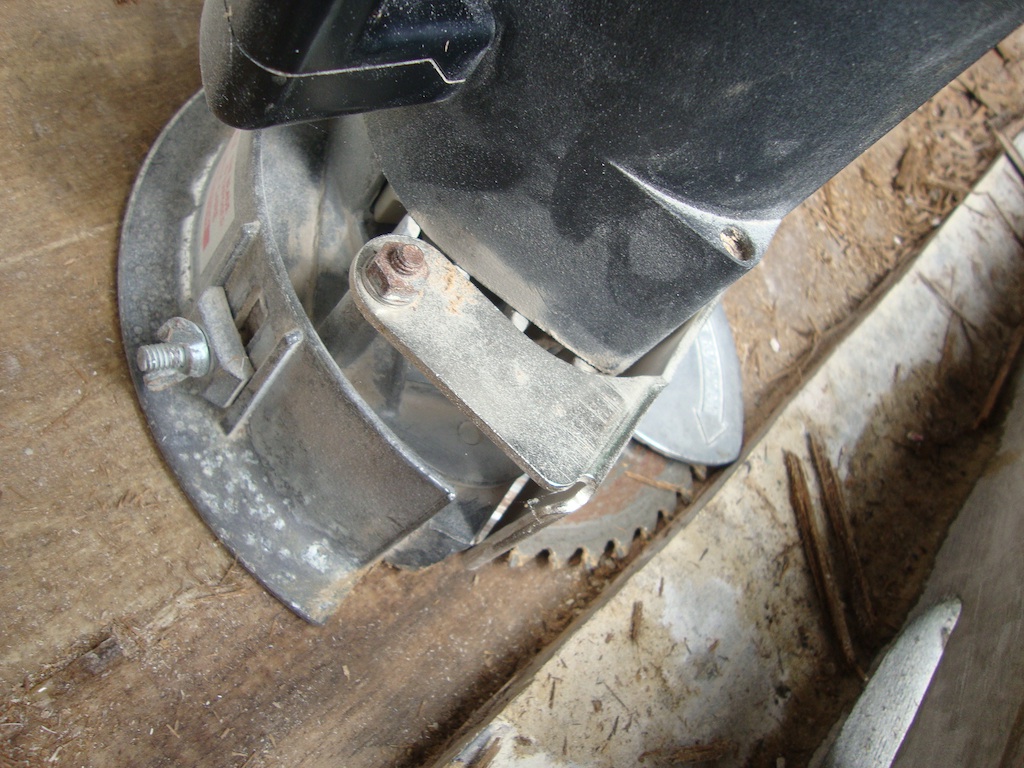
This undercut saw was useful for removing core material from between the skins.
The new core material (3/8-inch marine ply) was dry fitted.
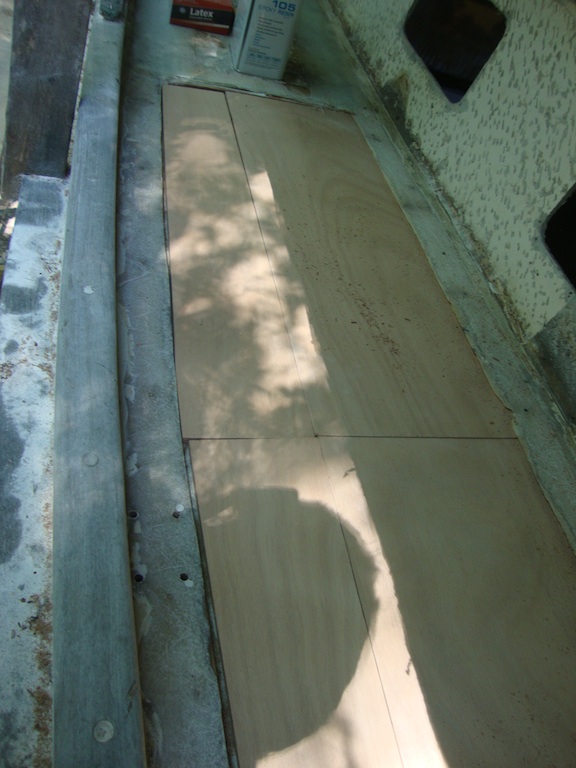
Dry-fitting the new core.
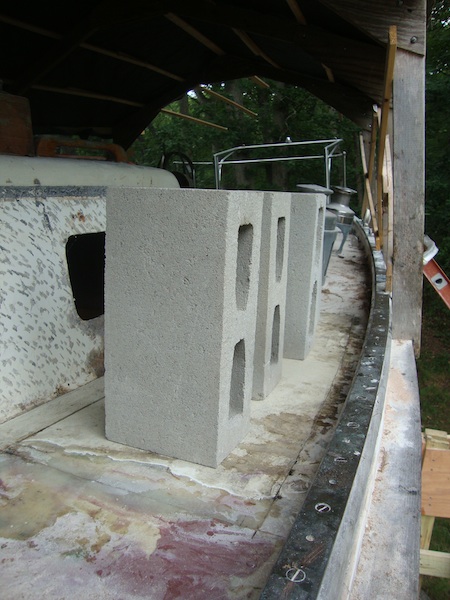
Cinderblocks were used to press the upper skin down onto the core.
Fiberglass strips and epoxy are used for the layup along the seams.
Fiberglass layup along the seams.
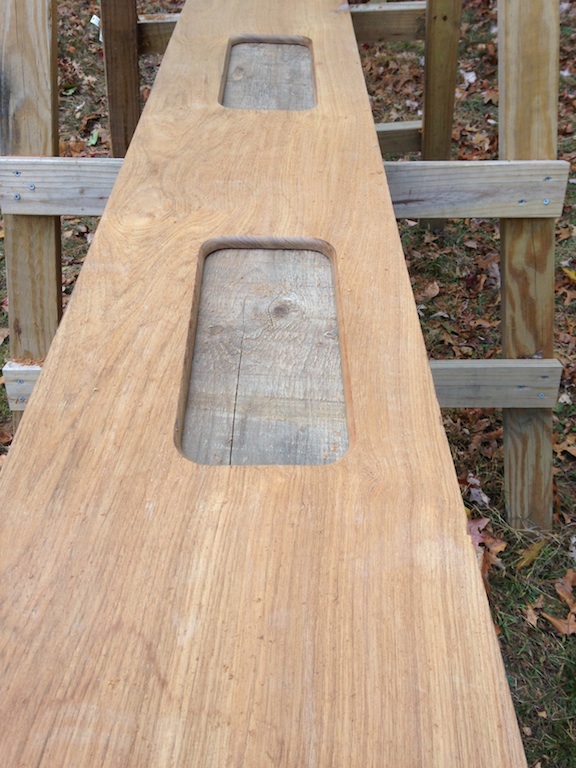
The photo below is significant. It shows the discovery of dry core on the side decks near the front of the cabin house. This is the starboard side, and there was dry core at about the same place on the port side. The significance, of course, is that the core forward of these places need not be replaced. Why is the foredeck core dry? These boats have a significant sheer, which means that water quickly runs off the foredeck, accumulating further aft.
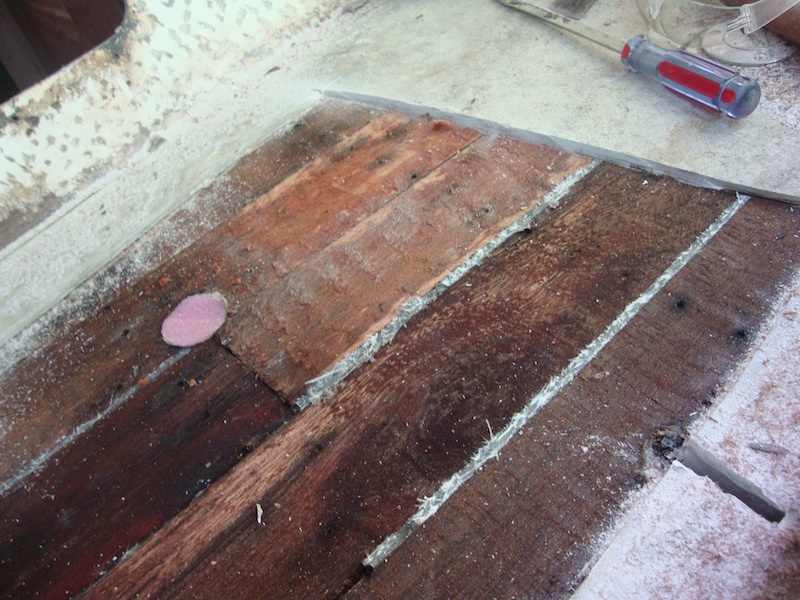
This photo shows the transition from wet to dry core on the starboard deck.
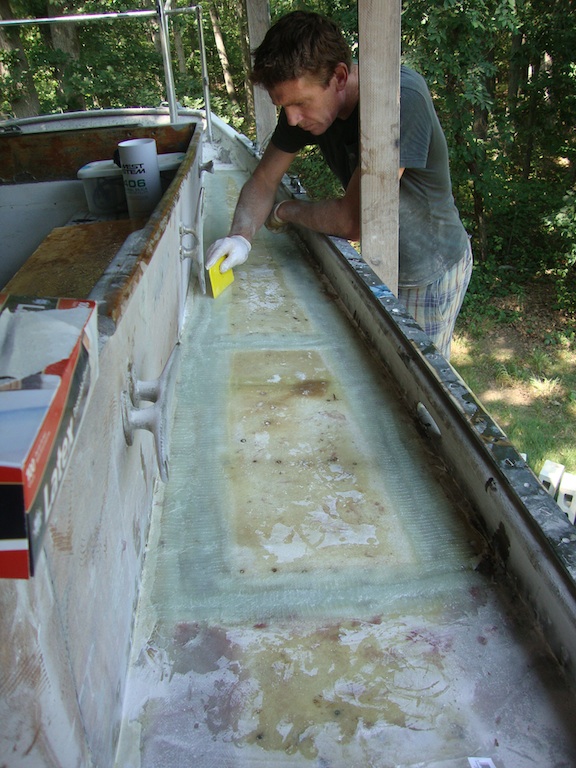
Fairing the deck (filling with thickened epoxy, sanding, and repeating) was a significant job, requiring lots of sanding.
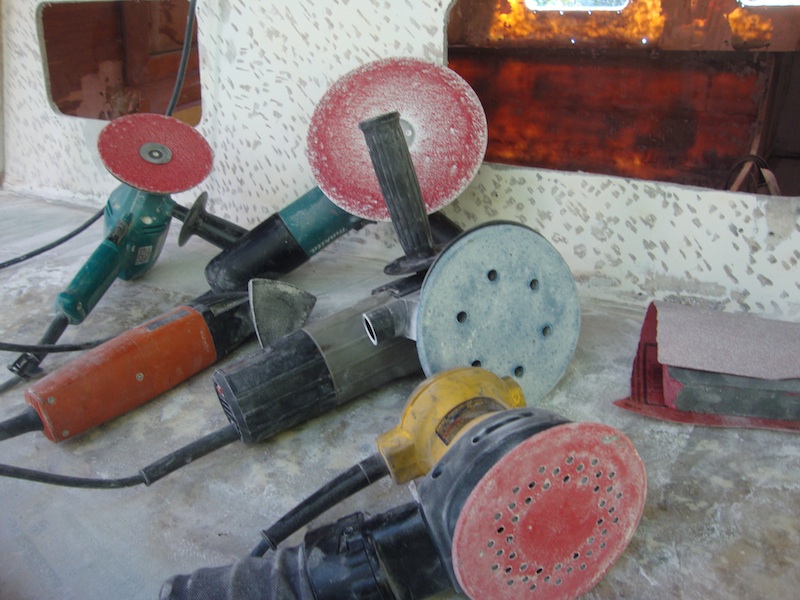
Five power sanders.
The following photo shows the port deck adjacent to the cockpit after some fairing.
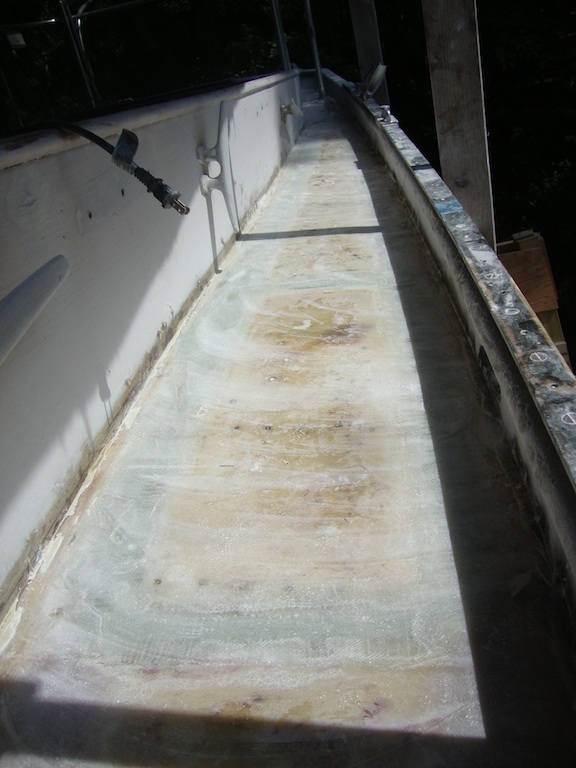
Almost ready for primer.
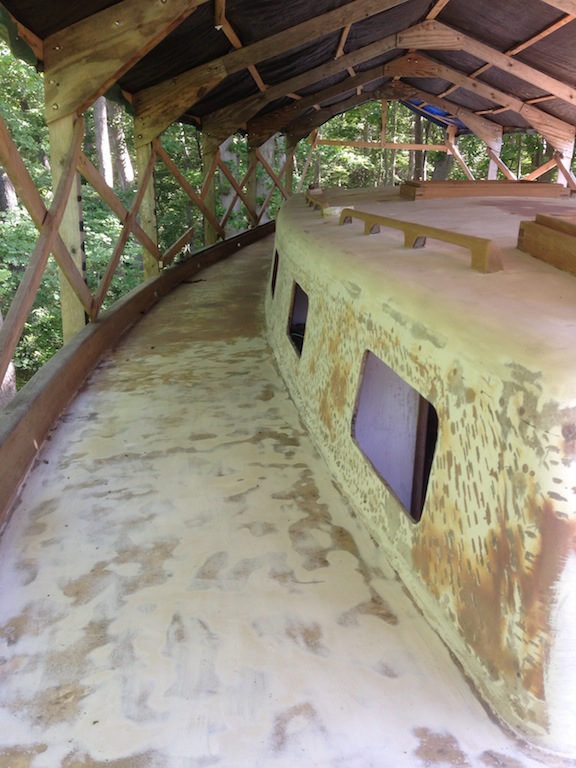
Finally the decks are smooth, the core is dry. You can see here that the teak that covered the cabin-top sides has been removed and the surface has been faired.
Just one coat of primer and one coat of varnish for now.
The Cockpit
The following image shows the poor condition of the laid teak in the cockpit. There are practically no bungs left and many of the boards are coming up.
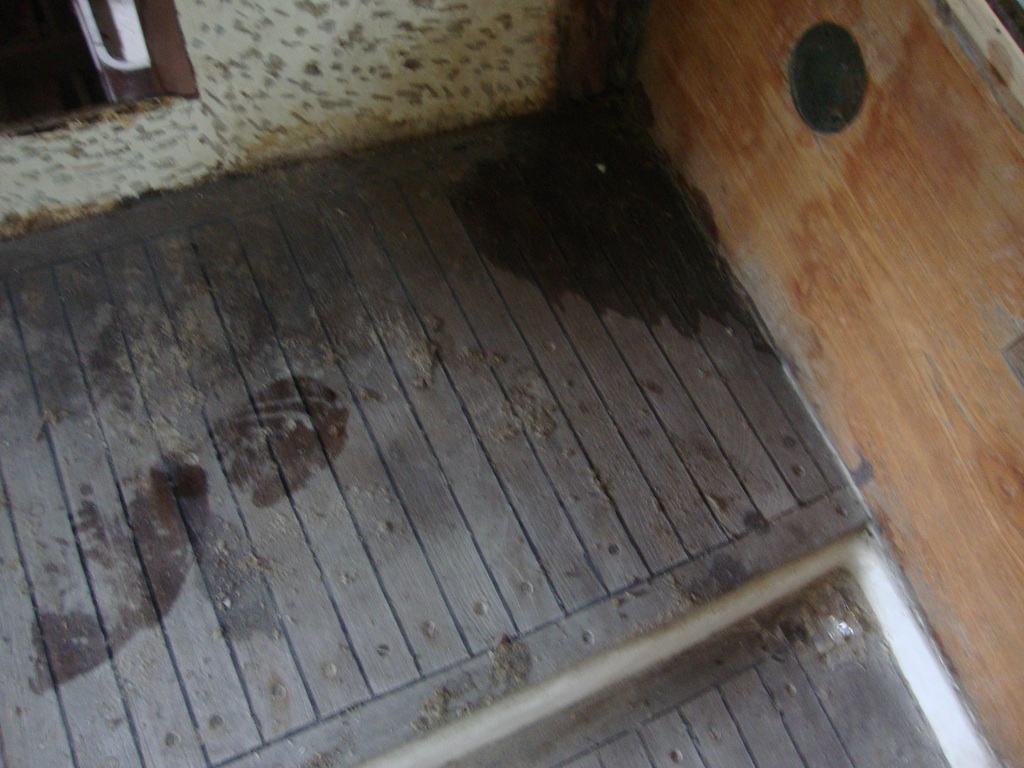
The poor condition of the teak in the cockpit.

Removing the teak in the cockpit proceeded just like removing the teak decks.
The steering pedestal was removed, too, and so was the big stainless inspection port in front of the pedestal.
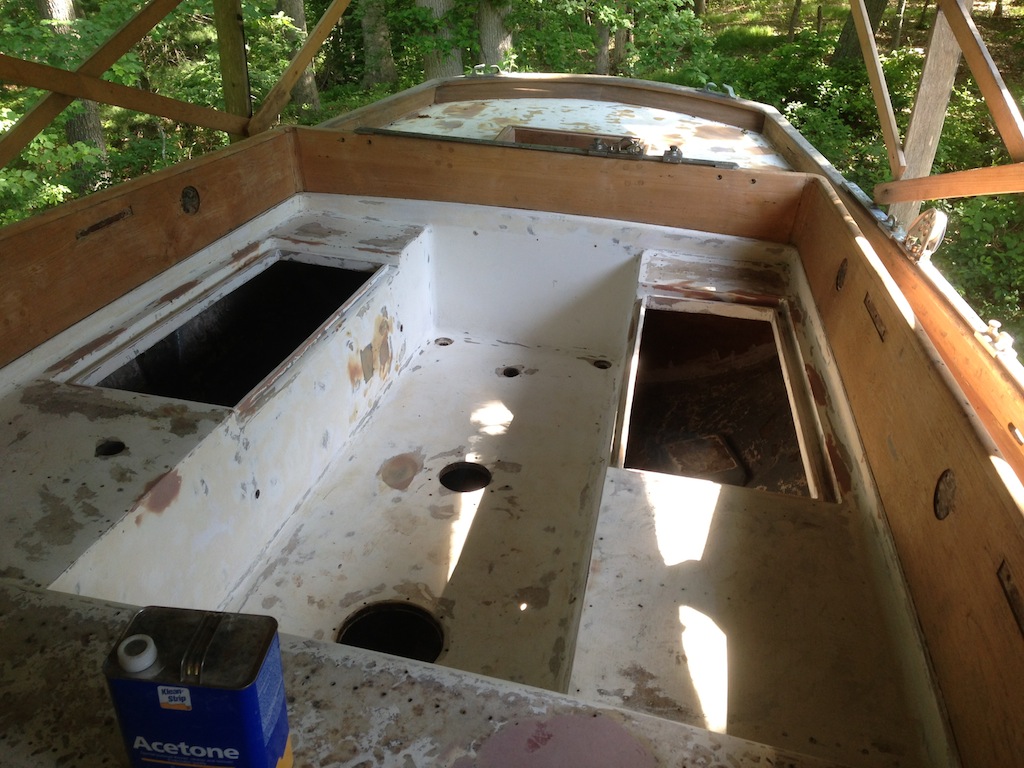
Cleaned up, faired, and ready for work.
Much of the deck work was done from scaffolding, so the boat wasn’t completely covered. A dry environment was required.
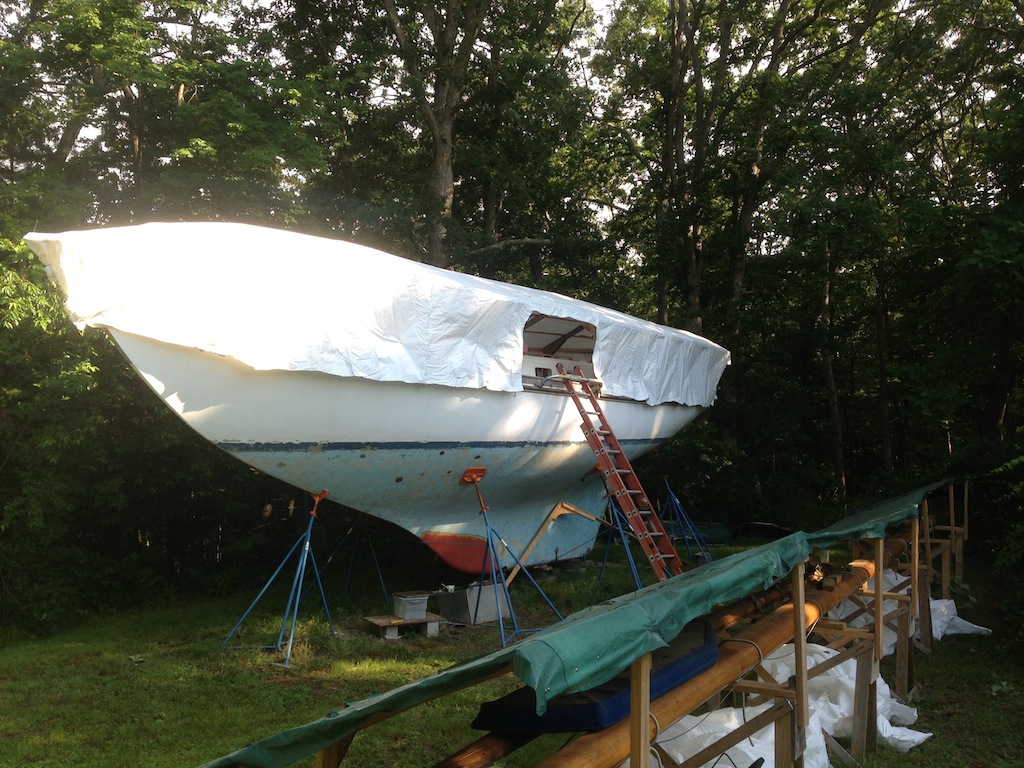
A new white tarp replaced the green tarp that covered only the top of the frame.
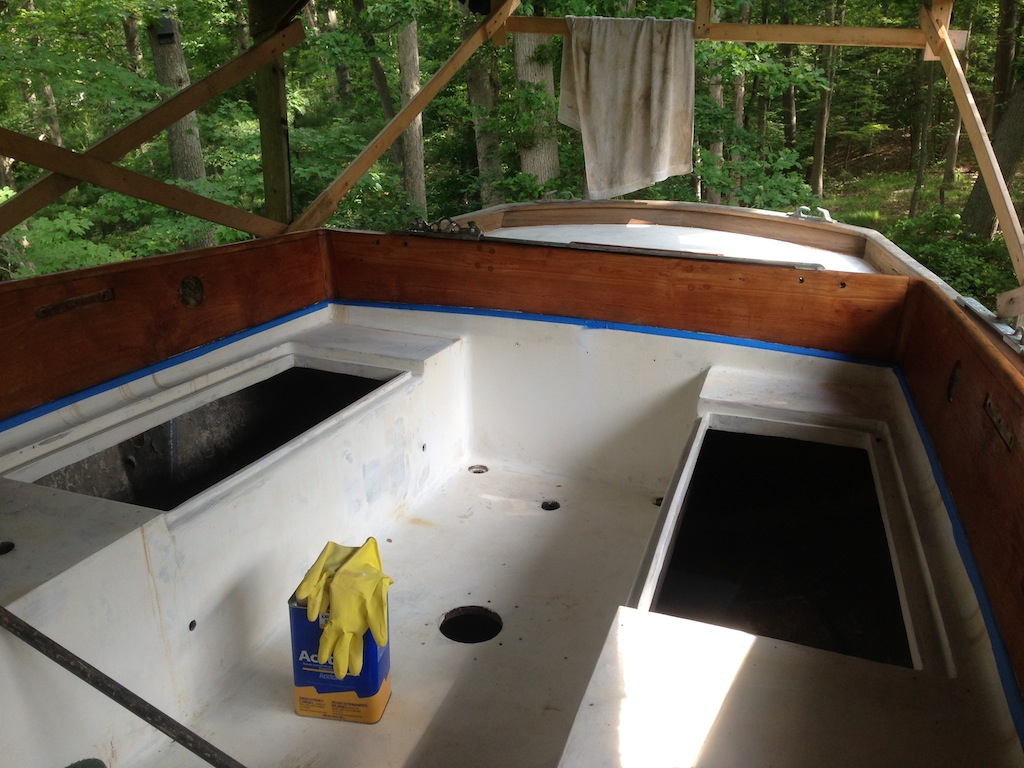
One coat of primer.
Teak decking of 2-inch width and 1/2-inch thickness was used. The miter saw was moved up to top of the cabin.
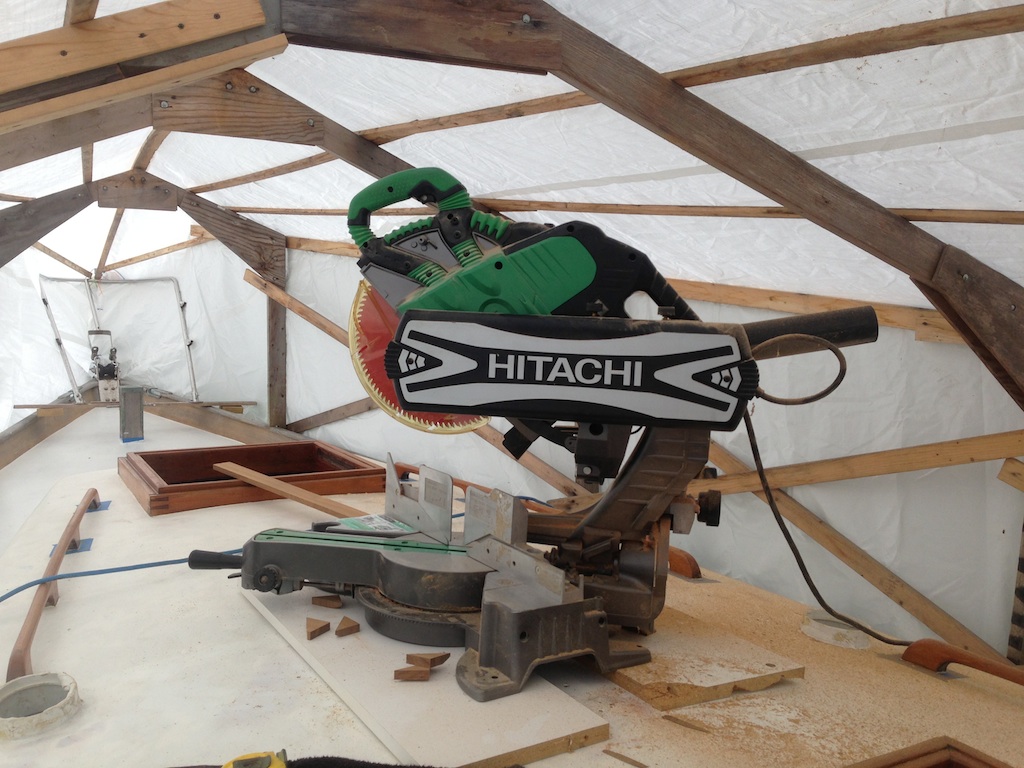
A close proximity to the miter saw was important.
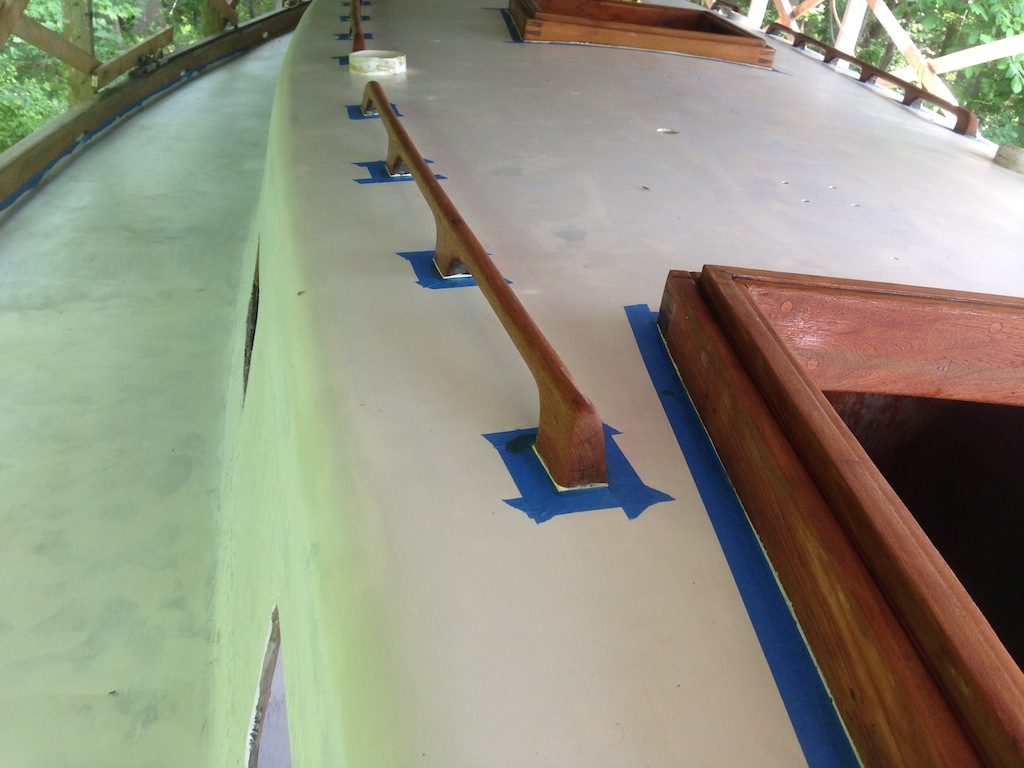
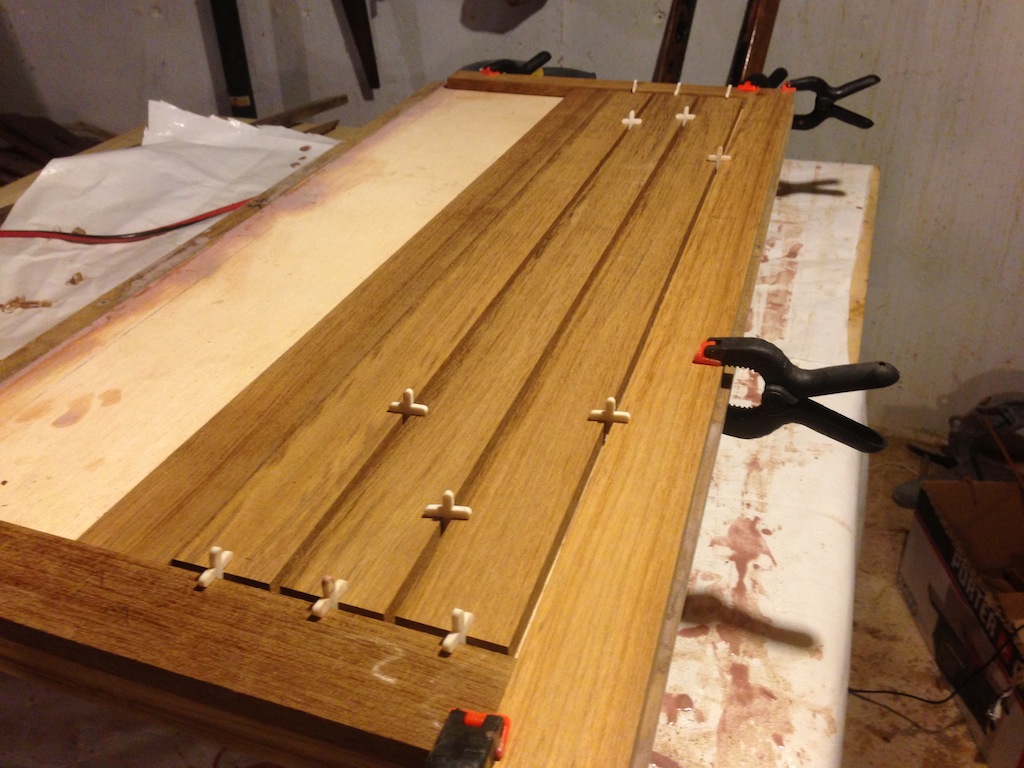
The decking was cut and then dry fitted. Tile spacers maintained an even separation and screws and washers were used to hold the decking down.
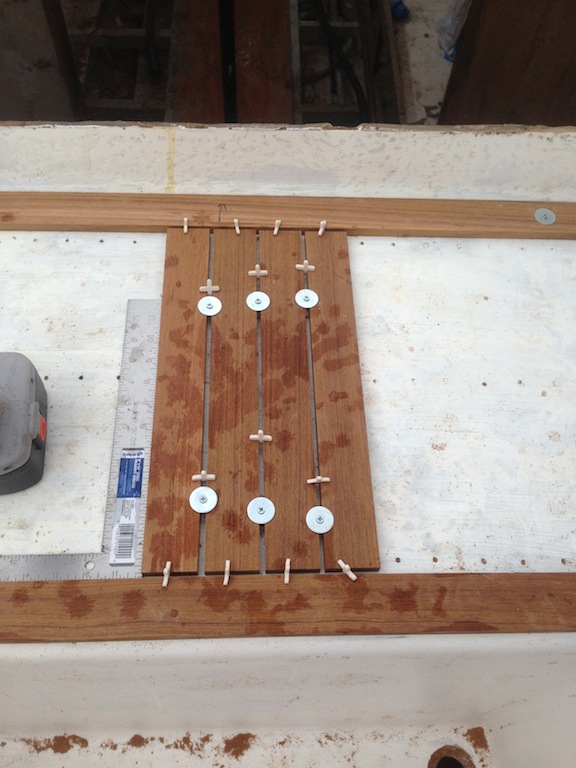
Dry-fitting the teak on the bridge deck.
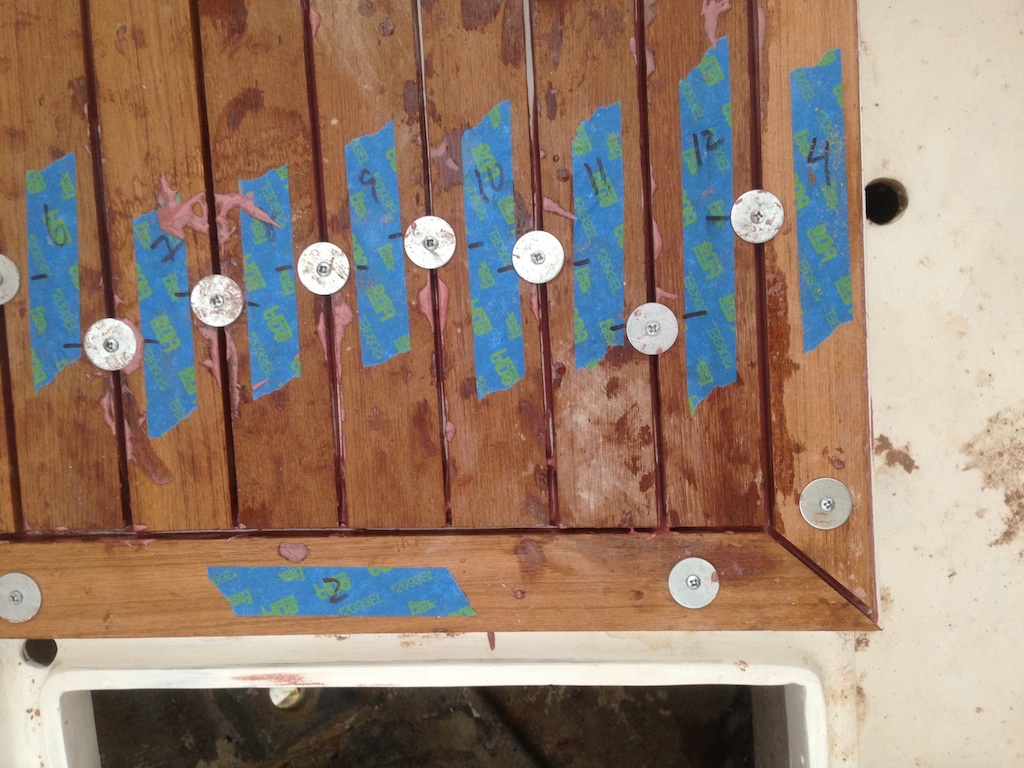
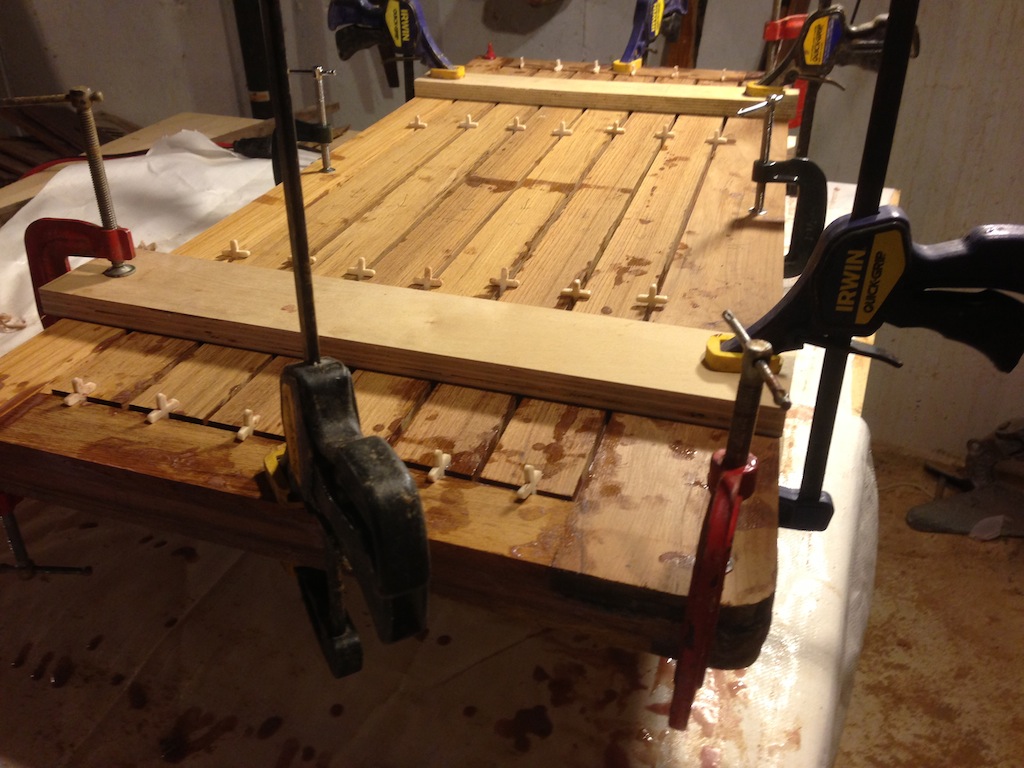
The decking was laid in a thickened epoxy mixture.
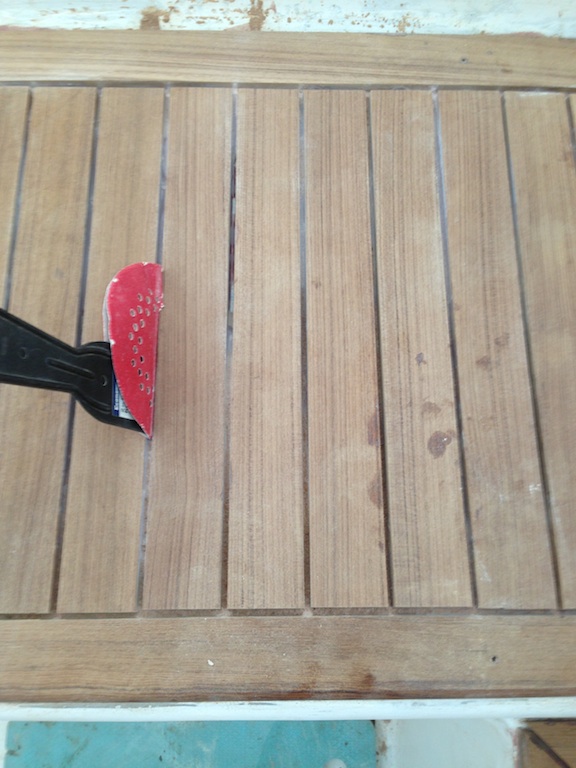
The dried epoxy must be cleaned out from the seams before caulking.
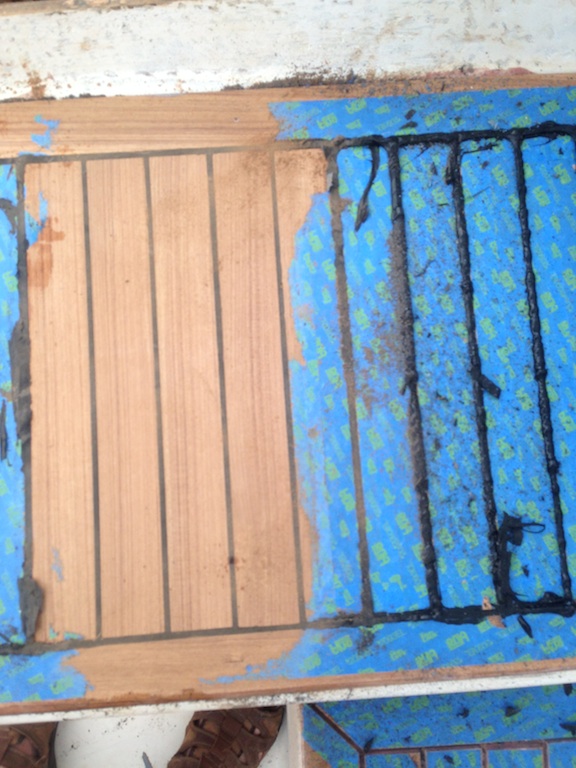
The decking was taped off, then caulked, then sanded.
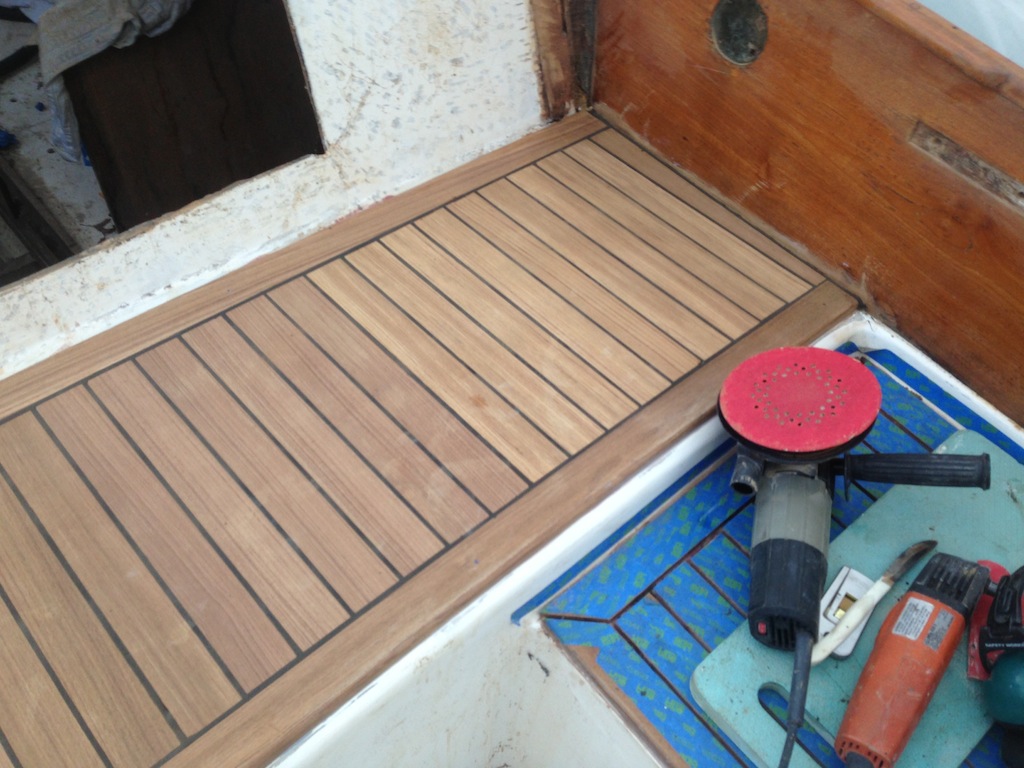
The starboard side of the bridge deck.
The next photo shows the poor condition of the cockpit hatches.

The old port-side cockpit hatch.
The cockpit hatches are built on 3/8-inch plywood, but there must be no exposed plywood end-grain. In the photo below, you can see on the left side a strip of teak that covers the plywood end-grain. Such a strip runs all the way around the hatch.
A cockpit hatch under construction.
Epoxied and clamped.
Caulked, sanded. A good fit. The starboard-side hatch looks the same.
The Cabin-house Teak
The teak around the cabin house needed to be replaced. The job required 18-ft by 18-in by 1/2-in boards for each side, then shorter lengths for the cockpit and forward part of the house. J. Gibson McIlvain found the wood.
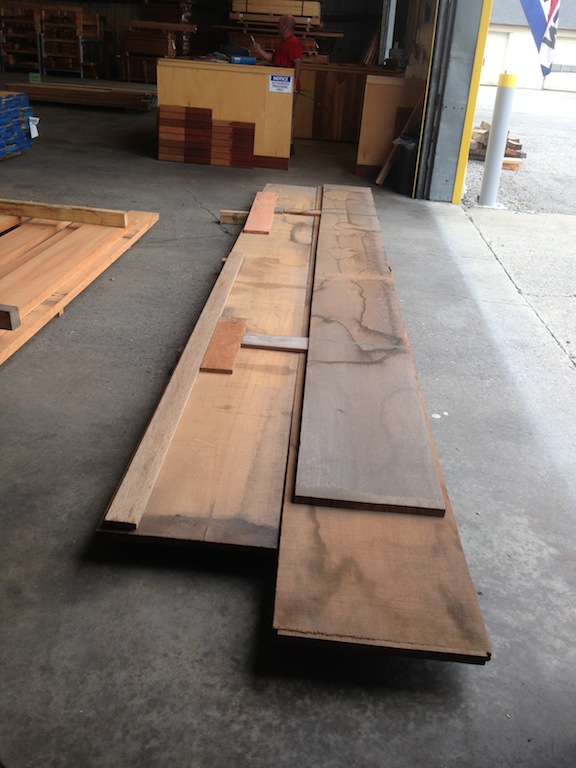
Three 20-ft by 20-in boards. Here they are about 1 inch thick, but were planed to 1/2 inch.
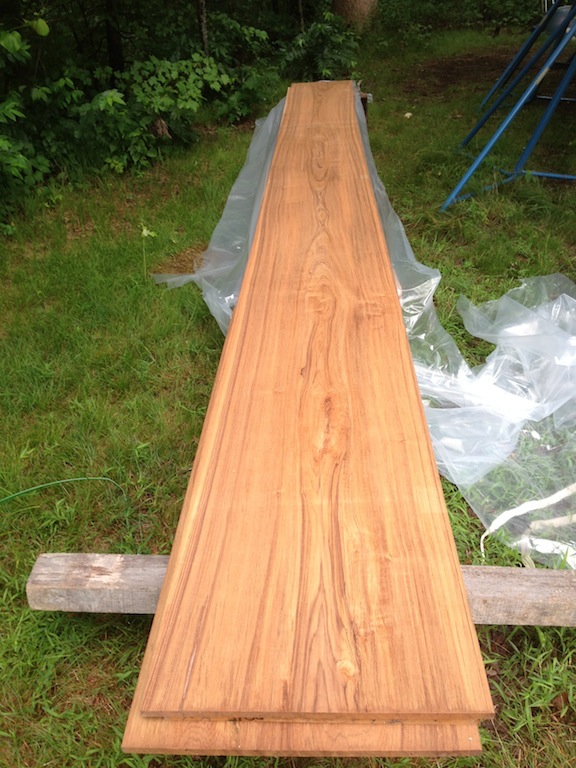
After planing and delivery.
Accurate patterns can be made using door skin and a hot glue gun. (Door skin is a type of plywood that is easy to cut by scoring with a razor knife then breaking.) The door skin is cut into strips of various widths and then a pattern is made, as shown below. The narrow fingers define the perimeter.
A pattern made of door skin.
Part of the pattern for the cockpit teak.
To transfer the pattern to the teak boards, the pattern is laid on the board and pencil marks are made at the ends of the fingers that define the perimeter.

A pattern laying on a board.
Next, a flexible batten is forced into a curve that exactly matches the perimeter of the pattern. Then the batten is traced.
Using a batten to make the curve.
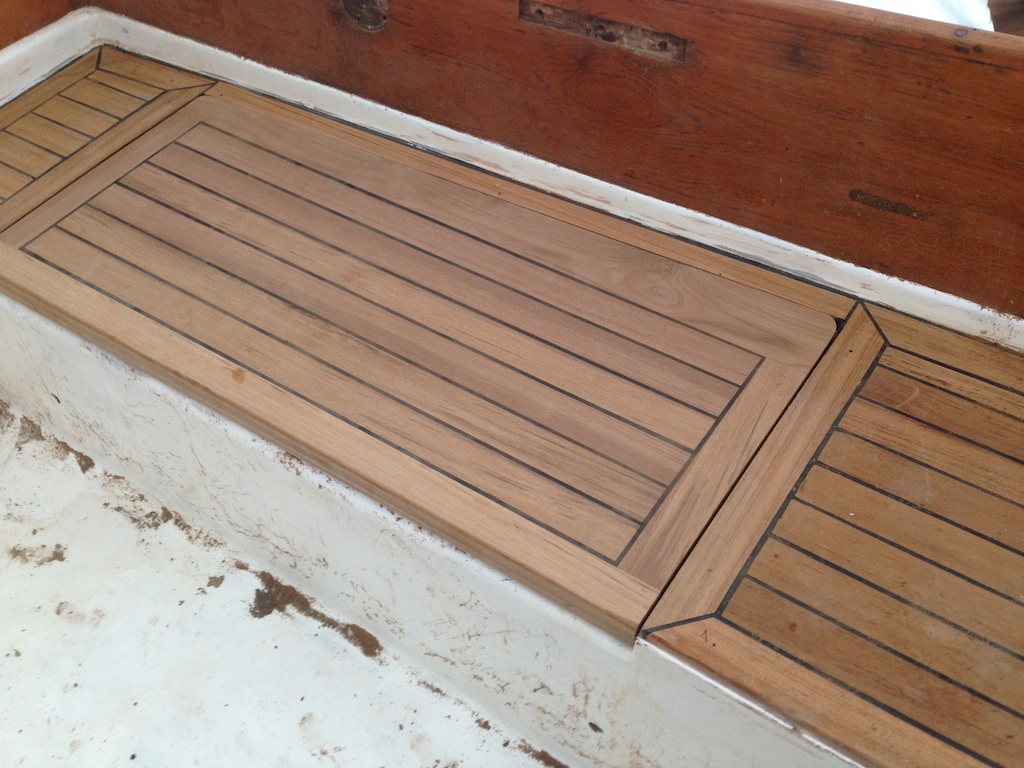
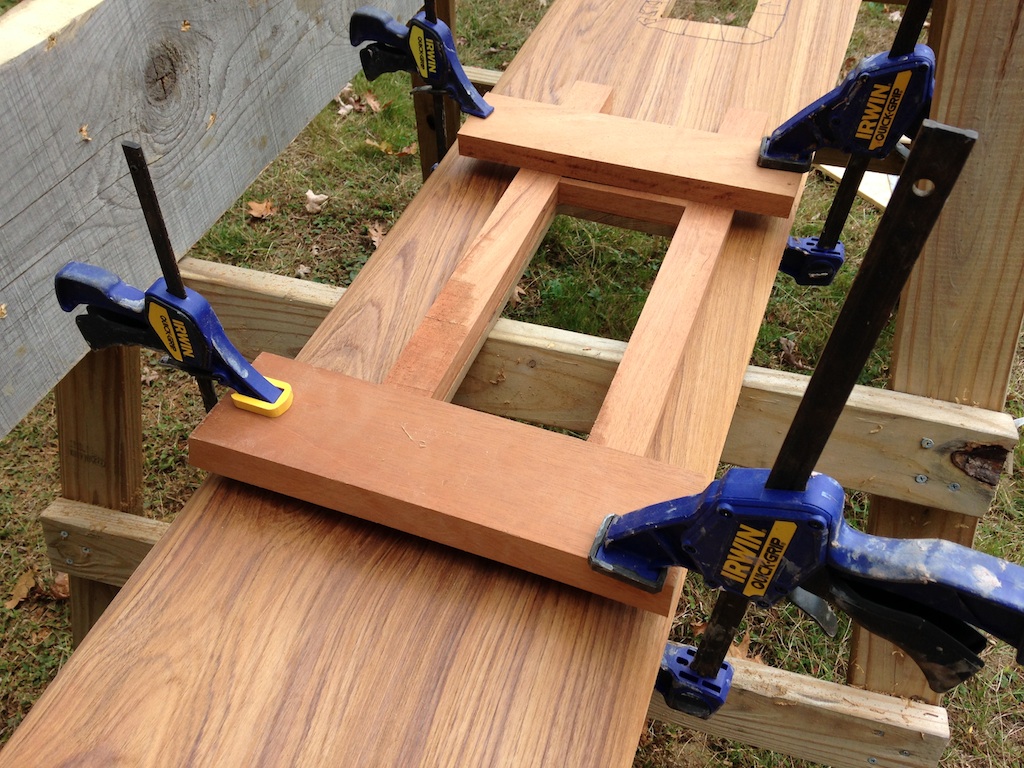
The piece for the cockpit is shown below. Here it is clamped into place and the epoxy is drying.
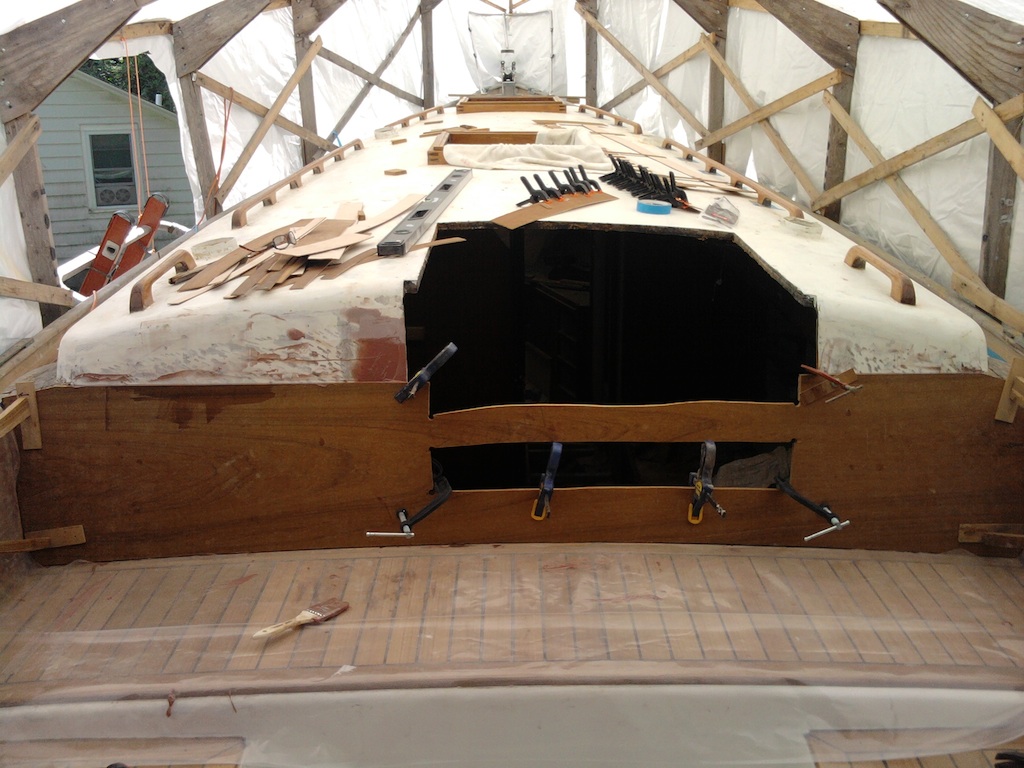
The extra wood obscuring the companionway will be cut back.
The panels in the cockpit had to be made of two pieces because the height here is greater than 20 inches.
Sometimes creative clamping is required.
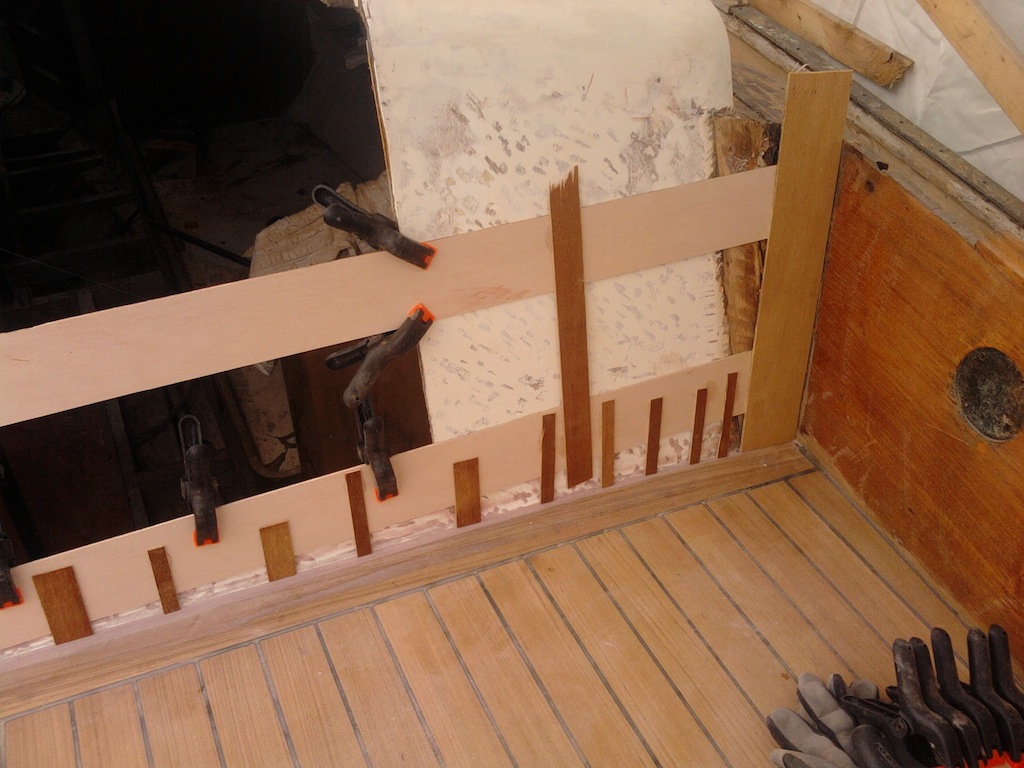
The long boards along the side of the house contain six portholes each. The patterns gave a rough idea of the locations of the holes. An approximate cut is made so that that the boards can be clamped into place for a more precise tracing of the holes.
A rough template for the portholes.
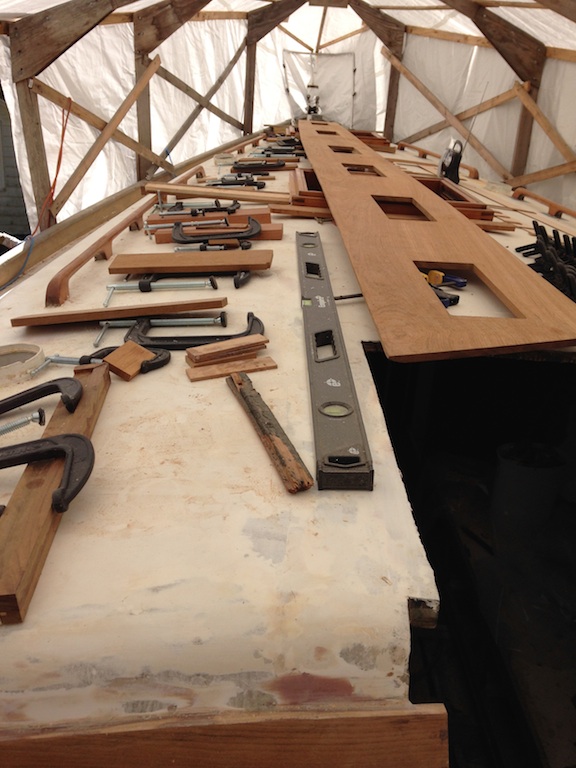
Now the boards were clamped into place and the holes were accurately traced.
A routing jig was built for the final cuts.
A routing jig for the final cuts. There are two, actually: one for the smaller ports and one for the larger.
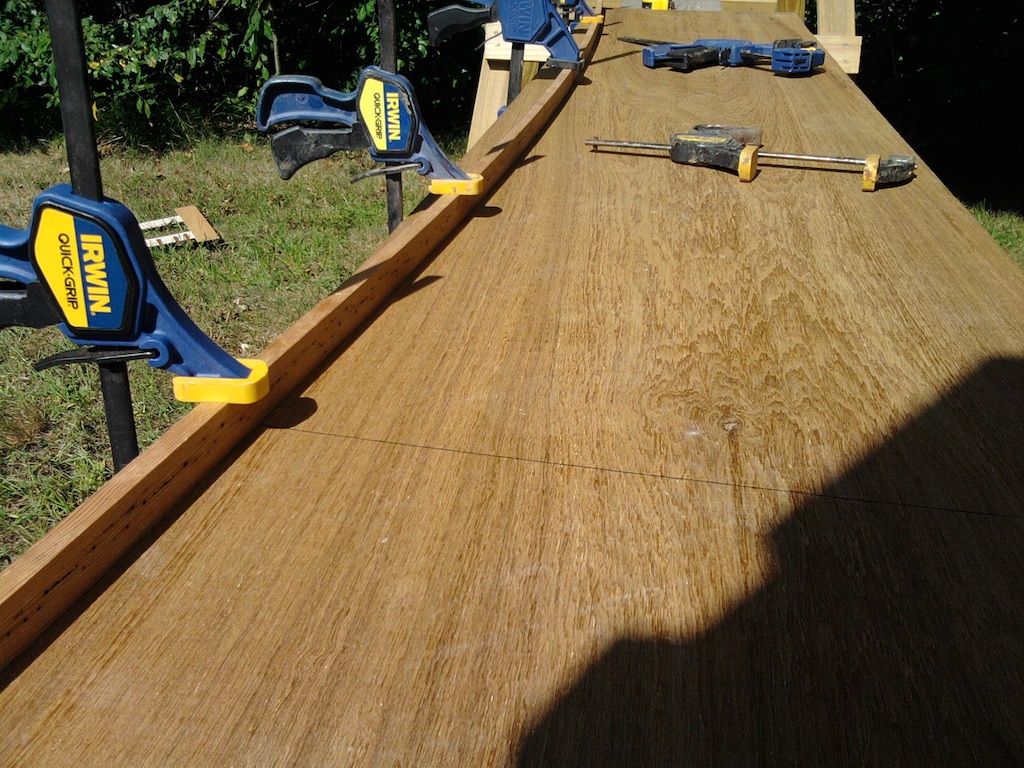
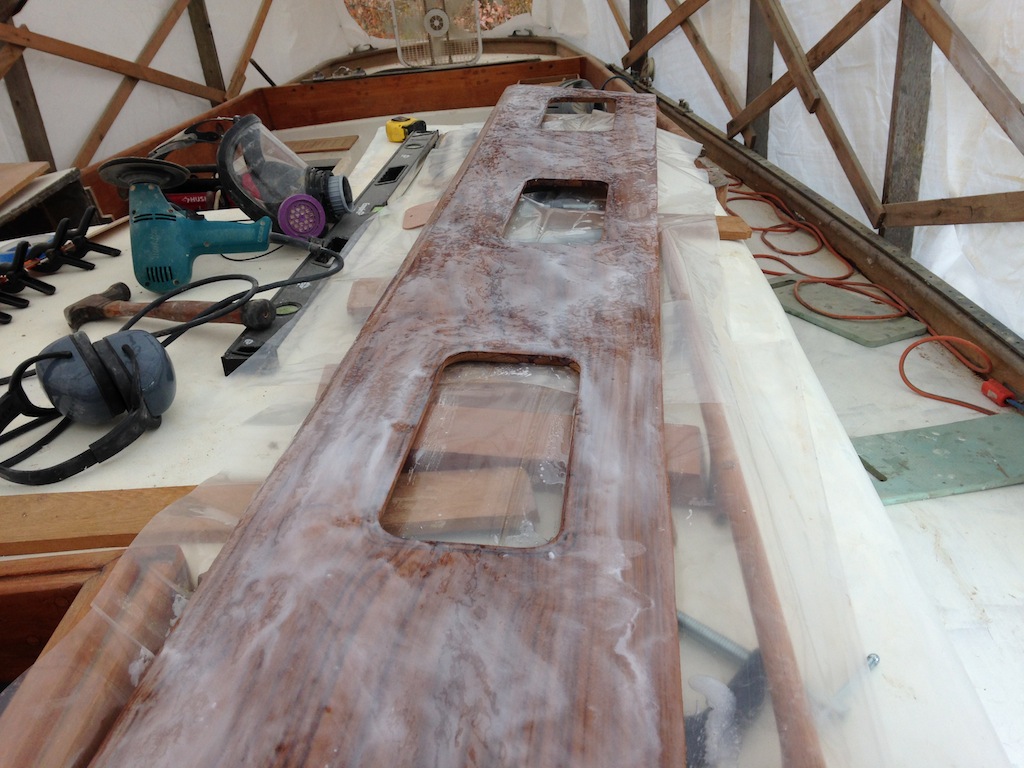
In the photo below, the holes have been routed to their final dimensions and the board is ready for gluing up to the house side. (This one goes on the port side.)
The holes at their final dimensions.
West System epoxy with the slow-cure hardener was used. The epoxy was thickened, then applied to to the board and the cabin-house side.
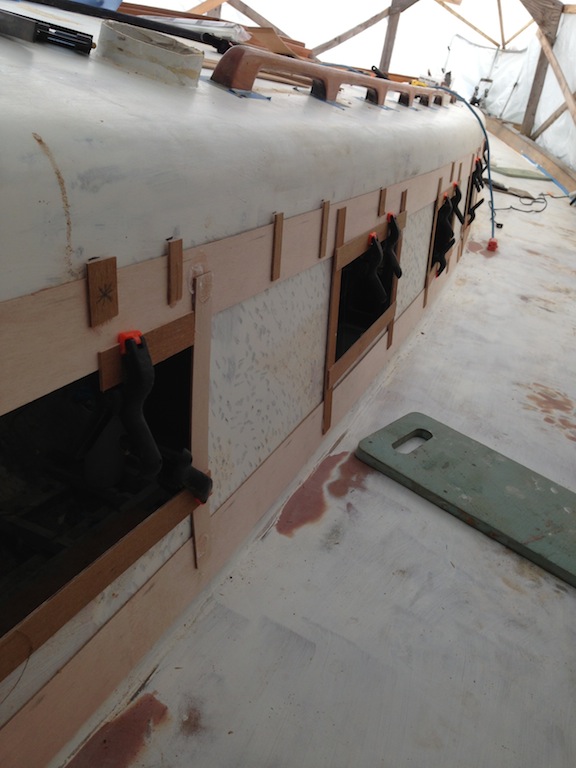
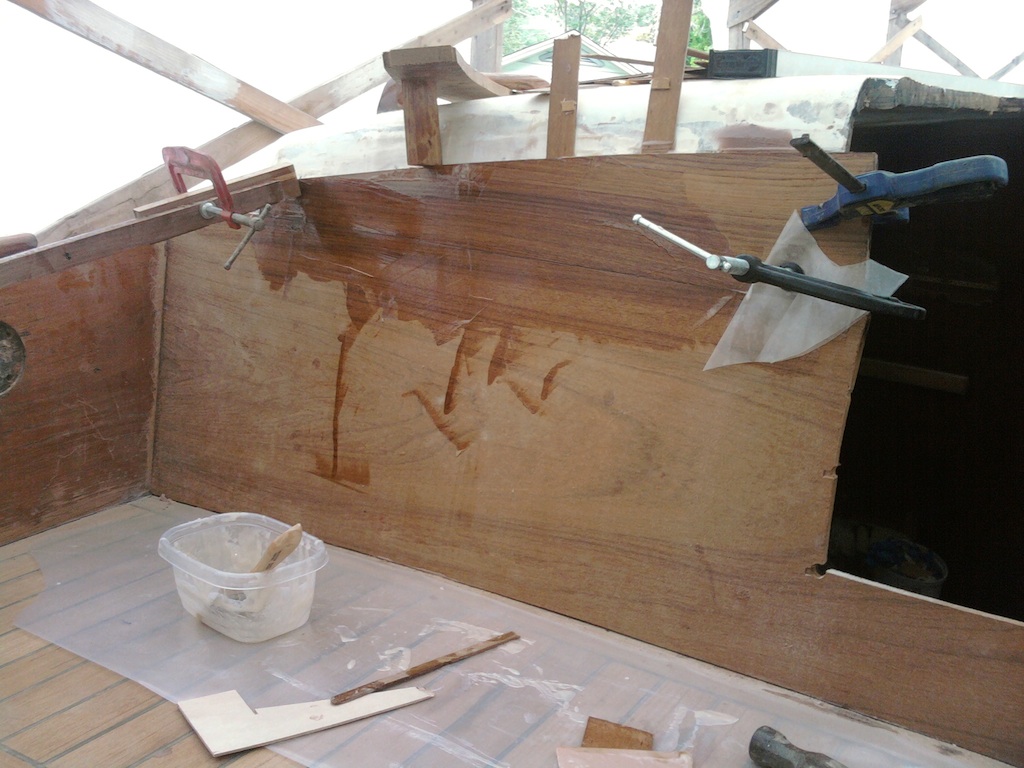
A thickened epoxy mixture covers the board and it is ready for clamping into place.
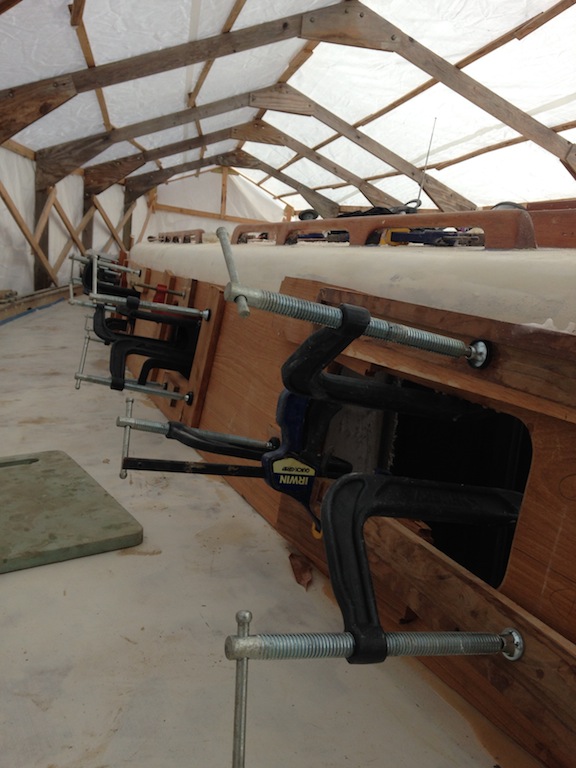
Clamped into place on the port side.
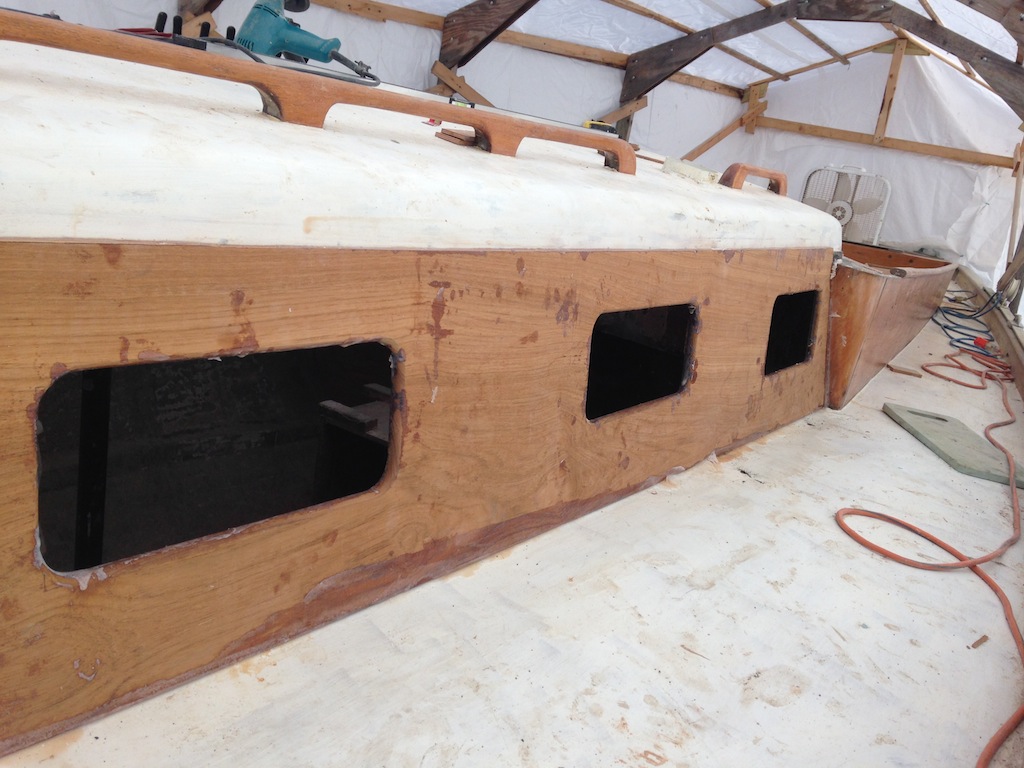
Here the epoxy has dried and the clamps have been removed. There’s still a lot of work to do in cleaning up all that dried epoxy.
Linda
03/06/2014 — 11:10 pm
After reviewing Phases 1-3, Phase 4 should give you a real since of accomplishment.
Impressive. Good going!
Trish
03/11/2014 — 10:43 pm
Mike…amazing how much work you’ve done. This blog is a great way to organize and log your restoration…nice.
Bob Poindexter
08/07/2014 — 12:00 am
Thank you for sharing your experiences and techniques on this project. I have an Offshore 40 (Moshulu) on which I am removing the teak deck this summer. Fortunately, no core problems found so far. I hope you get sailing before too long.
Mike
08/07/2014 — 12:55 pm
Thanks Bob. I have a more detailed write up of my teak deck removal. I’ll send it along to later today. Mike