9/11/16: Forepeak
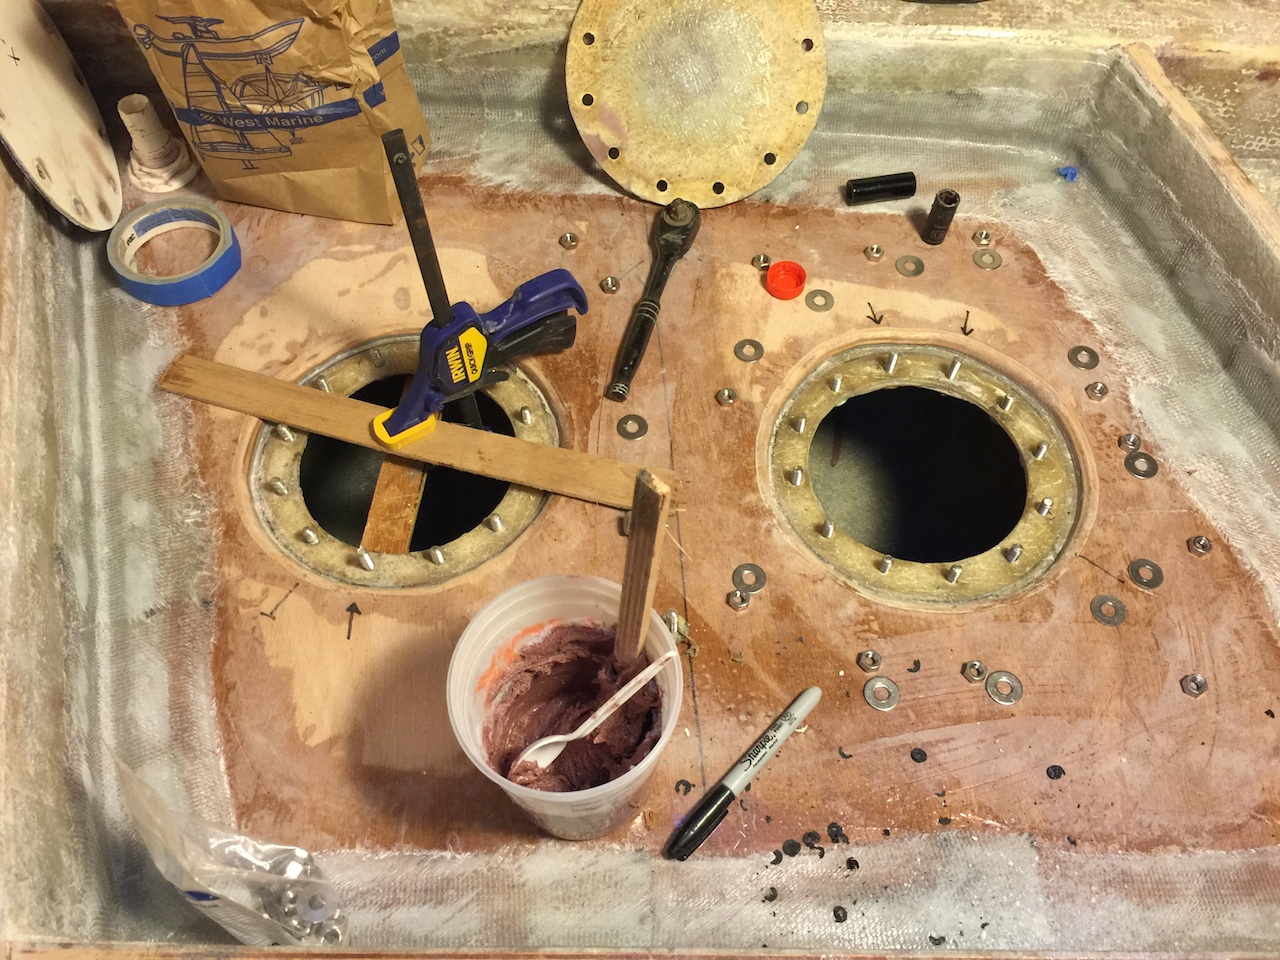
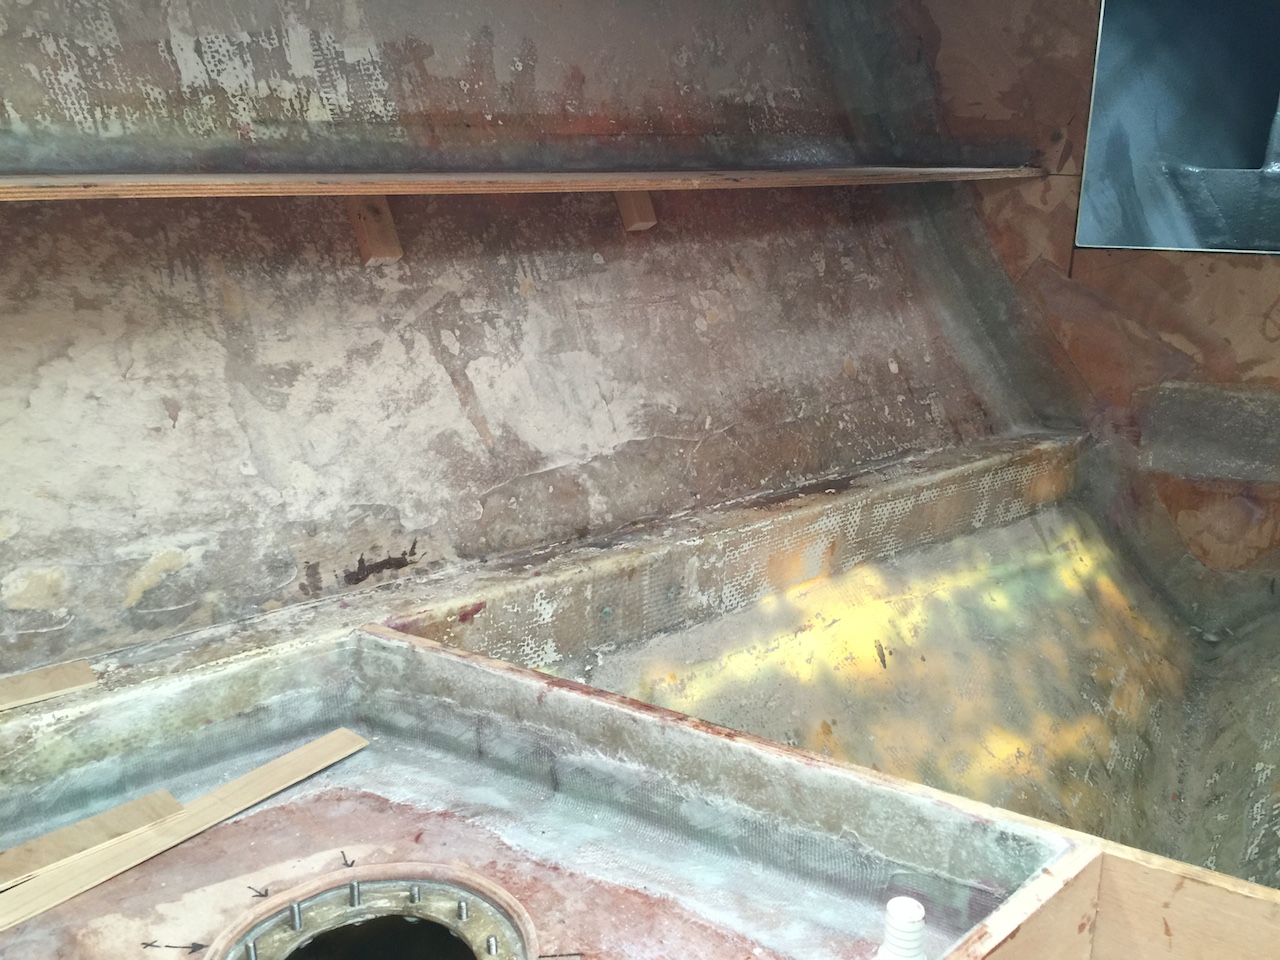
The top of the holding tank is glassed in, and I made new gaskets for the inspection port caps.
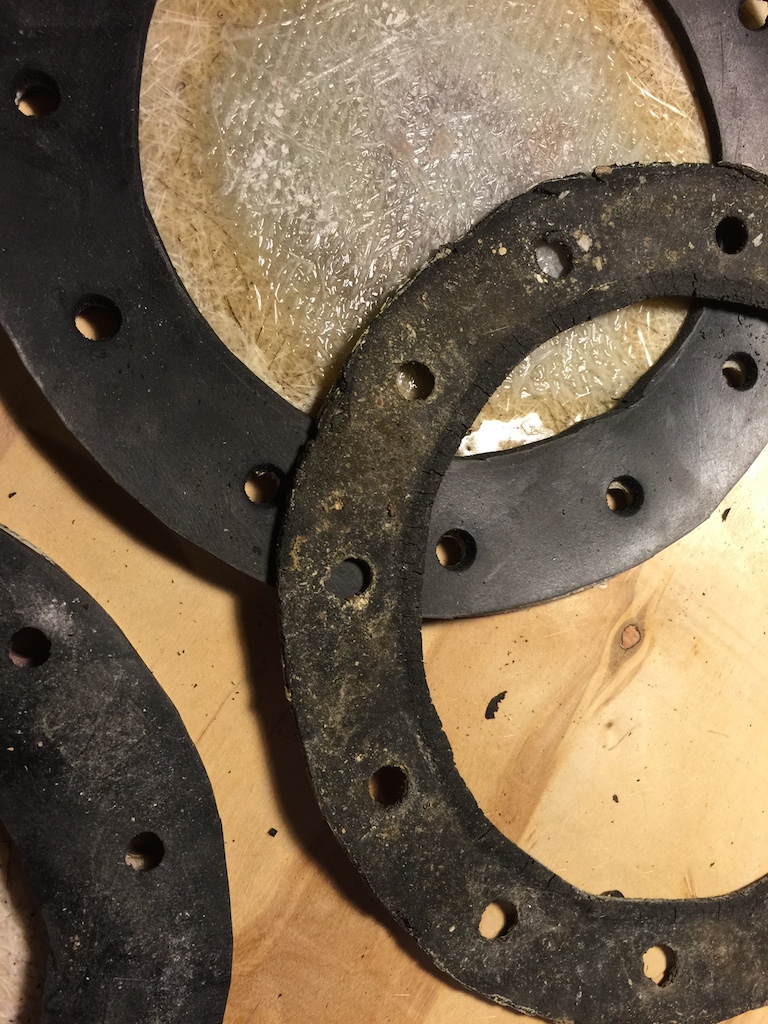
While test fitting the caps, I found that some of the bolts were too short (the new gasket material is thicker, than the old), so I removed the offending bolts and epoxied in new, longer bolts.
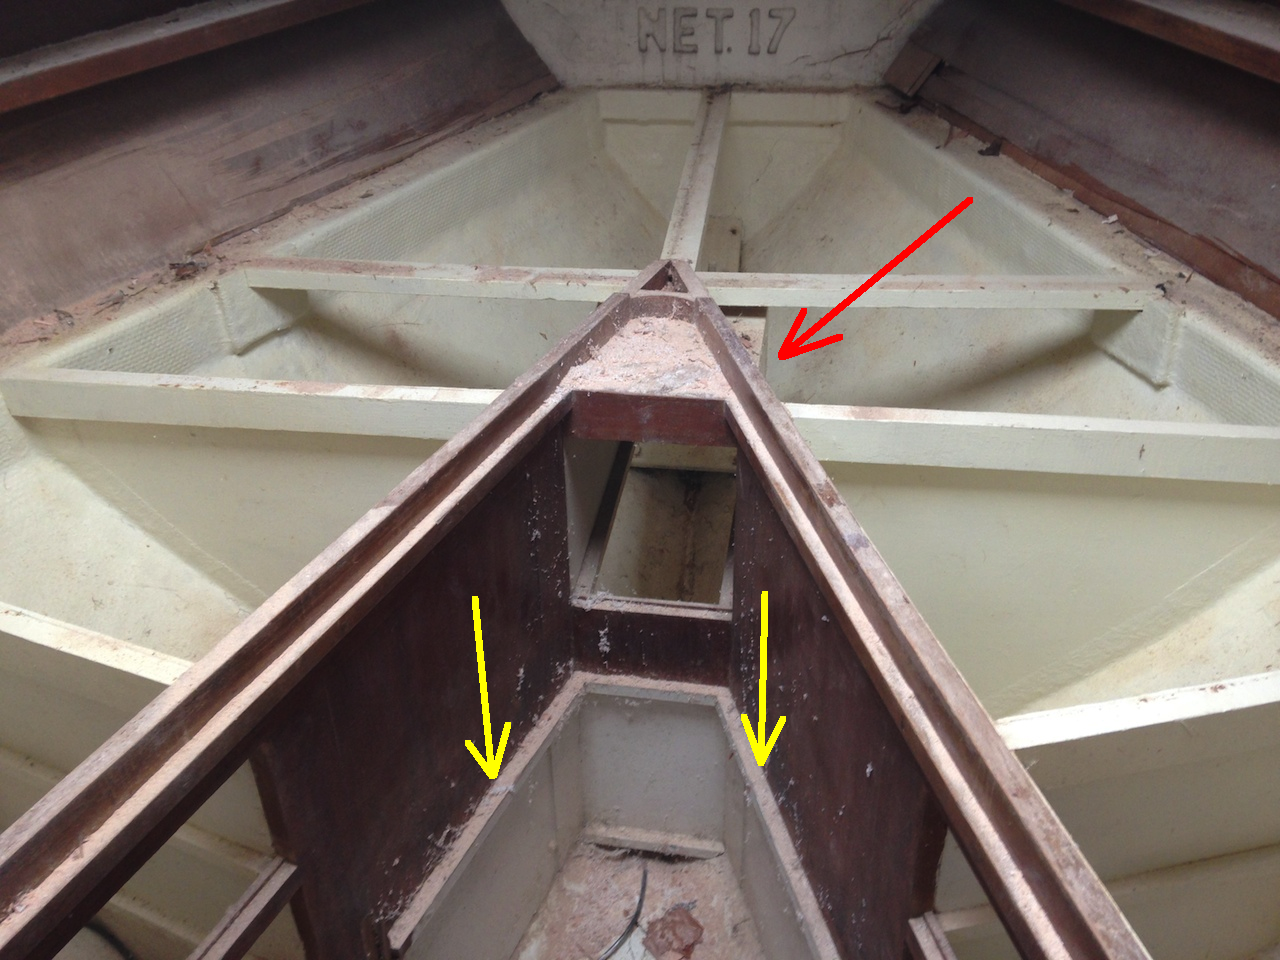
The layout of the original forward cabin was the classic symmetrical design–that is, the entrance was centered amidships, and the bunks formed a symmetrical “V”, with the starboard and port bunks having equal width. A V-shaped filler cushion could be used to make a continuous bunk. The following photo, from 2014, shows the original construction just before demolition. Note that there was a drawer that protruded forward under the bottom of the “V” (red arrow). Note also the cleats (yellow arrows) that supported a seat. I found that the seat was never sat on and the drawer was a space waster. You will see that these features are no part of the new build.
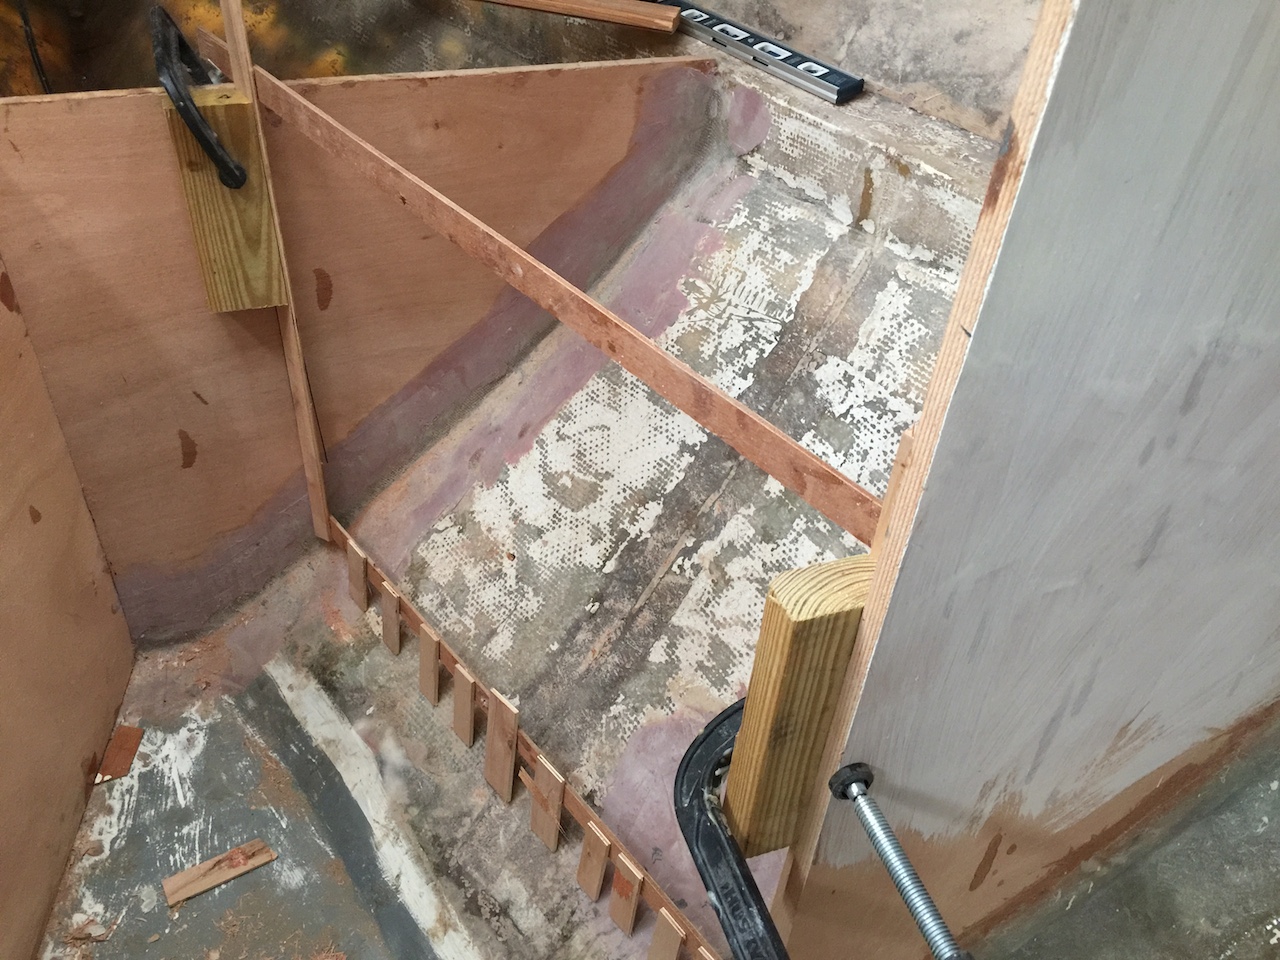
In the next photo I am making a pattern for the bulkhead that defines the inboard edge of the starboard-side bunk.
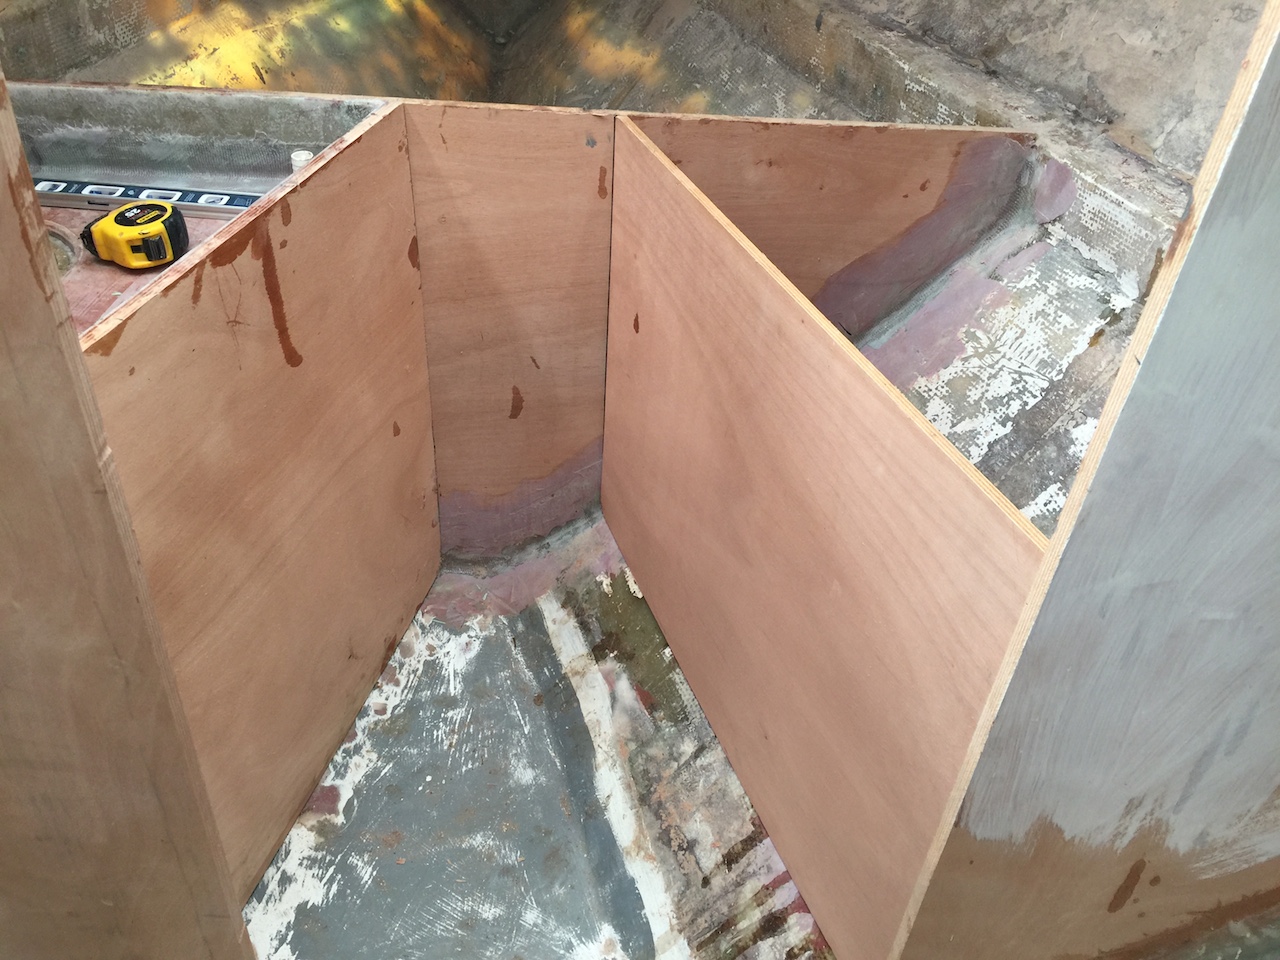
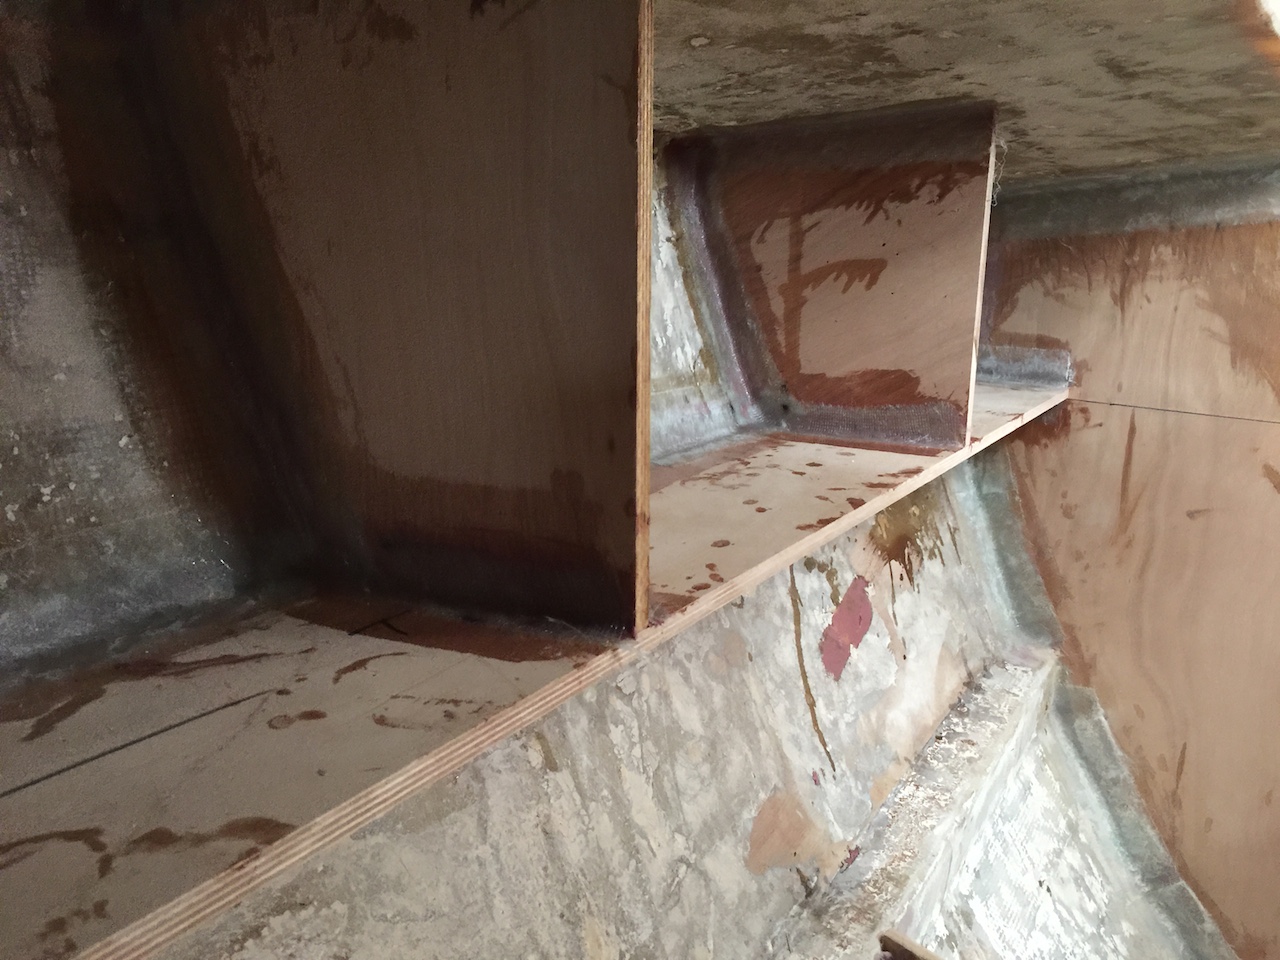
The pattern was transferred to 1/2-inch plywood and glassed into place. In the following photo, the asymmetry of the new forward cabin is obvious. With no seat, there will be much more floor space. As it turns out, the aft end of the port-side bunk will be about 36 inches wide, while that of the starboard-side bunk will be about 23 inches. The starboard-side bunk is about as narrow as berth should be, but is, in fact, the ideal width for offshore cruising. In any case, a filler-board and cushion arrangement will extend the starboard-side berth so that two people can sleep comfortably in the forward cabin.
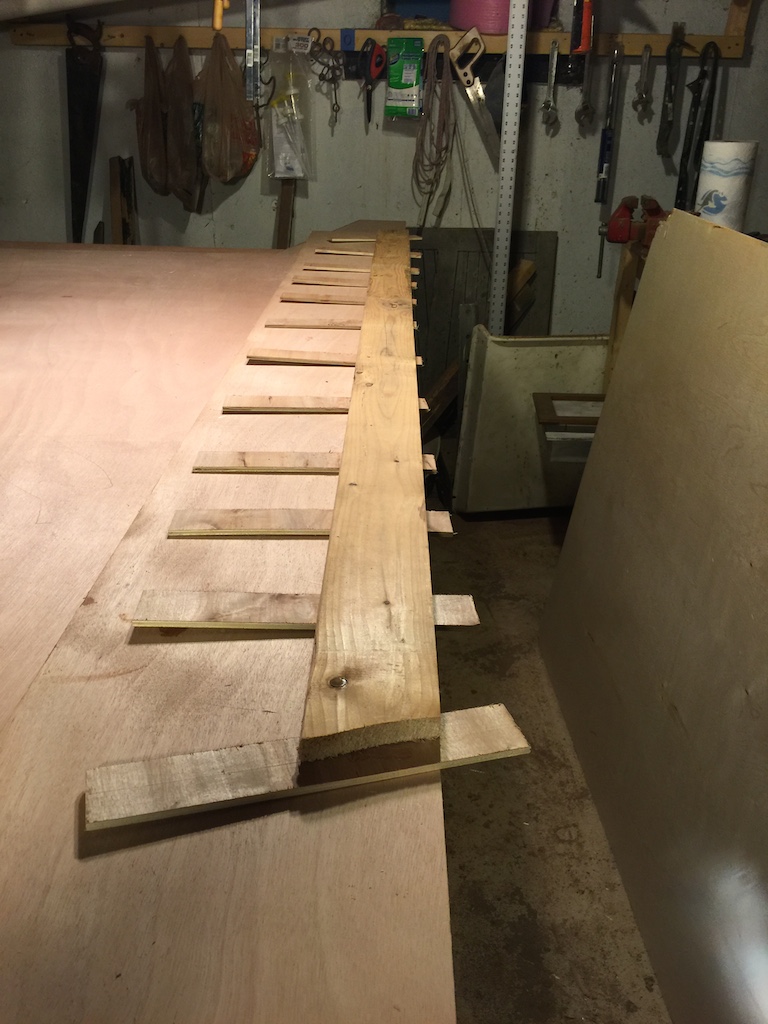
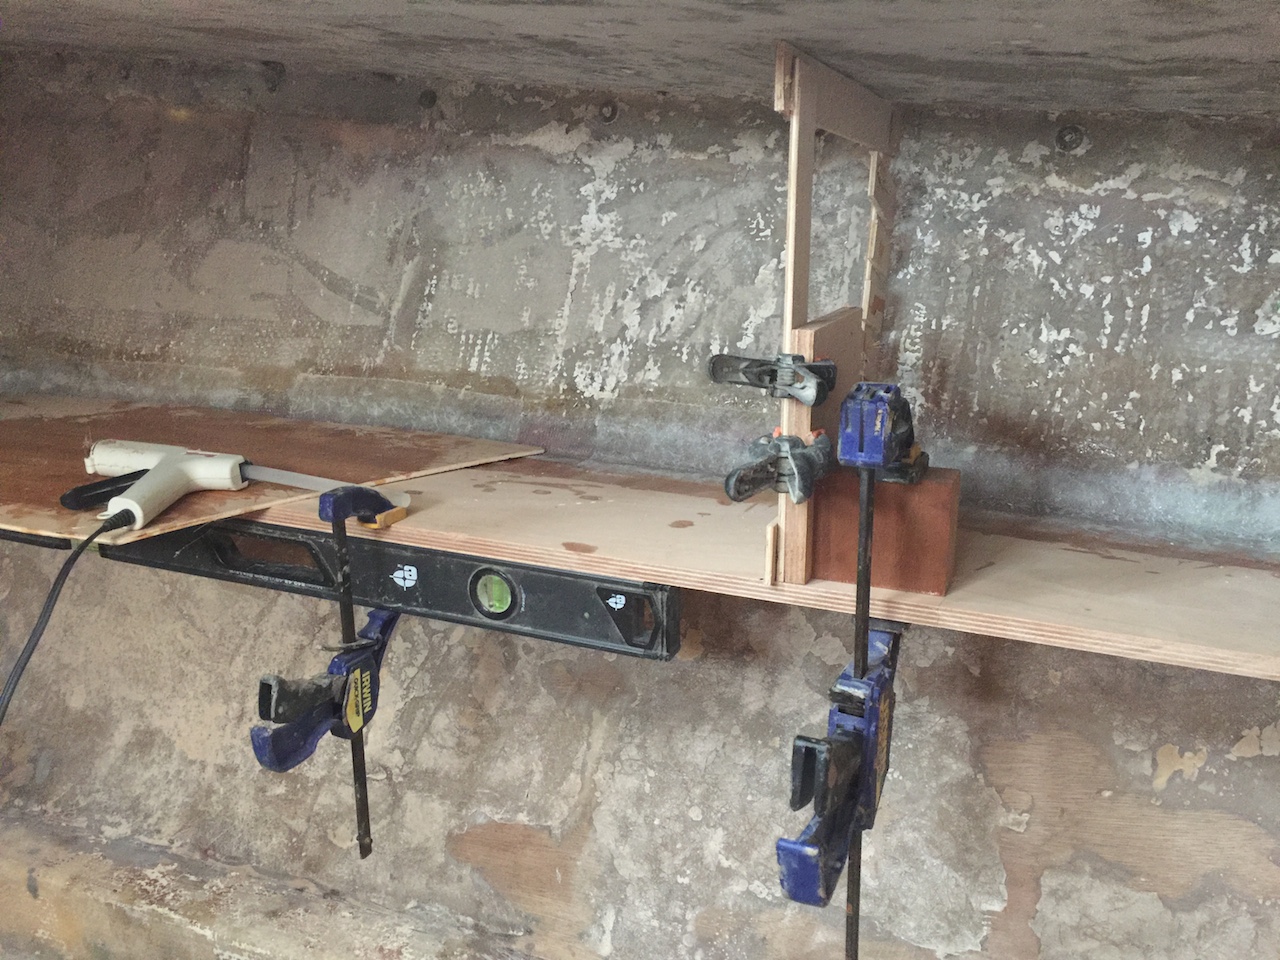
Meanwhile, I made patterns for the shelves for both the port and starboard sides, then transferred the patterns to plywood.
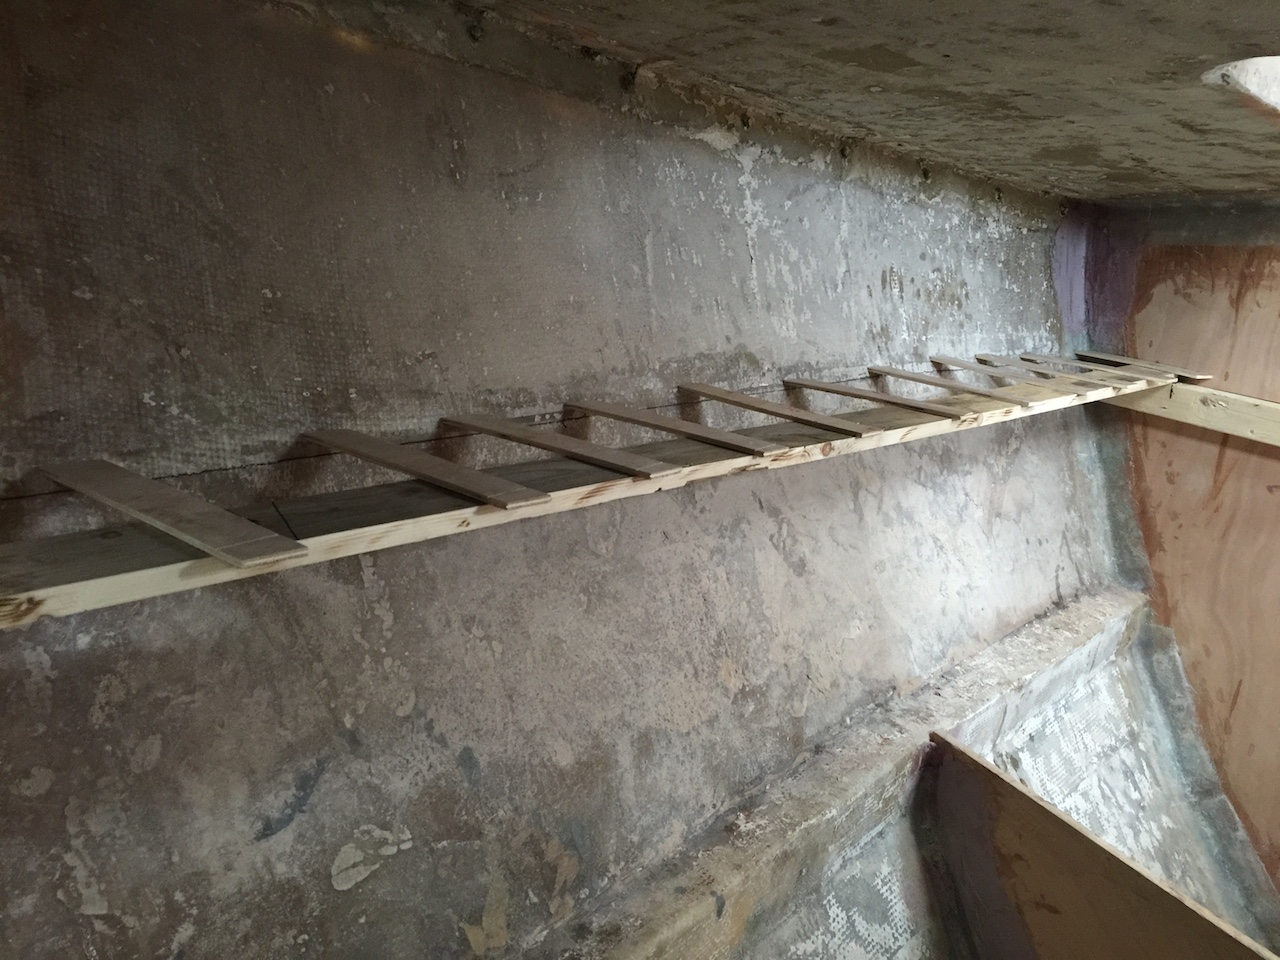
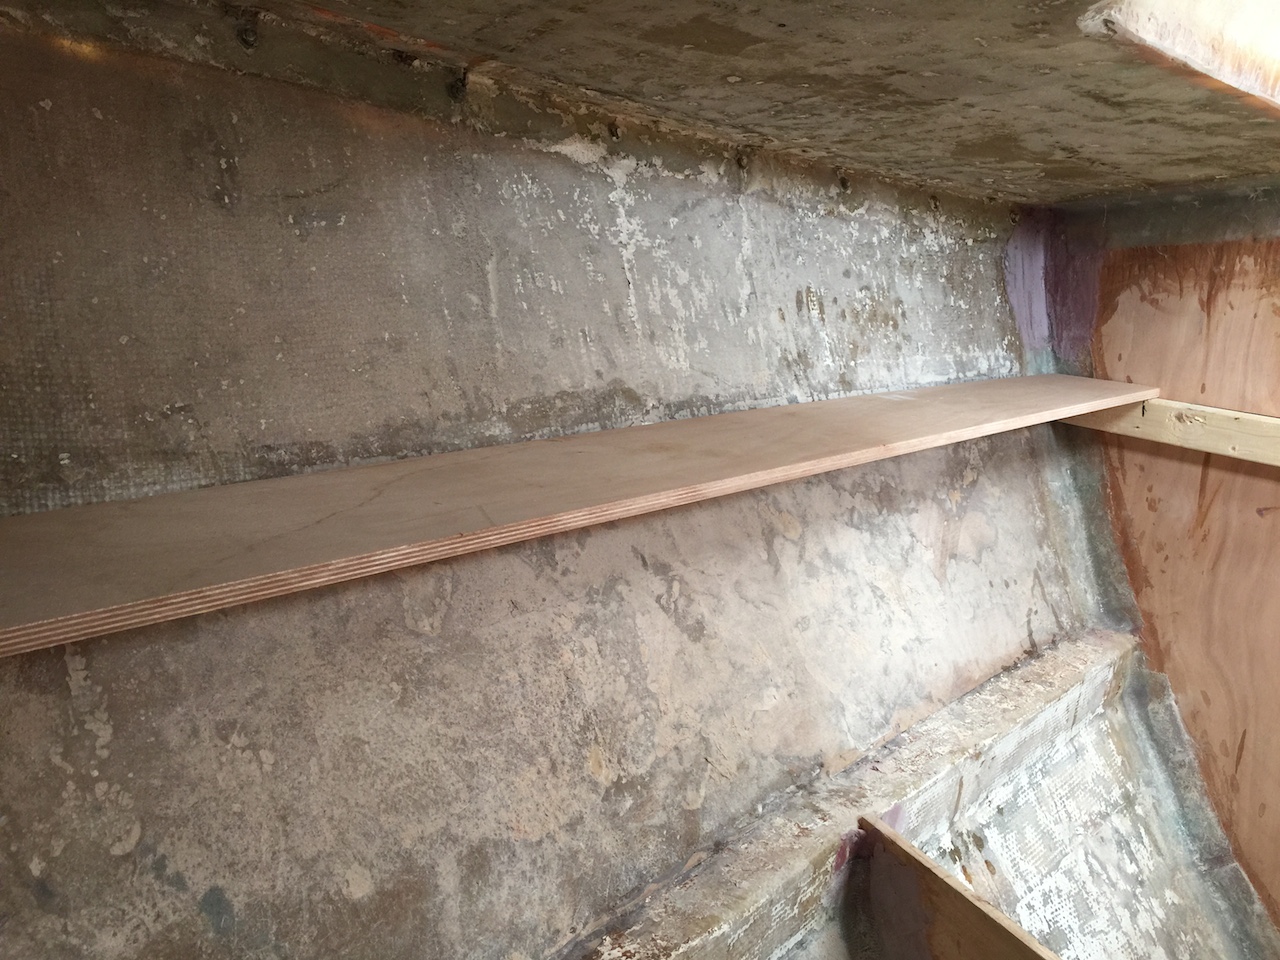
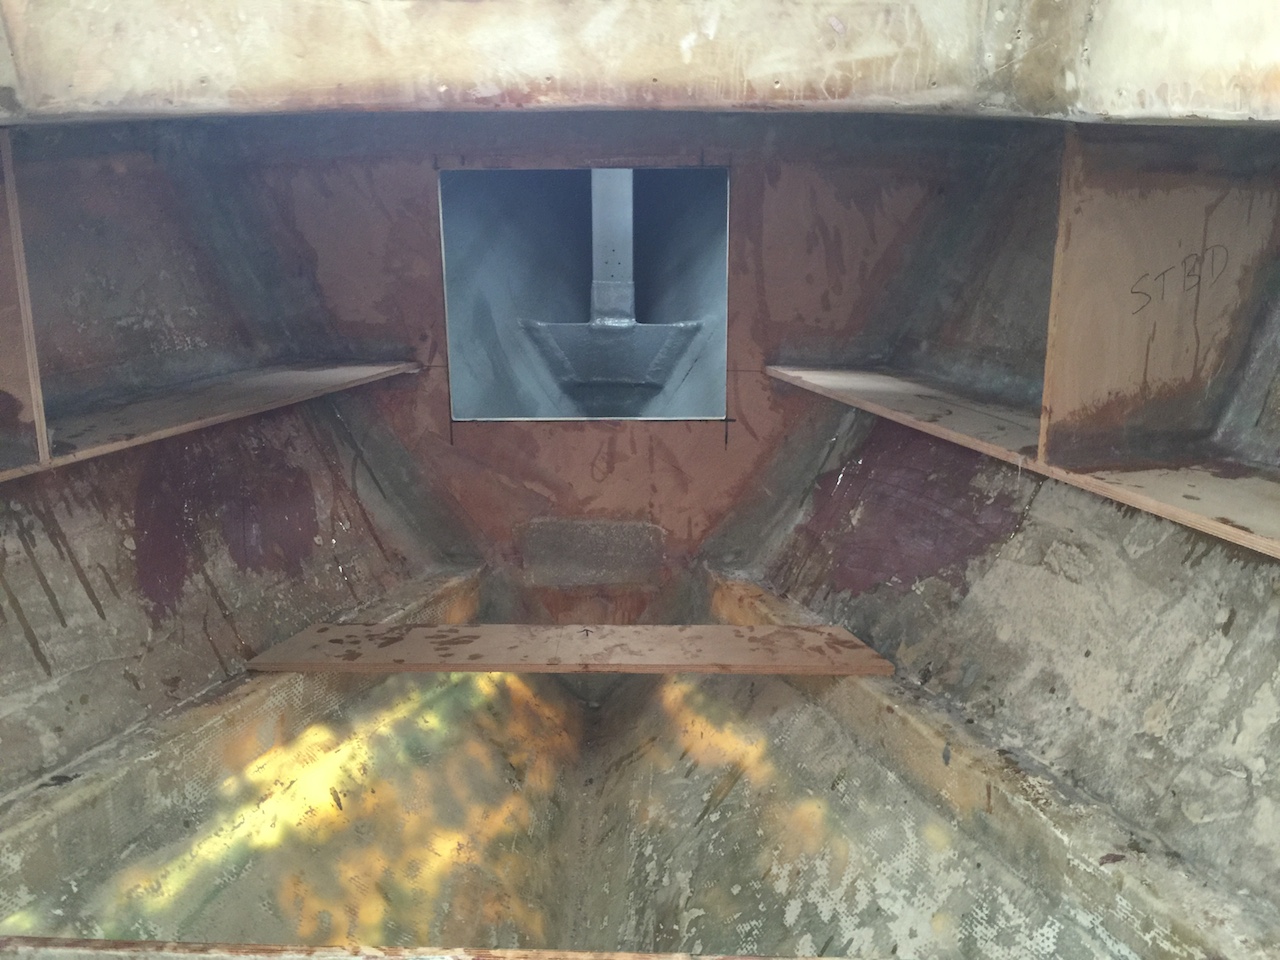
The shelves were glassed in on the top sides first. Note the glue blocks under the shelves, which kept them from sagging under their own weight while the epoxy cured.
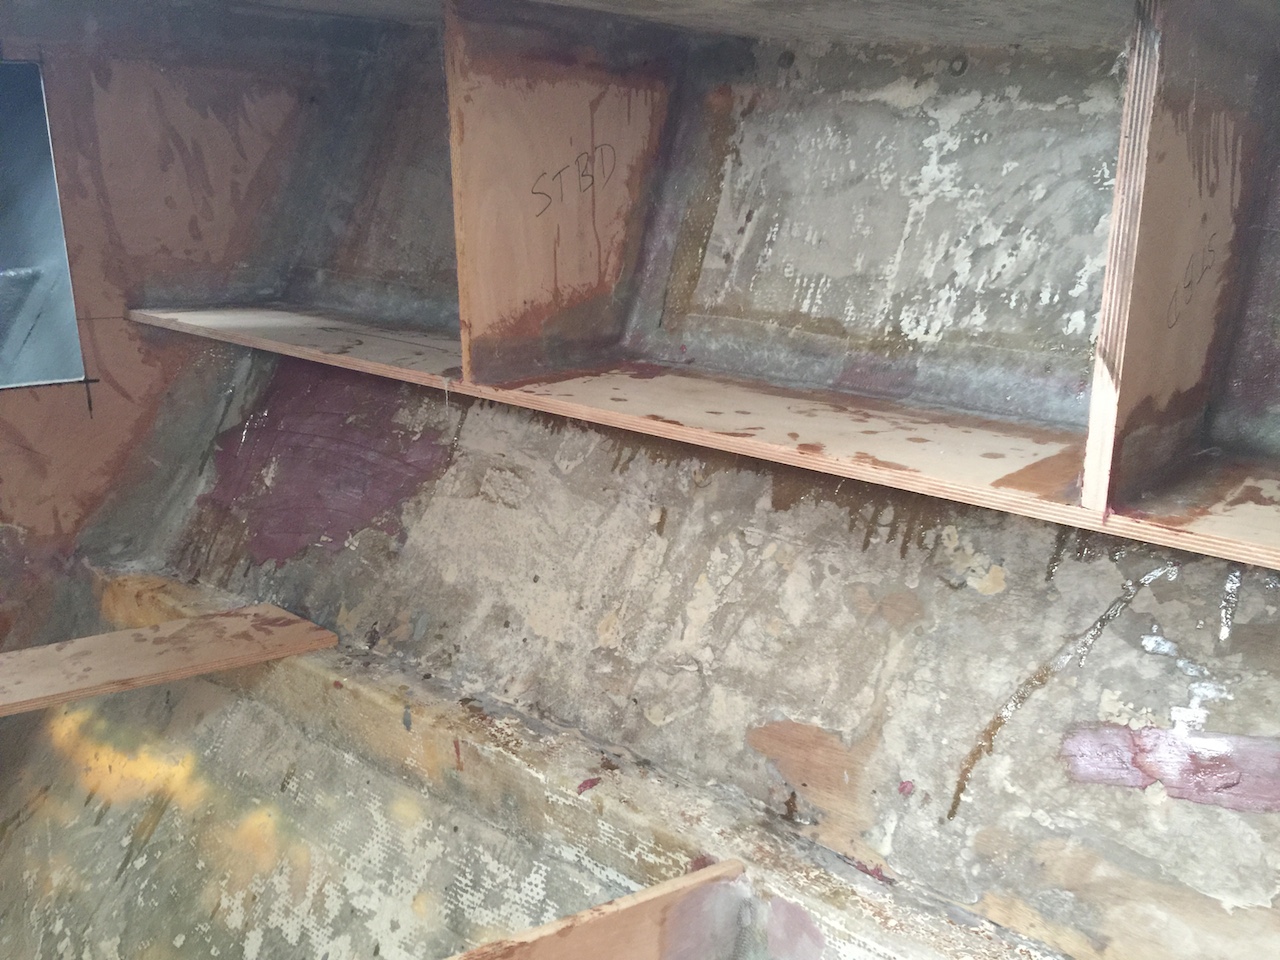
Next, I made patterns for the dividers (two on each side), then transferred the patterns to plywood, then bonded the dividers to the hull, ceiling, and shelves.
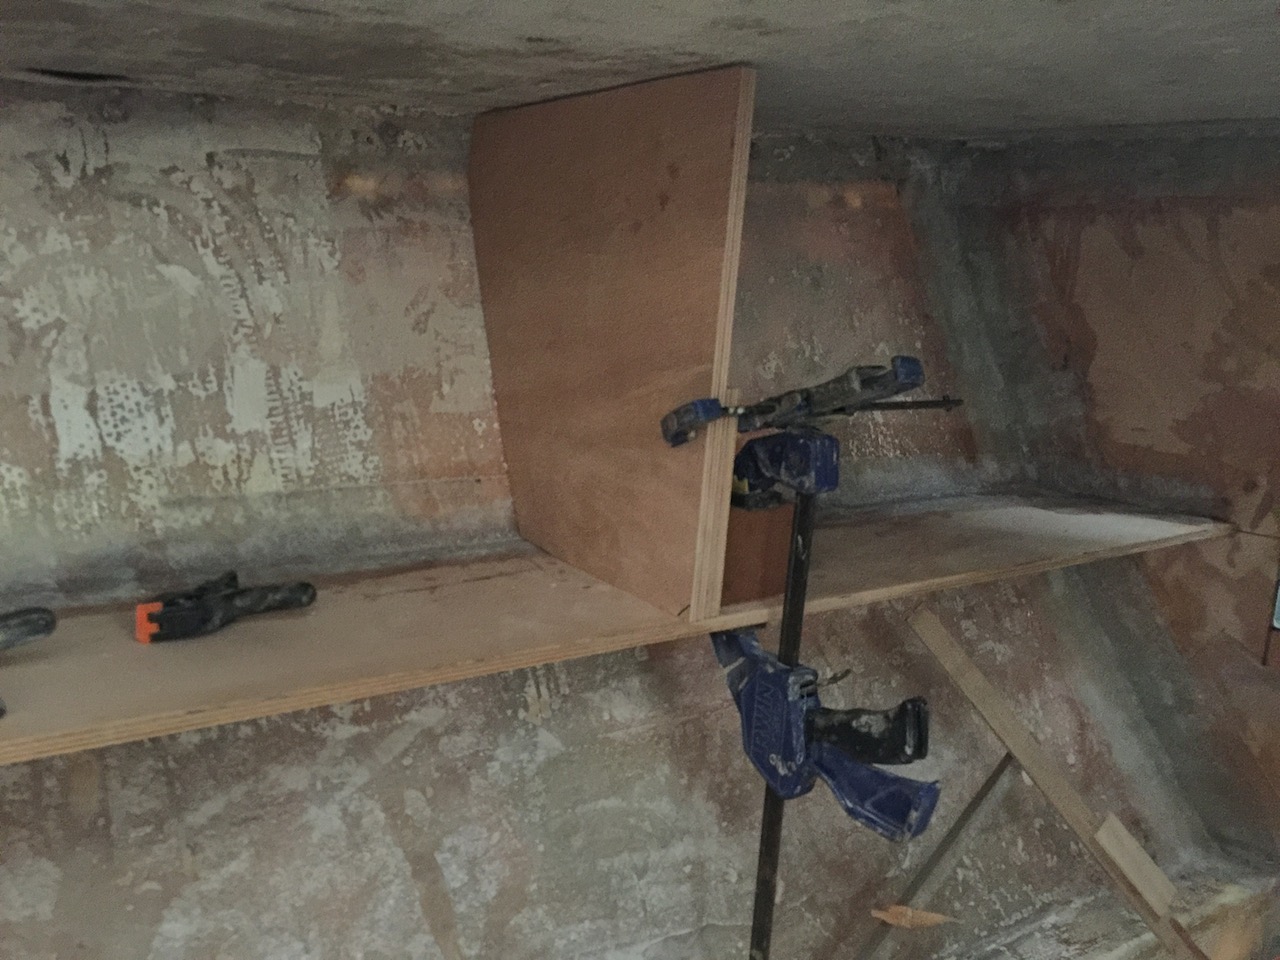
These storage shelves in the forward cabin will be built much like the original shelves.
Next, I made a pattern for the last bulkhead in the forward cabin.
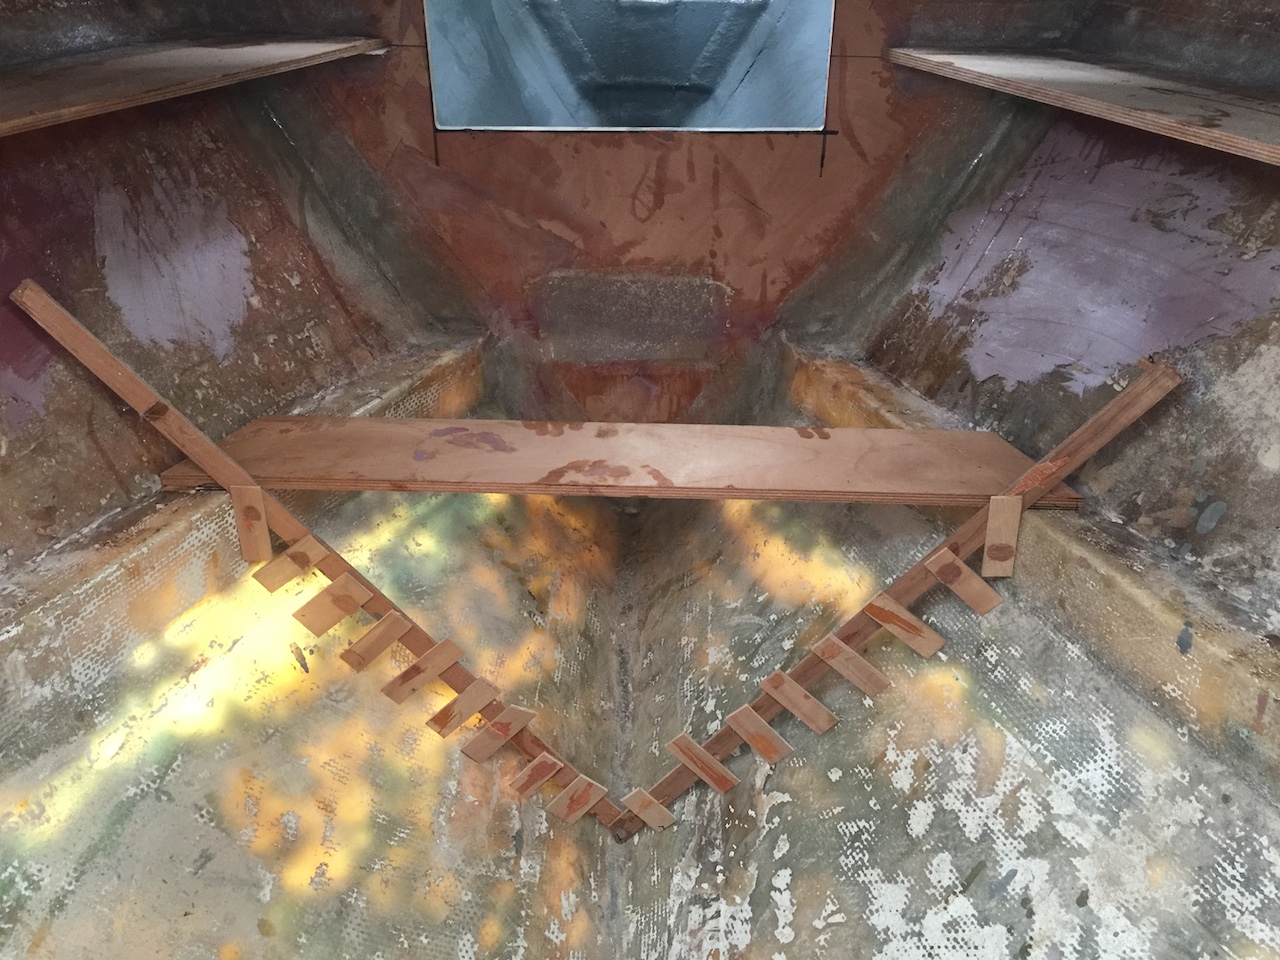
Here I am test fitting the cut-out bulkhead.
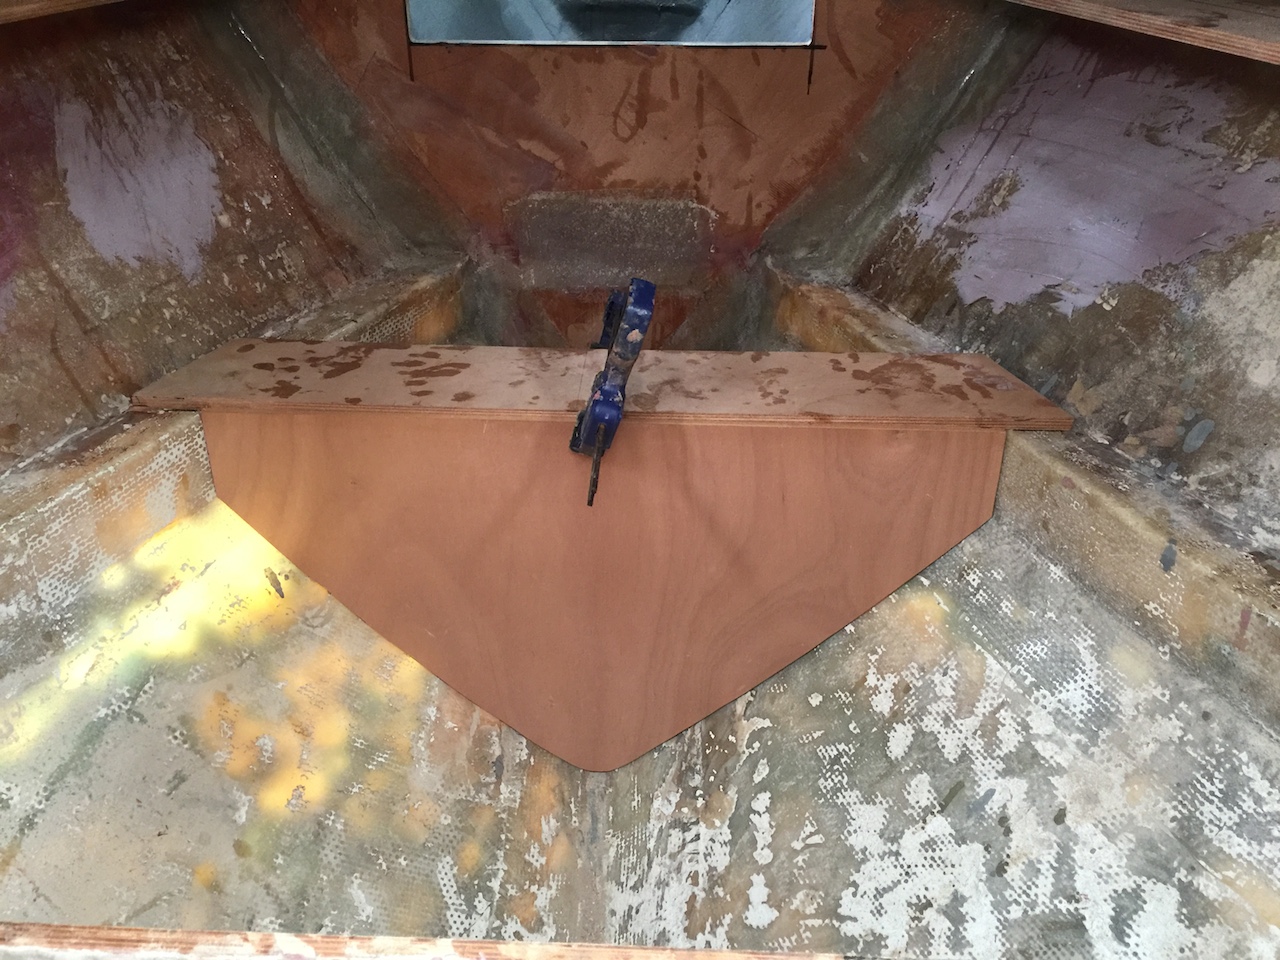
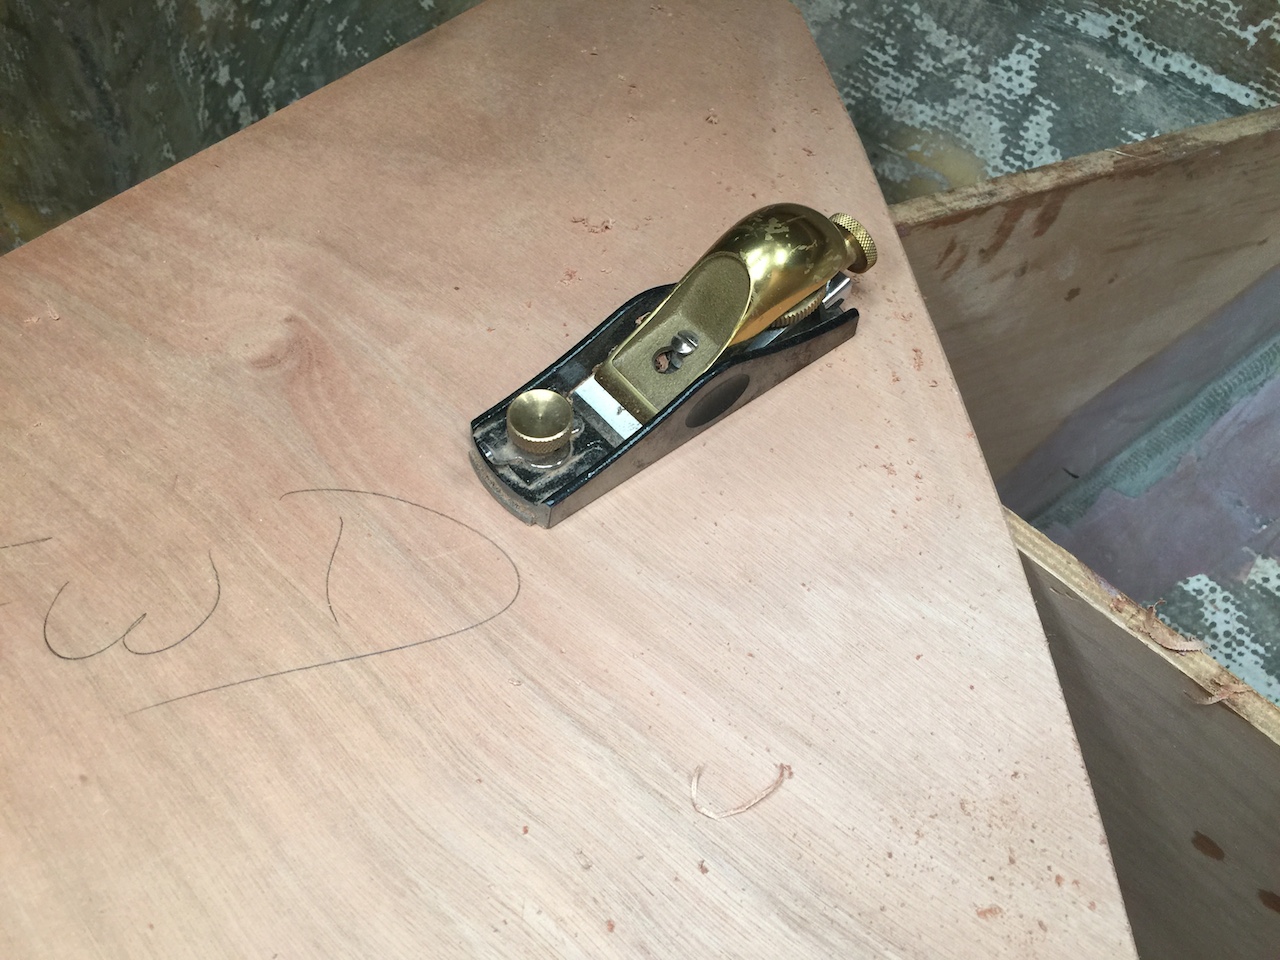
As usual, fitting a bulkhead requires some fine tuning. The block plane, which is operated with one hand, is a great tool for trimming the edges of small pieces.
Eventually, I glassed in this bulkhead, and the result is what you see below.

Some of the bulkhead-to-bulkhead joints will be finished with smooth fillets rather than wooden trim. The next steps will be finishing these fillets, and then sanding all of the fillets and tabbing in preparation for paint.