9/26/16: Head Area
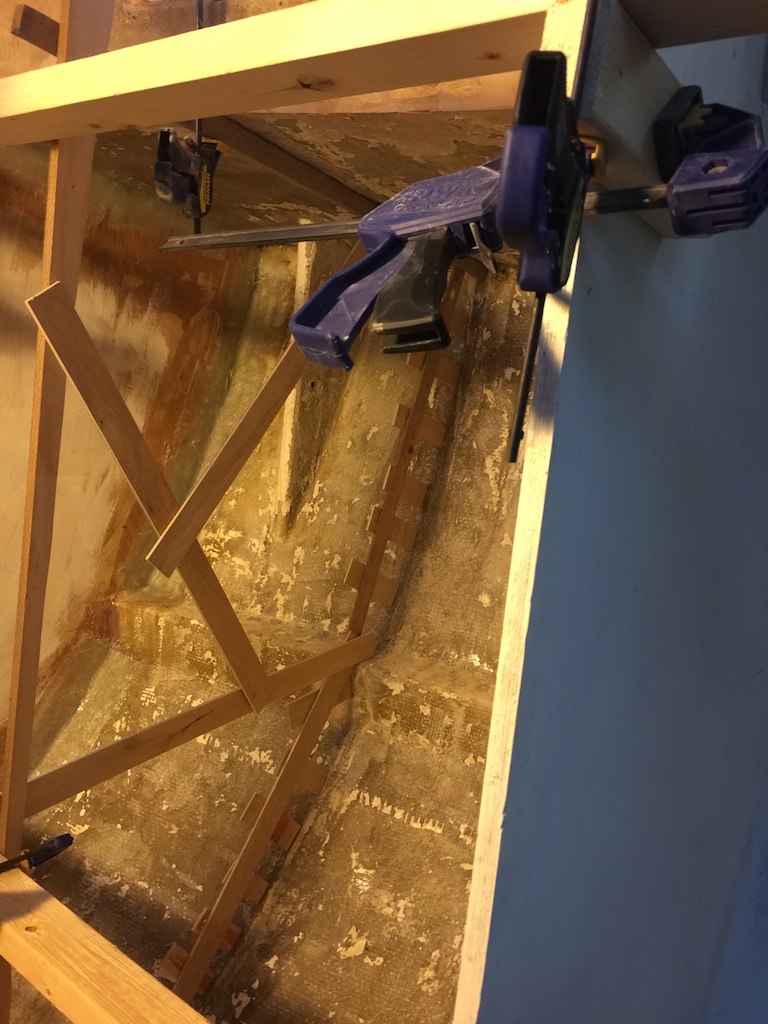
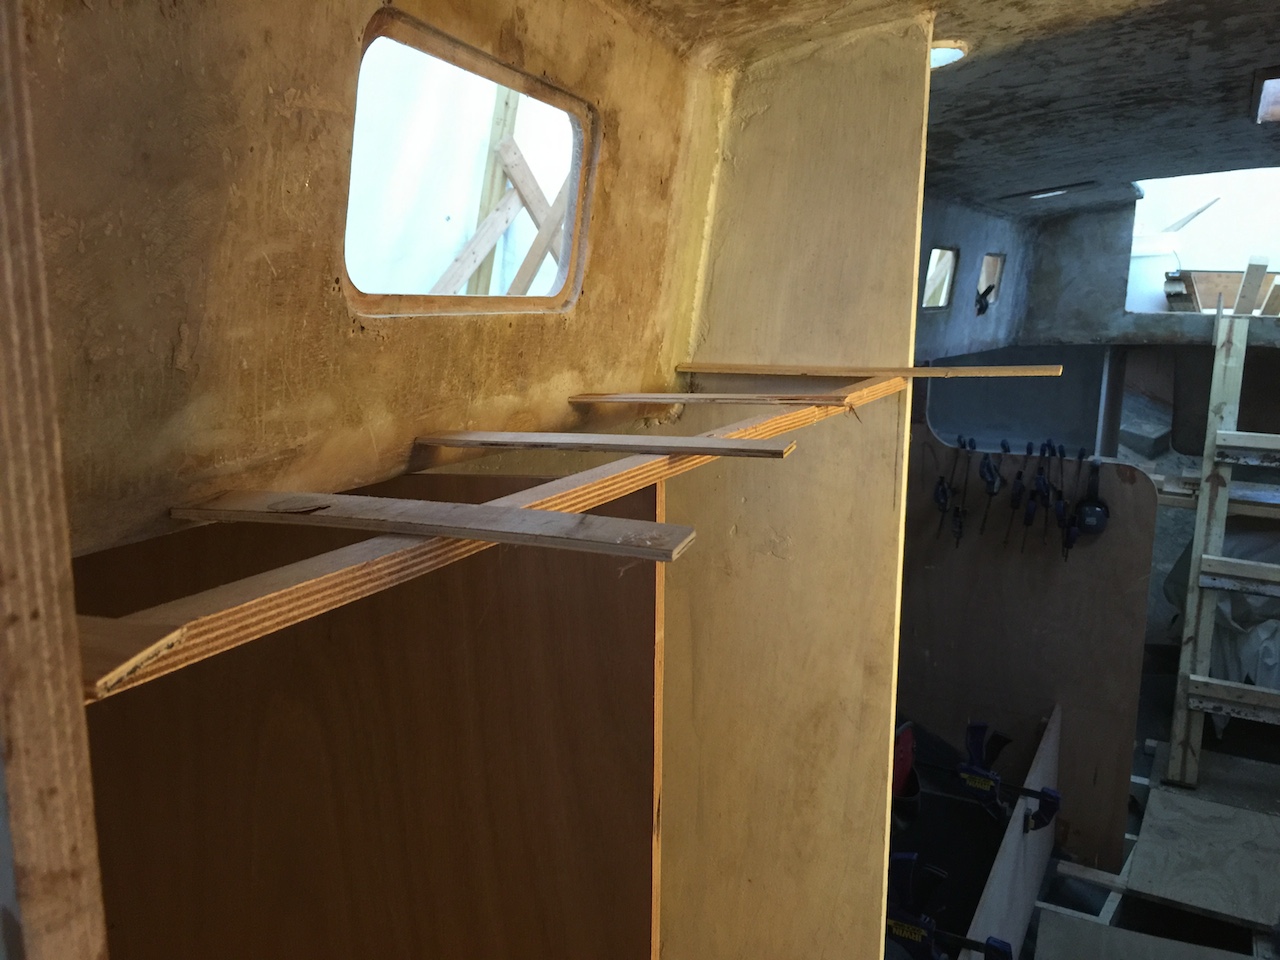
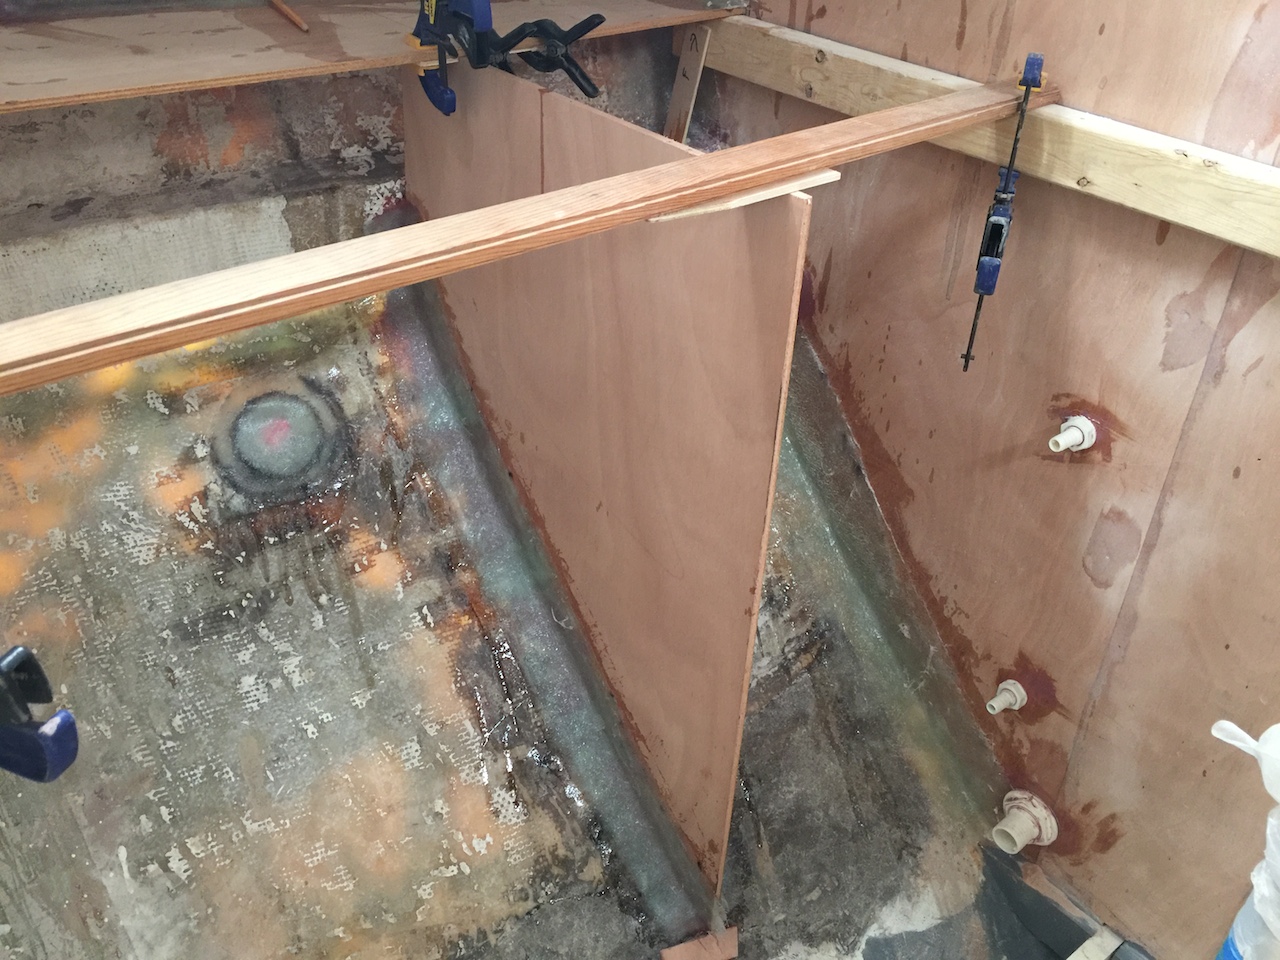
The photo below was taken looking forward from the main cabin and shows two structural bulkheads on the starboard side. Between these bulkheads was another bulkhead that divided this space into two hanging lockers.
Making a bulkhead pattern always requires careful planning. The face frame and doors for the hanging lockers will be in the same plane as the starboard settee front, and in the photo I have run a straight 2×3 along the settee front and forward into the hanging locker area. I made a mark at the outboard edge of the 2×3, which defines the inboard side of the hanging locker fronts. It was then easy to make a line passing through this mark that is parallel to the inboard edge of the forward bulkhead. Using this line as a guide I ran a second 2×3 across this area but higher.

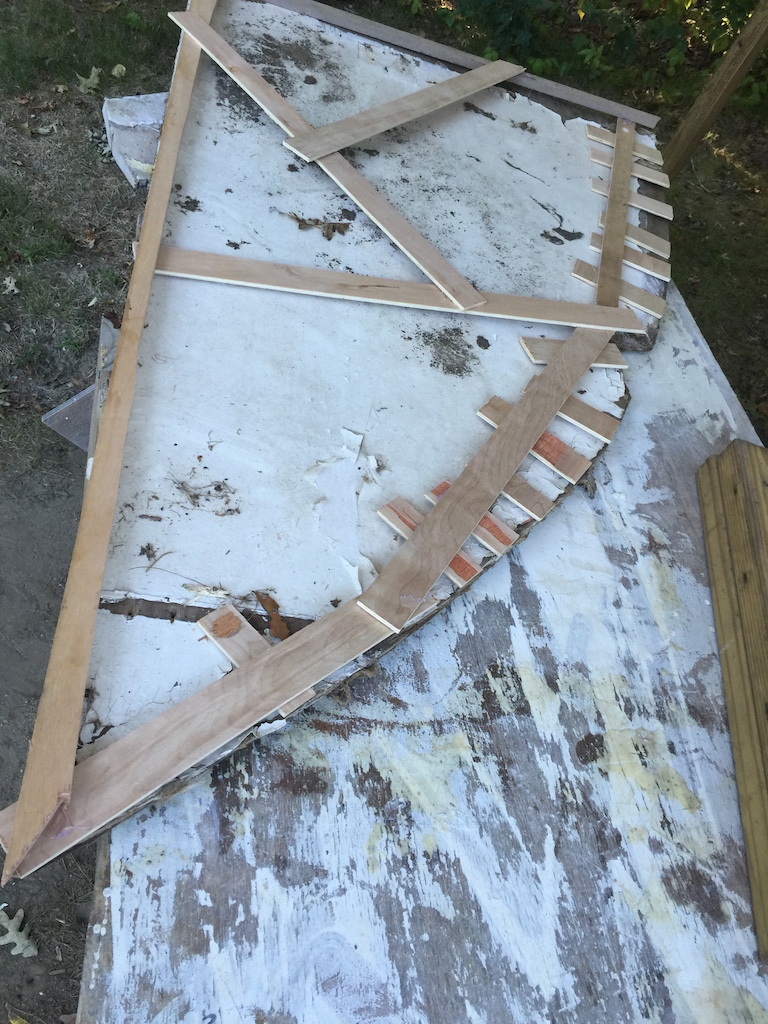
The next photo shows the completed pattern.
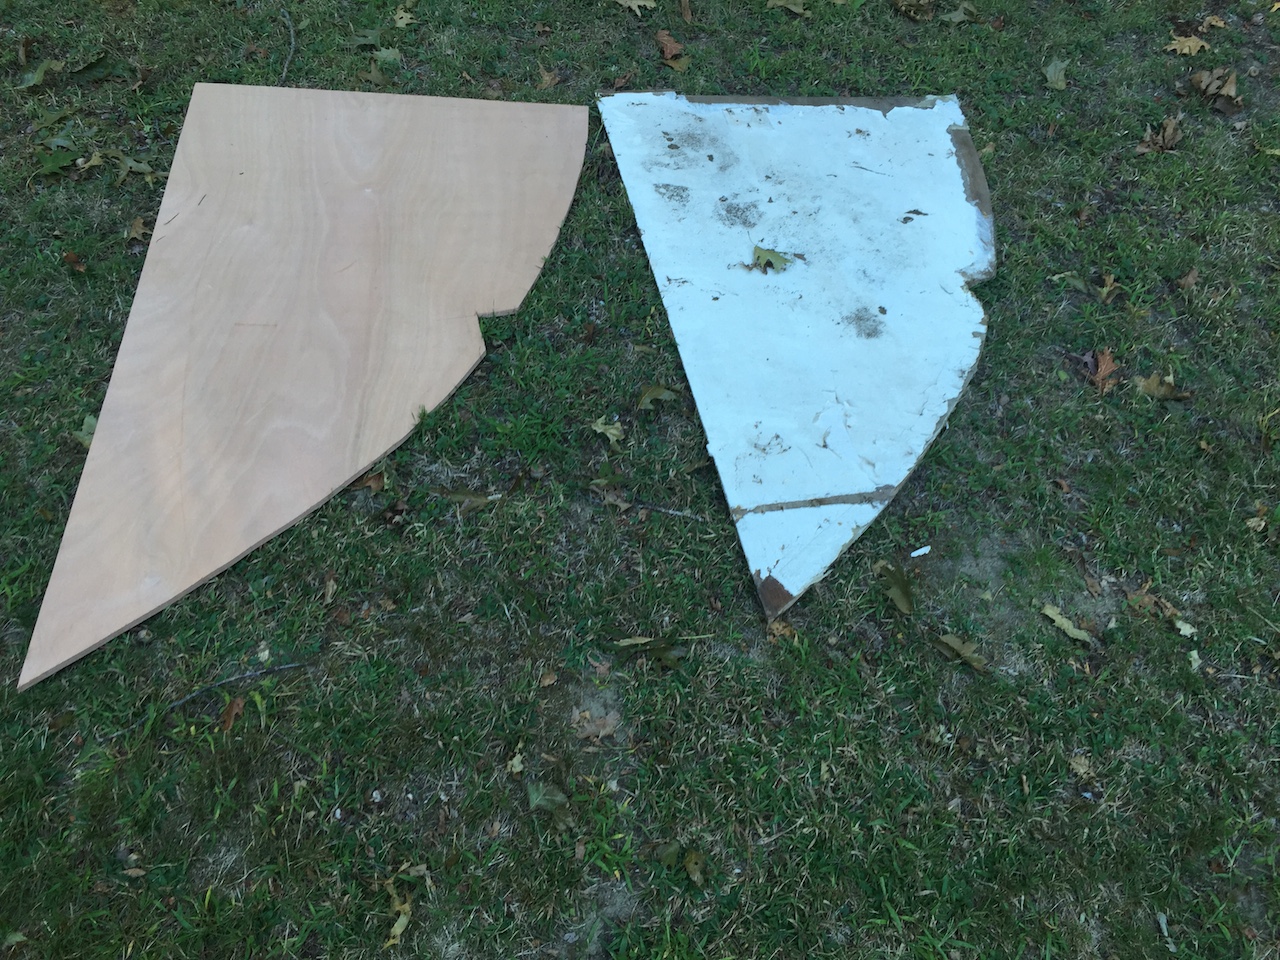
I still had the original bulkhead, and you can see below that the pattern was a close match. I might have been able to use the original bulkhead as a pattern, but I would have had to set up the 2x4s, etc., anyway. The pattern took only about 15 minutes to put together.
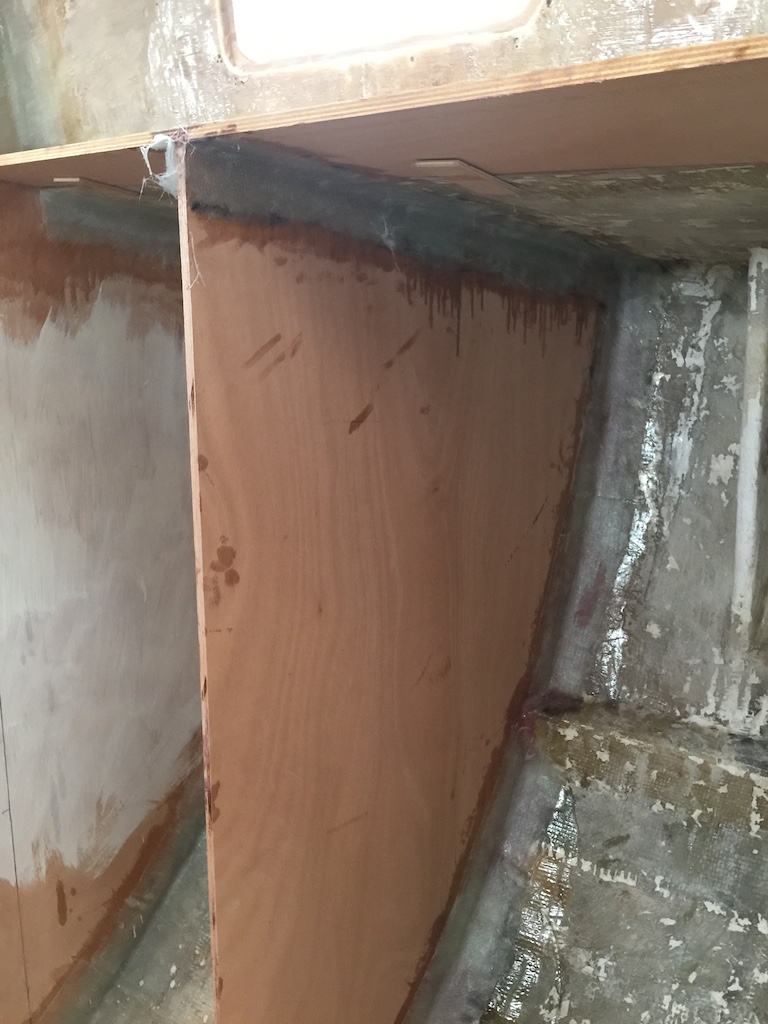
The photo below shows the old and new. The Okume plywood, that so far I’ve used everywhere, is less dense than the plywood used in the original build. The new bulkhead below, for example, is about 35% thicker than the original, but also about 15% lighter.
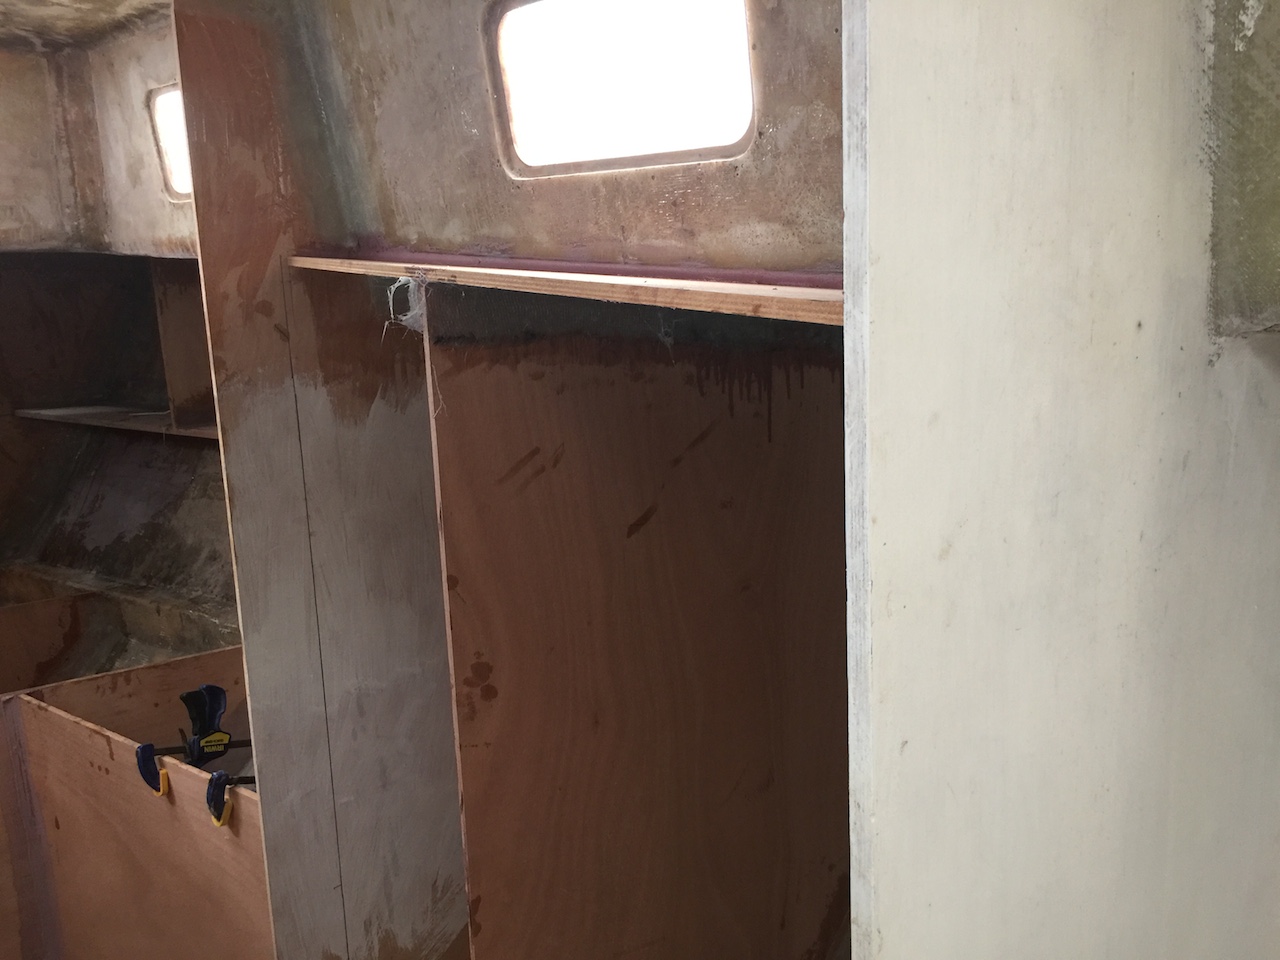
The photo below shows the new bulkhead in position, but I forgot to allow for the thickness of the hanging locker’s face frame, so I removed it and trimmed off about 3/8 inch from the inboard edge.
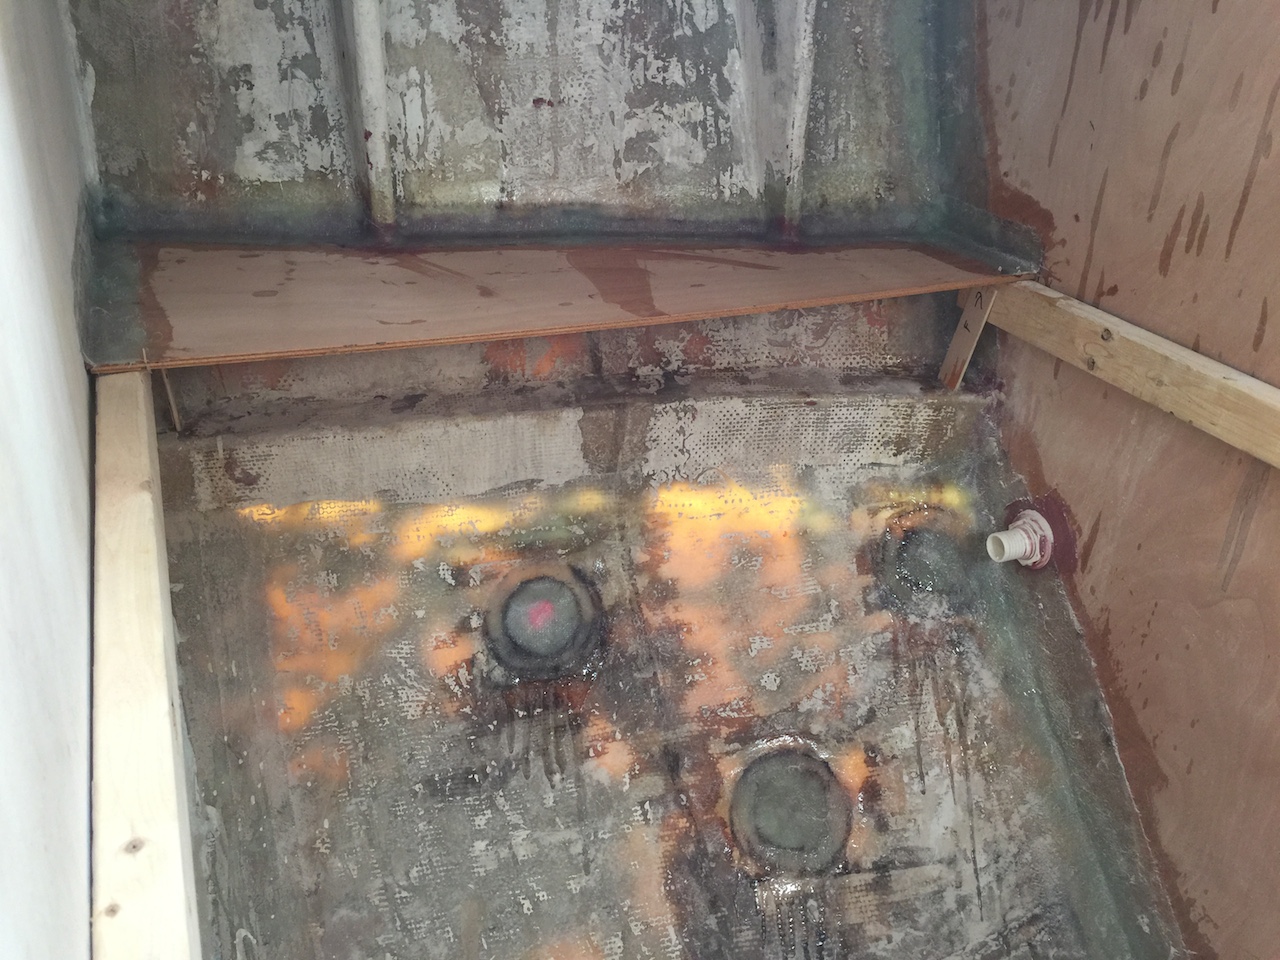
After tabbing in a few sections of the bulkhead, I considered the shelf that sits on top of the hanging lockers. The photo below shows a simple template.
The original shelf was horizontal, but I made the new shelf to be in the same plane as the deck on the other side of the port. The new shelf, then, slopes slightly down moving aft and outboard.
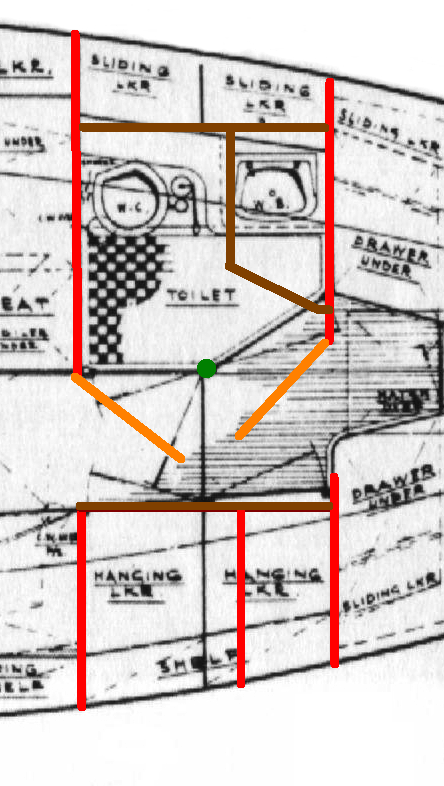
Recall that the head area is undergoing a significant design change, where the head compartment (formerly on the port side) will now extend across the boat. The image below shows the plan.
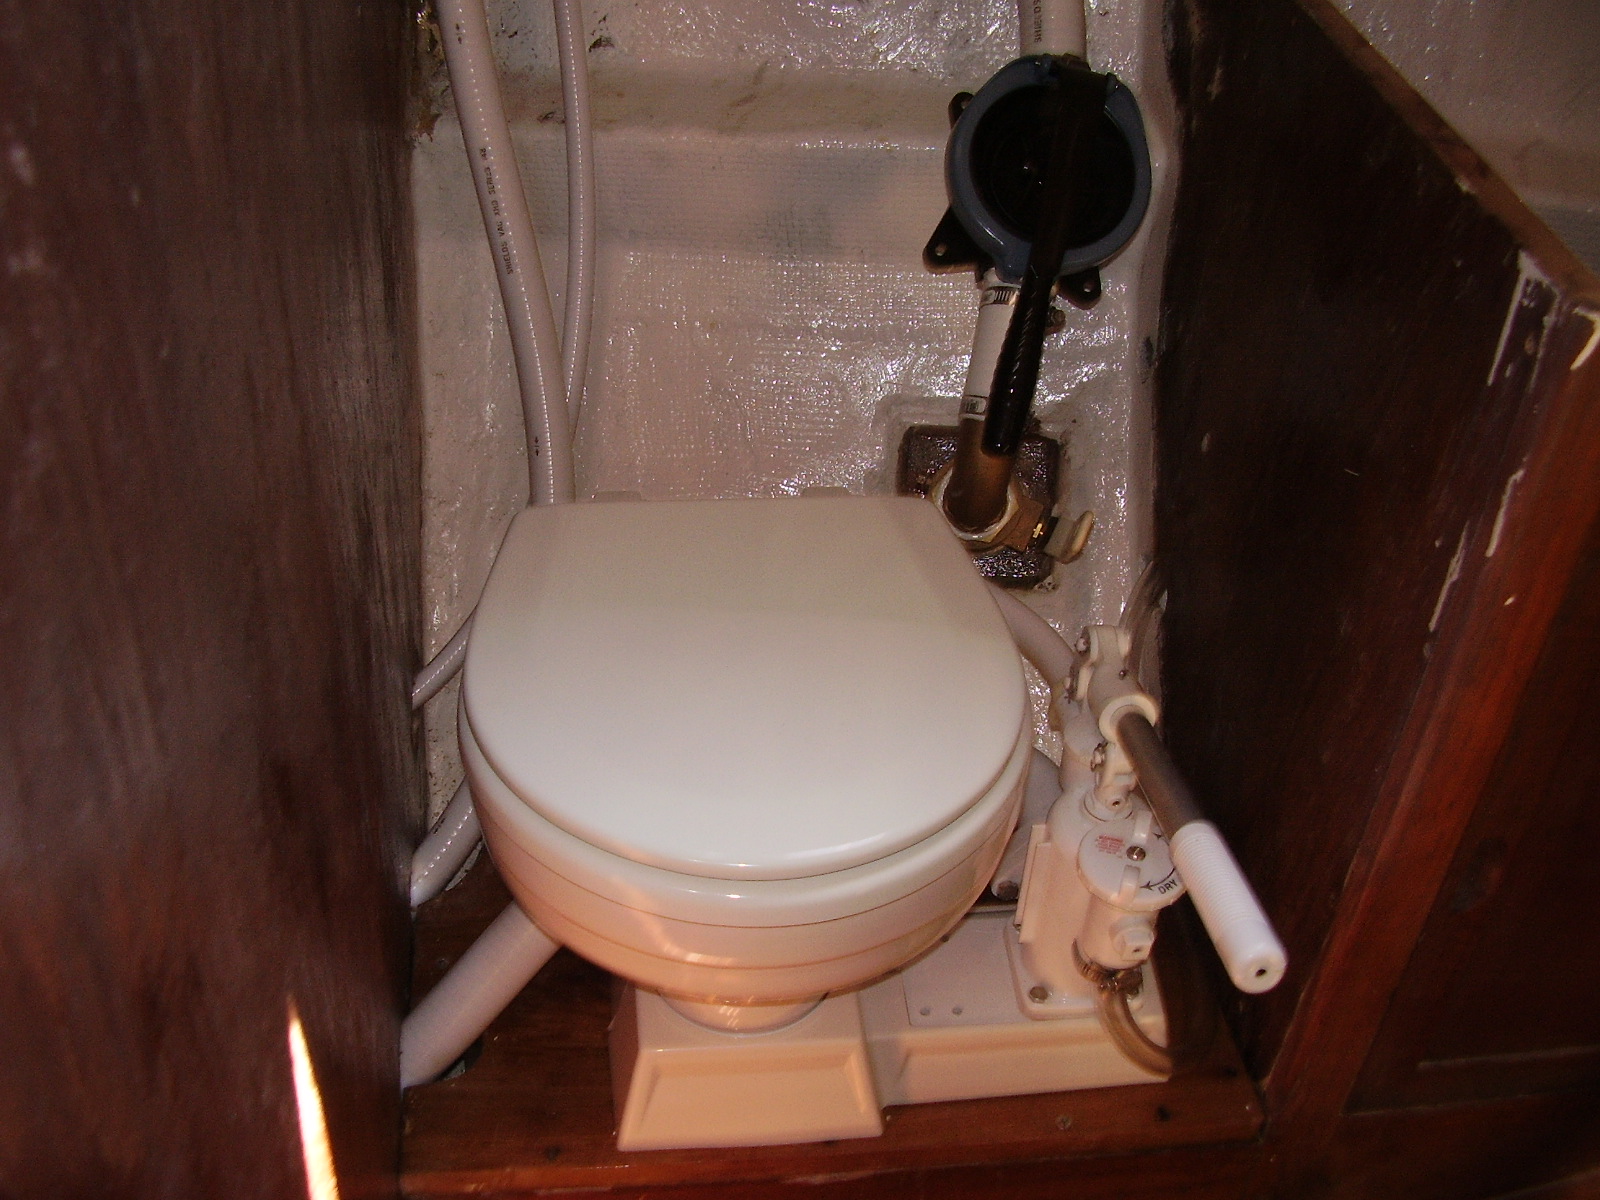
On the port side, I installed the shelf outboard of the toilet and sink. This shelf is a few inches wider than the original, in violation of my “move everything outboard” principle. What’s different here, however, is that moving the toilet inboard also moves it down, which permits one’s feet to be flat on the sole while sitting. (In the original layout, the toilet was so high that only a tiptoe posture could create contact with the sole.)
The following two photos shows various stated of the 2007 refit, where the first photo shows that the sink front was flush with the “toilet step” front. The new layout will be different.
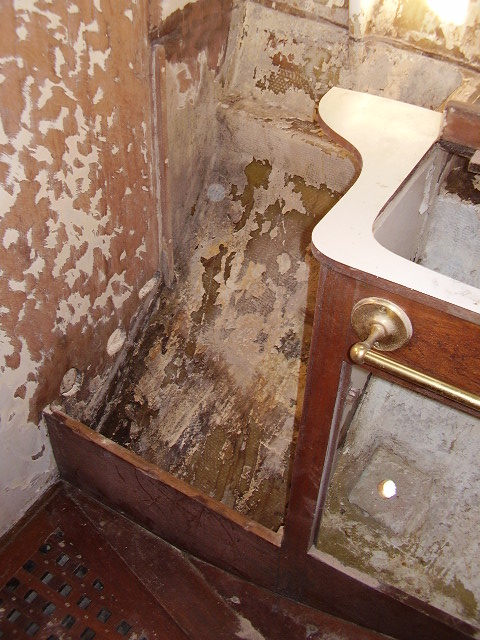
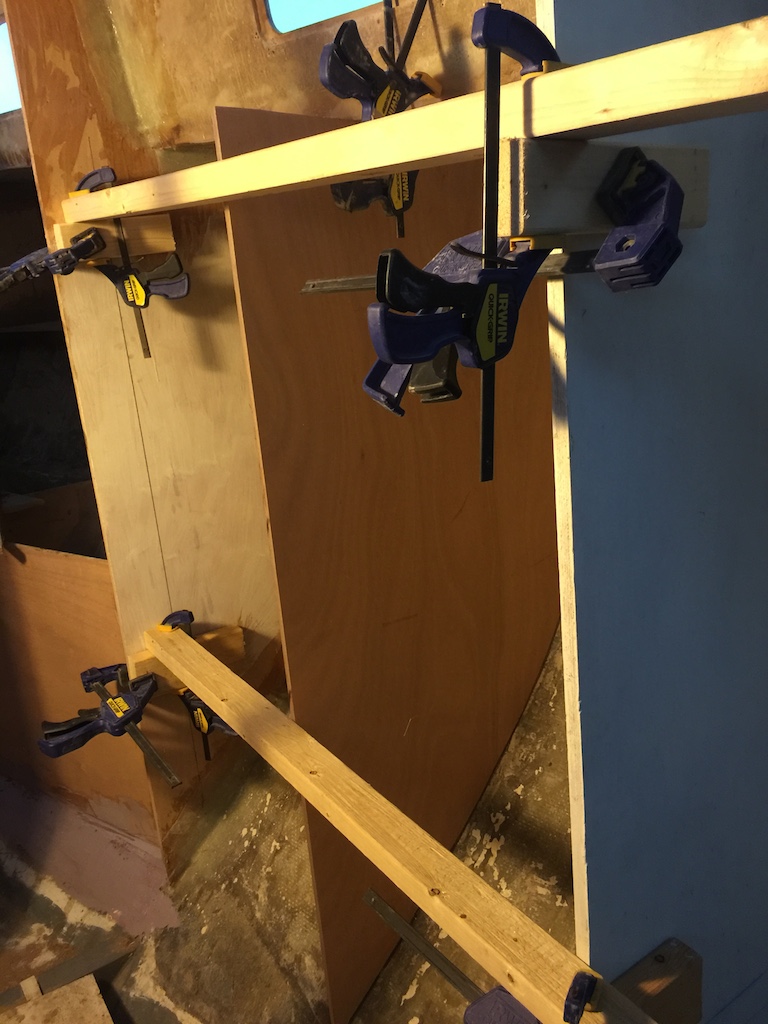
The new sink cabinet will extend much further inboard and the next photo shows a pattern for the aft side. If you look closely, you can see that this bulkhead will be about 5 inches forward of the original, creating a wider enclosure for the toilet.
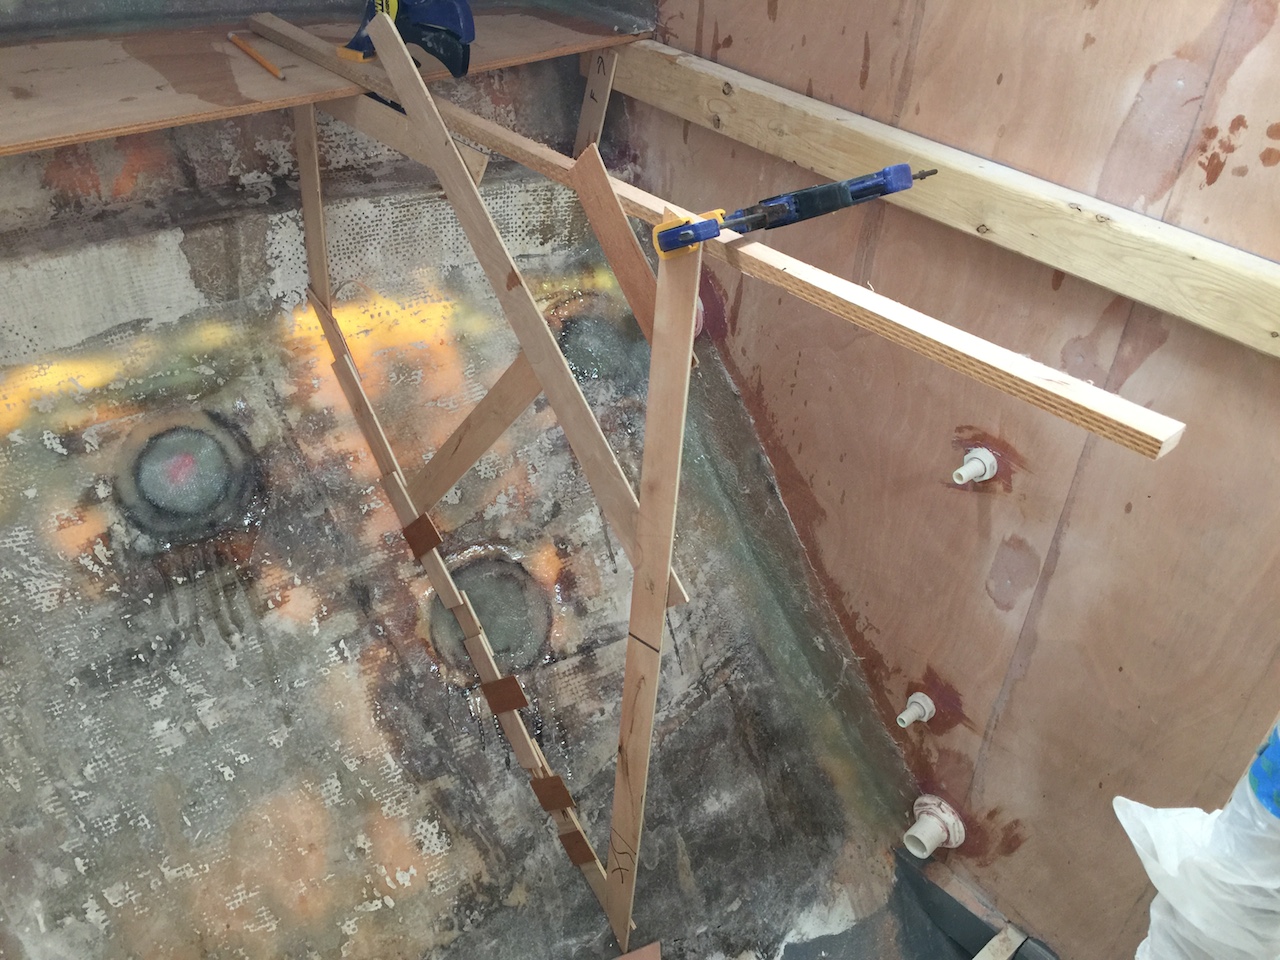
As usual, trickery was required to hold it in place for filleting and tabbing.
The next steps here are to tab the underside of the shelf.