7/13/17: Ceiling, Sides, and Hatches
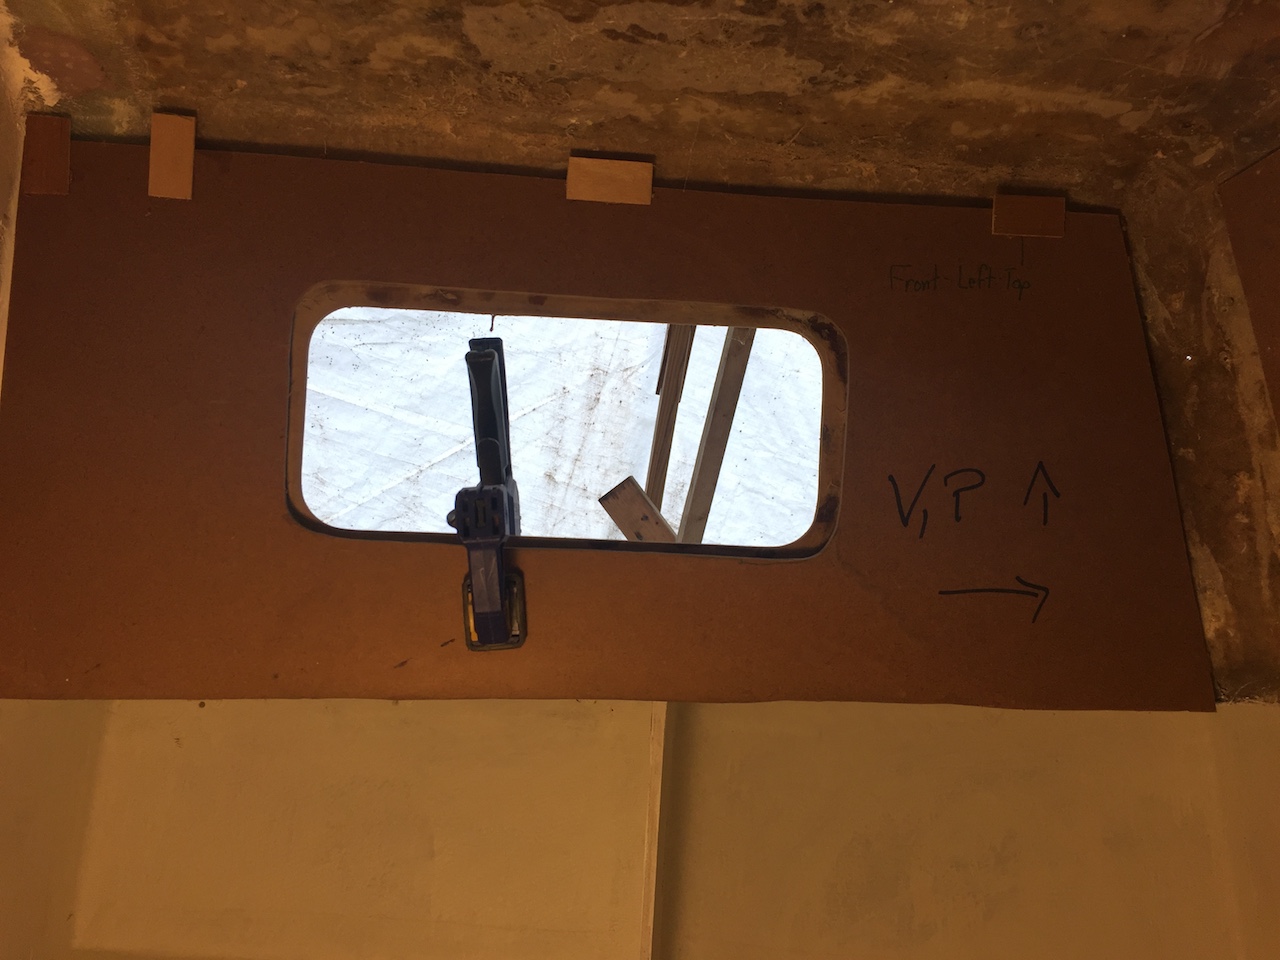
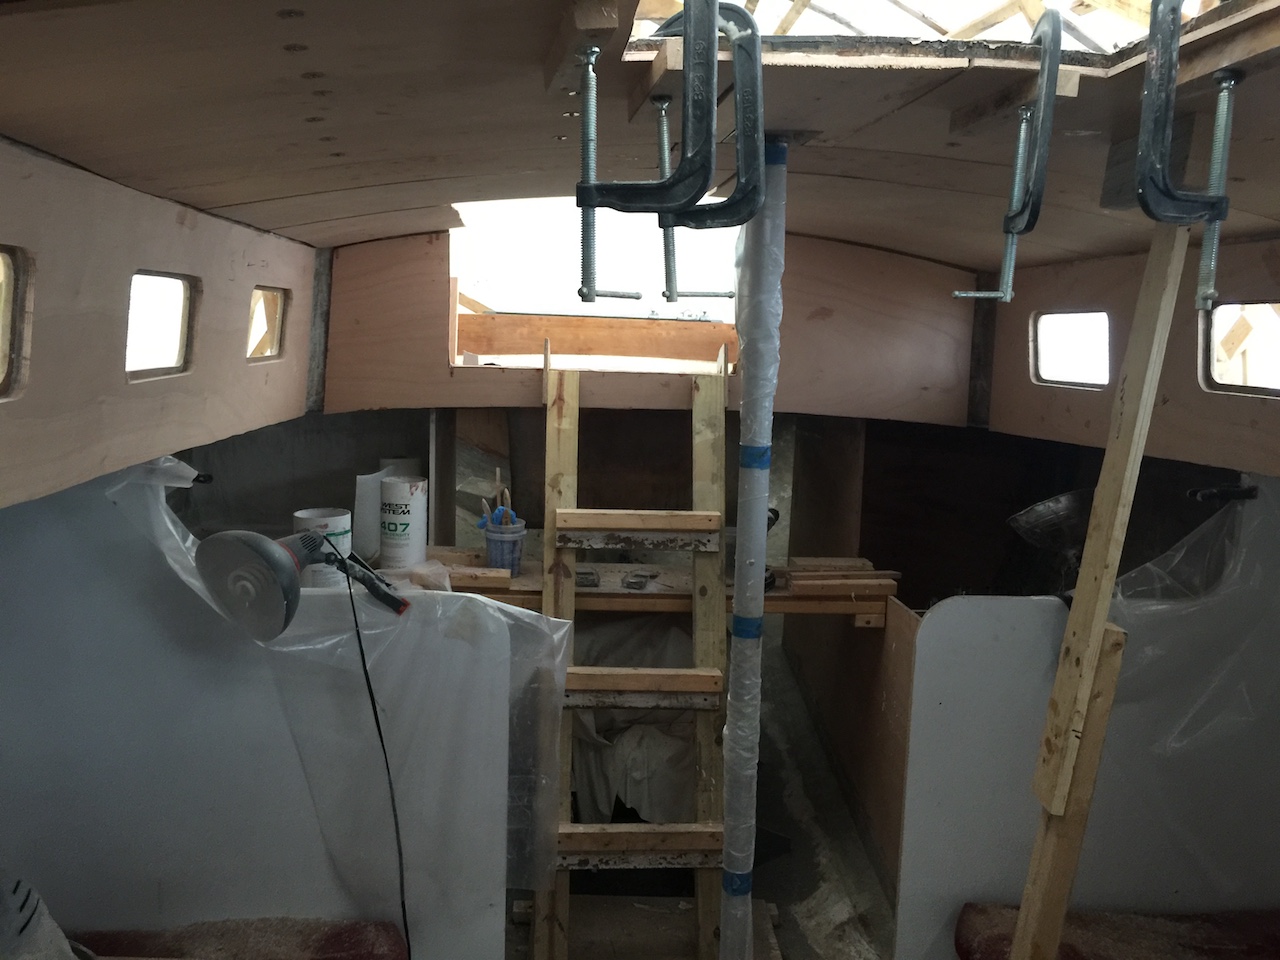
Before going too far with interior furnishings, I decided that I should address the covering for the inner cabin-top sides. The need for covering is due to the bare substrate being a rather rough fiberglass surface. In 2007 I replaced the original covering with 1/8-inch teak-faced plywood. I removed that covering a few years ago. This time I am covering the sides with 3/8-inch marine plywood (Okume, of course). Luckily, I saved the patterns from 2007, and the photos below show where I am using them again (with minor adjustments).
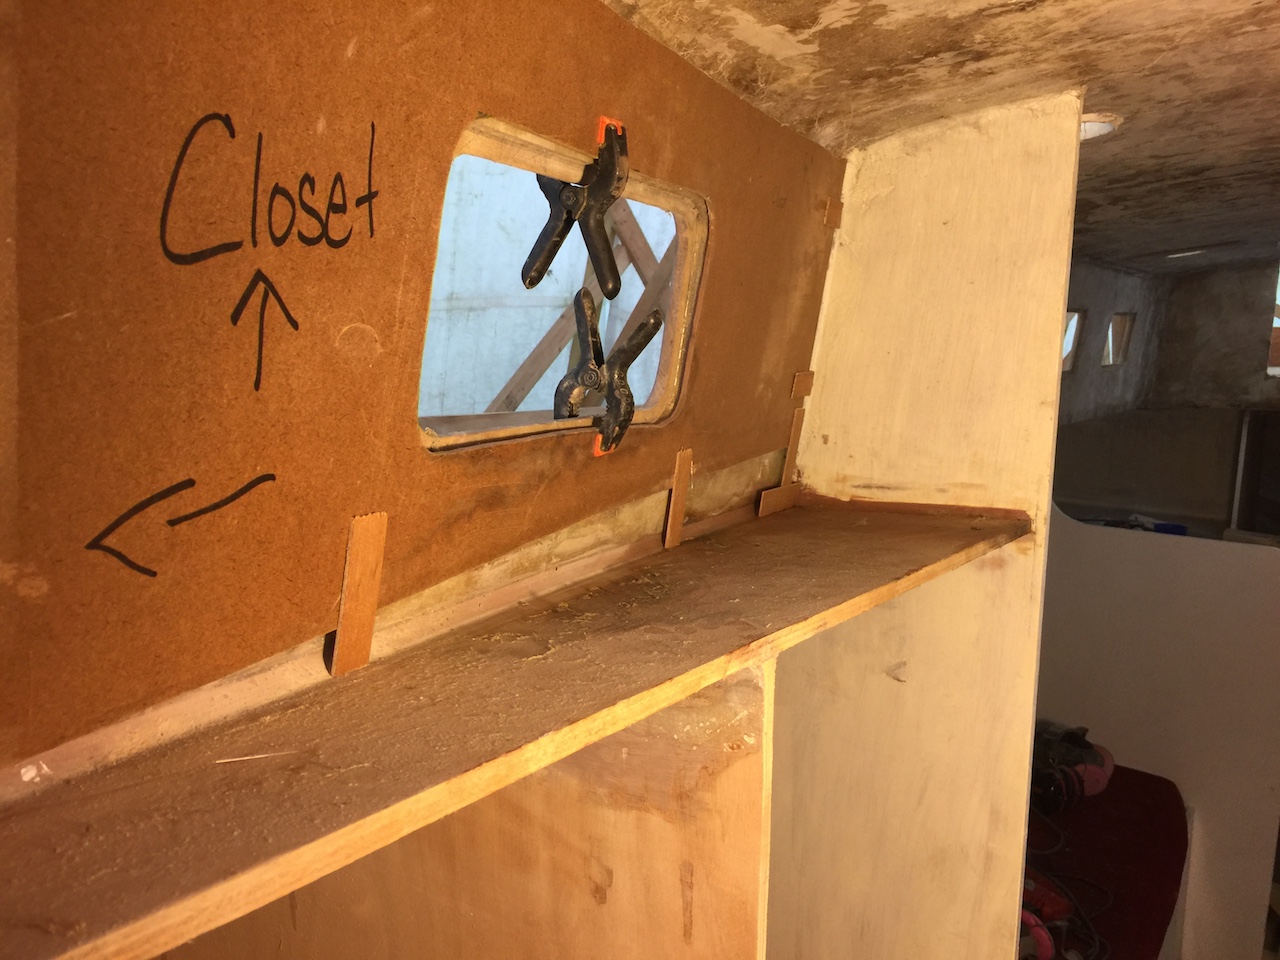
The pattern in the “closet” area required the most significant adjustments due to my making the shelf here in the same plane as the deck, rather than simply horizontal, which was the original plan.
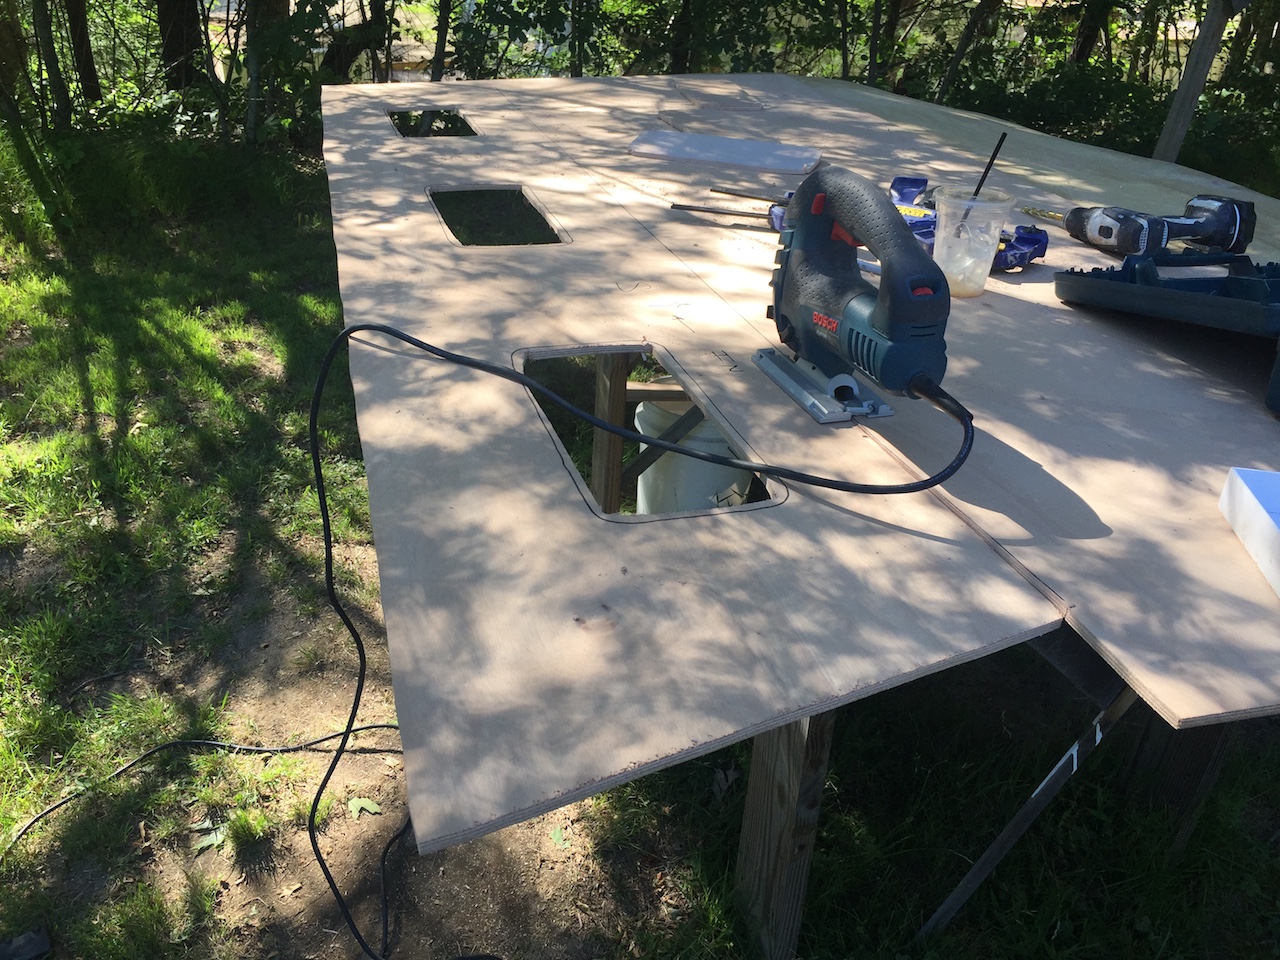
These patterns were used to mark up the plywood, which was cut with a jig saw.
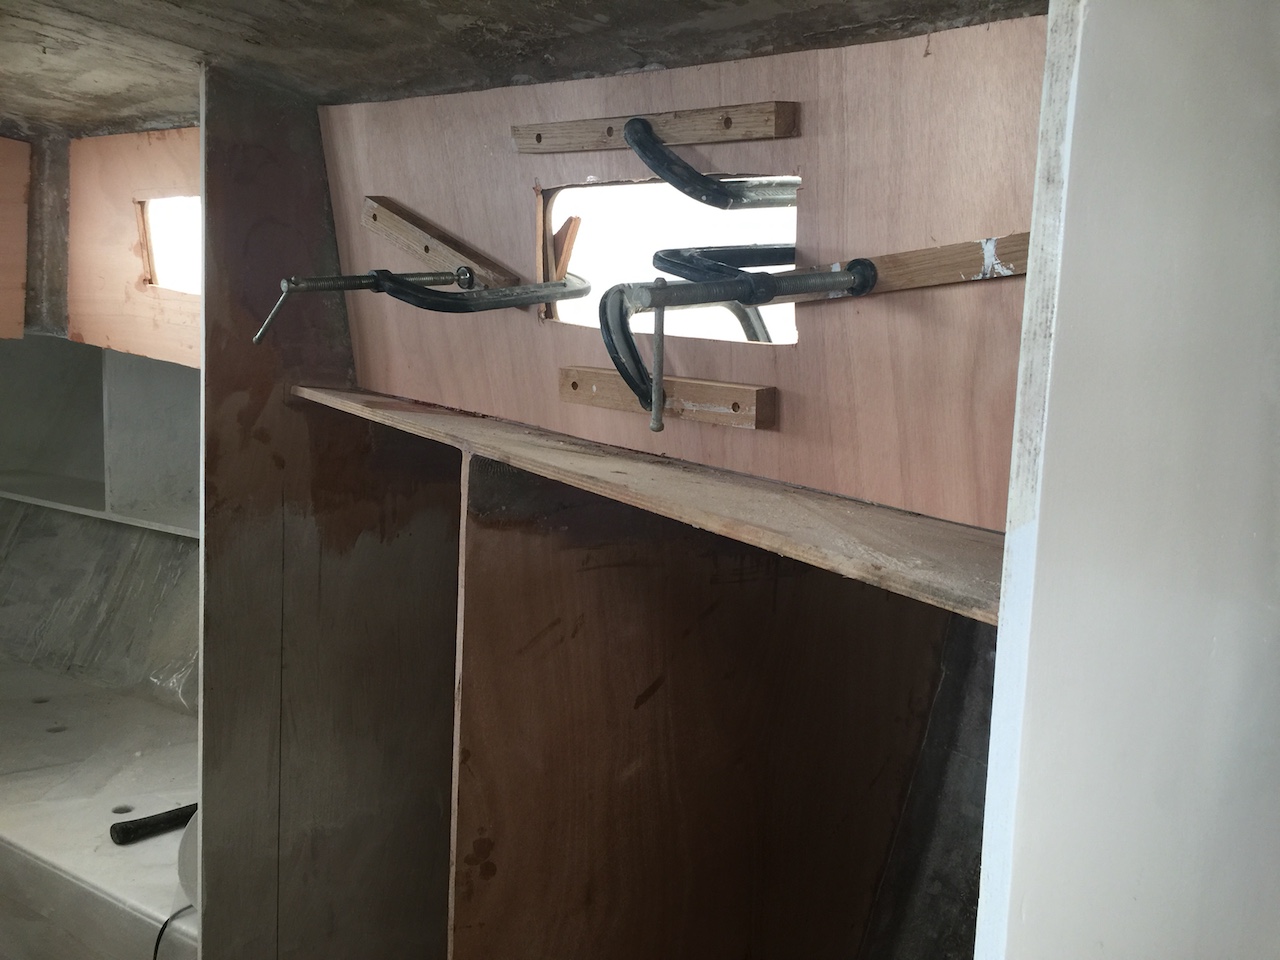
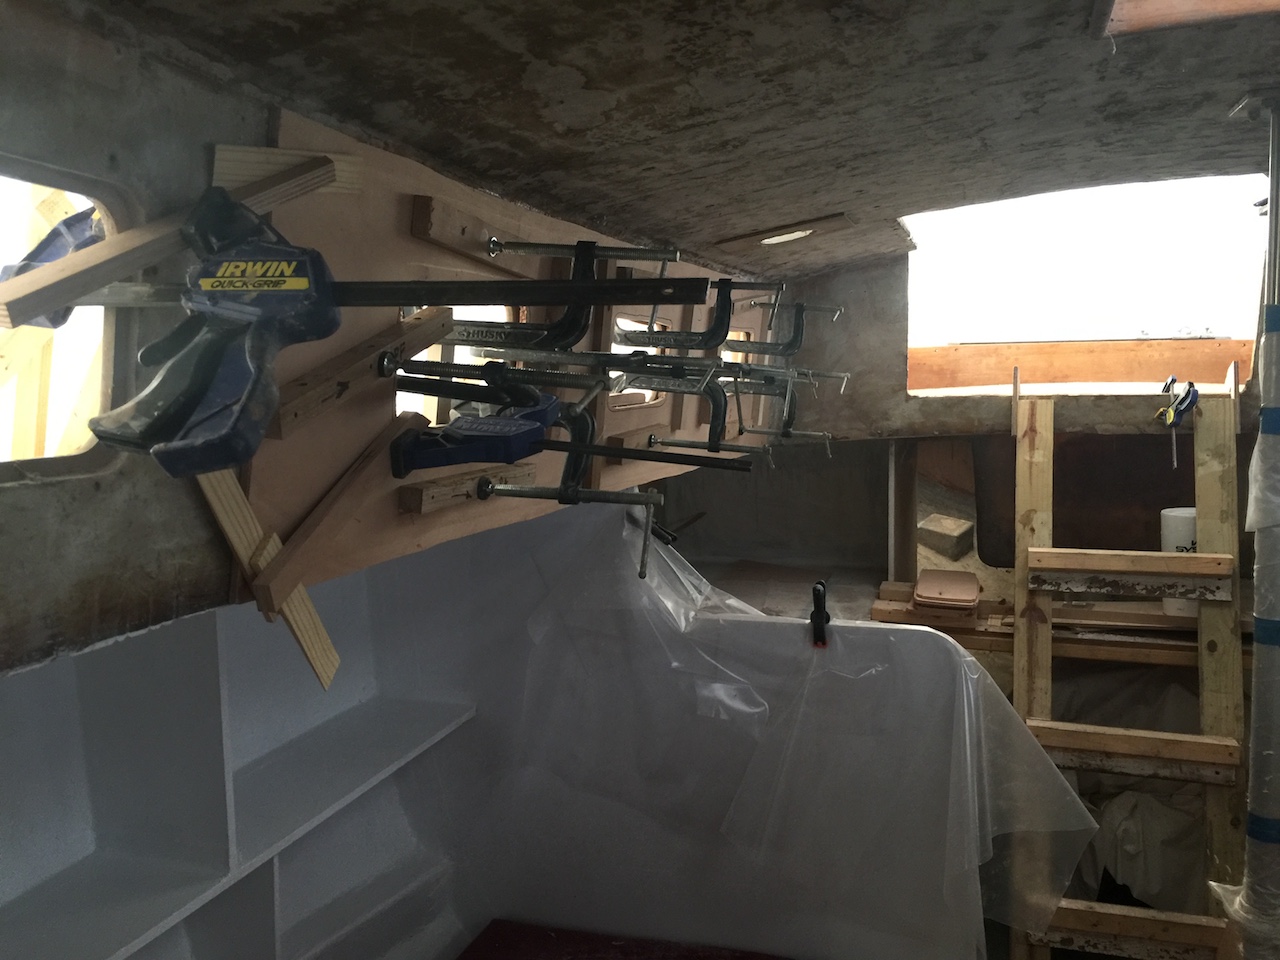
The plywood panels were bonded to the sides using epoxy thickened with colloidal silica. Plenty of clamps were employed in this process, which took a number of days.
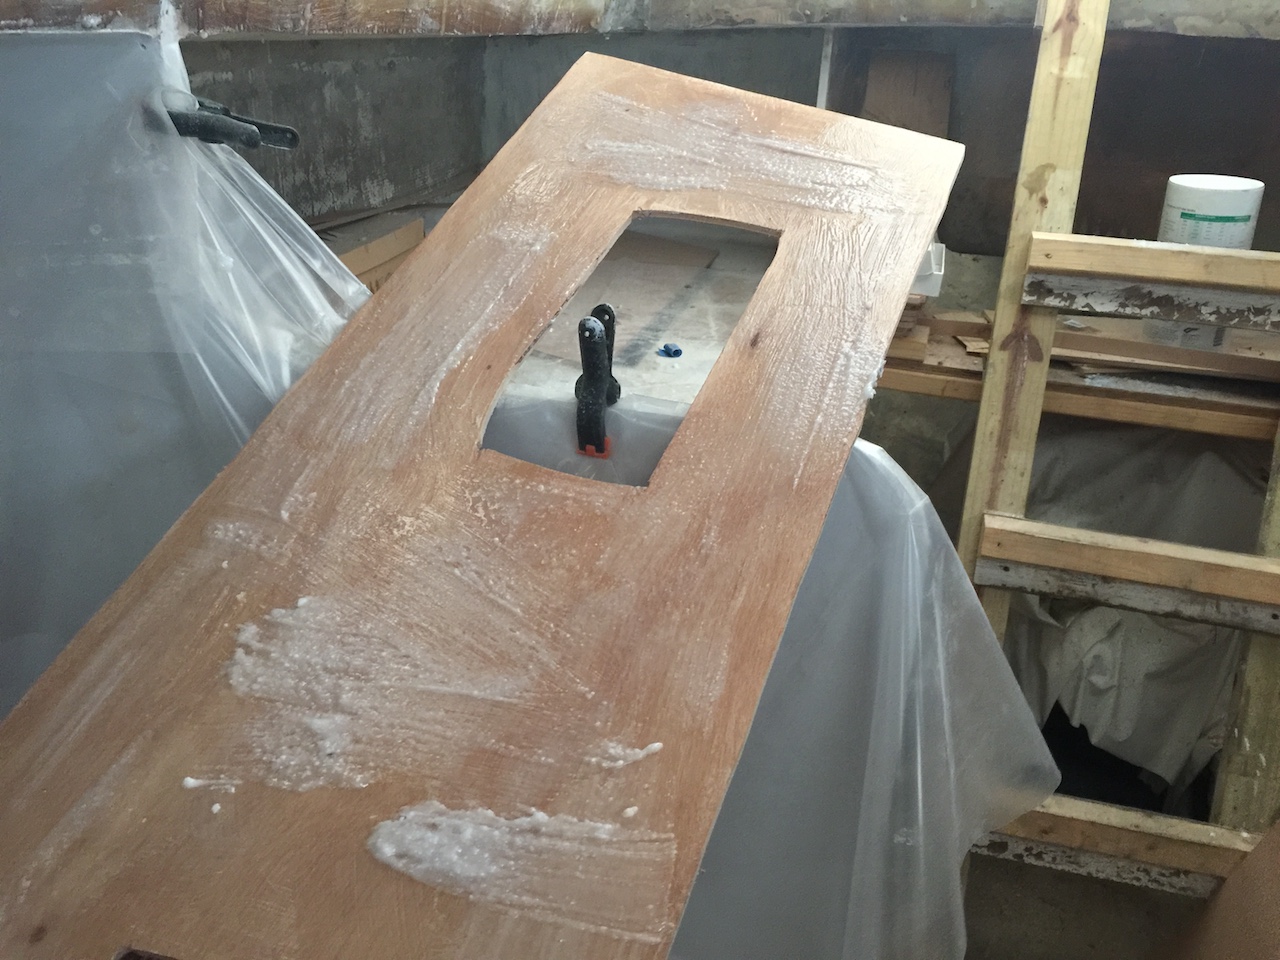
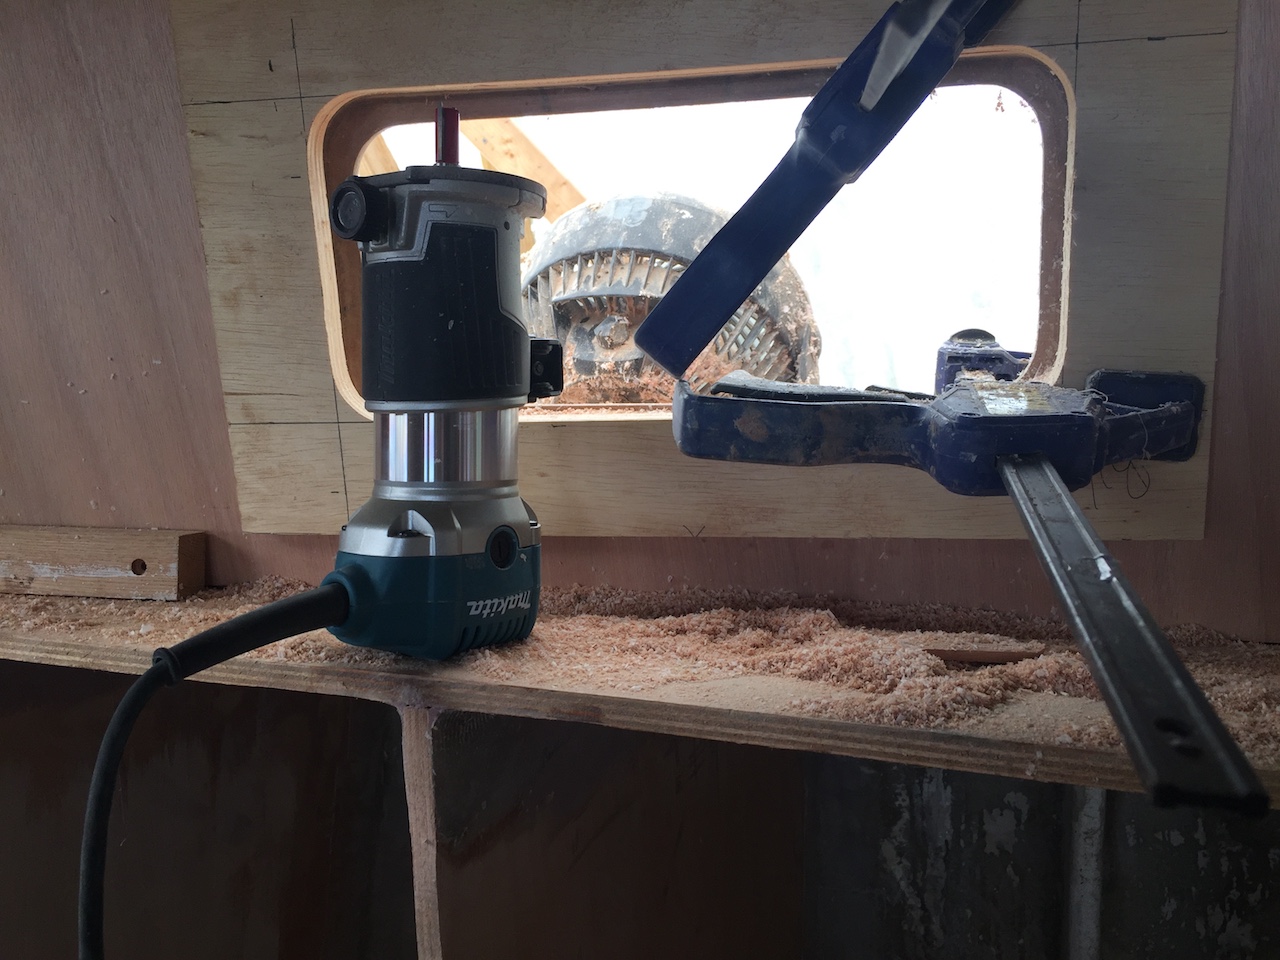
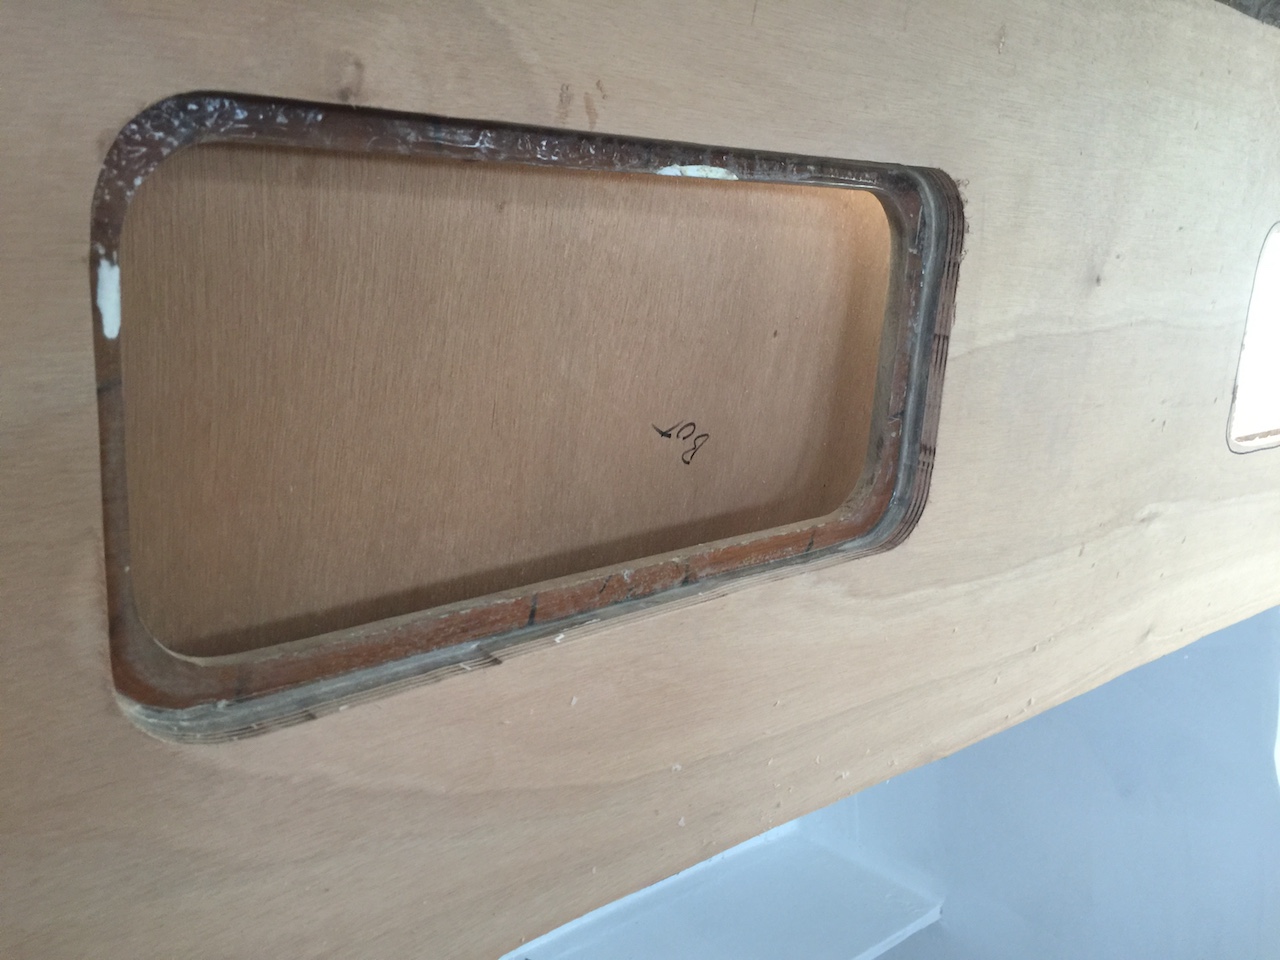
To get the window holes just right, I used a “trim” router with a straight bit. I had some old templates for routing out the window openings in the teak on the outside of the cabin top. These were not the the right overall dimensions, but I was able to get the holes cut out by moving the patterns around and re-clamping them, often “sneaking up” on the right line. This process took about 20 minutes per window (times 13 windows).
When I ordered the plywood, I ordered extra for the ceiling and a few other places (9 sheets total). There are various methods to cover a ceiling, but I decided to simply bond the same 3/8-inch plywood to the inside of the cabin-top roof. I first made patterns (not shown) and then bonded them to the roof with thickened epoxy. Getting the plywood to follow the curve of the roof was challenging, but vertical bracing followed by stainless screws and fender washers provided sufficient upward force to make the curve.
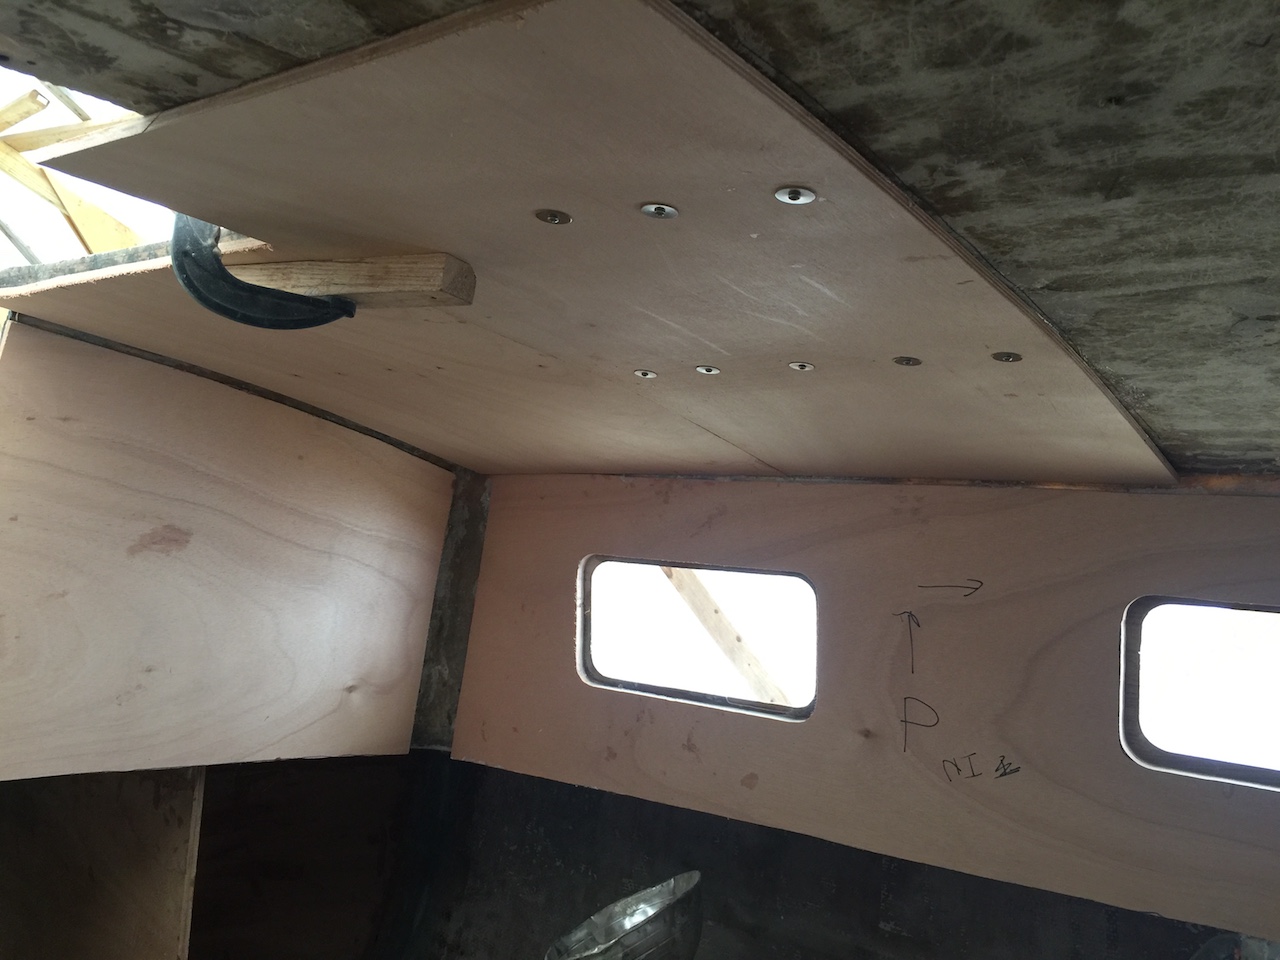
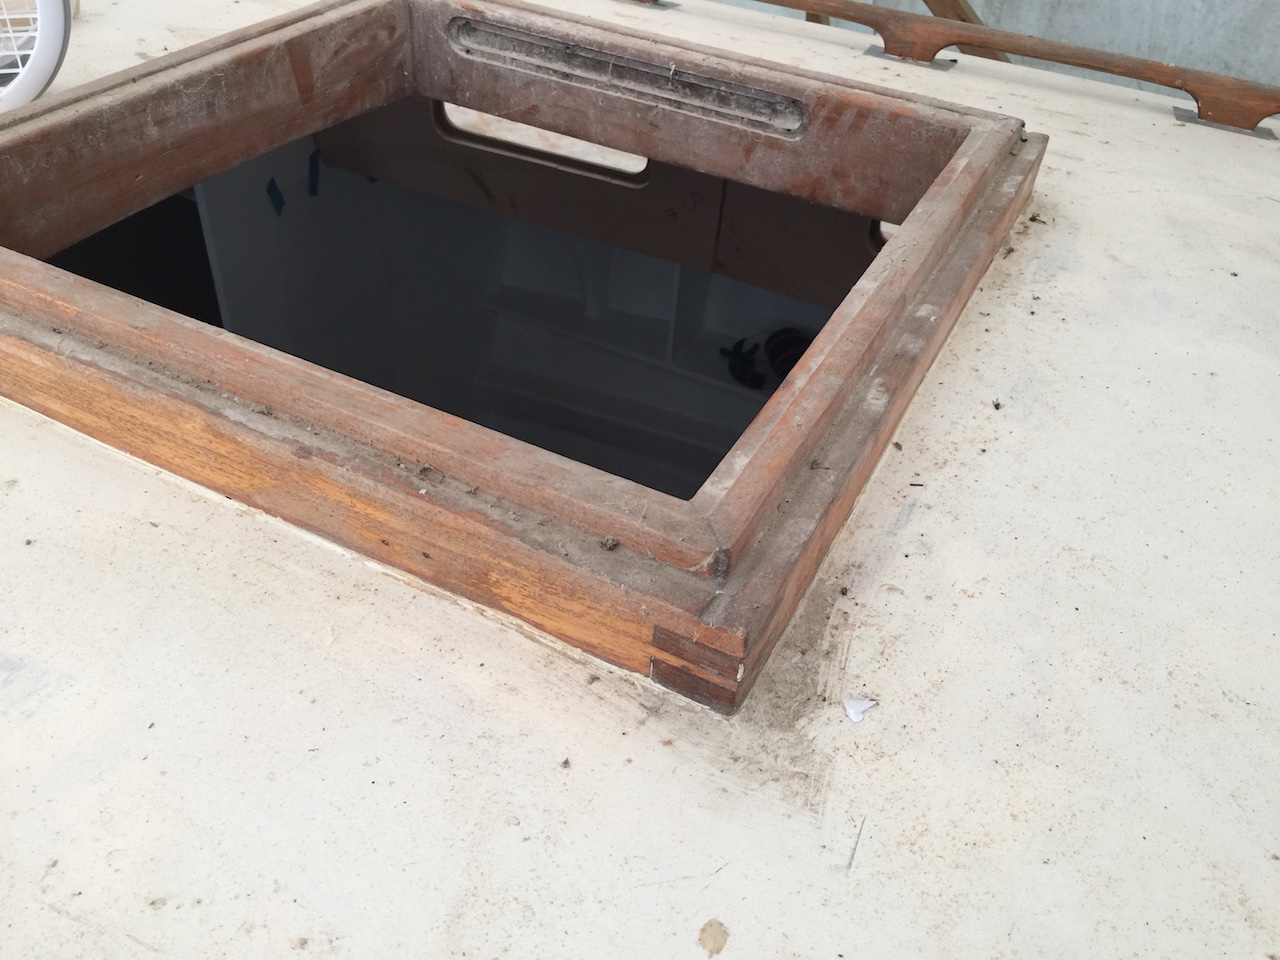
Moving forward I encountered the main-cabin hatch. With some misgiving, I decided to cut out the old teak hatches and build from scratch. This issue was addressed previously with the lazarette hatch. No details for now, but my feeling is that the new hatches will be more watertight, more maintenance-free, more functional, and will look better overall.
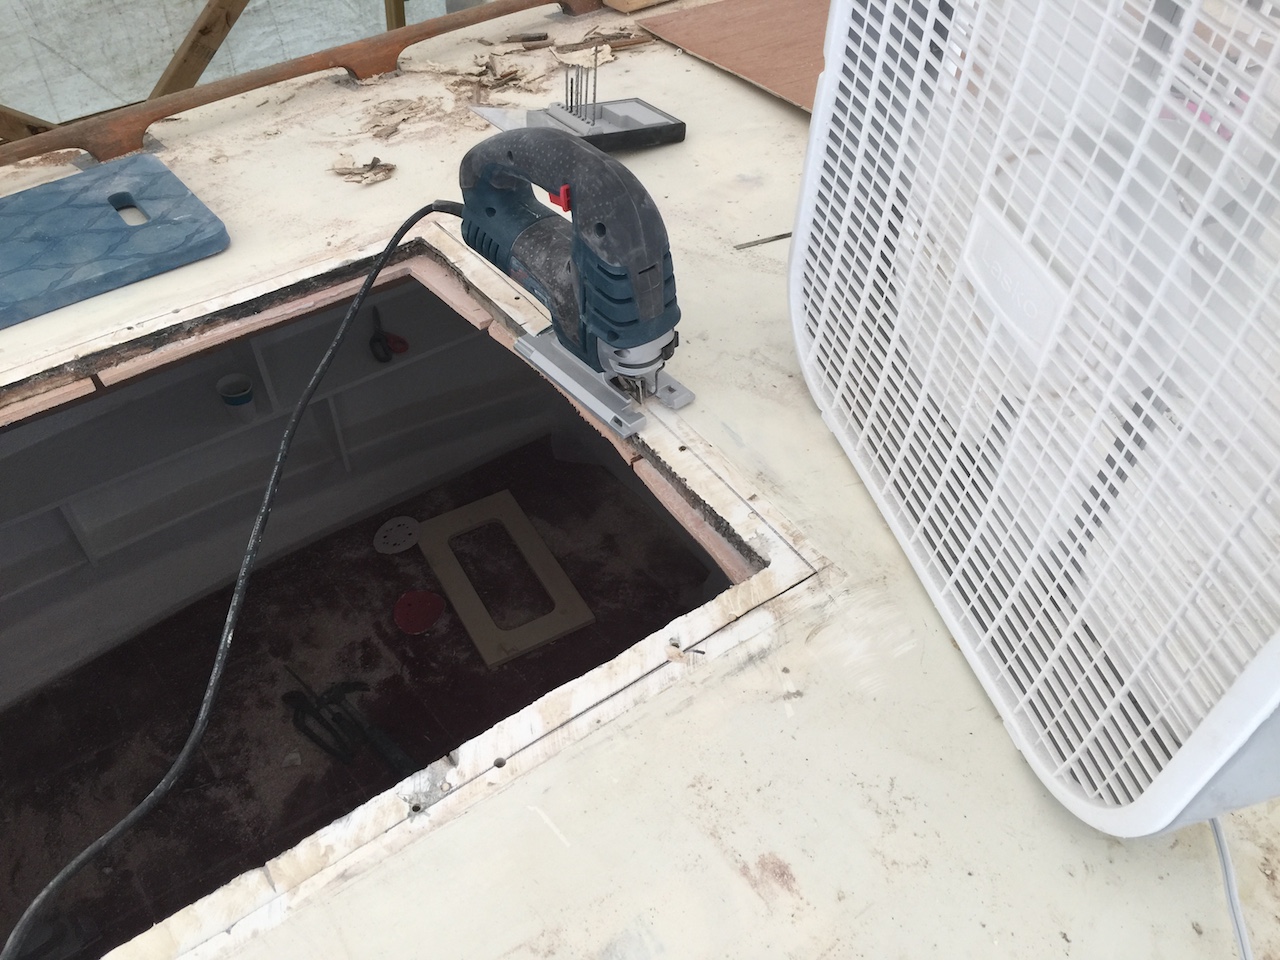
The following photo shows continuing progress on the ceiling, after the old hatches had been removed.
One of the more labor-intensive parts of these jobs is filling and fairing the gaps between panels.
After all the ceiling panels were up, I cut out new perimeters for the cabin-top hatches.
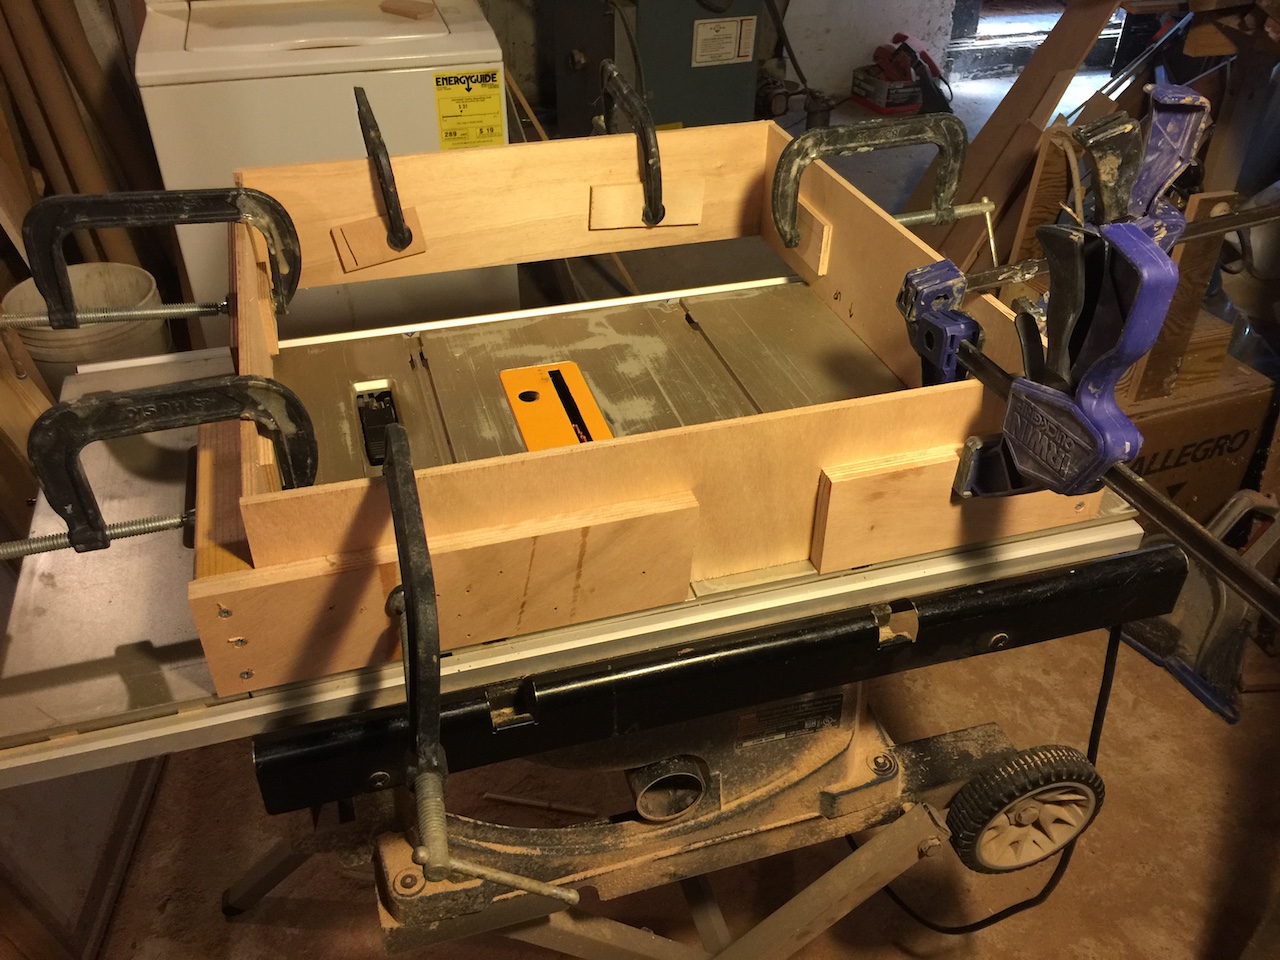
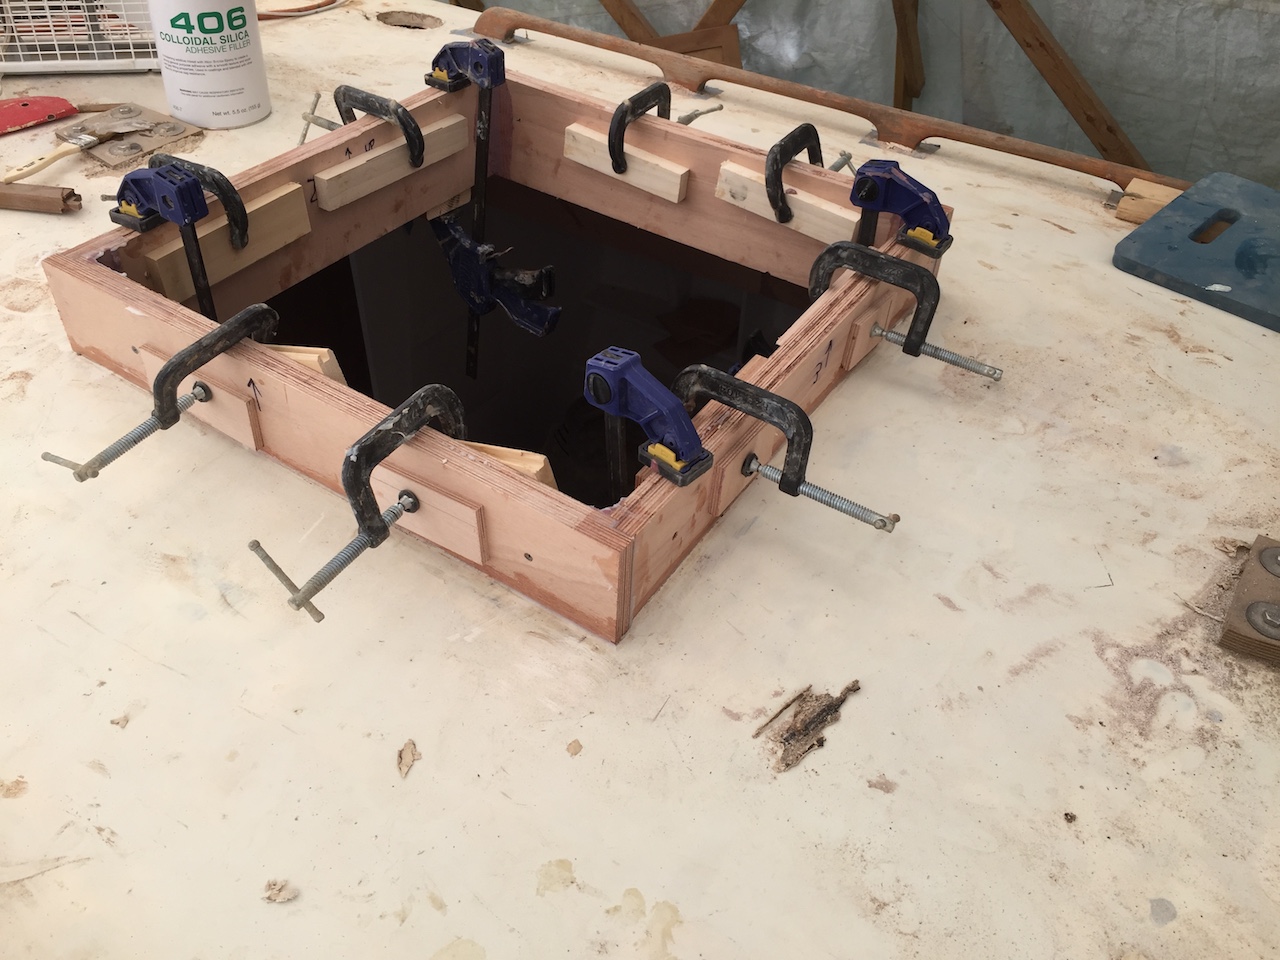
Construction of the hatches began by constructing four right-angle jigs that I used to clamp up the inner box, as shown below.
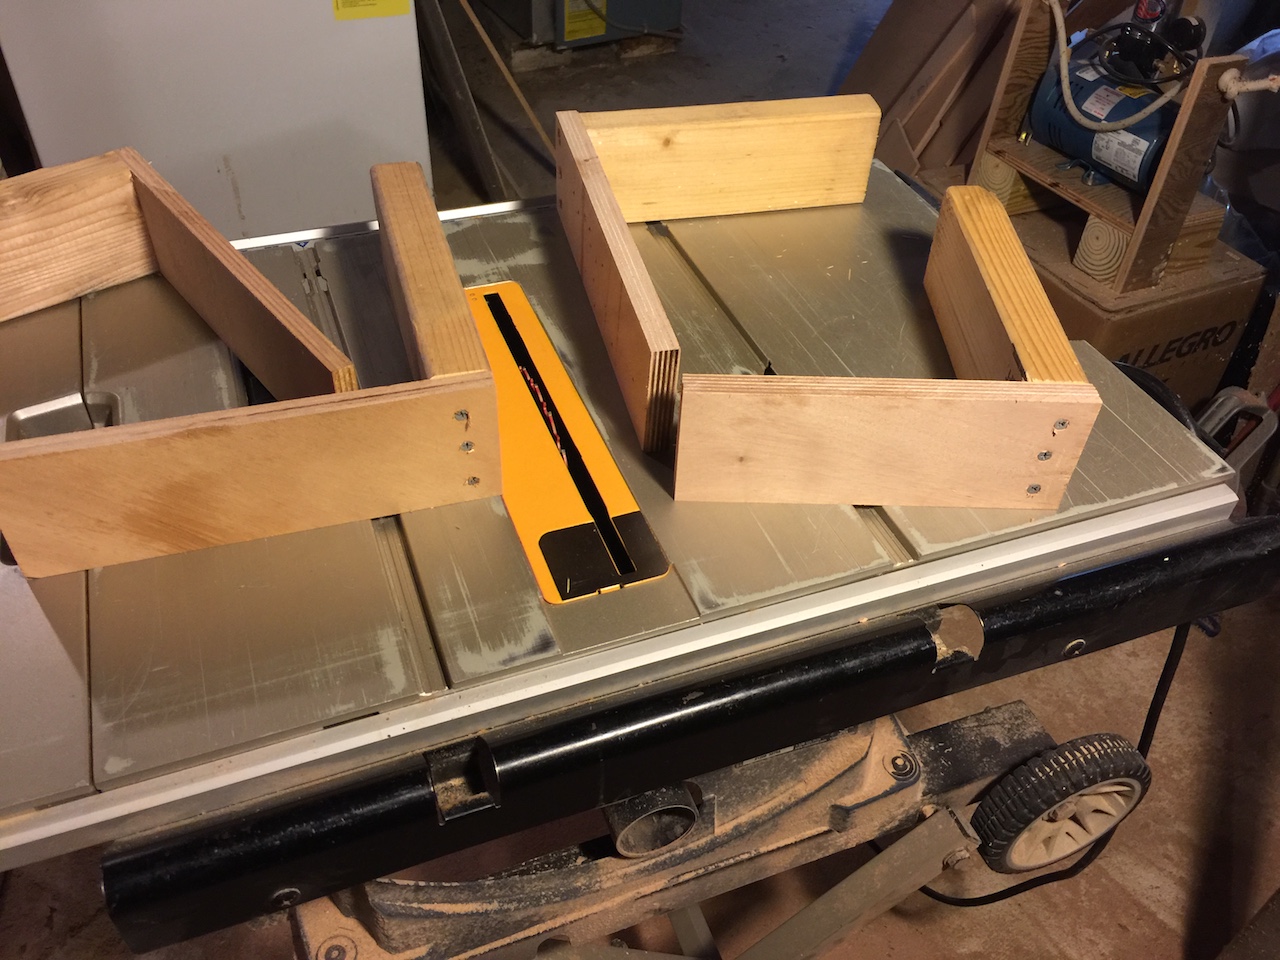
I bonded the corners with fillets of thickened epoxy.
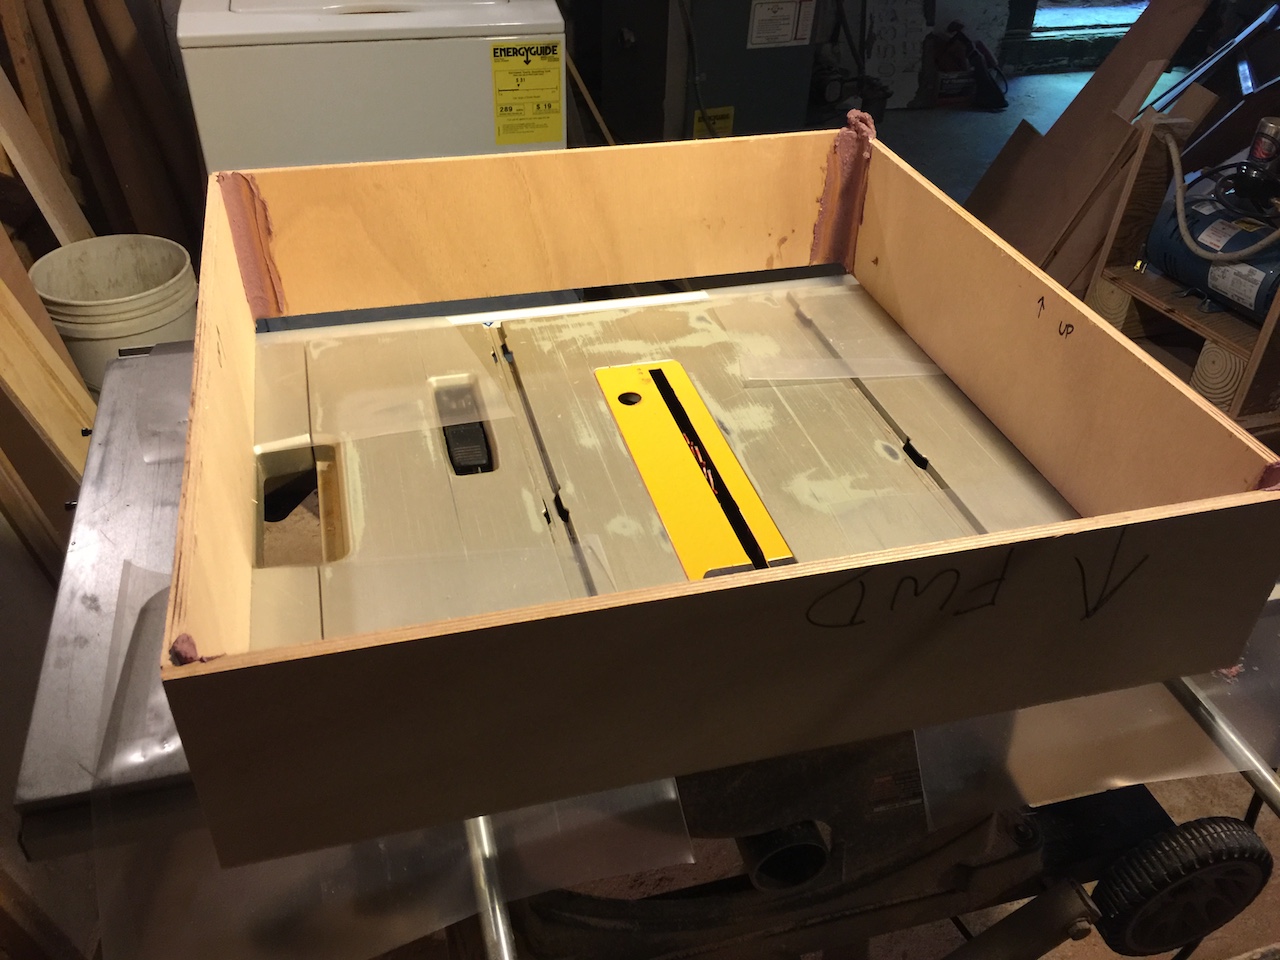
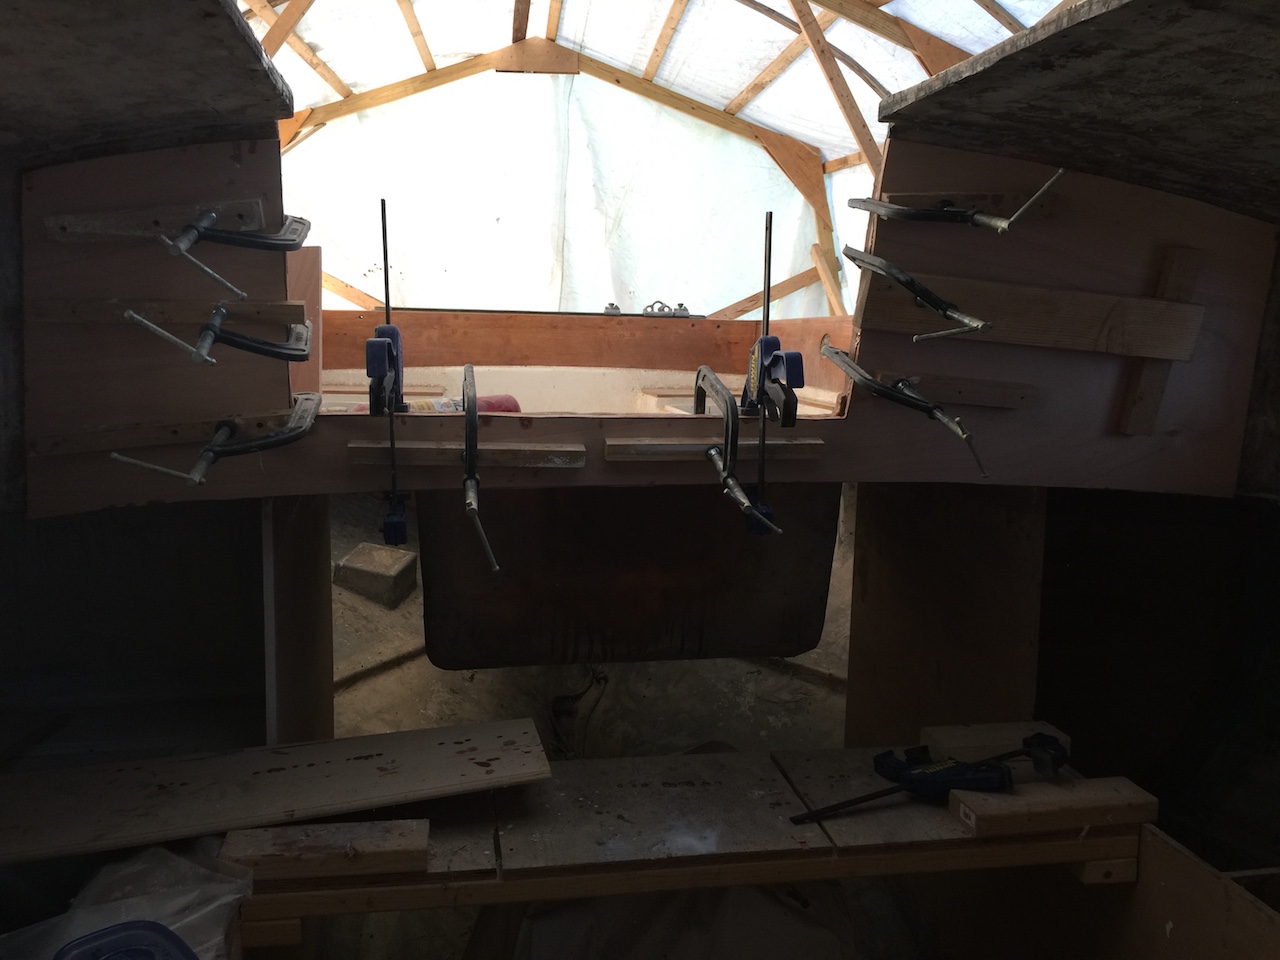
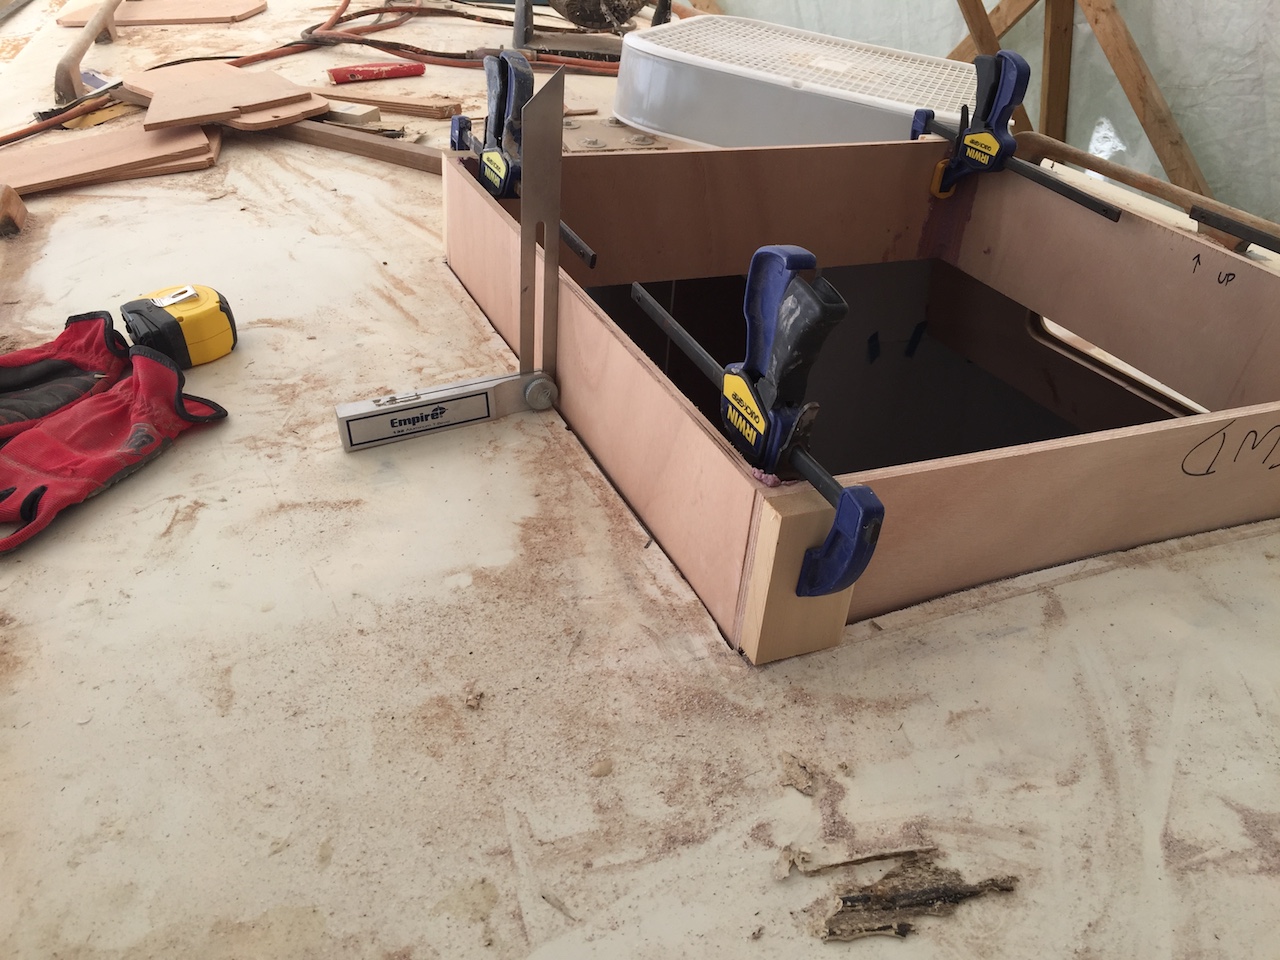
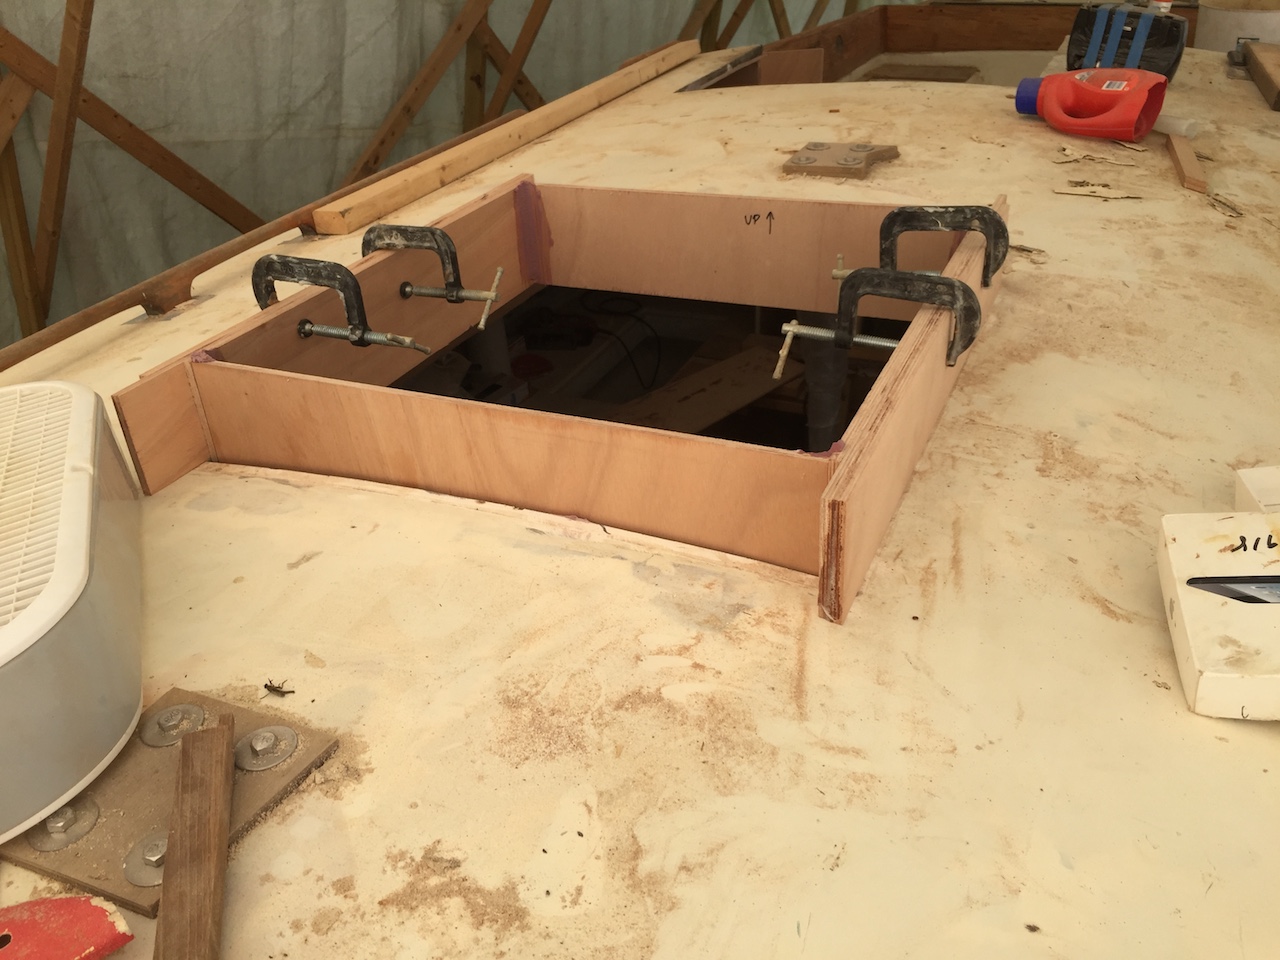
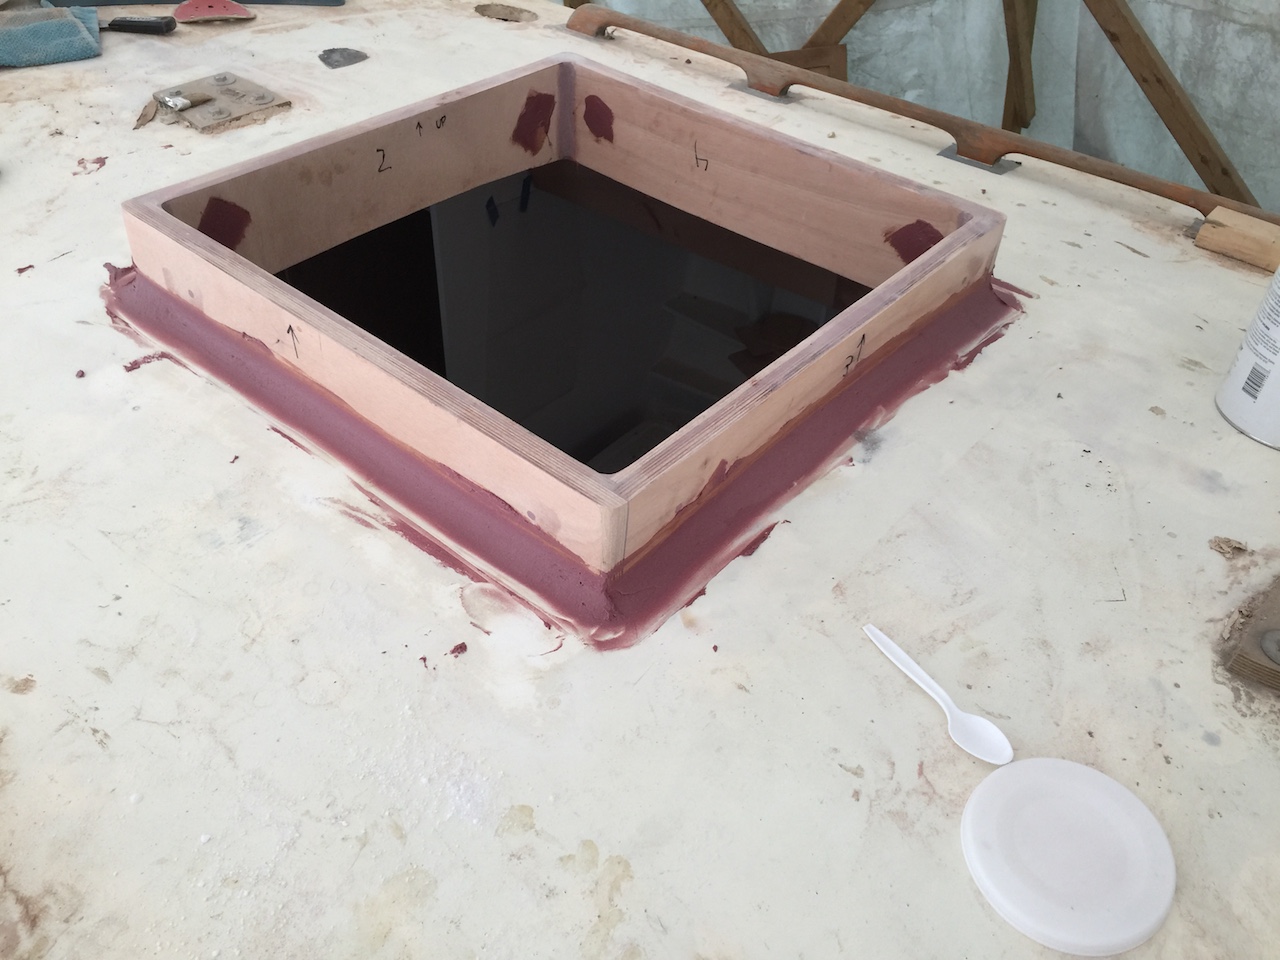
The next photo shows the inner box in place so that 4 inches protrudes above the deck. I used the t-bevel to gauge the angle between the roof and the box.
I wanted to use 3/4-inch plywood for the outsides of the hatches, but I had none. My reliable source for Okume plywood (McIlvain) no longer sells to retail customers, so my remaining option is Boulter Plywod, in Medford Ma. Not wanting to deal with Boston traffic, or pay for shipping for one sheet of plywood, I decided to simply double-up some 3/8-inch. In the photo below, I have glued up 16 strips of 3/8-inch plywood to make eight 3/4-inch strips that are about 5 inches wide. (Obviously there are seven “dry to dry” layers in there.)

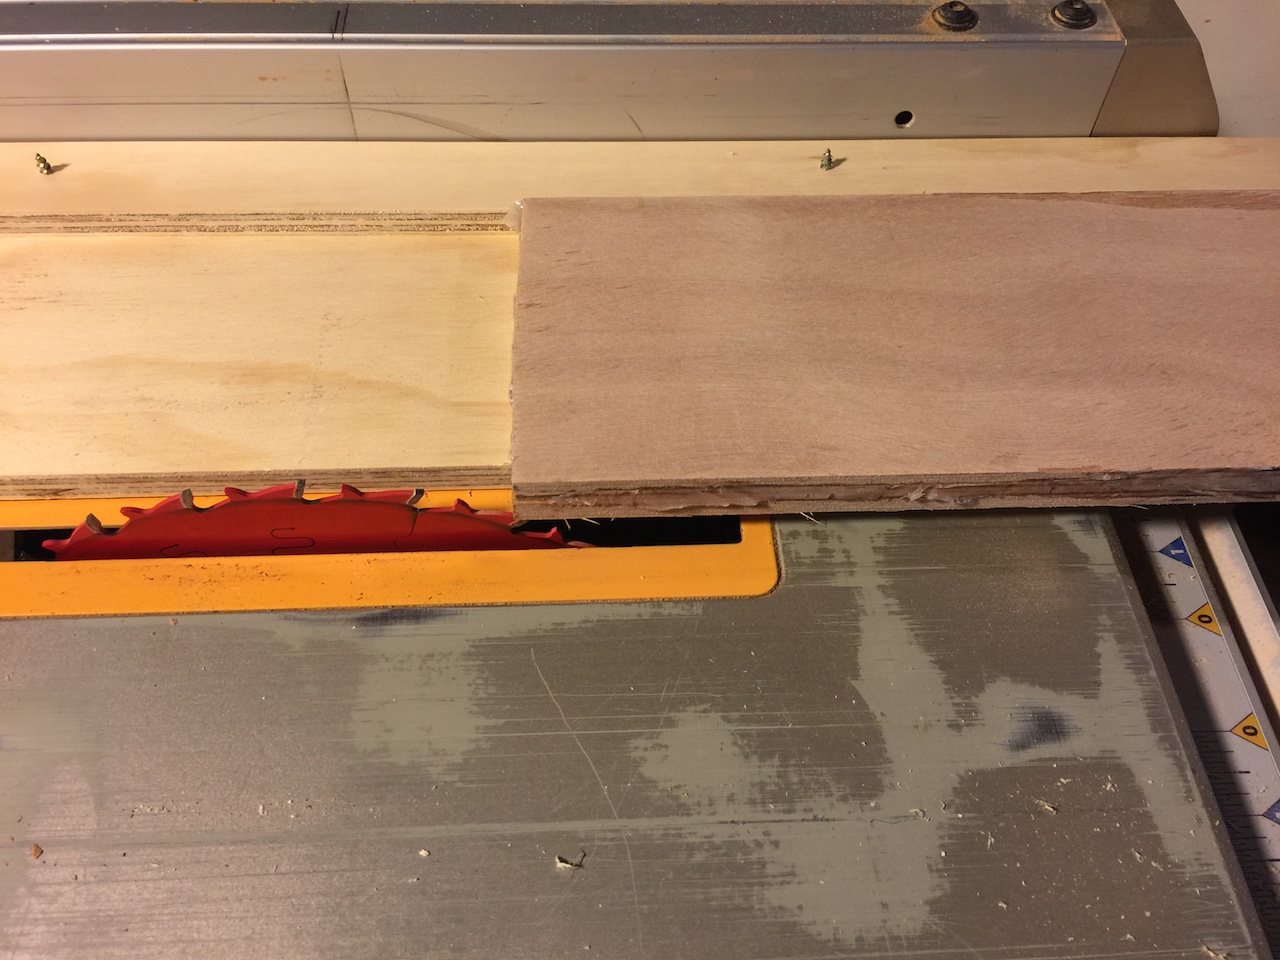
Once these were ready, I used a jointing jig on the table saw to make a straight, clean edge on each piece.
Using the angle from the t-bevel, I adjusted the table saw to make the sides with the proper angle to meet the deck flush. The following photo shows the results.
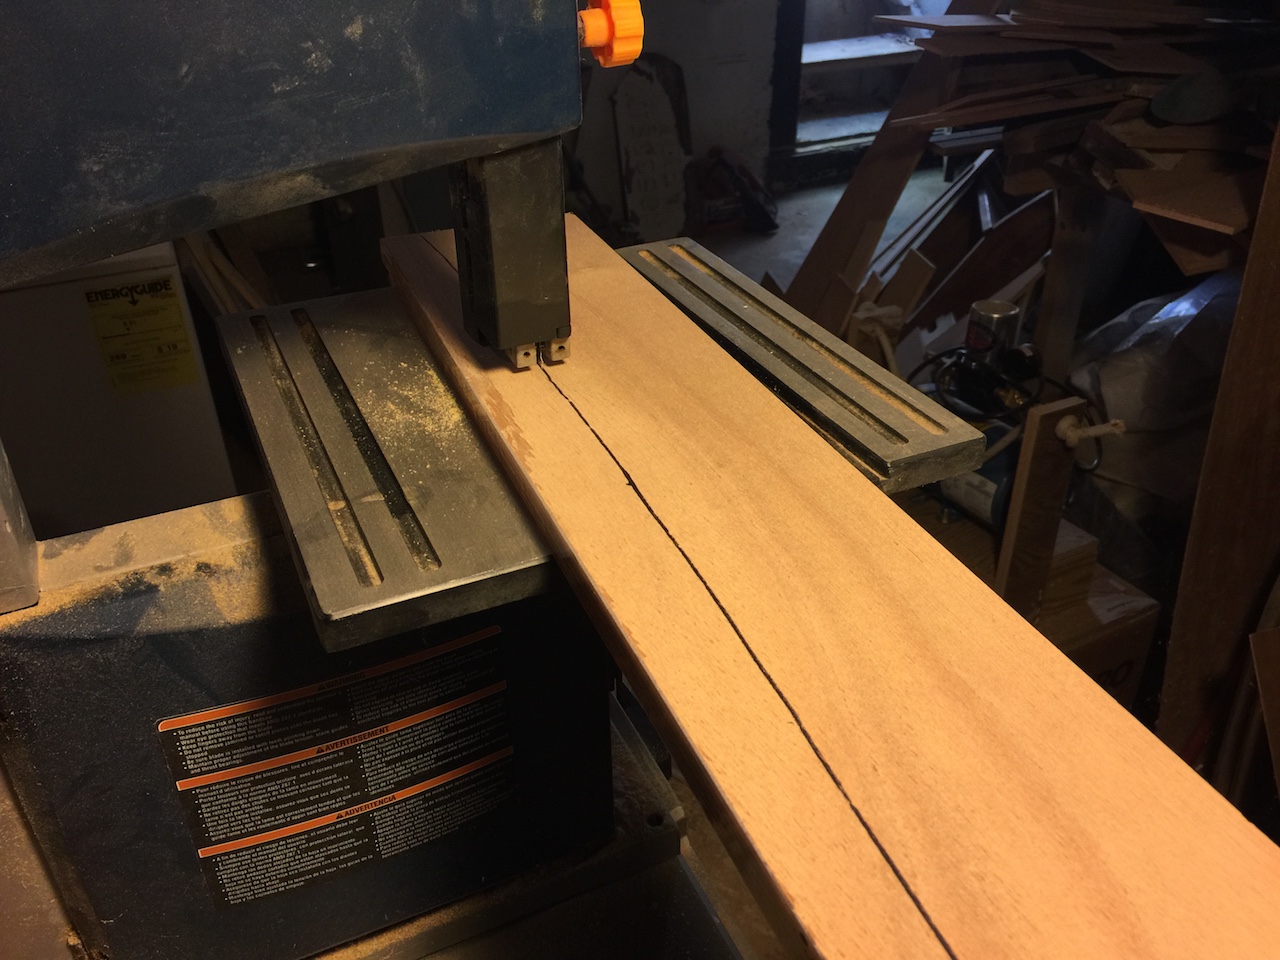
The fore and aft pieces had to follow the curve of the deck, so suitable templates were made and the pieces were cut using the band saw.
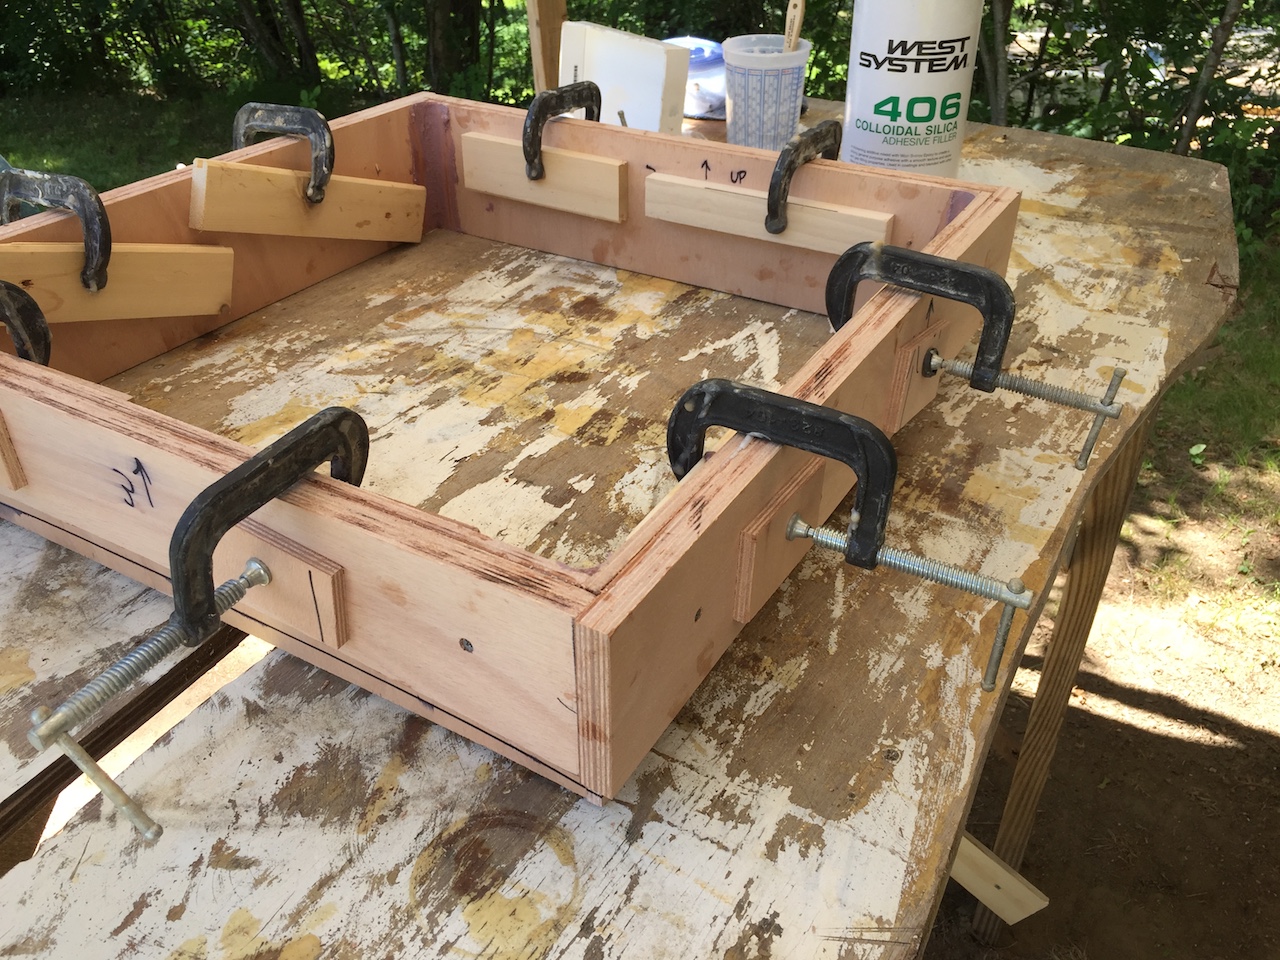
All the pieces were now made and I did a dry fit using clamps and screws. Then I glued everything up, as shown in the photo below. (The screws will be removed, but they are important. The friction present in a dry fit can disappear almost completely when everything is coated in wet epoxy.)
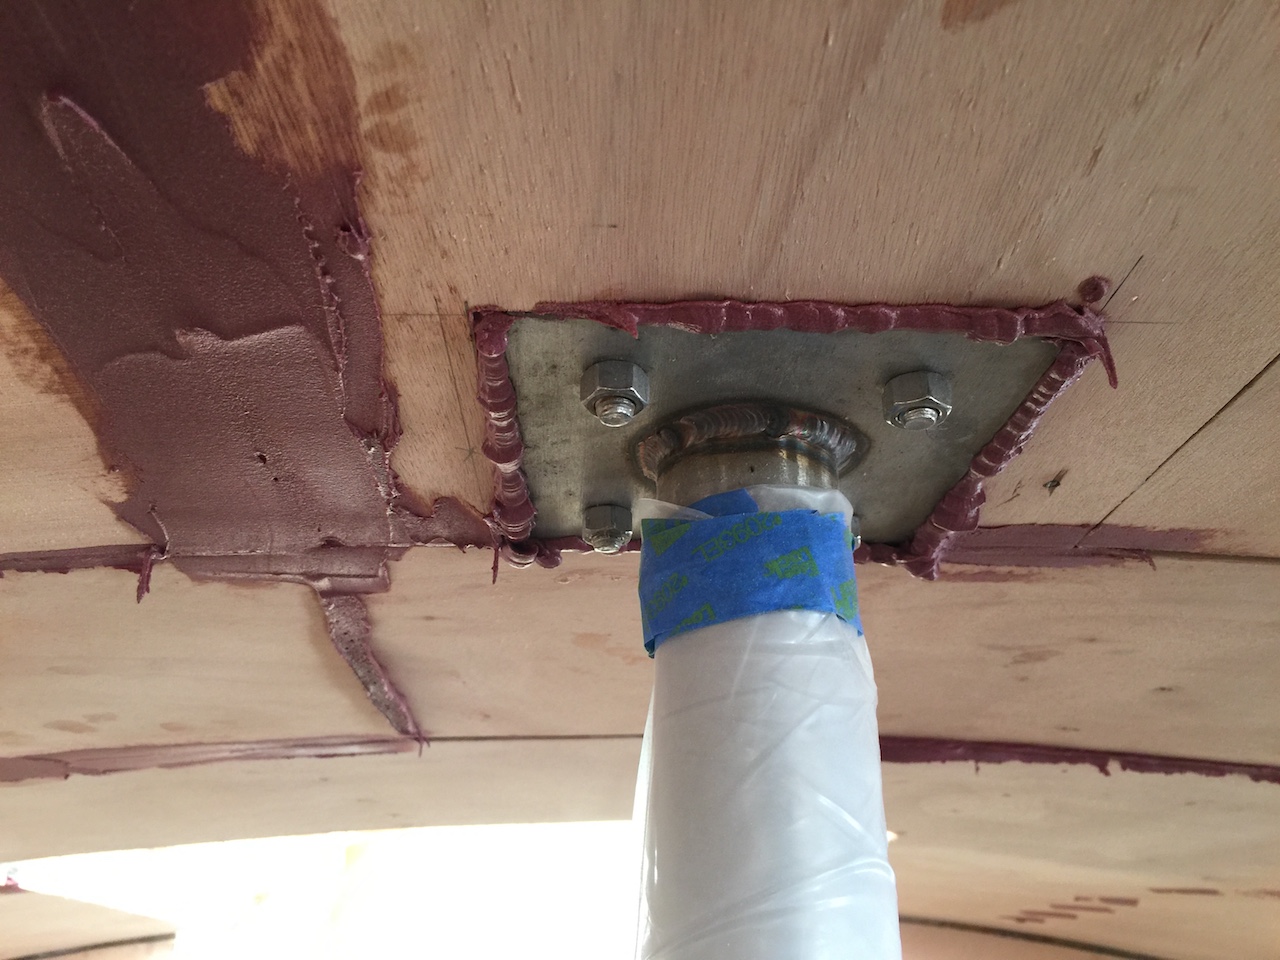
I flipped the hatch over and then applied thickened epoxy to the flange, as shown below.
Next, the hatch was installed with downward clamping pressure.
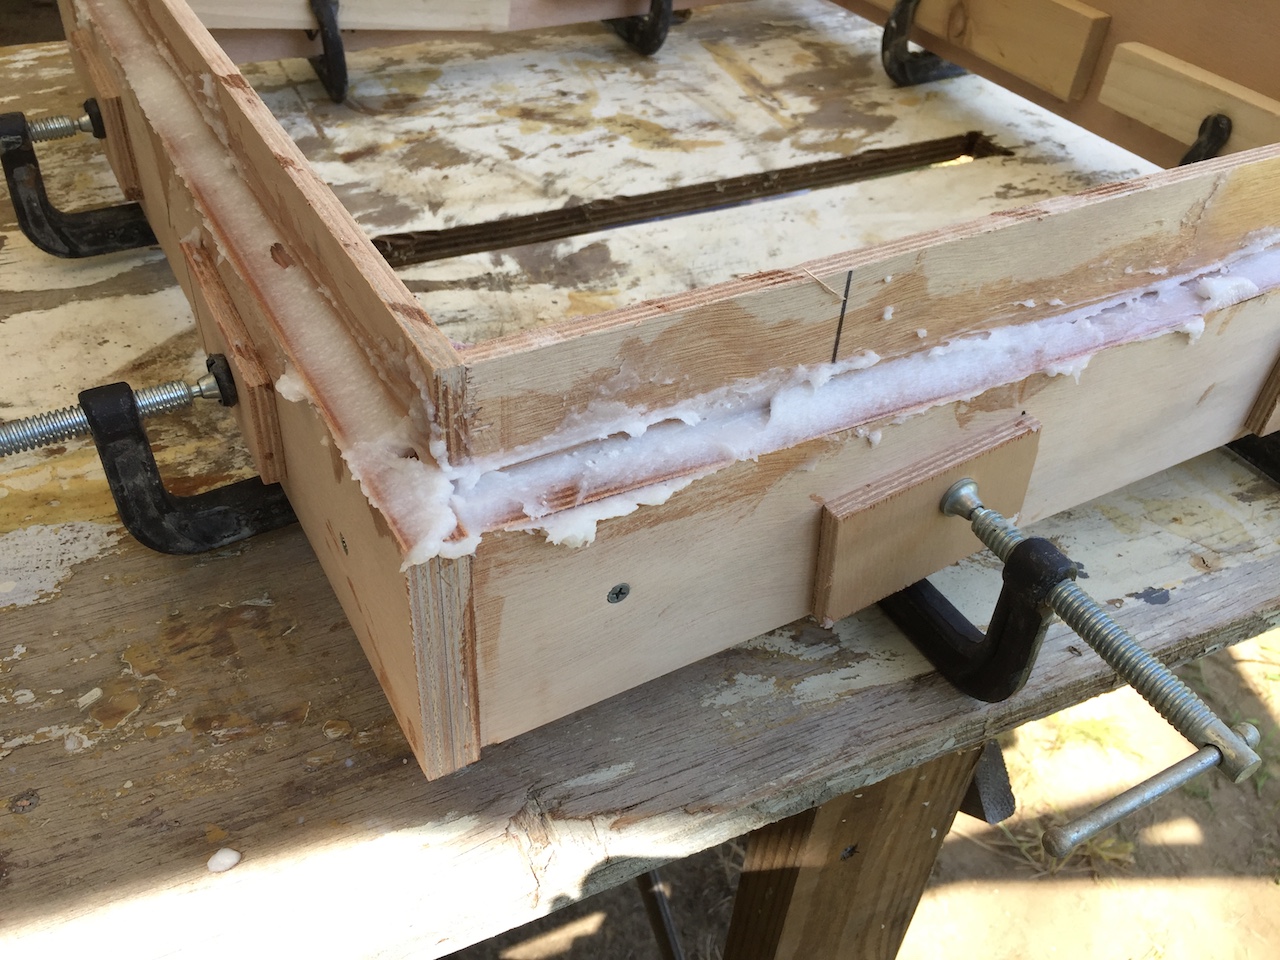
After the clamps were removed, I performed several rounds of sanding and filling, eventually applying a wide fillet of thickened epoxy along the base, as shown in the following photos.
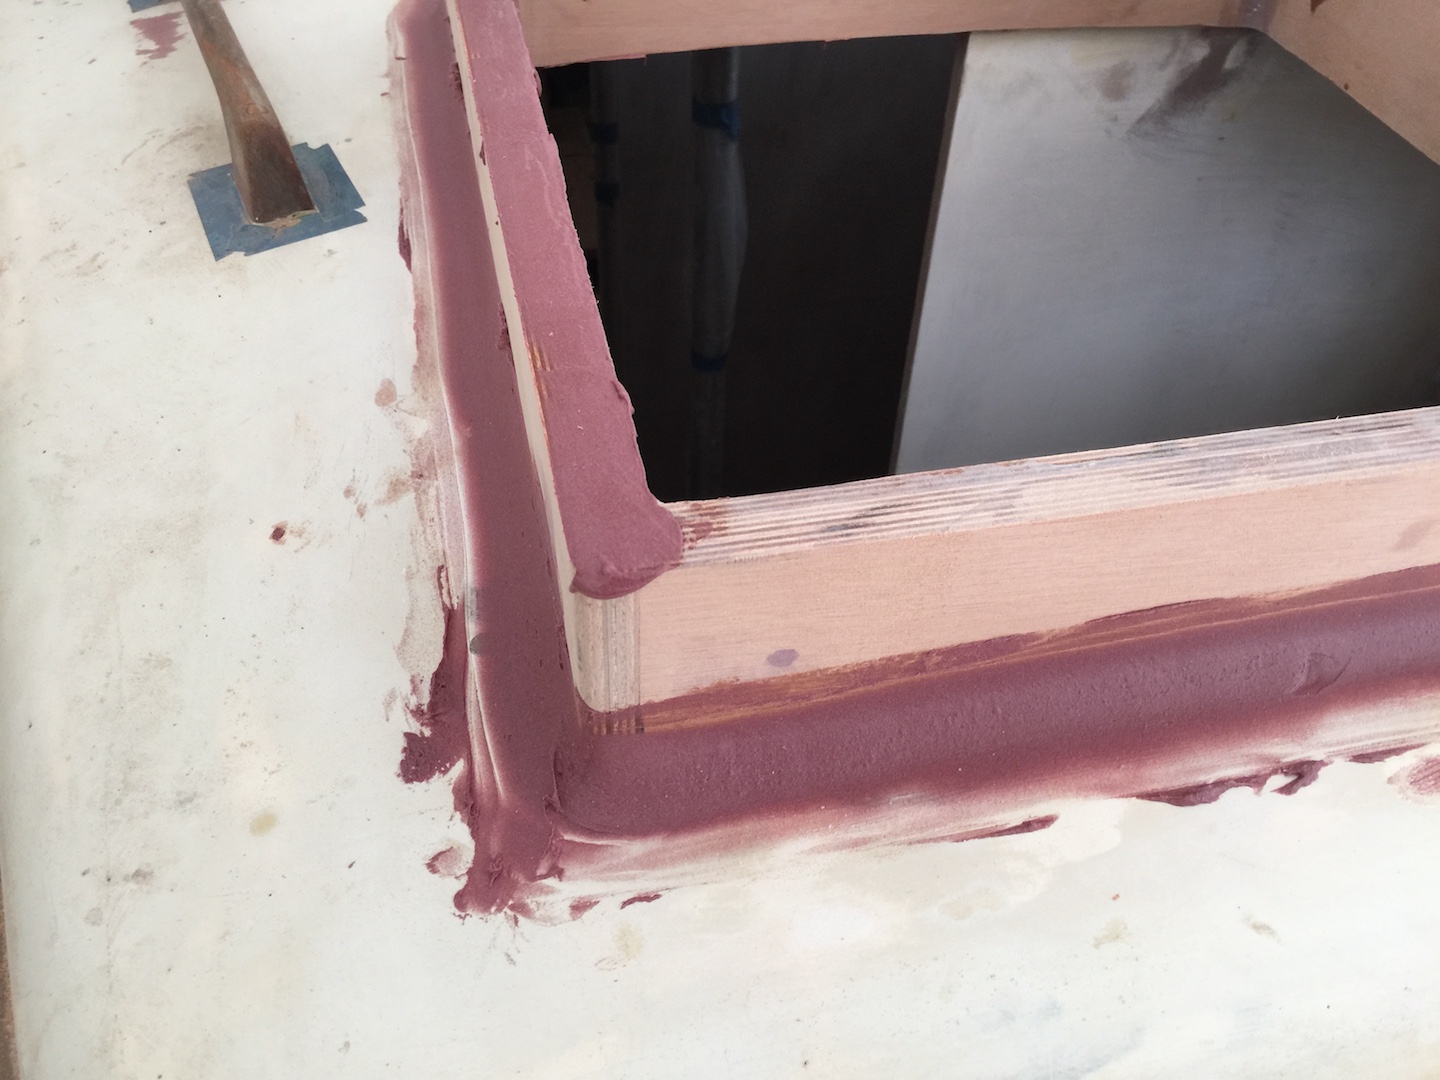
These hatches are completely watertight in every way the previous hatches might not have been. Work will continue on the ceiling, cabin sides, and hatches.
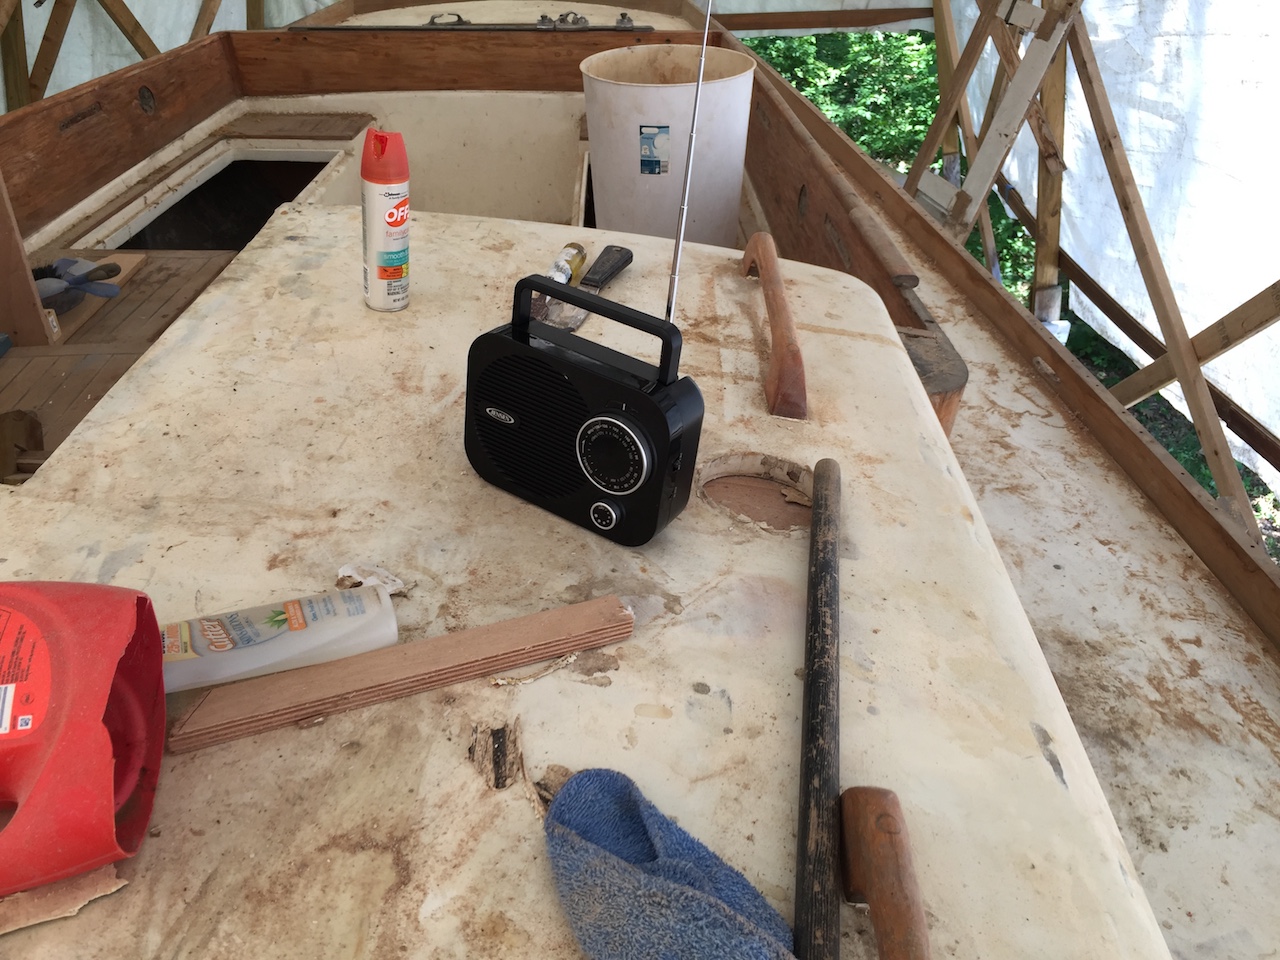
Meanwhile, I have a new battery-operated, portable AM/FM radio. The old one, which was not the first, was losing its ability to pick up stations.
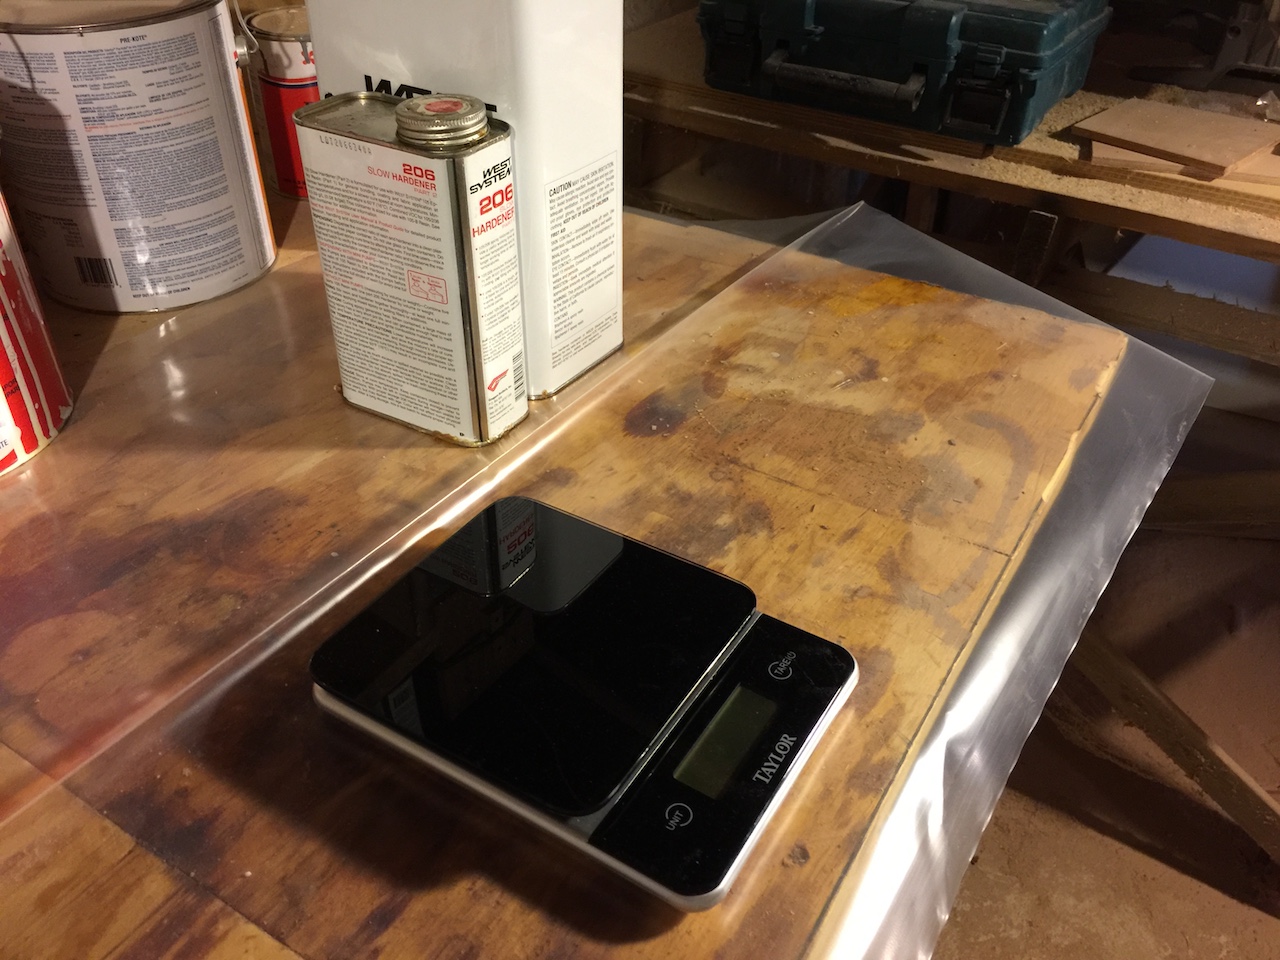
I also purchased a new food-scale, which I use to measure epoxy and resin. The old one, which was my first, was completely covered in sticky epoxy. The weighing technique for measuring resin/hardener is extremely easy and cost-effective. I simply pour in the amount of resin I think I need, then multiply the scale reading by 1.2, then fill with hardener until I reach the new number. The result is a nearly perfect 5:1 ratio.
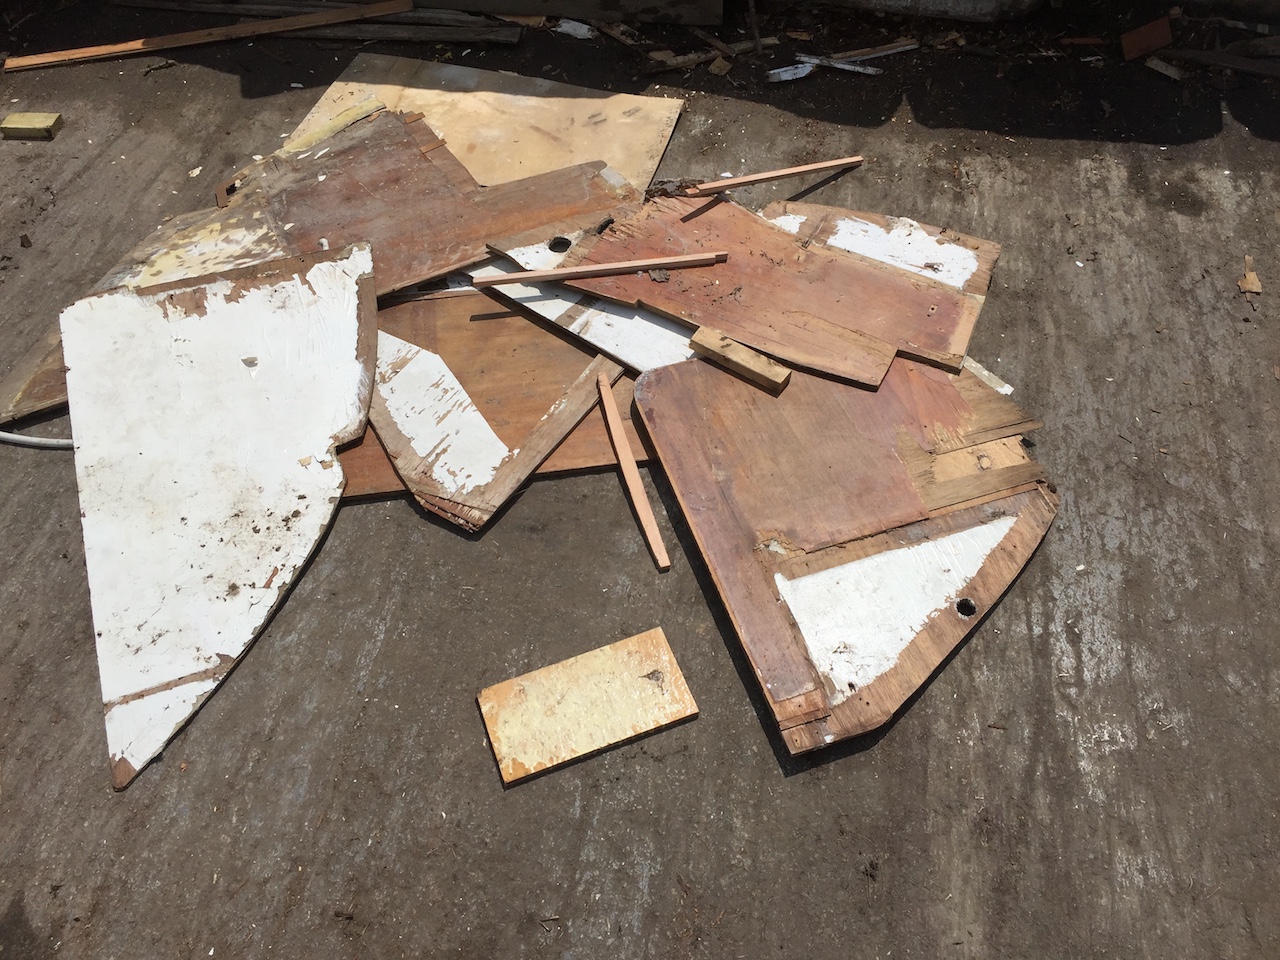
I also cleaned out under the boat, which included removing all of the original bulkheads, which had been leaning against the keel. They really are useless to me now, except perhaps as scrap wood, but I have plenty of that. The photo below shows some of these bulkheads in the “scrap wood” area of the local transfer station.