7/23/17: Ceiling, Hatches, and Head Compartment
Back to hatches. I sanded the wide fillet of thickened epoxy and used a 1/4-inch round bit and the router to neaten up edges. (Rounded edges are not only safer, but less likely to suffer visible damage in the case of an impact.)
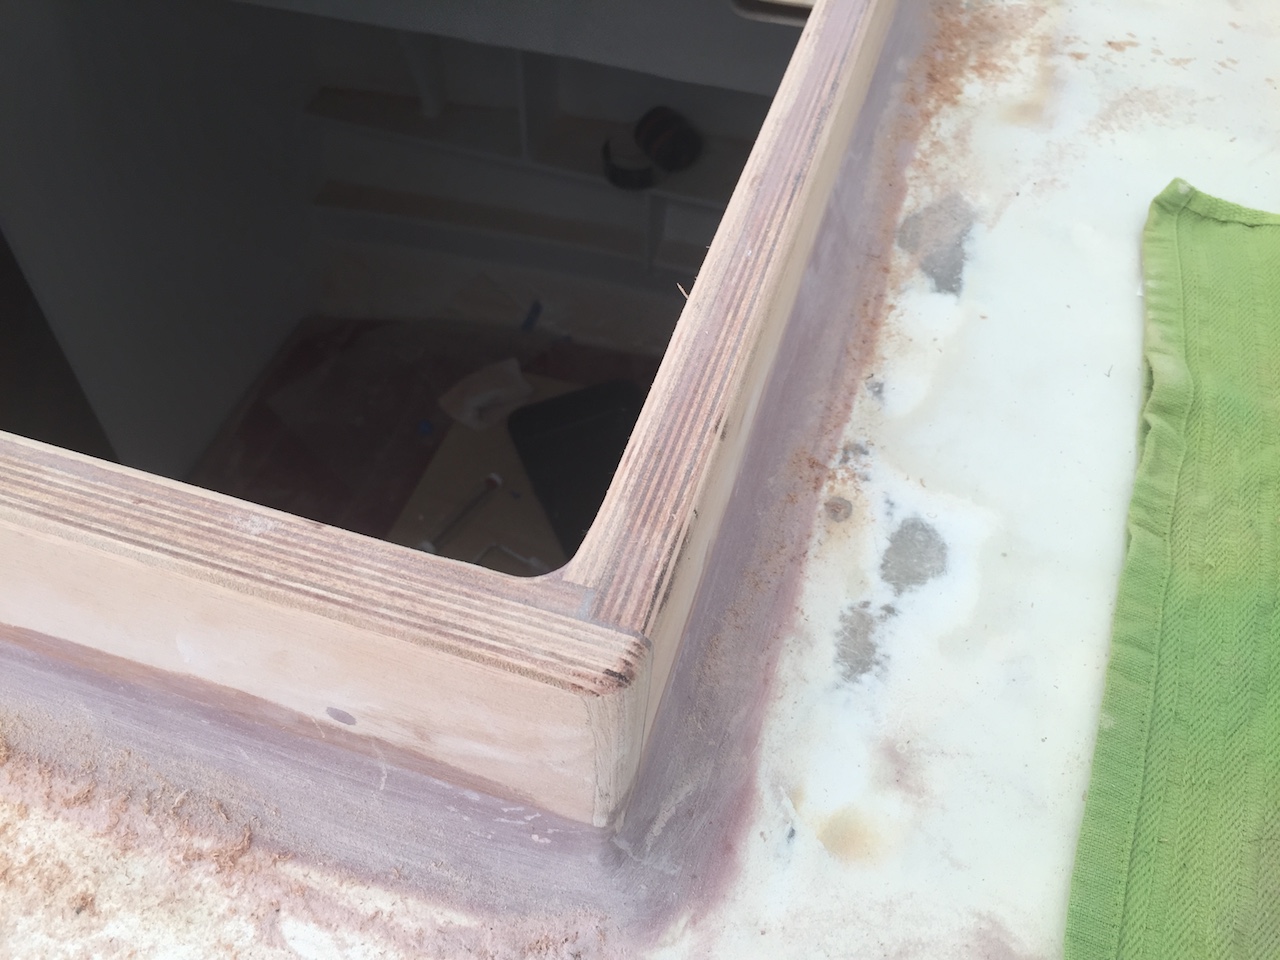
On the inside a combination of routing, sanding, and filling produced a neat, seamless transition with the ceiling panels.
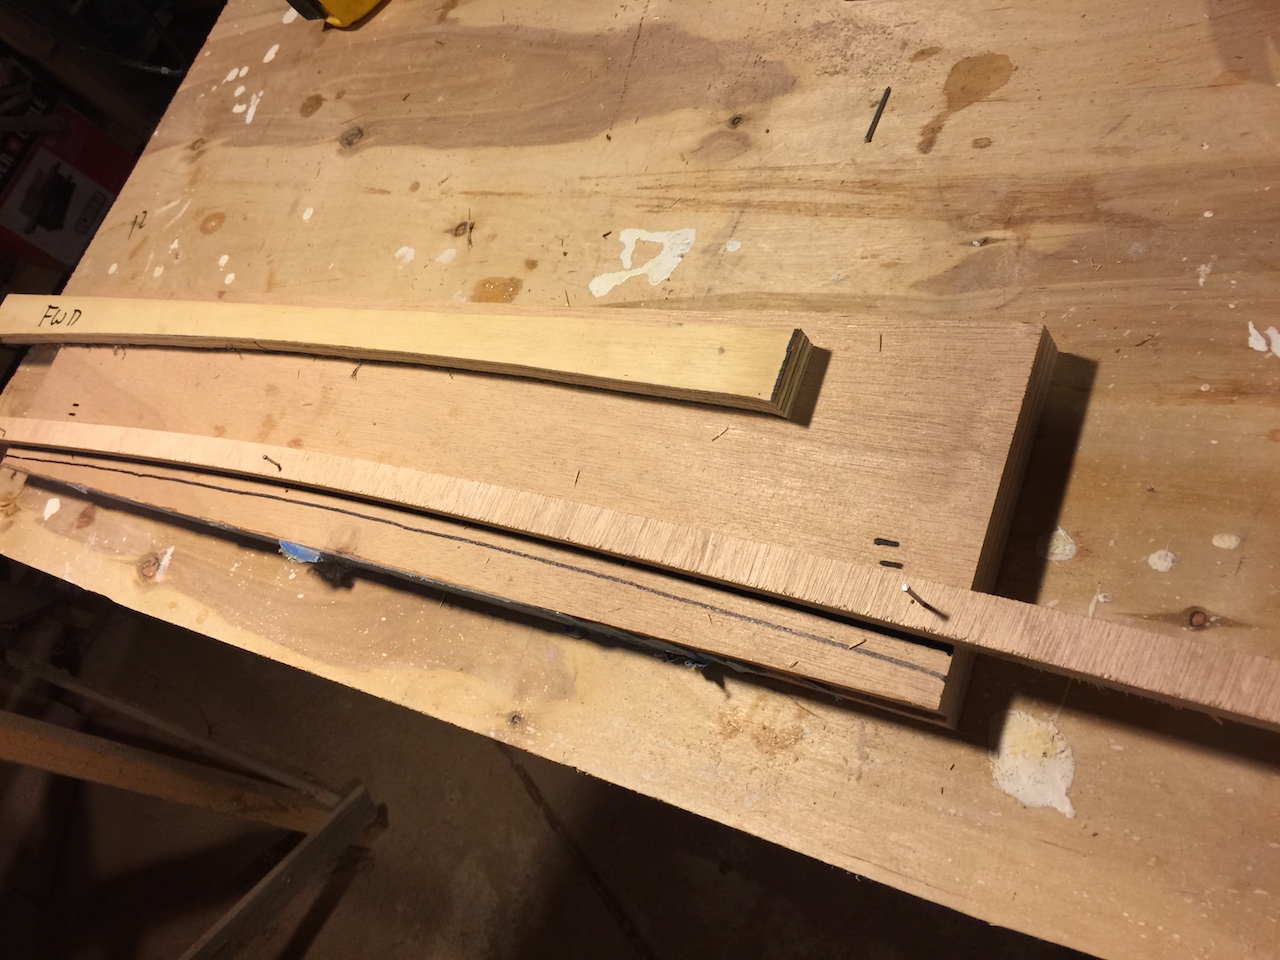
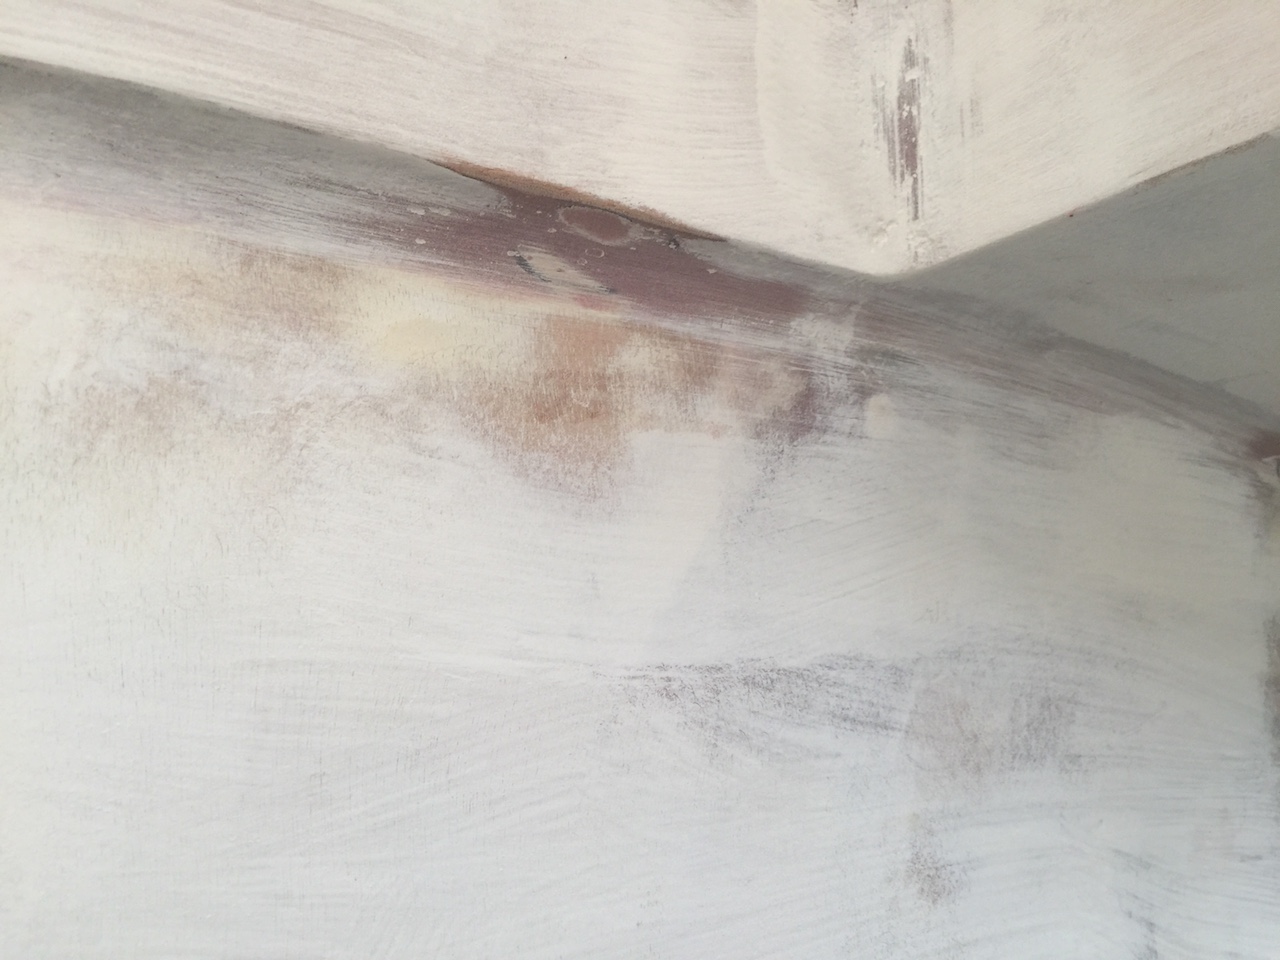
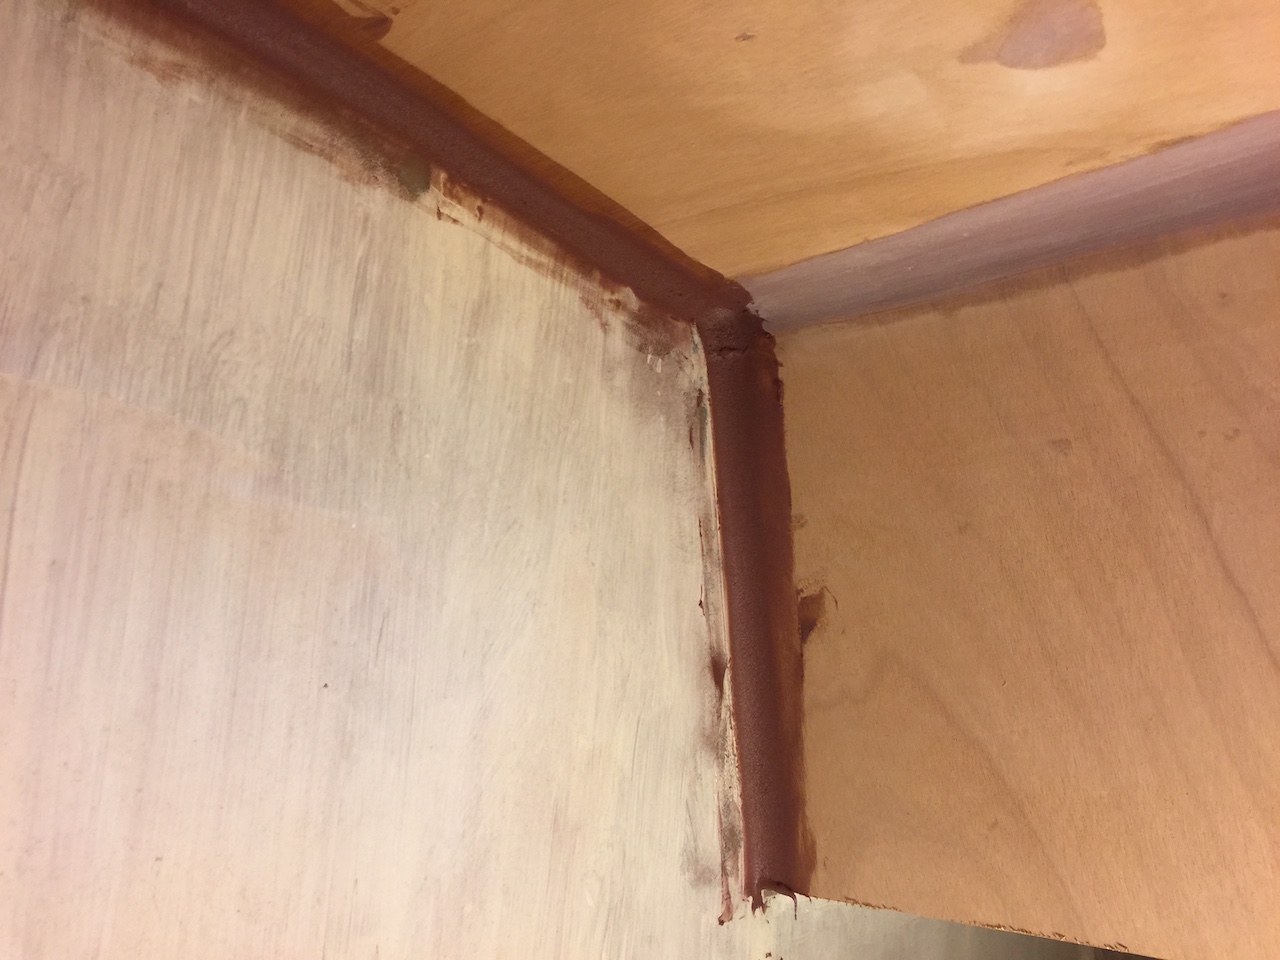
The one exception is where the port, aft flange of the forward hatch lies along a bulkhead. This was dealt with differently. The part of the flange that lies along the bulkhead could not simply be routed flush with the ceiling, so I built a routing jig that duplicated the correct curvature. The following four photos show some of the work.
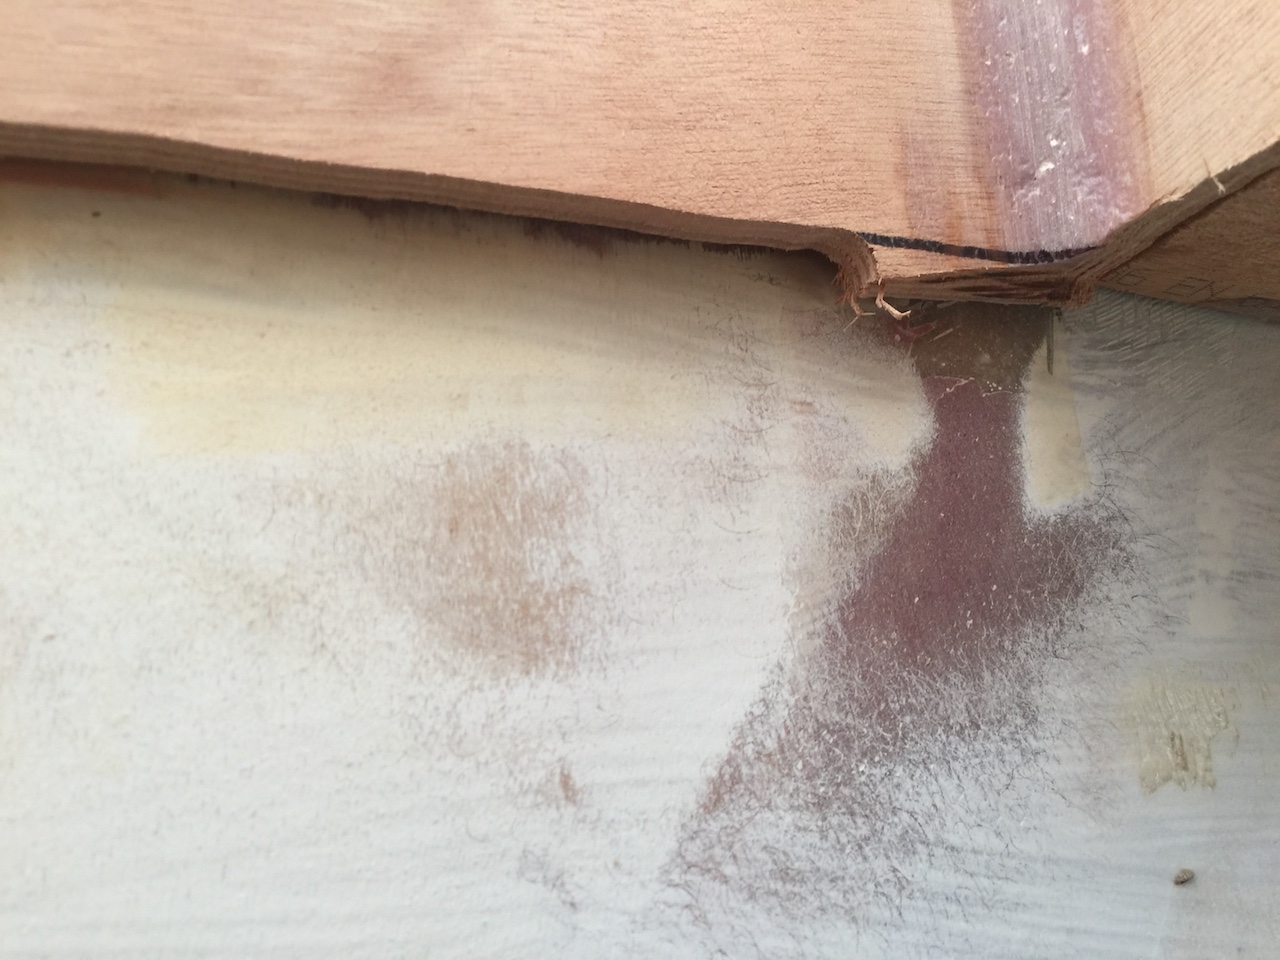
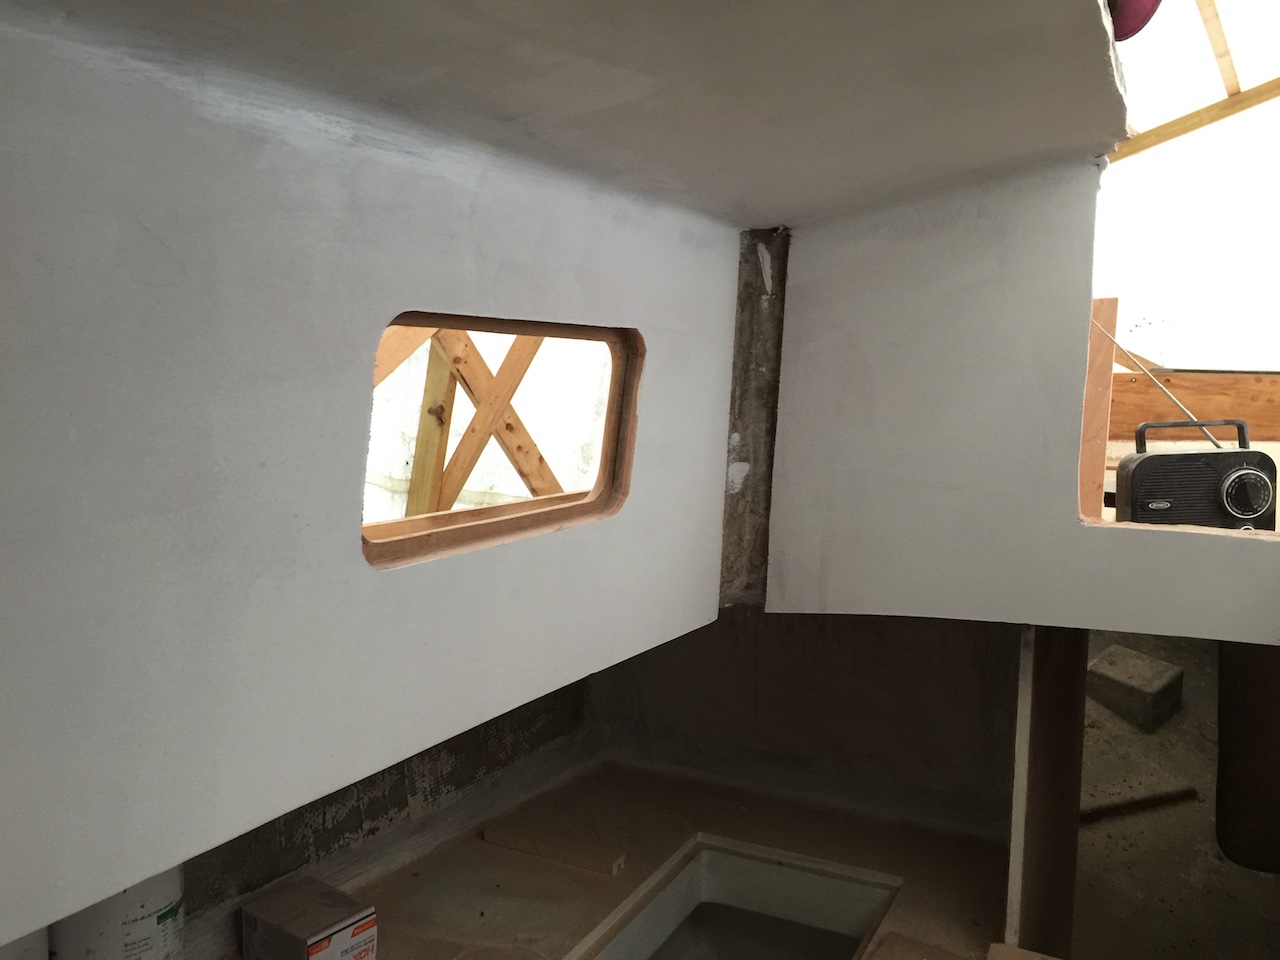
The edges of the side and ceiling panels require either trim or fill, and I opted for the latter. The photo below shows a spot where ceiling, side, and bulkhead join, and I’ve filled the corners with a wide fillet of thickened epoxy. This treatment will result in a more modern look than traditional teak trim.
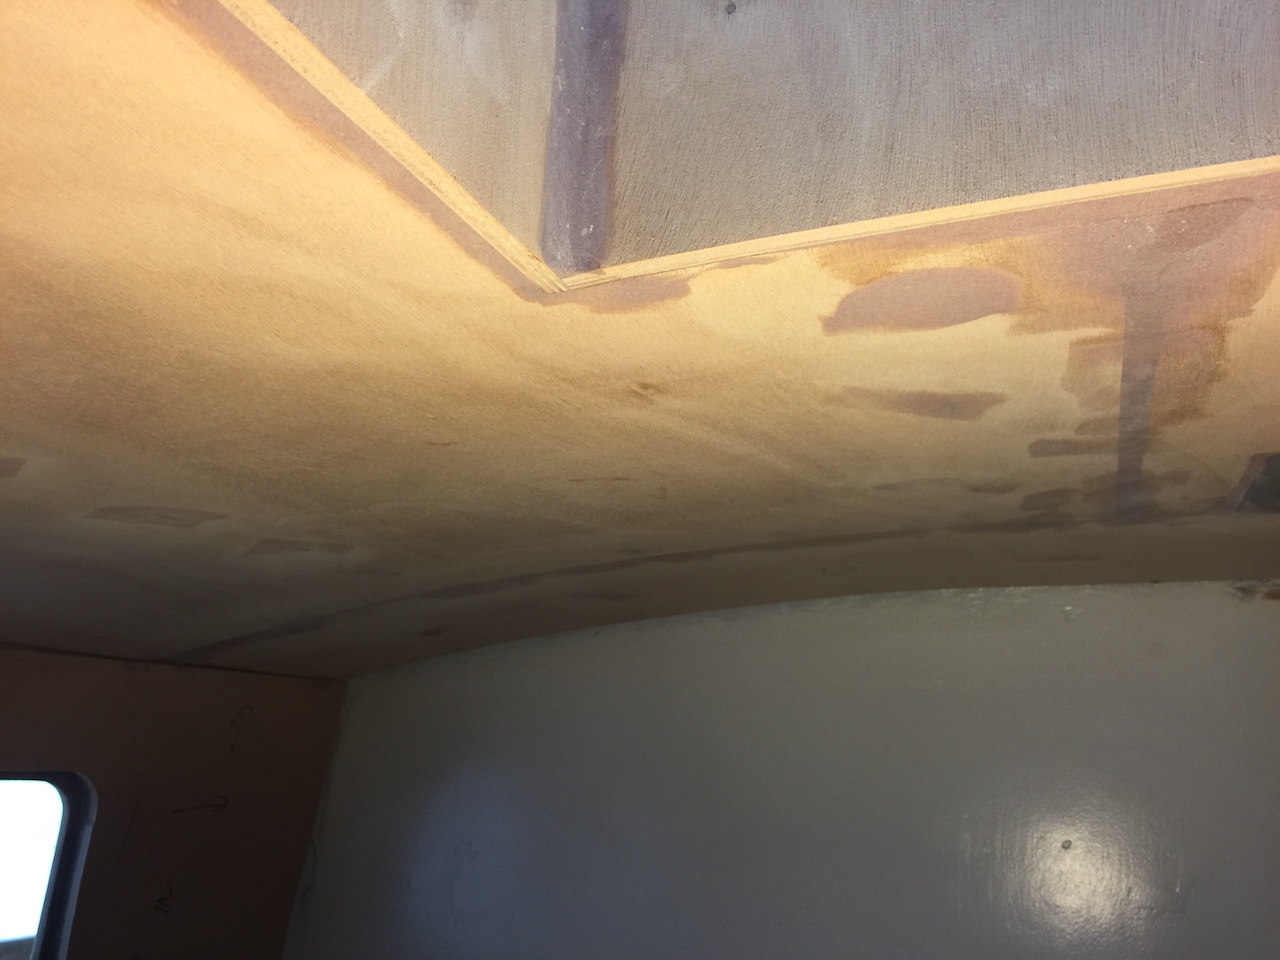
After a several more rounds of filling and fairing, I applied a coat of white primer, and some of the results can be seen in the following two photos.
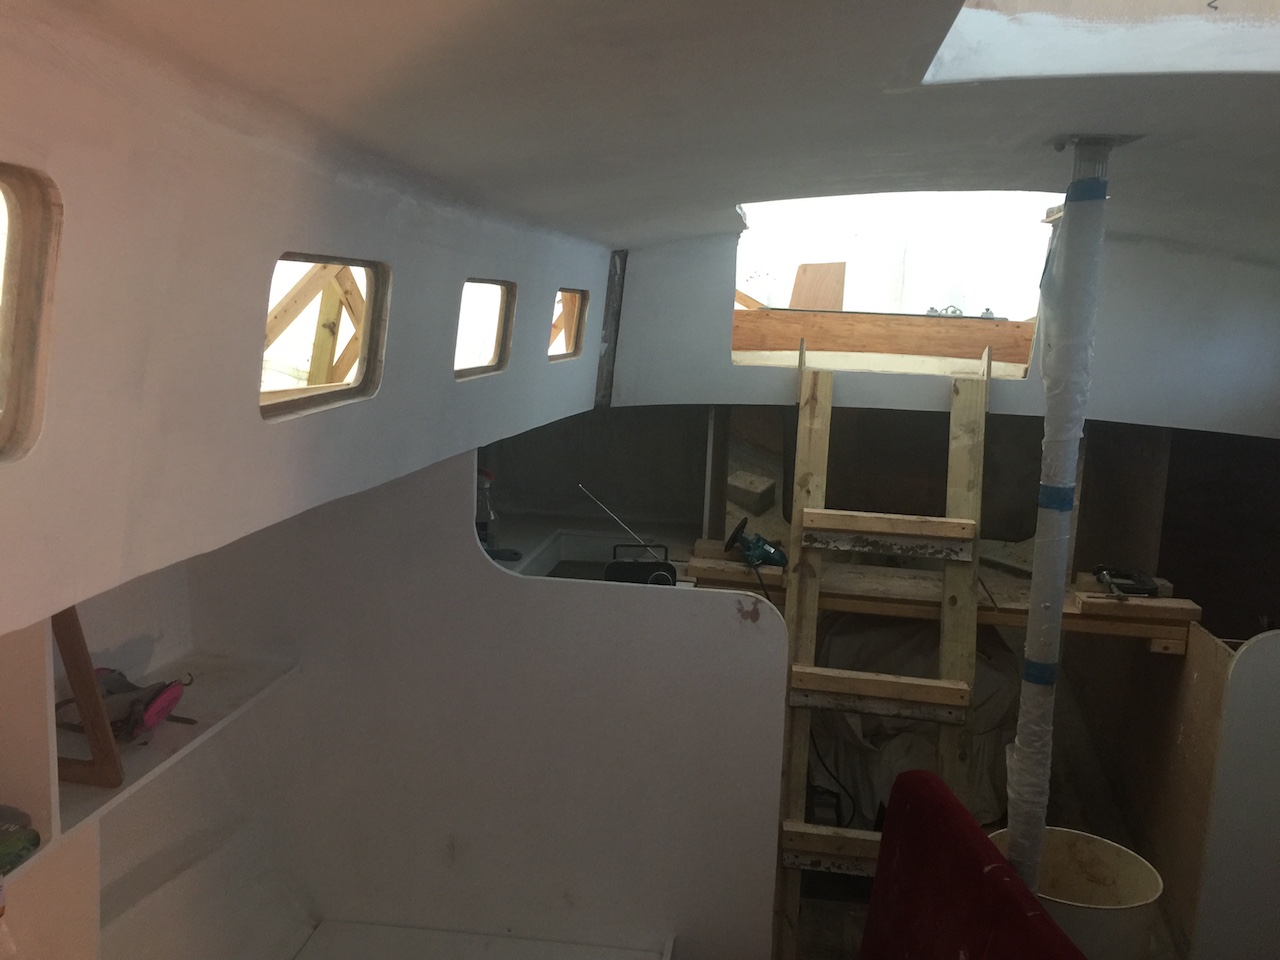
Eventually there will be one more coat of primer, and one or two coats of paint, but that will wait until another time. For now, I wanted to get back to work on the head area, and my goal is to get everything ready for paint, which requires the installation of a few more plywood panels. In the case of the hanging lockers (starboard side of the head compartment), for example, I didn’t want to paint the insides until I installed the front.
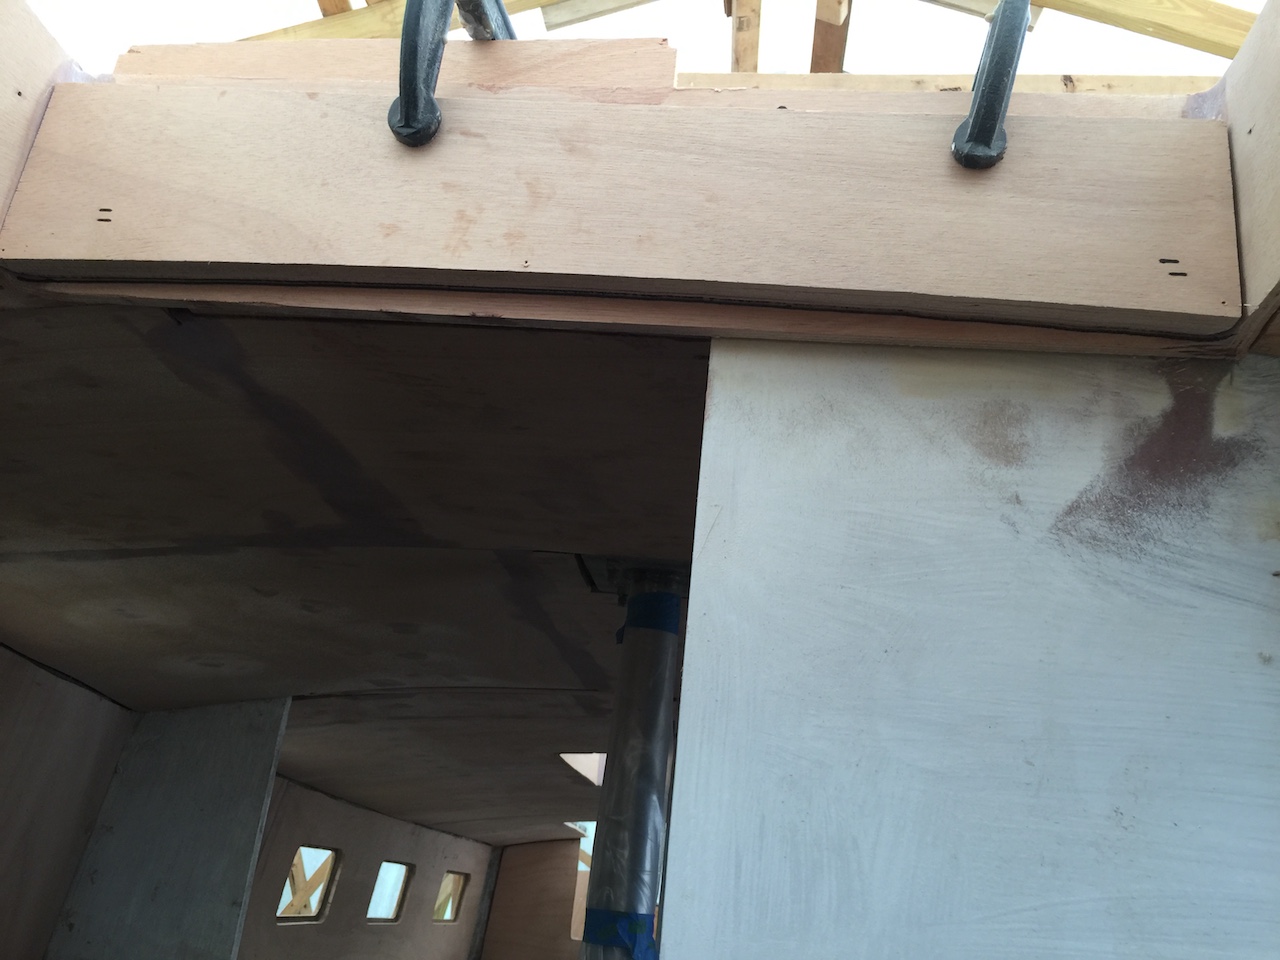
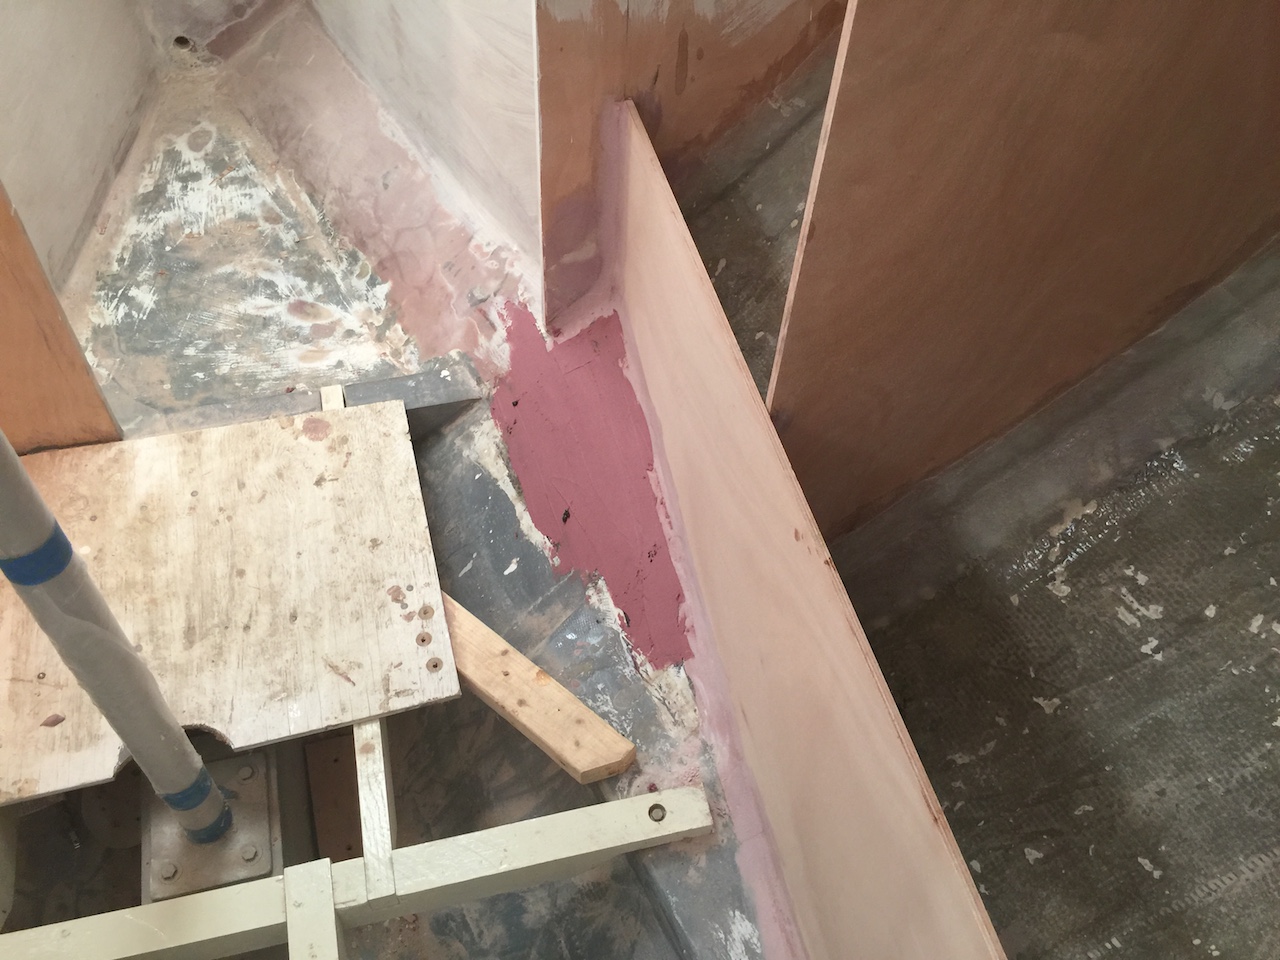
The front of the hanging locker area is in the same plane as the front of the starboard-side settee front. I make a pattern in the usual way (not shown), then cut out the panel and did a dry fit, which is shown in the following photo.

I applied fillets of thickened epoxy to the inside, which (when dry) secured the panels, so I could remove the bracing and clamps, then address the outside.
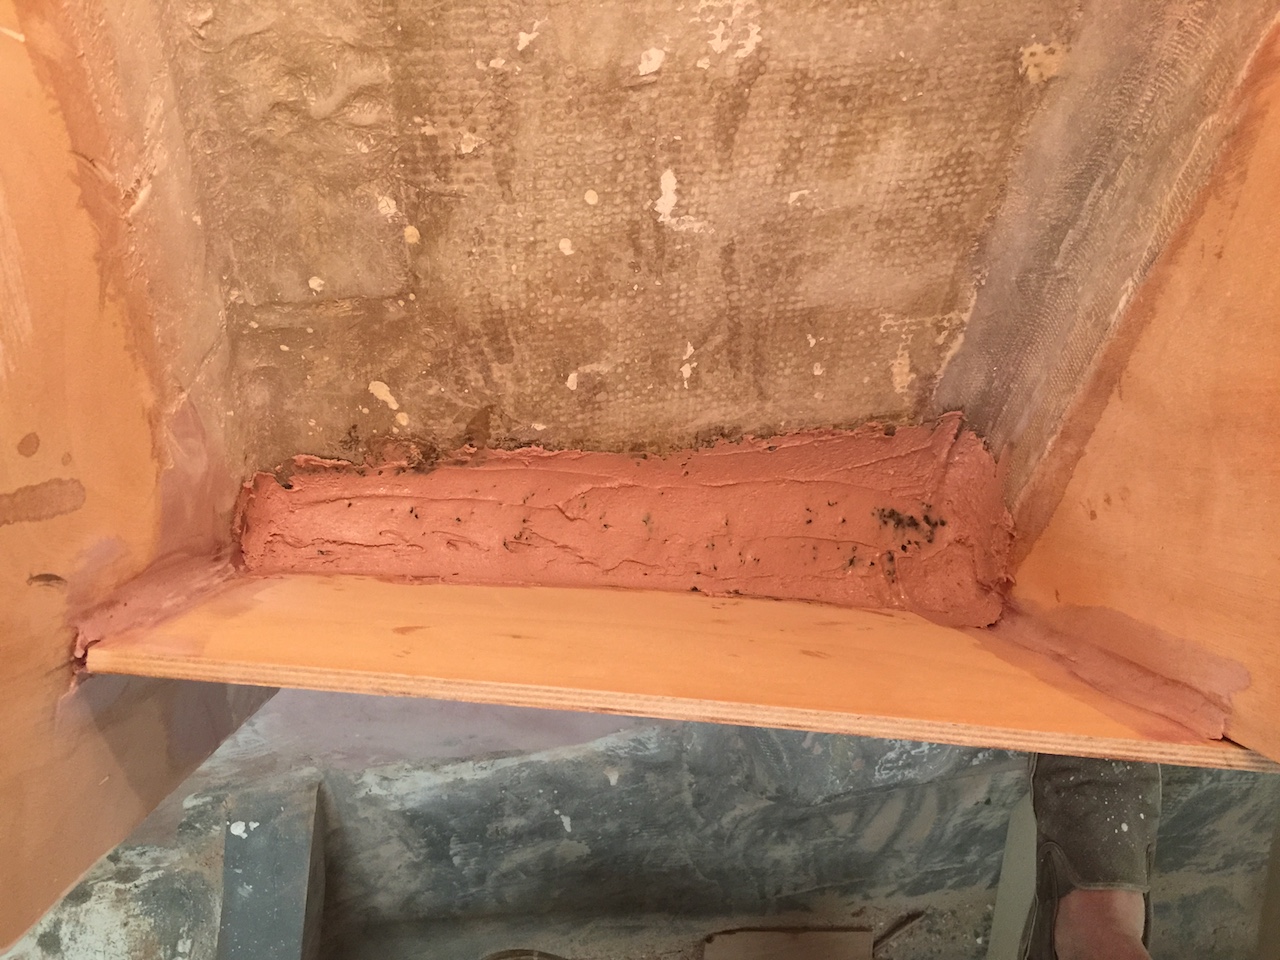
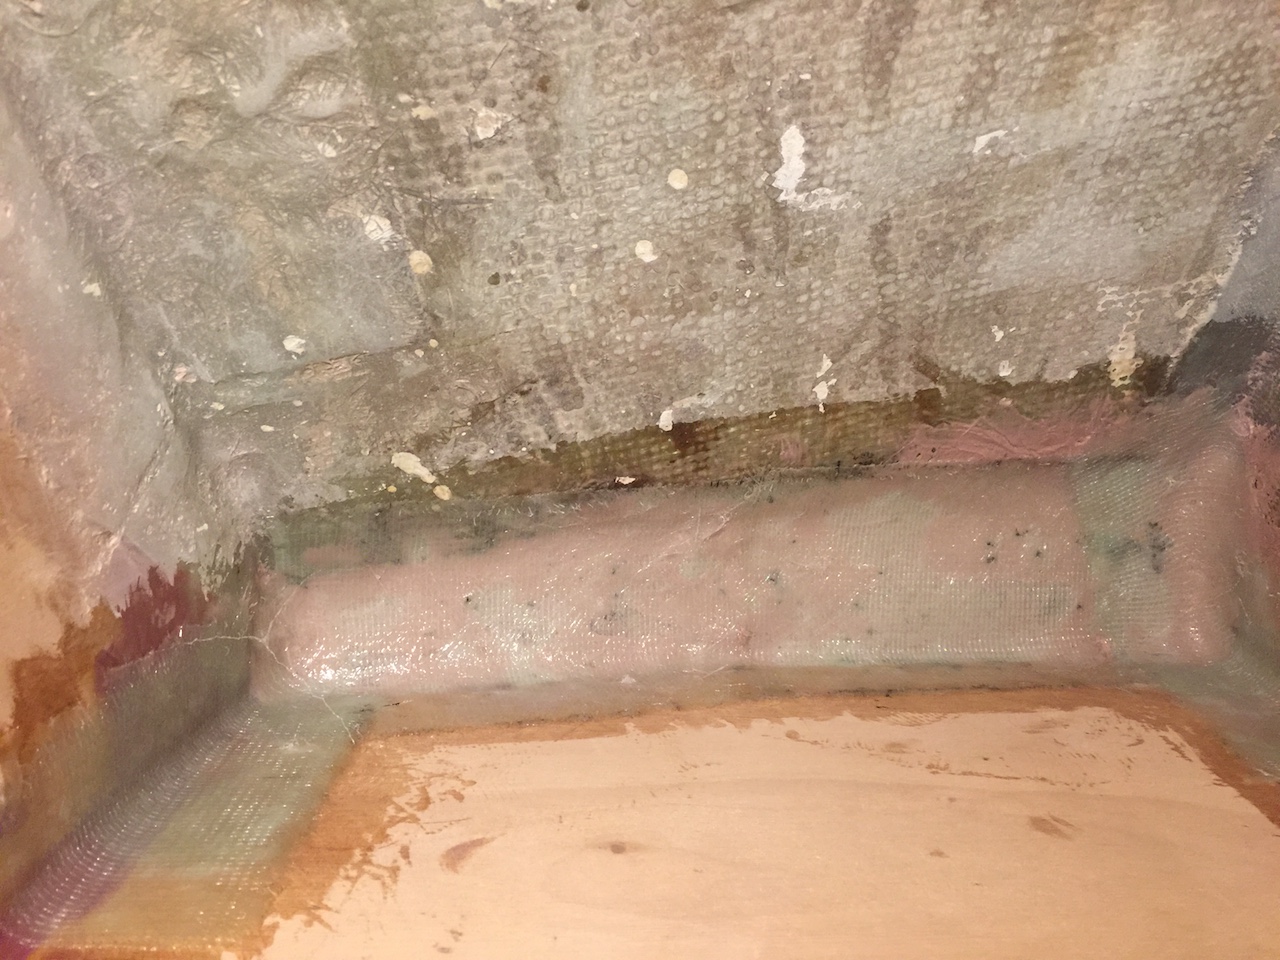
On the inside, the vertical panel meets the curved hull at an angle so small that sanding and cleaning would be nearly impossible. I filled the bottom with a sand-epoxy mix (smoothed out with thickened epoxy) then used fiberglass tabbing to bond everything together. The result in the forward locker is shown below.
Meanwhile, on the port side of the head compartment, I was thinking about the toilet support. You might recall that in the galley and salon areas of the main cabin, I’ve rebuilt certain furnishings further from the centerline than in the original layout. The purpose is to create a more spacious and comfortable living space.
Things are different in the head compartment because I’m using the full width of the boat, which gives me the flexibility to move furnishings closer to the centerline.
As a point of reference, the following photos show the original layout, where these pictures were taken during the 2007 refit. Head compartments in cruising yachts are generally very small, and toilets and sinks are situated outboard to maximize standing room. Consider the photo below, which shows the original shelf on which the toilet was fixed. Being so far outboard required this shelf to be so high that the height of the toilet seat was such that even a tall person had to use tippy-toes to touch the sole while sitting on the toilet. Not only is this uncomfortable, but it is less safe, and puts undue stresses on the toilet and the bolts holding it down.
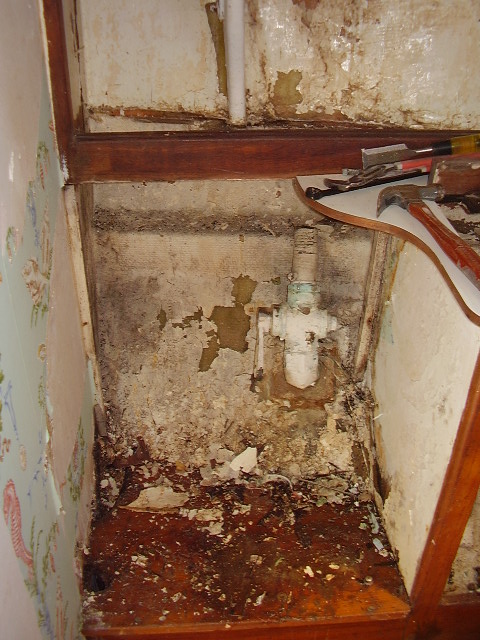
OLYMPUS DIGITAL CAMERA
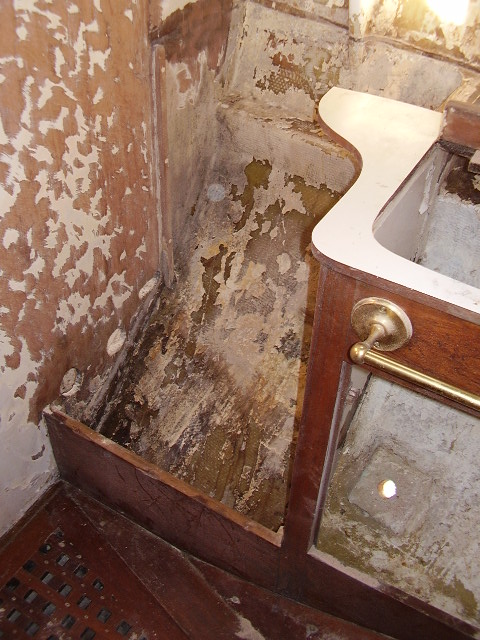
OLYMPUS DIGITAL CAMERA
OLYMPUS DIGITAL CAMERA
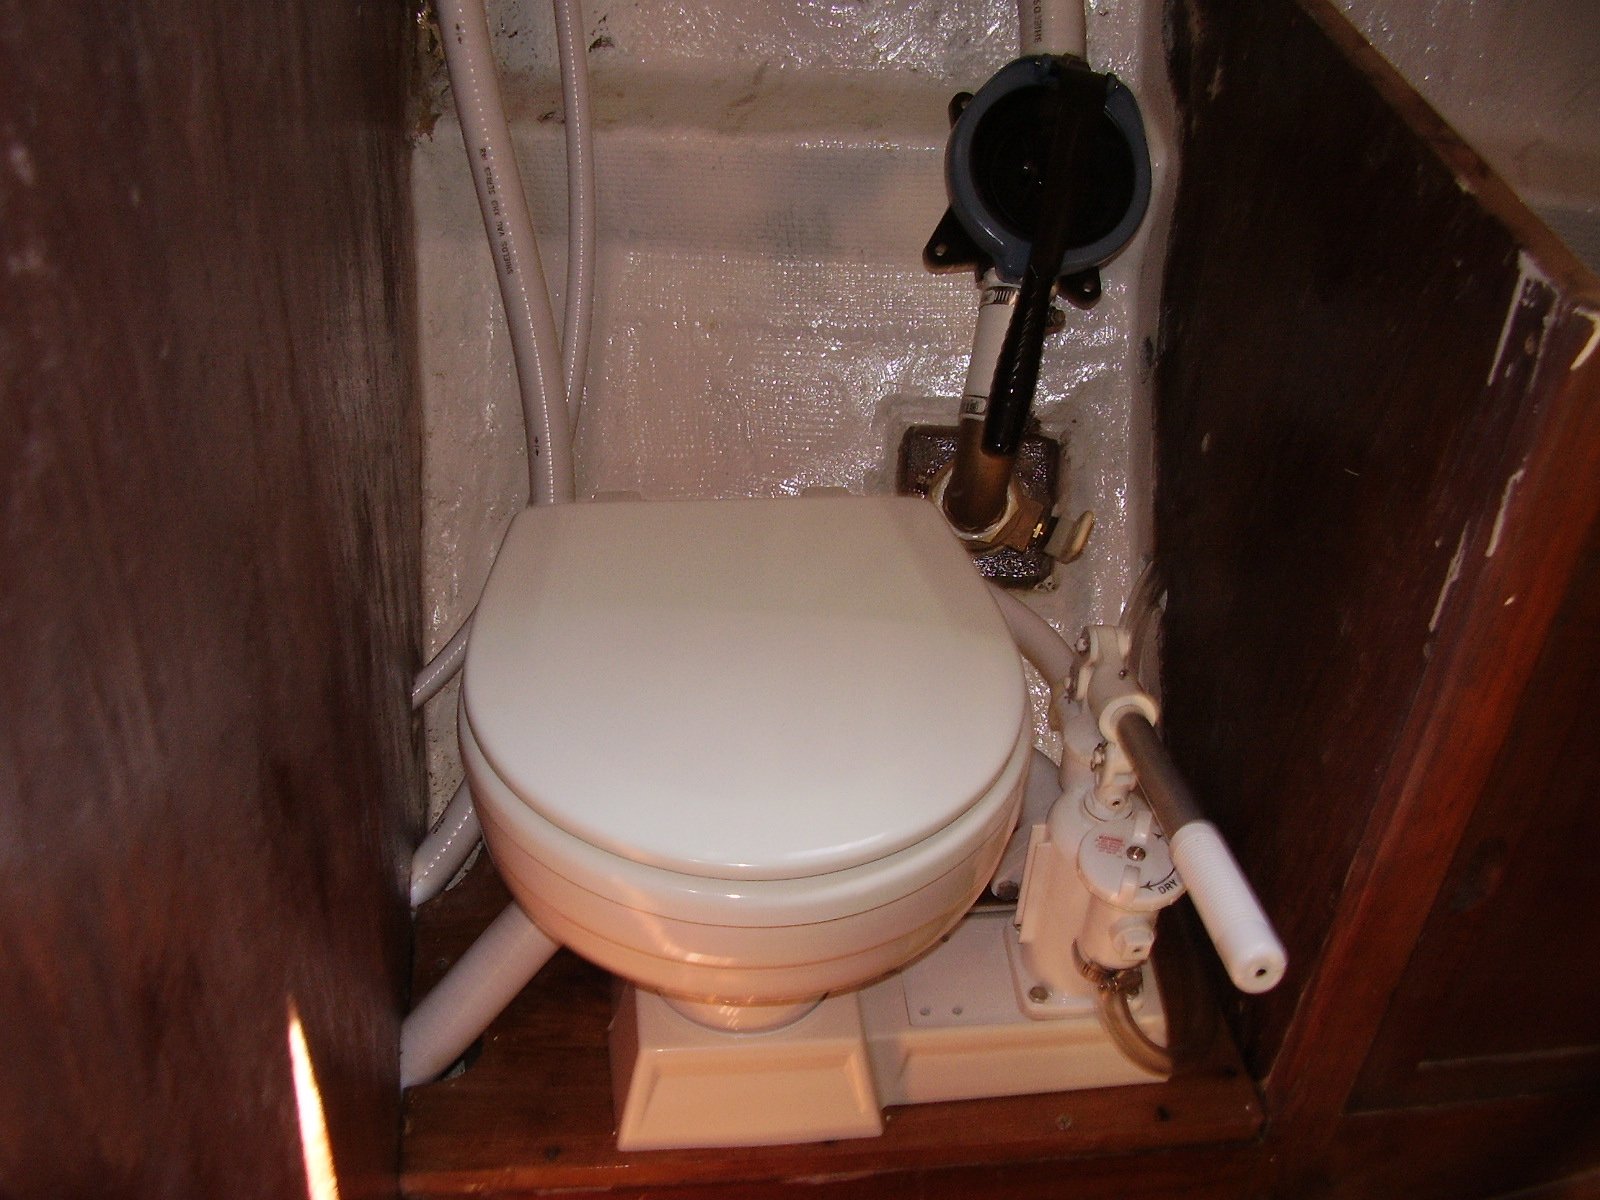
The toilet I chose during the 2007 refit was the Raritan PHII, which is extremely functional and reliable. I consigned this toilet long ago, but just purchased another Raritan PHII, but this time upgraded to the “household size” bowl.
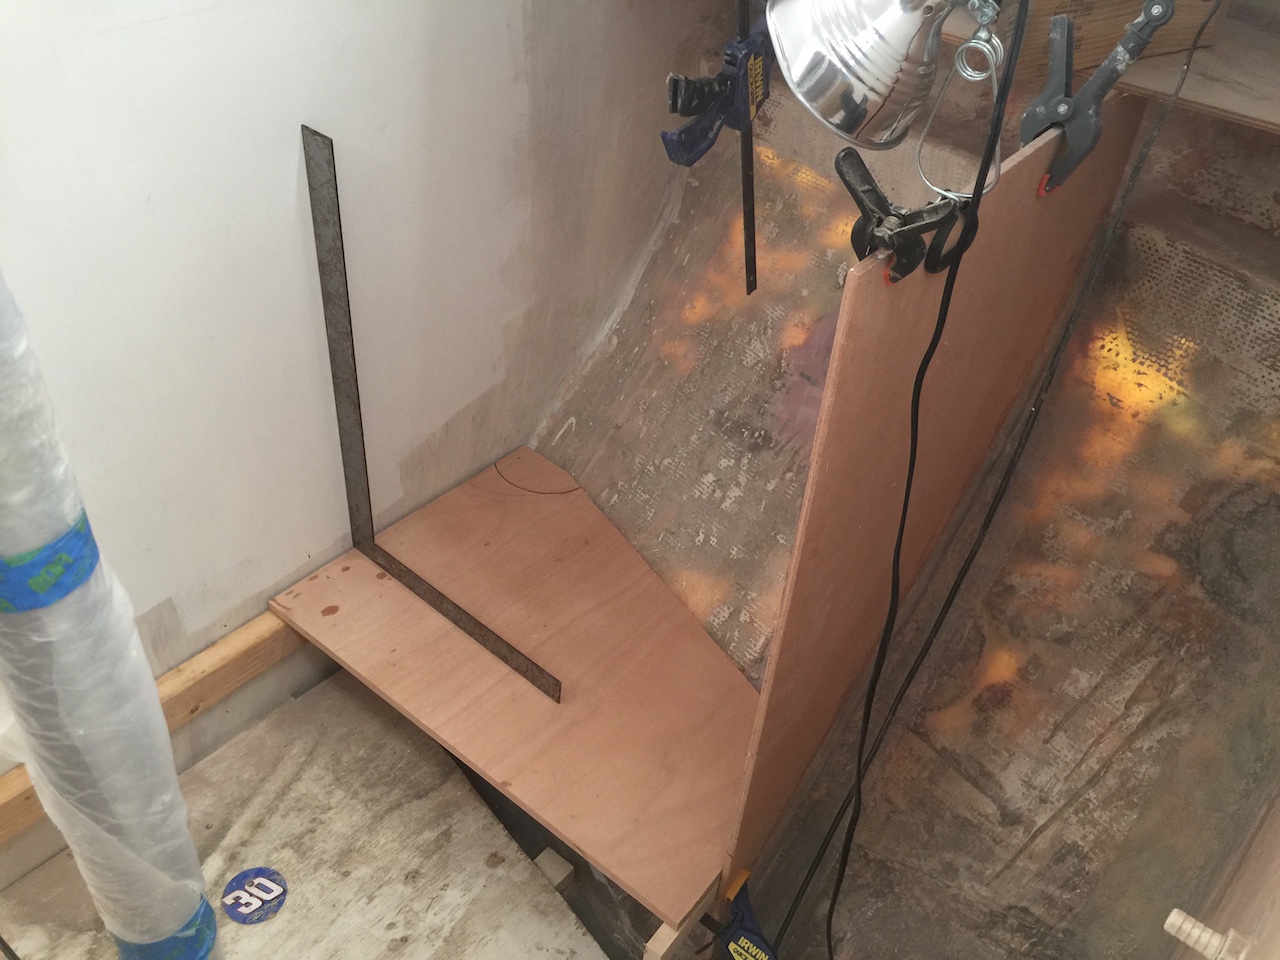
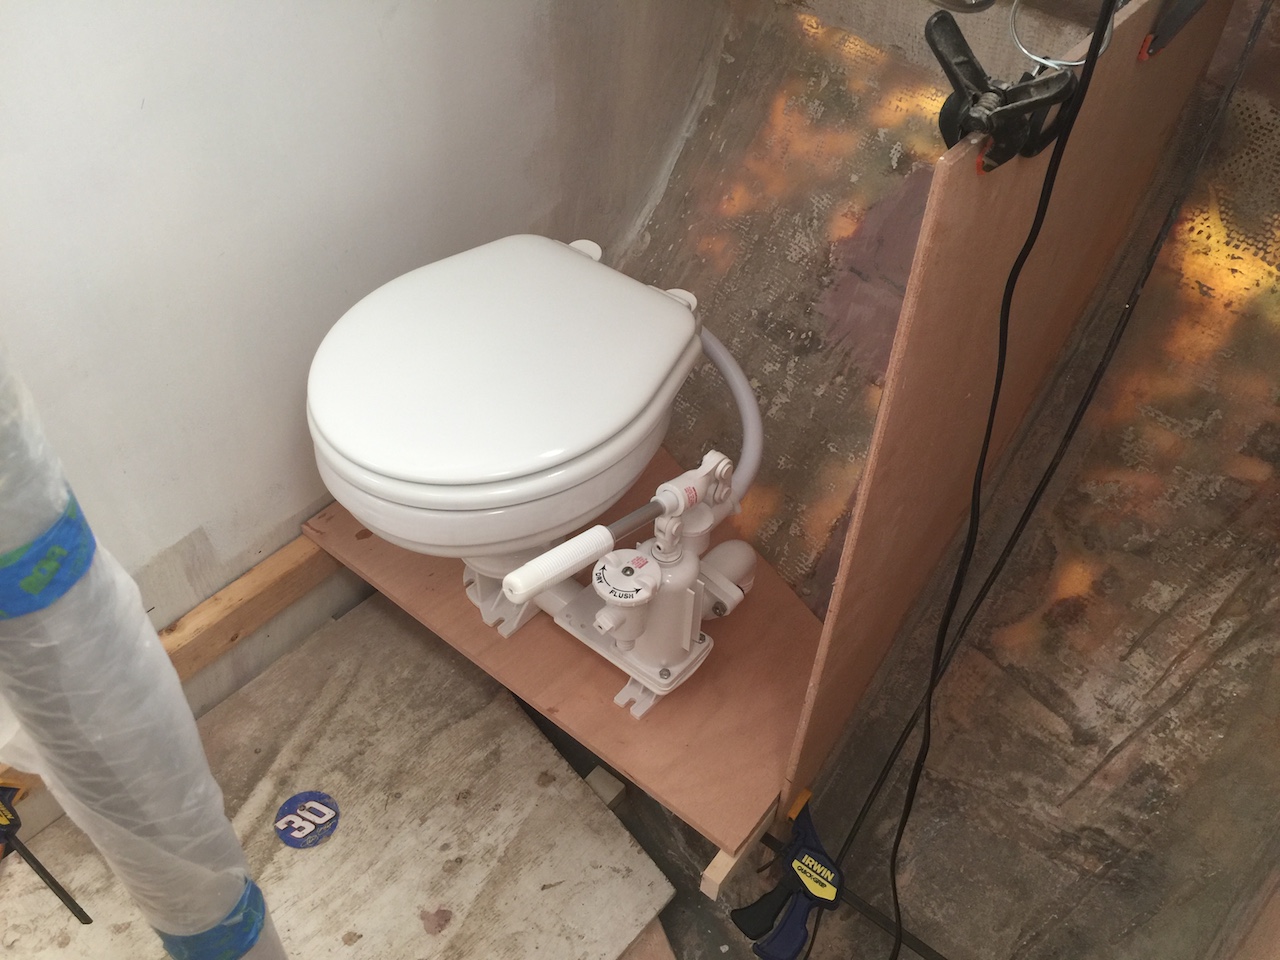
The photo below shows where I’ve leveled the new support, which is lower, wider, longer, and more inboard than the original support.
The photo below shows the toilet temporarily in place, and you can see that there will be considerably more elbow room with the new layout.
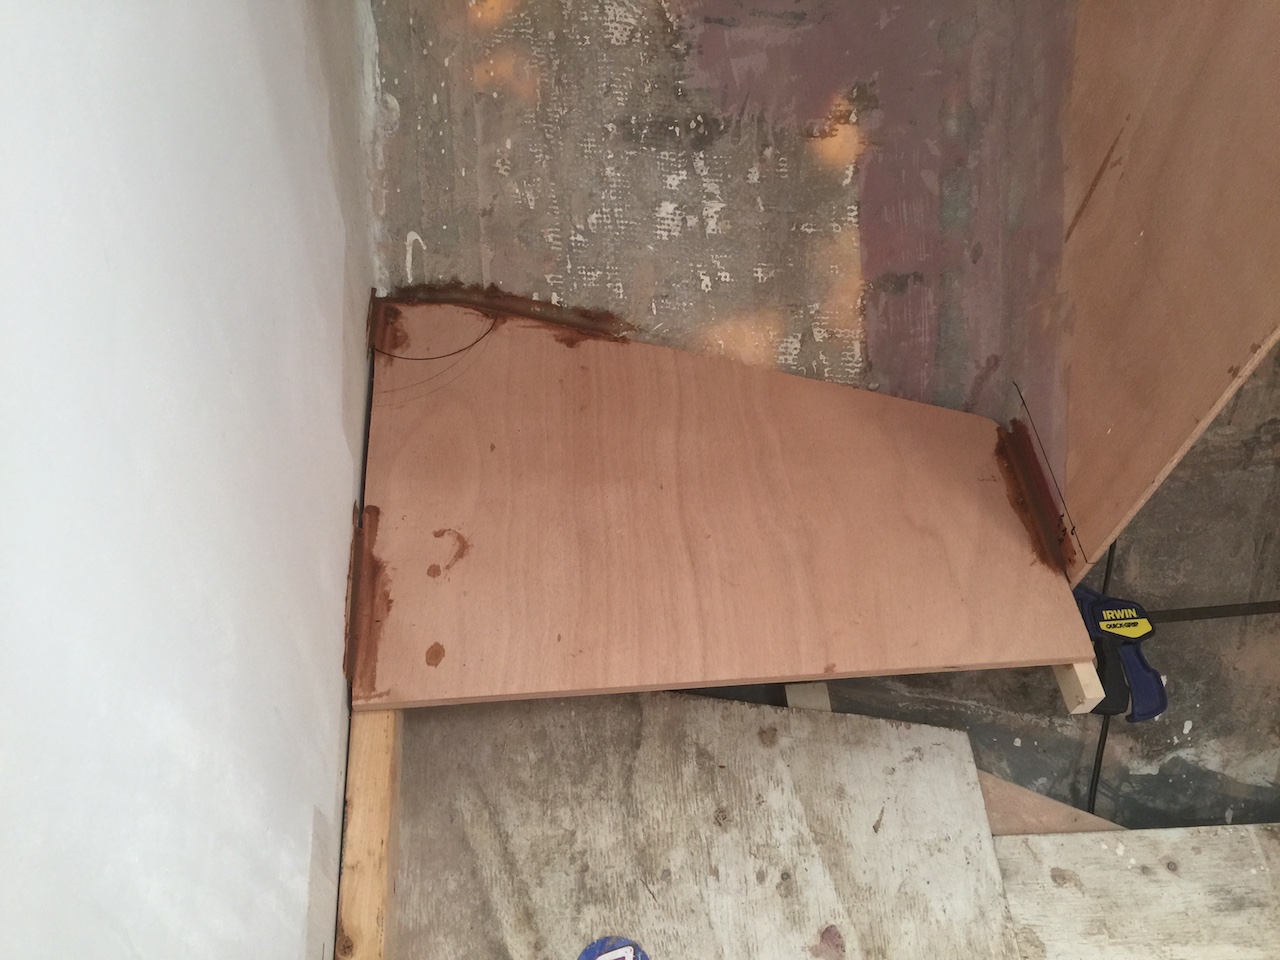
I tacked in the support with thickened epoxy.
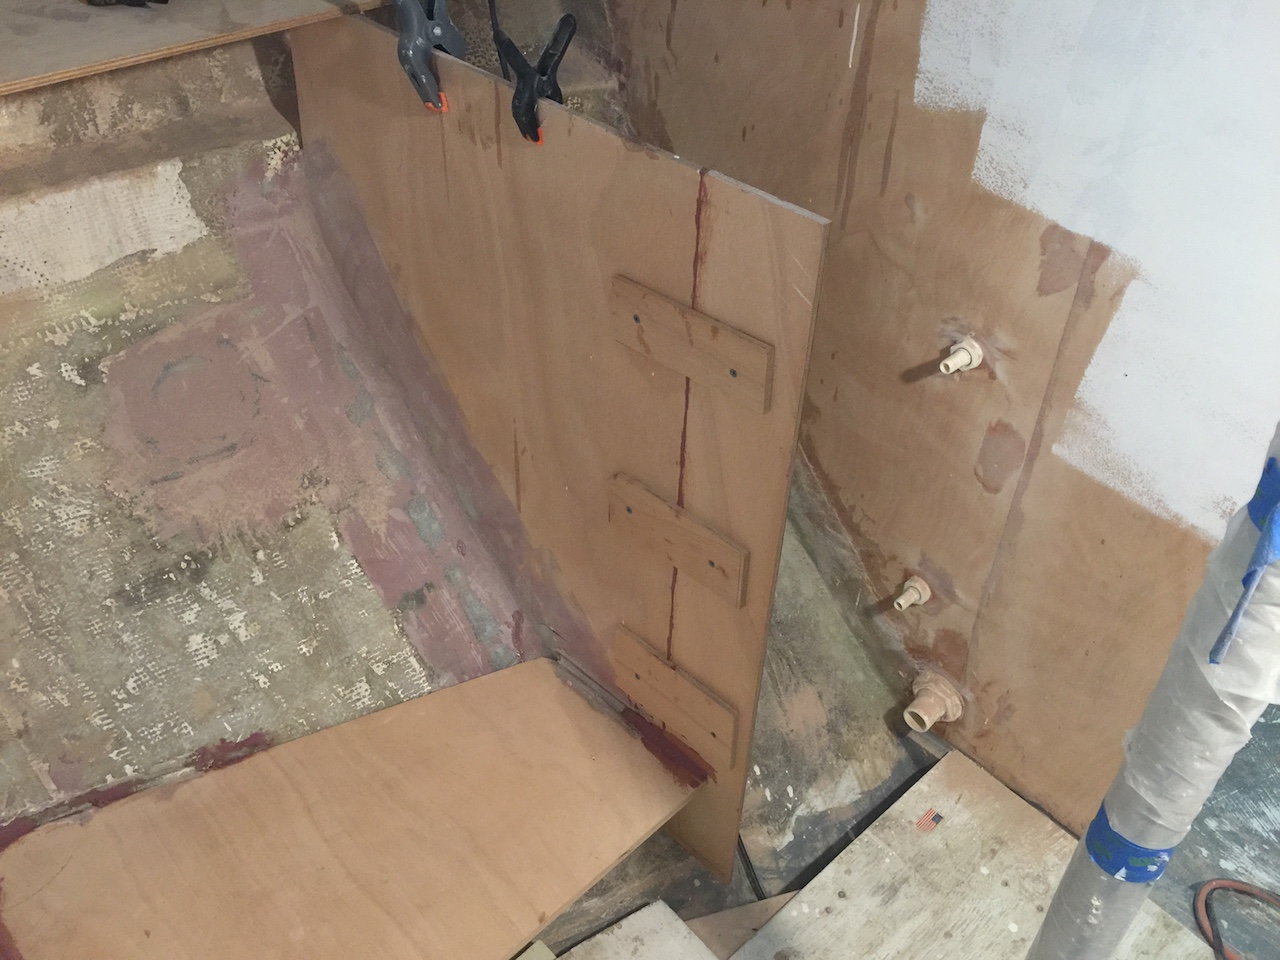
The inboard edge was more inboard than I anticipated, and you can see below that the bulkhead along the “left elbow” needs to be extended, which I achieved by simply adding a strip of plywood, as shown below.
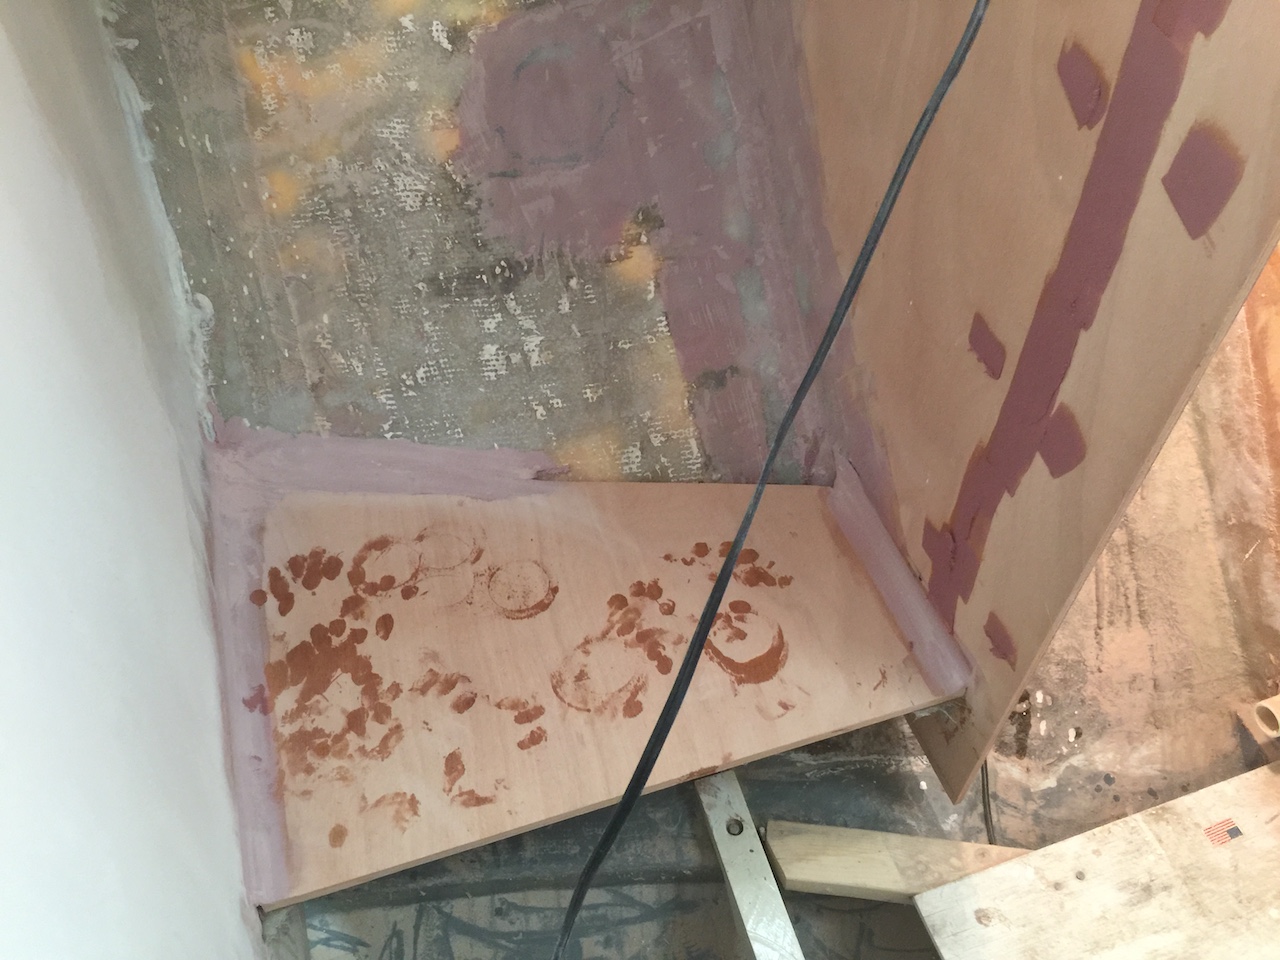
Next, I glassed the bottom of the panel to the hull and filled the seams on the top of the panel with wide fillets of thickened epoxy.
In about a week, I will have painted much of the head compartment.