10/16/17: Engine Enclosure, Shower Stall, Toilet Step
There are several possibilities for bathing while cruising on a sailboat: A SOLAR SHOWER in the cockpit or on deck; Showering at local marina facilities; Swimming off the boat with a bar of soap.
If the cruising yacht has a hot water maker, however, it is possible to shower in a designated area in the cabin. A dedicated shower stall takes up valuable space, and it hard to justify. A typical solution is to use a detachable shower head in the head compartment, but there are problems here too. One is how to deal with the drain and sump. (Thalassa’s original head had a teak grate mounted over a fiberglass basin through which water drained to the original gray water tank, which was in the bilge.) Another is how to keep the head compartment dry. A shower curtain might be used, but typical head compartments are so small that a full wrap-around curtain is impractical and uncomfortable.
In Thalassa I have taken a unique approach. The new layout and construction details of the forward cabin will make it an ideal shower stall. There will be a shower curtain to keep the bunks dry, and the detachable shower head can be mounted high, but I’ll go over those details sometime next summer.
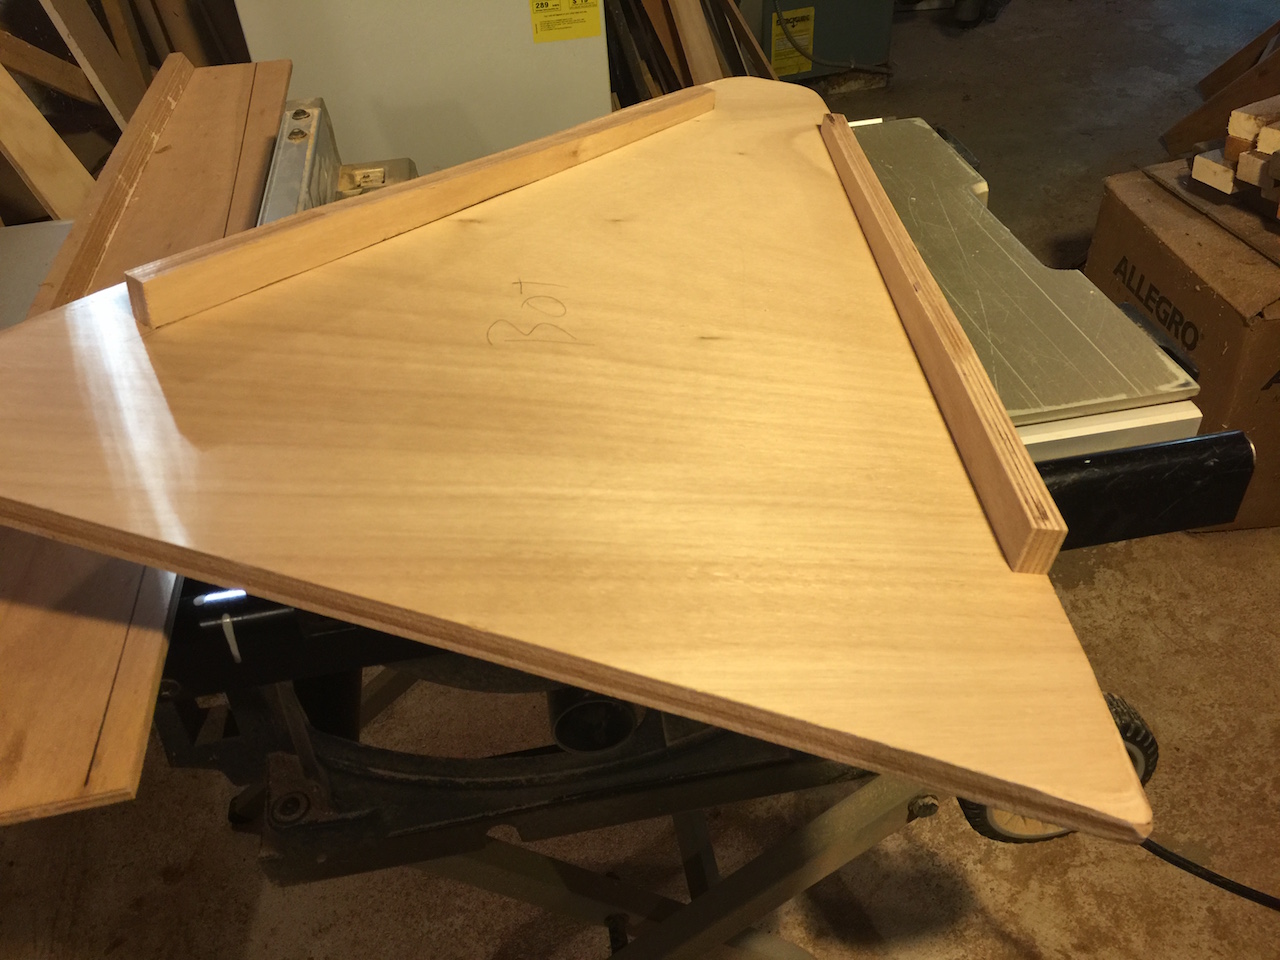
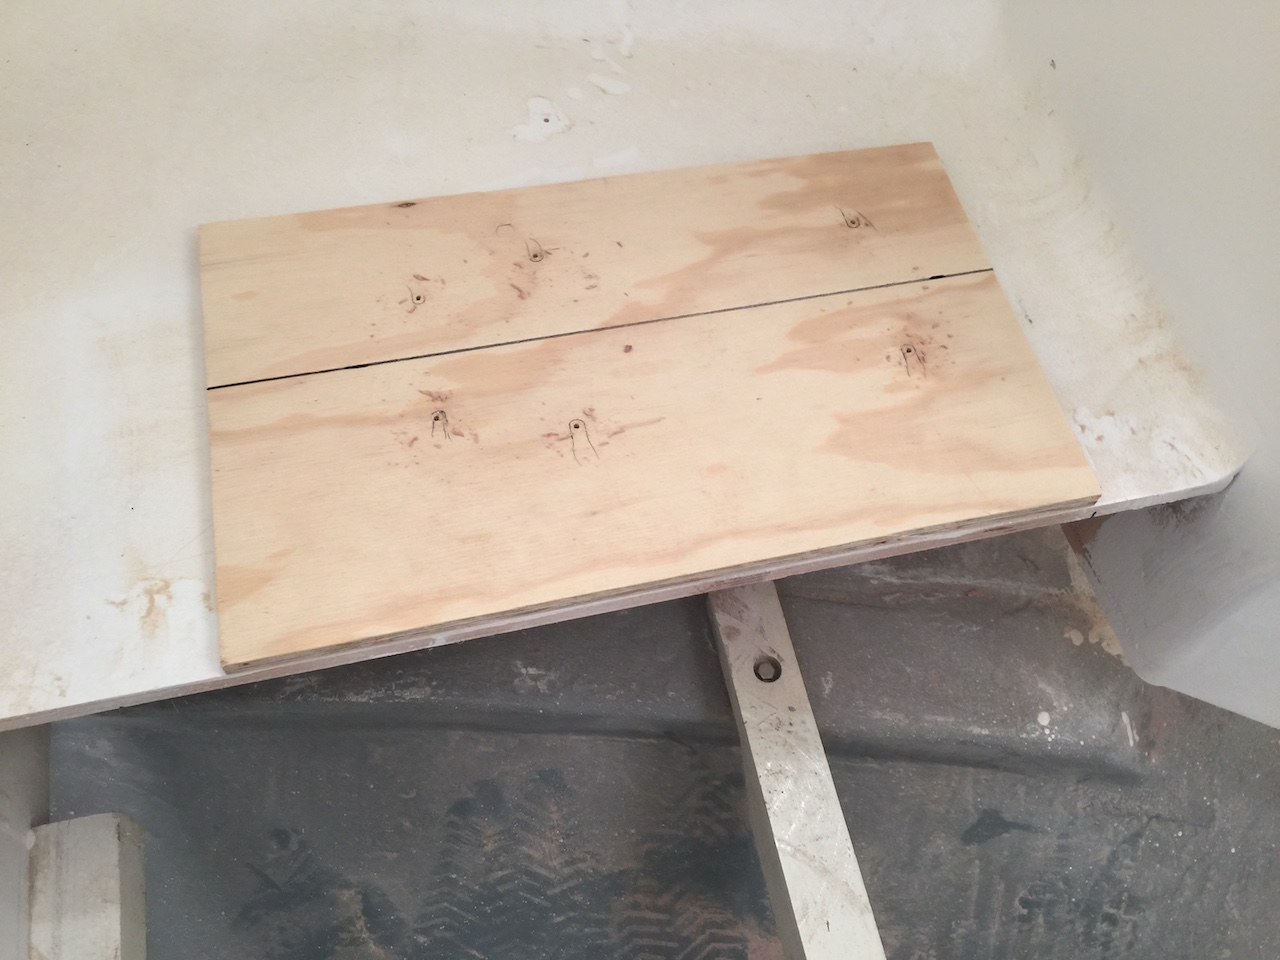
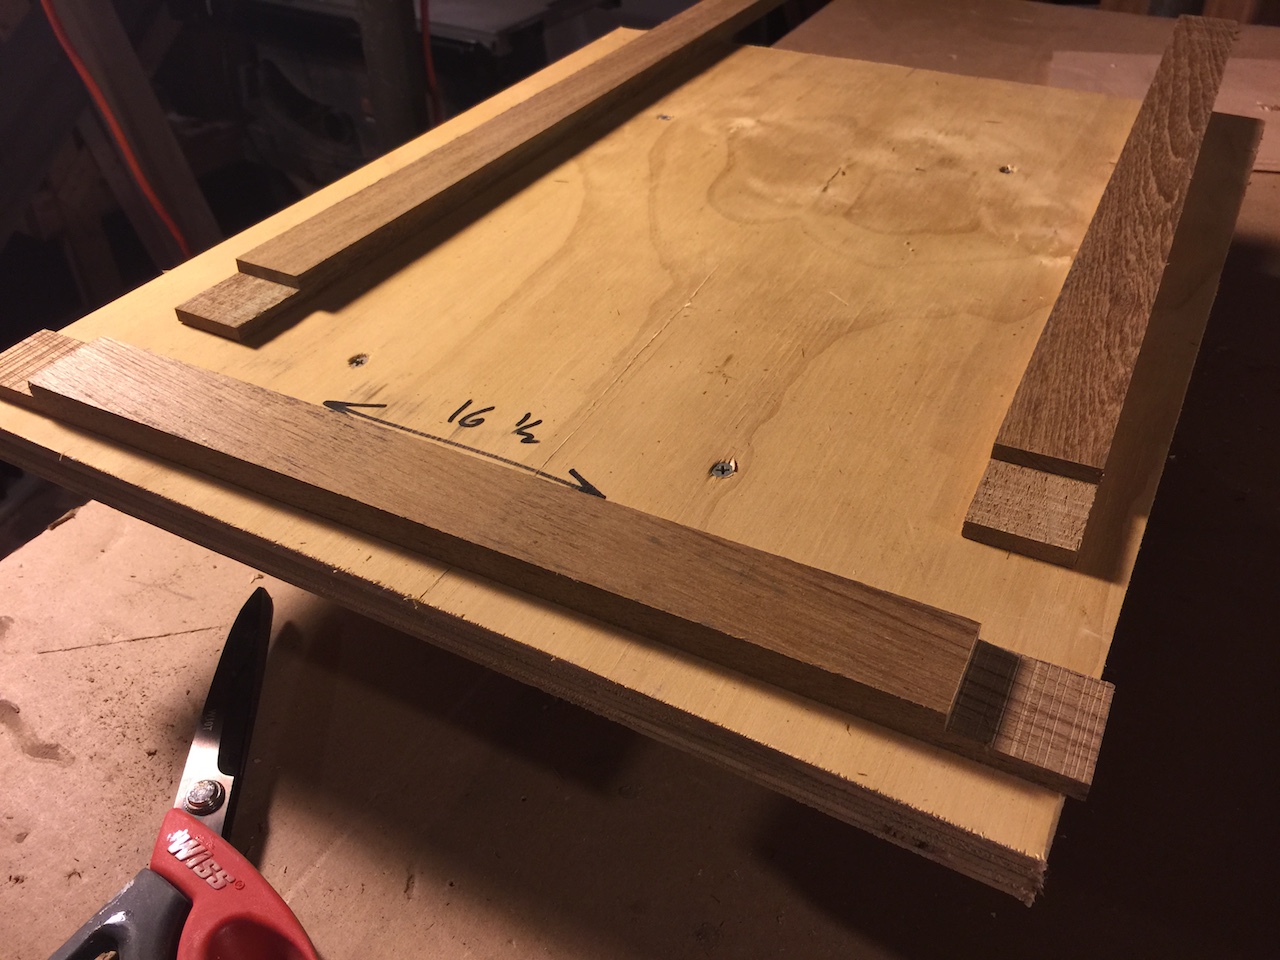
The photo below shows a template I’ve made for the cabin sole in the forward cabin.
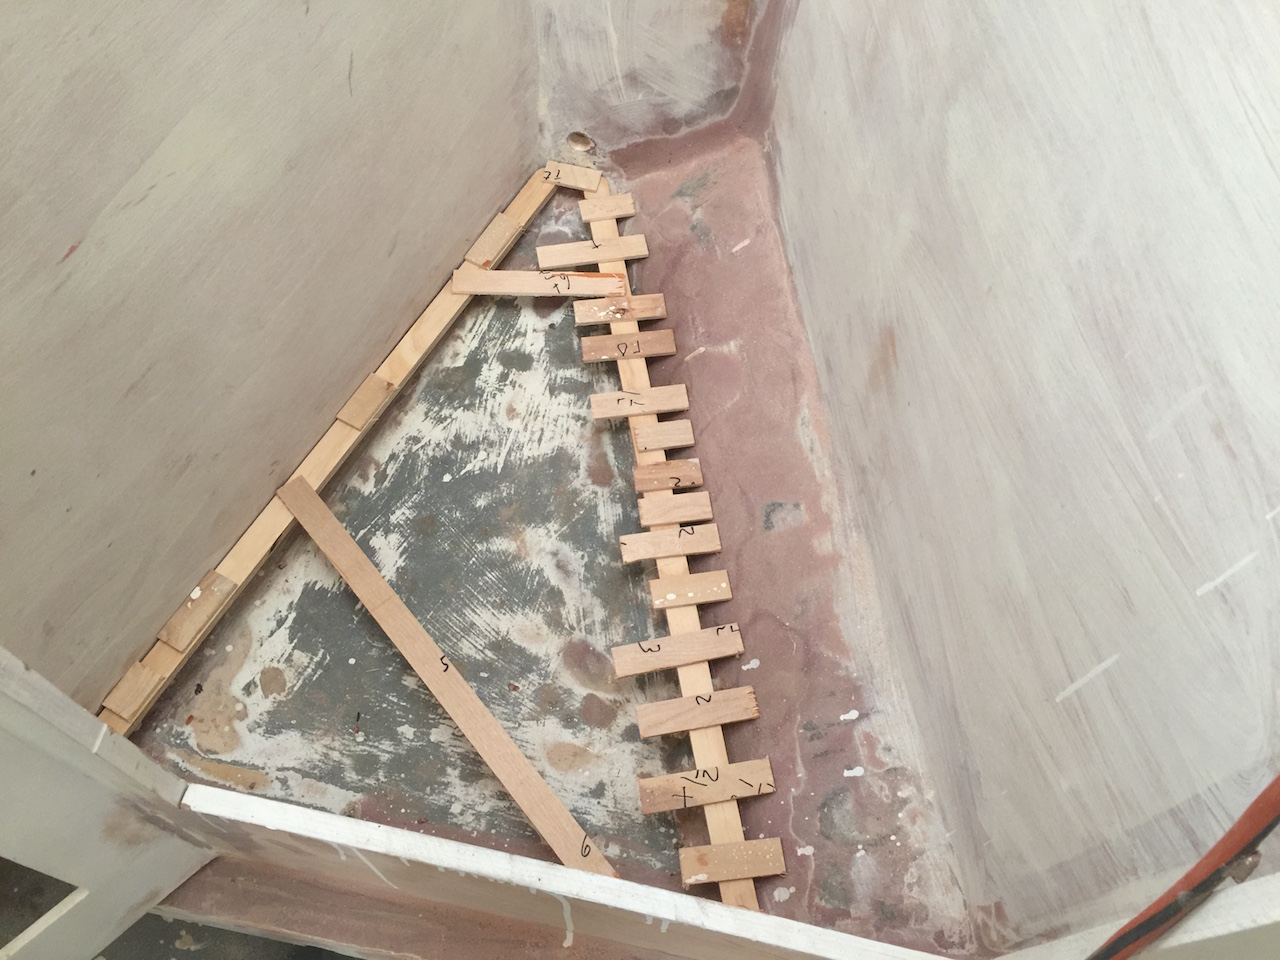
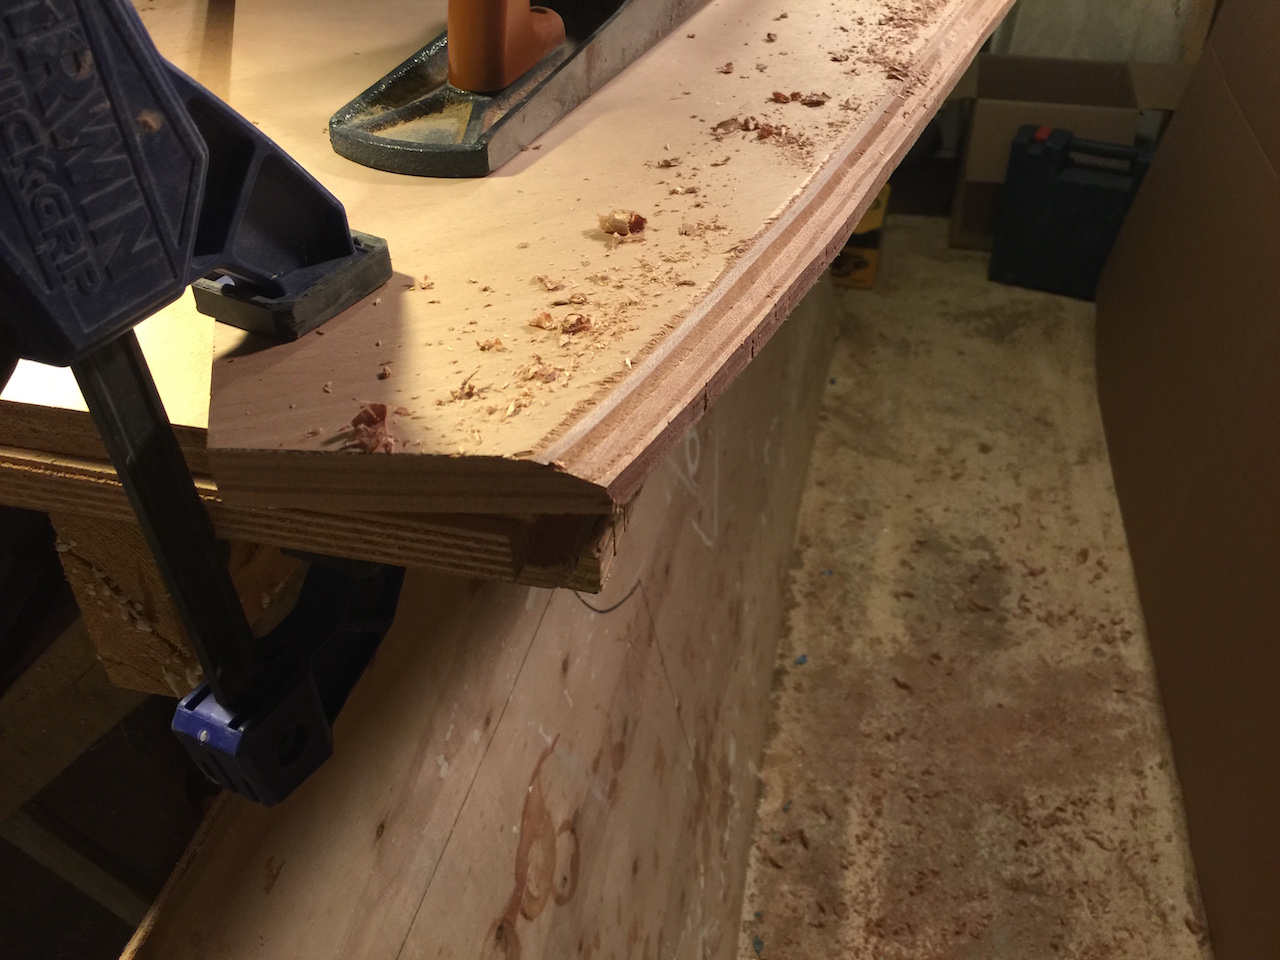
The bottom-starboard edge was beveled to accommodate the slope of the hull.
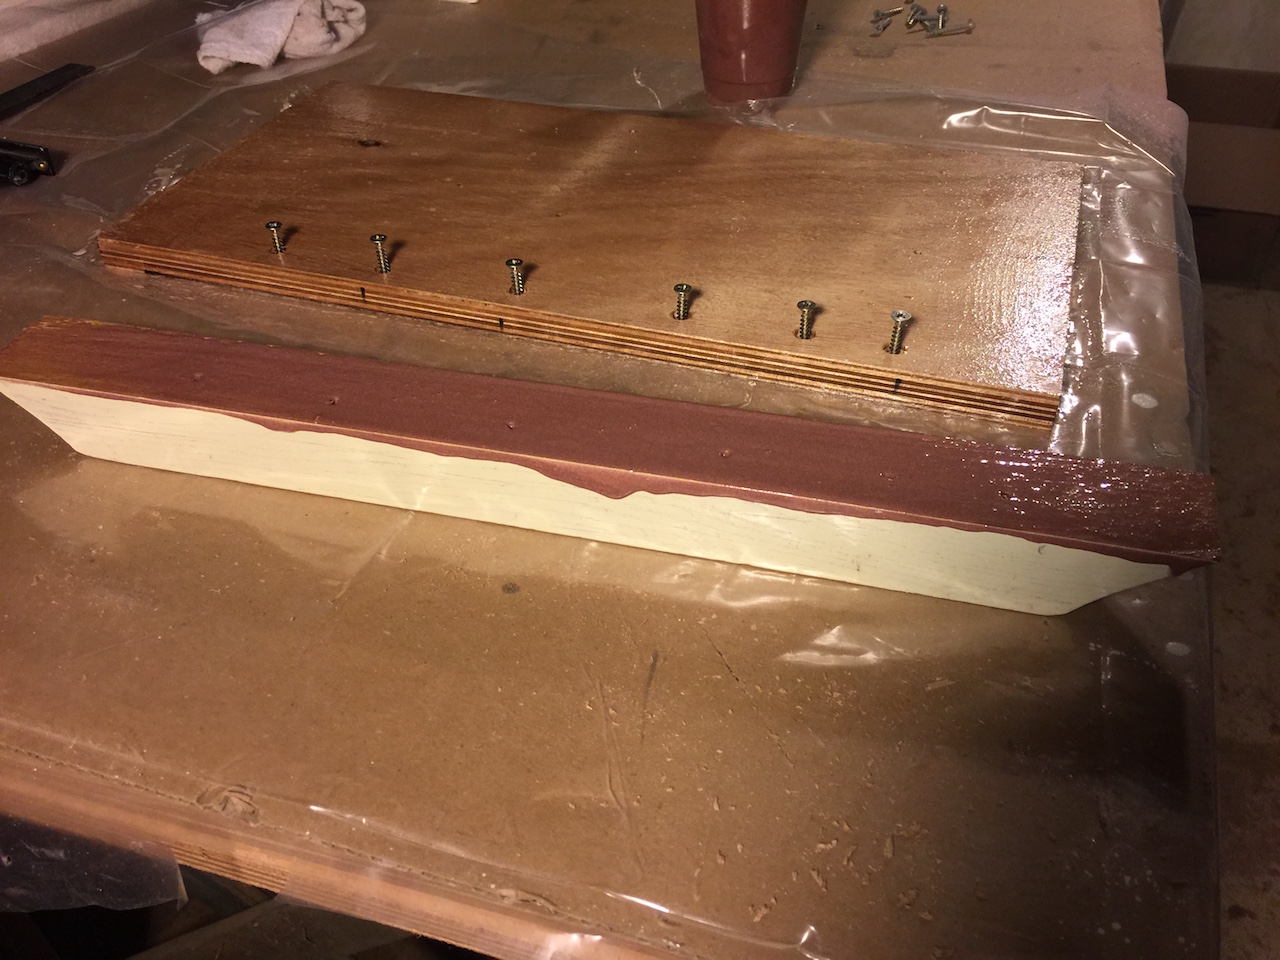
There are no floor beams here, so I used some 3/4-inch plywood to make some.
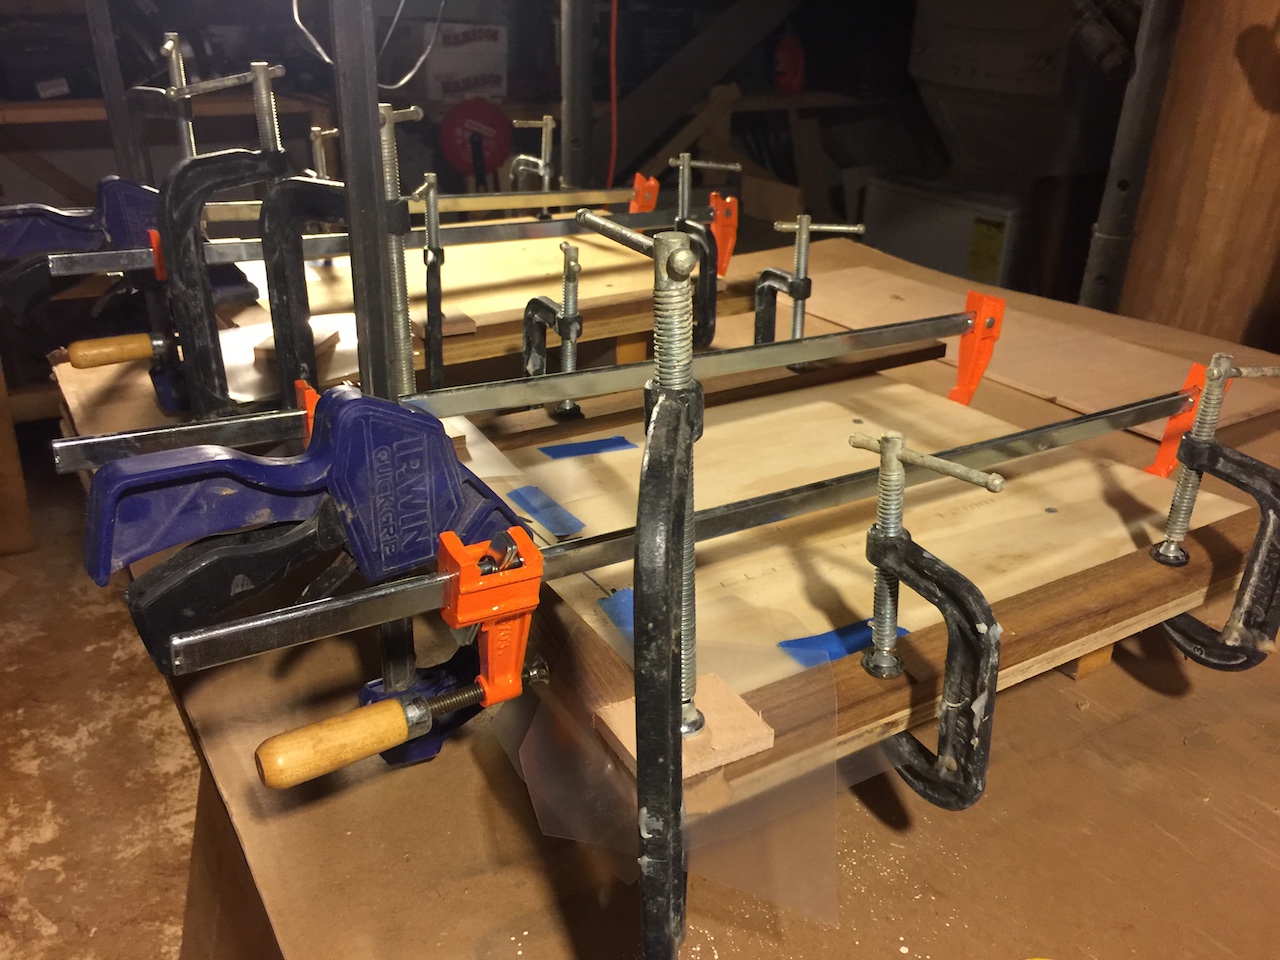
I attached the beams to the panel with temporary screws, then epoxied them in place with the panel attached to ensure a perfect fit. After removing the screws and the panel I finished the job with a few more rounds of epoxy and sanding.
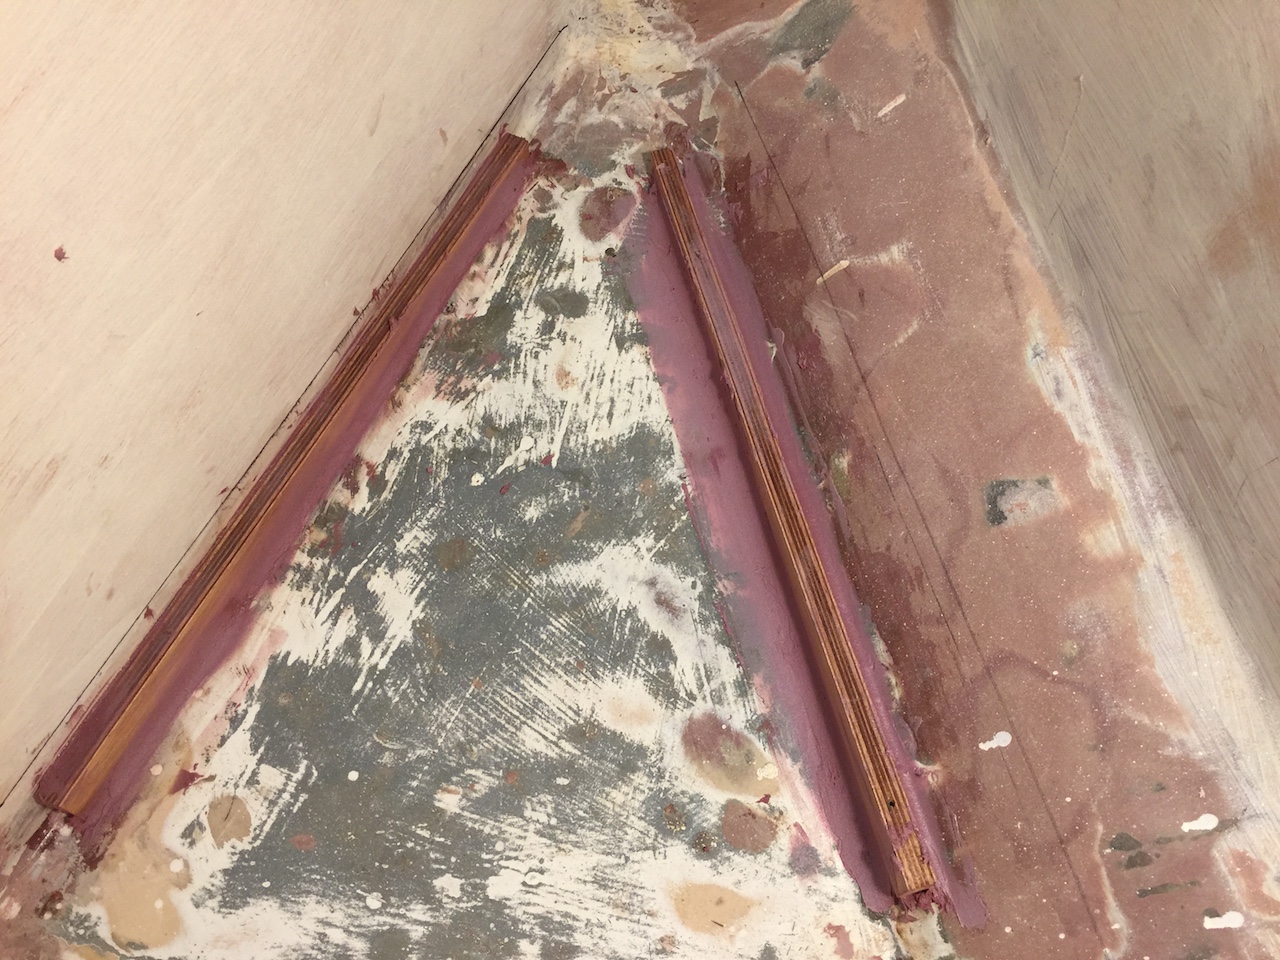
The panel has four finger-holes, whose primary purpose was to serve as inspection holes while I was fitting and setting the beams. Henceforth, the holes will provide ventilation to the space beneath and a means to lift the panel.

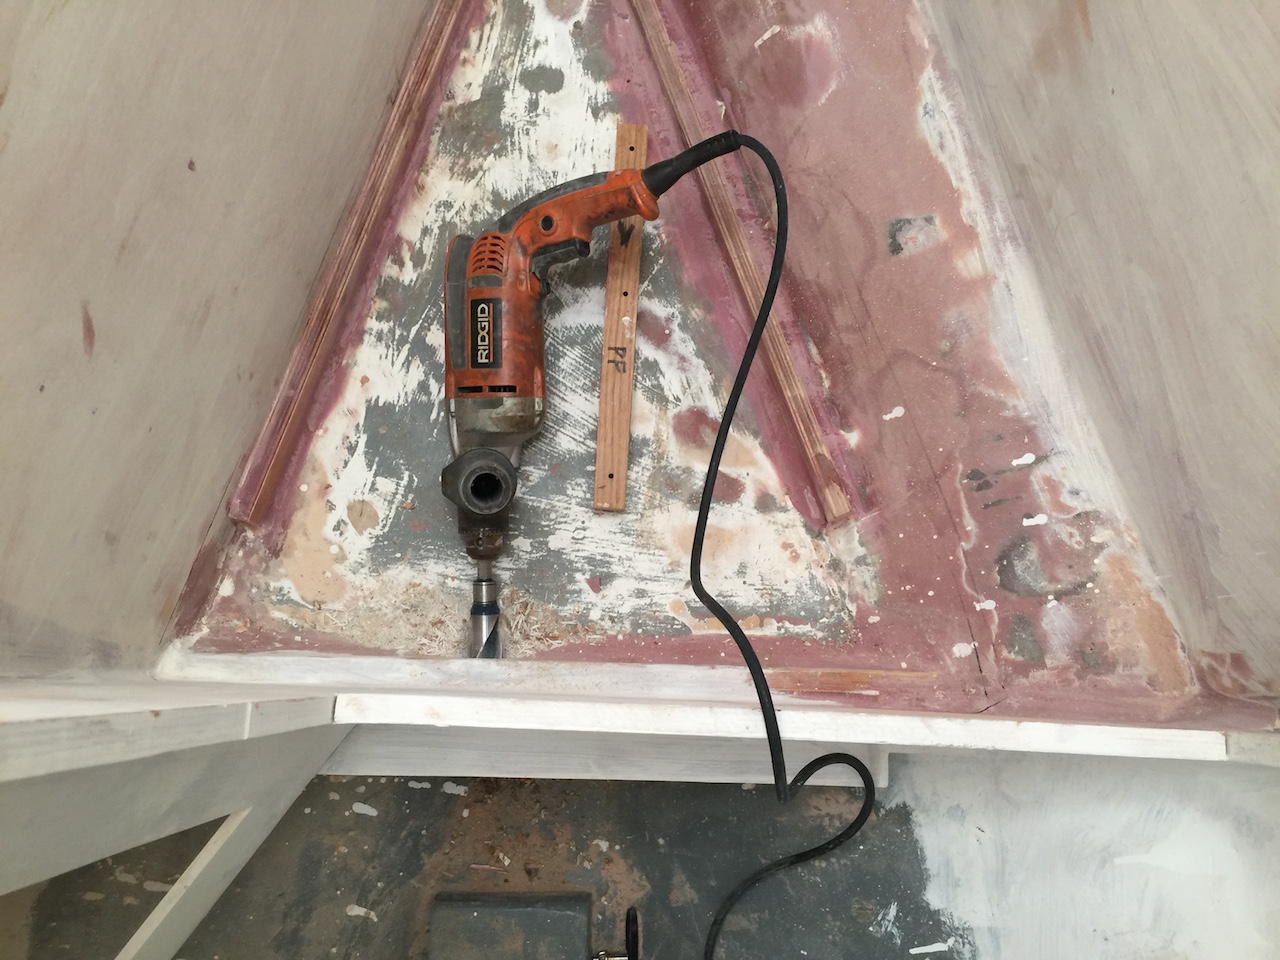
One reason for choosing the forward cabin as the shower stall is that the floor slopes down moving aft, and is higher than the sole elsewhere in the boat, so it will drain fairly easily. I used a 1.25-inch auger bit to enlarge the existing drain hole to accomodate a 1-inch PVC drain pipe.
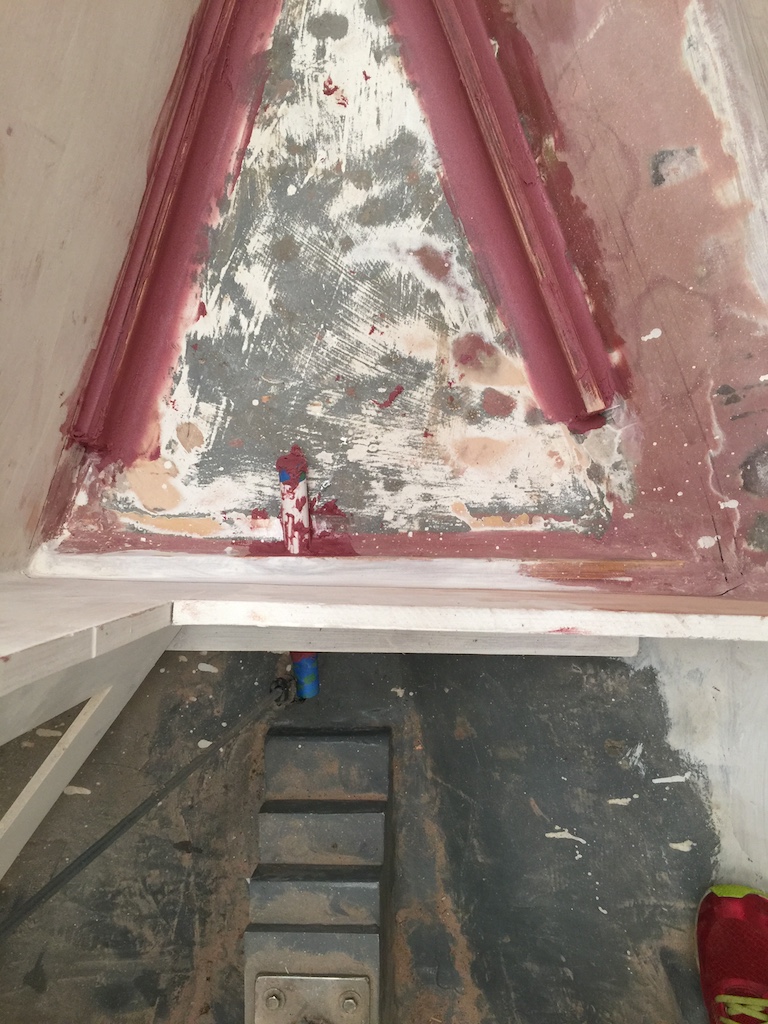
I set the PVC pipe in thickened epoxy, being careful total off the “clean” end. The other end was trimmed and sanded fish with the bulkhead and floor (not shown here). A hose will be attached to the clean and and this sump area will drain into the gray water tank.
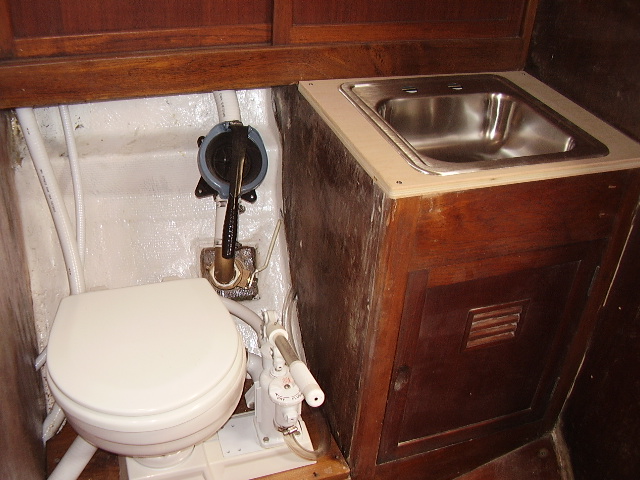
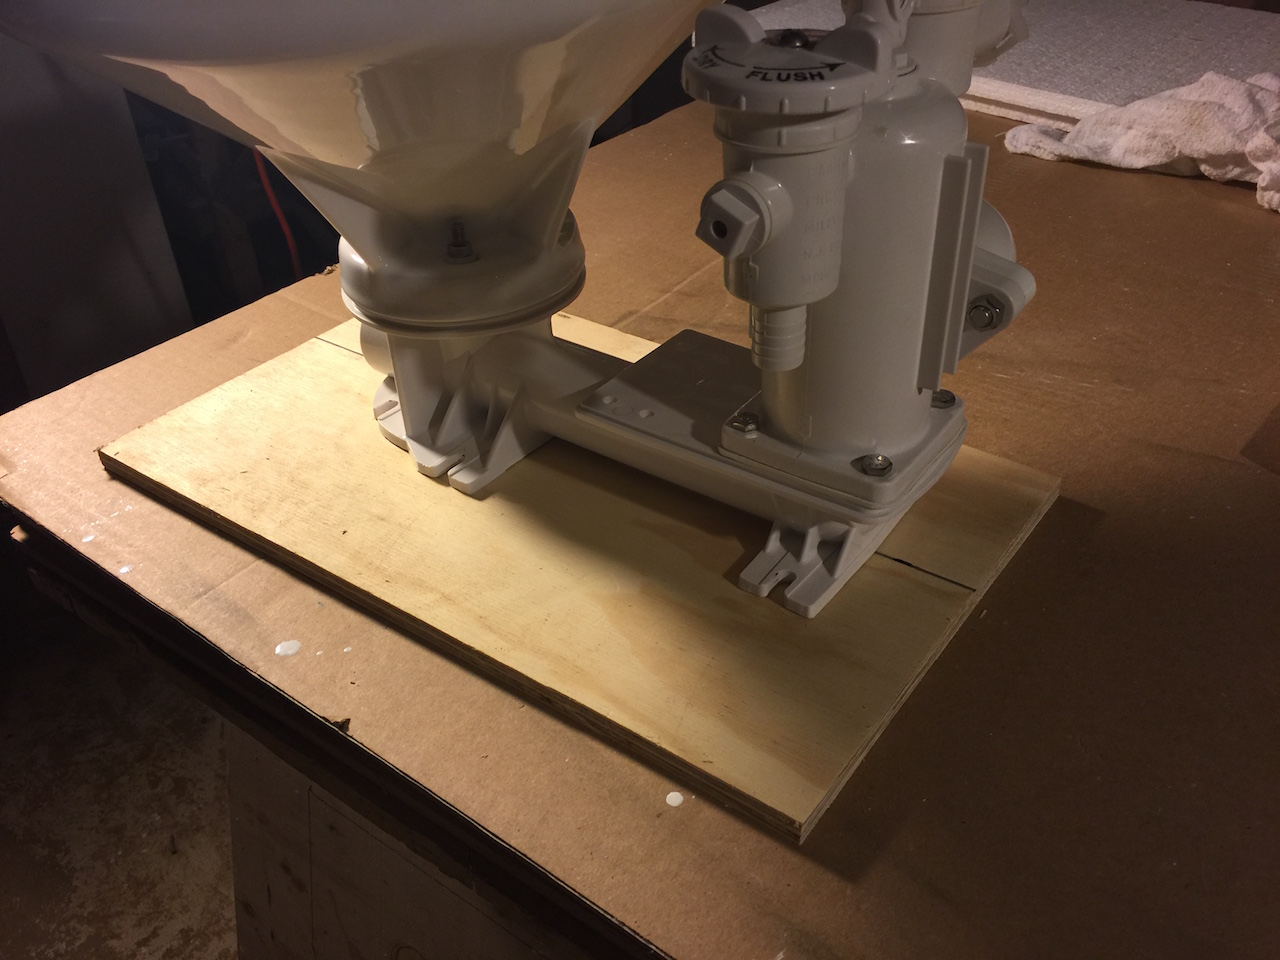
Back in the head, I made a final decision on the precise location of the toilet. The image below shows the toilet in place.
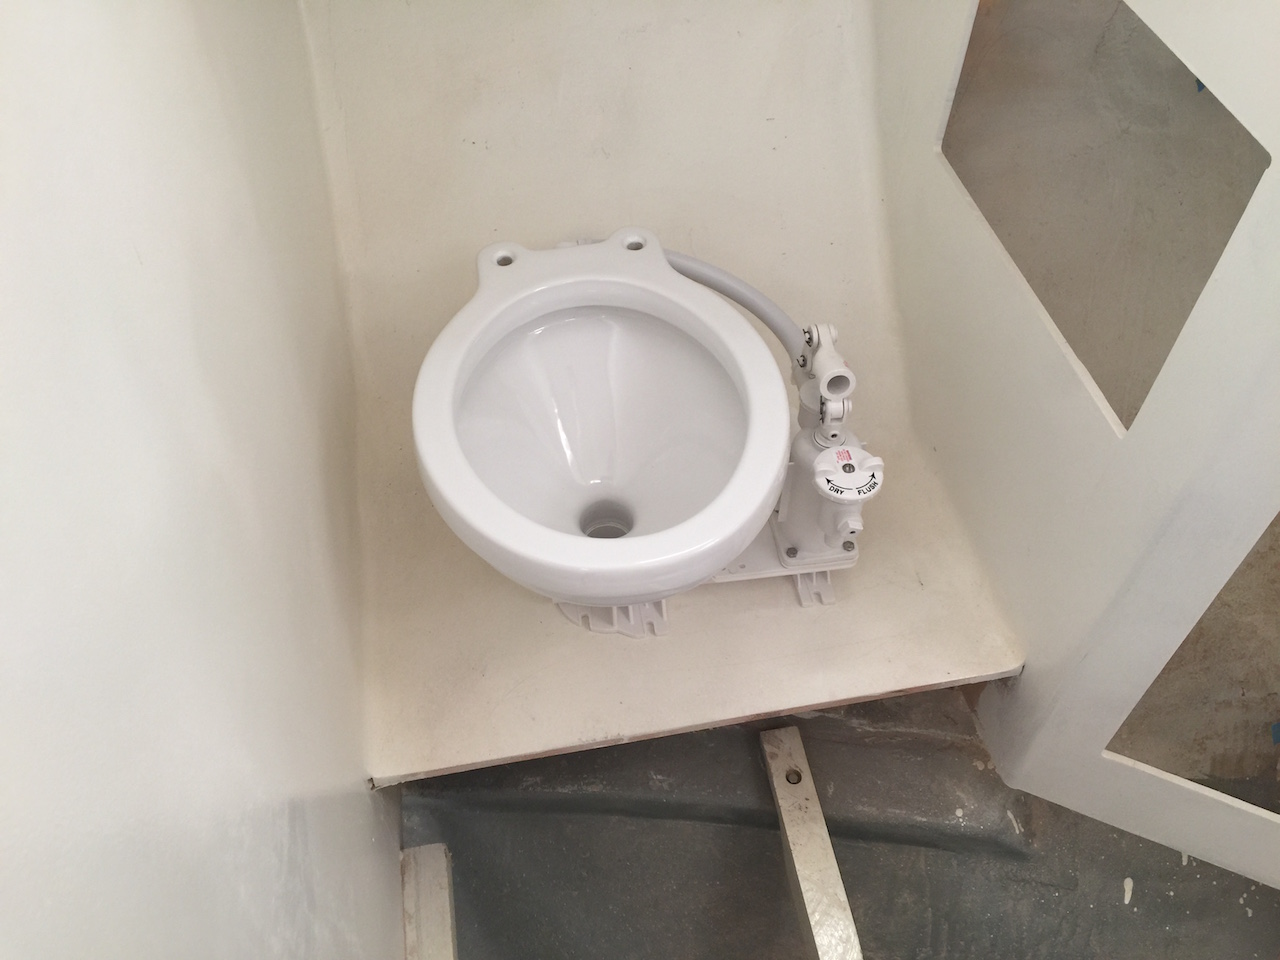
Looking at the original layout below, we can see that there is more elbow- and leg-room in the new layout–remember that the new bowl (above) is larger than the previous one (below).
OLYMPUS DIGITAL CAMERA
Next, I made a template for the screw holes and transferred them to the toilet-shelf.
I added an extra layer of plywood below the shelf as a means to stiffen and strengthen the shelf, but also for extra thickness through which to bolt the toilet. I also added a beam on the inboard side as additional strengthening (and a beam into which to screw the front piece…more on that later).
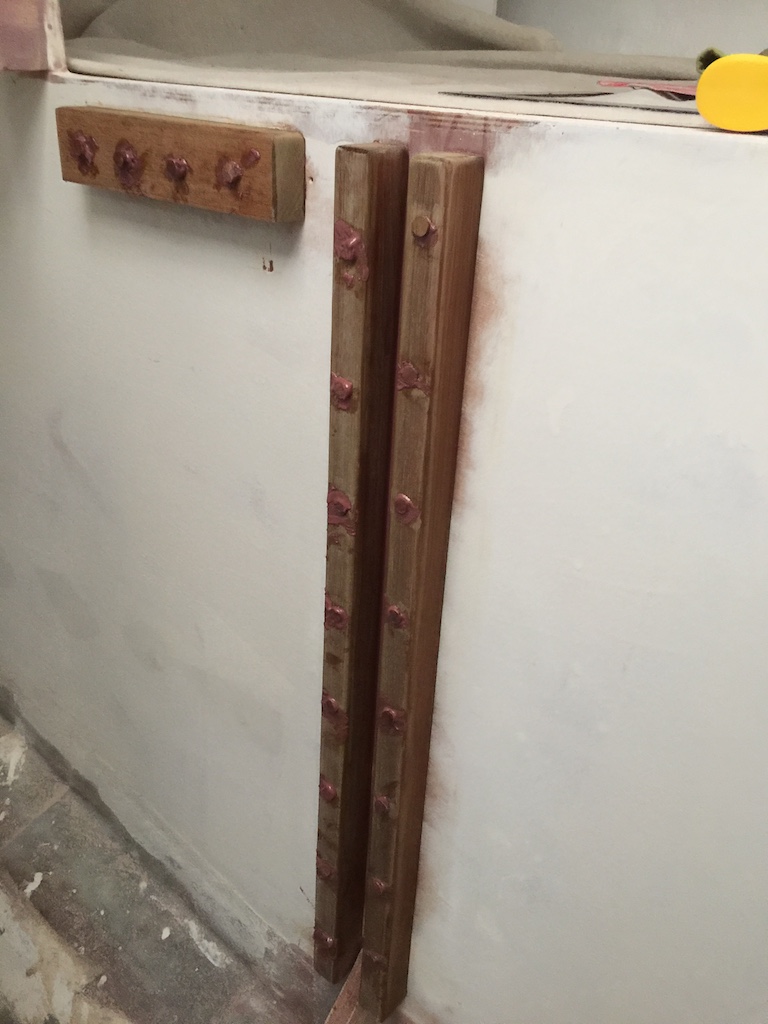
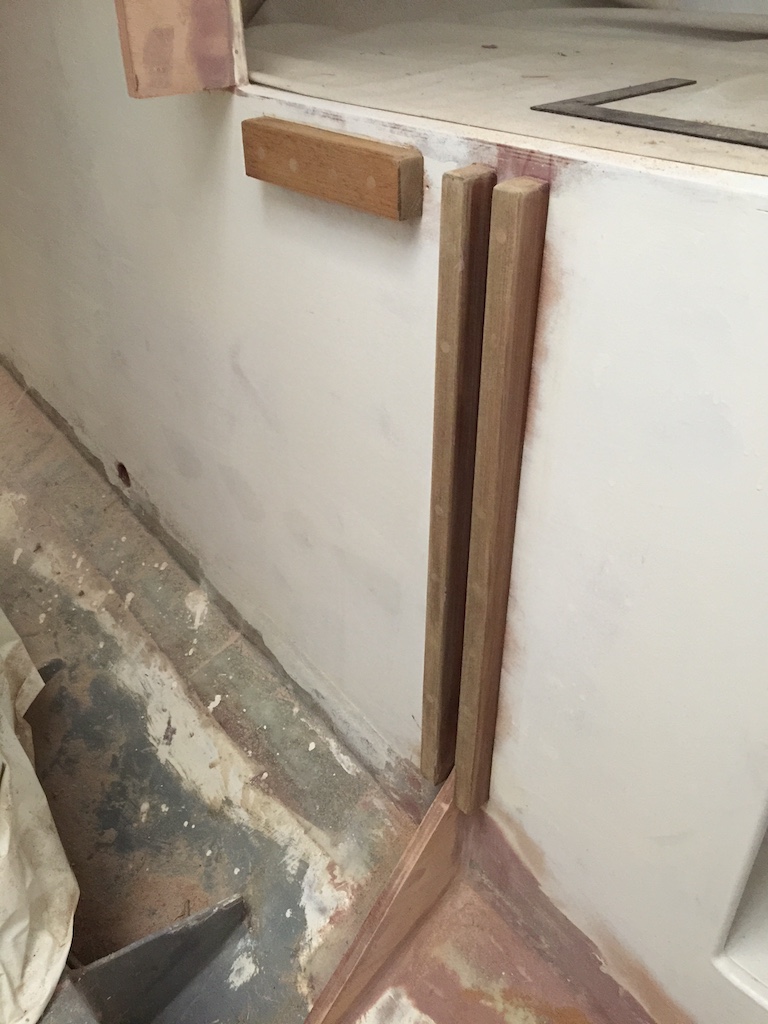
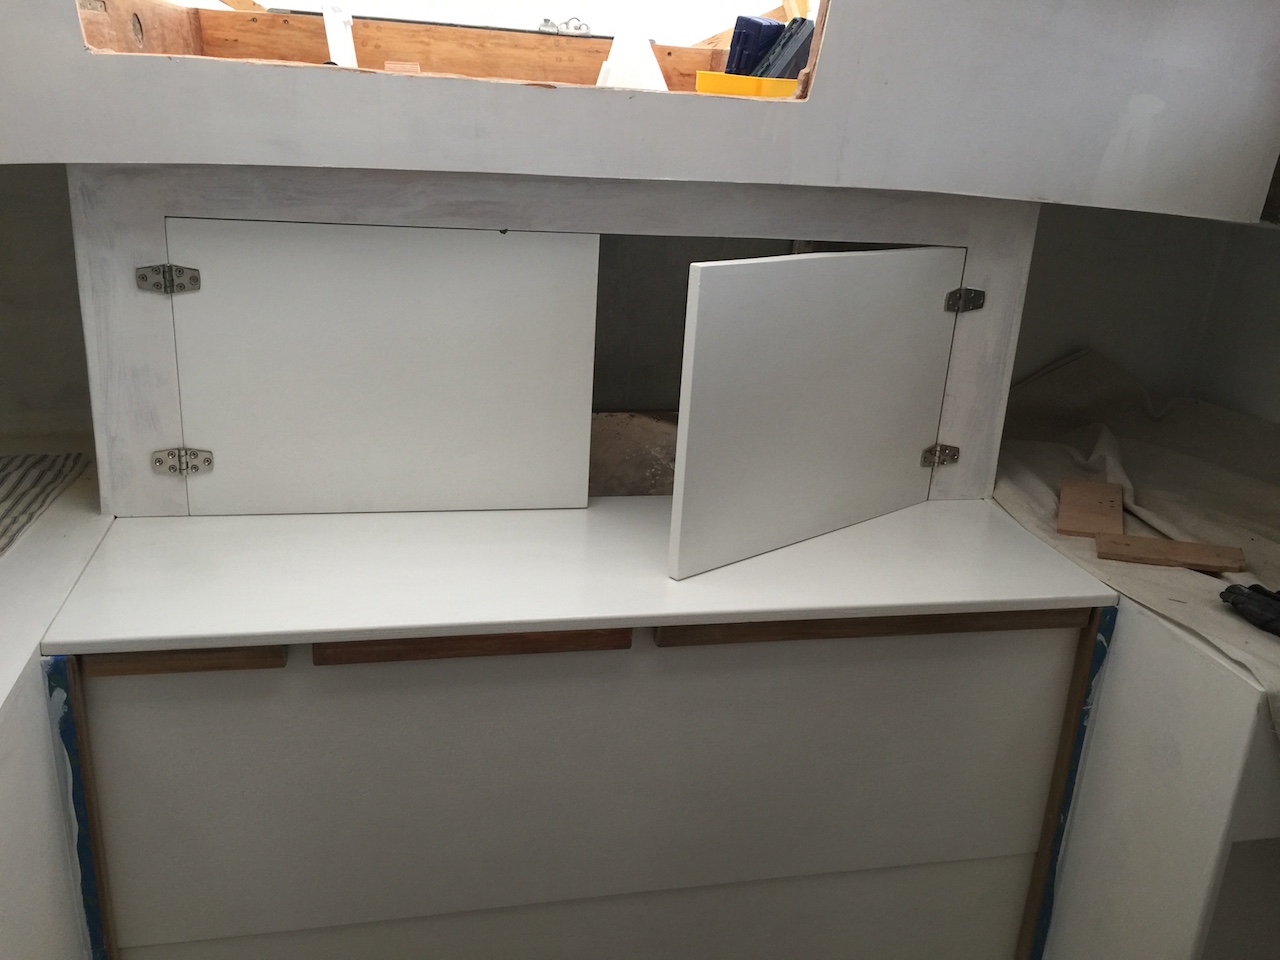
Back at the engine enclosure, the teak rails and cleats were screwed and plugged, then sanded.
The photo below shows the now-painted drop boards and shelf in their installed positions.

Next, I made a template for making pilot holes for the door hinges.
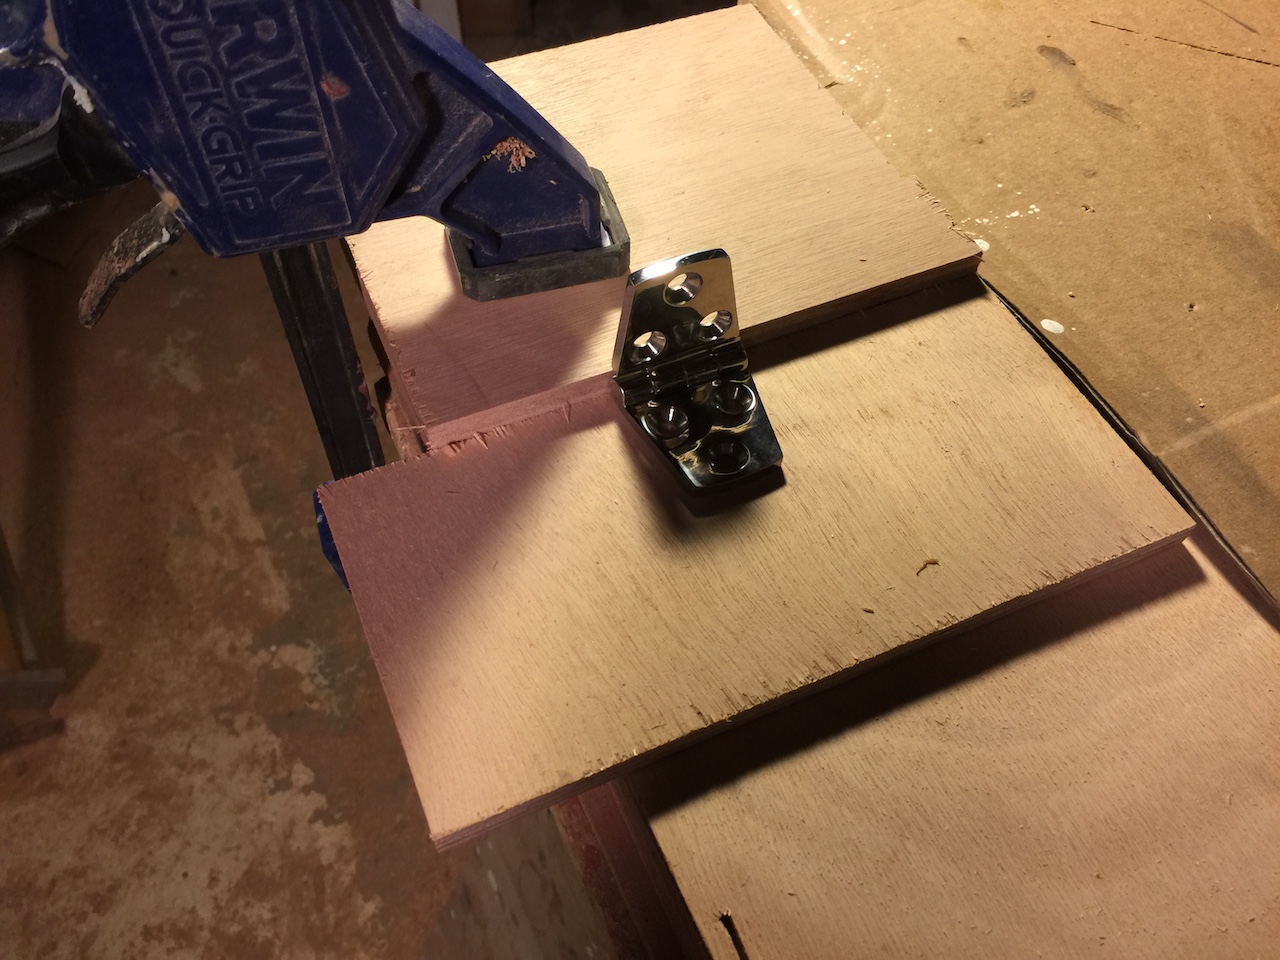
Here I am using the template to make pilot holes for the port-side door on the engine compartment.
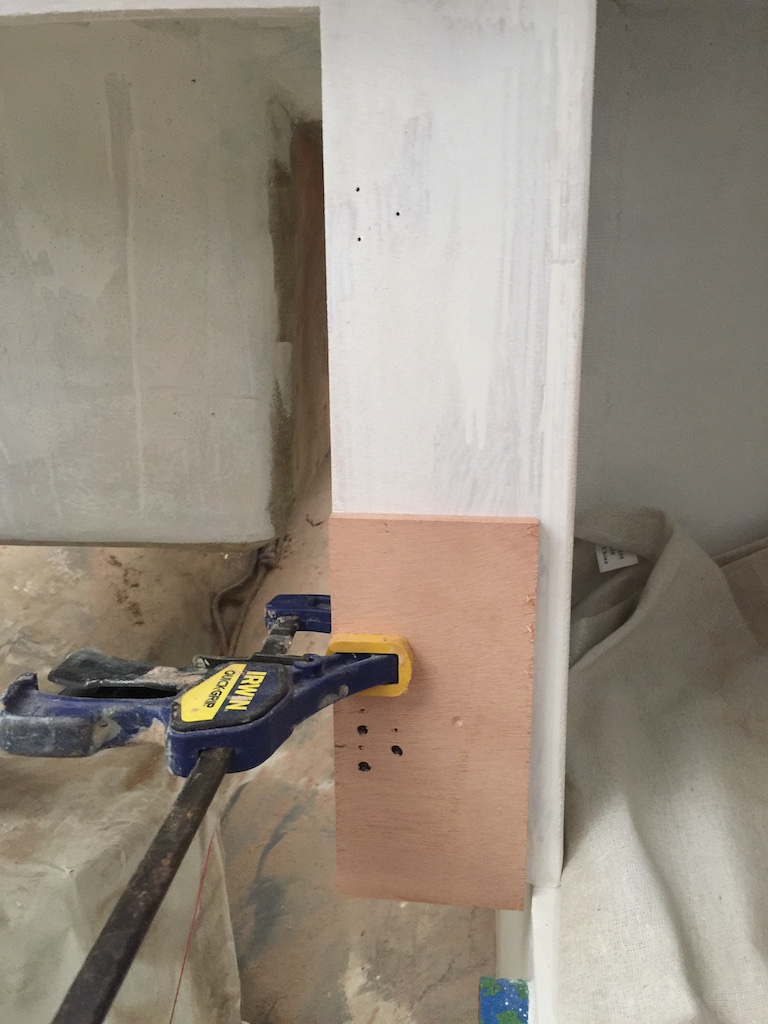
Here the doors are balanced in place with the help of a temporary horizontal support.
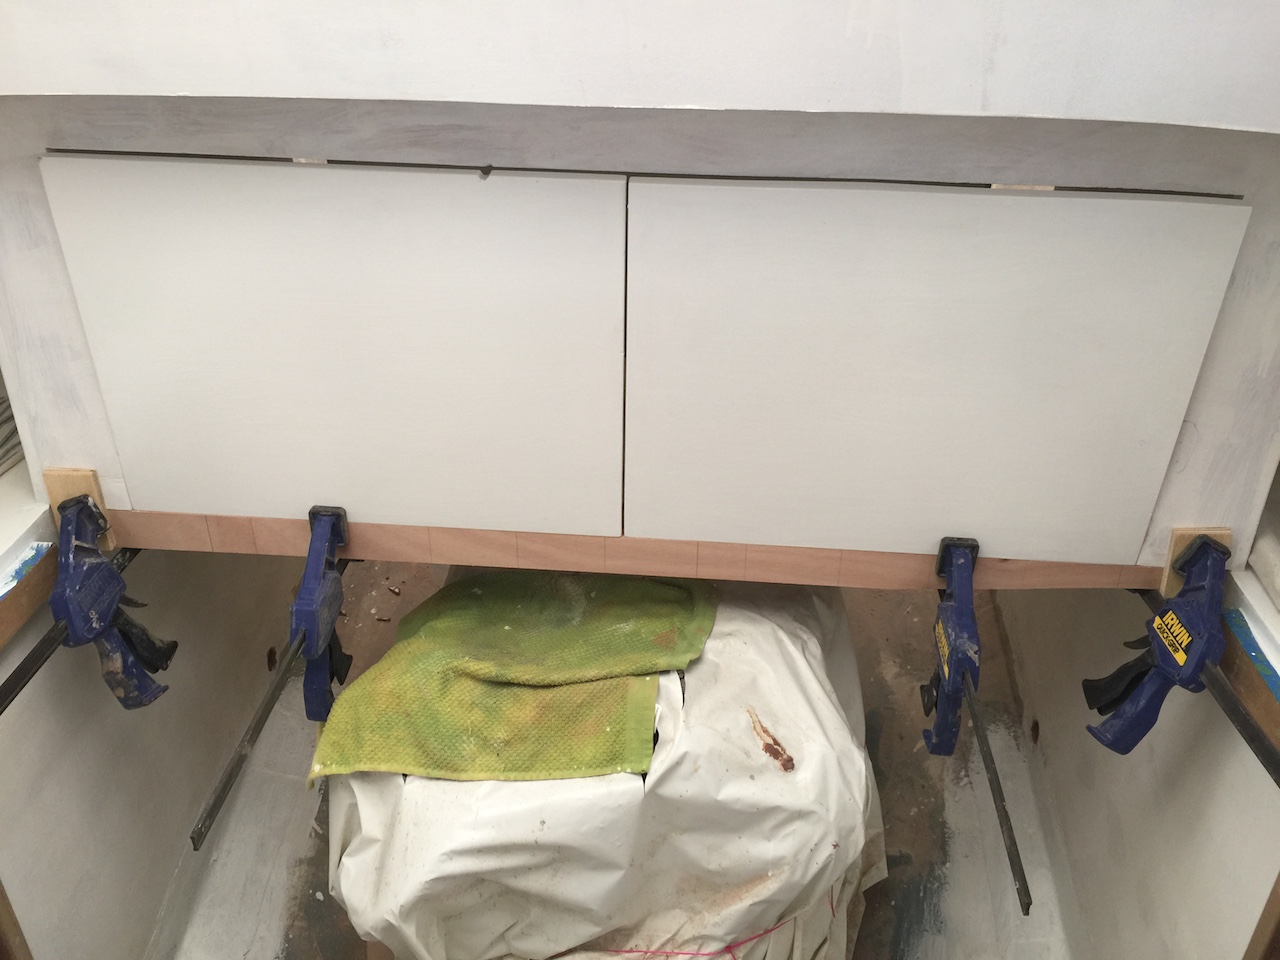
Here I have attached the doors, using undersized screws. I will use larger screws in the final installation.
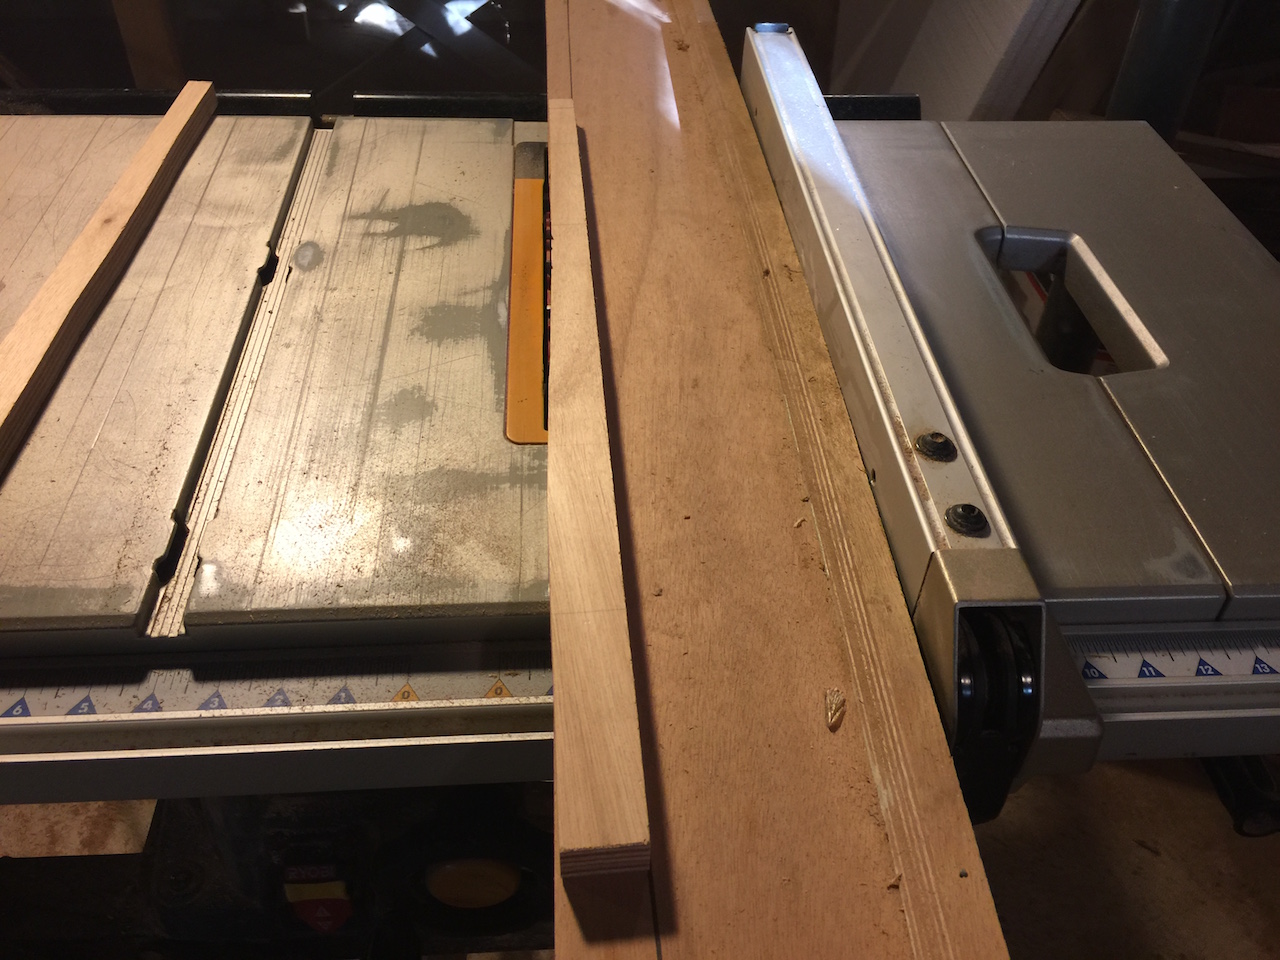
I decided that I would instal trim on three sides of these doors, leaving the hinge side without trim. I’ve explained the procedure of making lap-jointed trim several times previously, so here I will include only photos.
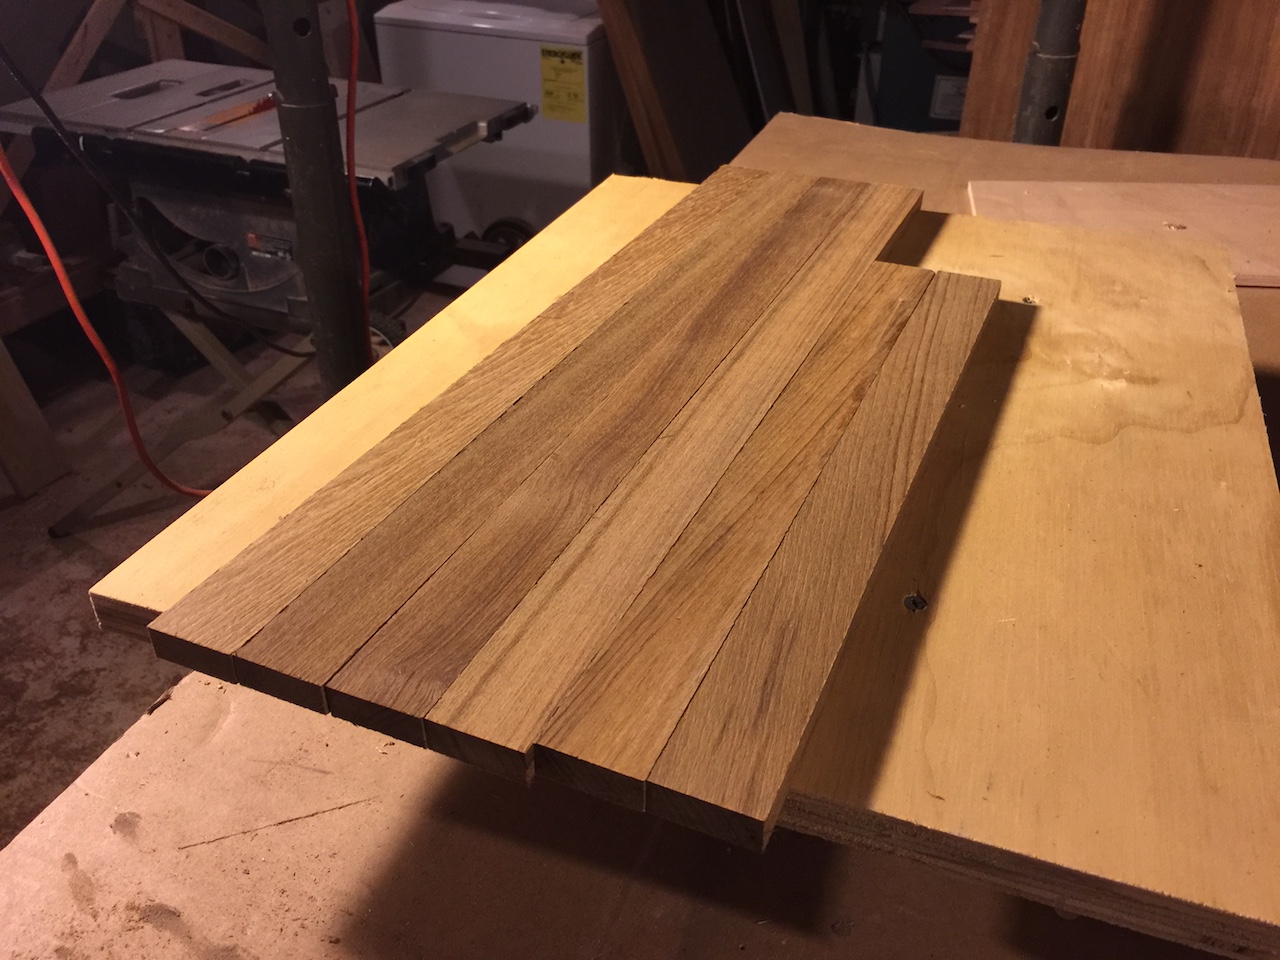
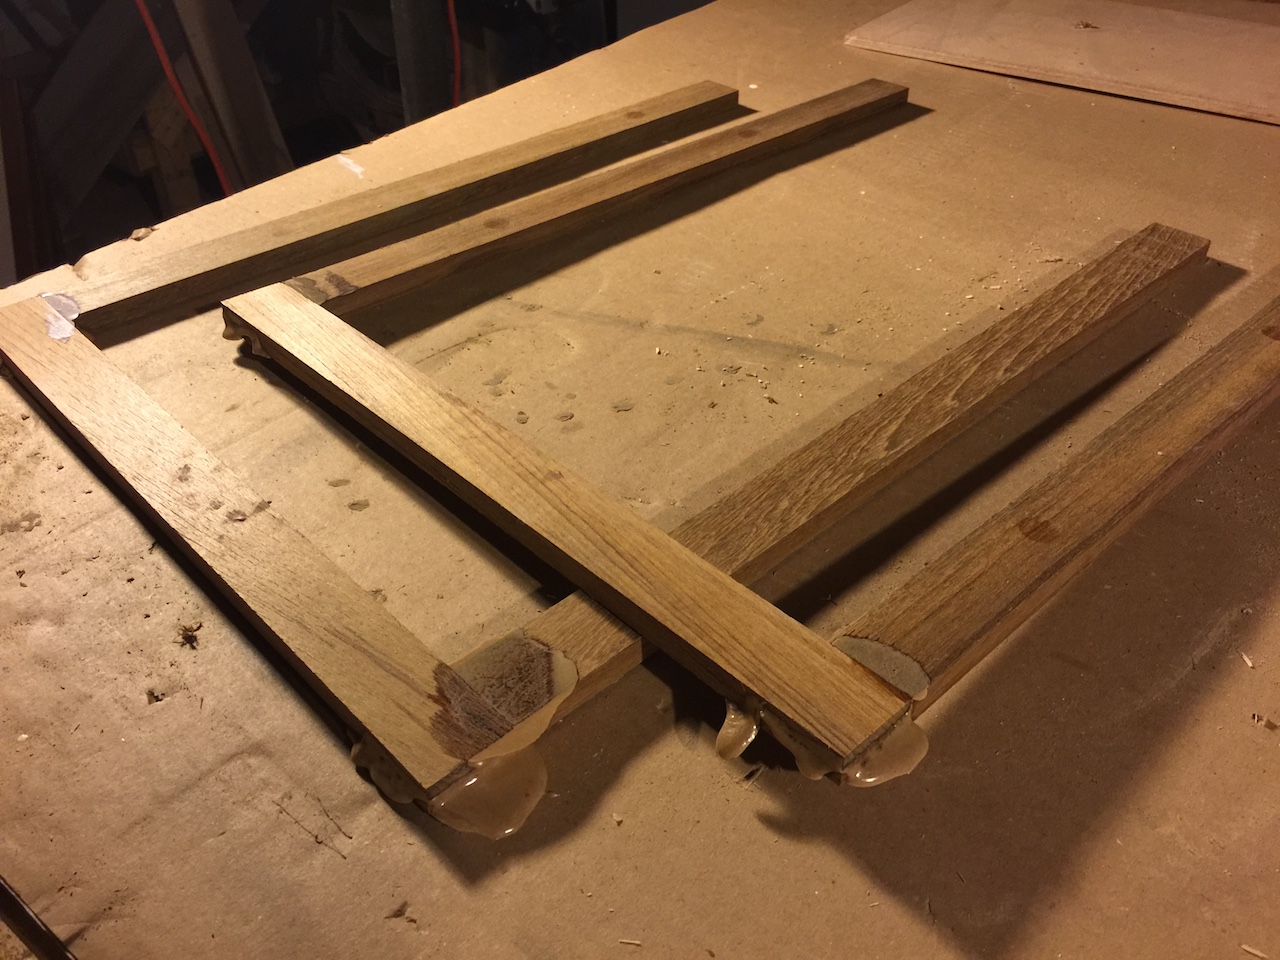
There next steps will be to sand the trim pieces, varnish, and attach to the doors.