11/26/17: Companionway Ladder
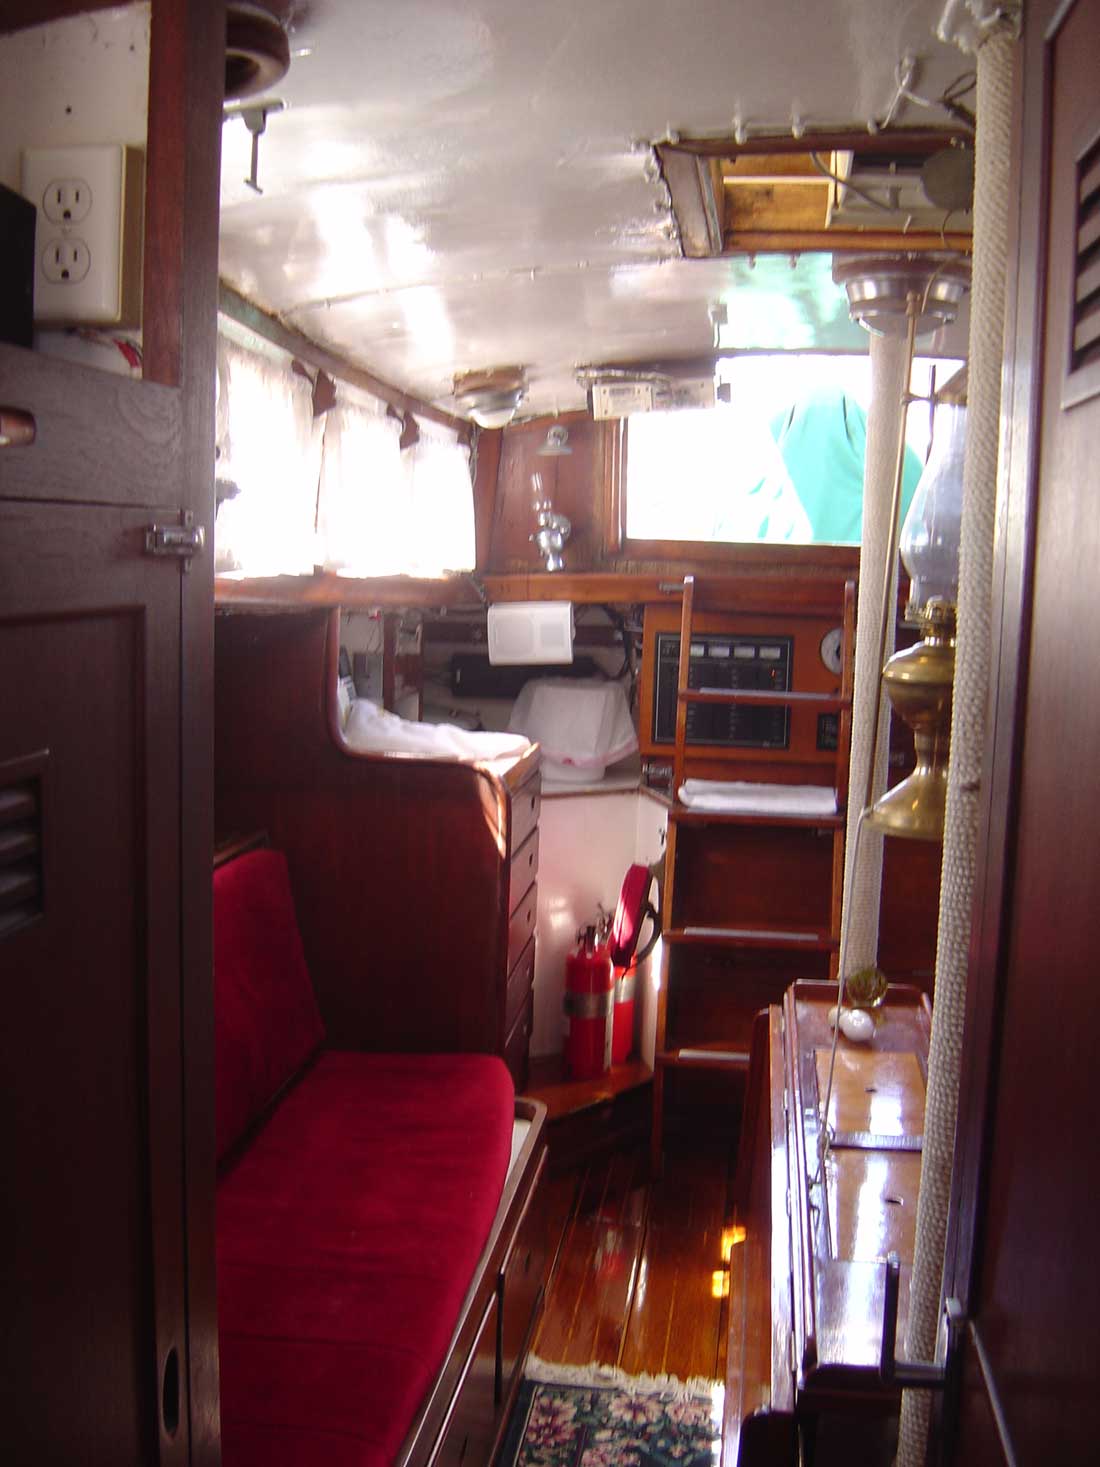
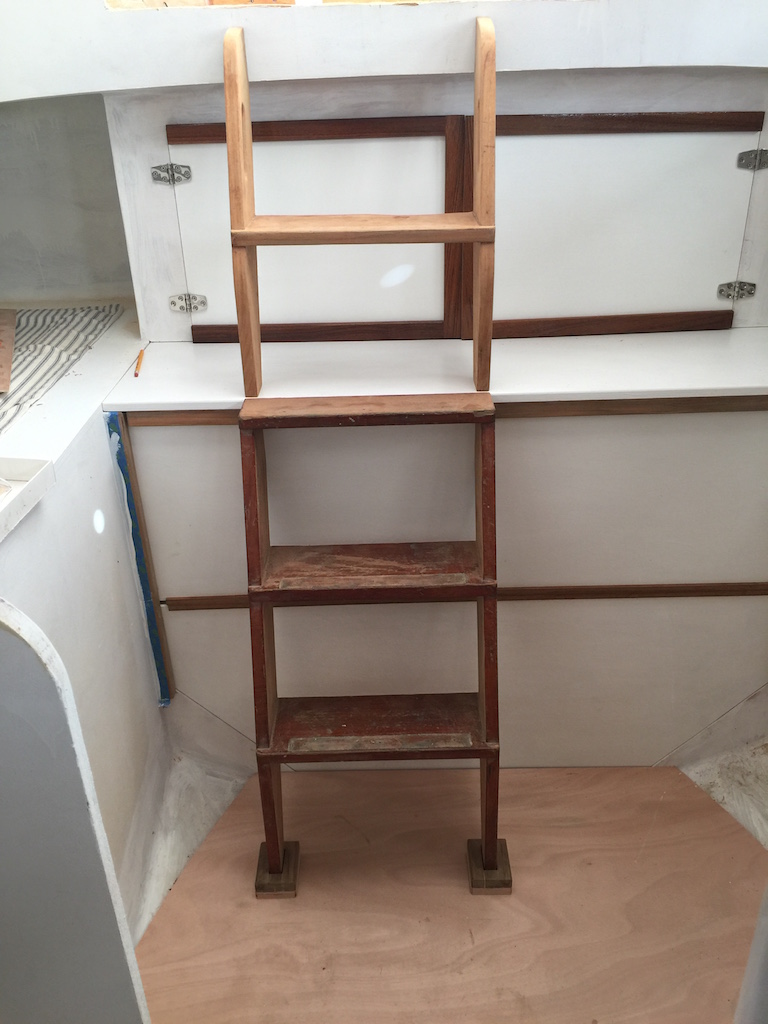
The old photo above is the only one I could find that shows the original companionway ladder, which I have begun restoring and modifying to fit the current layout. The ladder consists of two pieces:
(1) The upper part, which has handholds and one step. The upper part sits on the engine-compartment shelf (the shelf) and the top is attached just below the companion way molding (which does not exist yet).
(2) The bottom part has three steps, and sits on the cabin sole. The top is attached to the front of the engine-compartment enclosure.
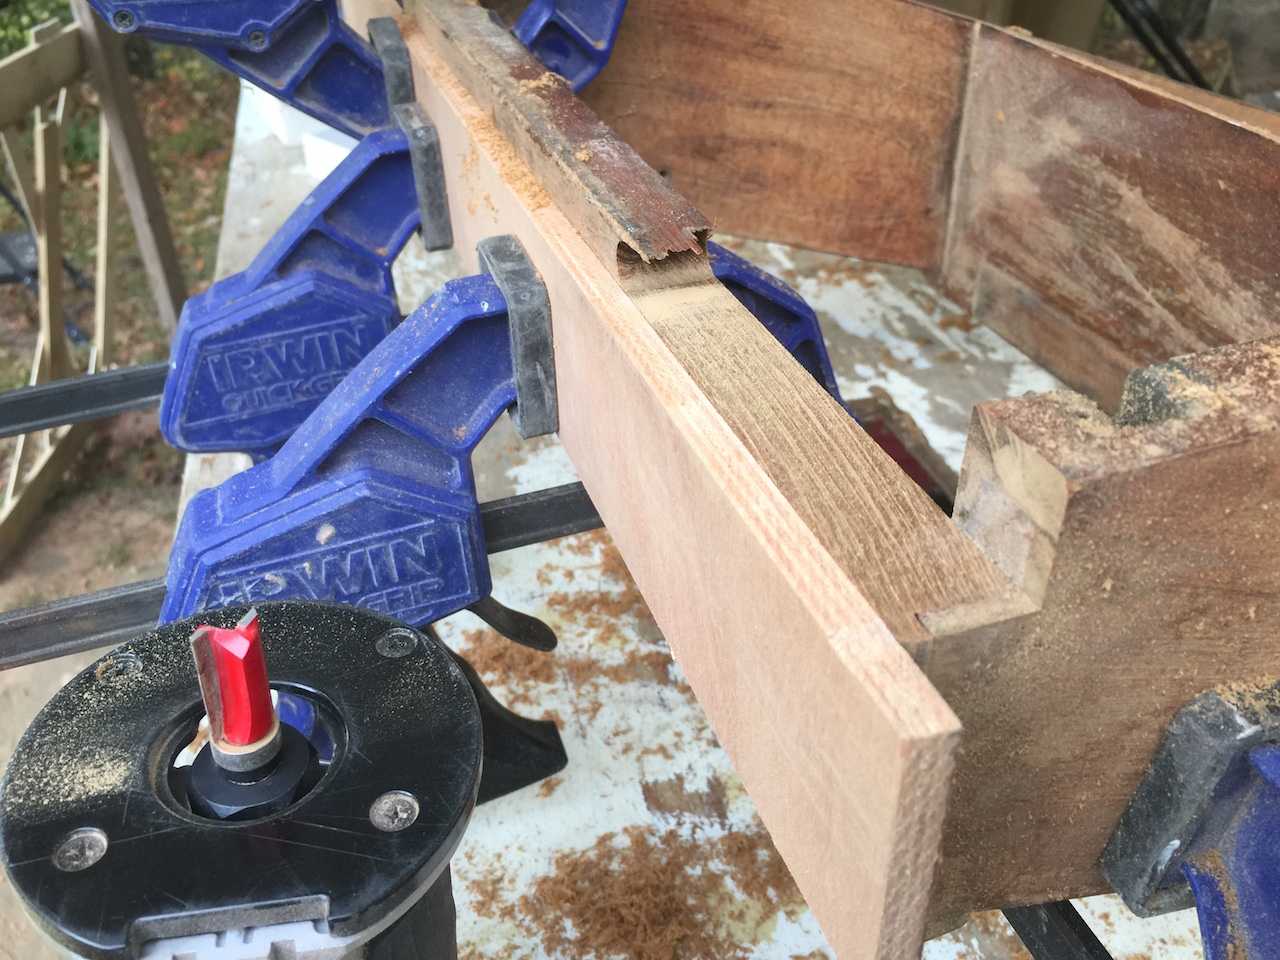
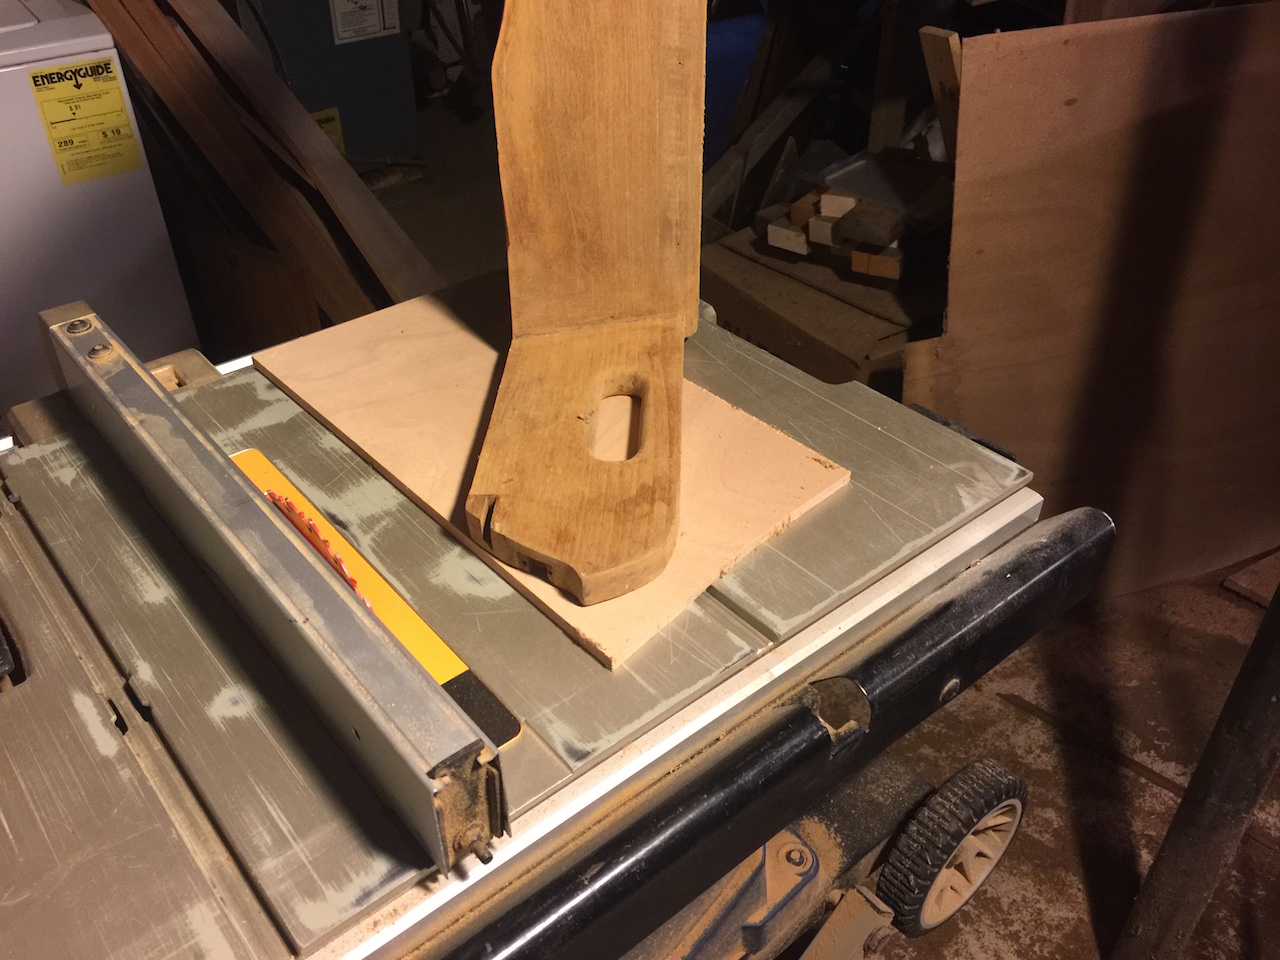
Below I am using the router to shave away about 1/2 inch of the top step of the bottom part.
It is crucial that the companionway ladder be strongly immobilized. Crew must use the ladder during any sea conditions or any angles of heel. The ladder must also be easily disassembled and reassembled. Originally, the bottom ends of the two parts were immobilized with barrel bolts (installed vertically) that latched into holes in the cabin sole and the shelf.
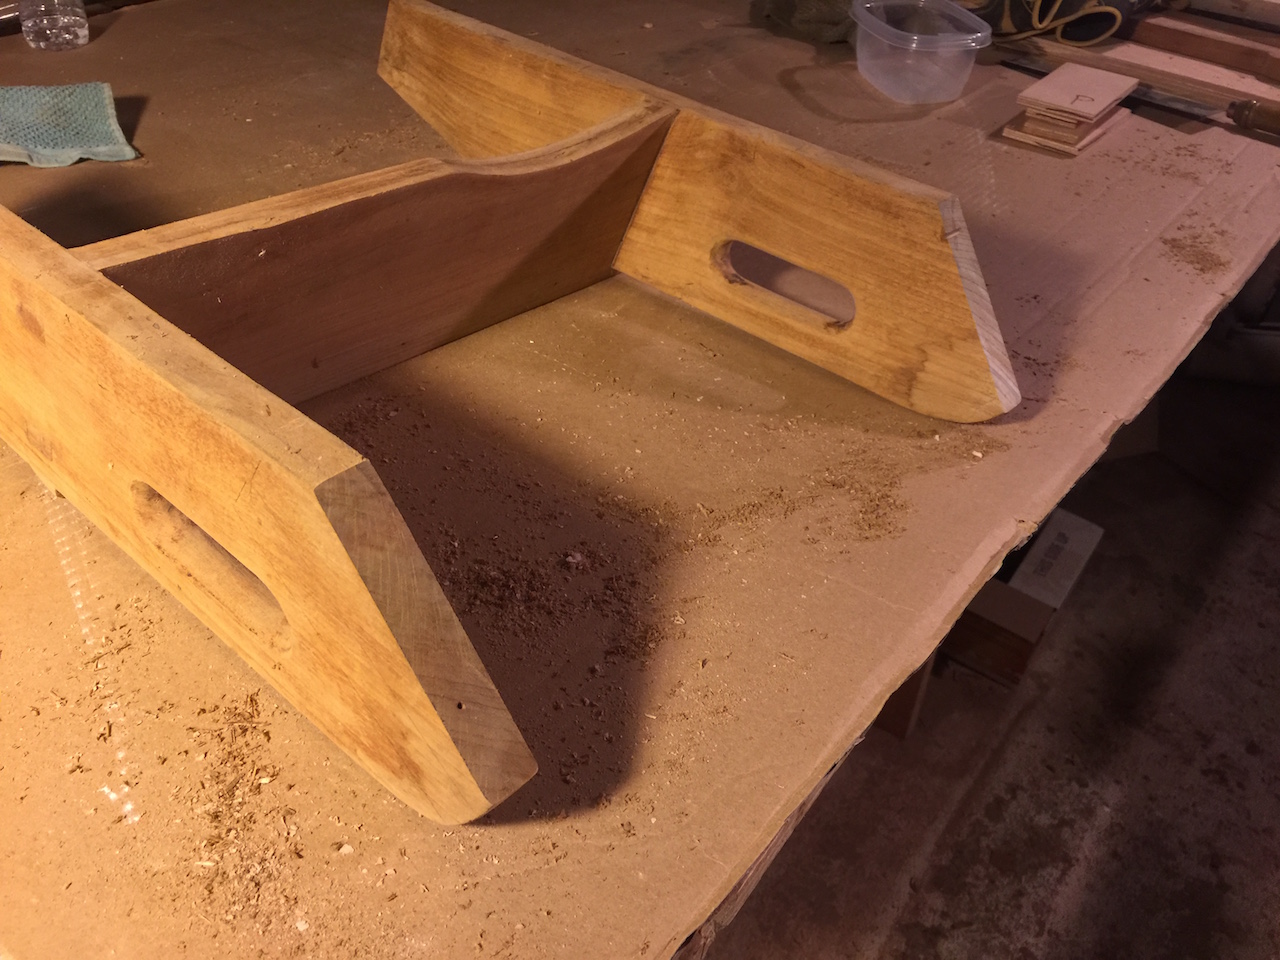
While the barrel-bolt solution was good, I needed to add about 3/4 inch of height to the lower part, so that the top step is flush with the shelf. After some measurements and trial and error, I settled on using 3/4-inch plywood to get the height, and teak blocks to immobilize the bottom of the lower part. The following photo shows a dry fit.

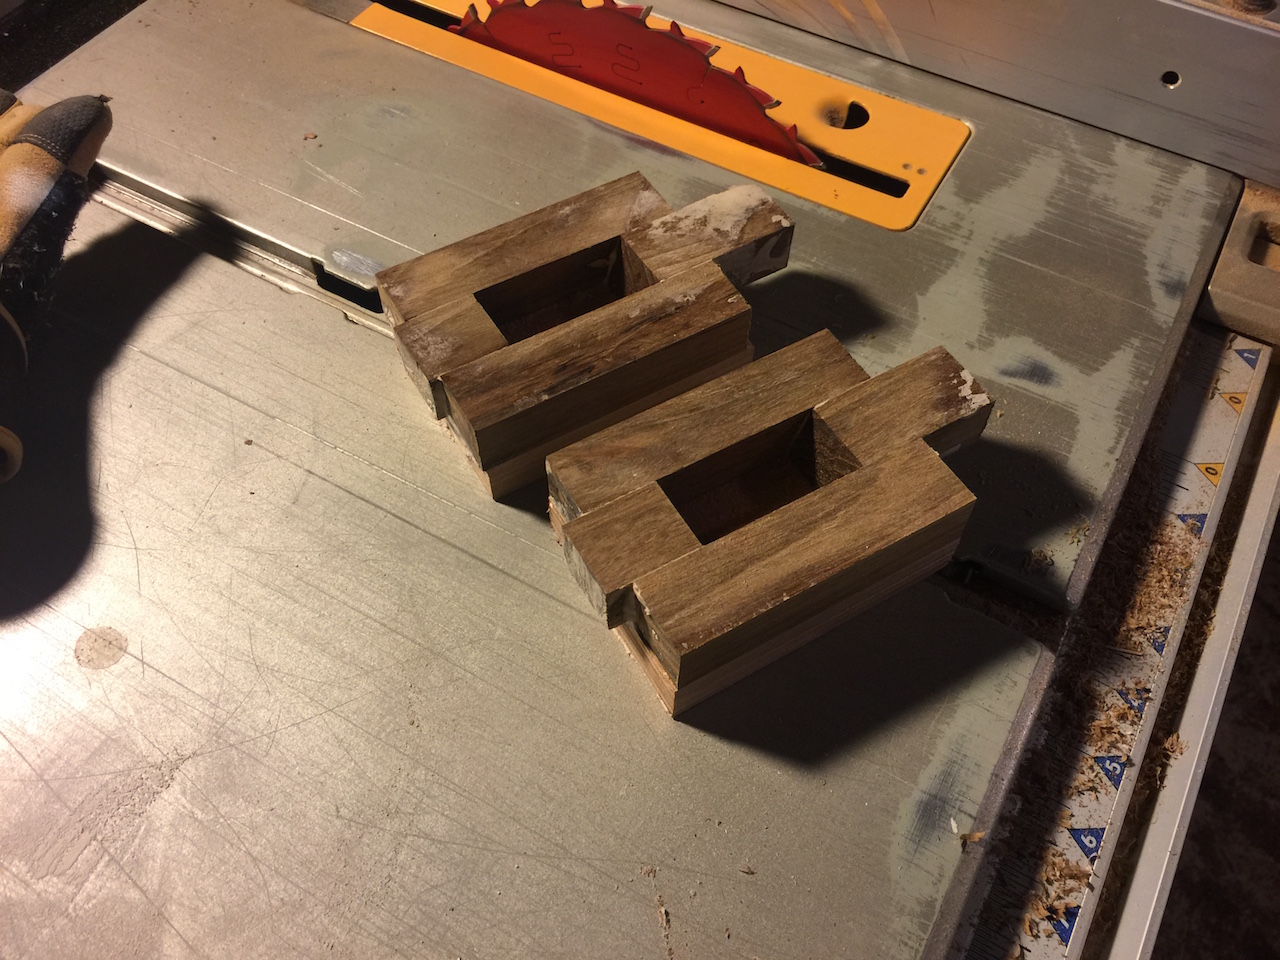
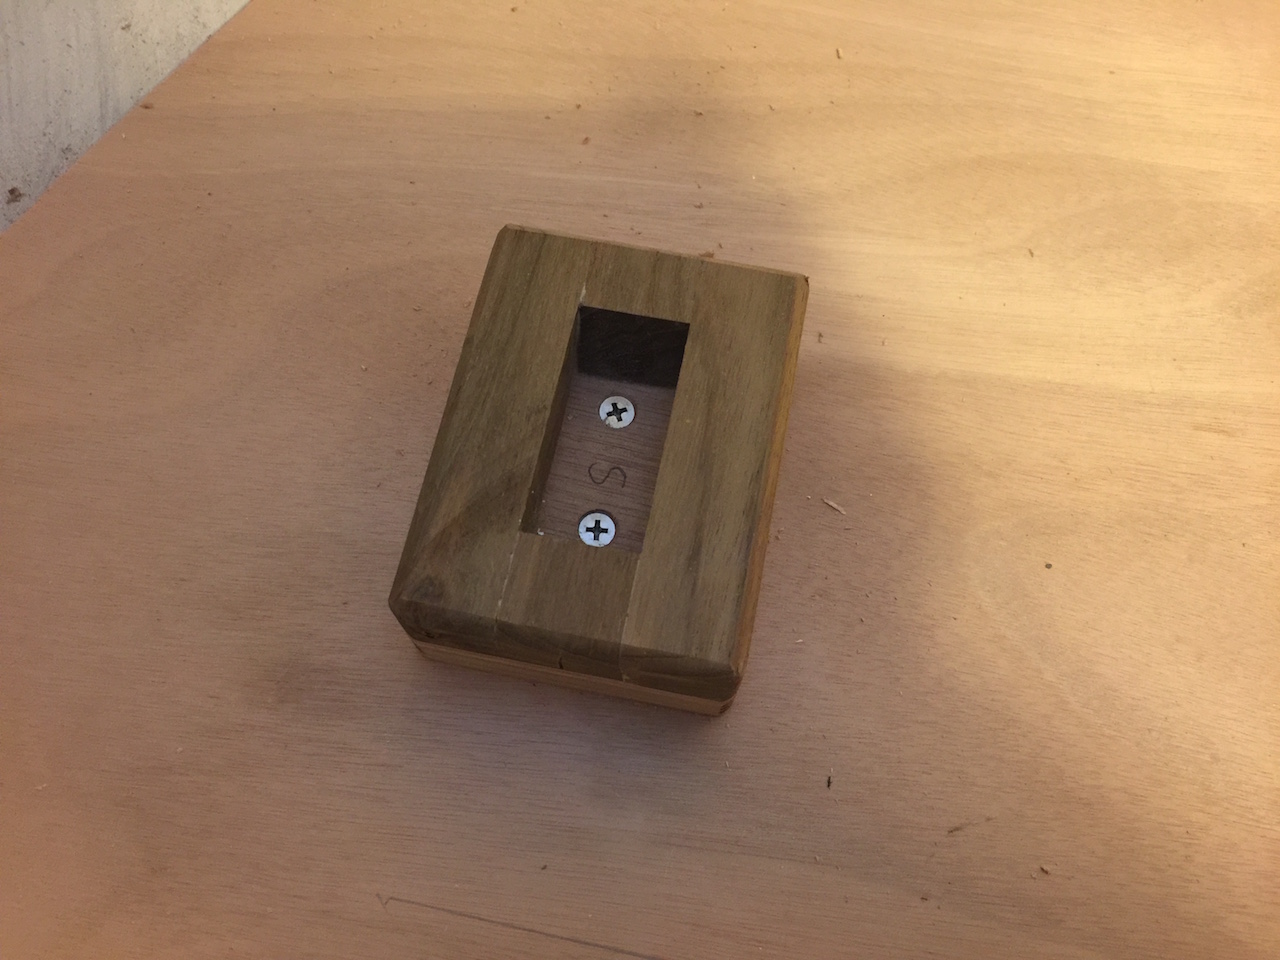
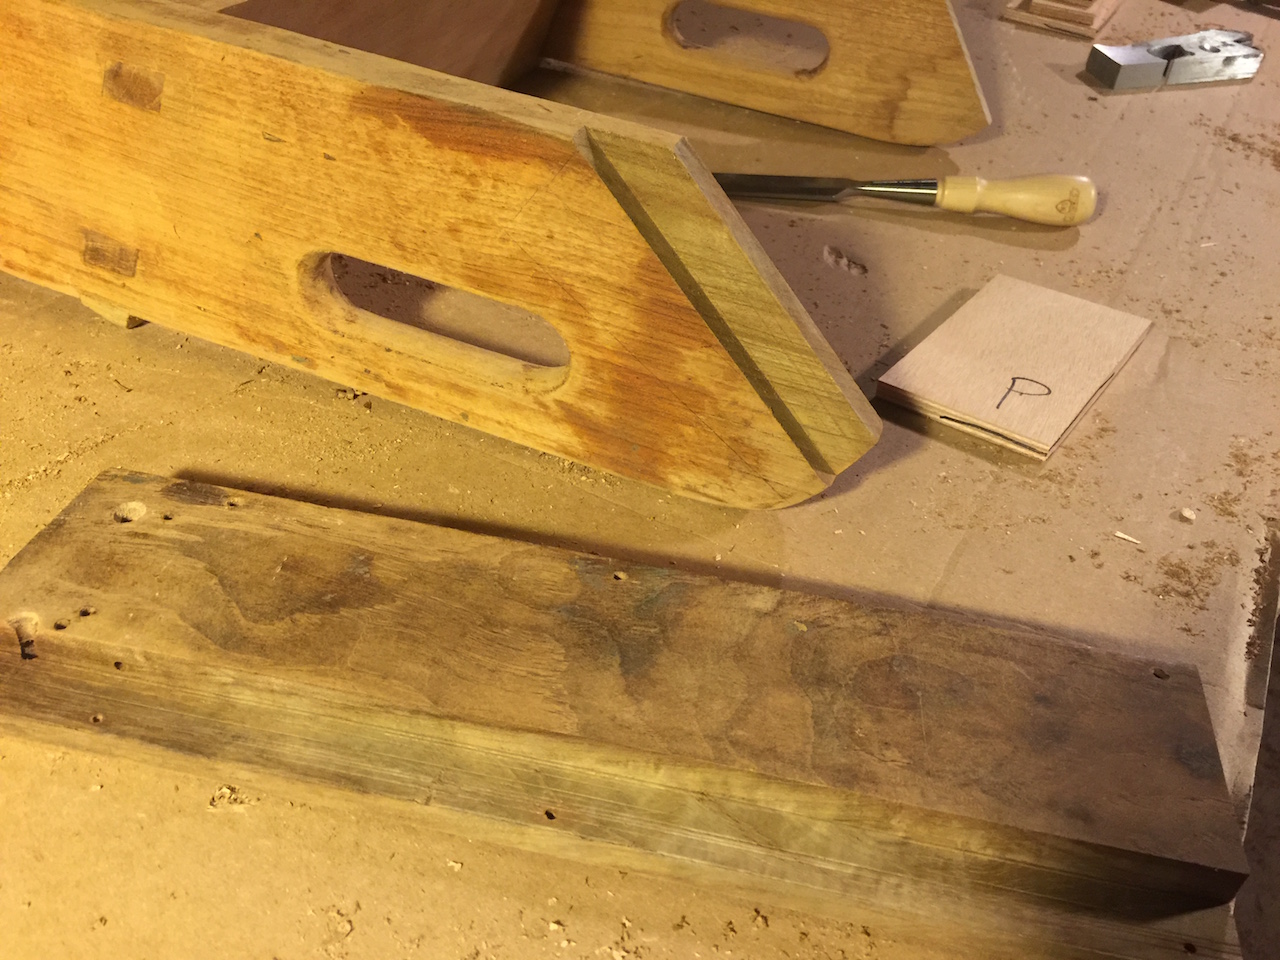
In the next photo I’ve glued and screwed (from the bottom side) the teak pieces to each other and the plywood.
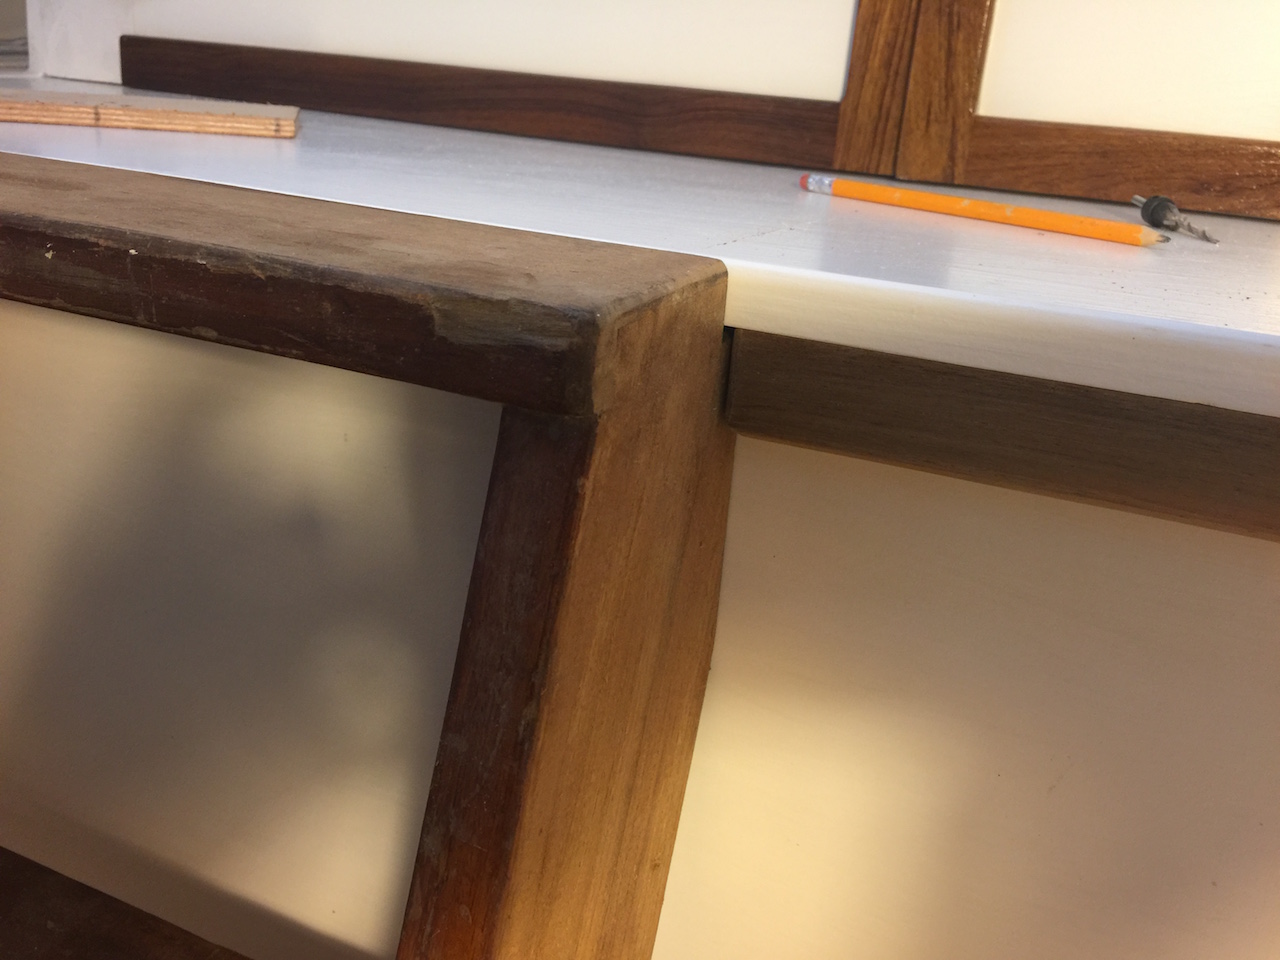
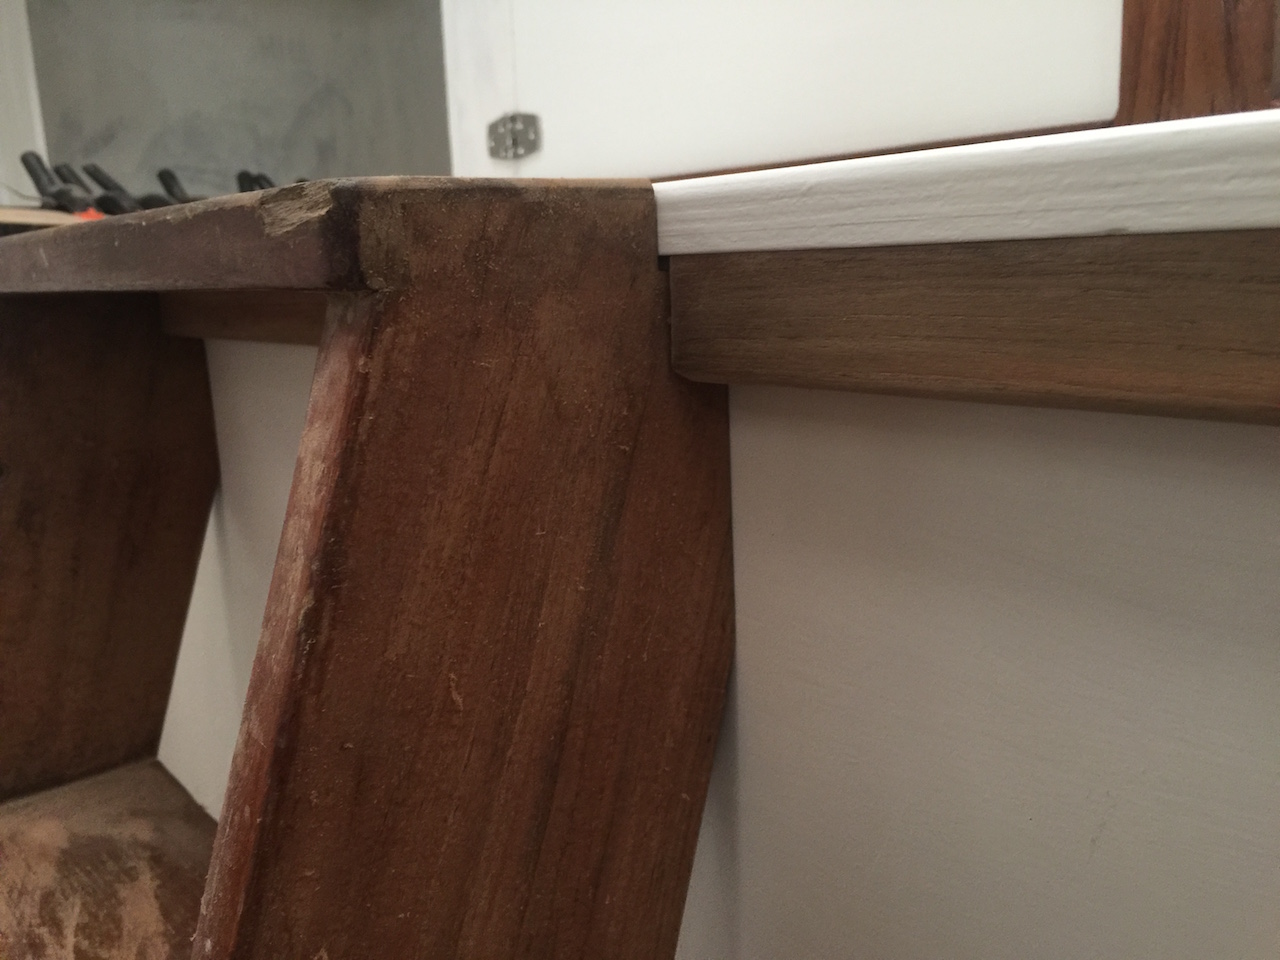
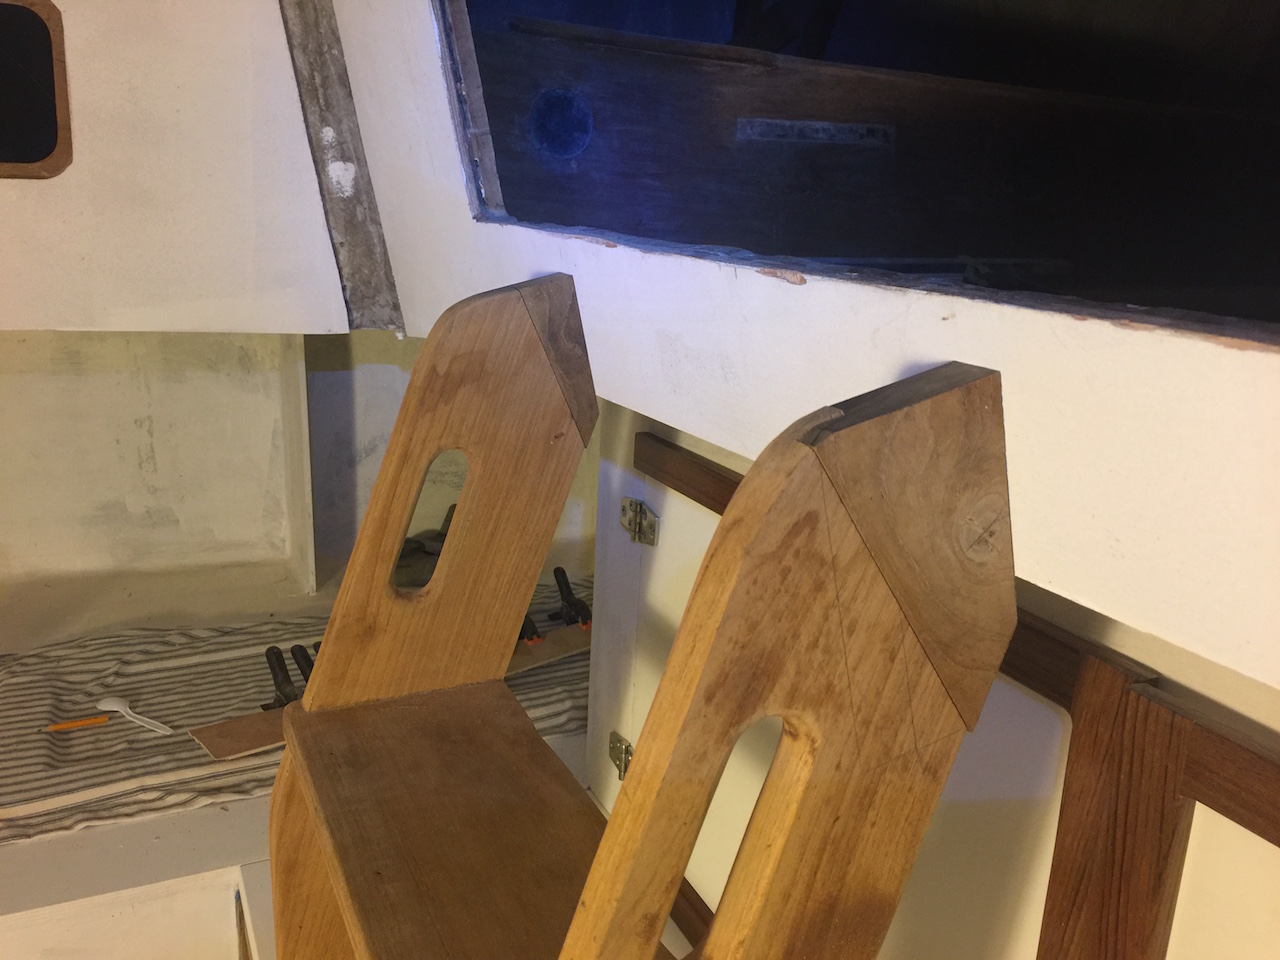
The next two photos show the semi-finished product, which still needs varnish (for the teak) and paint (for the plywood).
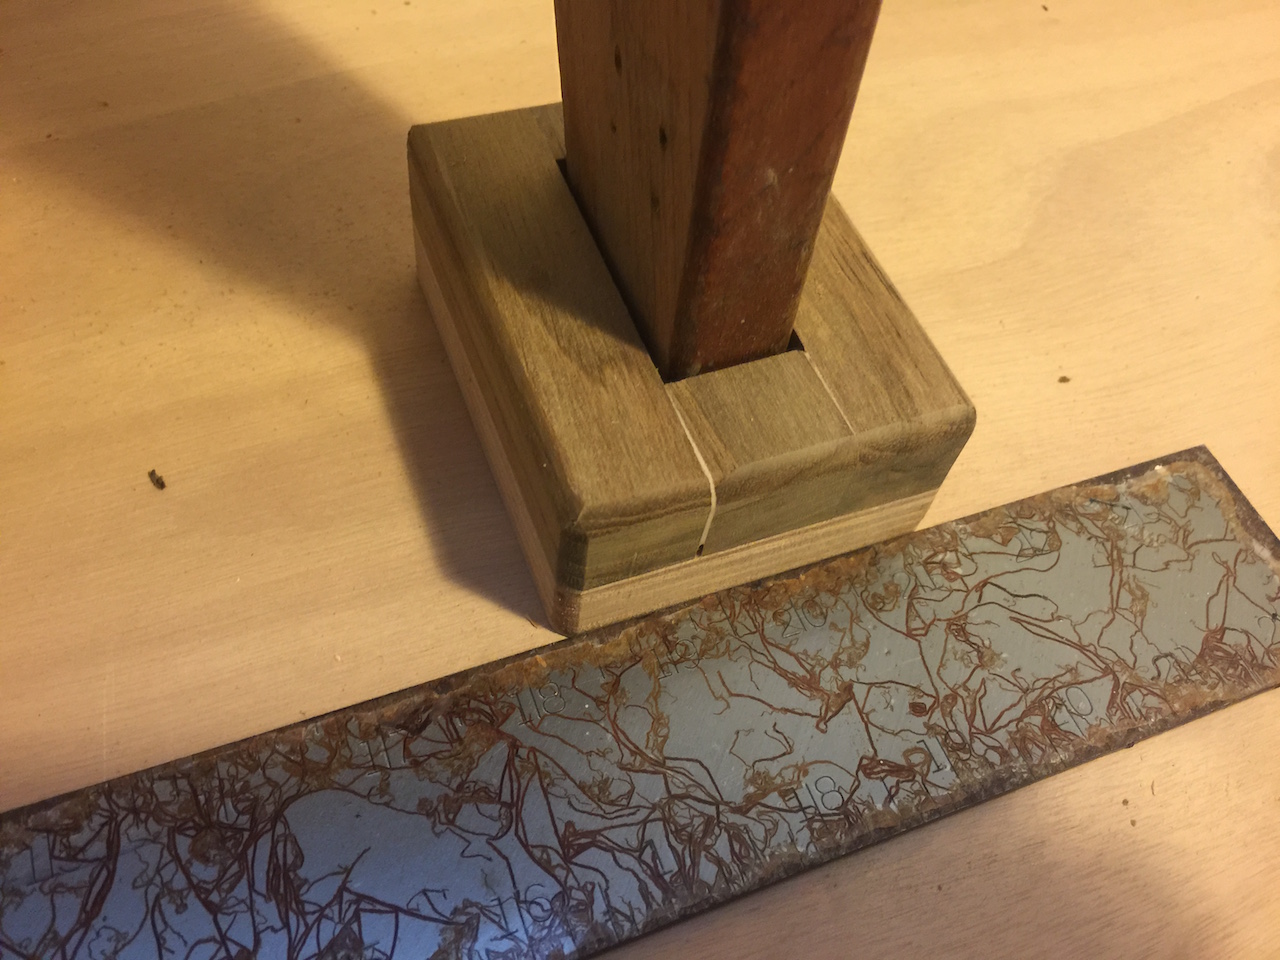
The top end notches into teak rails on the underside of the shelf, and the top step is flush with the top of the shelf.
The upper part of the ladder used to lean against a curved teak molding, so I had to make some changes. I began by removing the slender, horizontal cross piece near the top.
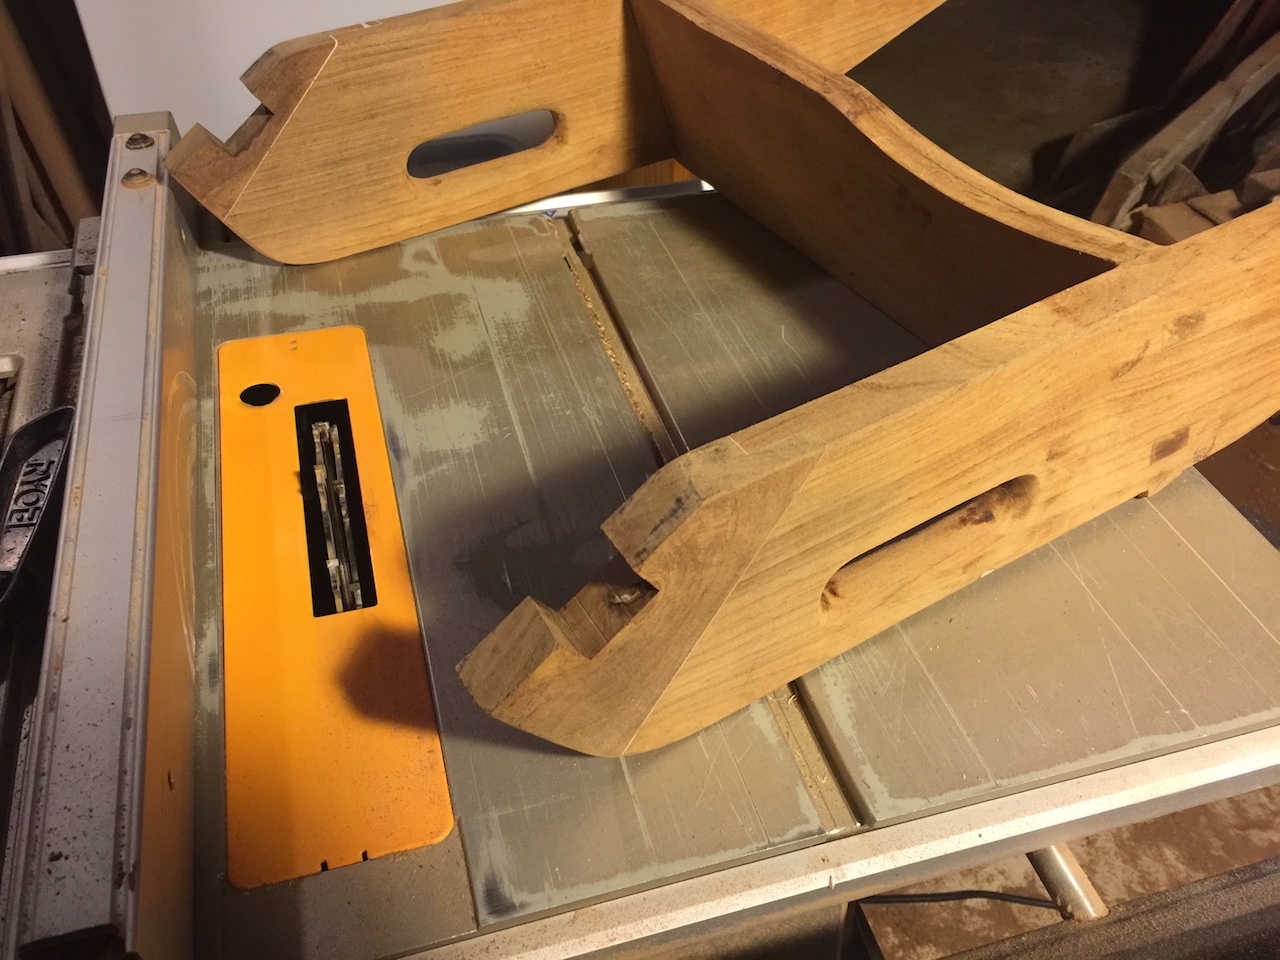
Next, I made straight cuts to remove the curved parts.
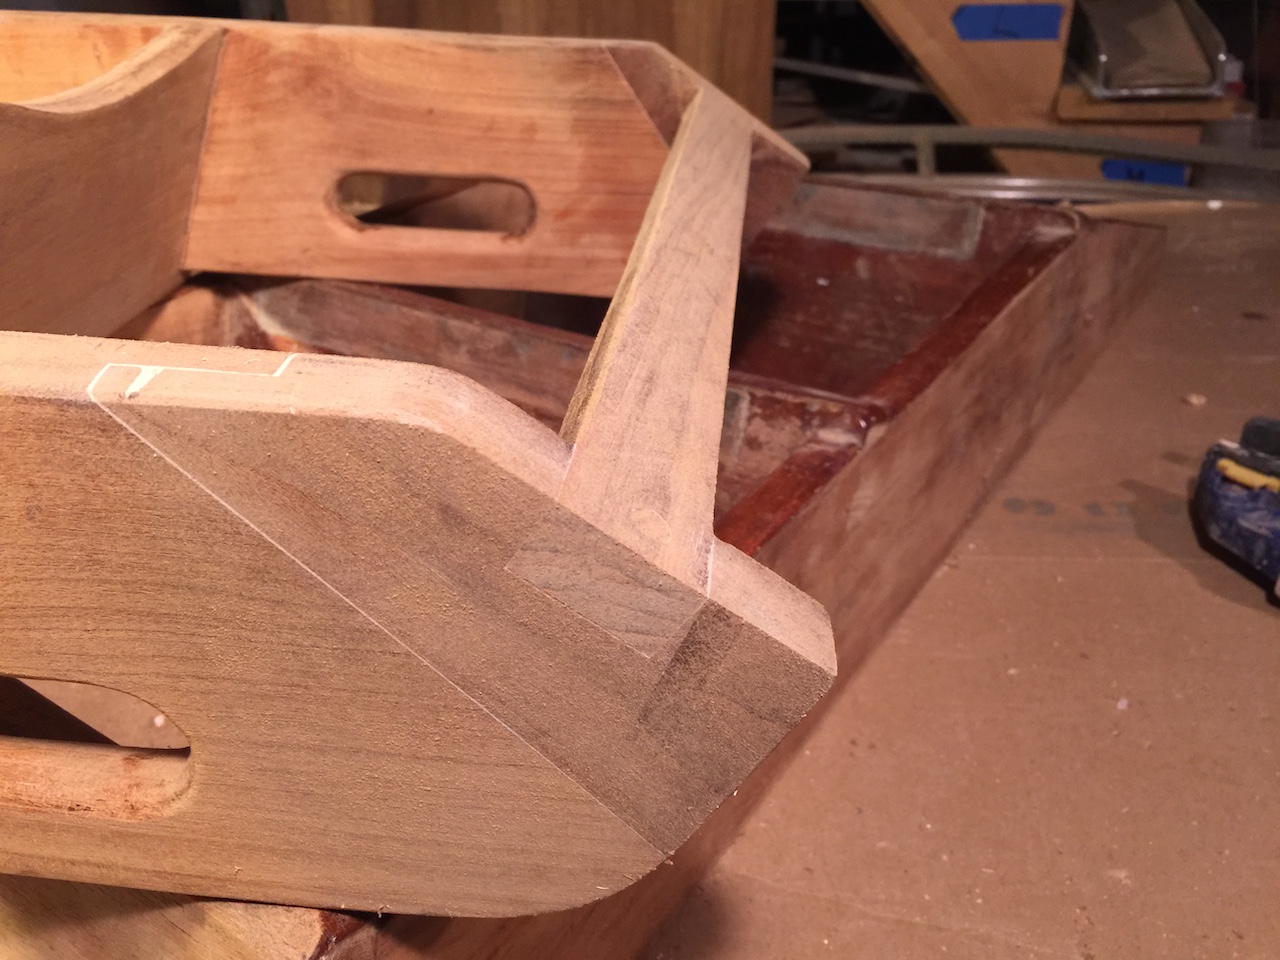
After doing some careful measuring and marking, I used the dado set to make the appropriate rabbets, into which other rabbeted pieces will fit.

I repurposed some old teak to make up the other pieces.
Here is a dry fit to check that the pieces lie flush.
And here I’ve glued everything up.
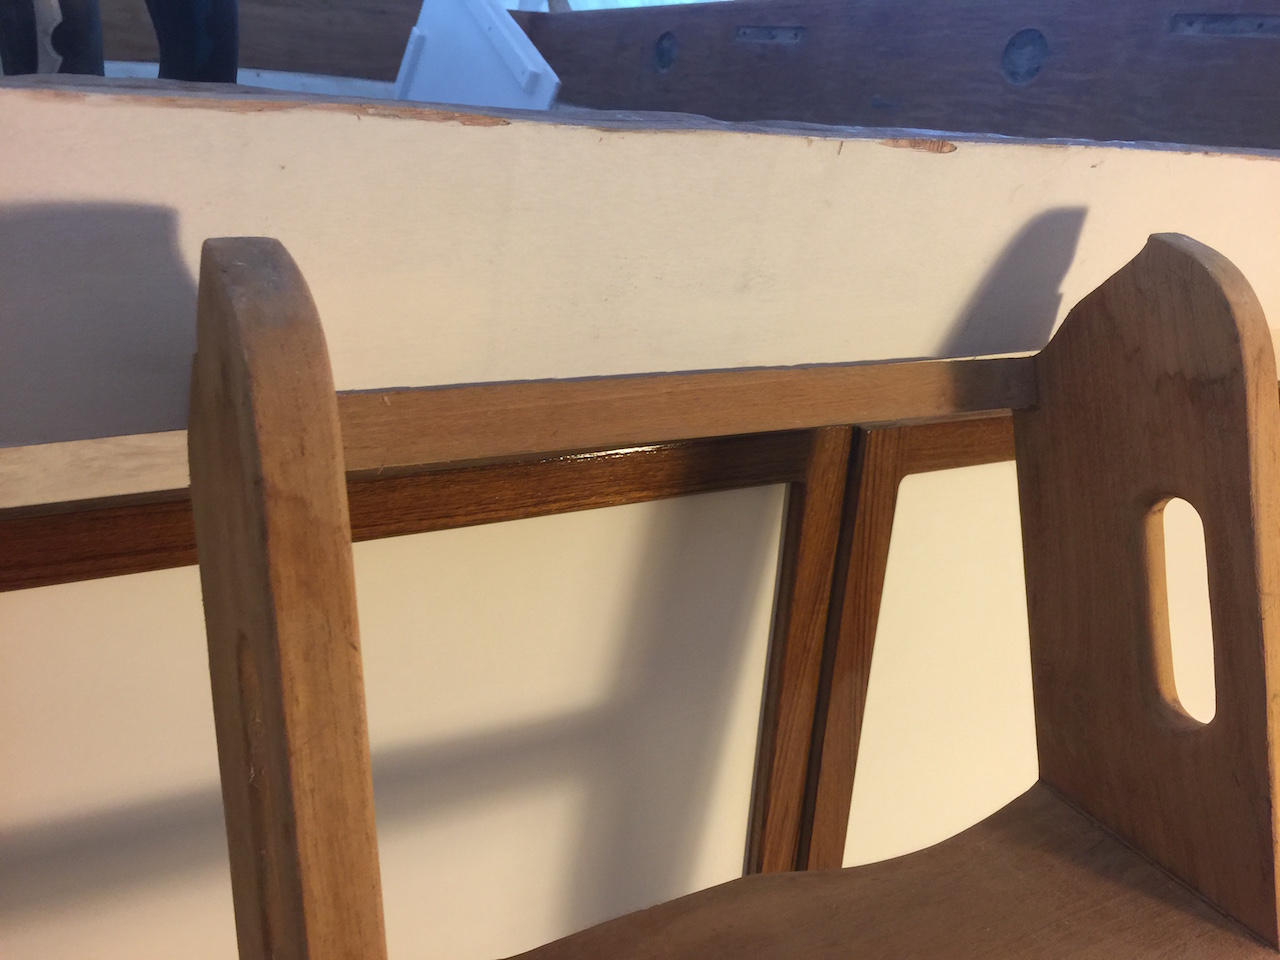
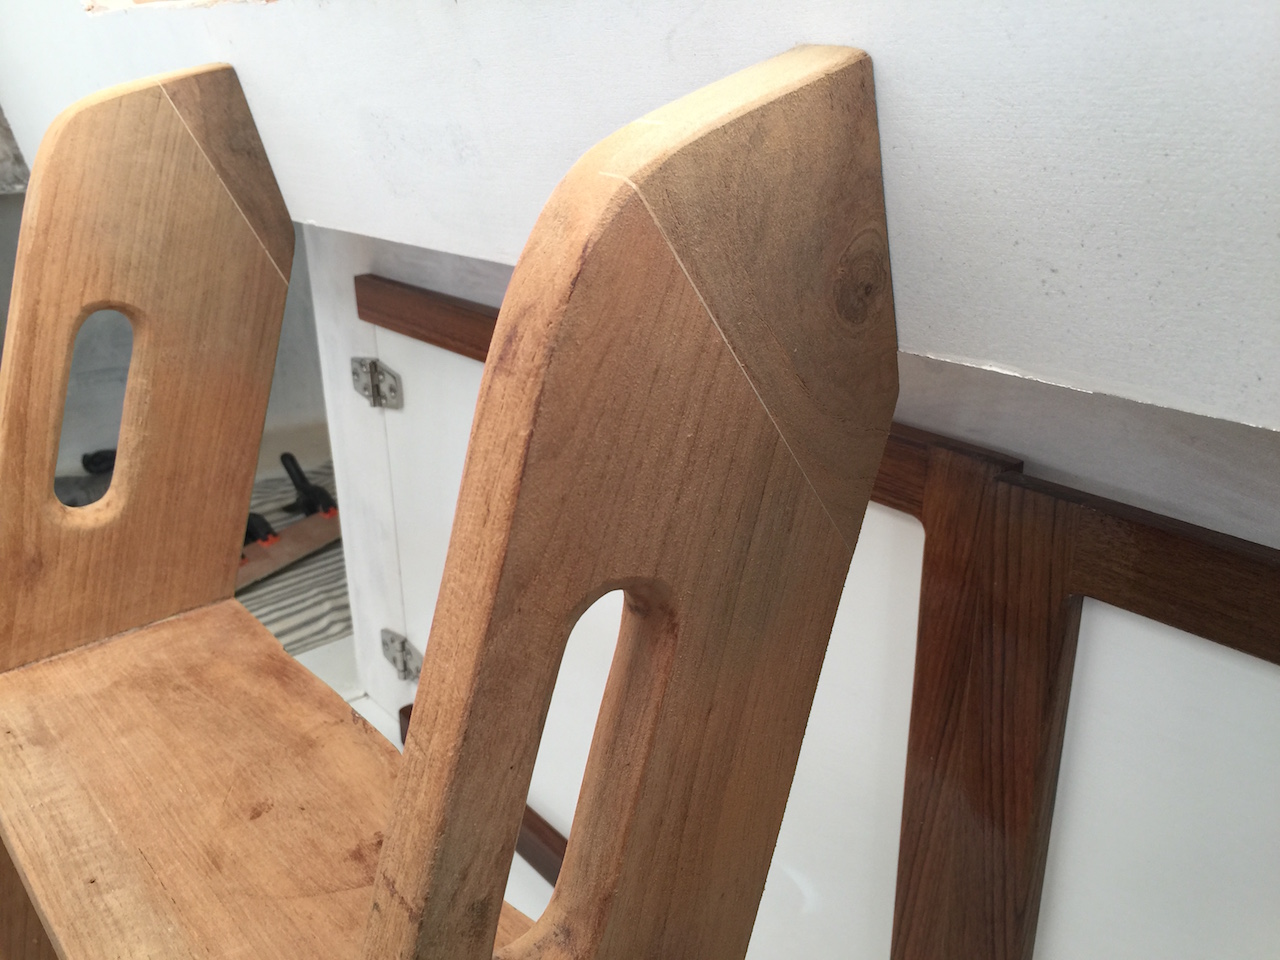
Finally, after drying and a little sanding, we have the following:
I needed to replace the slender horizontal piece I had removed earlier. Otherwise, the upper part would be a short ladder with just one step, which would be weak. Below I’ve used the dado set to make notches.
Here I’ve glued and screwed a teak rail into the notches. If you look carefully you can see the bungs that plug the countersunk screw holes.
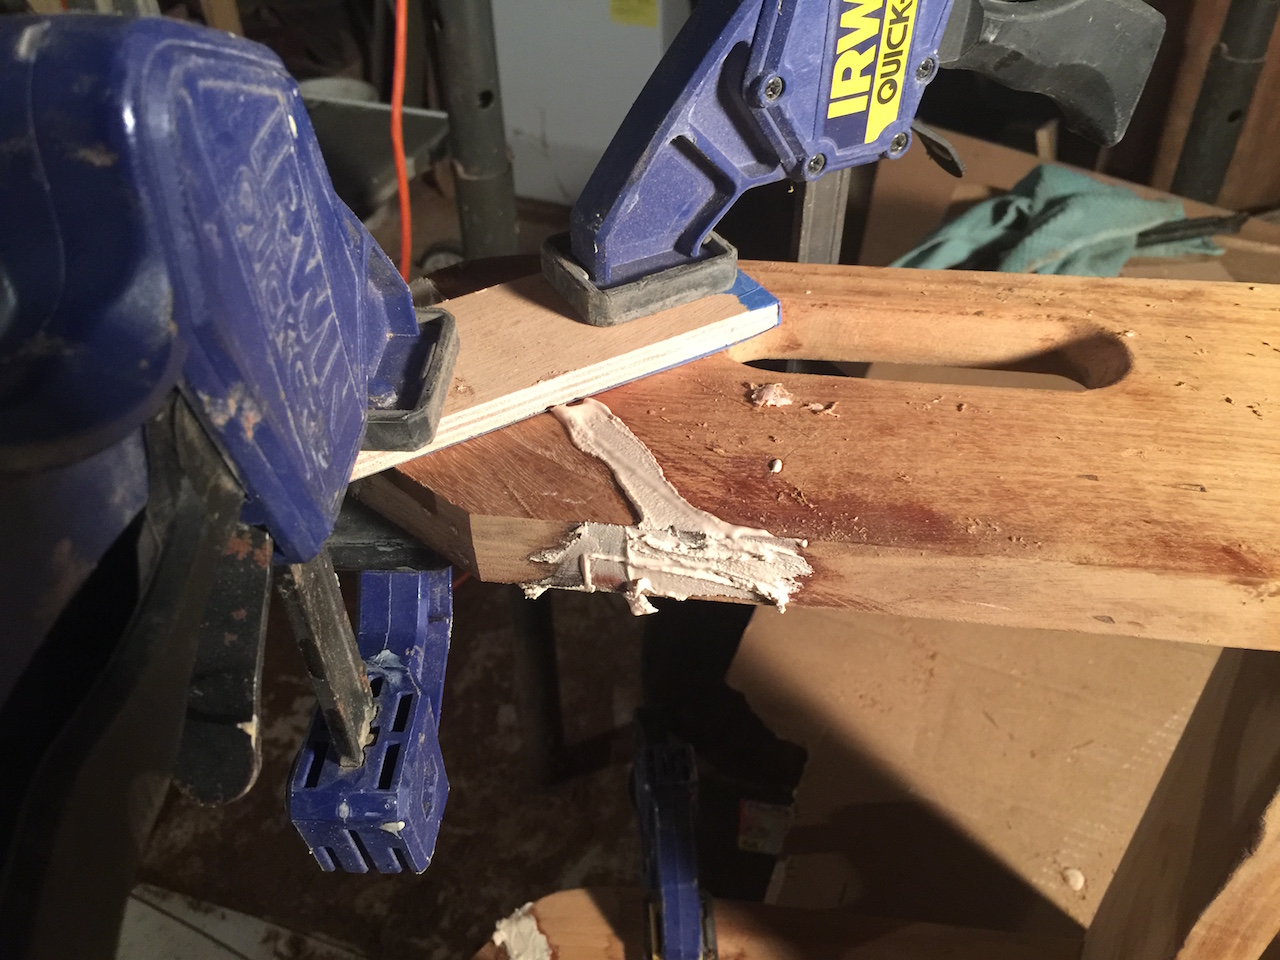
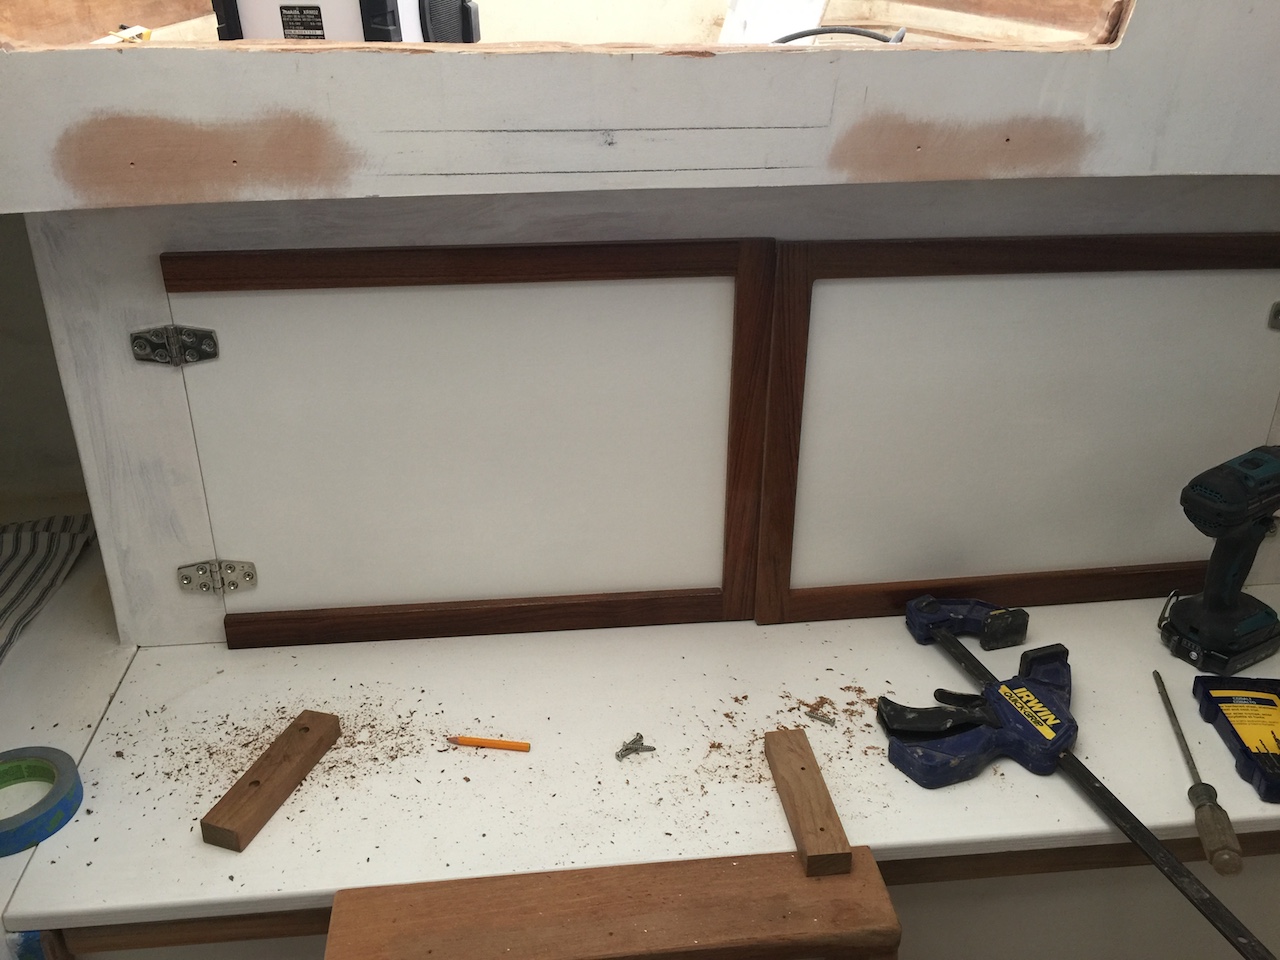
I decided to use teak blocks to immobilize the top of the upper part from athwartship motion. In the photo below I’ve clamped these blocks temporarily. While clamped, I drilled and countersunk pilot holes for the screws.

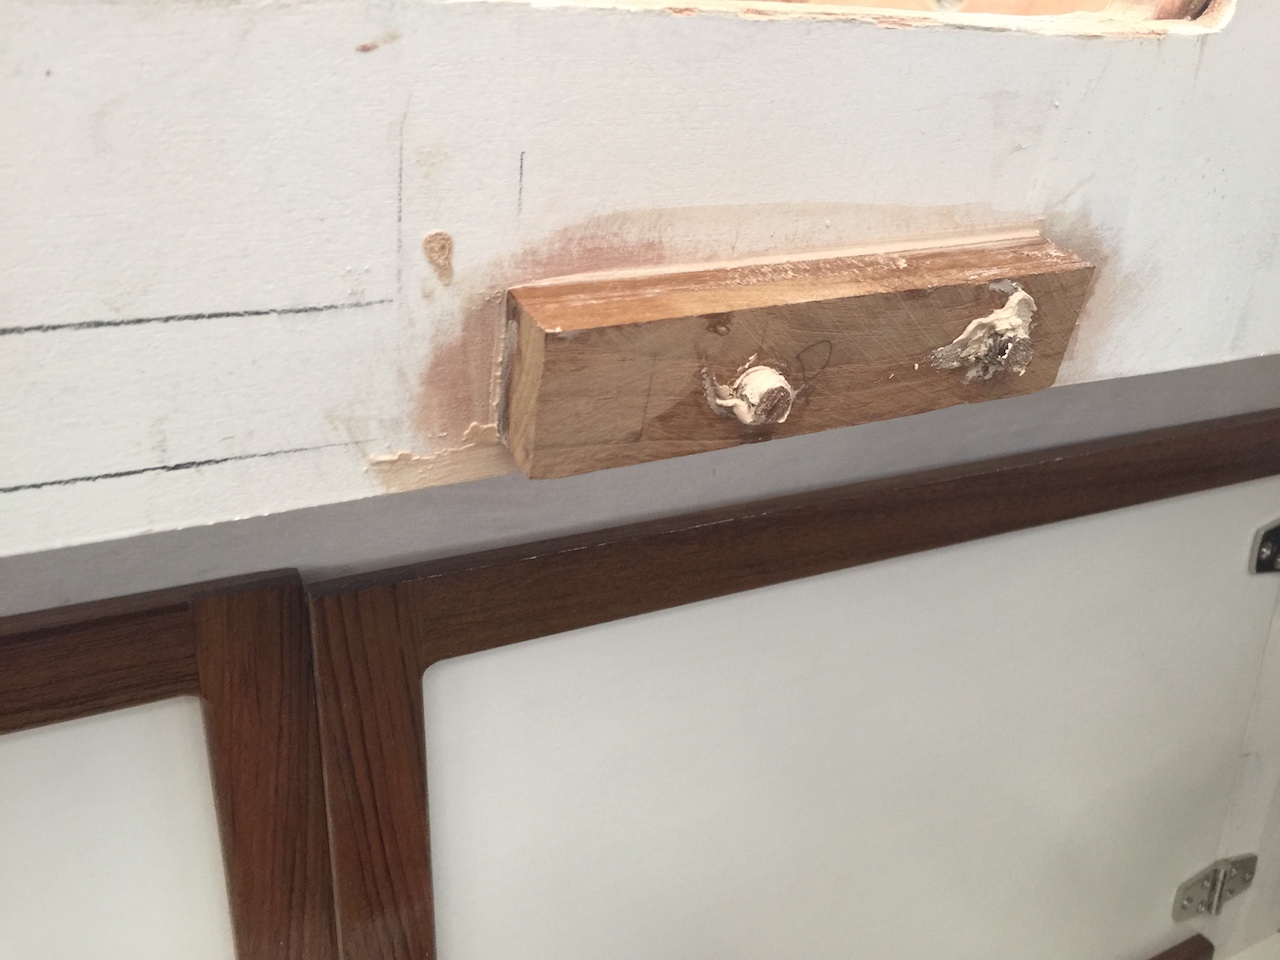
Next, I sanded off the paint where the blocks were glued.
Finally, I glued, screwed, and plugged.
Besides finish work (sanding, varnishing, painting, non-skid), there’s a bit more work to do, most of which involves installing barrel bolts and/or latches for additional immobilization of various parts of the ladder.