6/17/18: Toe Rail, Cap Rail
The diagram below is a marked-up version of the original deck layout plan. In July 2015, I removed the cap rail so that I could inspect some of the toe rail bolts. You can review that work HERE and HERE.
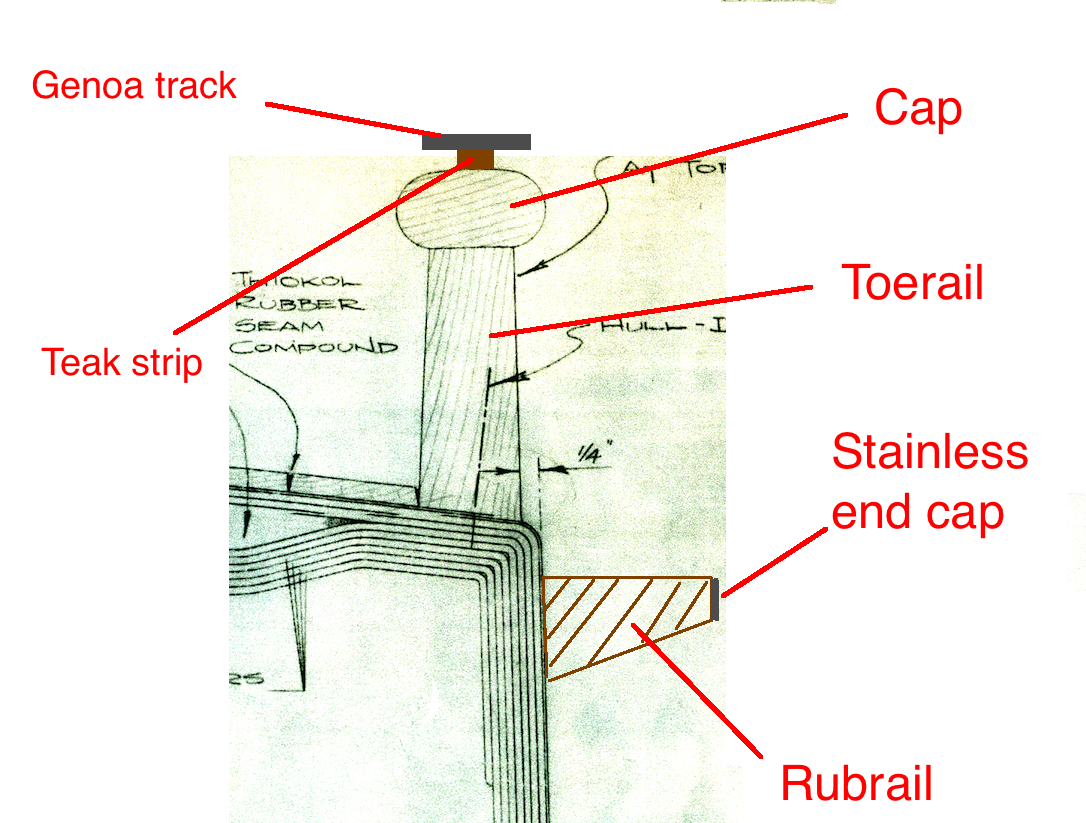
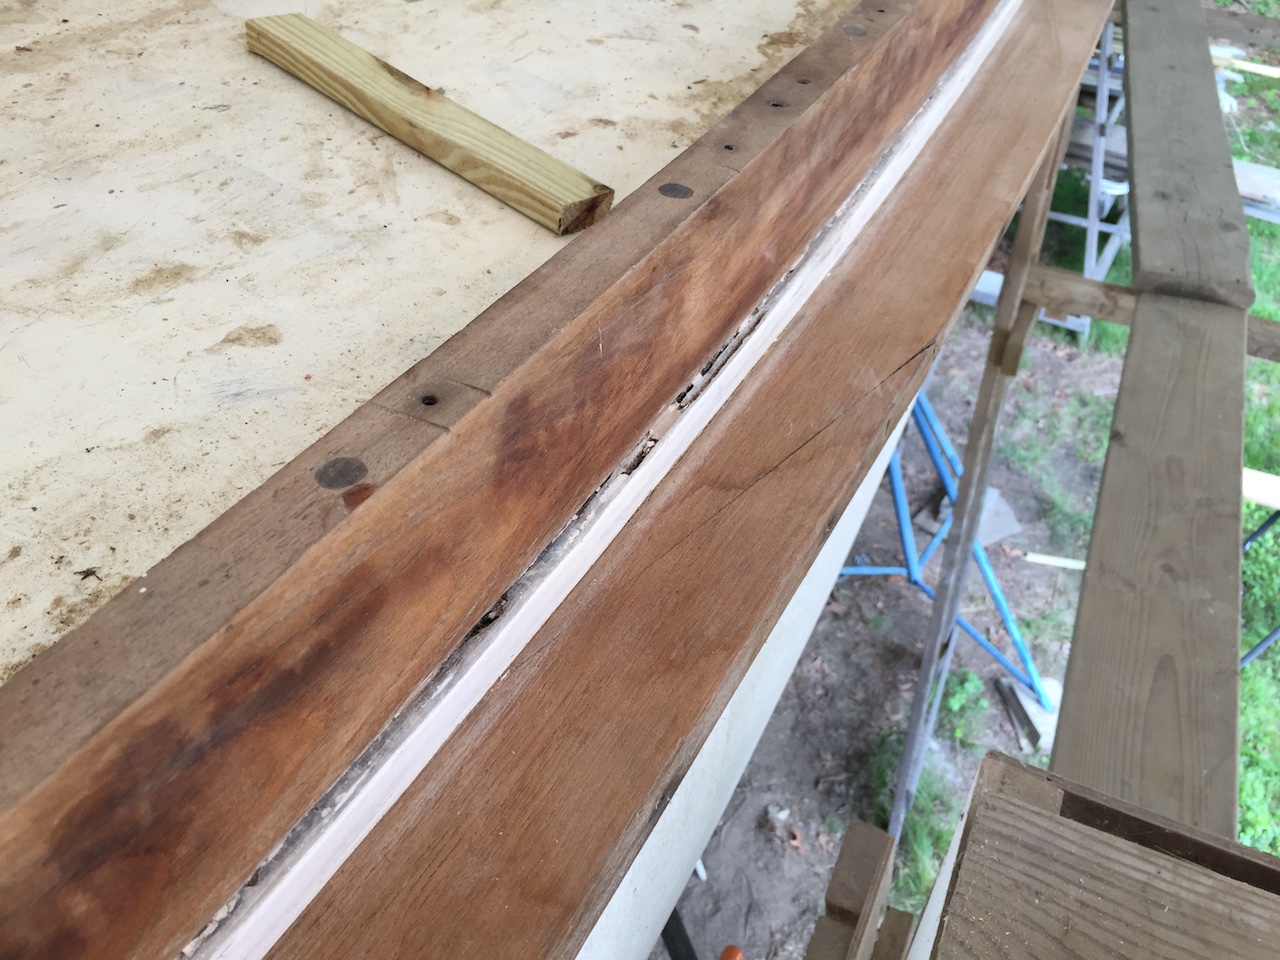
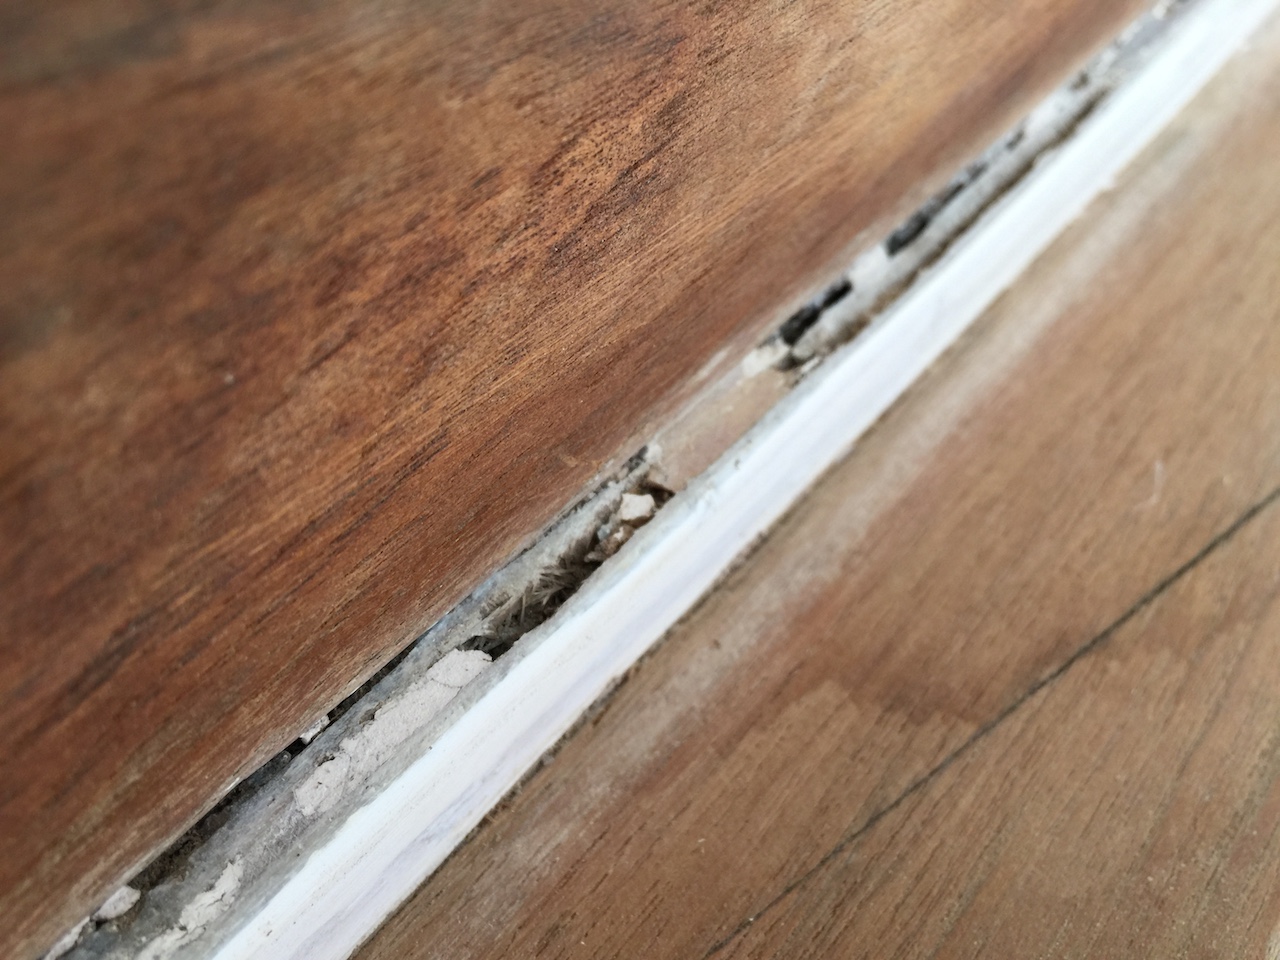
This summer I will replace the cap rail and address a few related issues. The image below shows where there are voids in the layup at the outside corner of the hull-deck joint. The structural integrity of the hull-deck joint relies primarily on the layup inside the hull, so my repairs will focus on cosmetics and leak stopping.
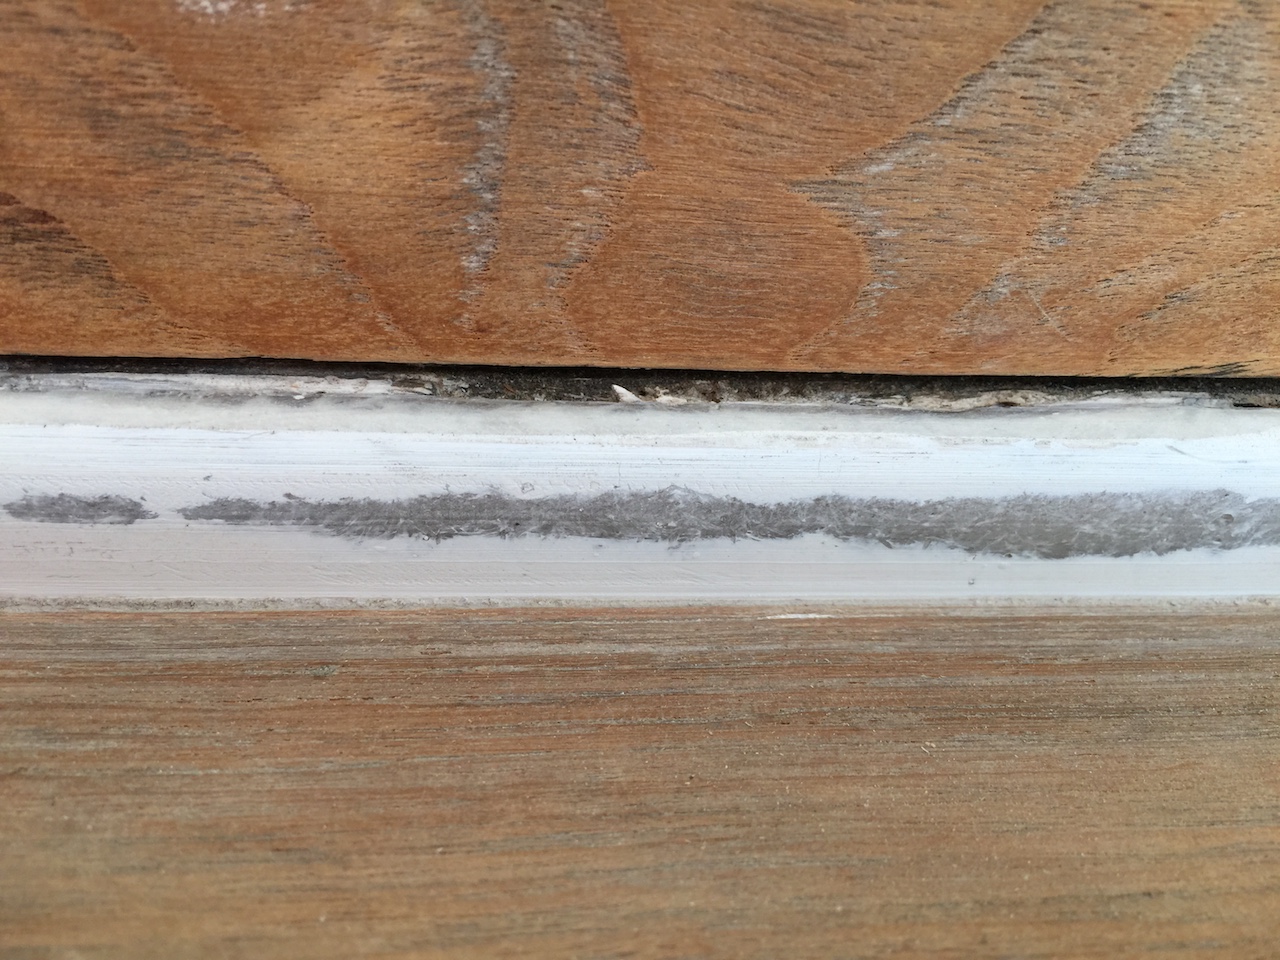
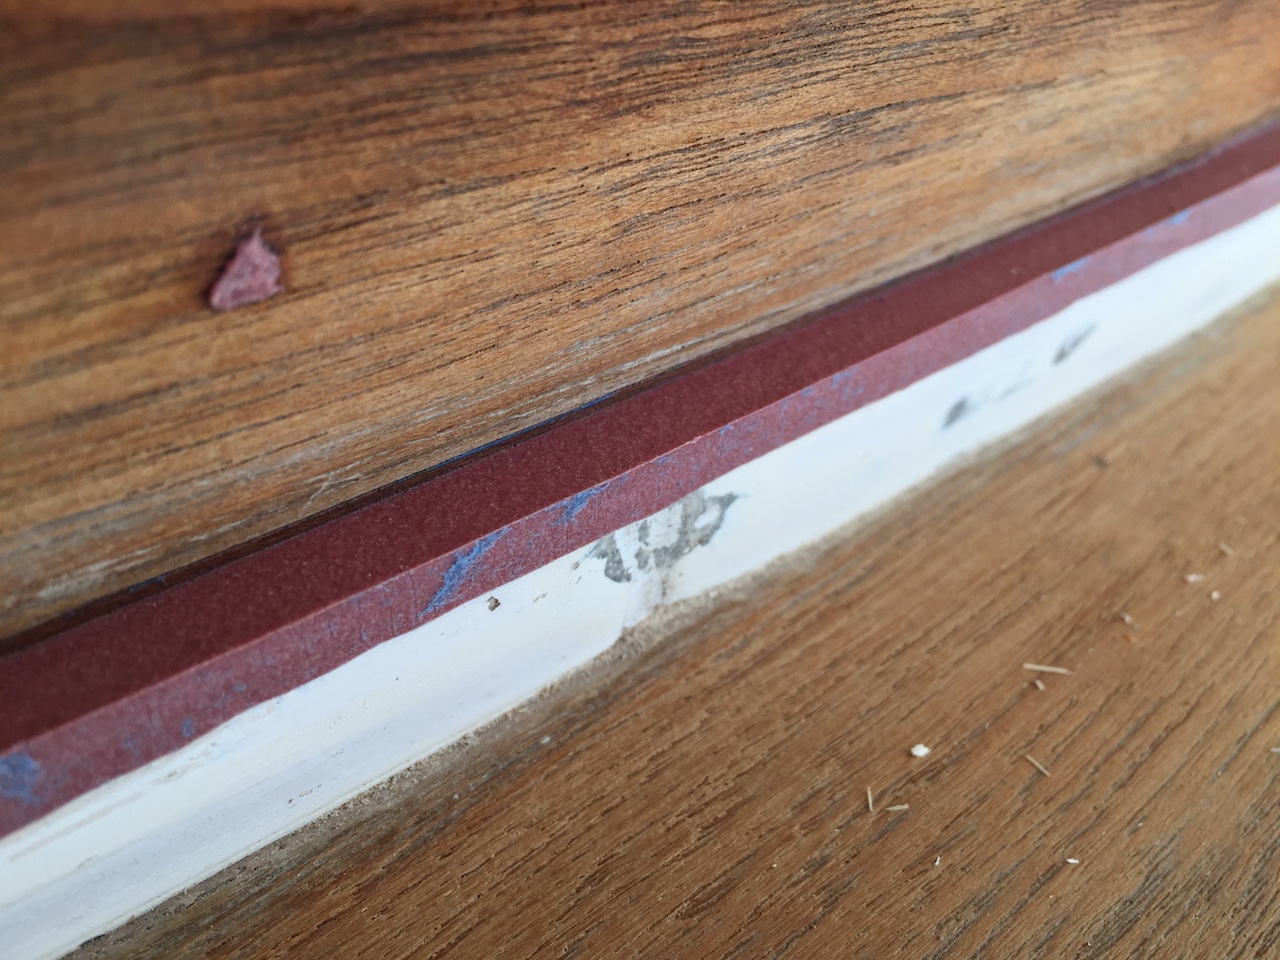
Elsewhere, as shown in the image below, there is a small gap between the toe rail and the deck. These gaps and voids had previously been filled with sealant, but I removed whatever I could back in Summer 2015.
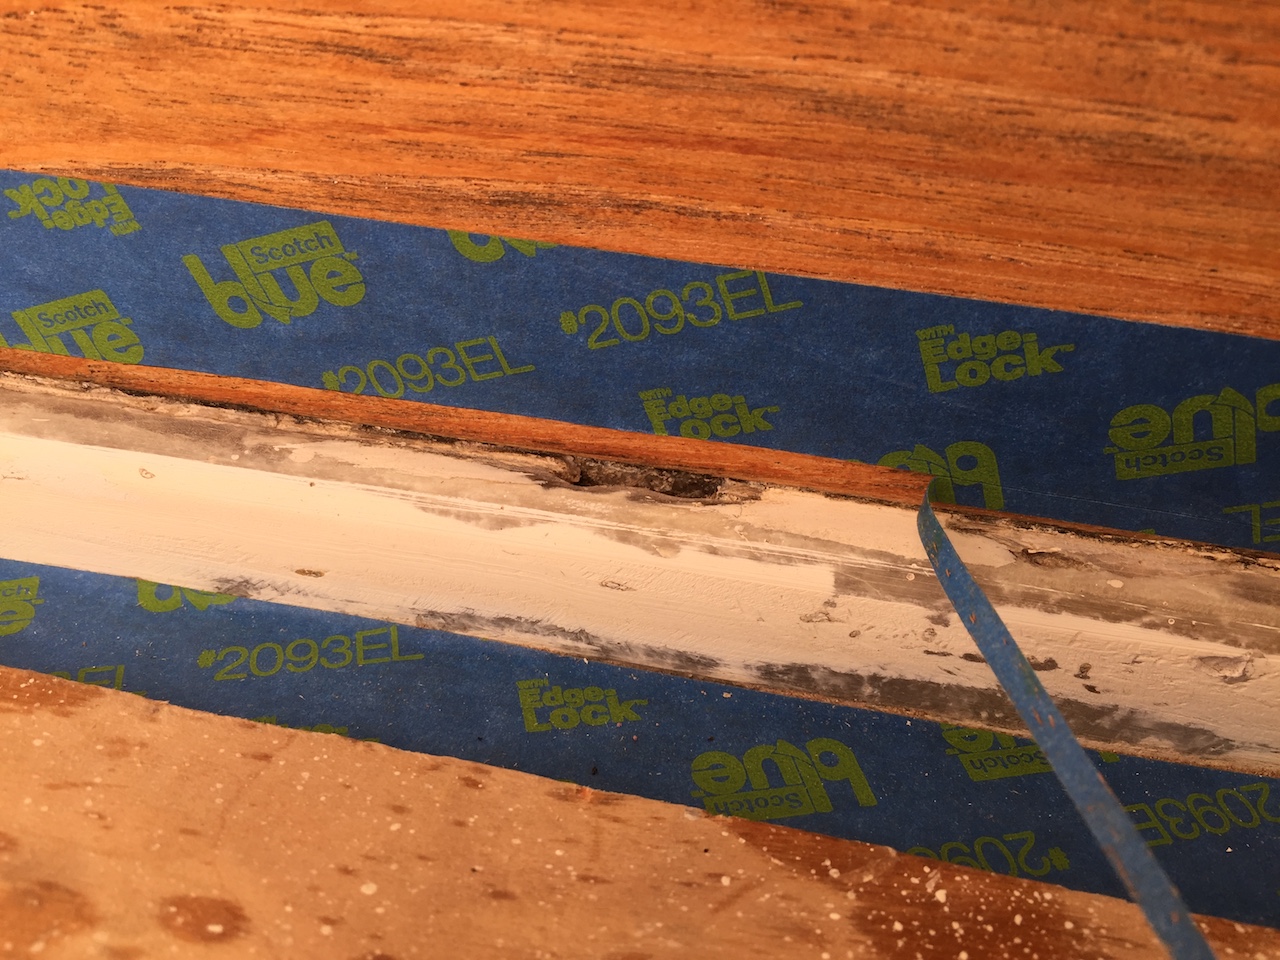
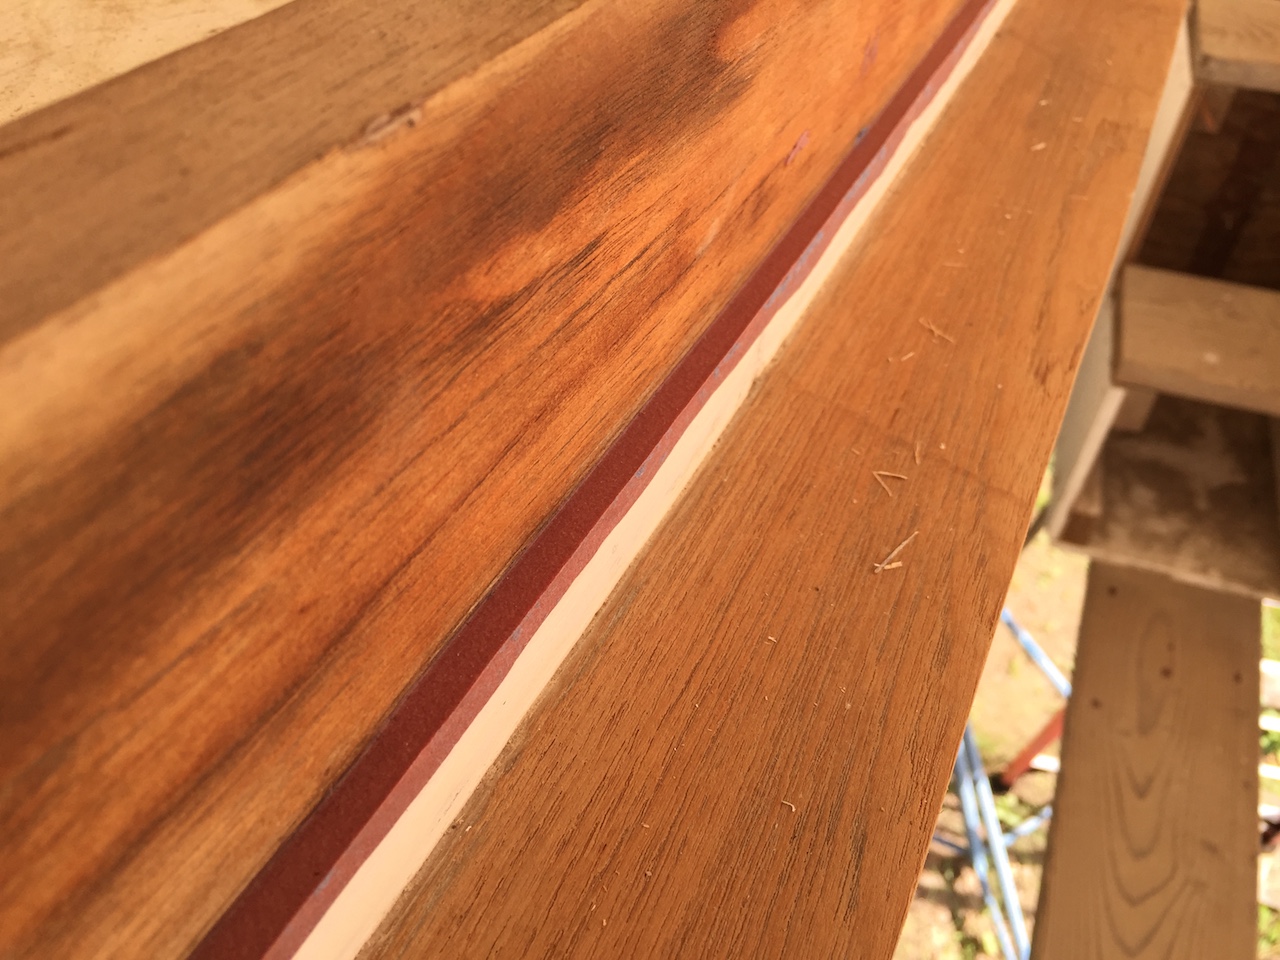
My goal is to fill all gaps and voids with thickened epoxy, while also building up the height on the outside so that there is an epoxy bond to the very bottom of the toe rail. To accomplish this, I had to create a channel along the bottom of the toe rail, into which I could force thickened epoxy. I began by taping off the inboard edge of the rub rail, then the lower outboard edge of the toe rail.
Next, I ripped some cheap, 1/8-inch plywood into strips, and taped them.
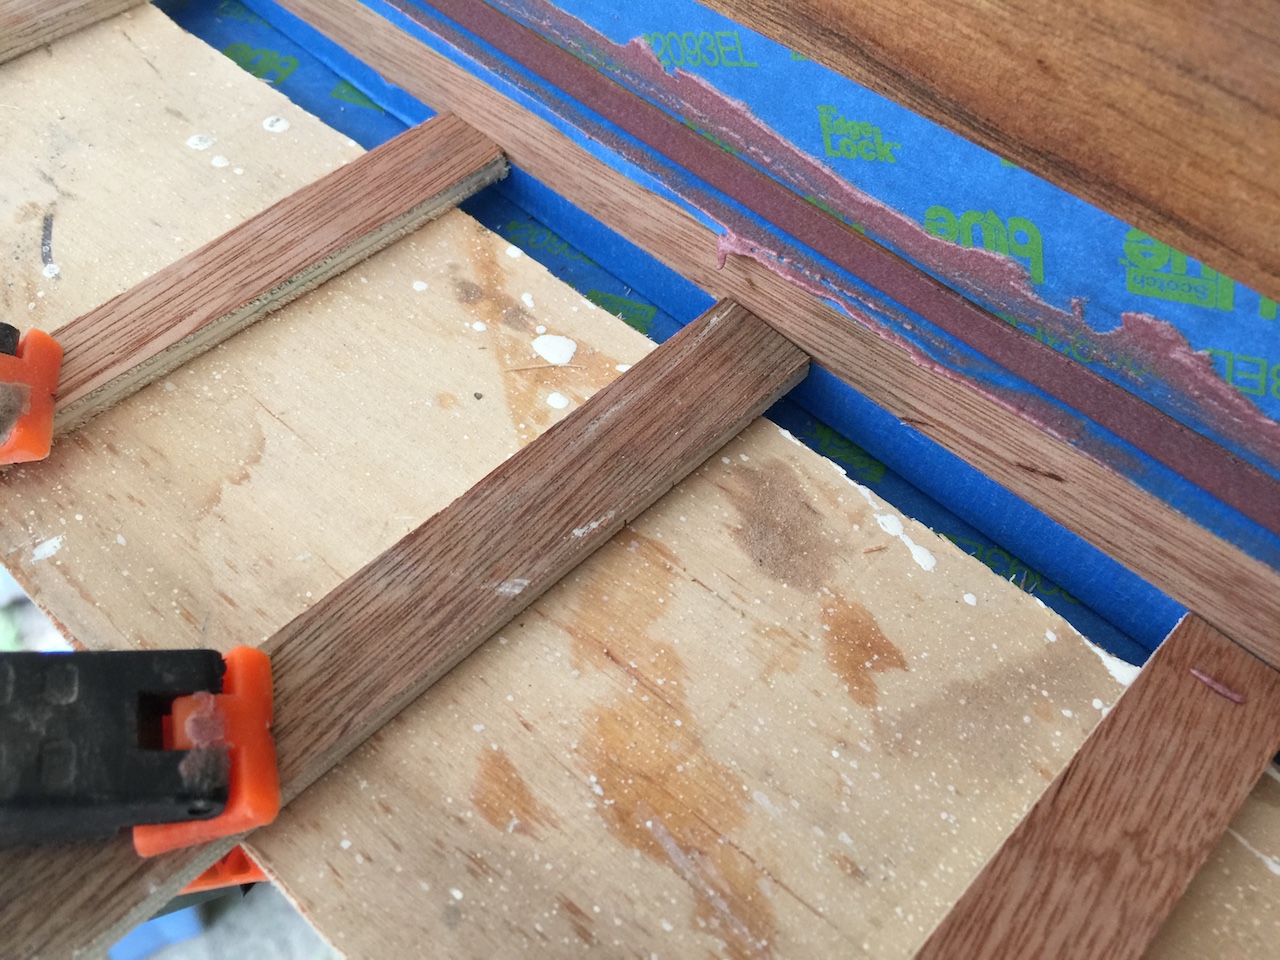
These strips needed to be pressed into the hull to form the channel, and the following photos illustrate how I accomplished that.
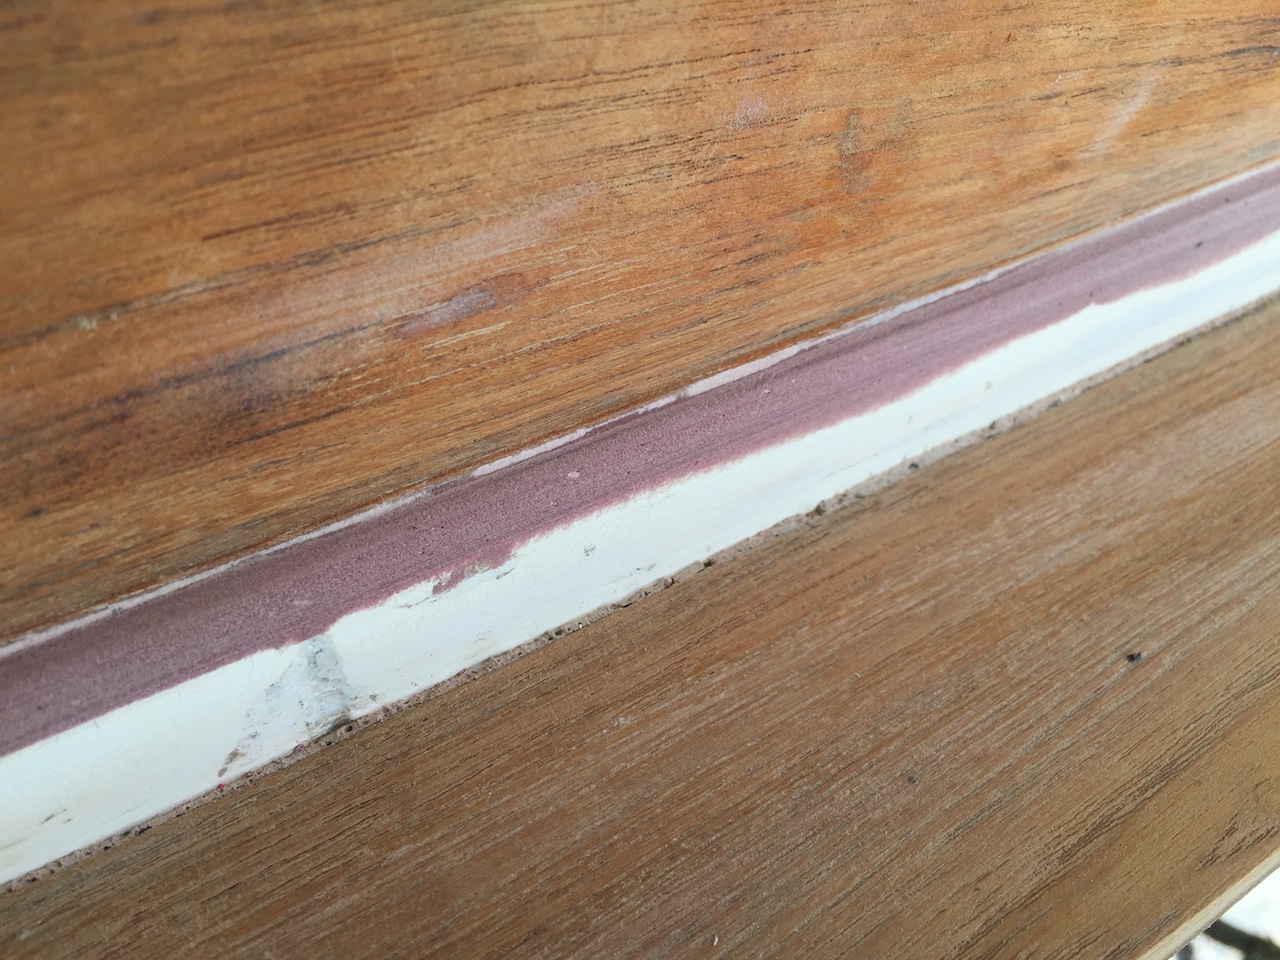
Here you can see into the empty channel.

Here I have filled the channel and smoothed over the top.
After the epoxy dried, and everything is removed, it looked like this:
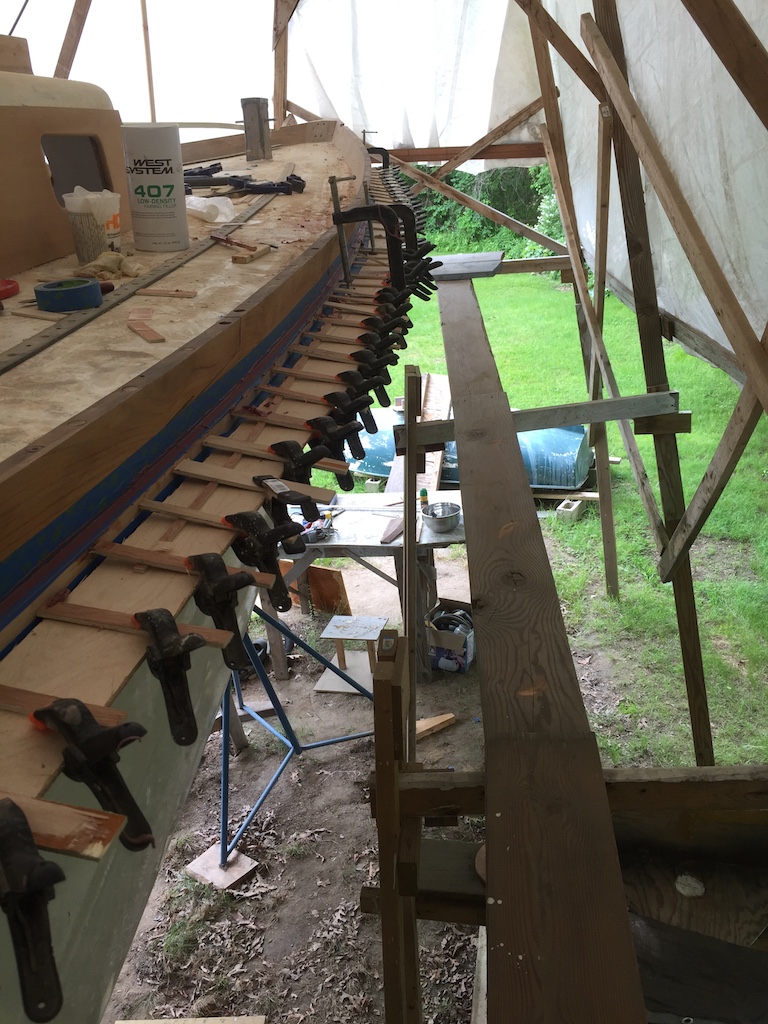
Limited by the number of small clamps available, this “channel filling” job lasted about three days. The job continues with lots of sanding (much of it by hand), and there is still plenty of filling and fairing to do. For now, however, here is a before-and-after sequence that helps illustrate what this work is all about.
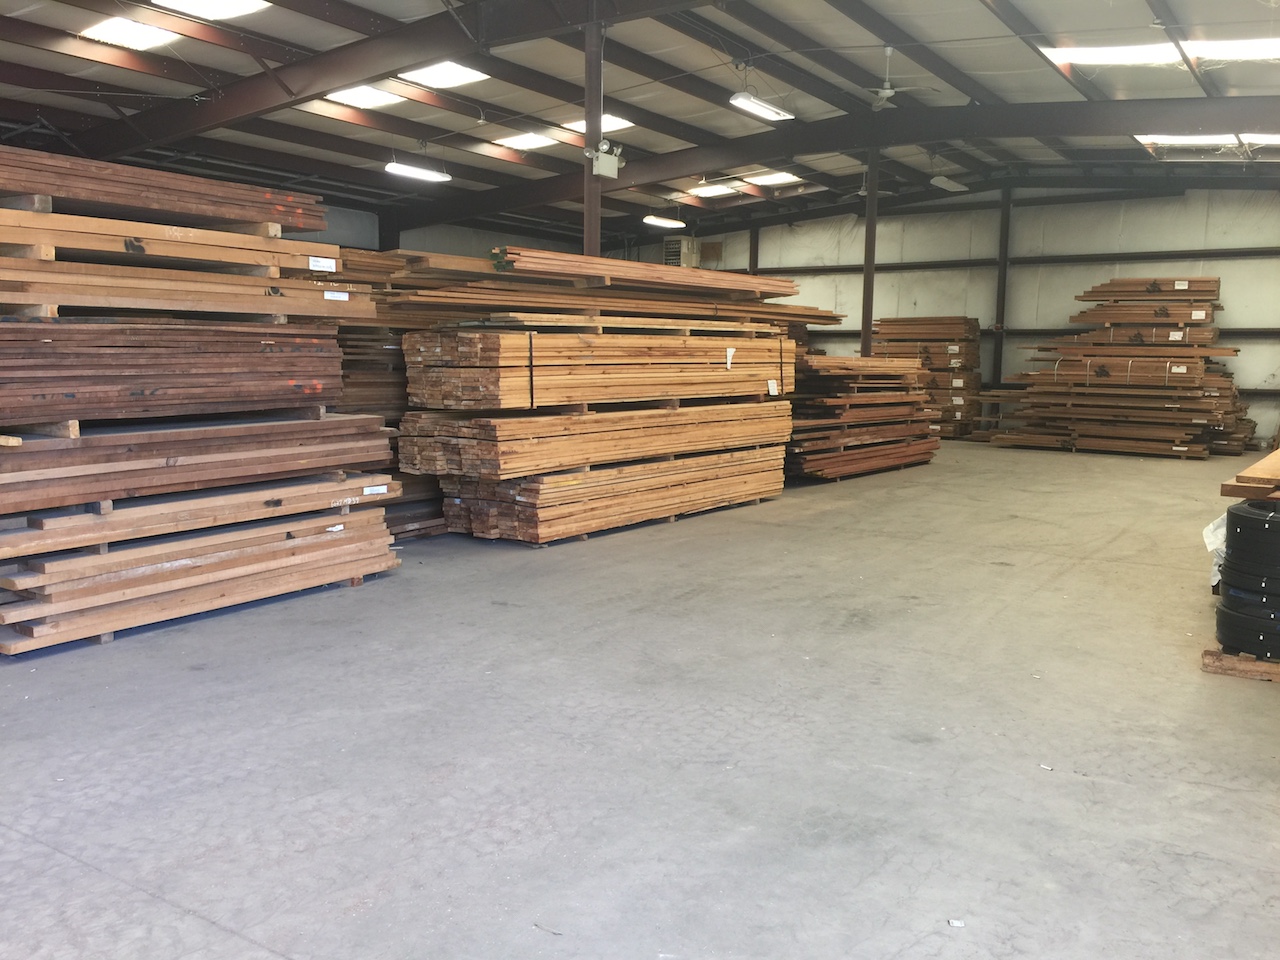
Meanwhile, just a few inches higher, there is no cap rail where there once was. Replacing the cap rail begins with purchasing the teak, which I did in a visit to St. Angelo Hardwood.
When purchasing hardwood-lumber, length is specified in units of feet, width in inches, and thickness in quarter inches–expressed as a fraction of 4ths. In other words, 4/4 lumber is 1 inch thick, 5/4 is 1.25 inches thick, and 8/4 is 2 inches thick.
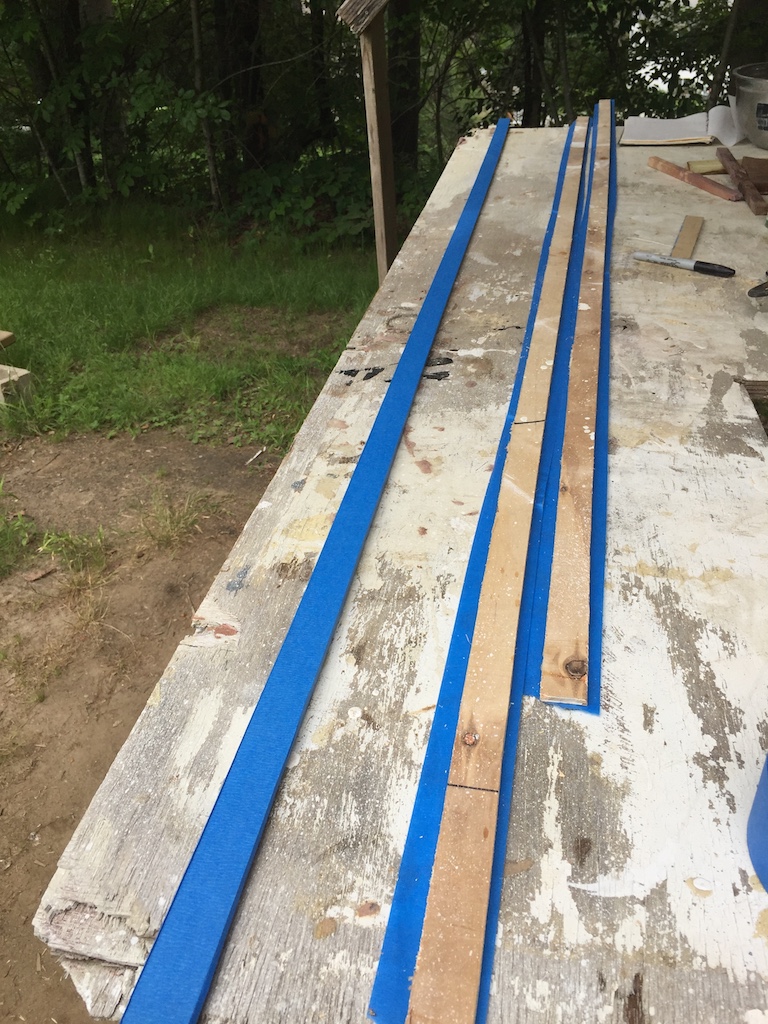
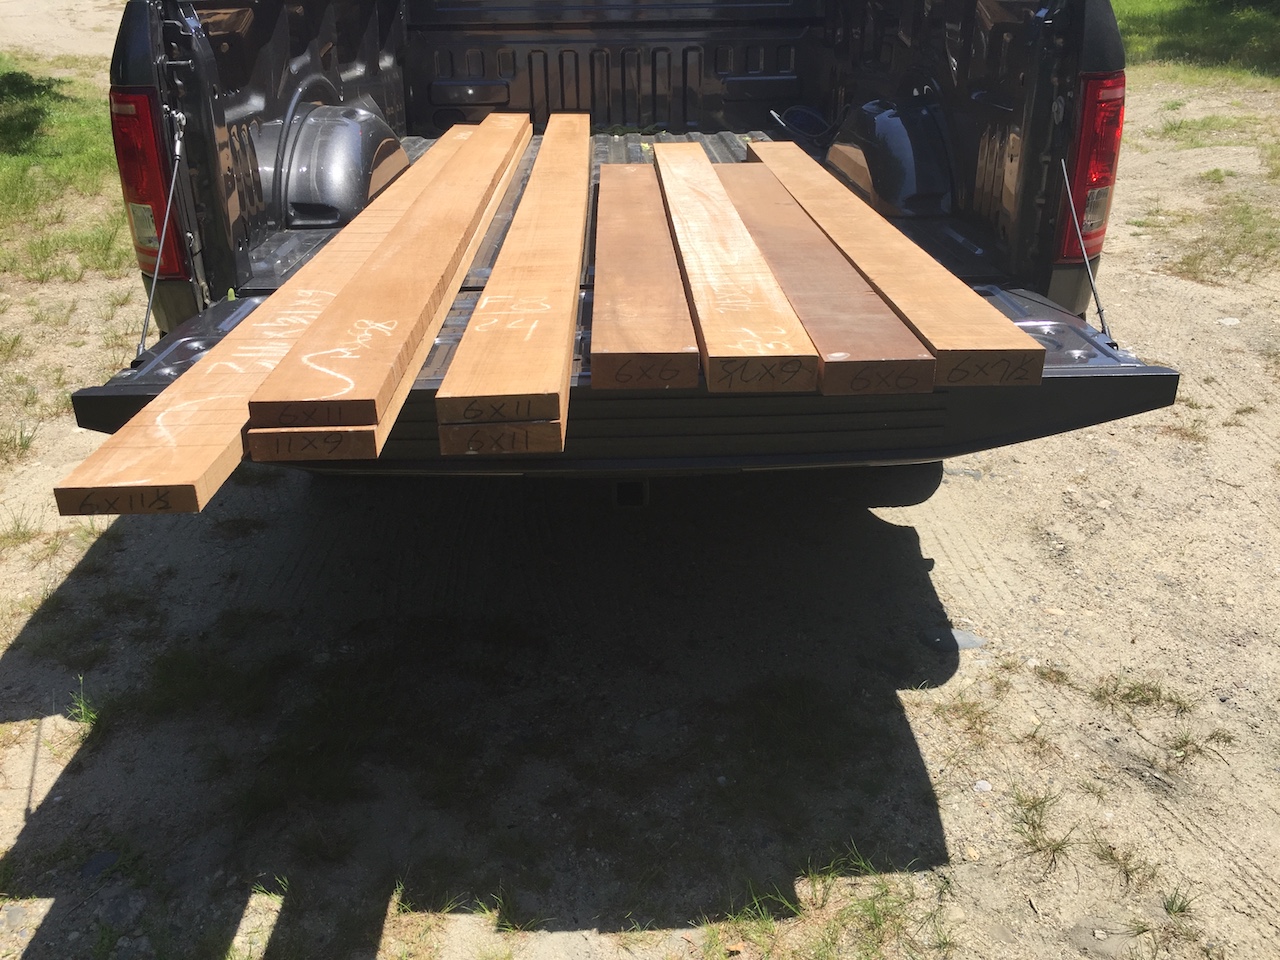
The original cap rail was 1.0 inches thick and about 2 3/8 in inches wide. Lumber is typically sold rough, and needs to be planed smooth. With that in mind, I purchased five boards in 5/4 thickness, and about 11 feet long by 6 inches wide. I also purchased some 8/4 stock for hatches, companionway molding, and other upcoming projects.
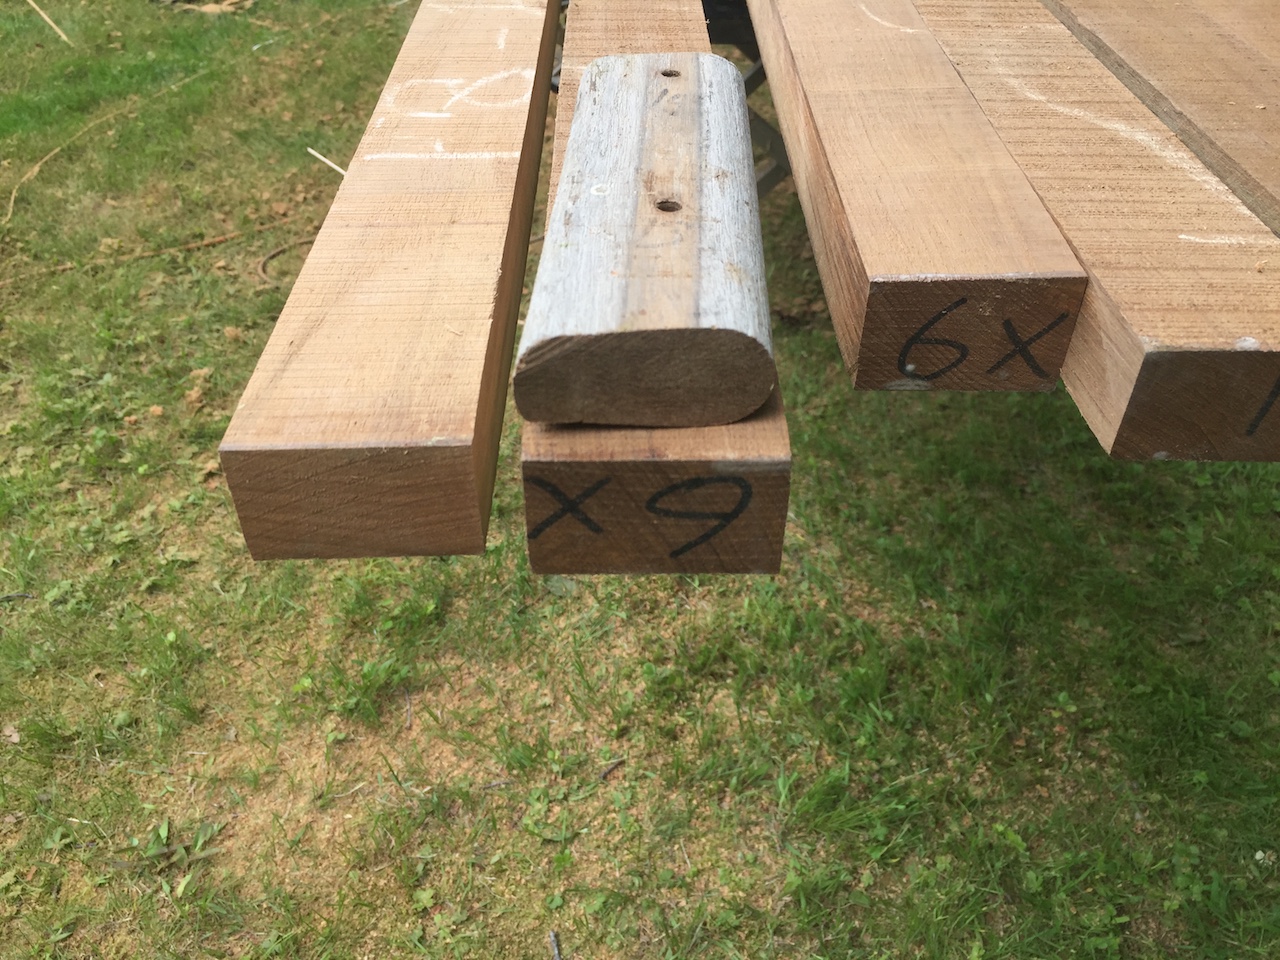
The image below shows the 5/4 boards on the left, and the 8/4 board on the right. Teak is typically sold by the “board foot” which is a unit of volume equal to 144 cubic inches (the volume of a board that is one foot long, one foot wide, and one inch thick). My order total was 63 board-feet of teak.
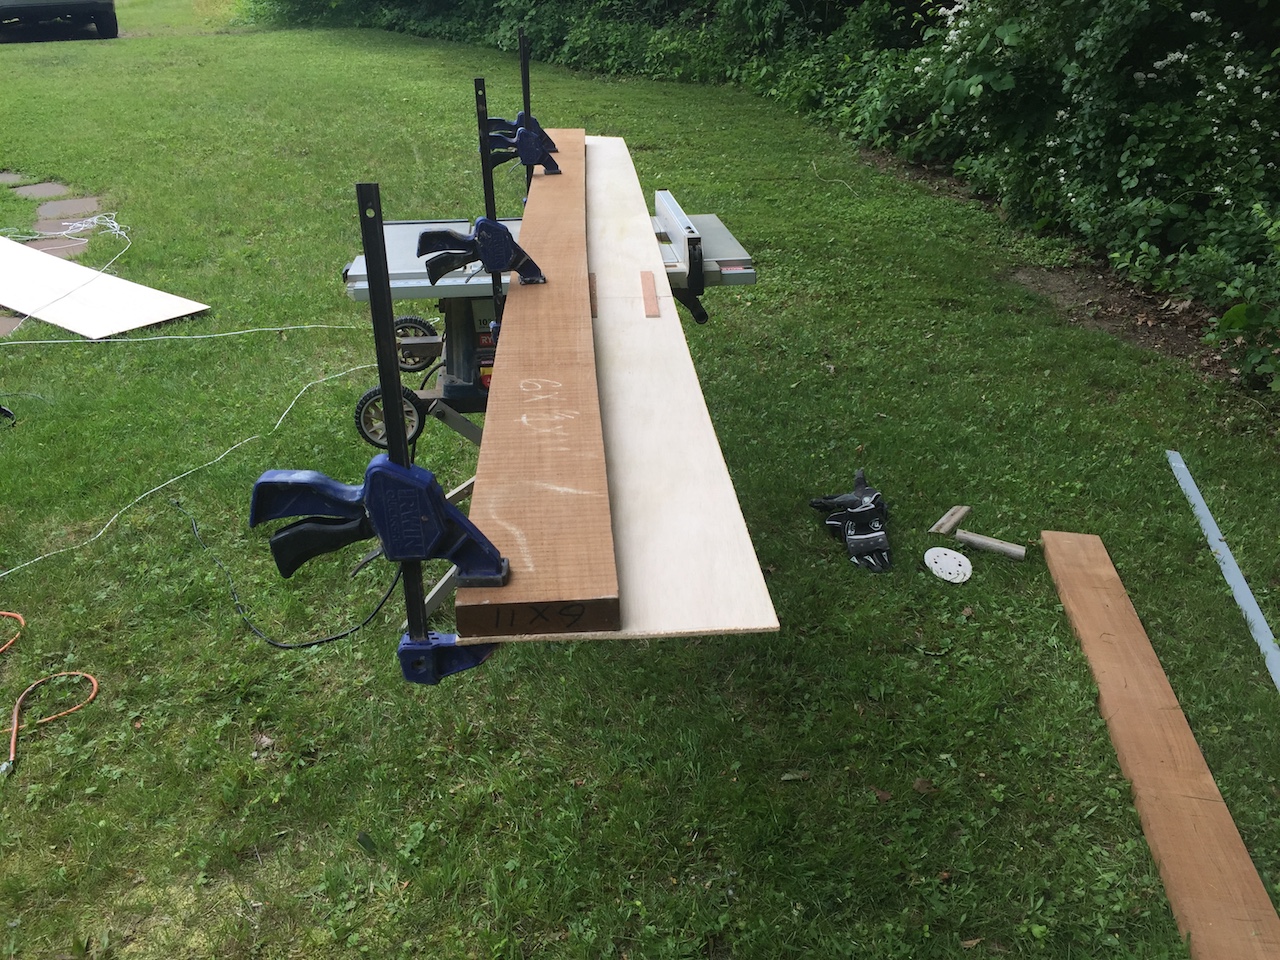
A board needs a straight edge to run along a table-saw fence. Sometimes rough lumber will have a straight enough edge, and sometimes not. Several of the long boards needed work, so I put together a makeshift “jointing jig” to do the job. Basically, I clamped the not-straight boards to thin plywood with a straight edge. By running the plywood edge along the fence, the blade will cut a straight line through whatever passes by. Plywood comes in 8-foot lengths, so I had to join two pieces, as shown below. After carefully aligning the pieces, joined them using thin strips of wood and the hot glue gun.
Here is one of the long boards clamped to the jig. I was careful to set everything up so that the cuts created the least amount of waste.
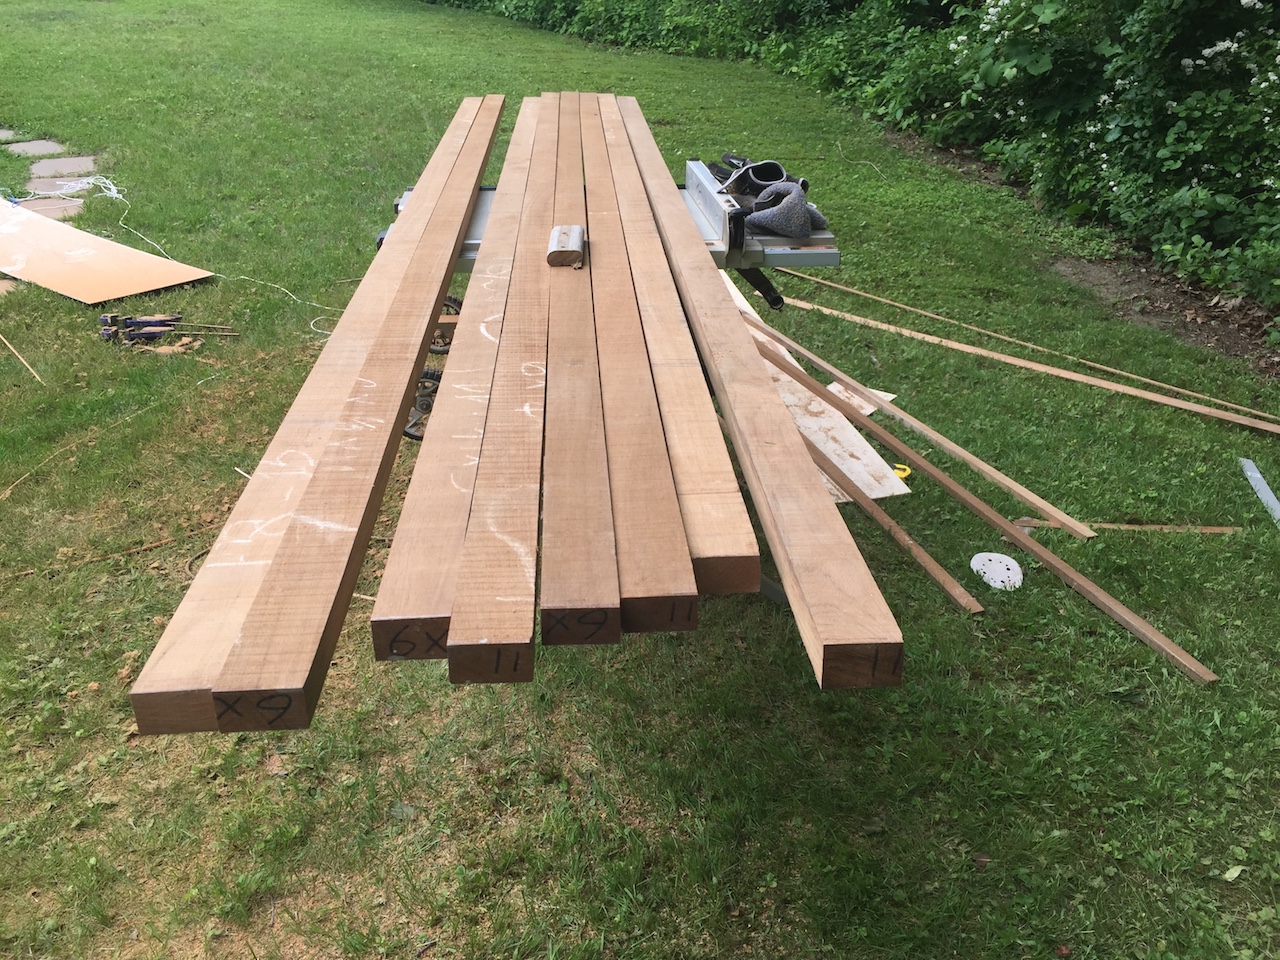
Once the necessary straightening was complete, I was able to cut the pieces required for the cap rail. With 11-foot lengths, I will need four on each side.
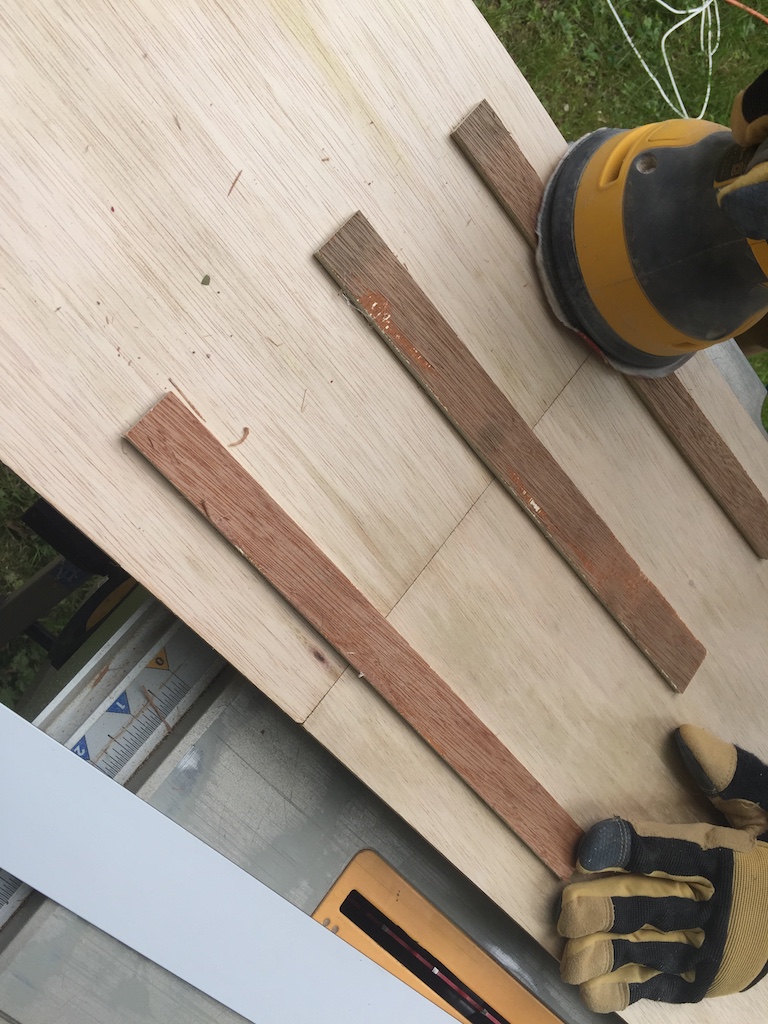
A piece of the original cap rail is shown here.
The next step will be to plane (or cut) these board down to about 1 inch thickness. All of these long cuts, by the way, were done with a helper.