7/8/18: Exterior Wodwork I
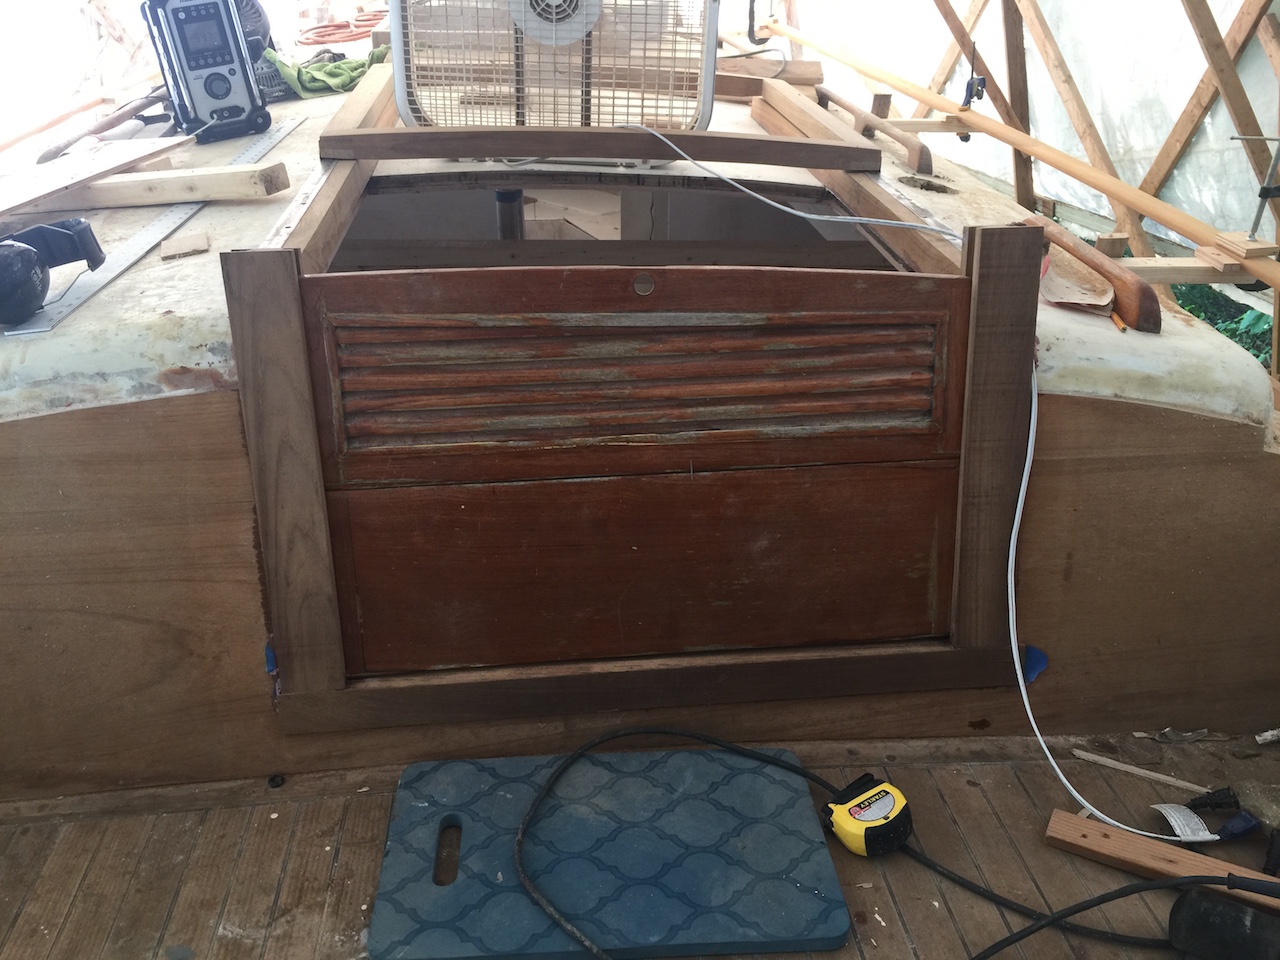
The following photo is from 2007, and shows the companionway hatch, rails, molding, and drop-in boards. (By “molding” I mean the trim pieces that receive the drop-in boards.)
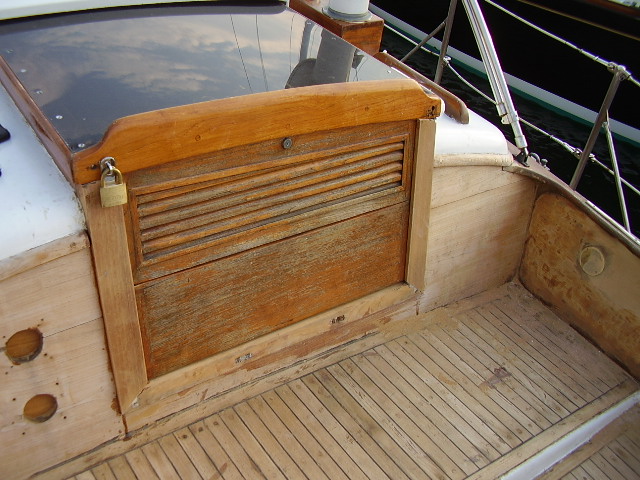
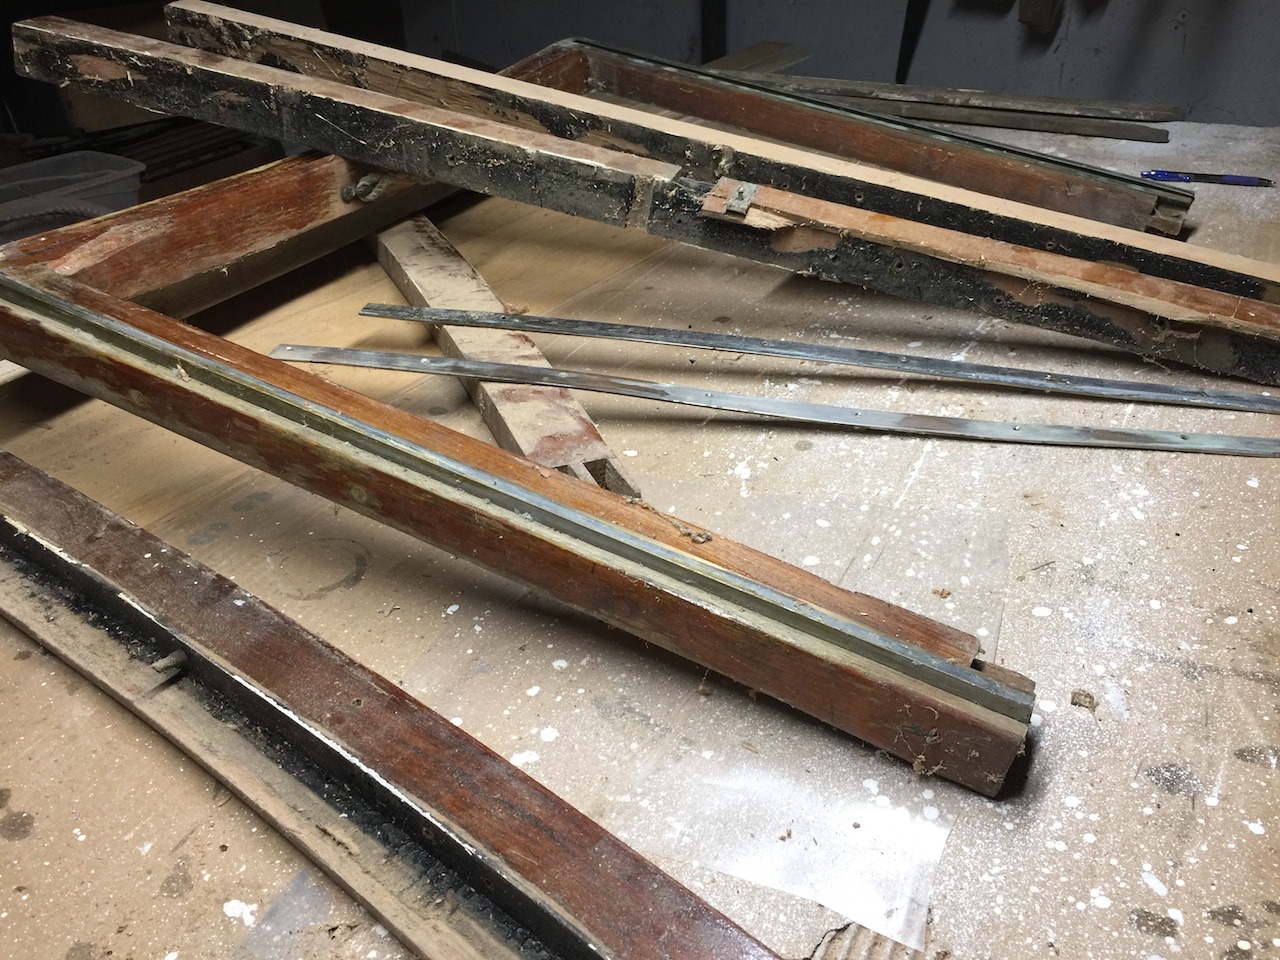
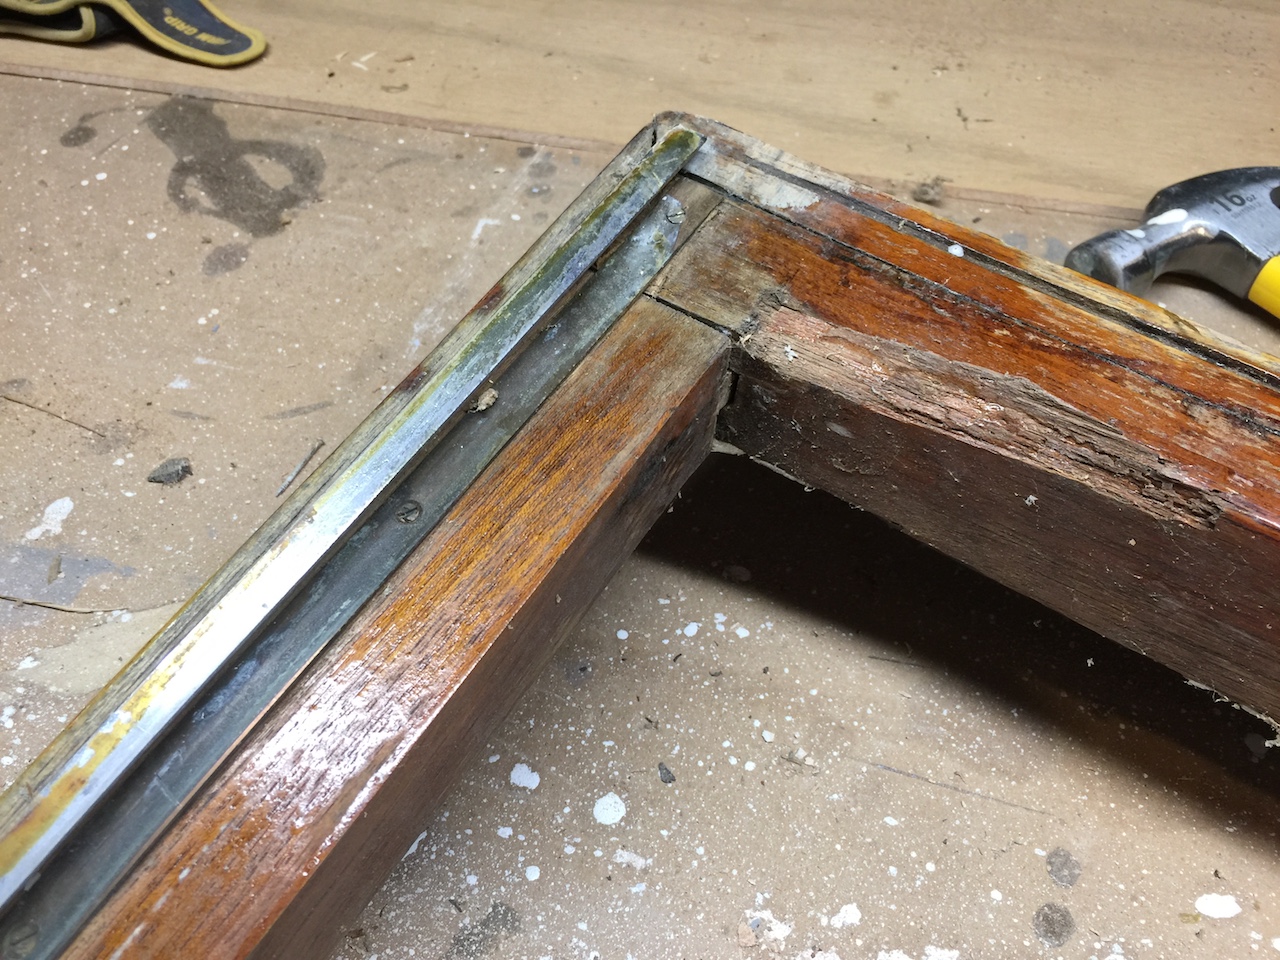
The hatch and molding you see here was removed long ago to make way for new cabin-house teak and ceiling panels. The hatch was covered with a piece of Lexan, and the photos below show the hatch with the Lexan panel removed.
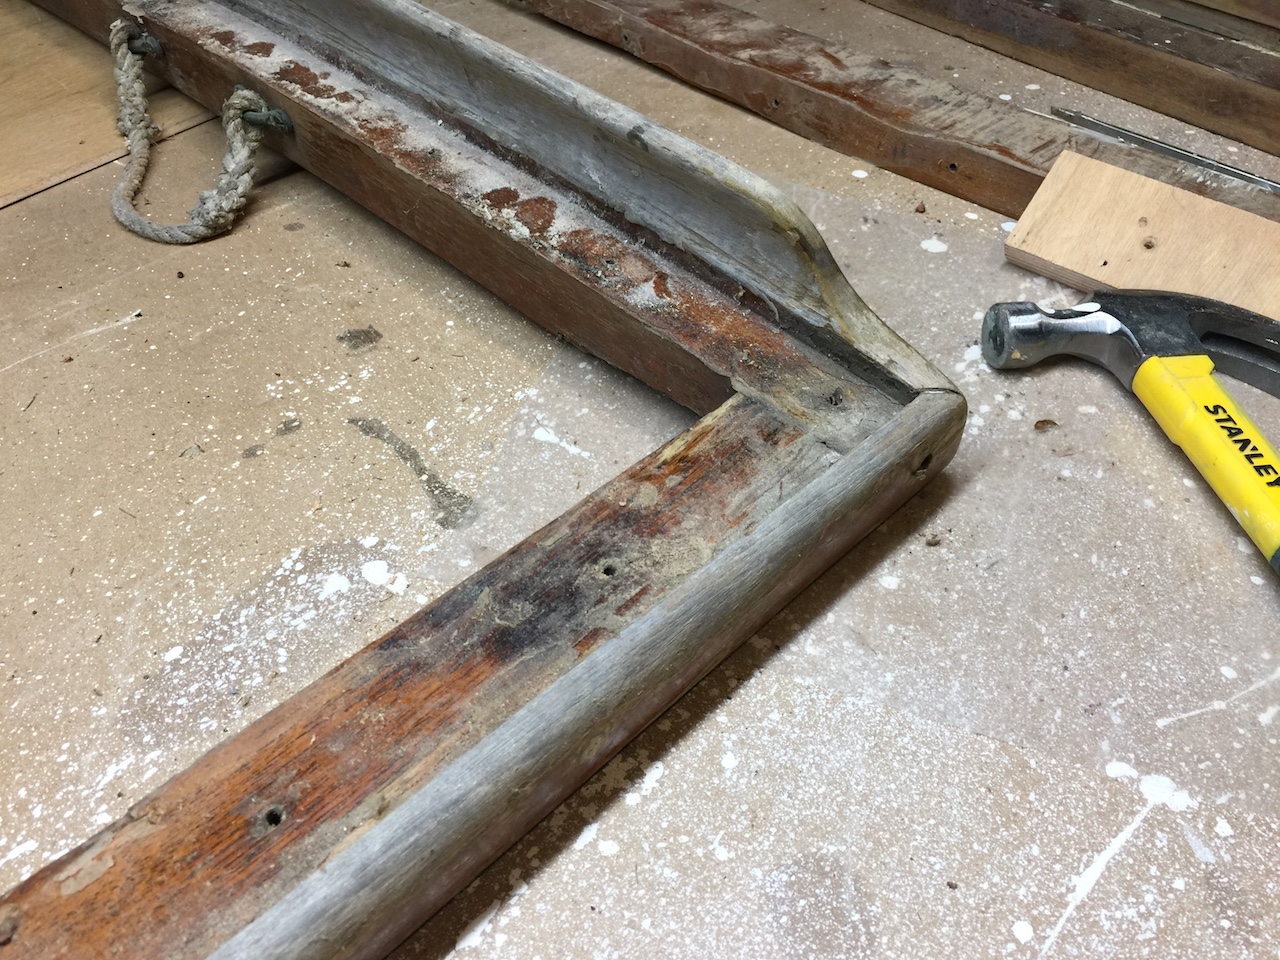
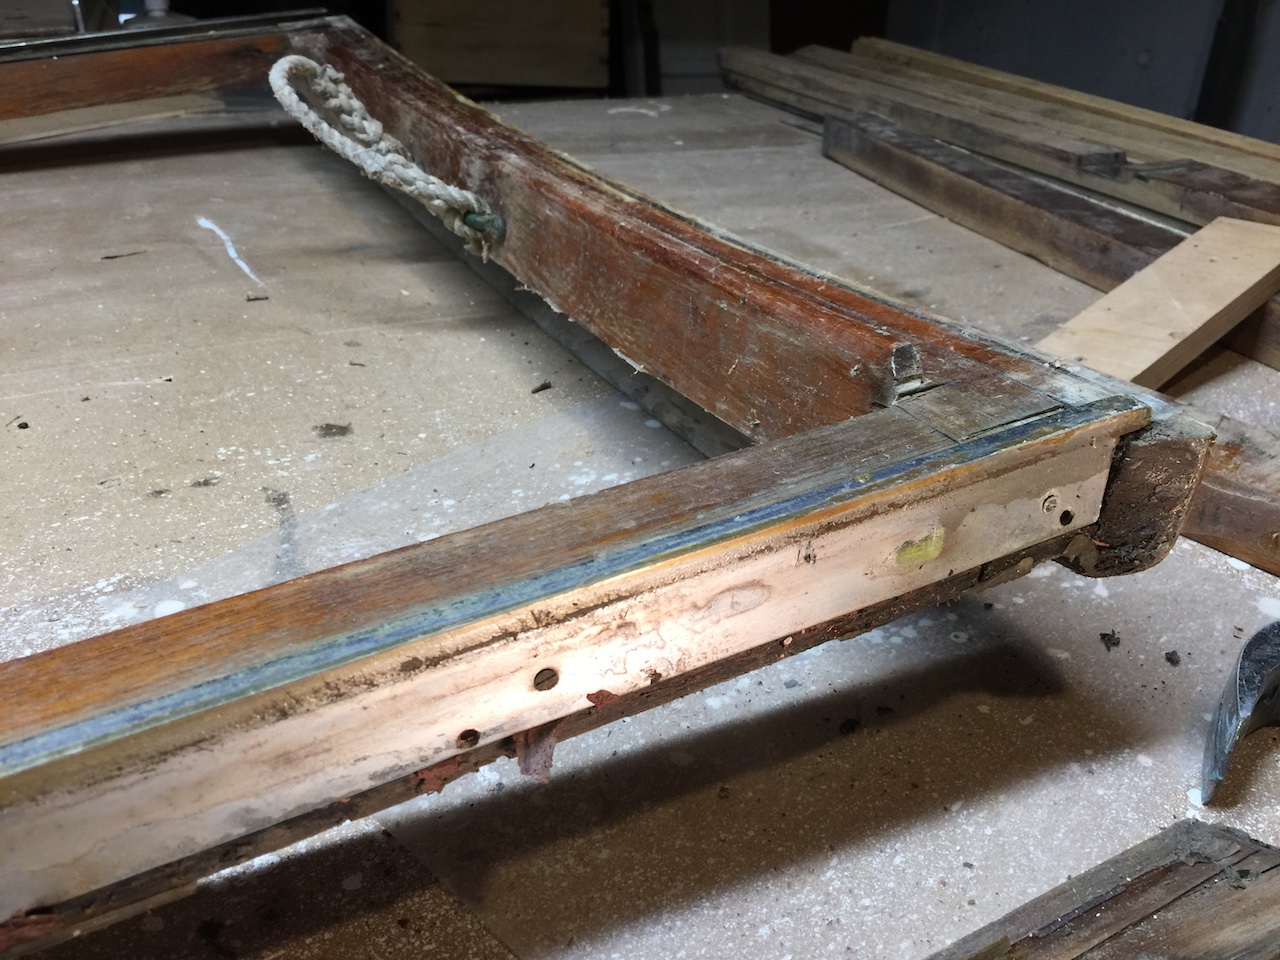
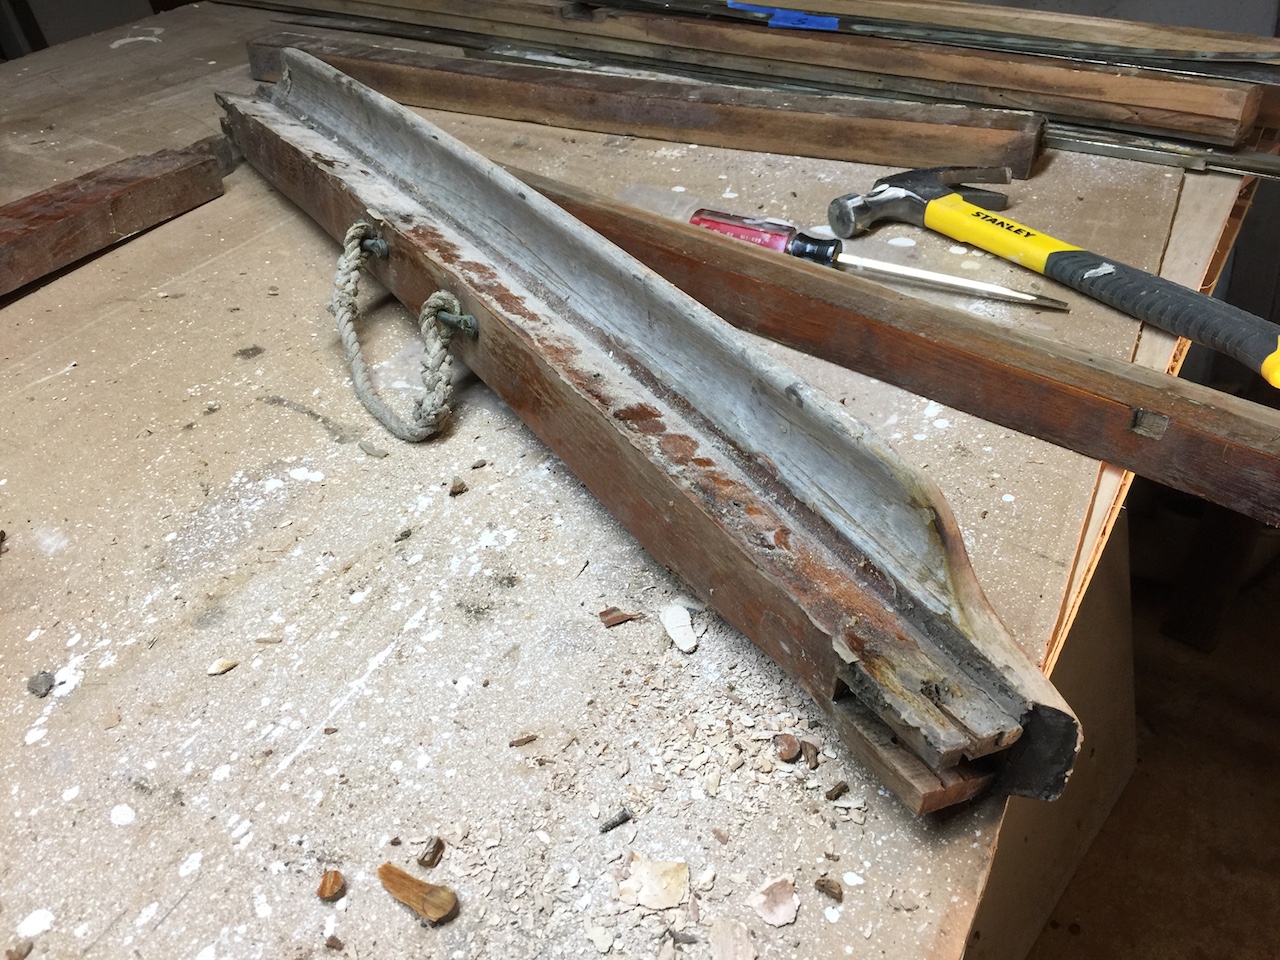
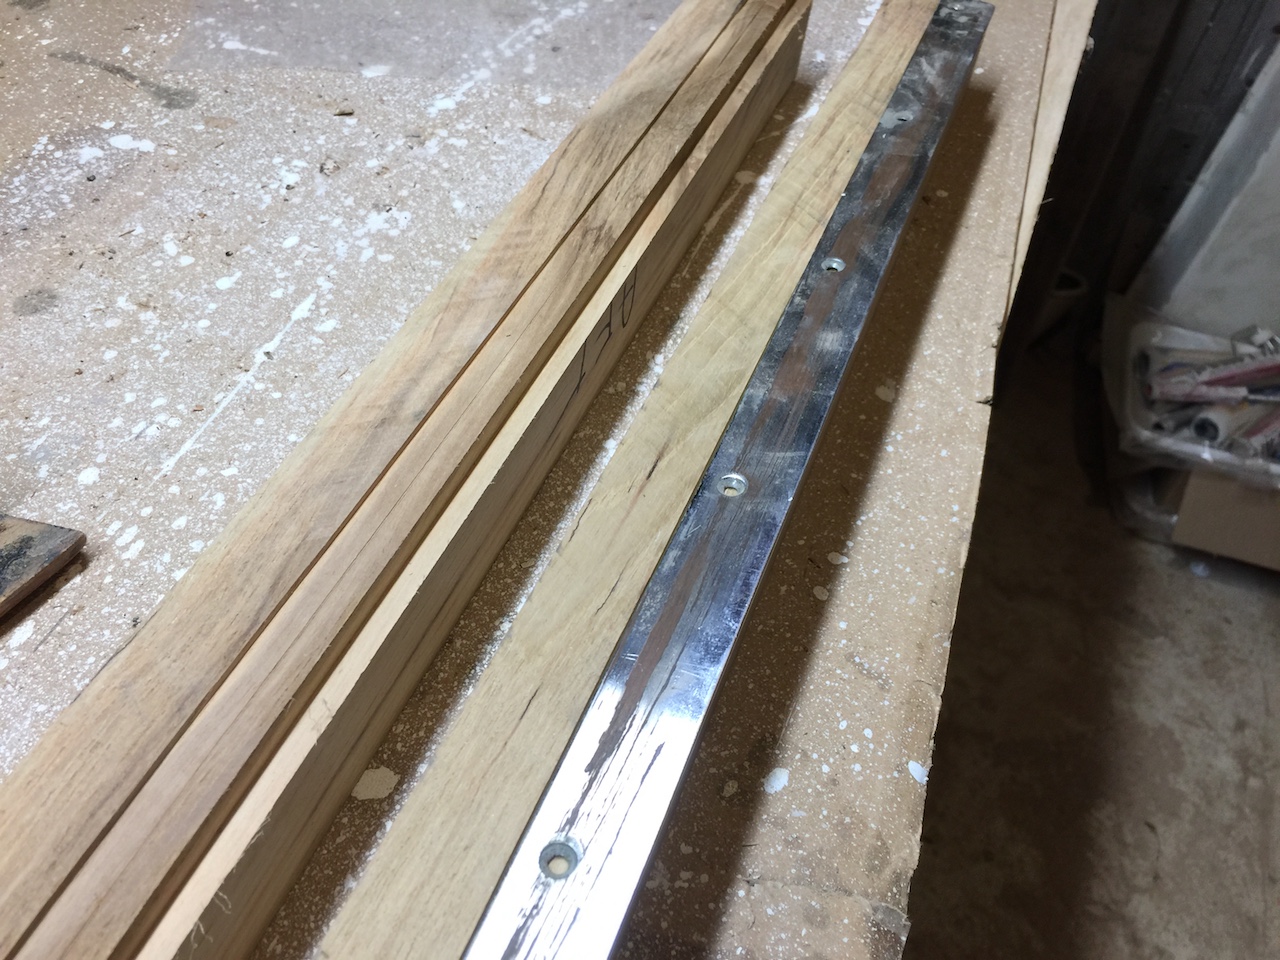
This photo shows the two rails on which the hatch slid.
My plan is to copy the hatch, with only minor changes as needed.
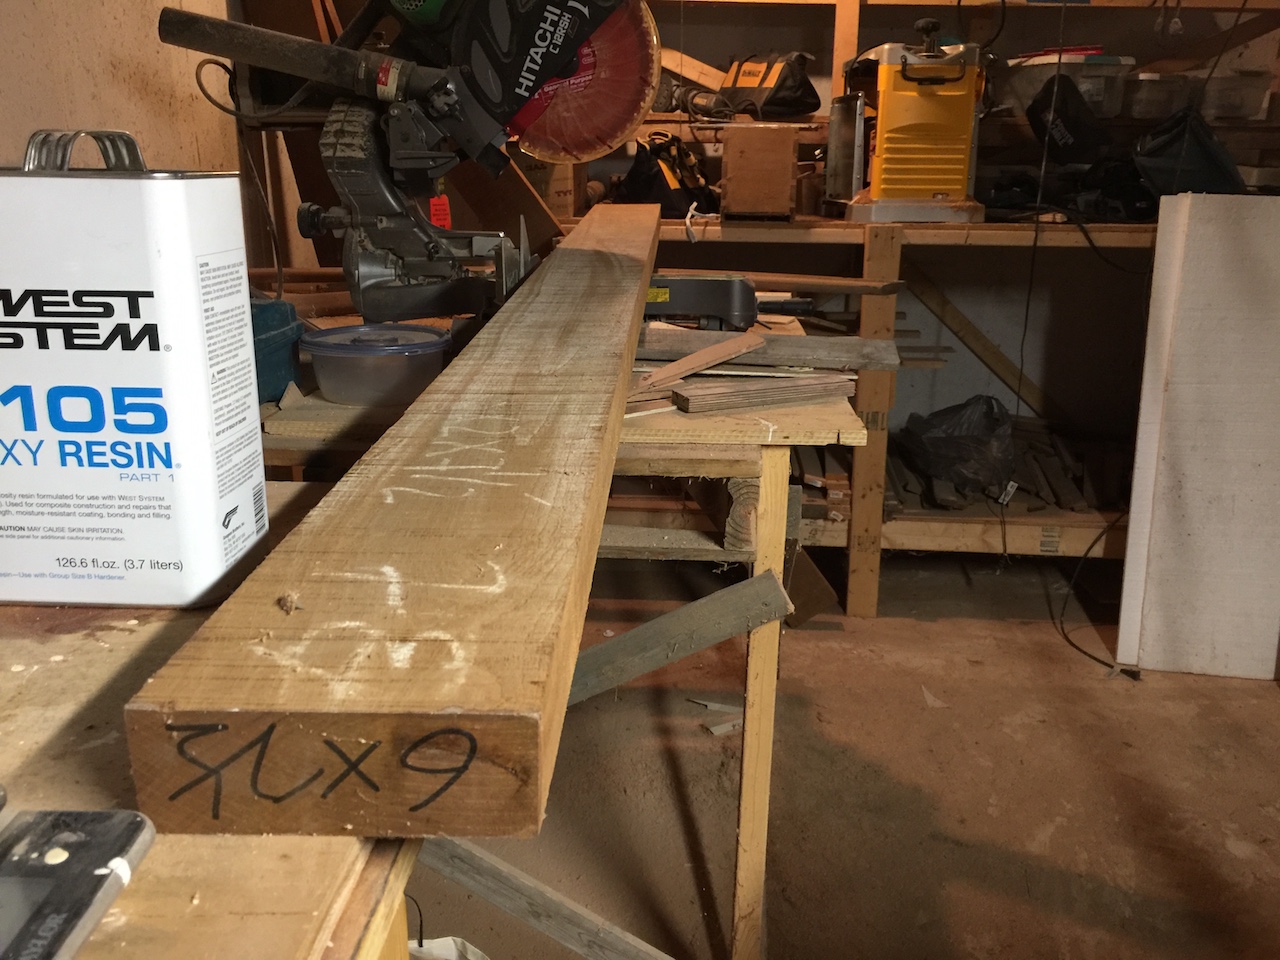
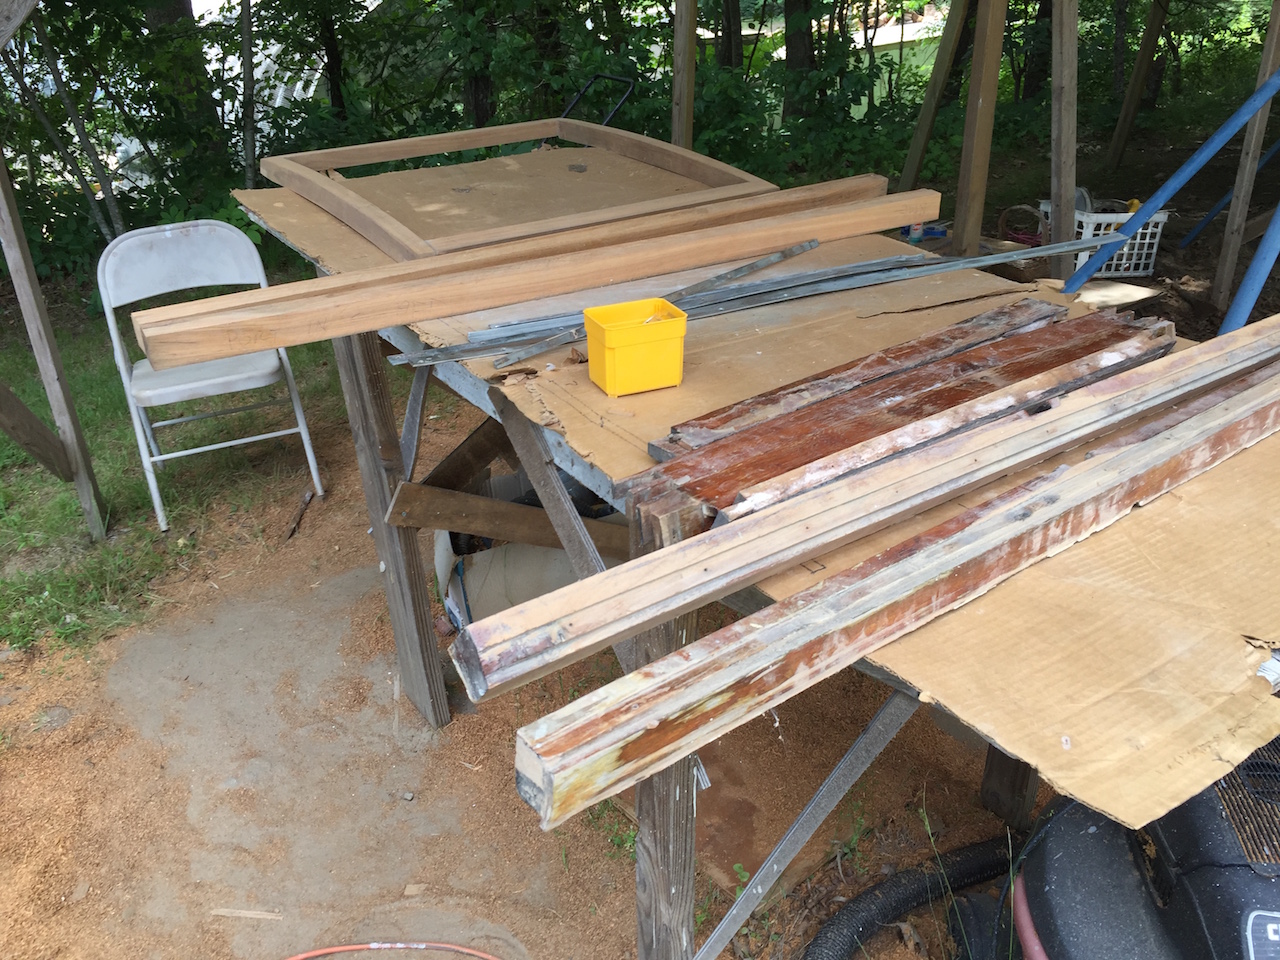
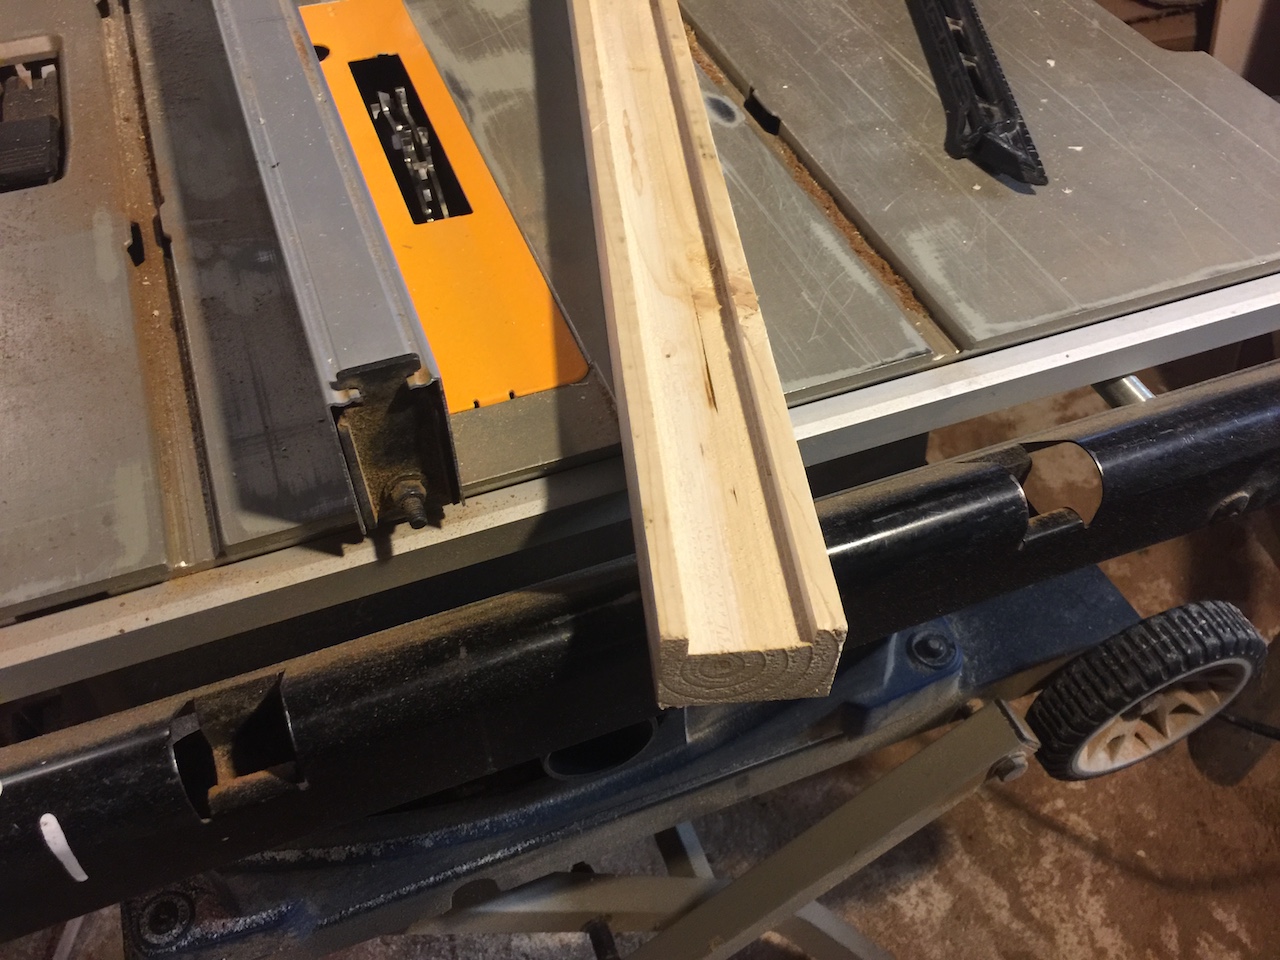
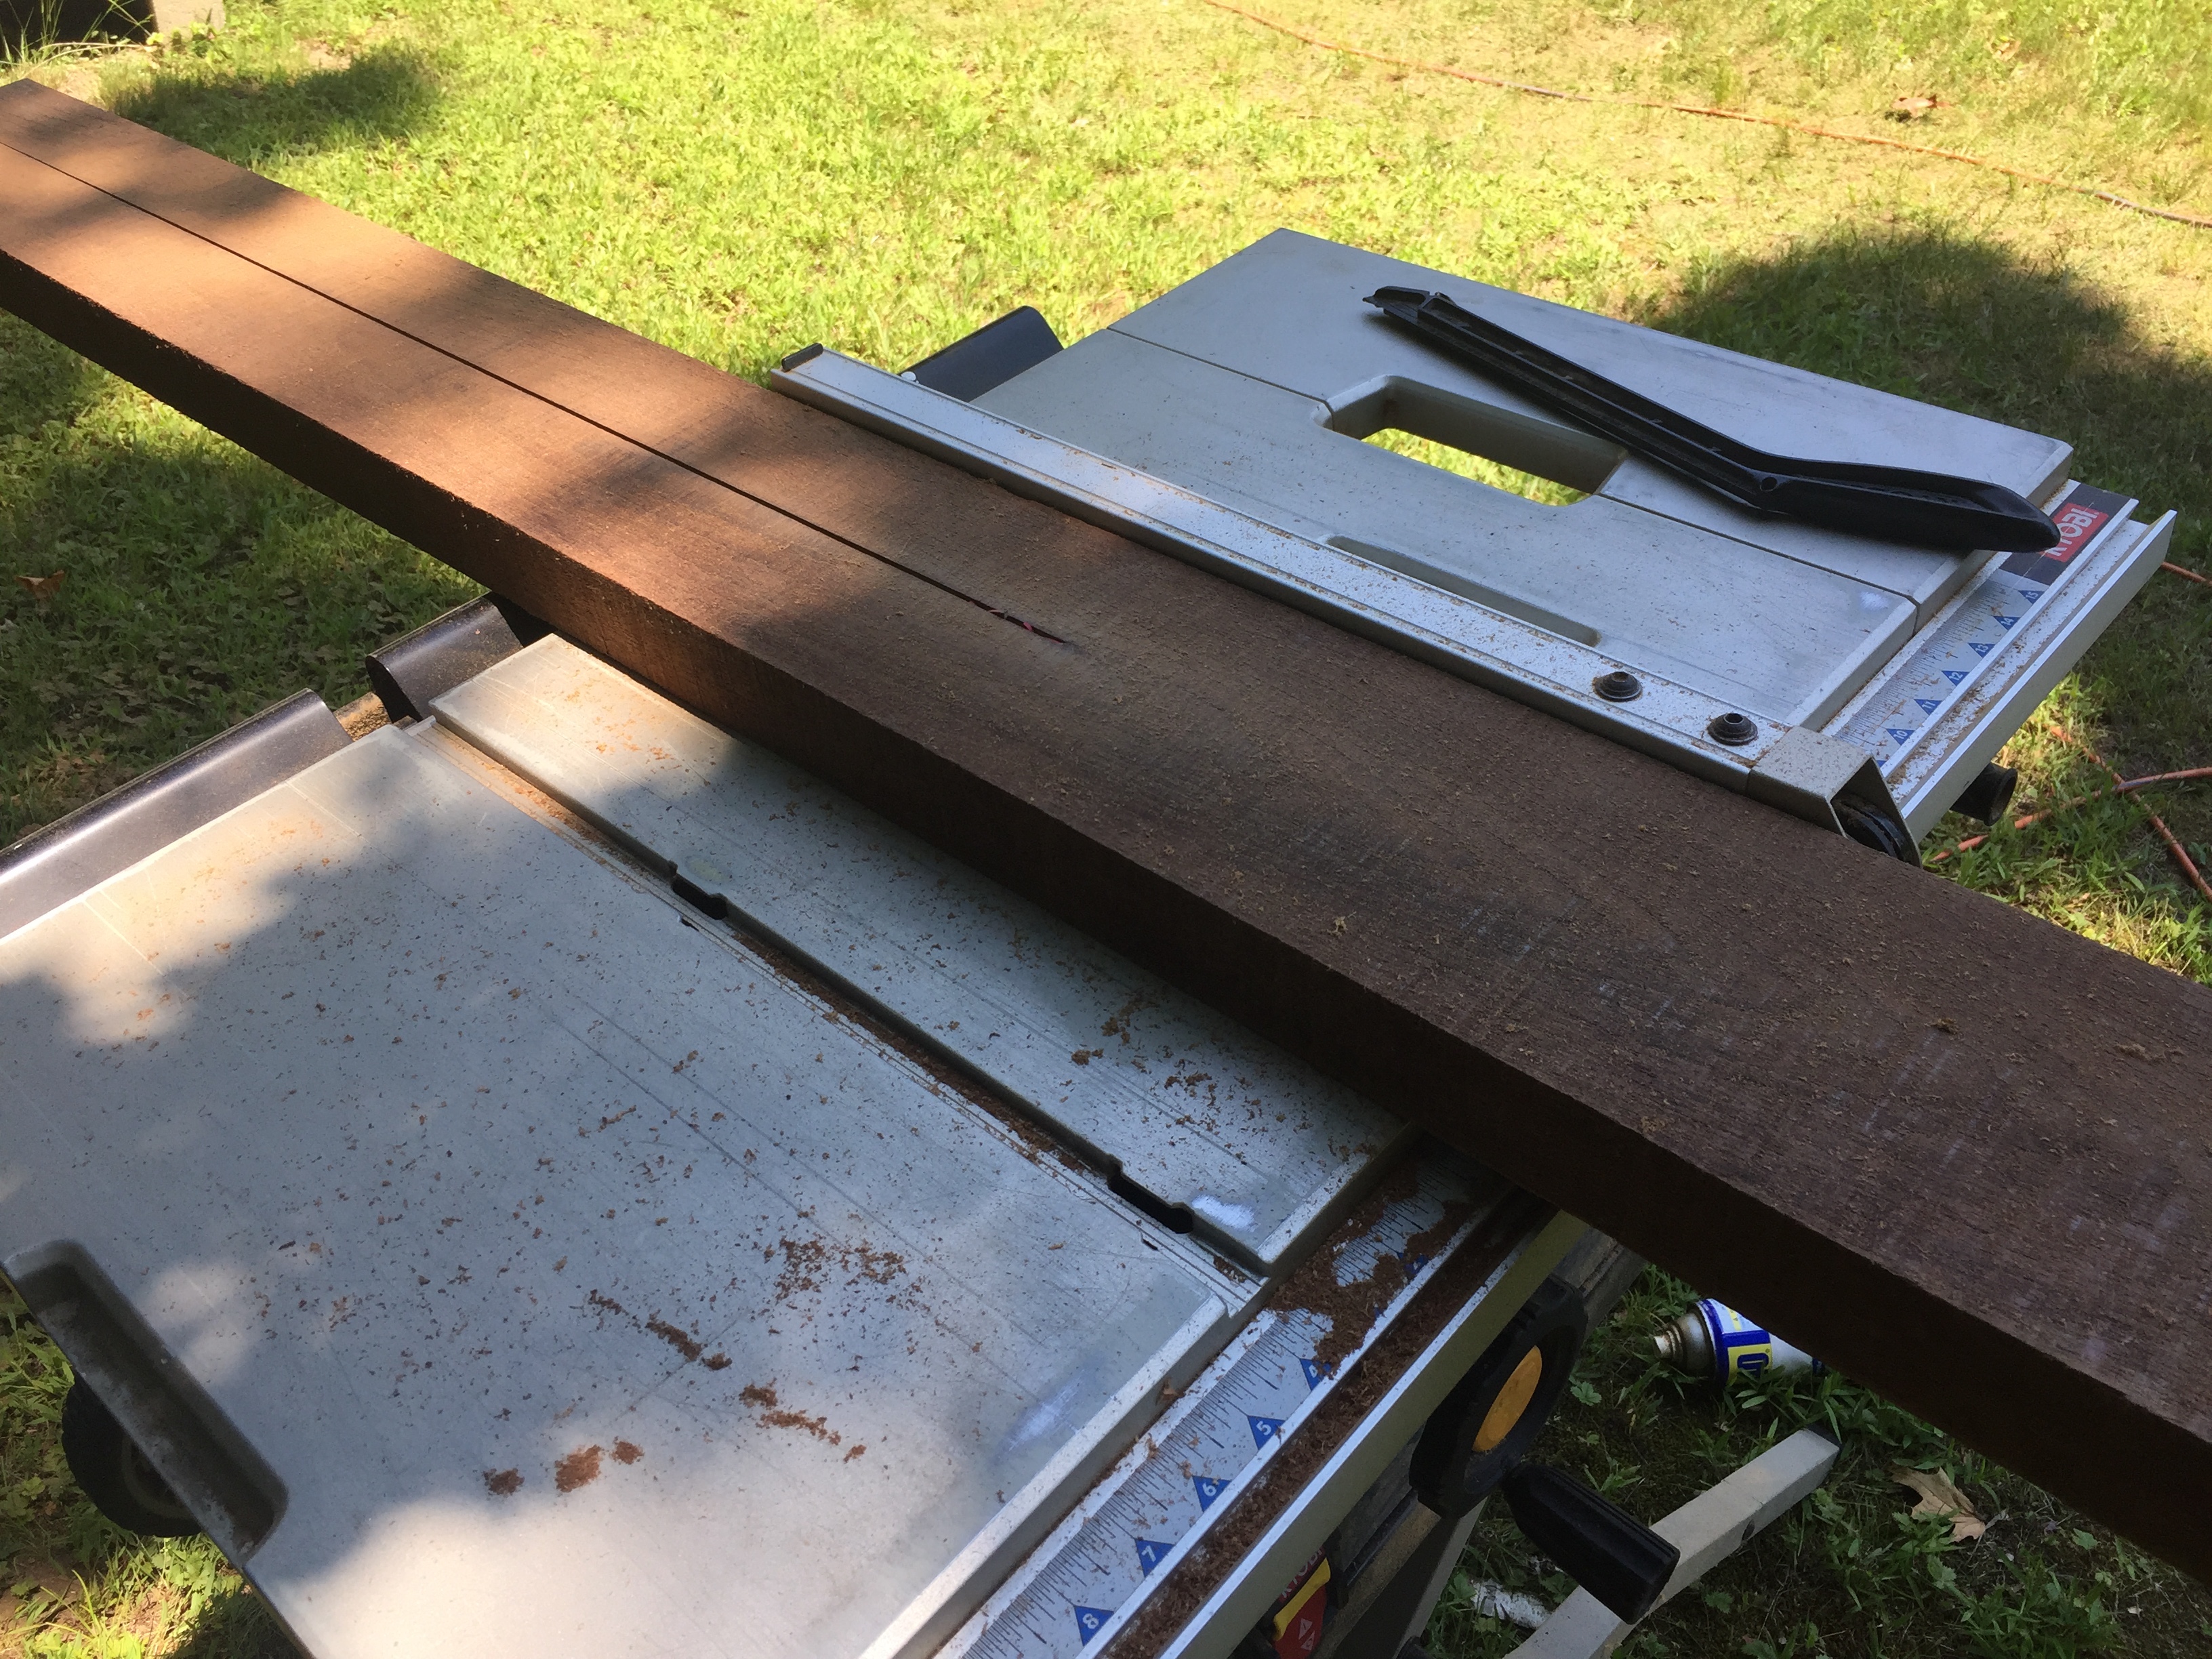
I began with the rails, which begun with cutting a length of rough teak from my stock.
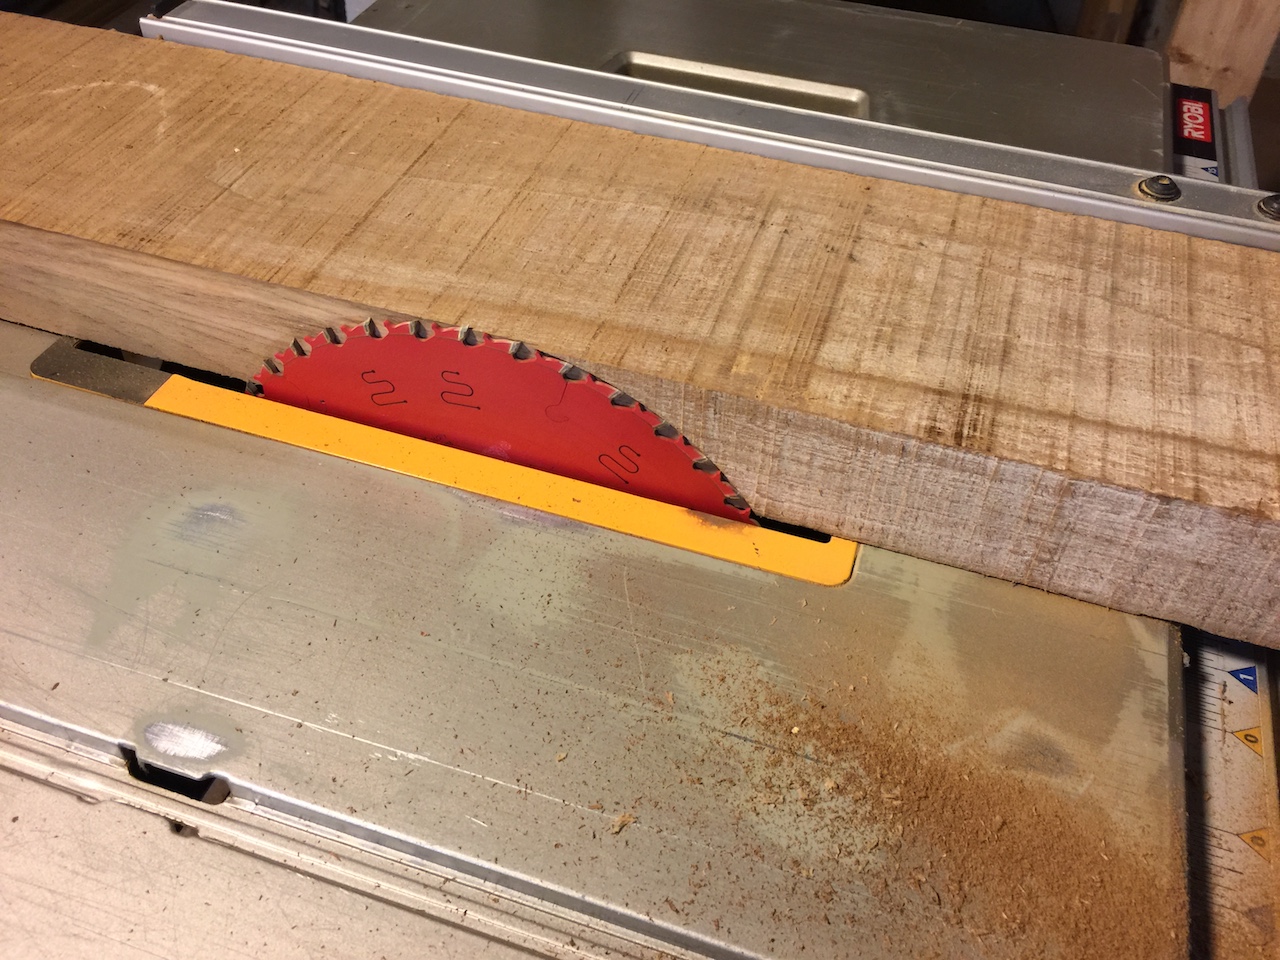
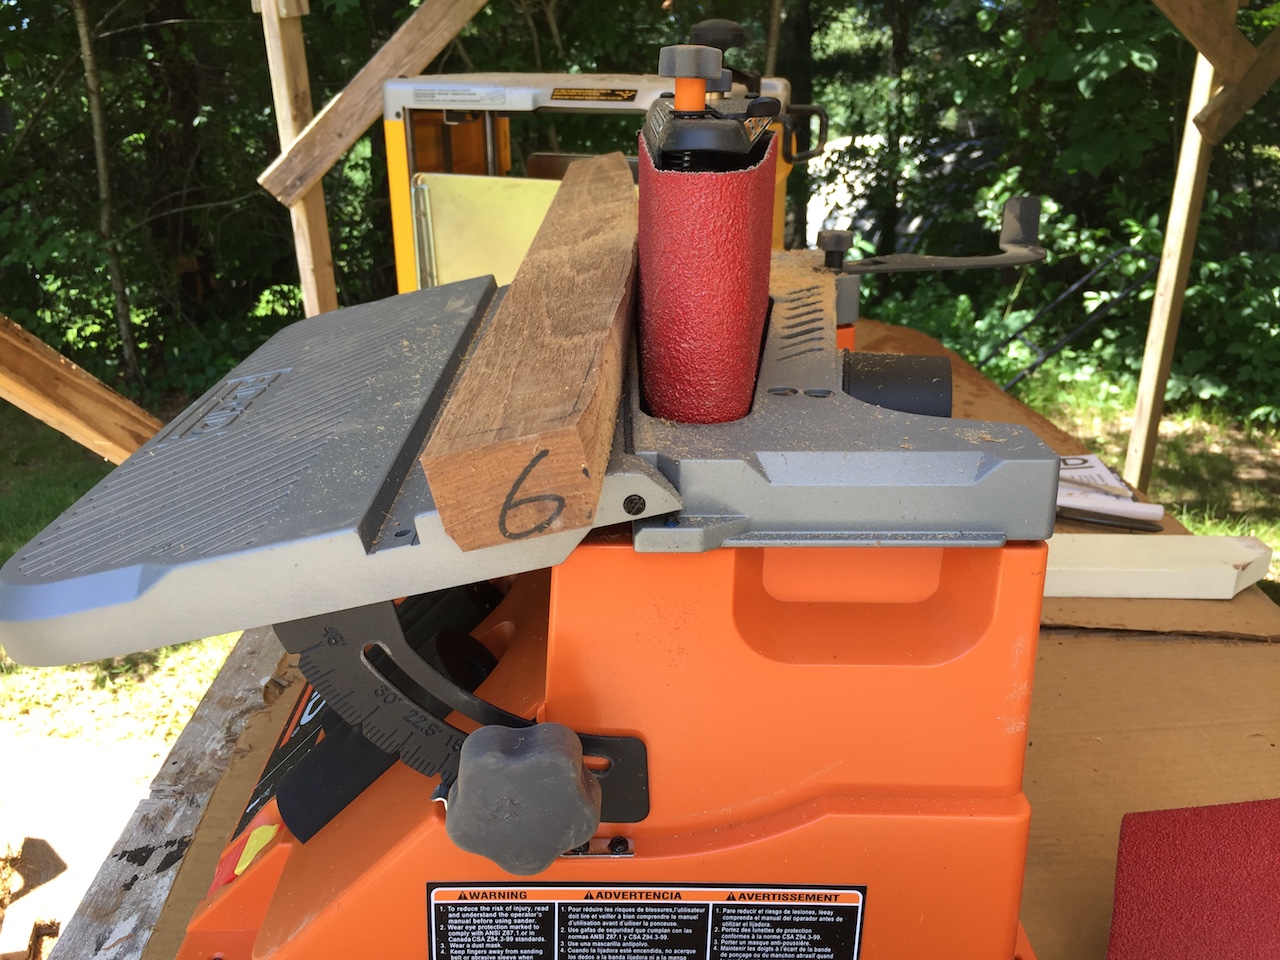
I then “cleaned up” an edge with the table saw, by barely skimming the edge with the blade.
The cabin top is arched, but I want the tops of the rails to be more or less parallel and in the same plane.
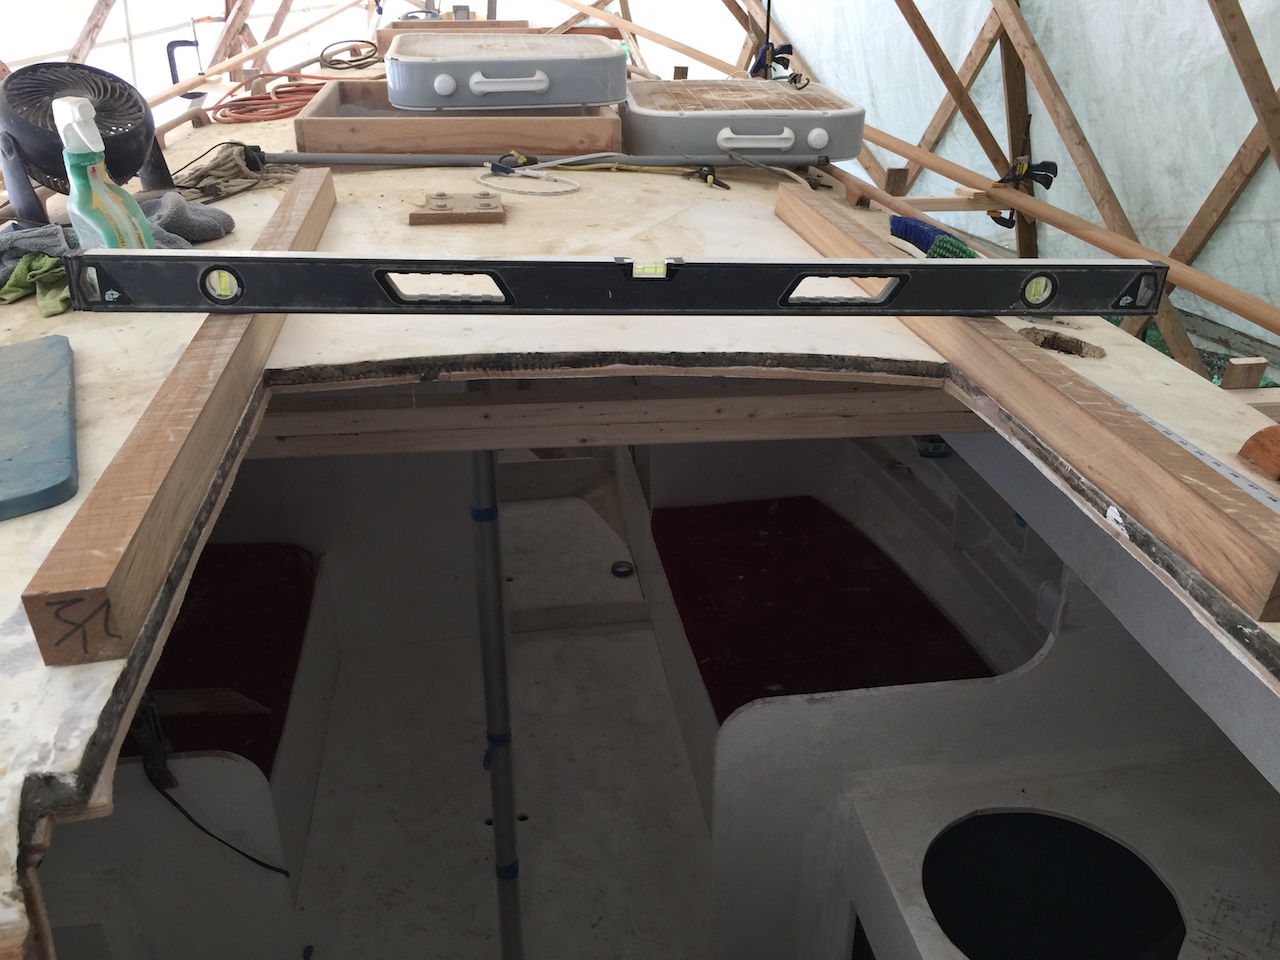
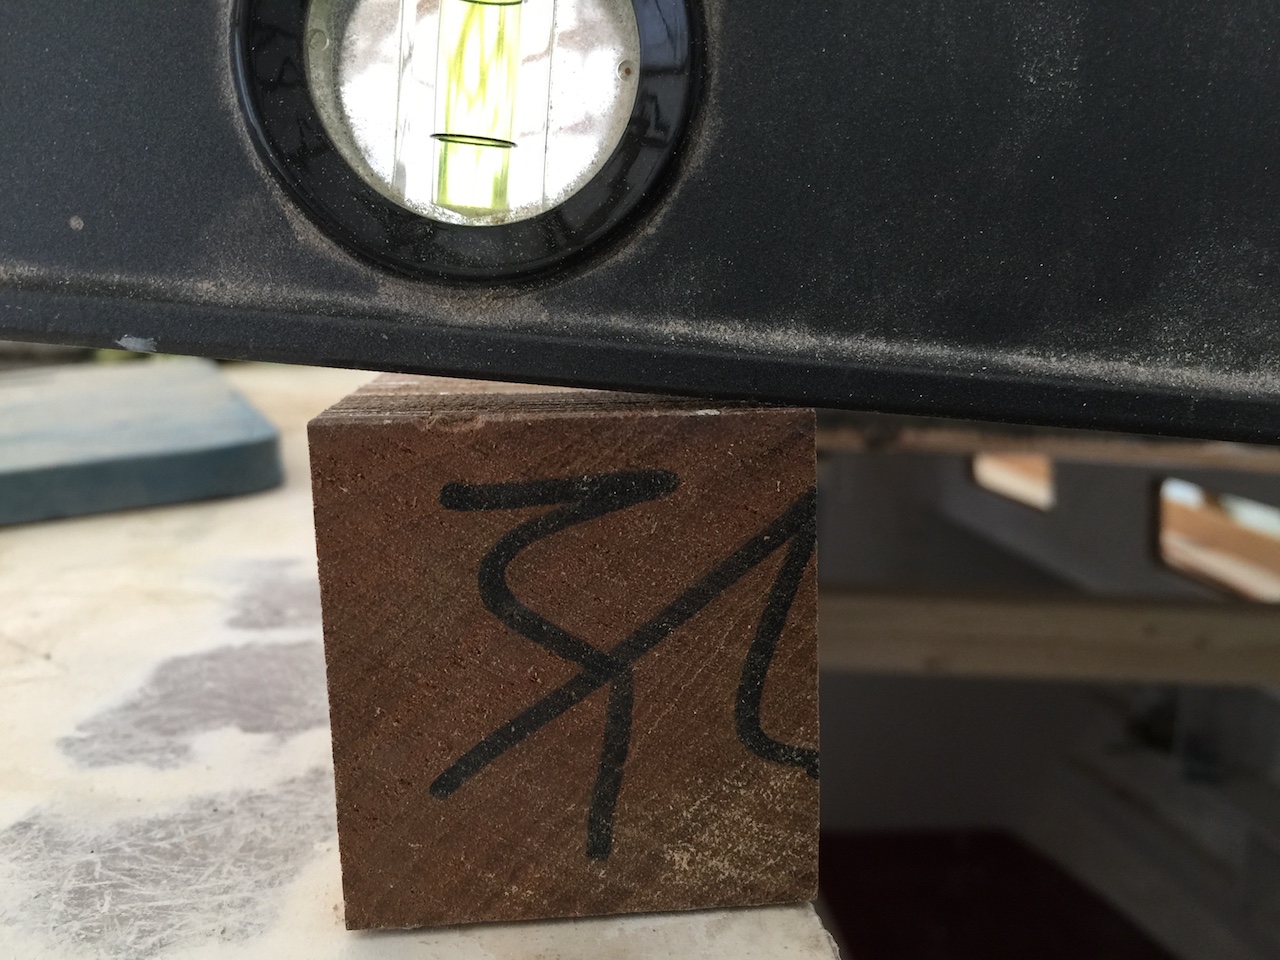
After cutting appropriate bevels, I was close (close enough).
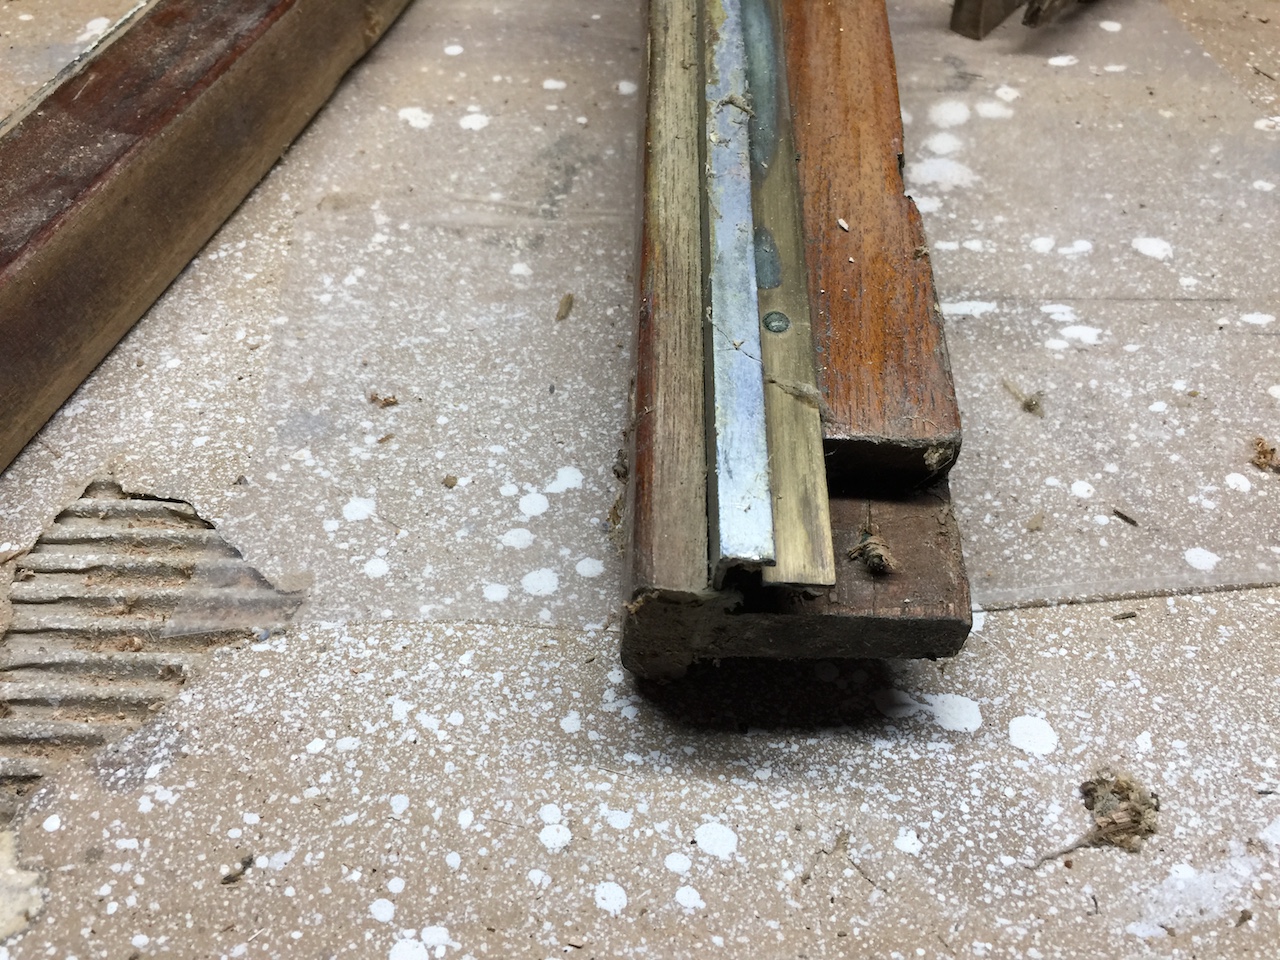
The rails require grooves to accept metal slides and make room for slides attached to the hatch,
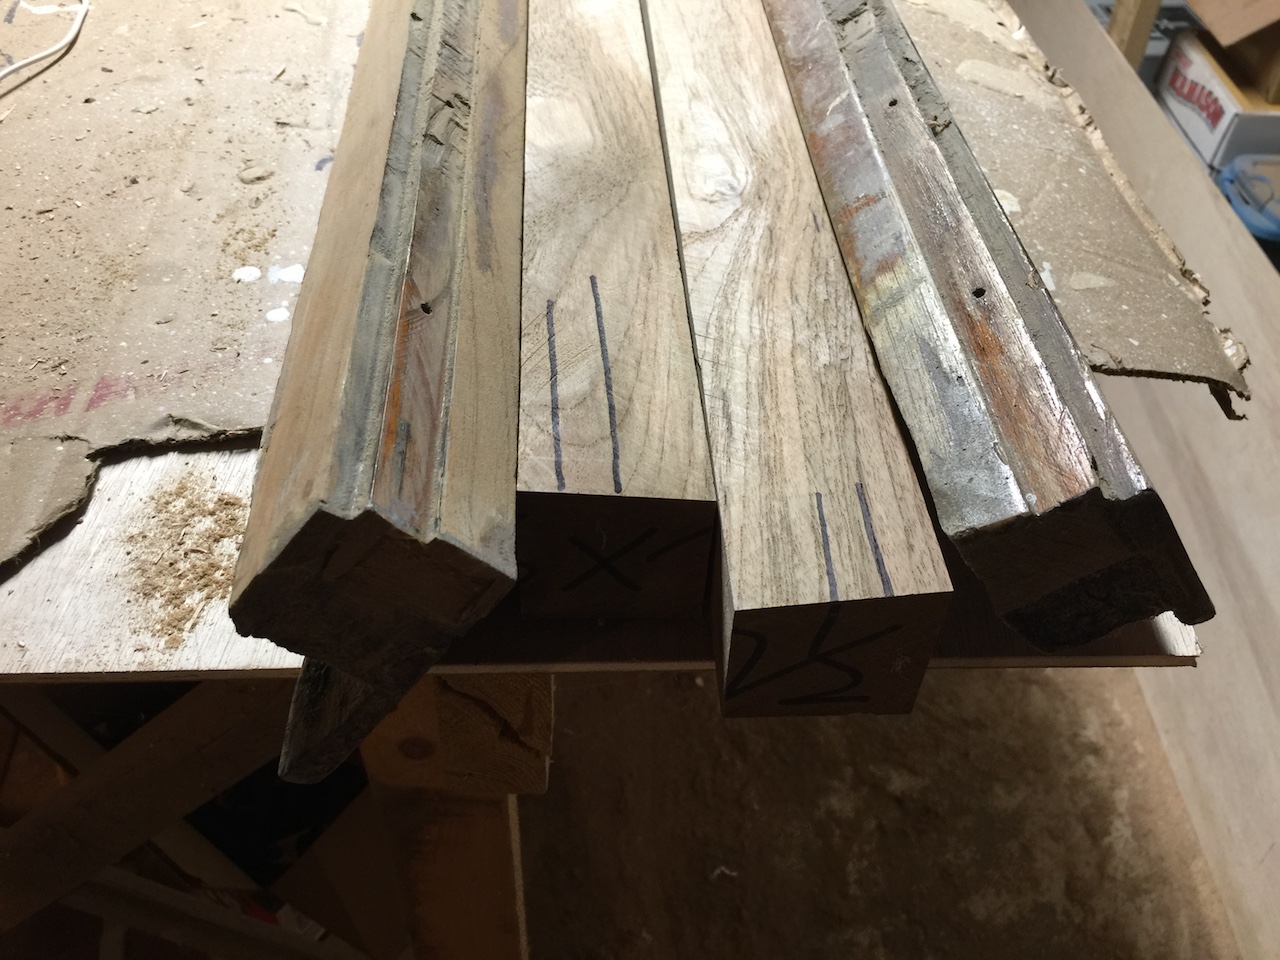
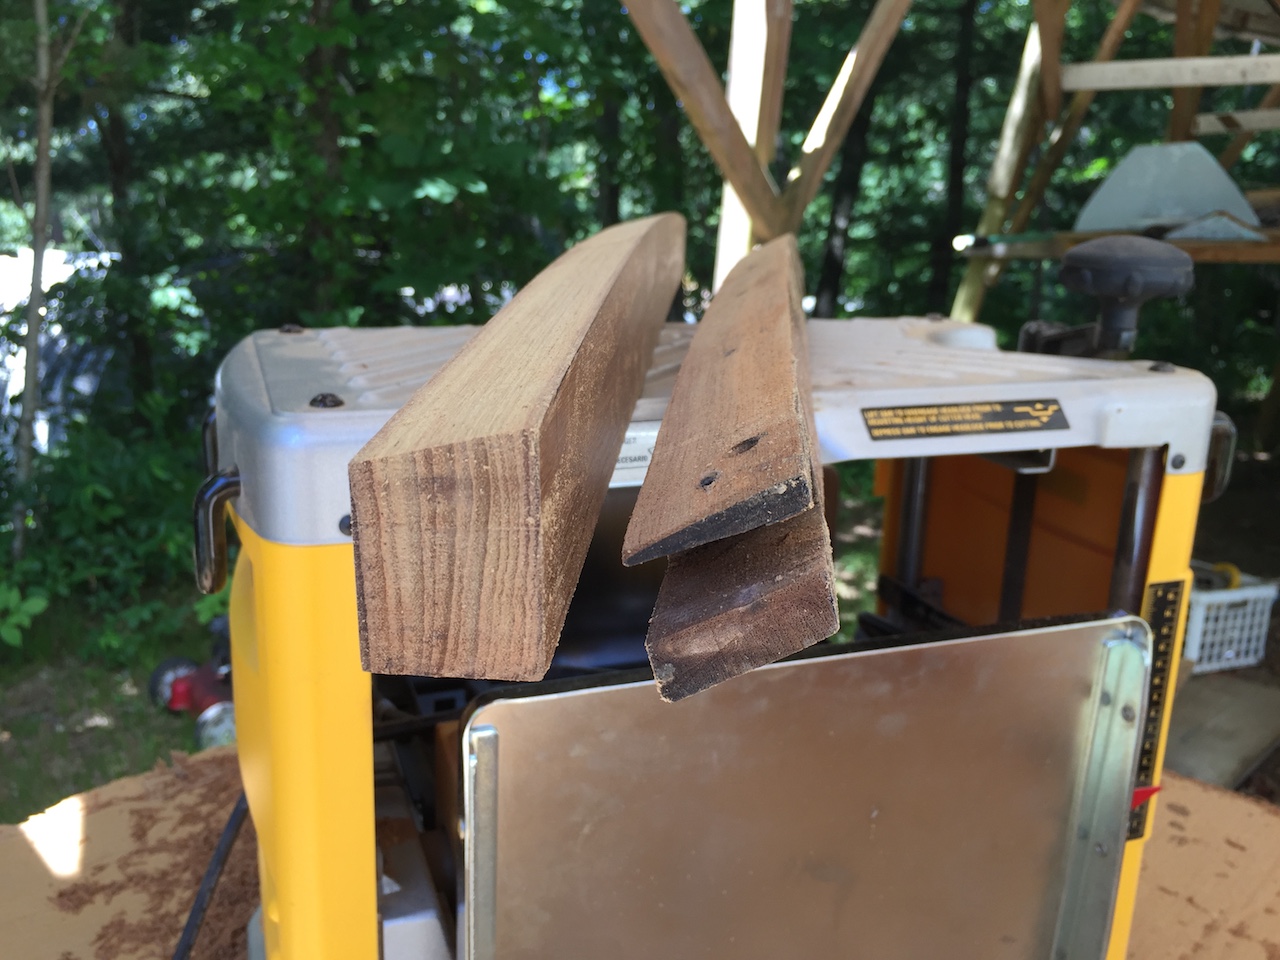
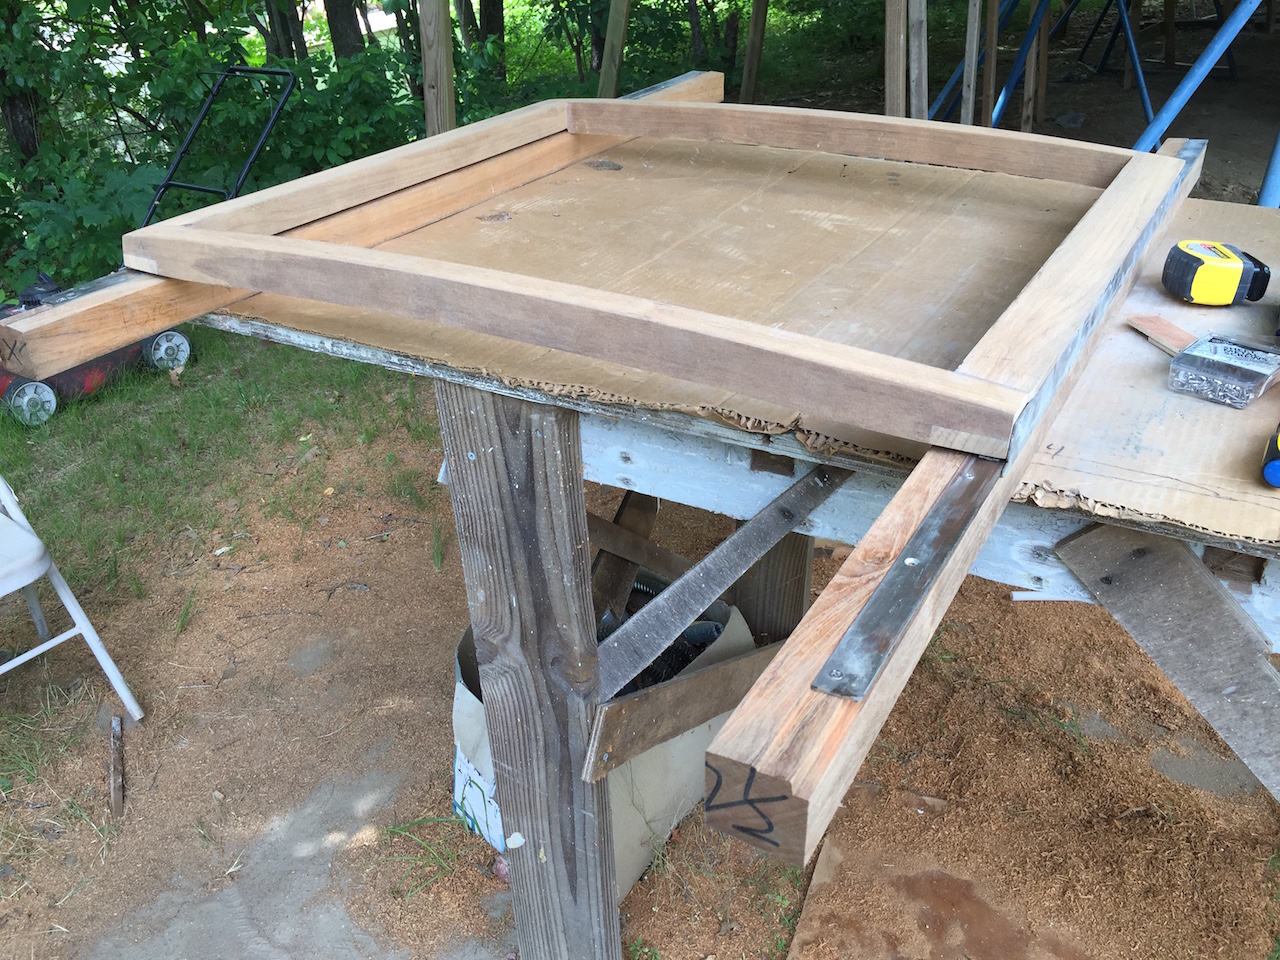
The hatch consists of a 4-piece frame and 3 piece of trim. Two of the frame pieces, shown below, are curved to match the curve of the cabin-top roof. The piece on the right is more complex because its cross section is not rectangular.

I began by tracing the pieces, then cutting roughly with the jig saw. Next, I used the hand plane to rough out the shape of the top side of the non-rectangular piece.
The rest of the shaping was done with the bench sander, whose table can be tilted to just the right angle,
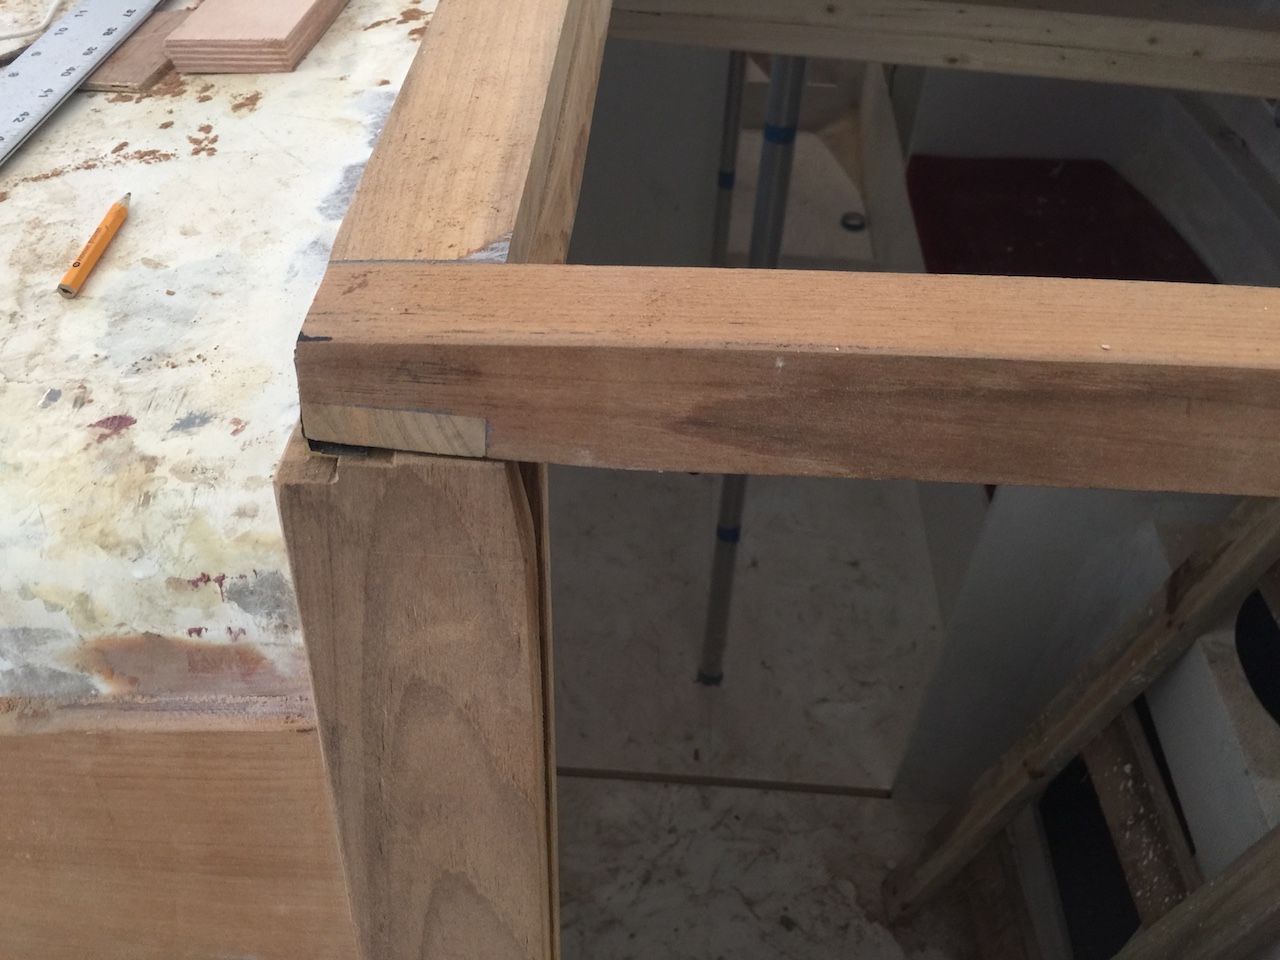
The four frame pieces were joined with half-lap joints. As usual, with half-lap joints, I used the dado set to make the main cuts, but extra attention was required because of the not-square cross section of the aft frame piece.

The side pieces required slight recesses, which I cut with the table saw.
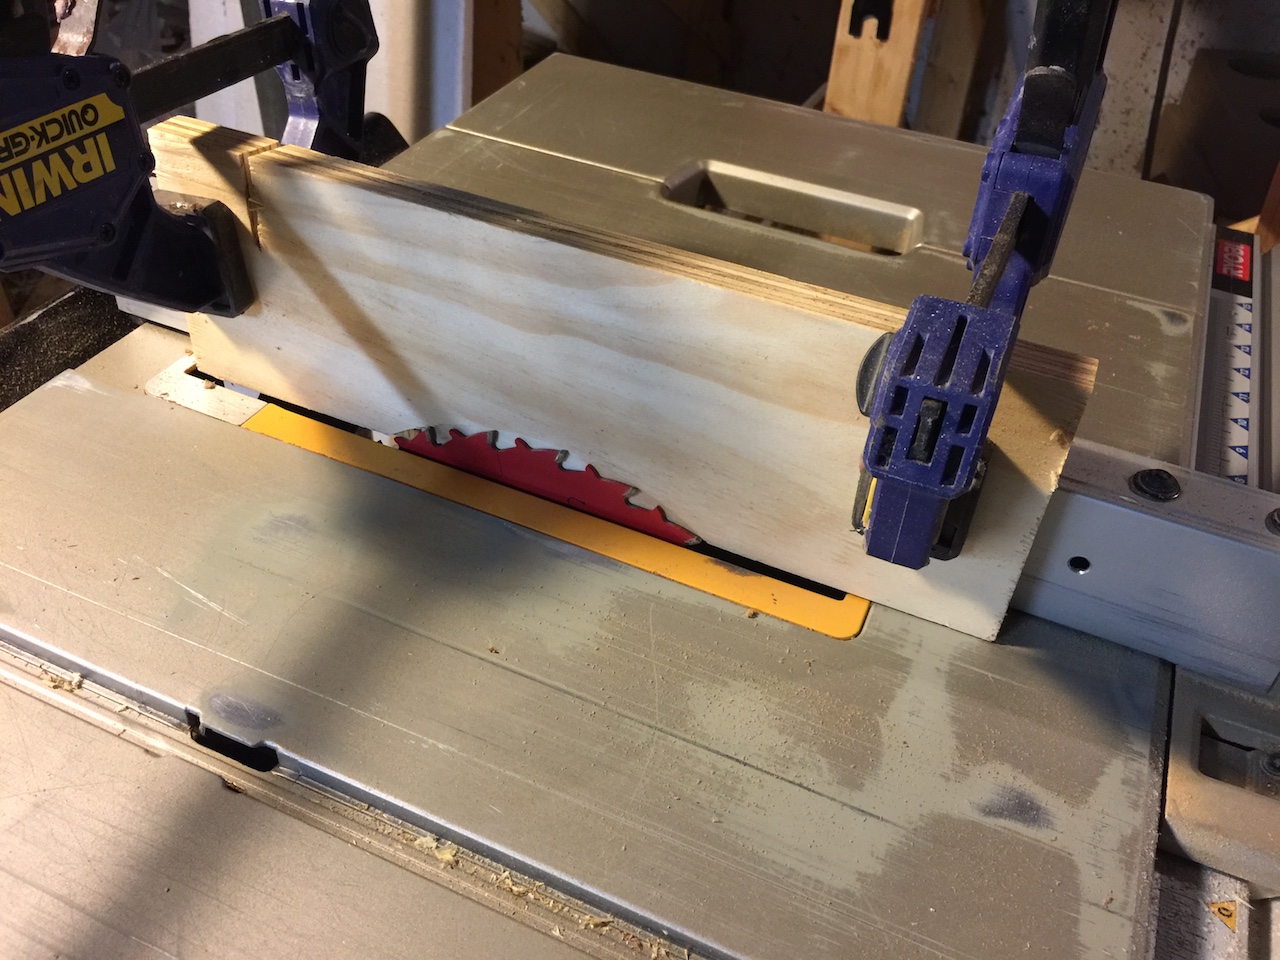
The recesses accept the metal hardware that prevents the hatch from lifting off the metal rails.
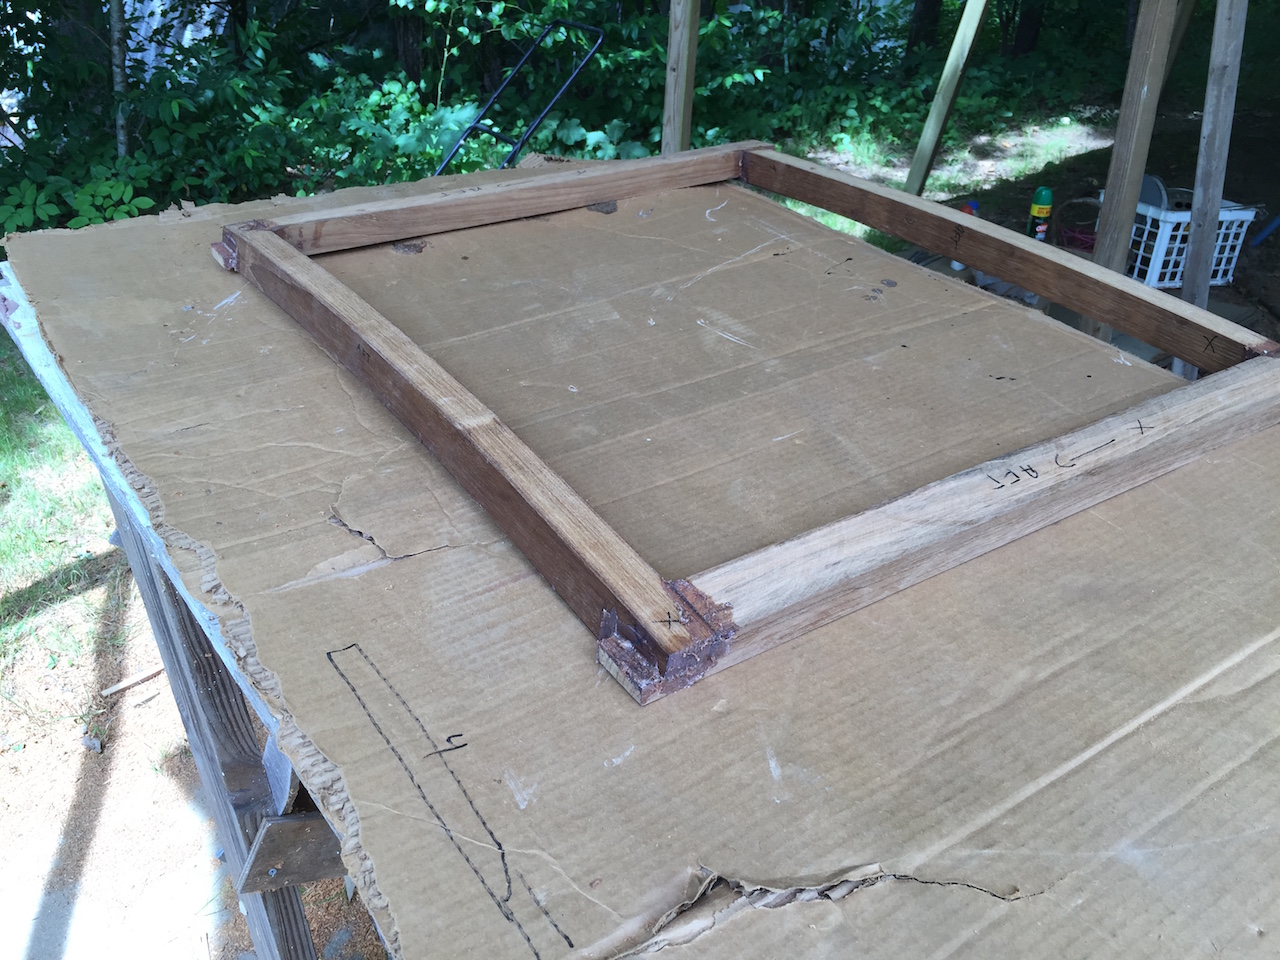
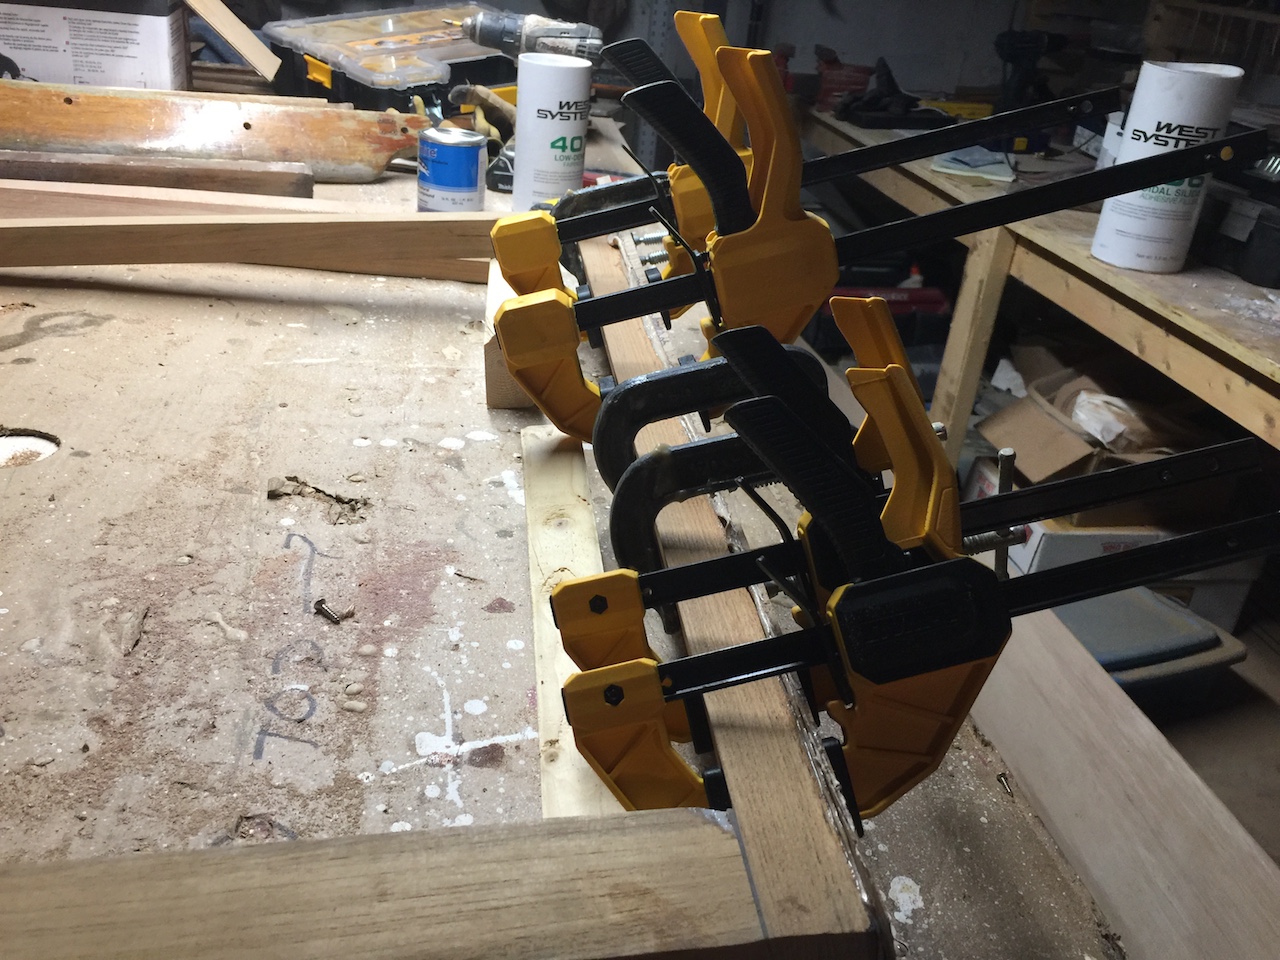
Finally, I glued it all up with thickened epoxy.
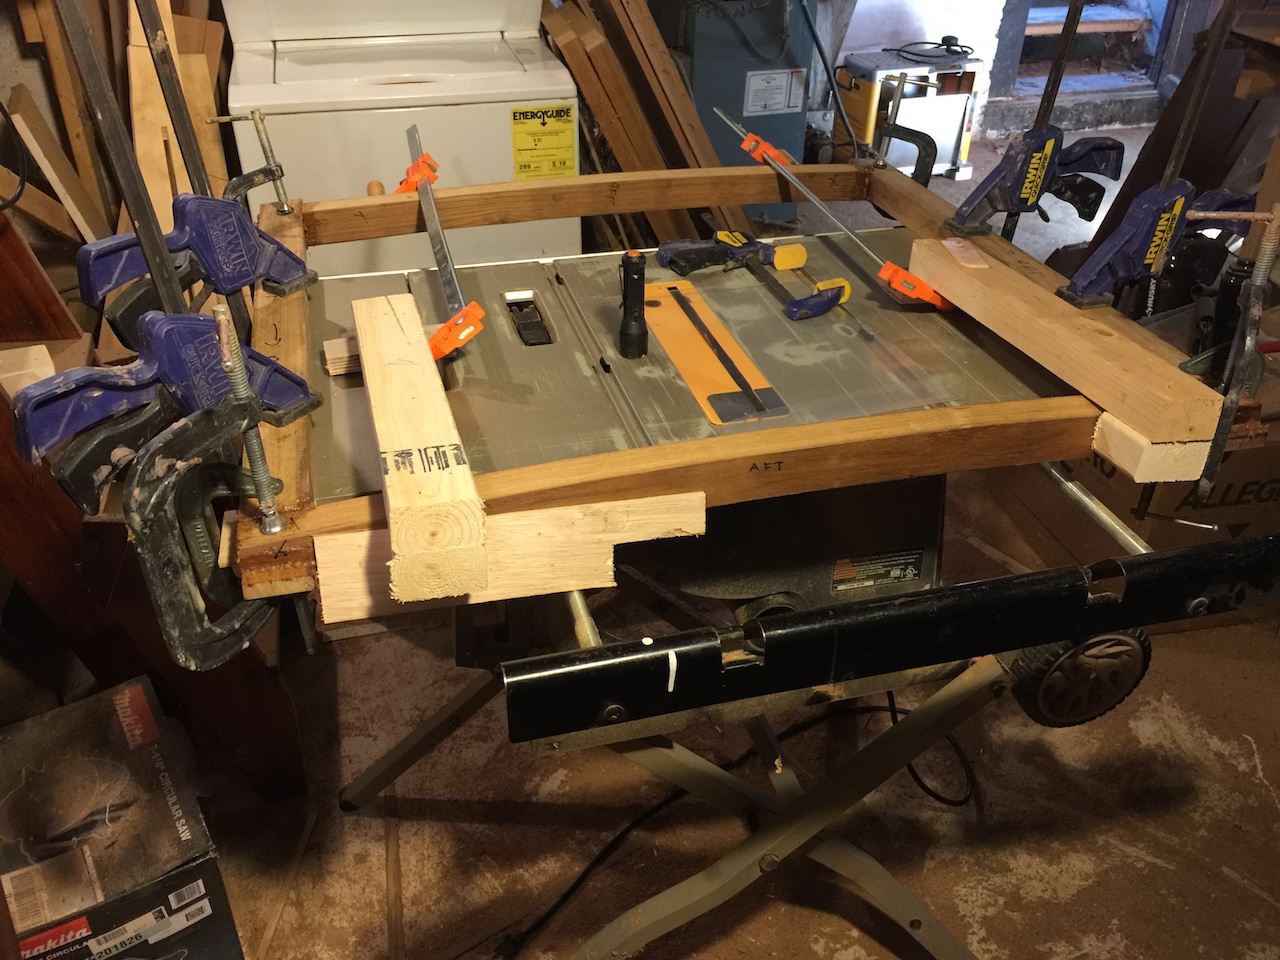
There was still plenty of work to do after coming out of the clamps.
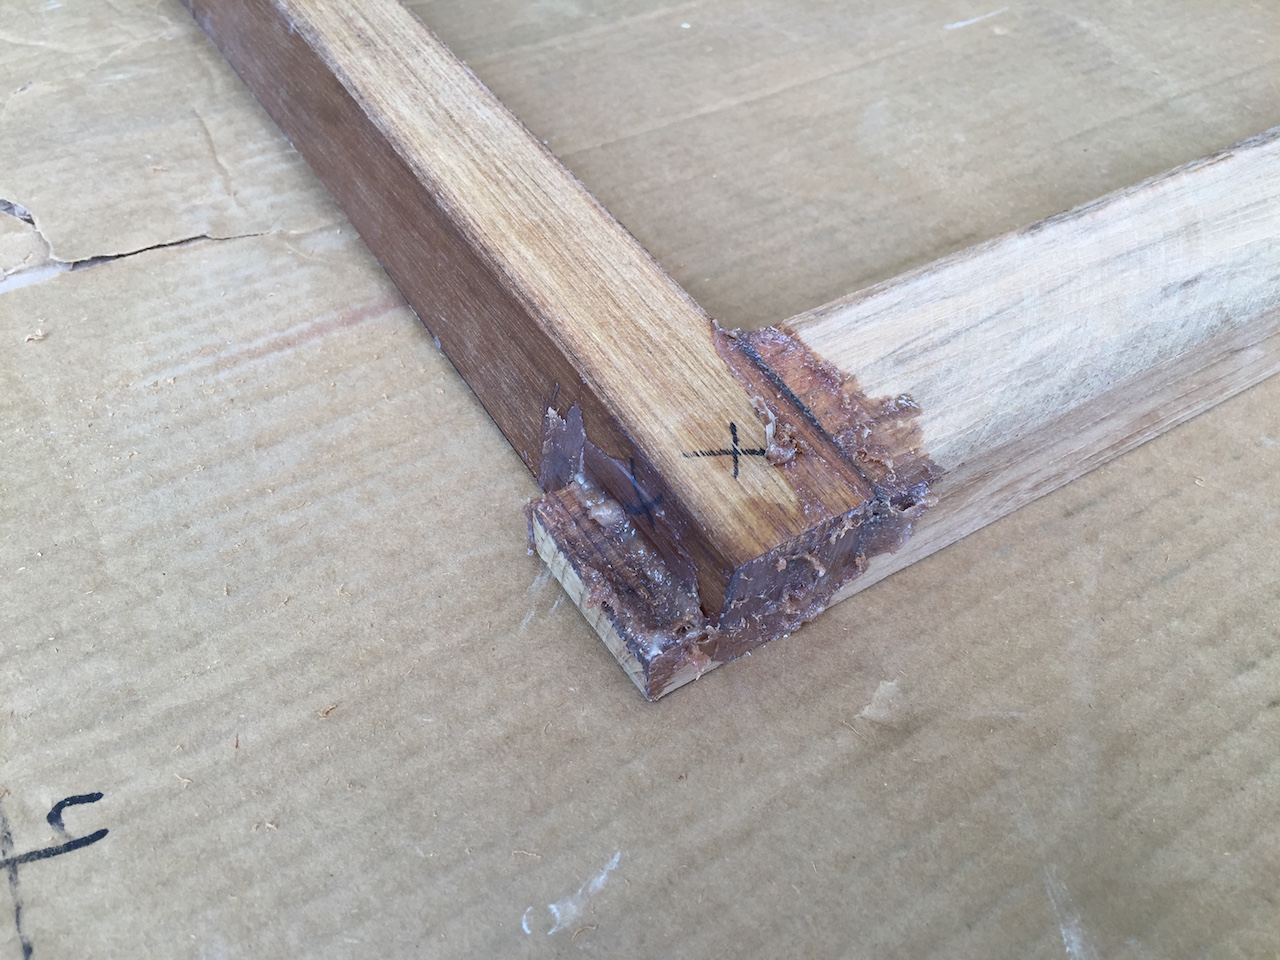
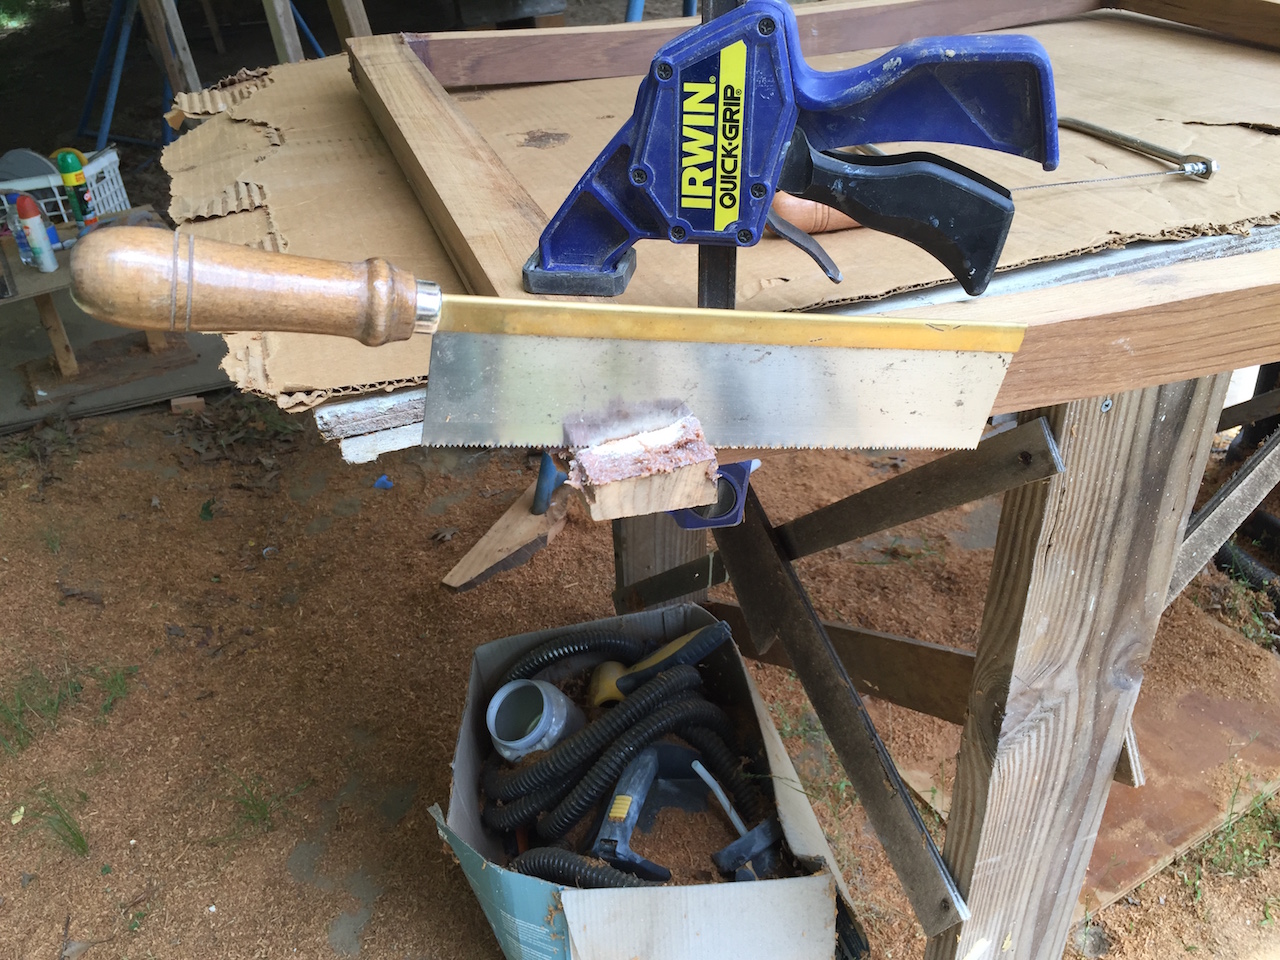
I’ve never used my dovetail saw to cut a dovetail joint, but it has occasionally been useful.
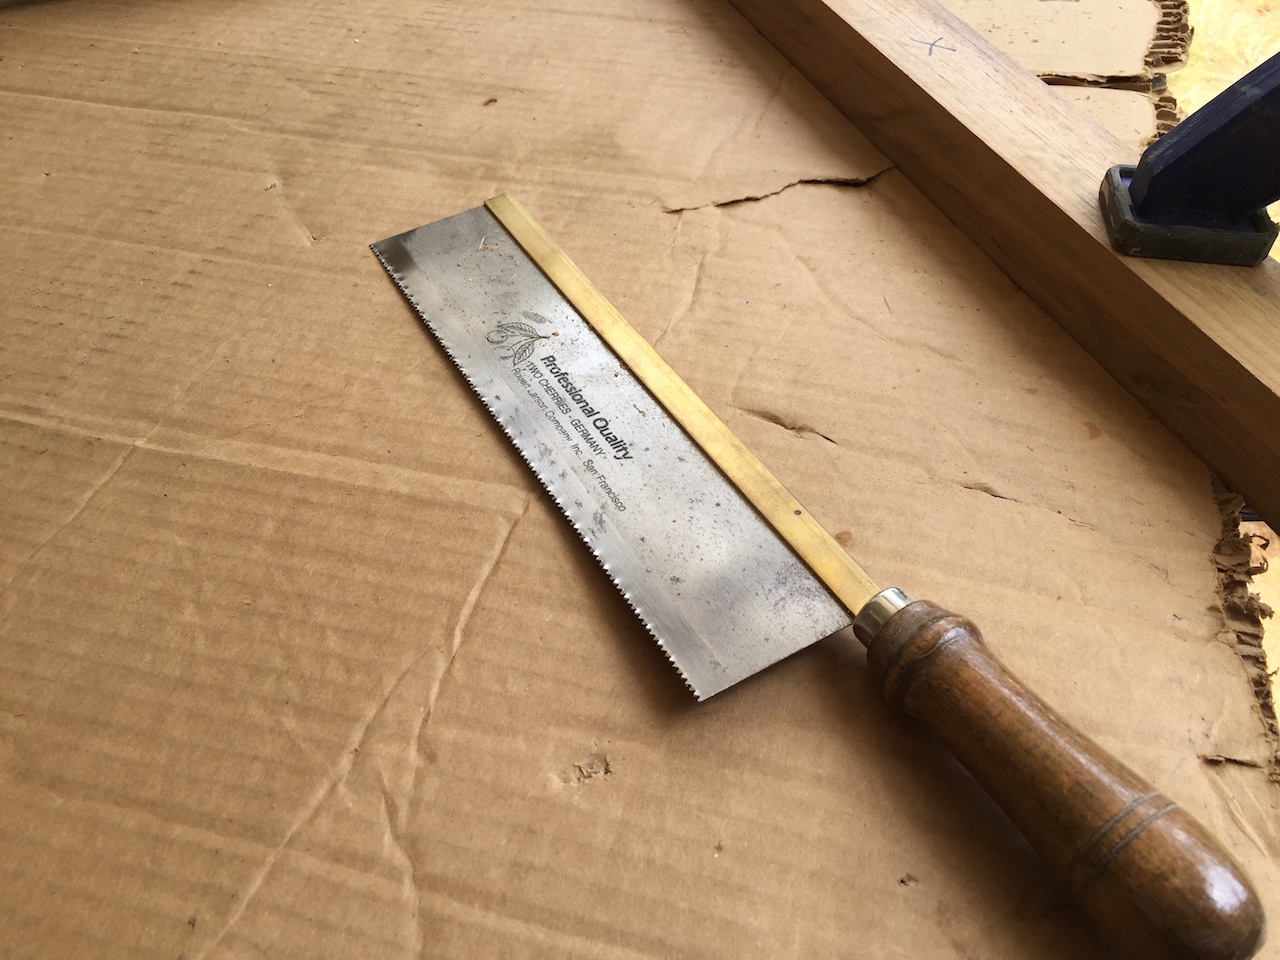
Is this case, I used it to cut the overhangs close, to minimize the amount of sanding required.
I attached the metal hardware temporarily.
Up on the boat, I determined the location for the rails.
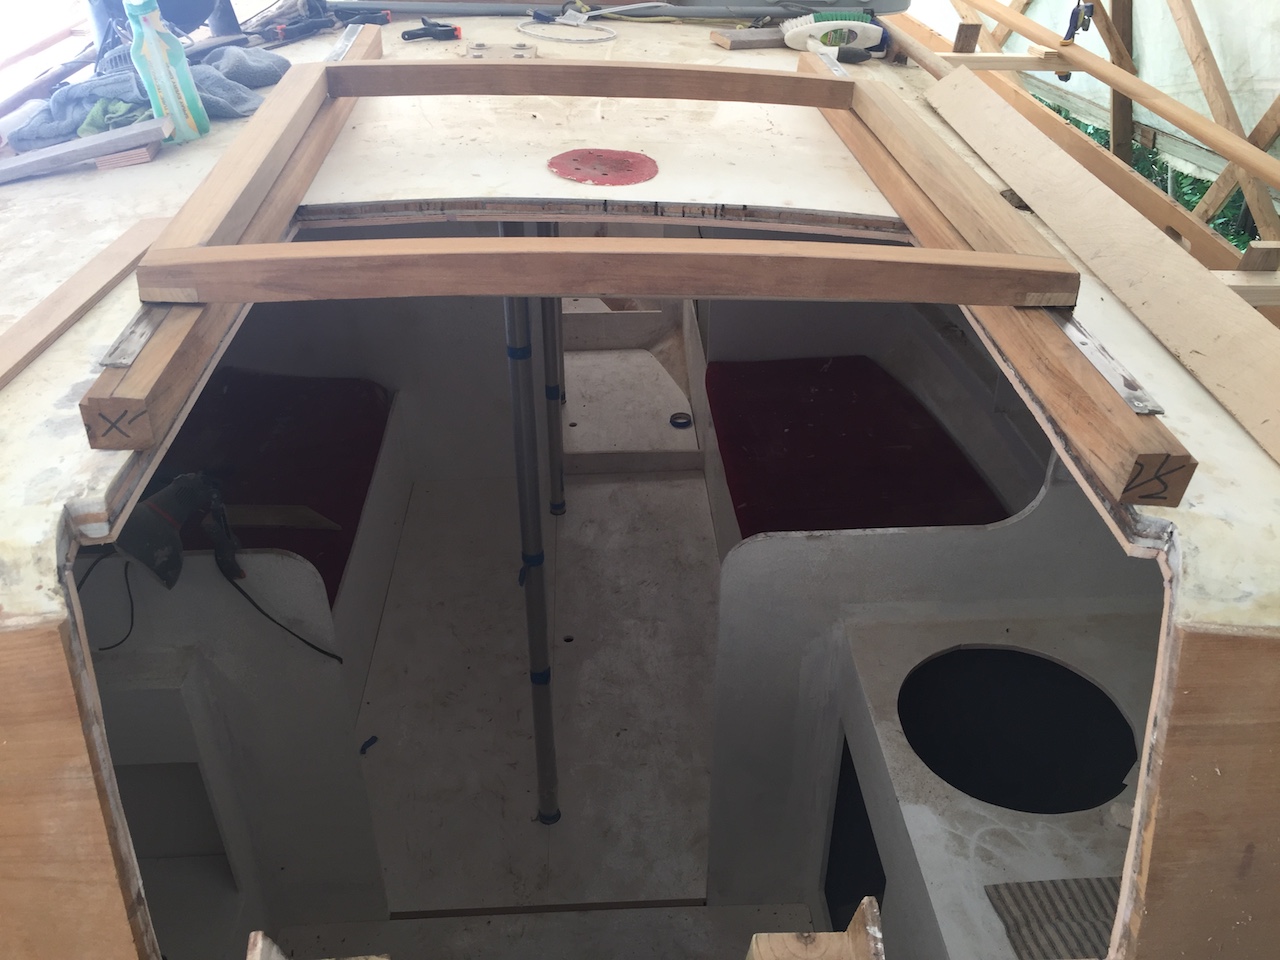
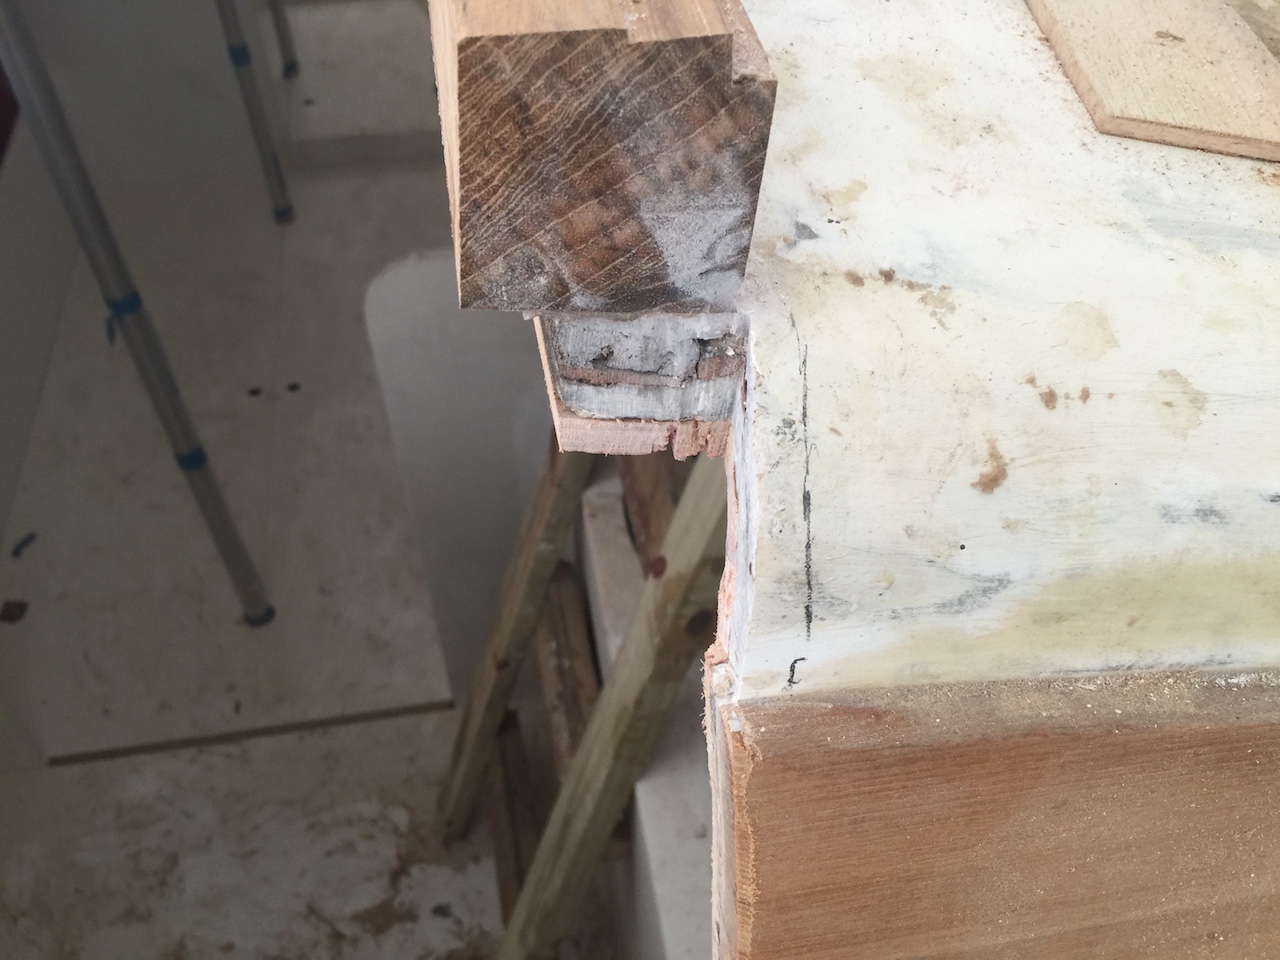
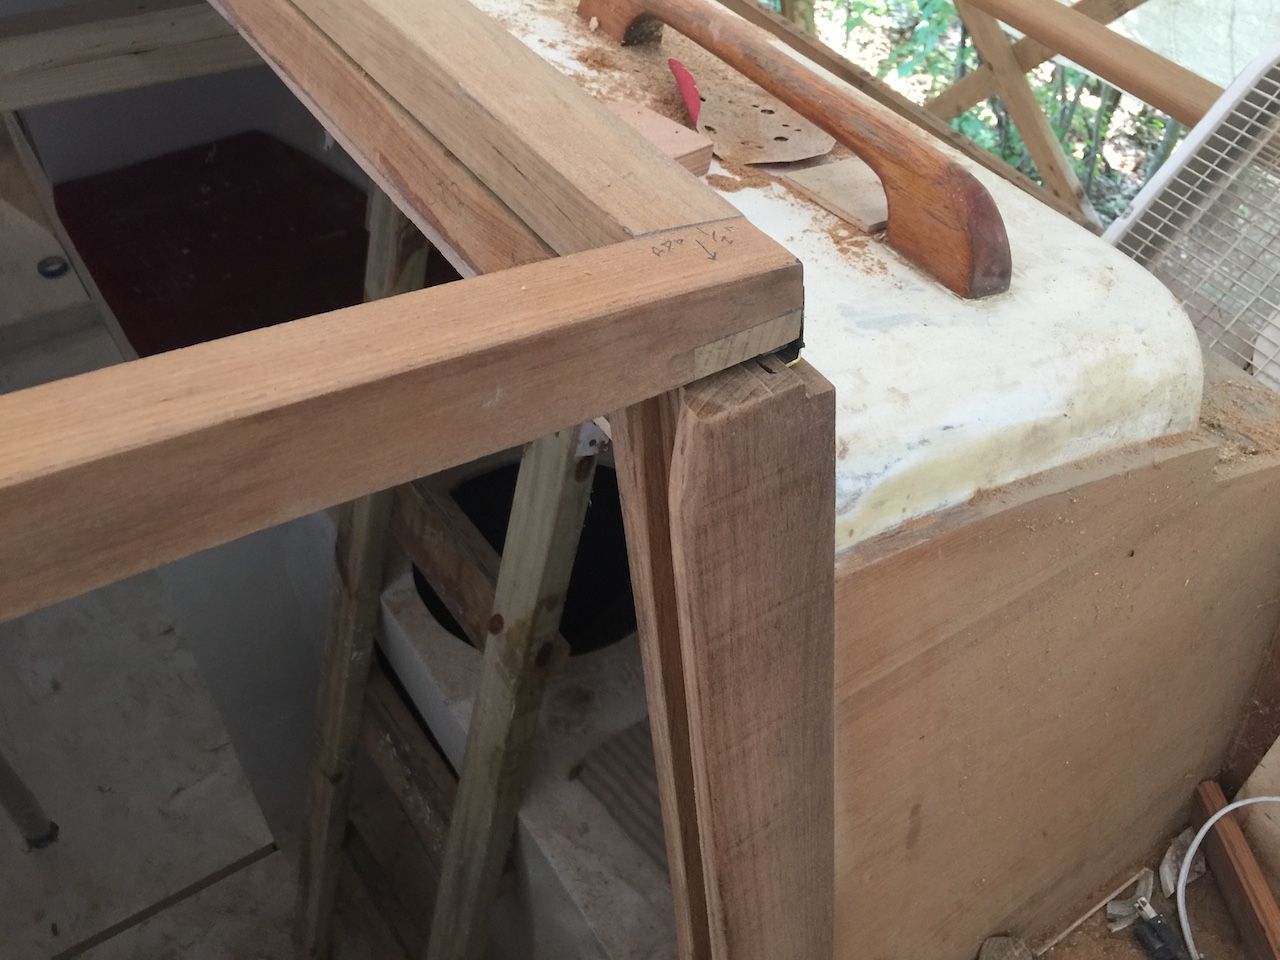
I shaped shaped the aft ends of the rails to fit the curve of the cabin roof, then attached them permanently with epoxy and screws.
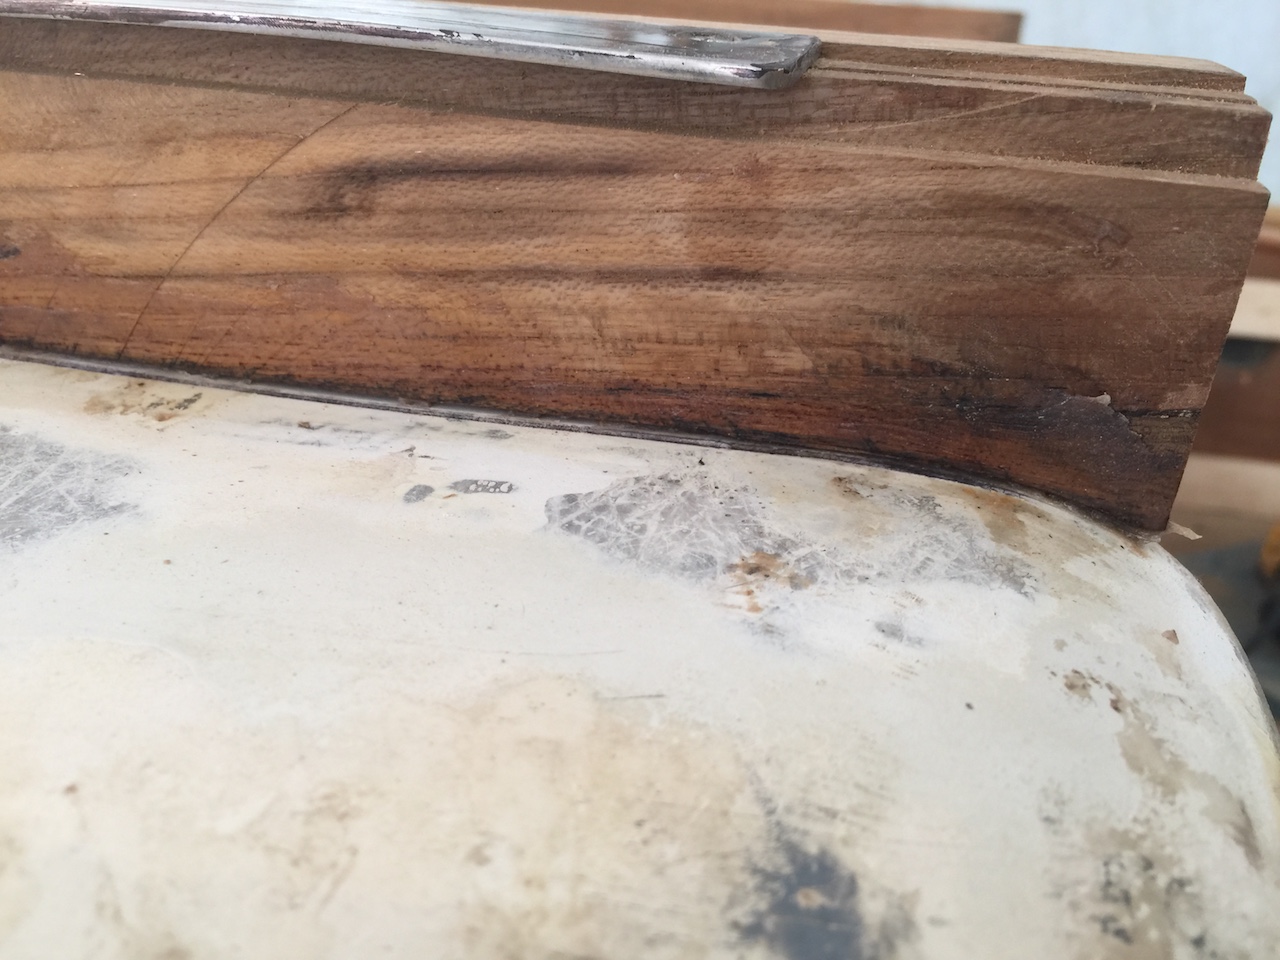
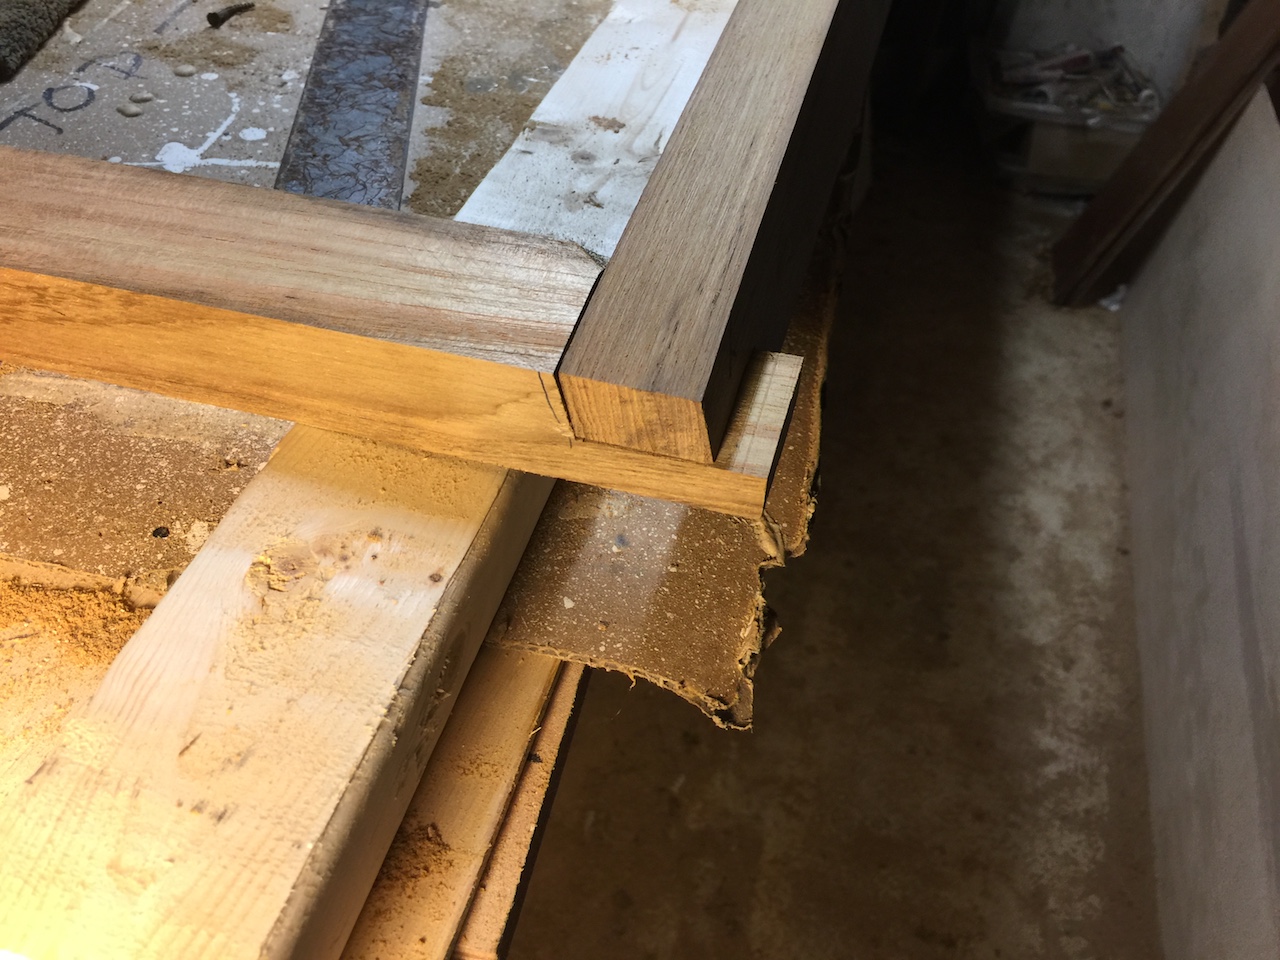
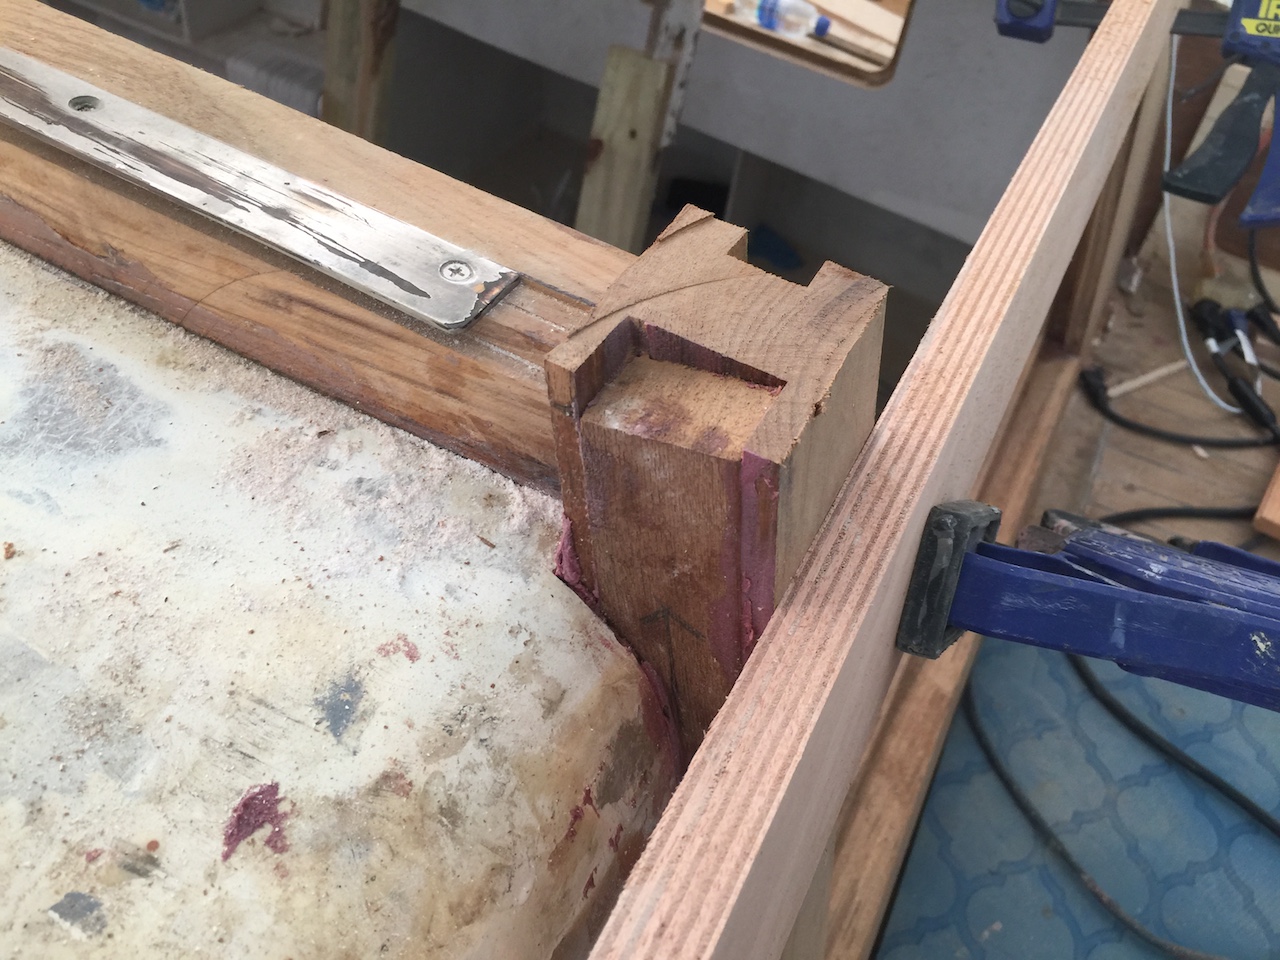
Next, I trimmed the aft ends so that the companionway molding would join up with the rails properly.
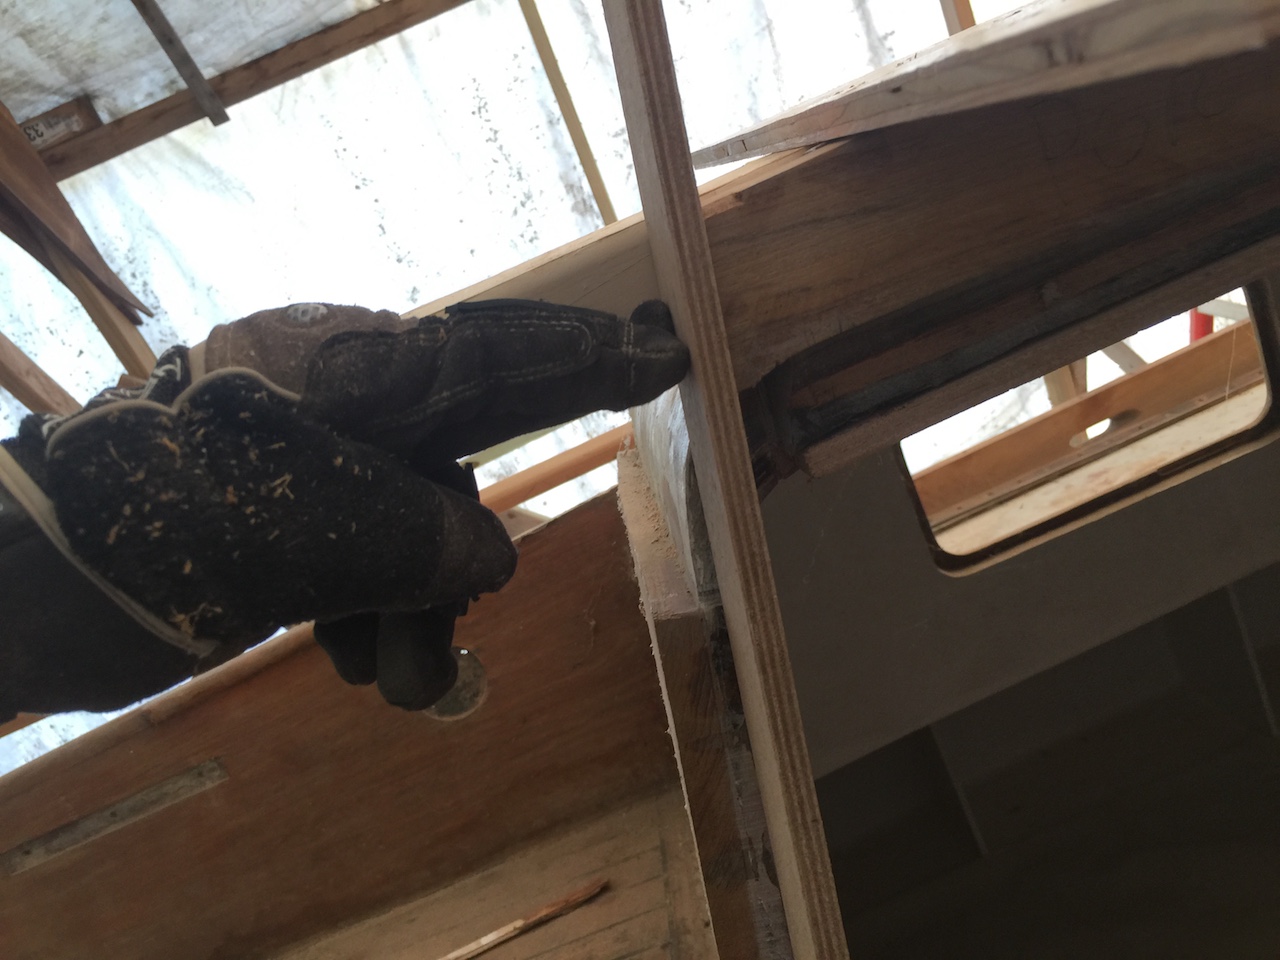
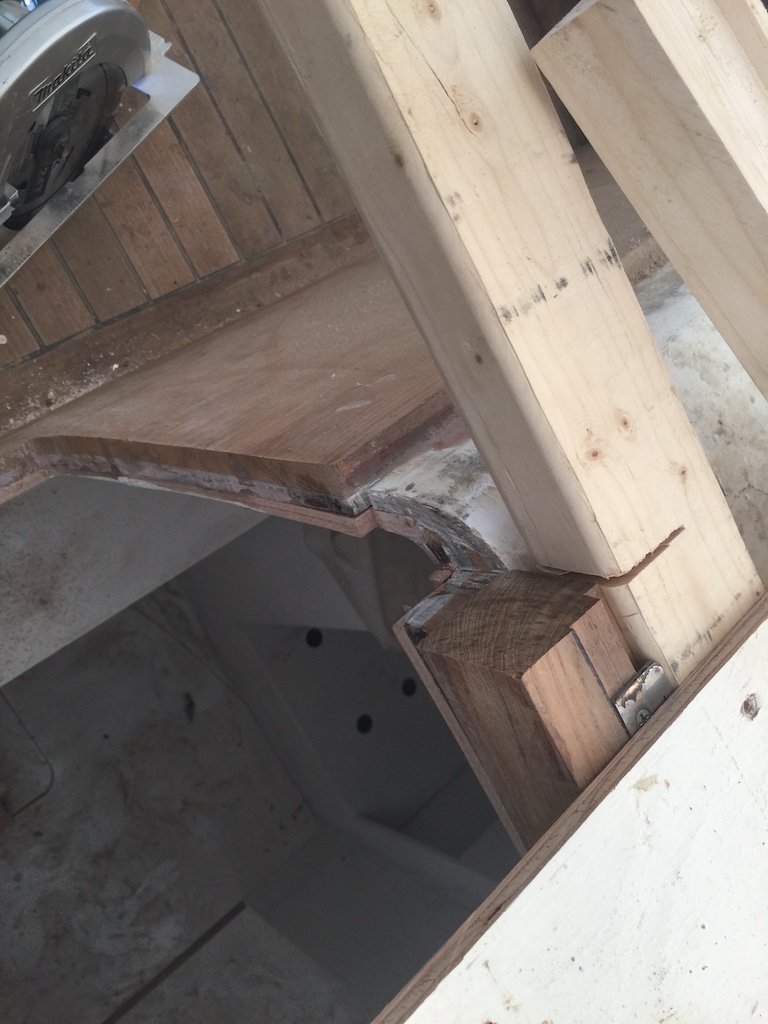
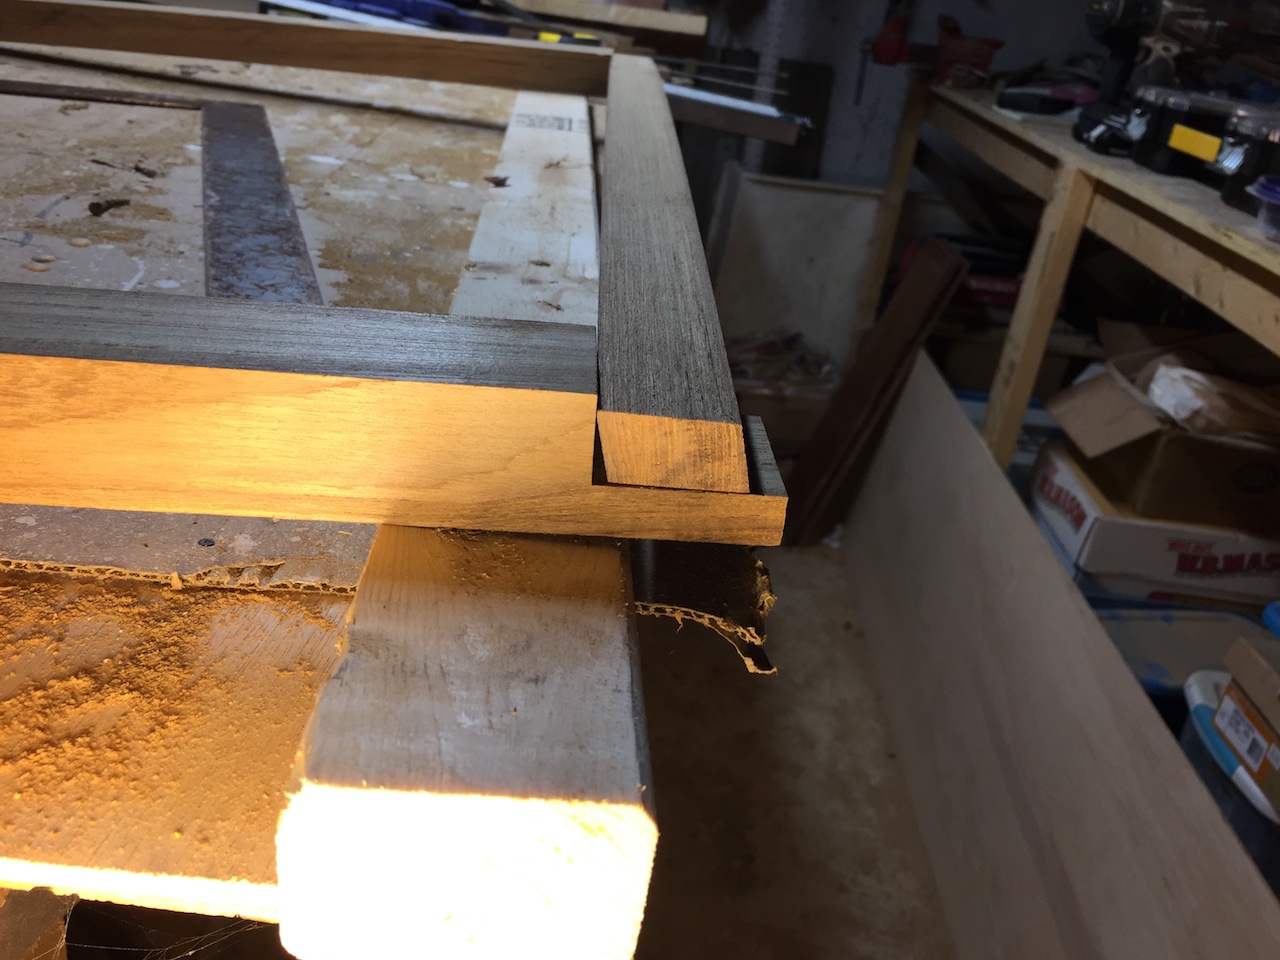
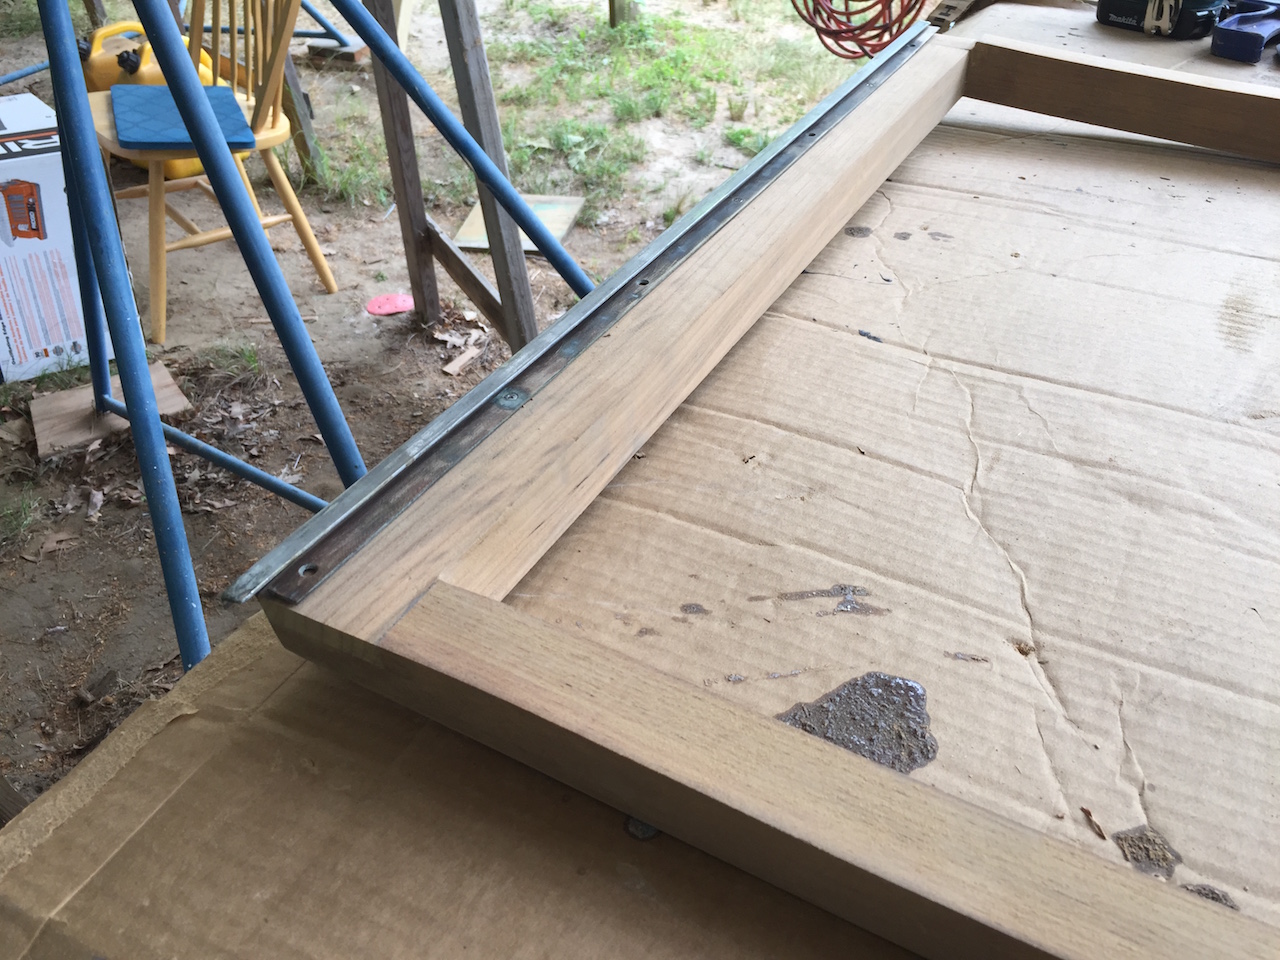
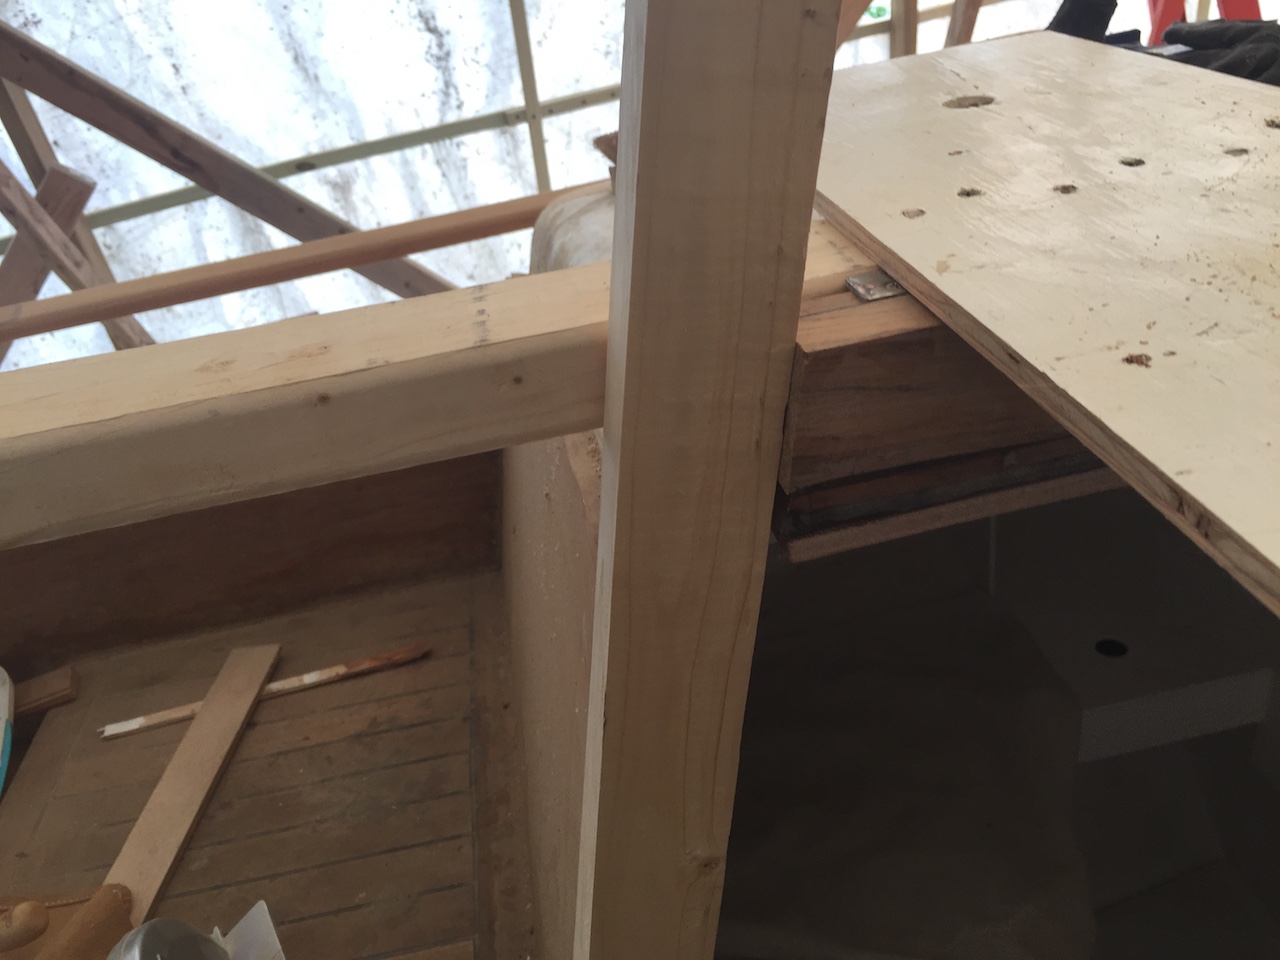
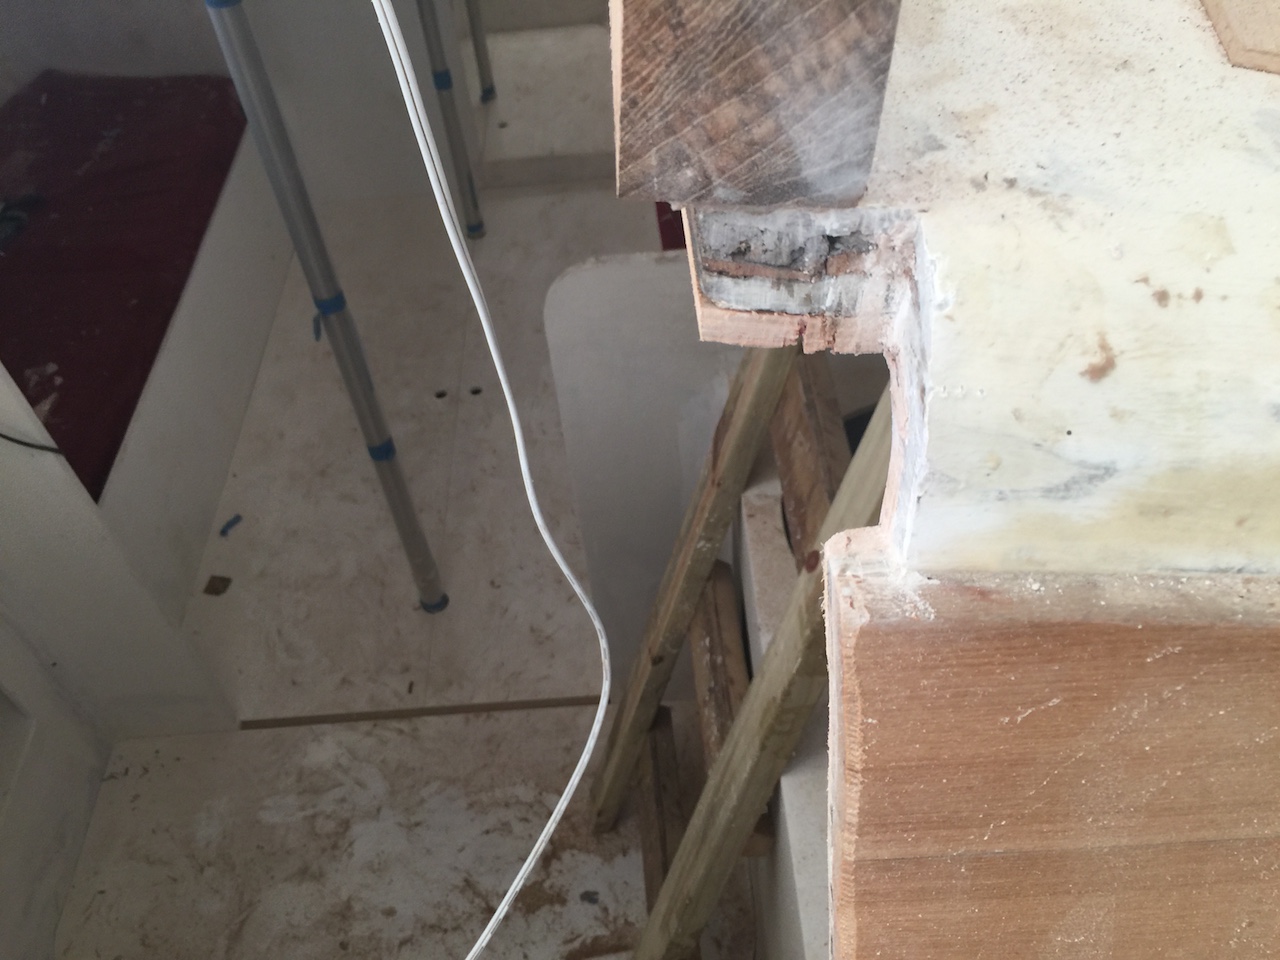
To assist in this process I mocked up a molding piece with some scrap wood.
Here you can see that it does, indeed, mate well with the port rail.
The actual companionway molding was, of course, made from teak.
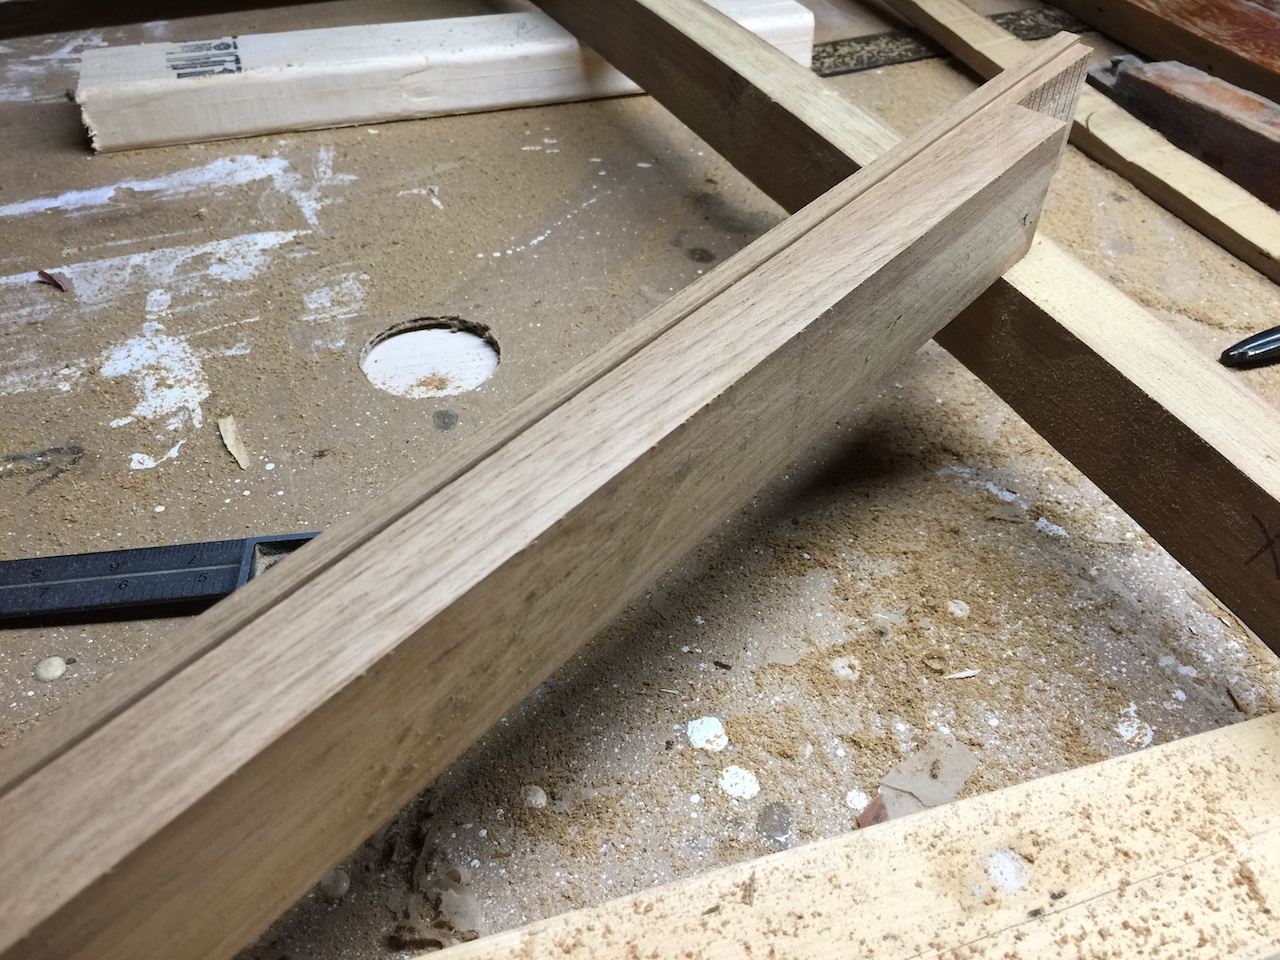
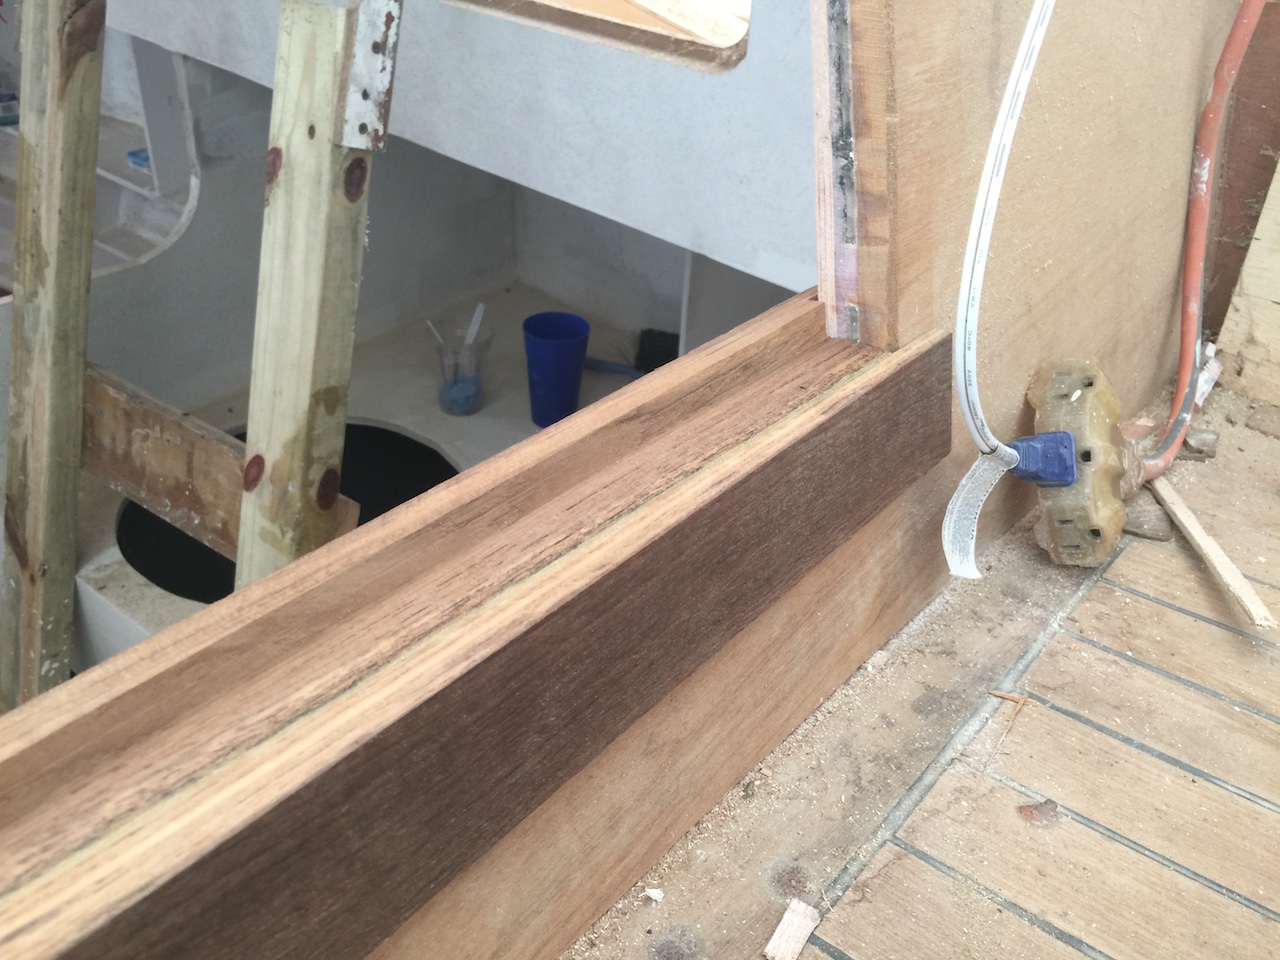
I used the dado set to cut the outboard grooves in the vertical pieces and the downward-facing groove in the sill piece.
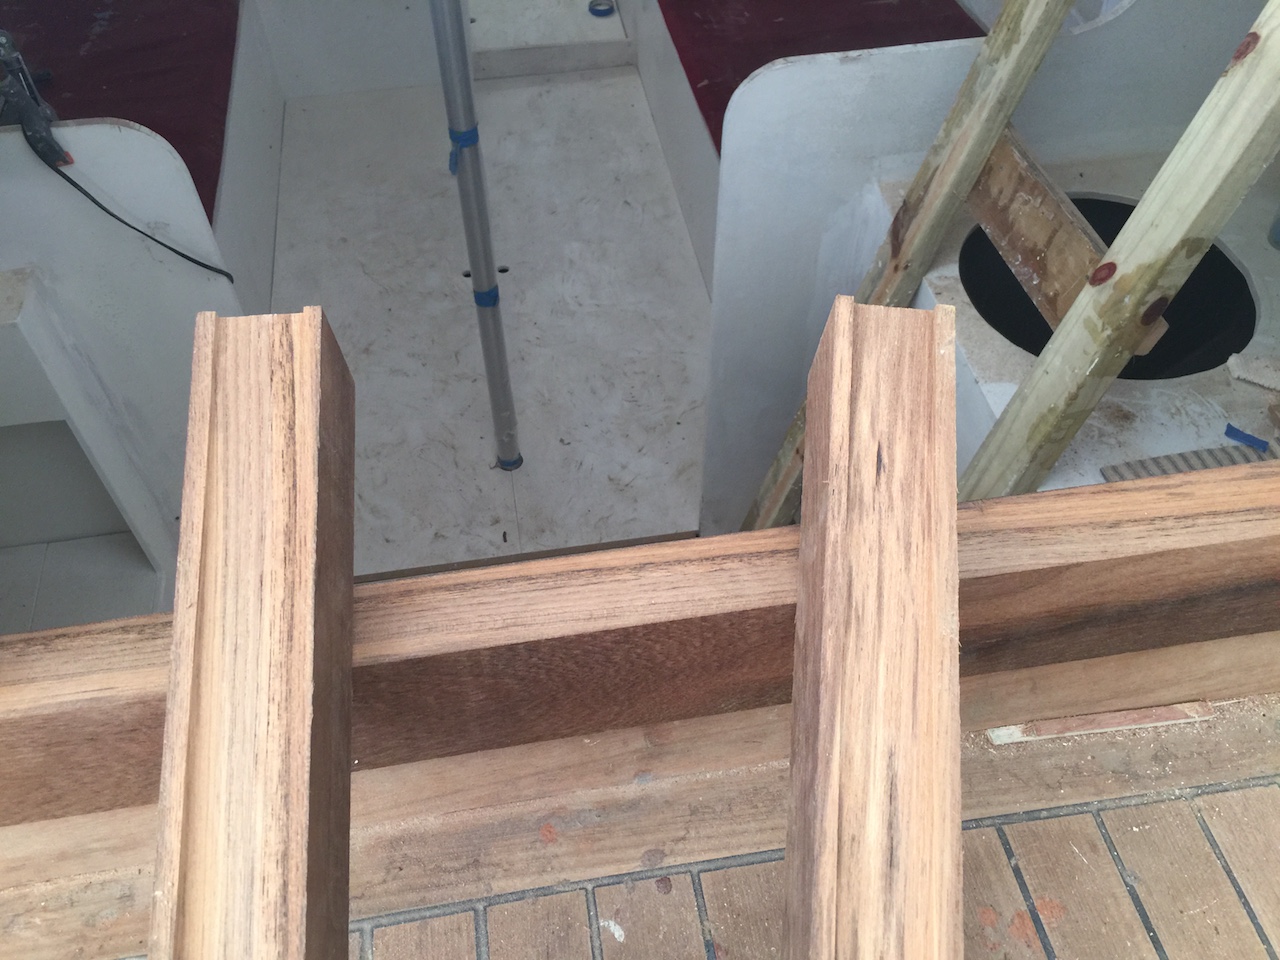
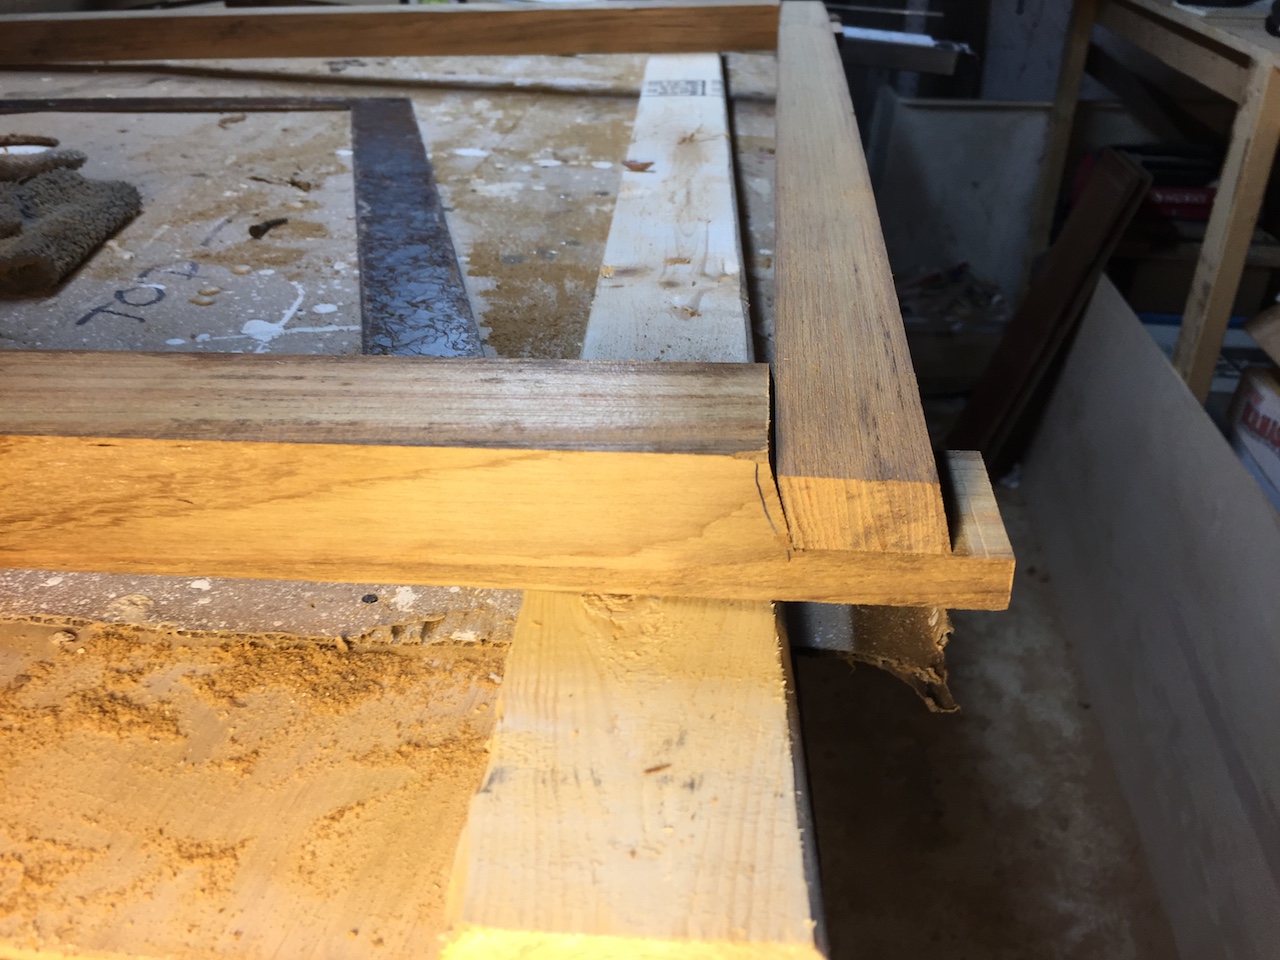
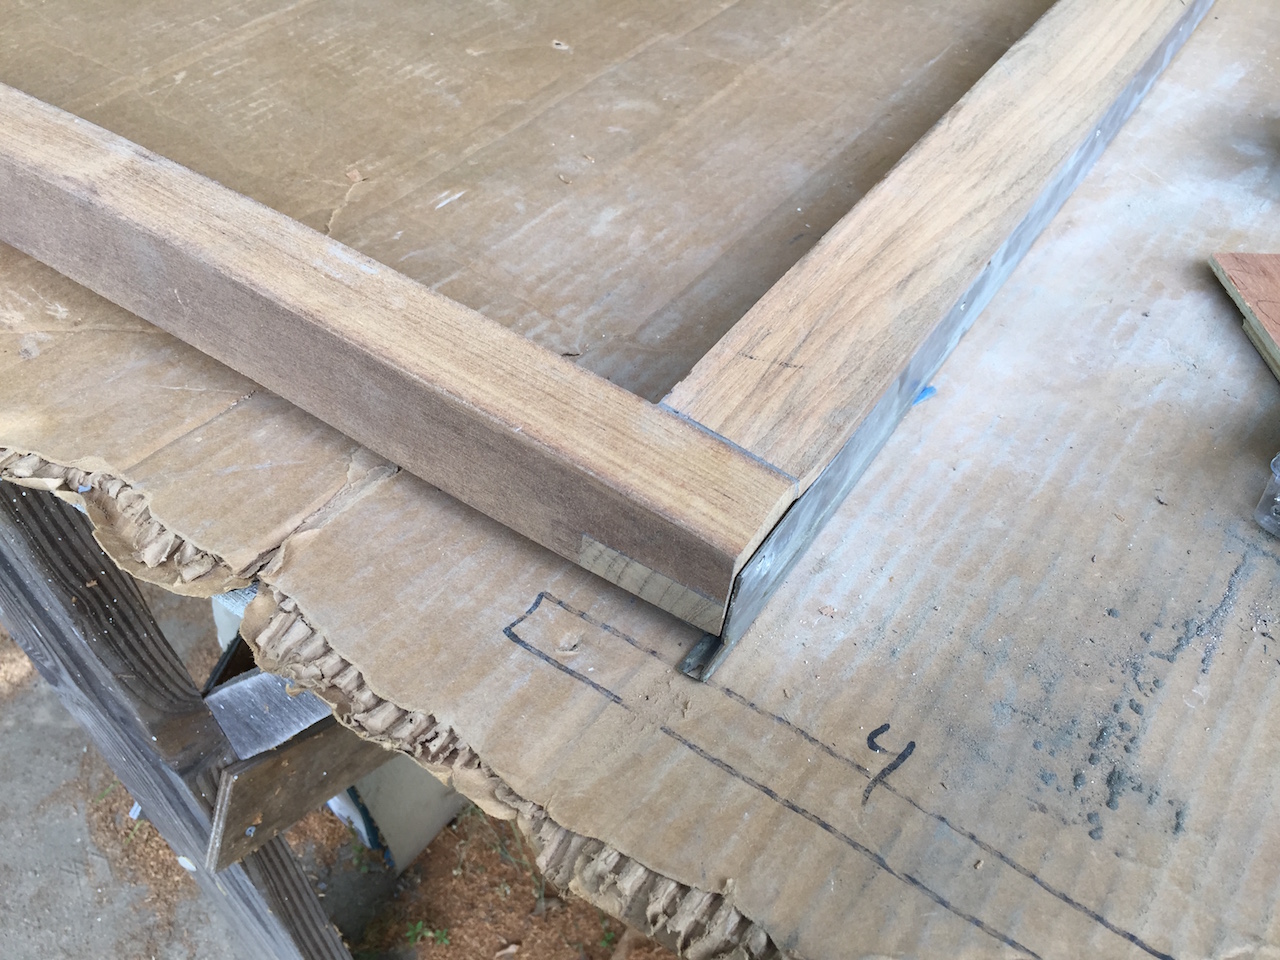
With just shallow grooves I did a quick test fit, as shown below.
The grooves were cut much deeper, and I had to cut back a little in the cabin top to accommodate.
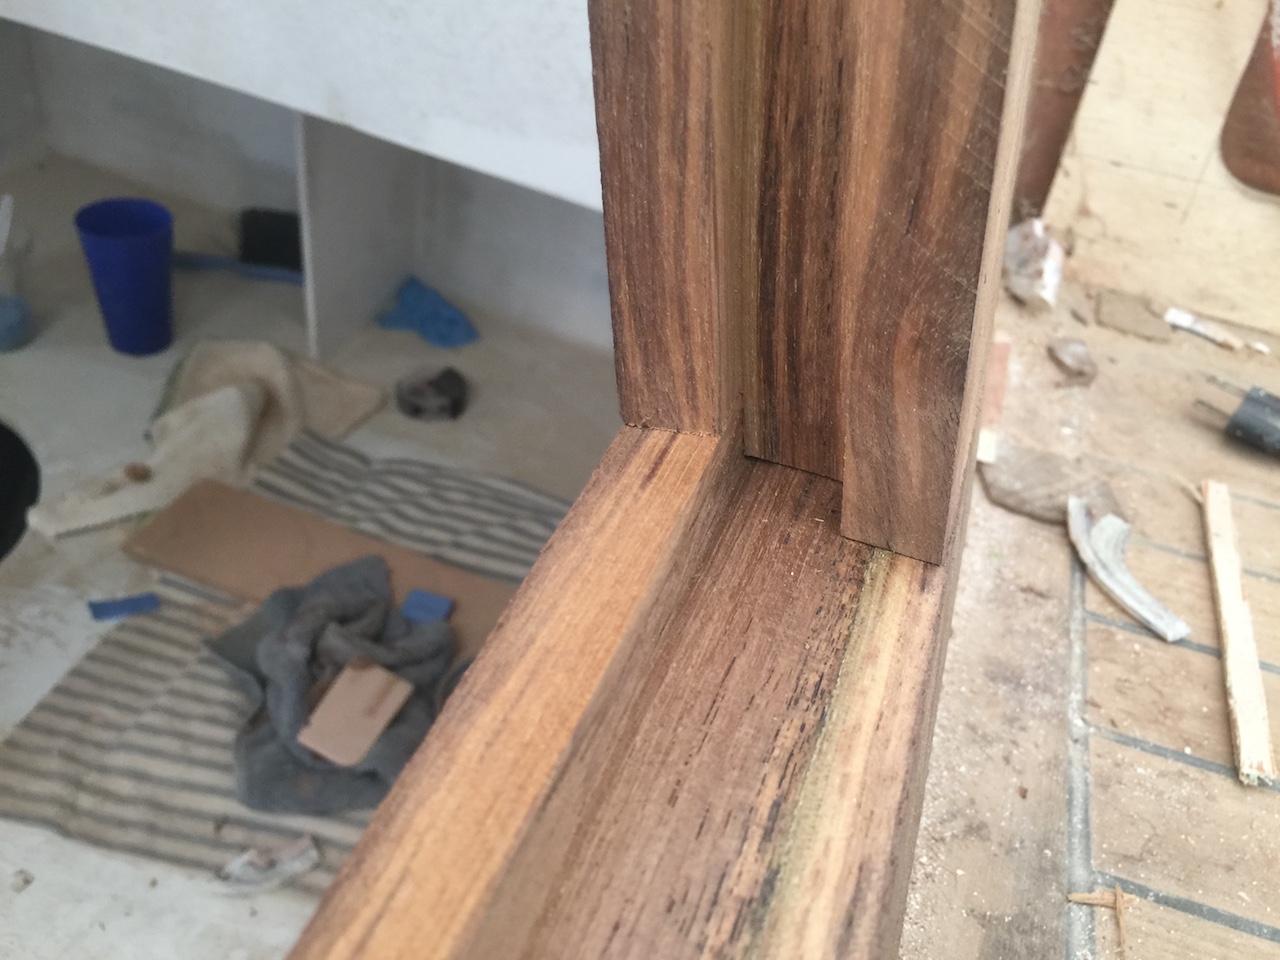
Next, I cut the grooves that will accept the drop-in boards. For the sill piece, shown below, there can only be a “half groove” because water would collect in a full groove.
The vertical pieces must mate properly with the sill piece, so I made the necessary adjustments.

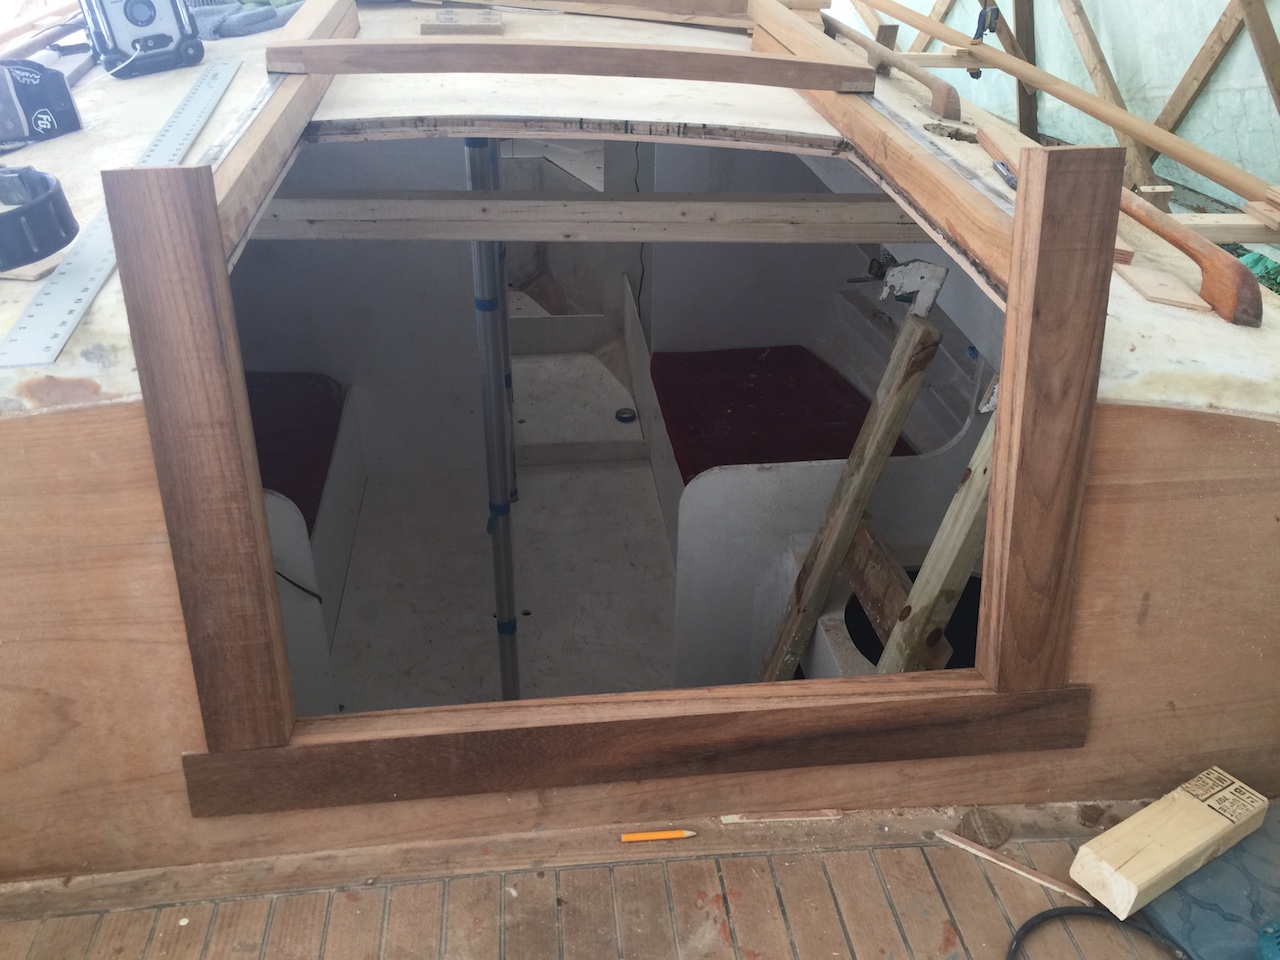
Next, I taped off the area, and put everything together with epoxy and clamps.
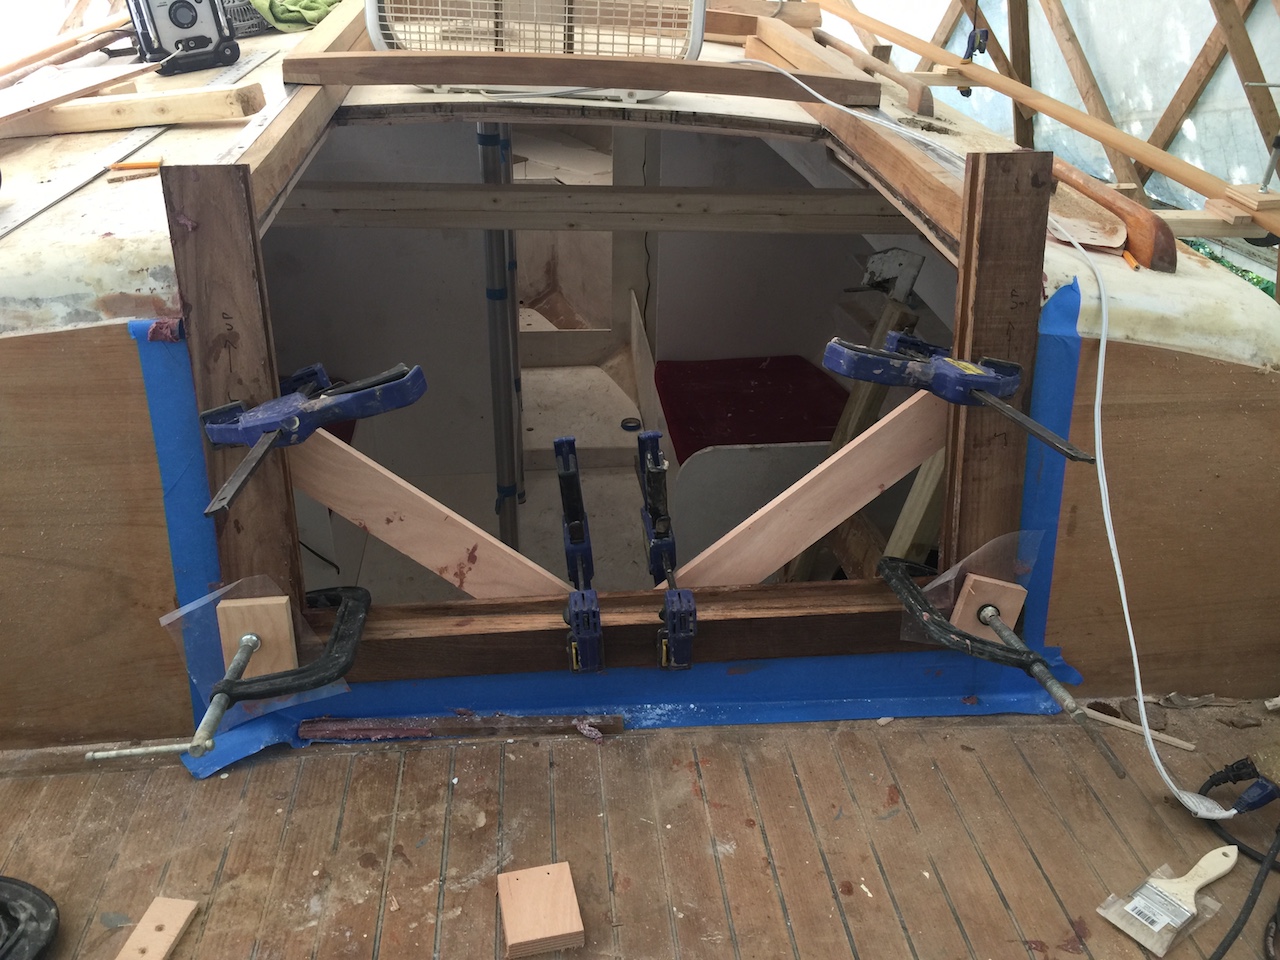
The following photo shows the original drop-in boards in the new molding. I will make new drop-in boards, but here I was just curious to see how the old ones fit.
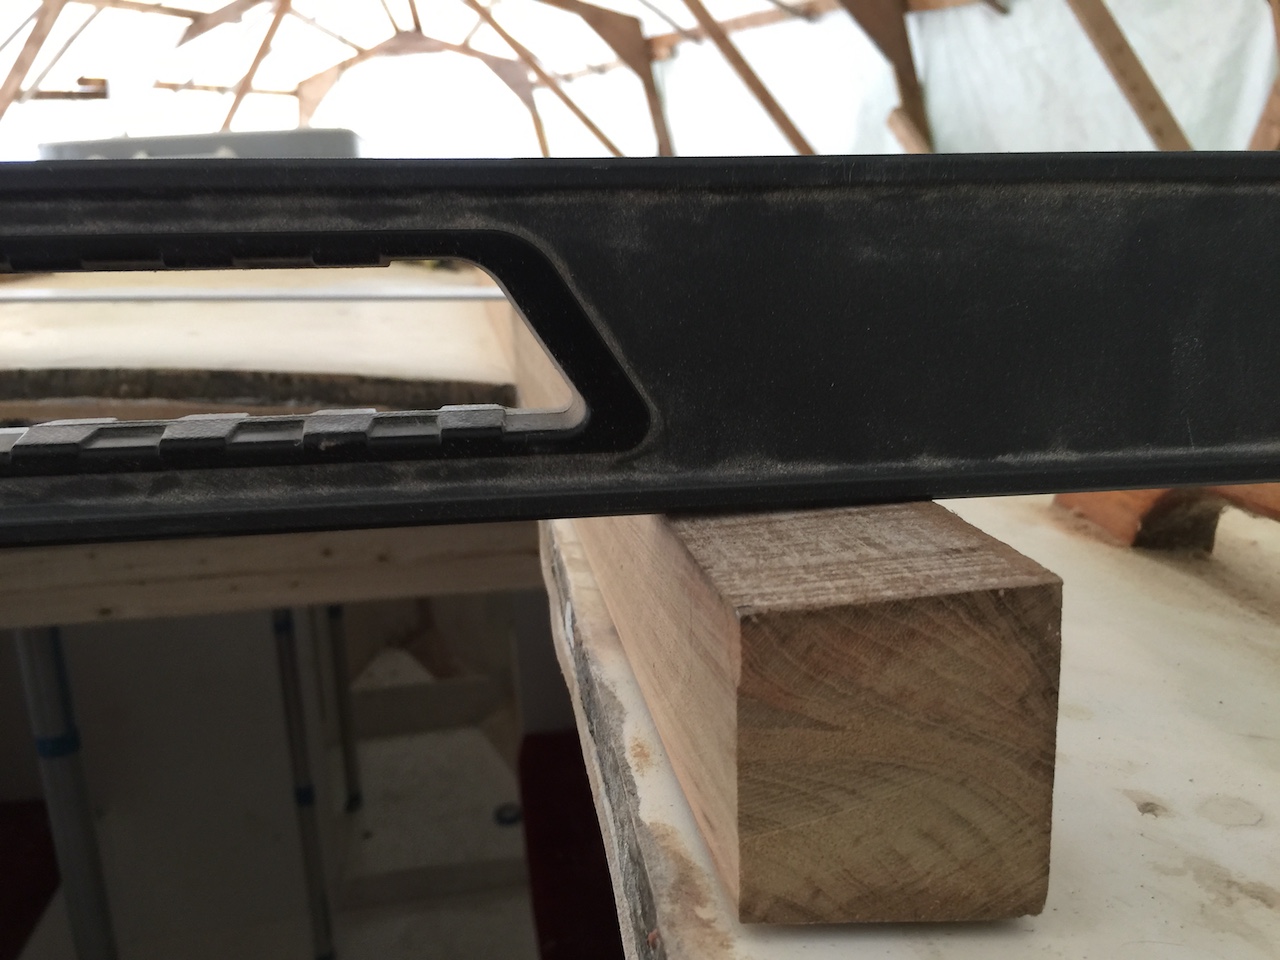
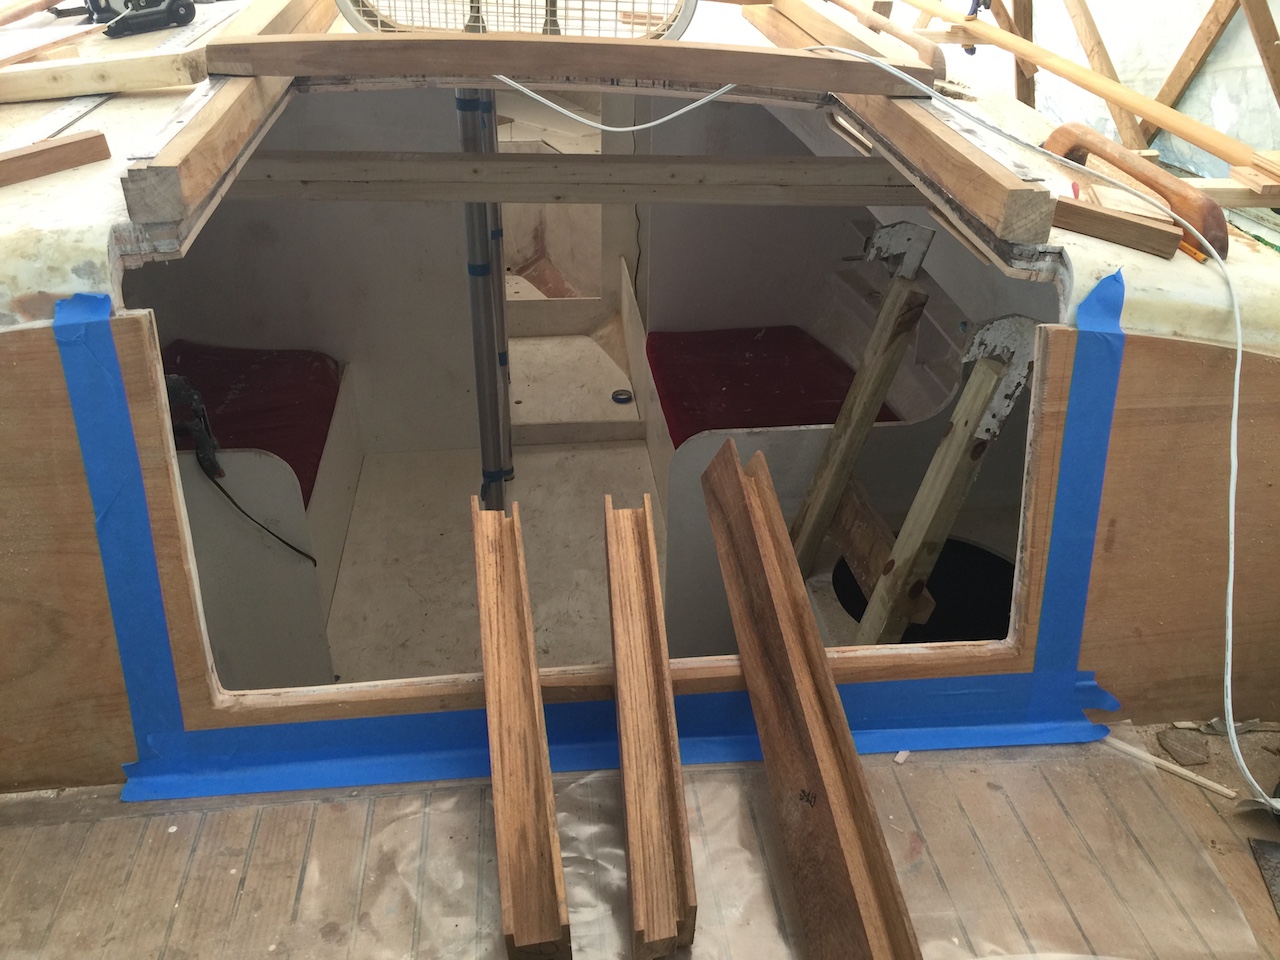
Next, I very carefully cut back the tops of the vertical pieces to sit flush with the tops of the rails.

Once this was done (it is not done in the photo above), I used the router to cut grooves to match those in the rails. The photo below shows styles of bit that I use frequently. Each contains a rolling bearing that does not roll along the piece being cut, but along a guide piece.
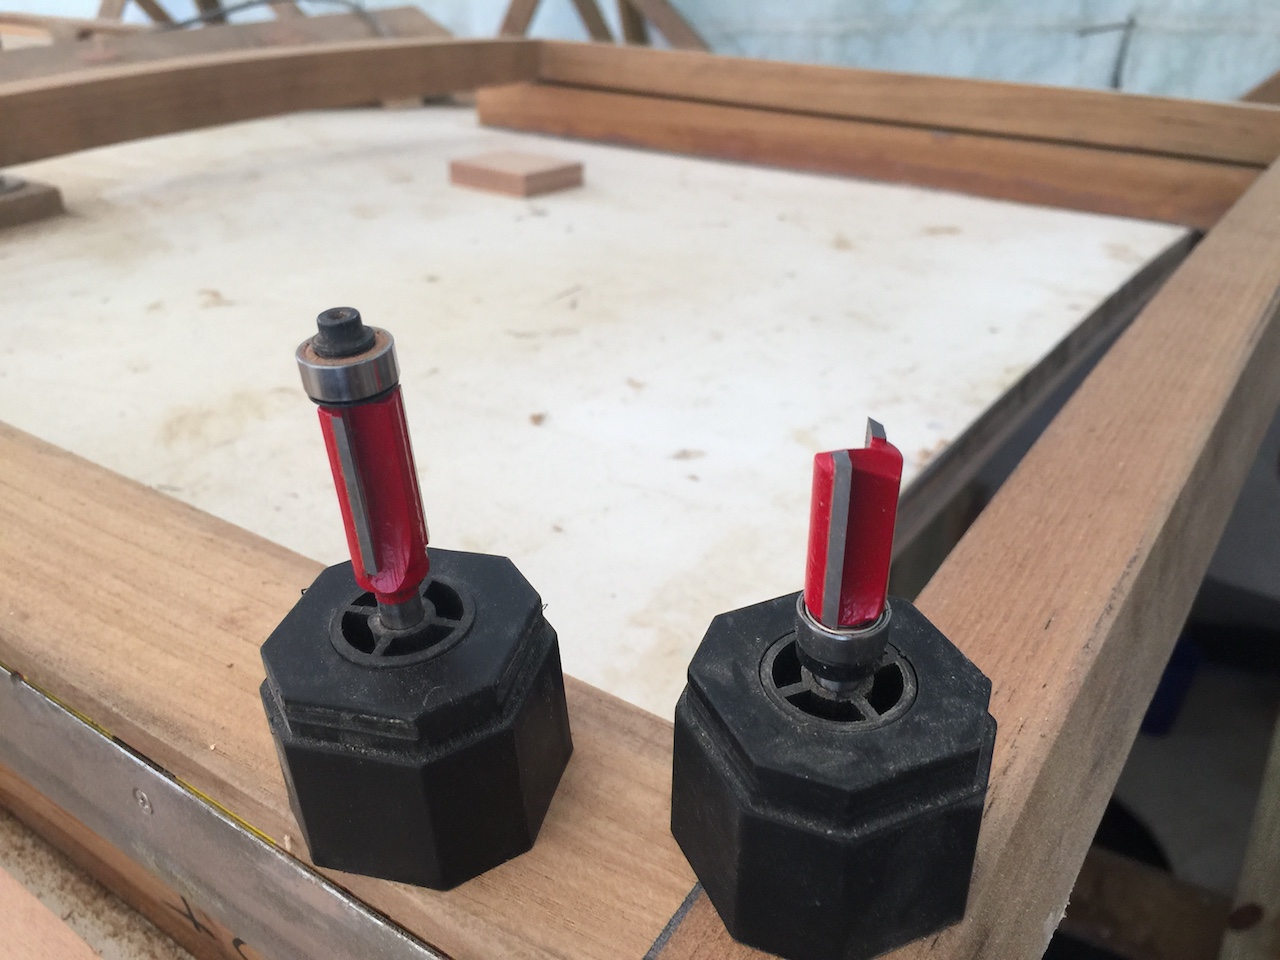
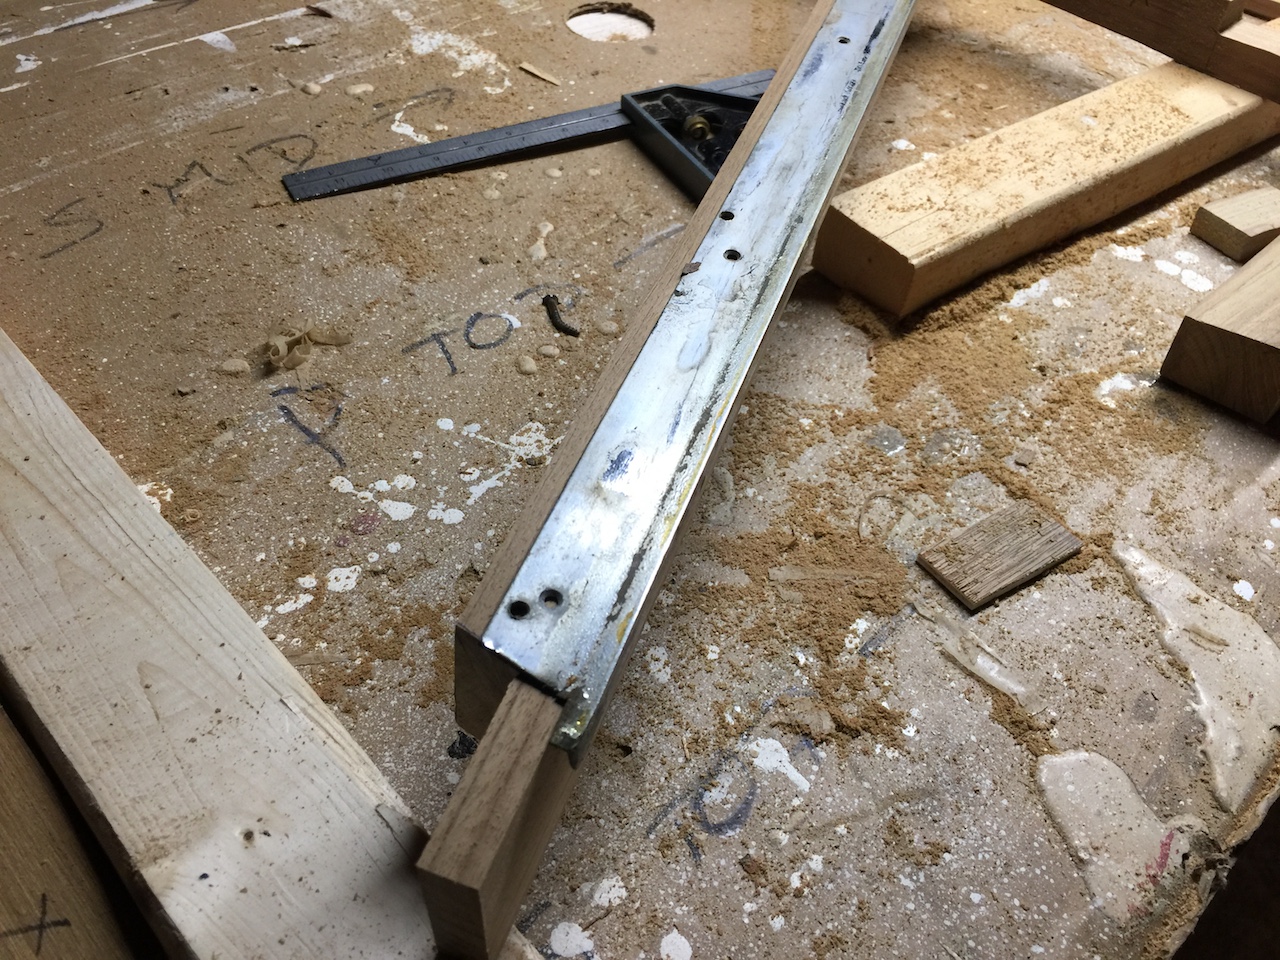
For this job, I used the bit on the right, and clamped the guide piece along the rails, as shown below.
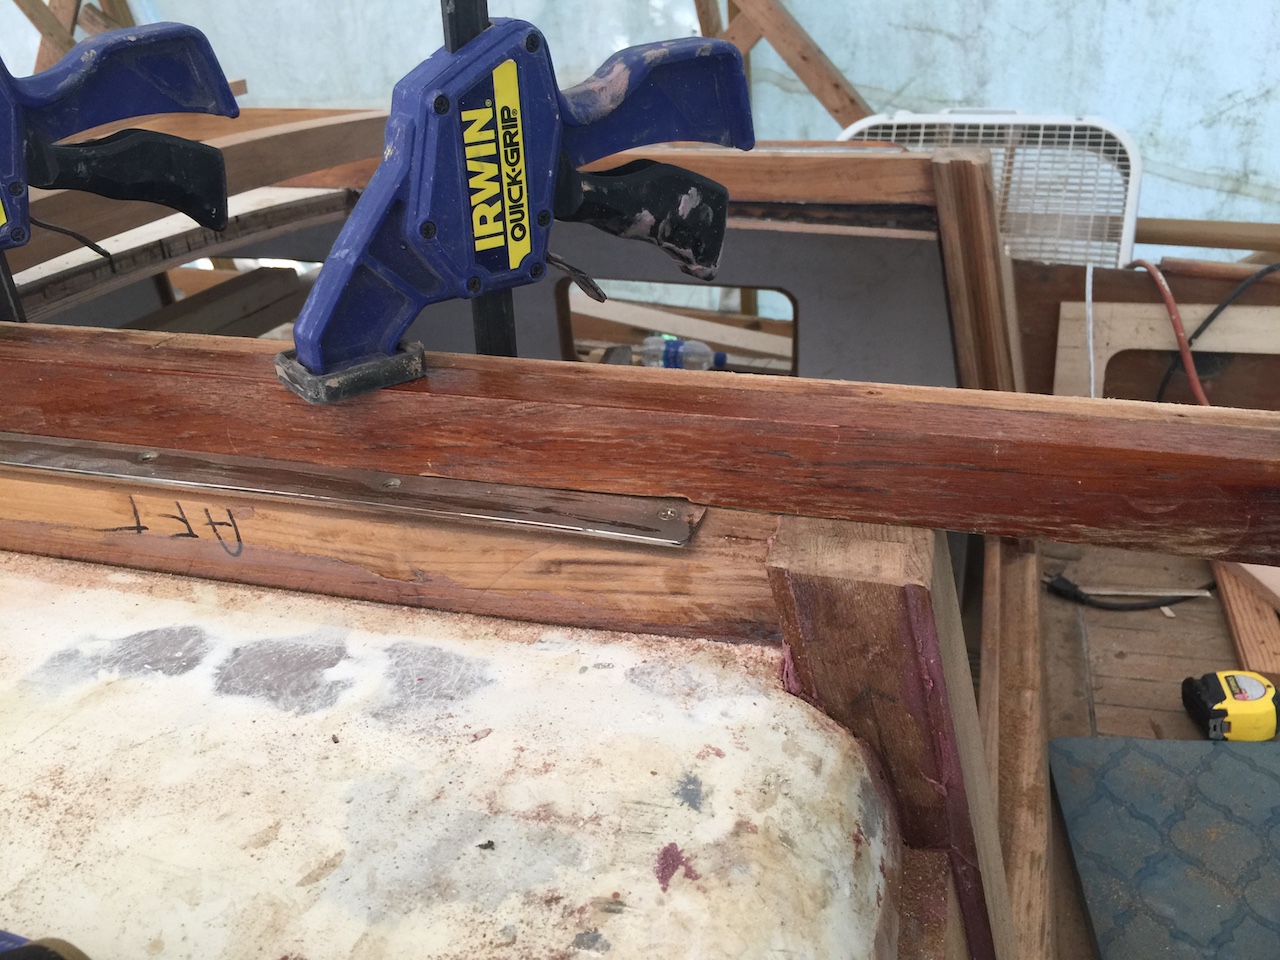
You can see the ends of the routed grooves in the photo below.
Unfortunately, I found that when the port side of the hatch was in the position shown above, the starboard side was as shown below.
Without worrying too much about the reason for this discrepancy (the hatch was sliding very smoothly), I simply cut and and glued up a long, wedge-shaped piece to make up the difference on the starboard end. Much more to come on the hatch and companionway molding.
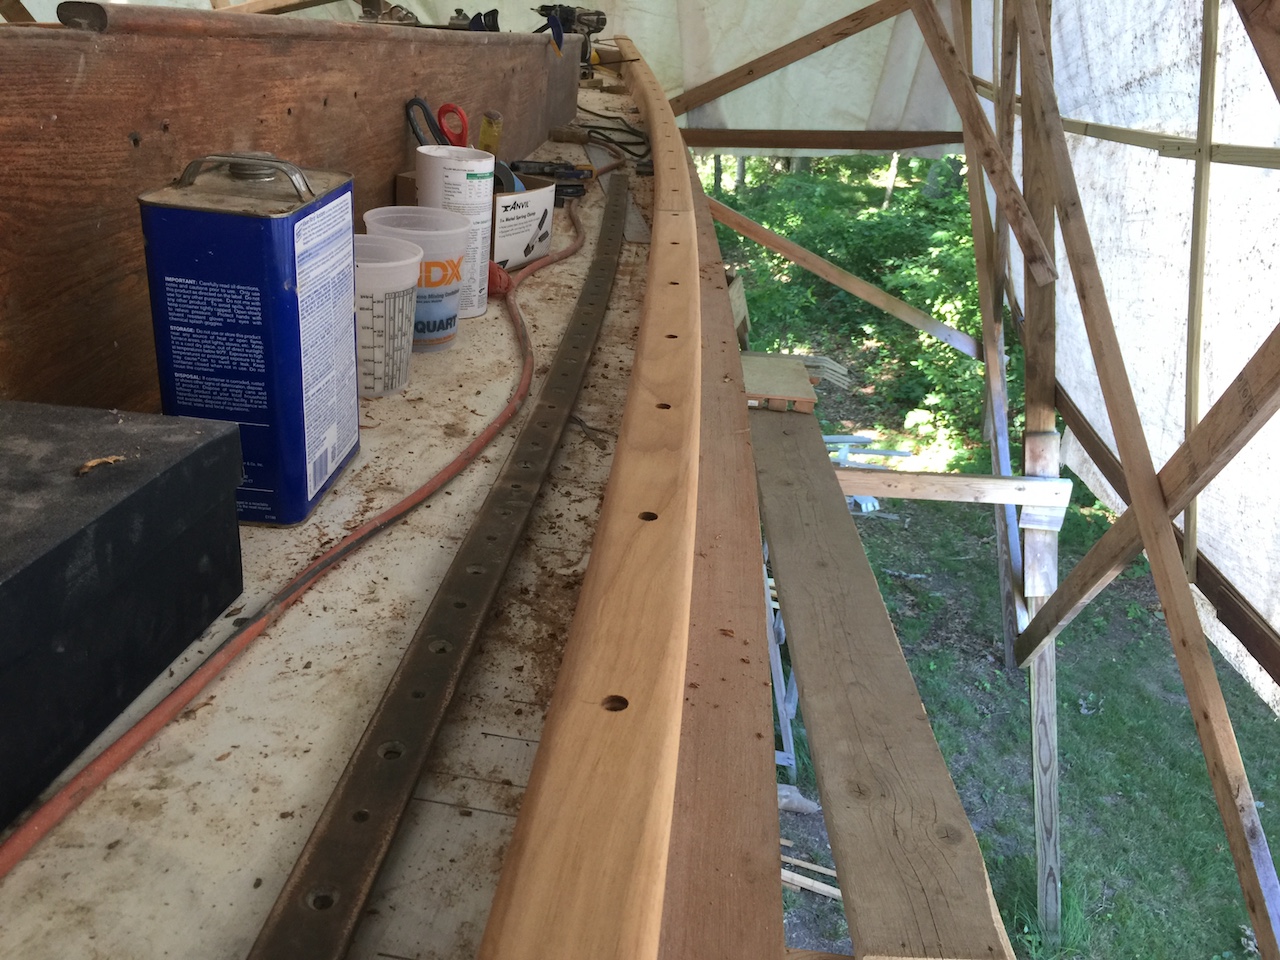
Meanwhile, with the help of a visiting family member, I began screwing down the cap rails. Here I’ve removed them from their pre-bent position, which, as it turns out, induced almost no actual pre-bend in the rails.
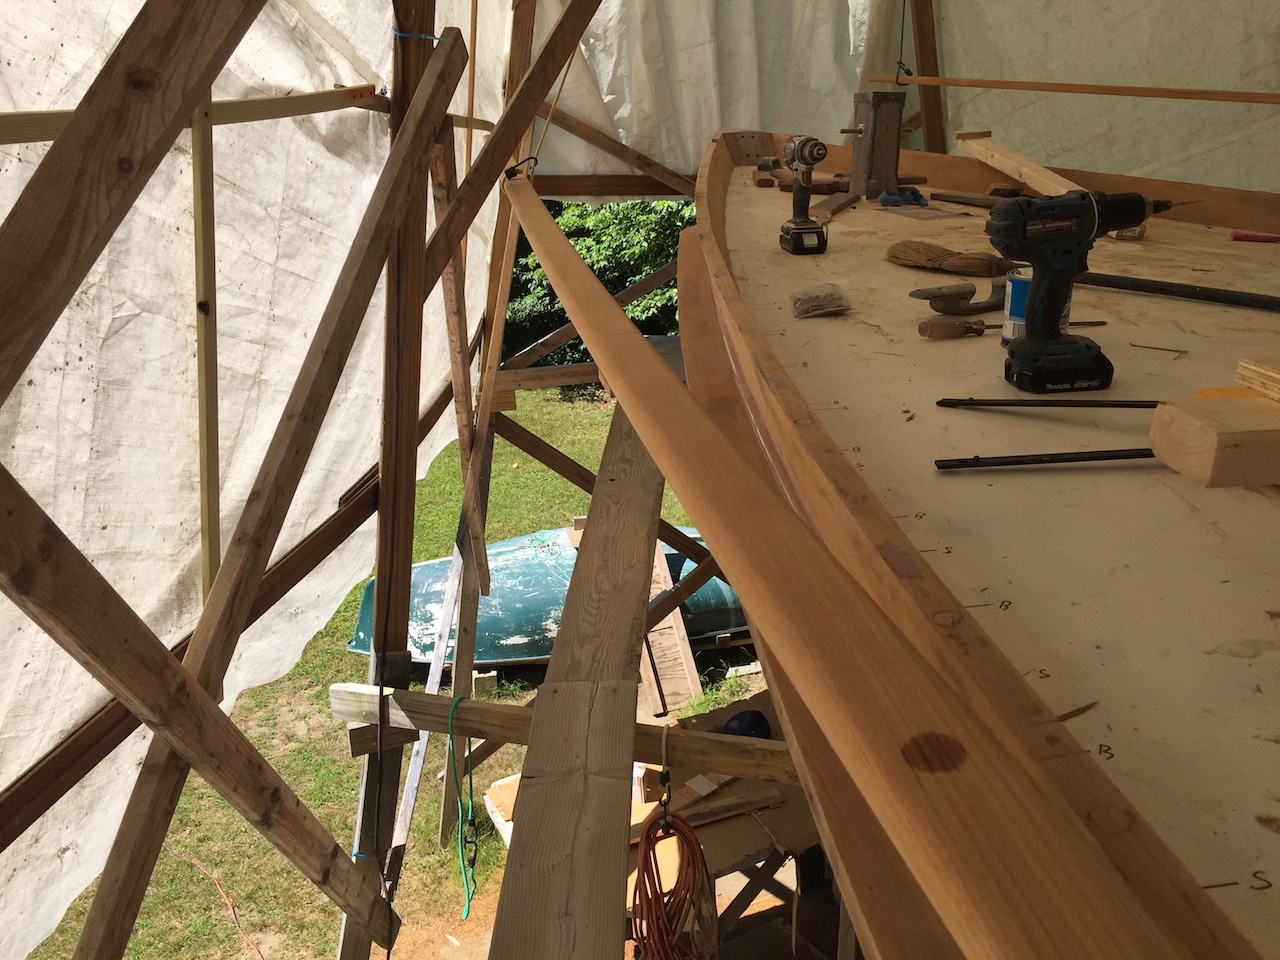
It seemed logical to start at either the aft or forward end and move in one direction, adding a screw about every 8 inches. It turns out, however, that in its “relaxed” state, the cap rail sat in a good position near the middle of the boat, so the first screw was driven there, then we moved forward from there, then aft from there.
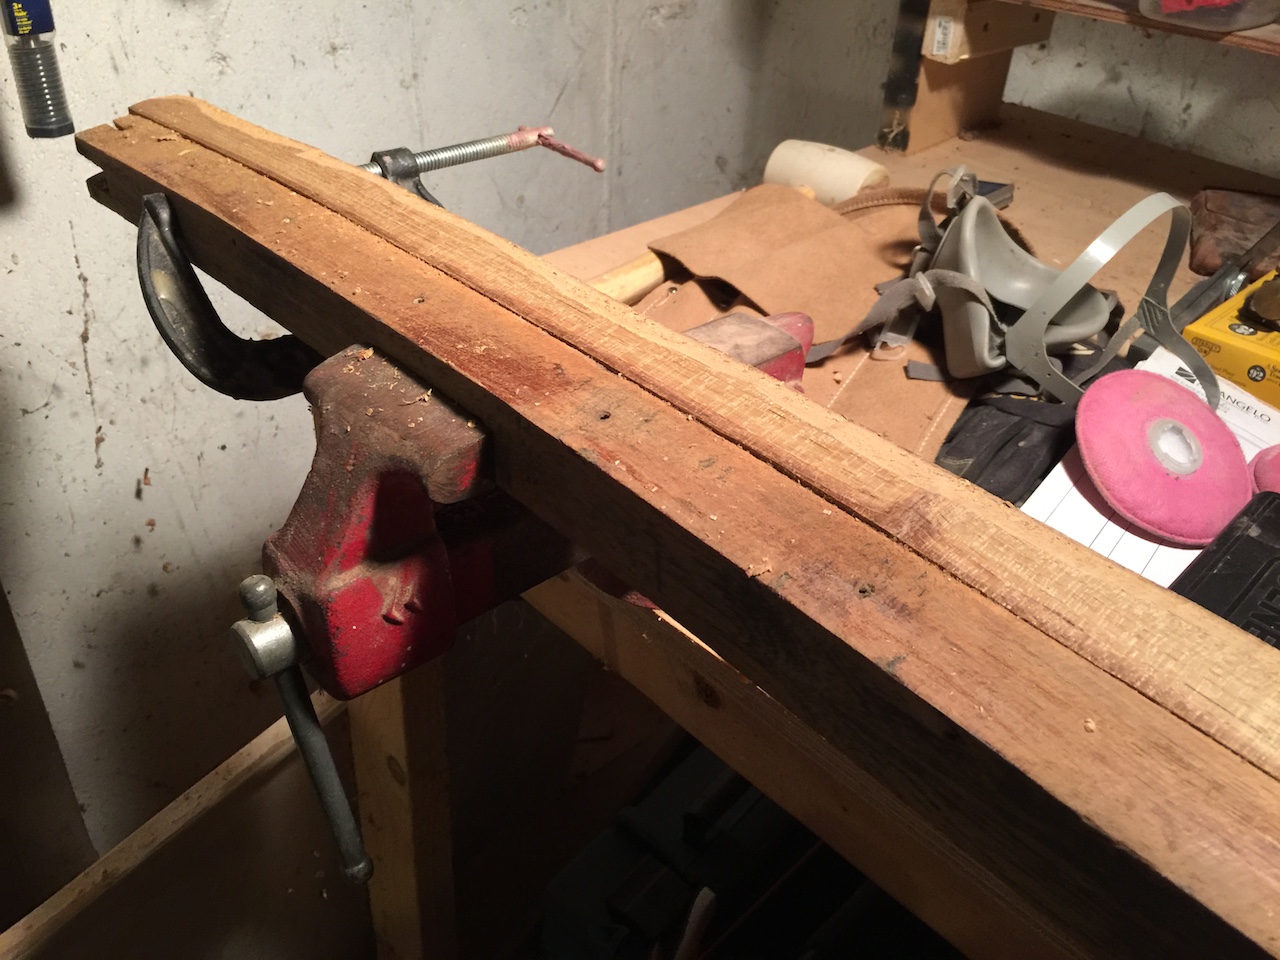
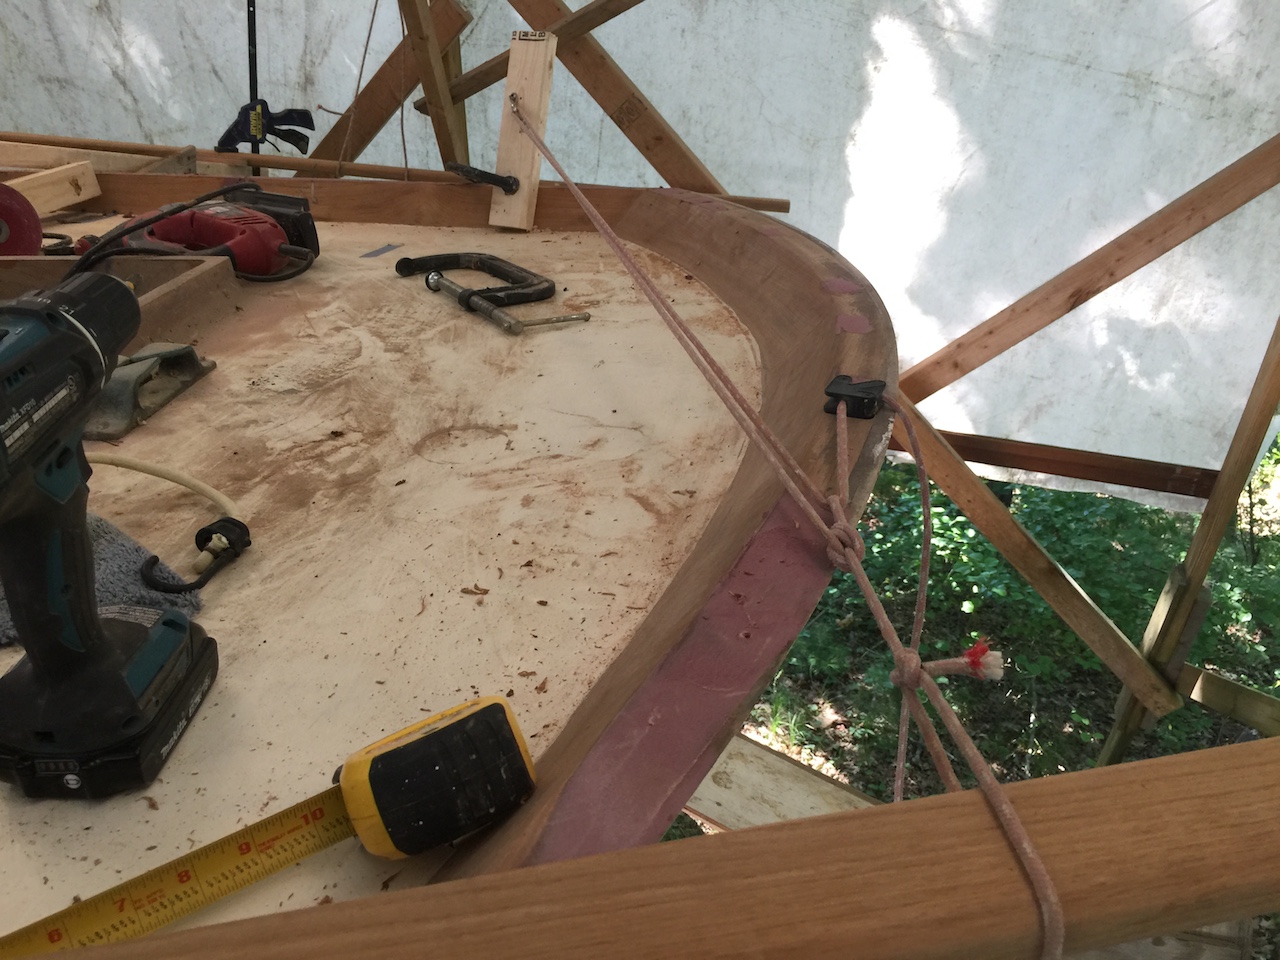
This work was physically challenging. Bending the rail required strong forces, and often we had to work hard to remove twist in the rail so that the rail would sit flat on the top of the toe rail. The photo below shows one method we employed to apply force and hold the rail in a bent position. The small black piece of hardware is a small clamcleat that I attached to the boat temporarily.
It took us about 5 hours to attache the rail on the port side.