9/5/18: Chain Plates, Masts, Grab Rails
Since I replaced part of the deck core back in 2012, I have made little effort to protect the deck and cabin top roof from spills. As a result, there were numerous stains and blobs of hardened epoxy scattered about.
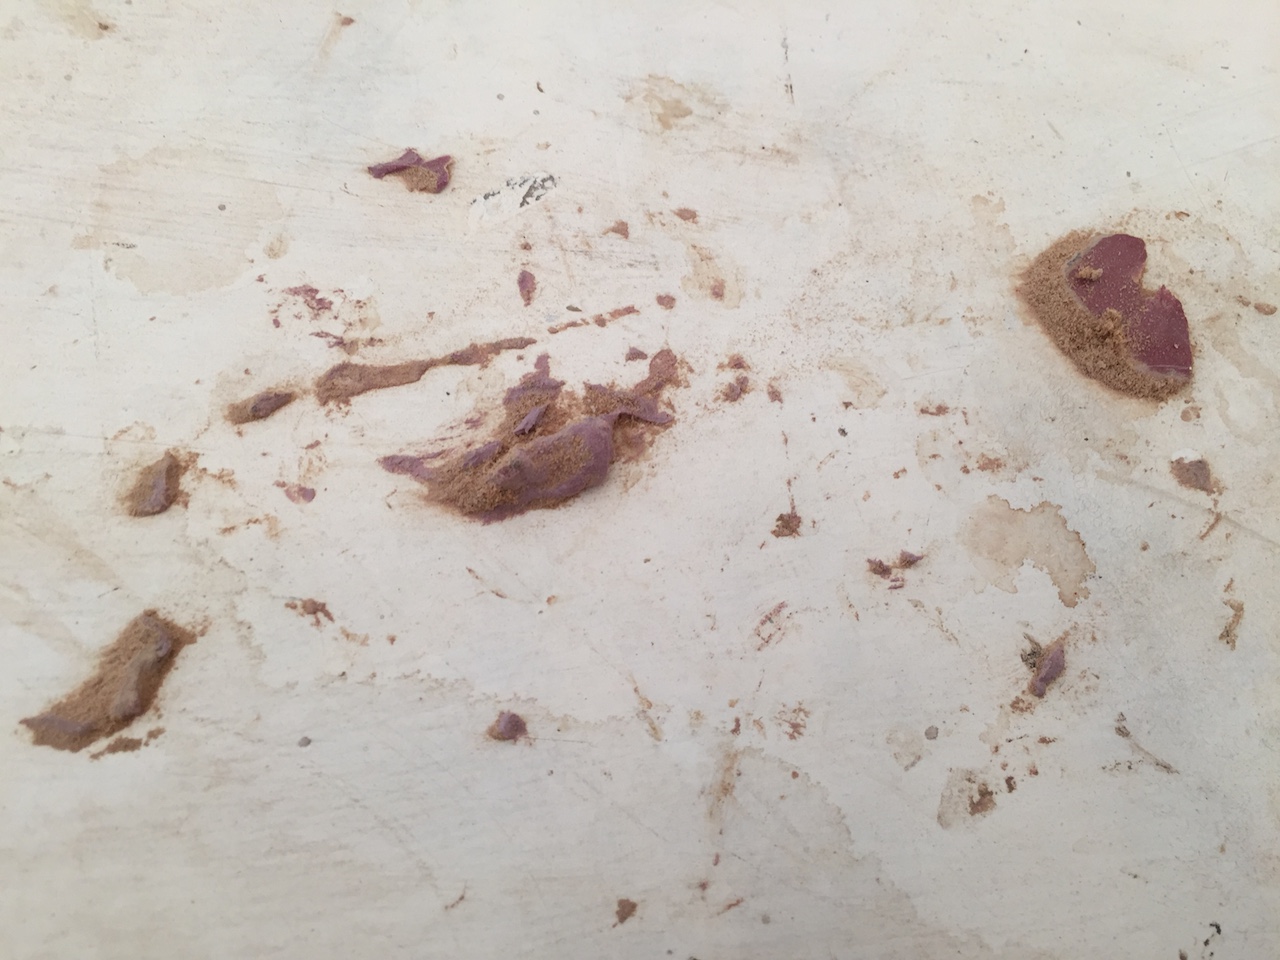
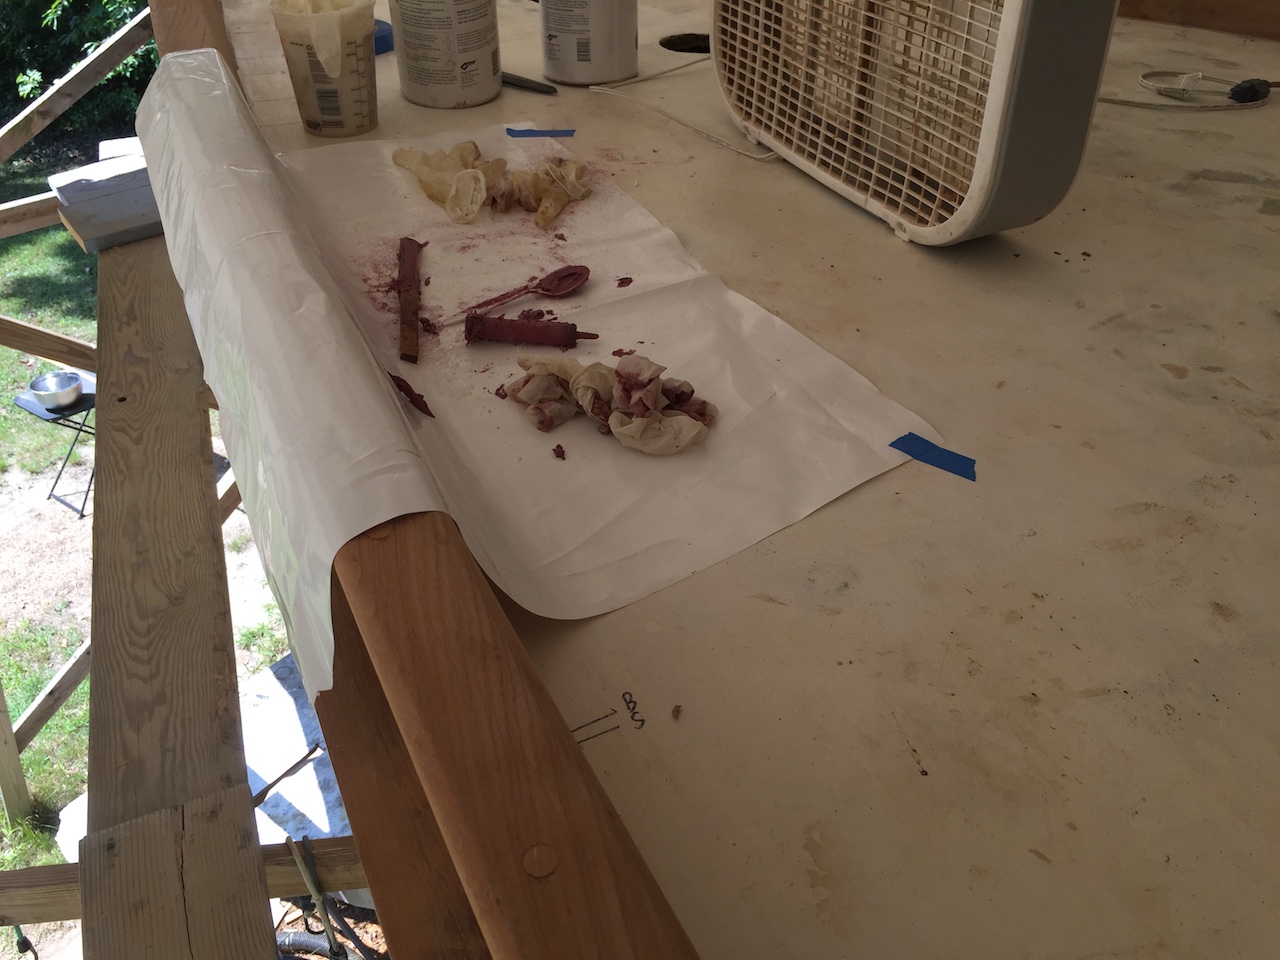
I cleaned all that up, however, and moving forward I’ll keep everything clean. For example, in a recent job involving epoxy, I protected the deck as follows, whereas previously I would have simply worked directly on the deck.
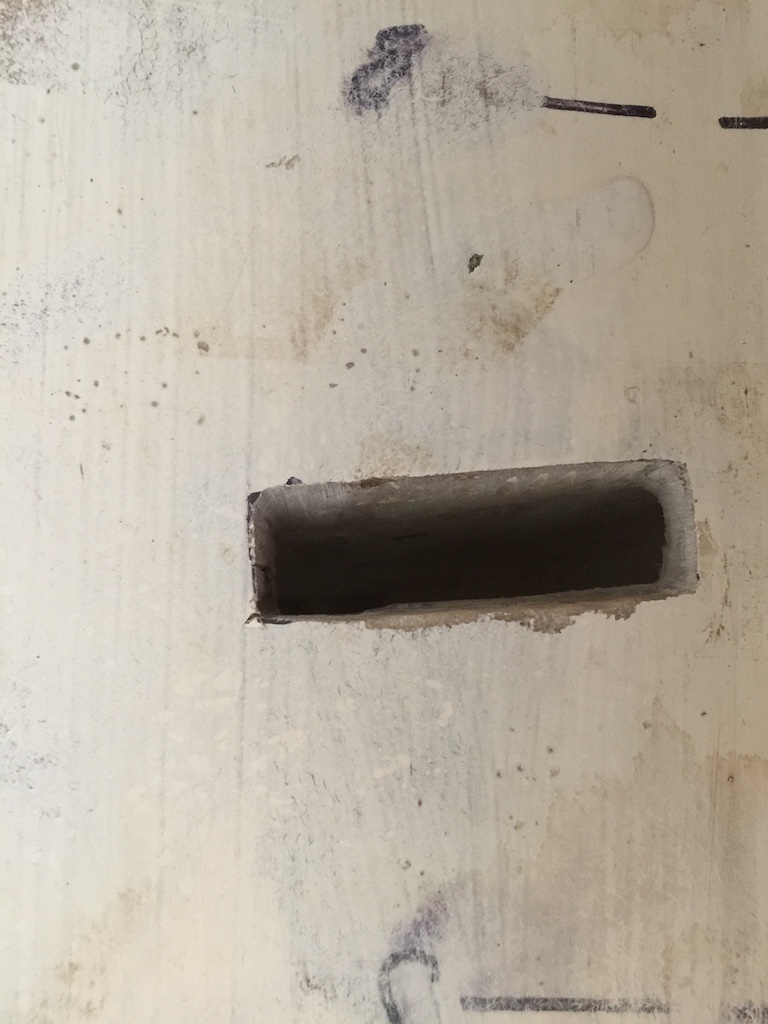
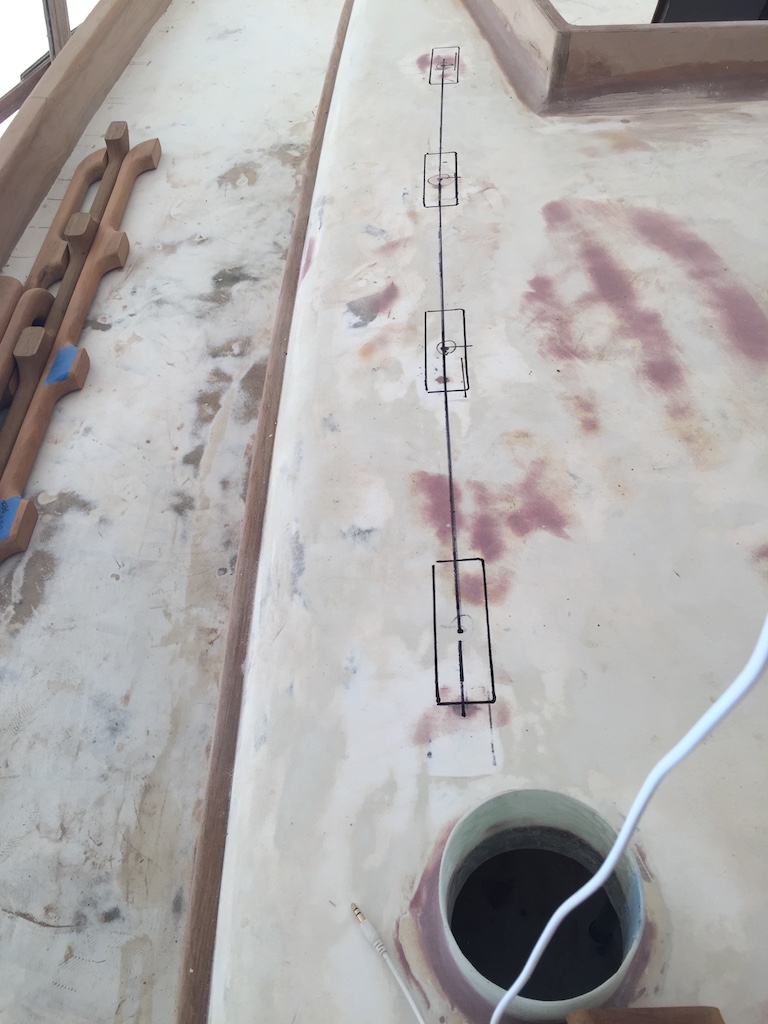
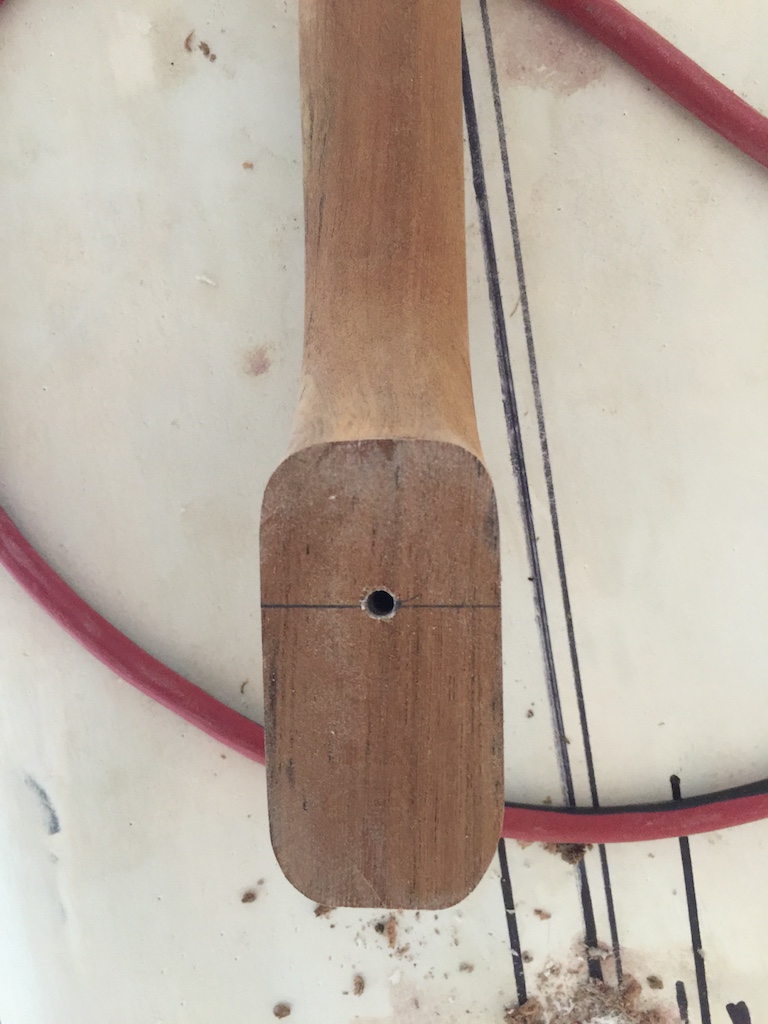
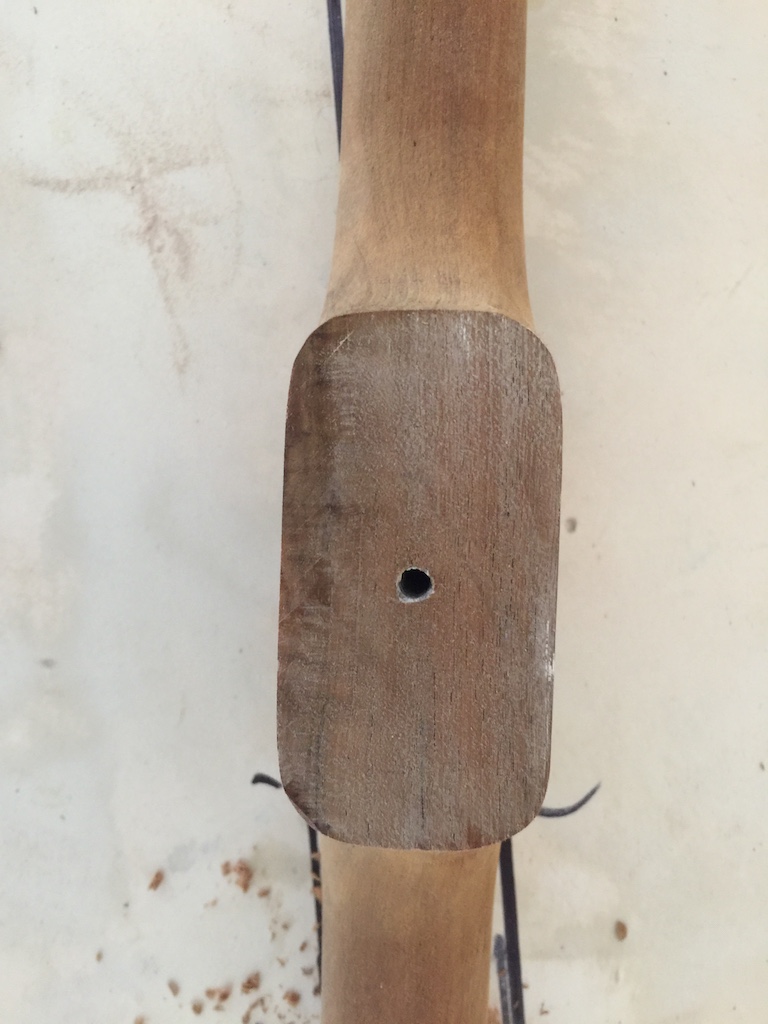
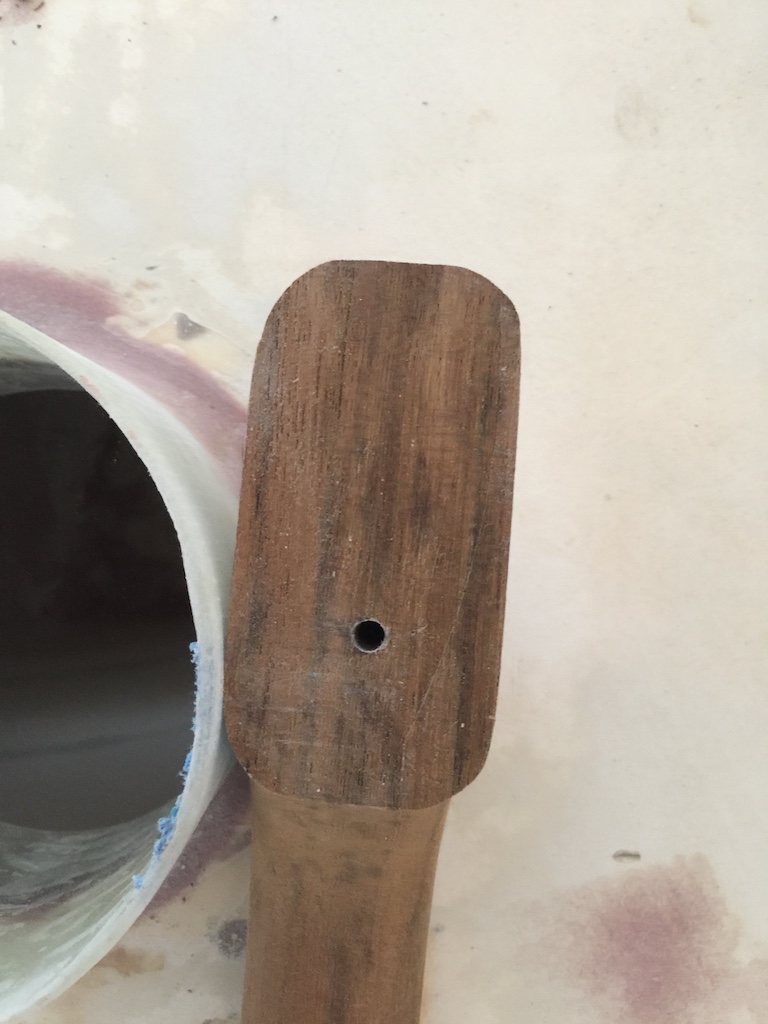
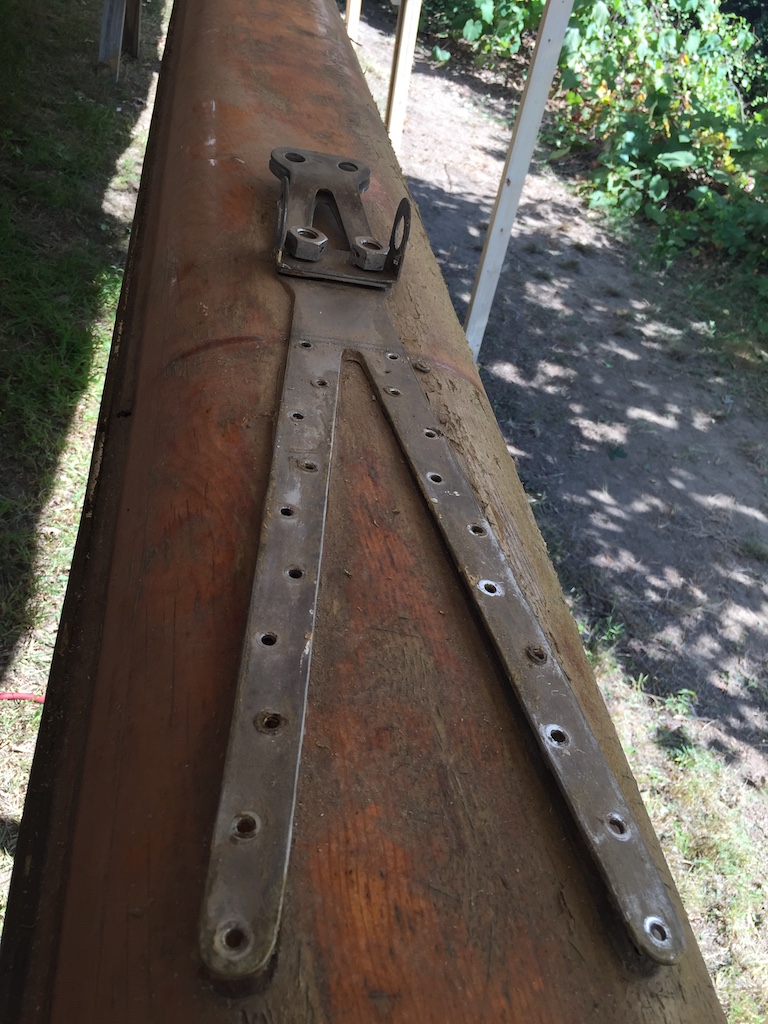
With deck refinishing on the horizon, I decided to clean up and enlarge the holes for the chainplates, of which there are 14. My goal here is to give the chainplates some breathing room where they pass through the deck, which will simultaneously facilitate maintenance/inspection, and prevent unnoticed water penetration.
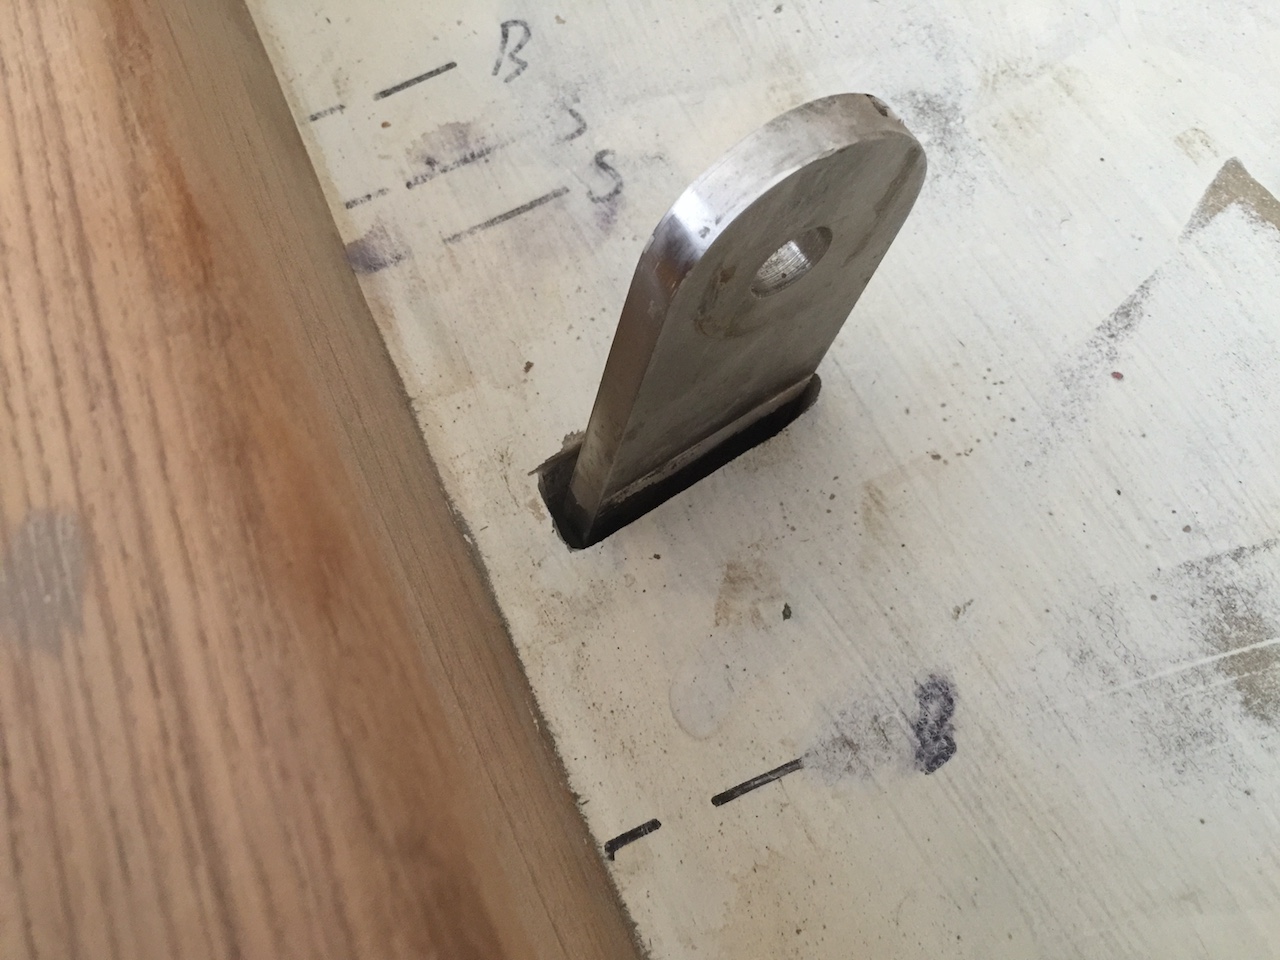
Here is a finished hole:
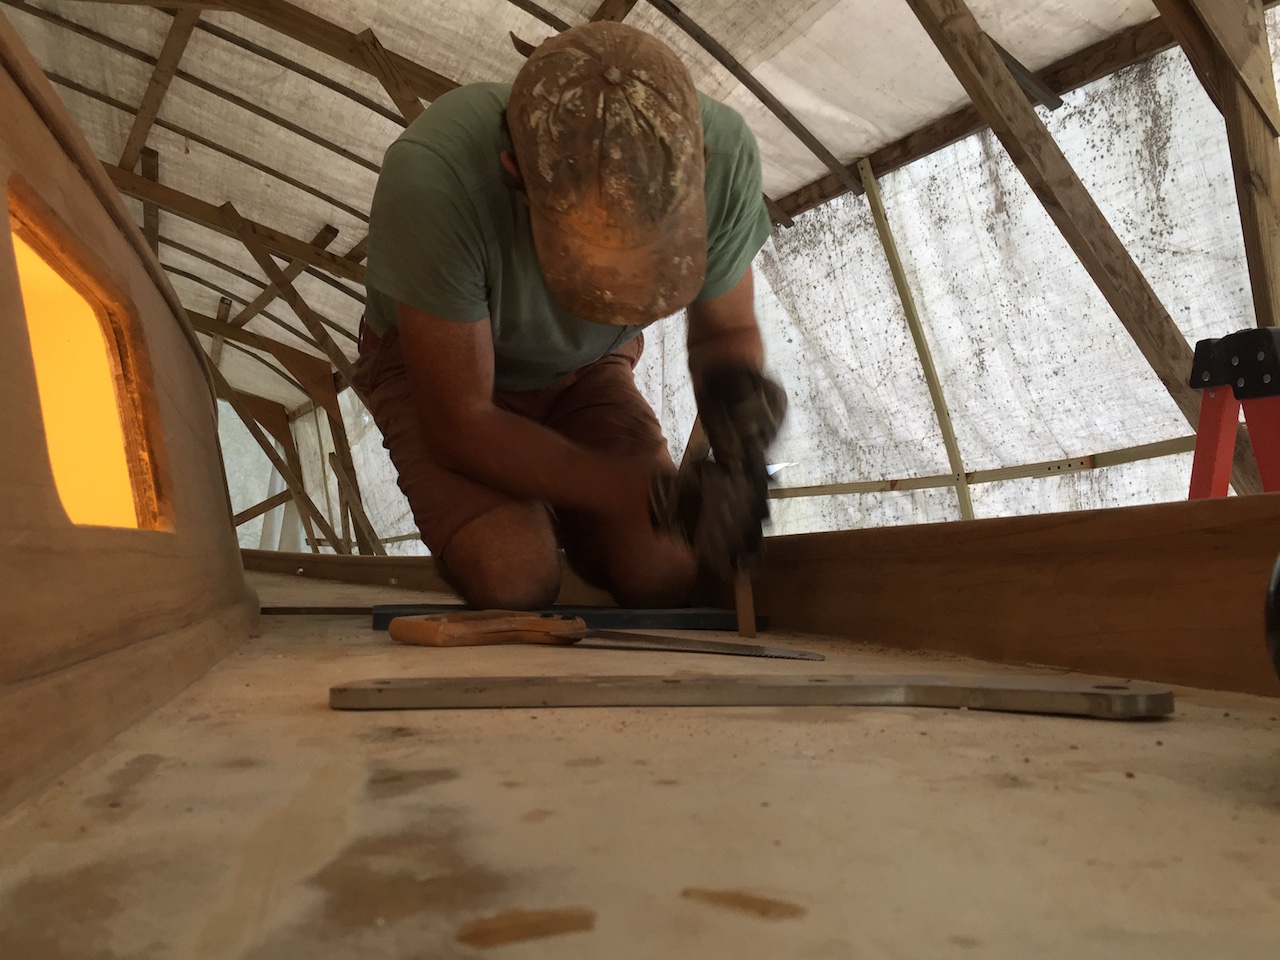
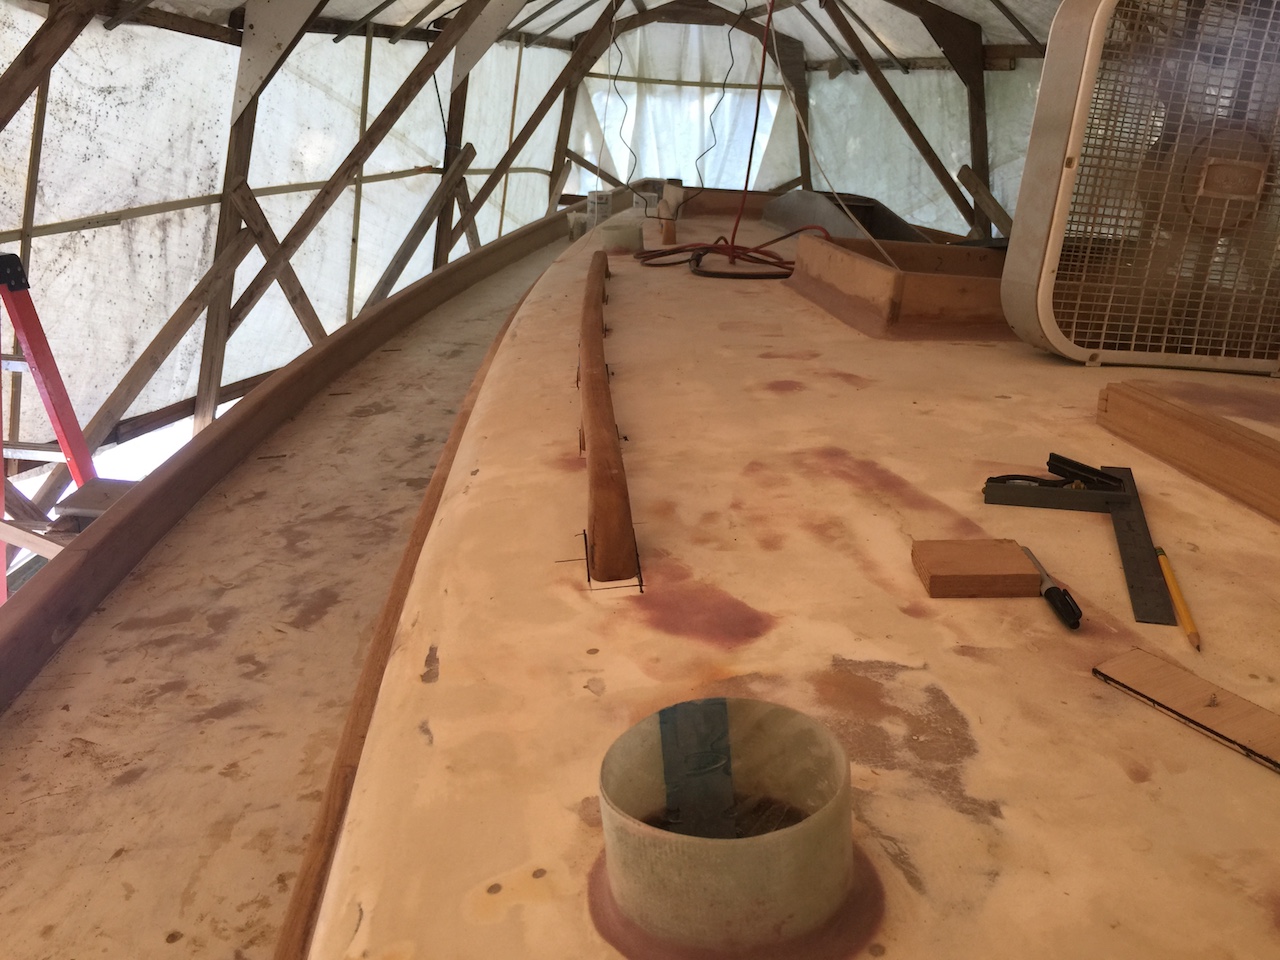
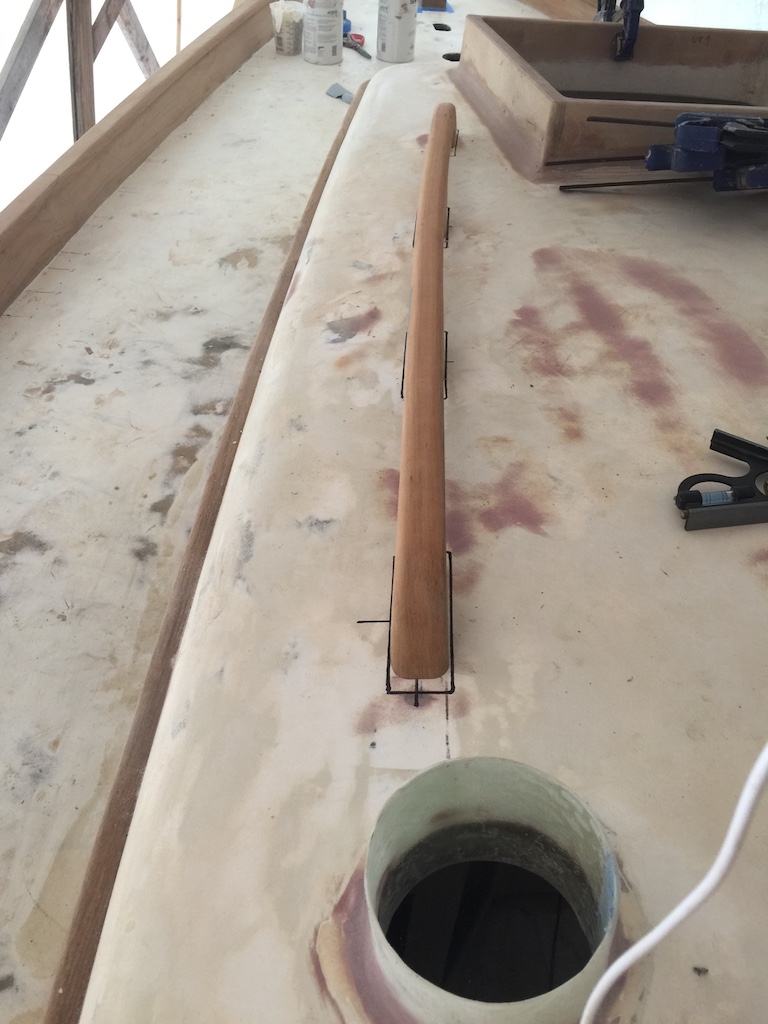
Next, I returned to the grab-rail job, where I temporarily fastened each rail (both above and below) as a means to check the fit and also to create pilot holes for eventual final installation. I created a measuring jig (not shown) to mark the locations of the sides of the pads.
There are 10 rails: Two 1-loopers, two 5-loopers, and two 3-loopers above, and four 1-loopers, two 5-loopers, and two 2-loopers below.
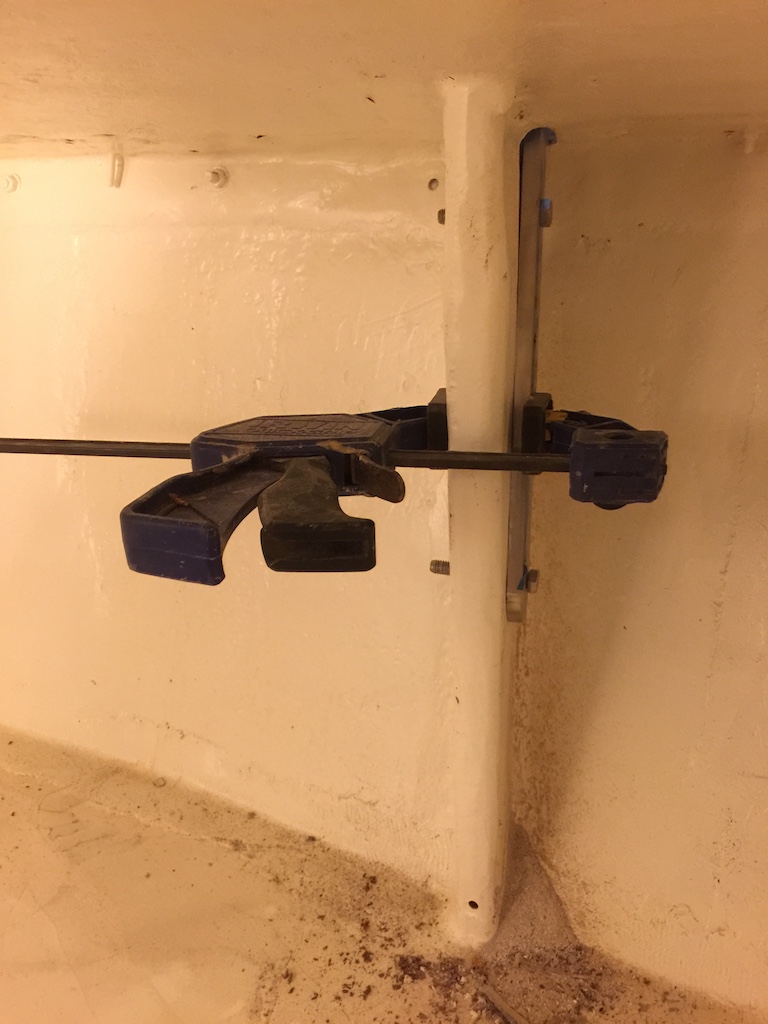
I used a helper to position the pads from above, and I drilled and screwed from below. The drilling and screwing, all from below, was a three-part process: (1) Start with a drill bit equal in diameter to the hole in the roof, and drill a pilot hole in the bottom of the pad. In this way, the pilot hole in the pad is parallel with the hole in the roof. (2) Using a slightly larger bit, enlarge the hole in the roof. (3) Screw the pad down to the roof. Here is the result on the port side for the 5-looper and 3-looper:
Swapping positions with my helper, we repeated the process for the rails below. This time, obviously, I used the hole-enlarging bit as the pilot-hole bit and a slightly larger bit as the enlarging bit.
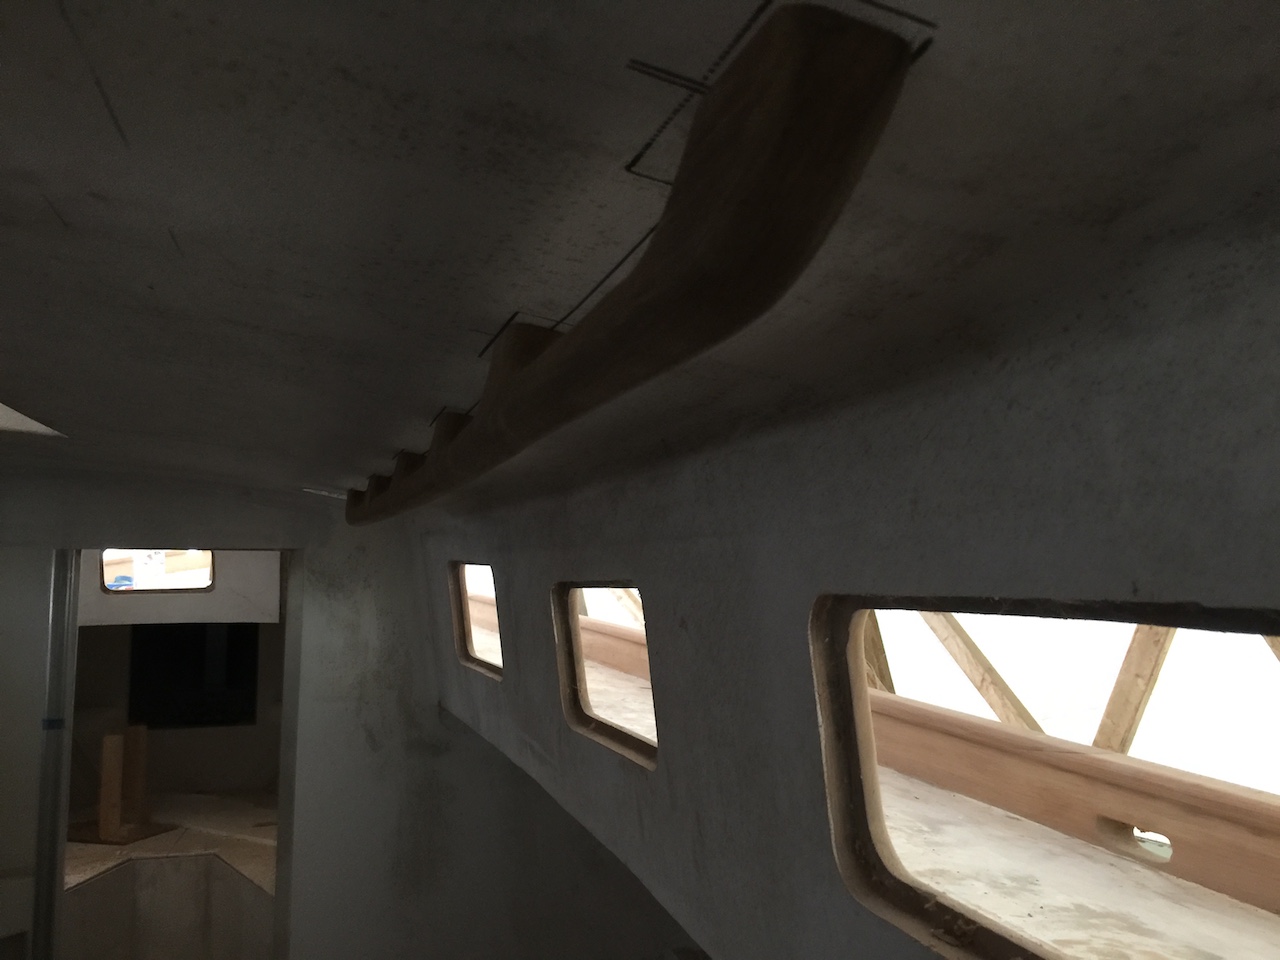
In each case, we started with the aft-most pad and moved forward, bending the rail into place, as necessary. By design, the pilot holes in the end pads are 1 inch in from the end, and others are in the middle of the pad.
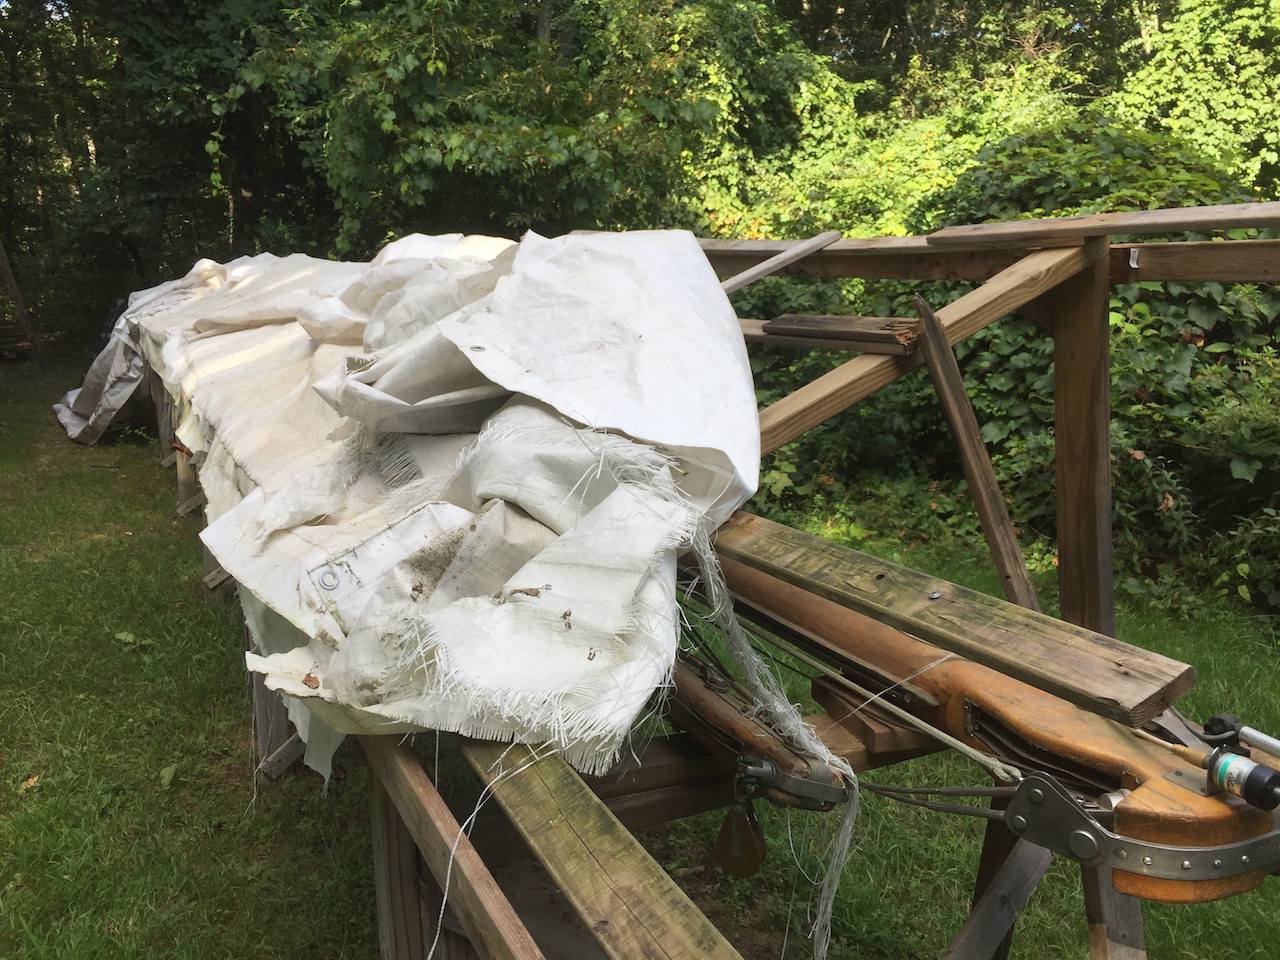
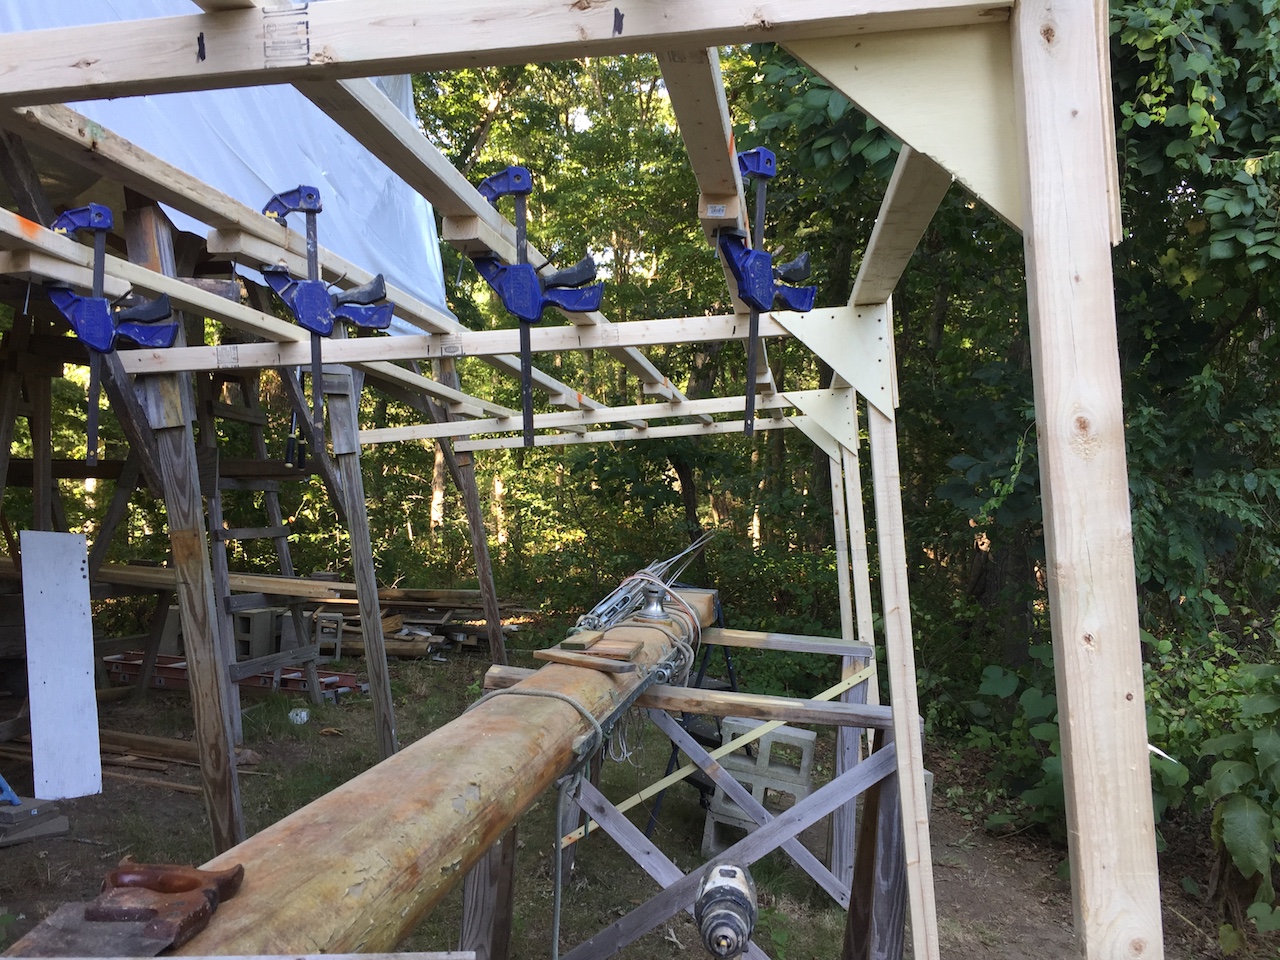
Meanwhile, my attention turned to the masts, which were totally exposed for about 2 years in a boat yard, and covered up for 6 more in my back yard. Needless to say, there is work to be done. I began by removing the cover, which exposed the frame and structure supporting it.
I dismantled the frame, and scooched the sawhorses over, little by little, until the mast was more or less parallel and close to the boat.
 ‘
‘
Next, I built a sort of lean-to frame that is attached directly to the main frame.
The top is angled only slightly. To promote drainage, then, I needed a roof, which I made out of cheap, 1/4-inch plywood.
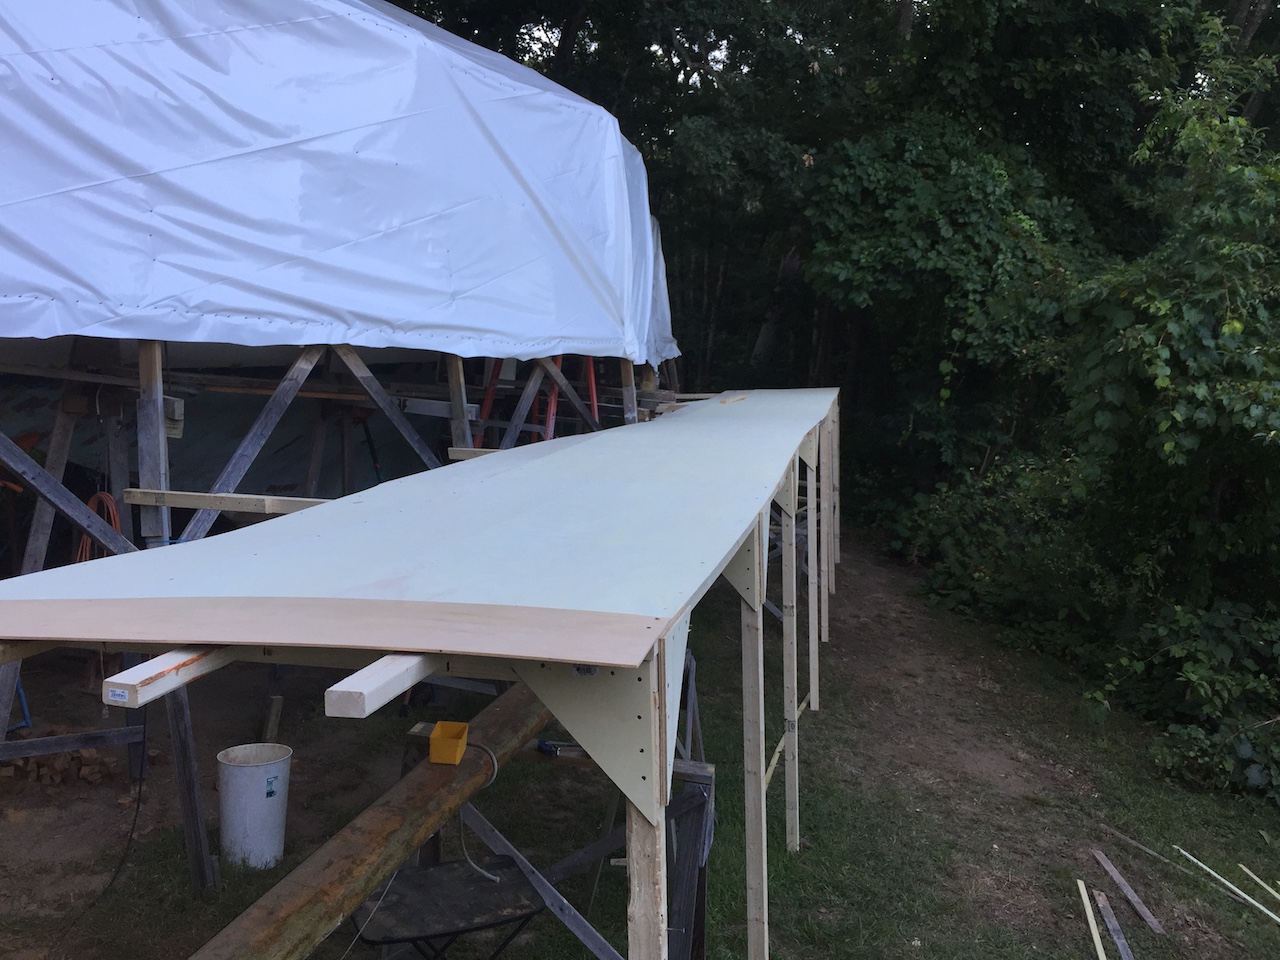
I had many large pieces of unused scraps from previous cover jobs, and there was plenty to cover the new structure.
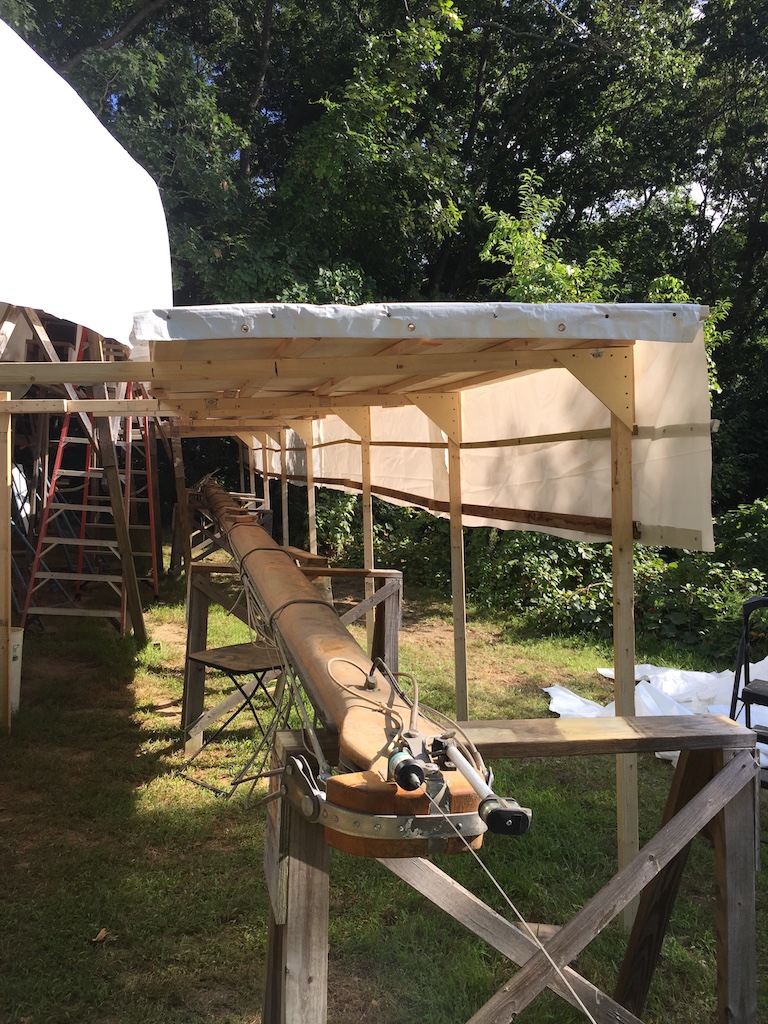
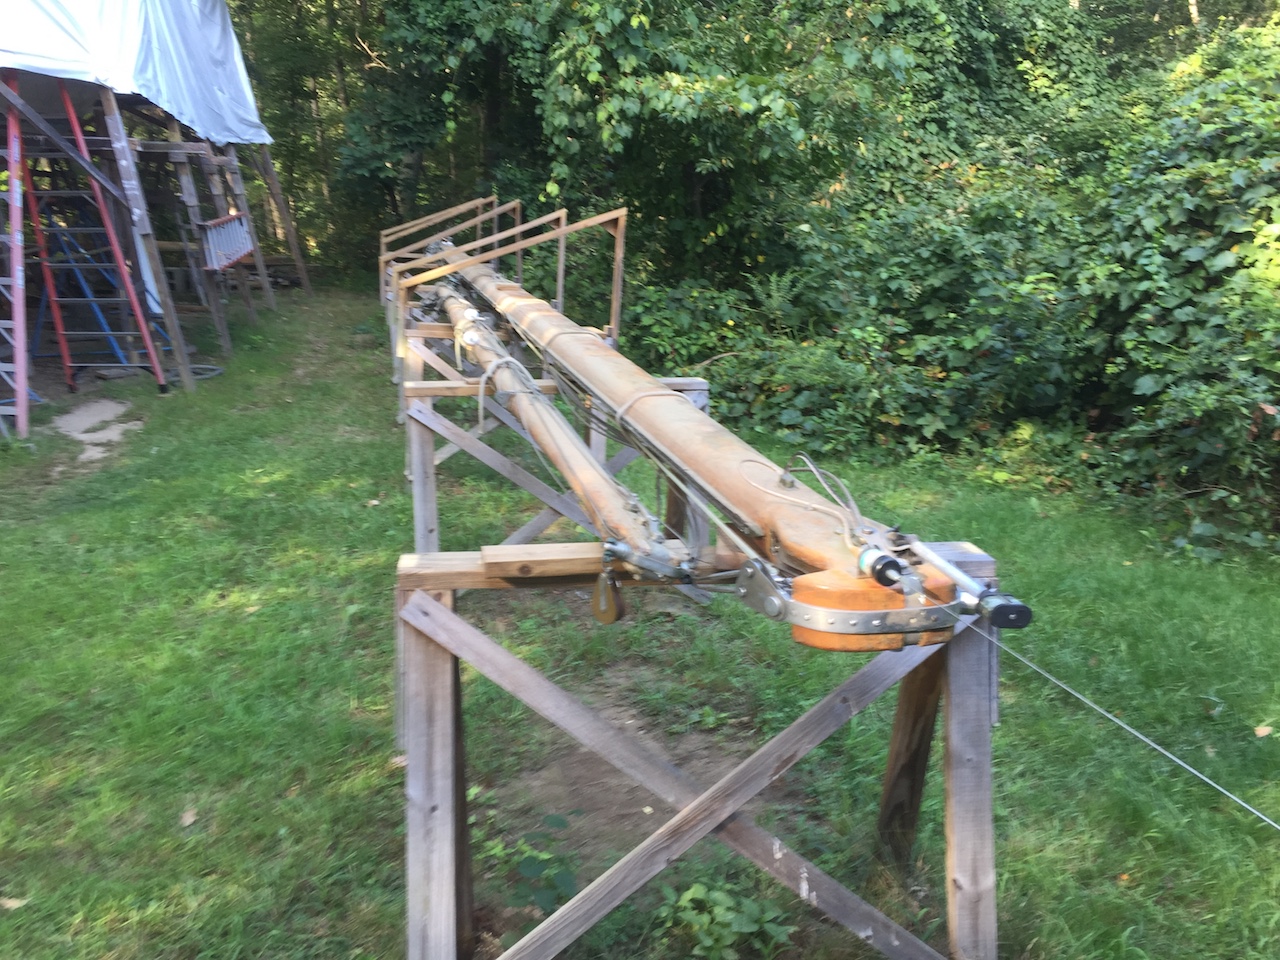
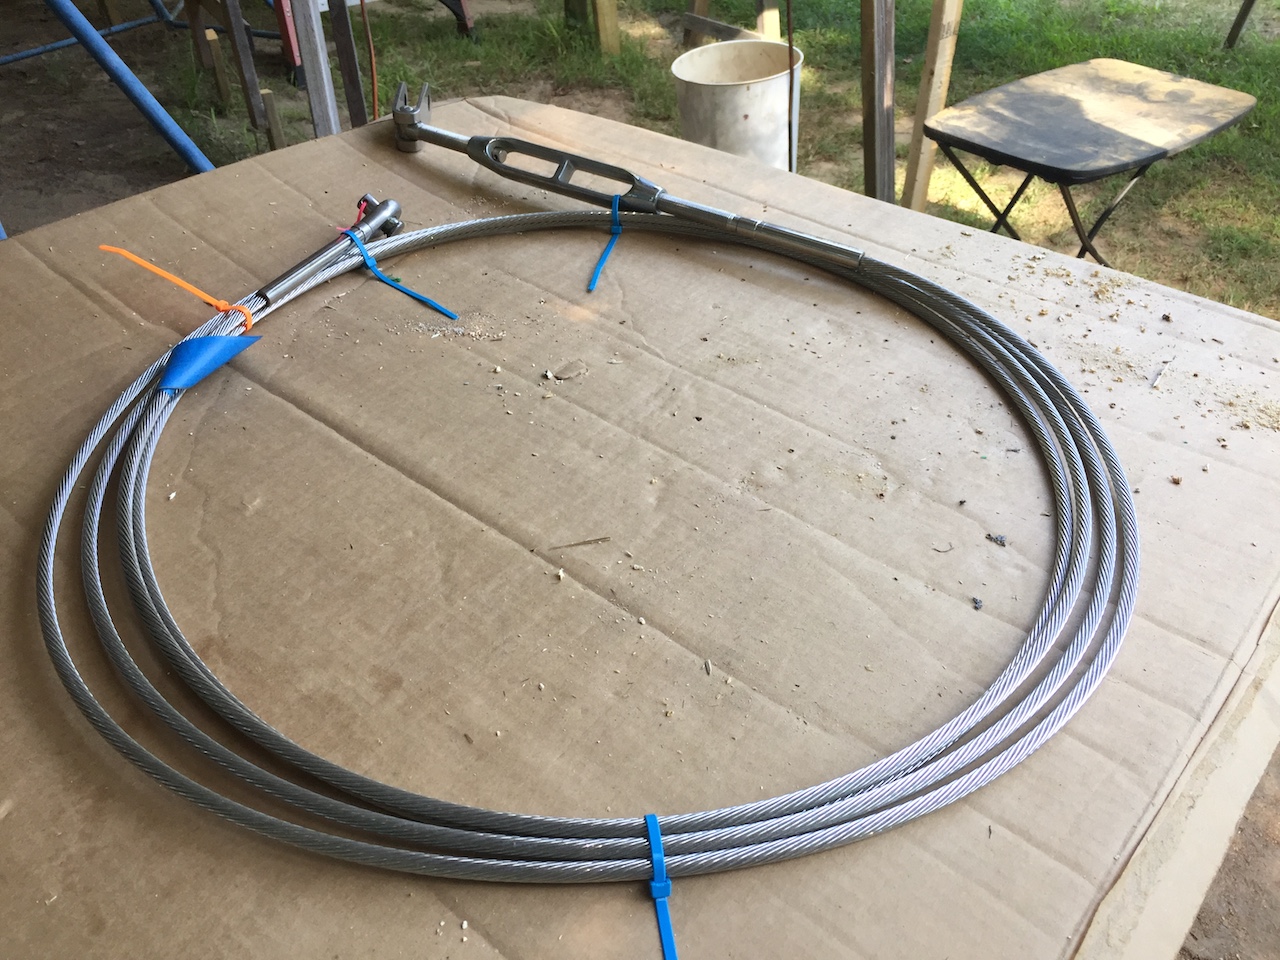
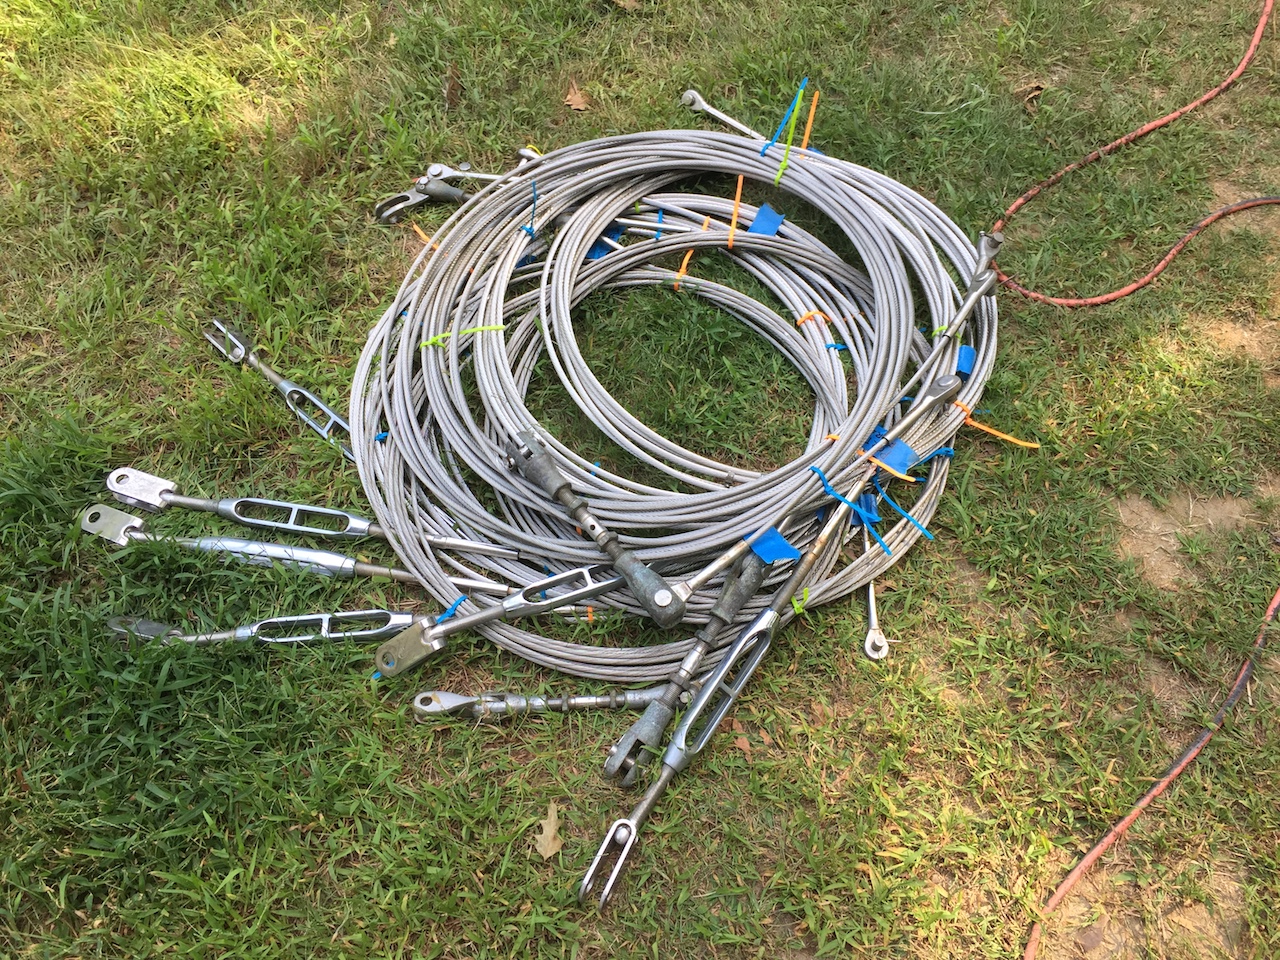
The mizzen mast is now under the boat, and in the picture above, the main mast still needs to be moved aft. First, though, I removed the rigging, and stored it indoors.
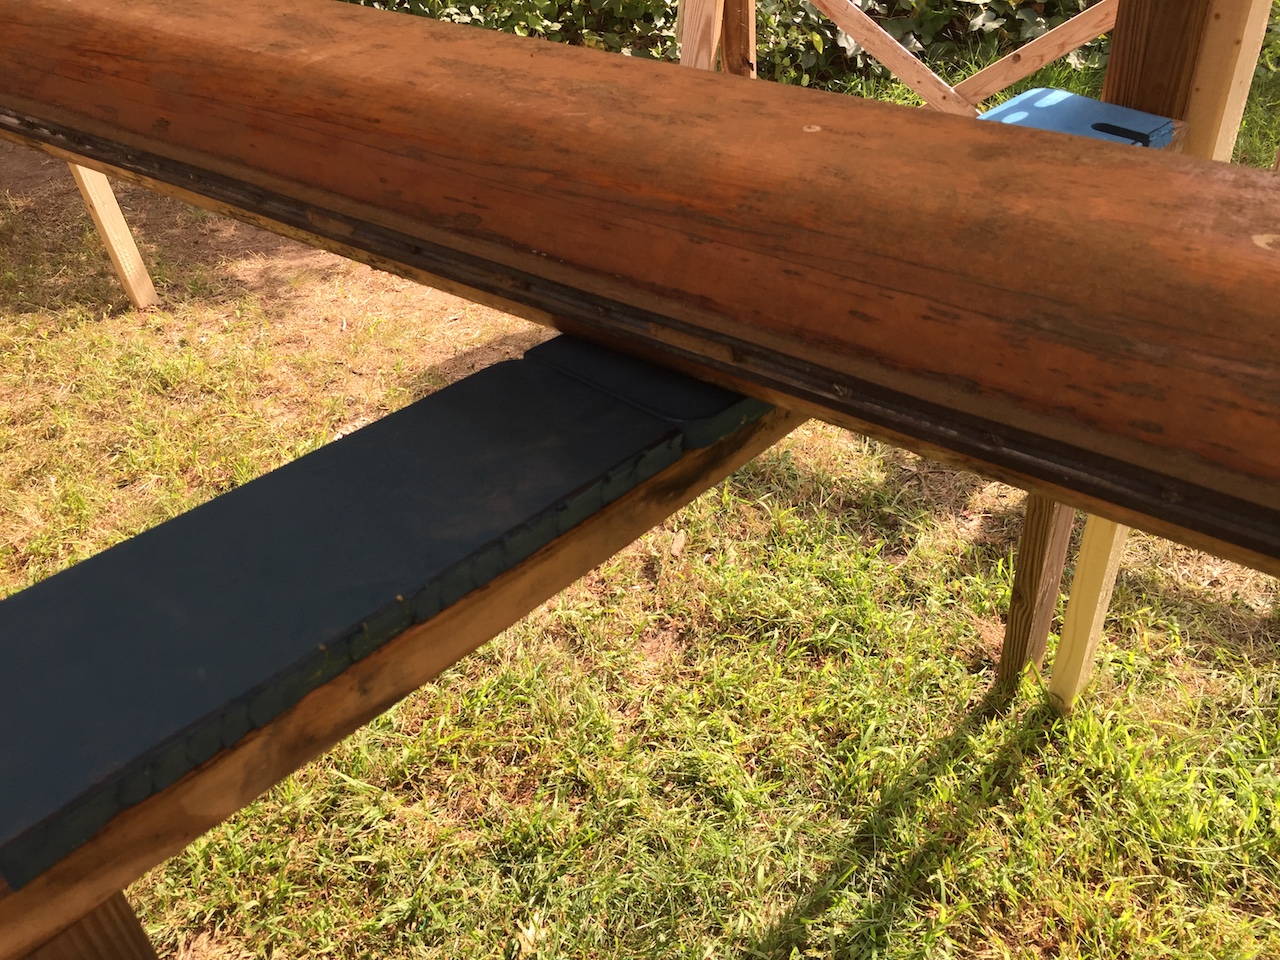
I moved the mast into position, then using a few block-and-tackle systems, I lifted the mast up. I modified two of the sawhorses and attached them to the frames directly, so they are more-or-less permanent now.
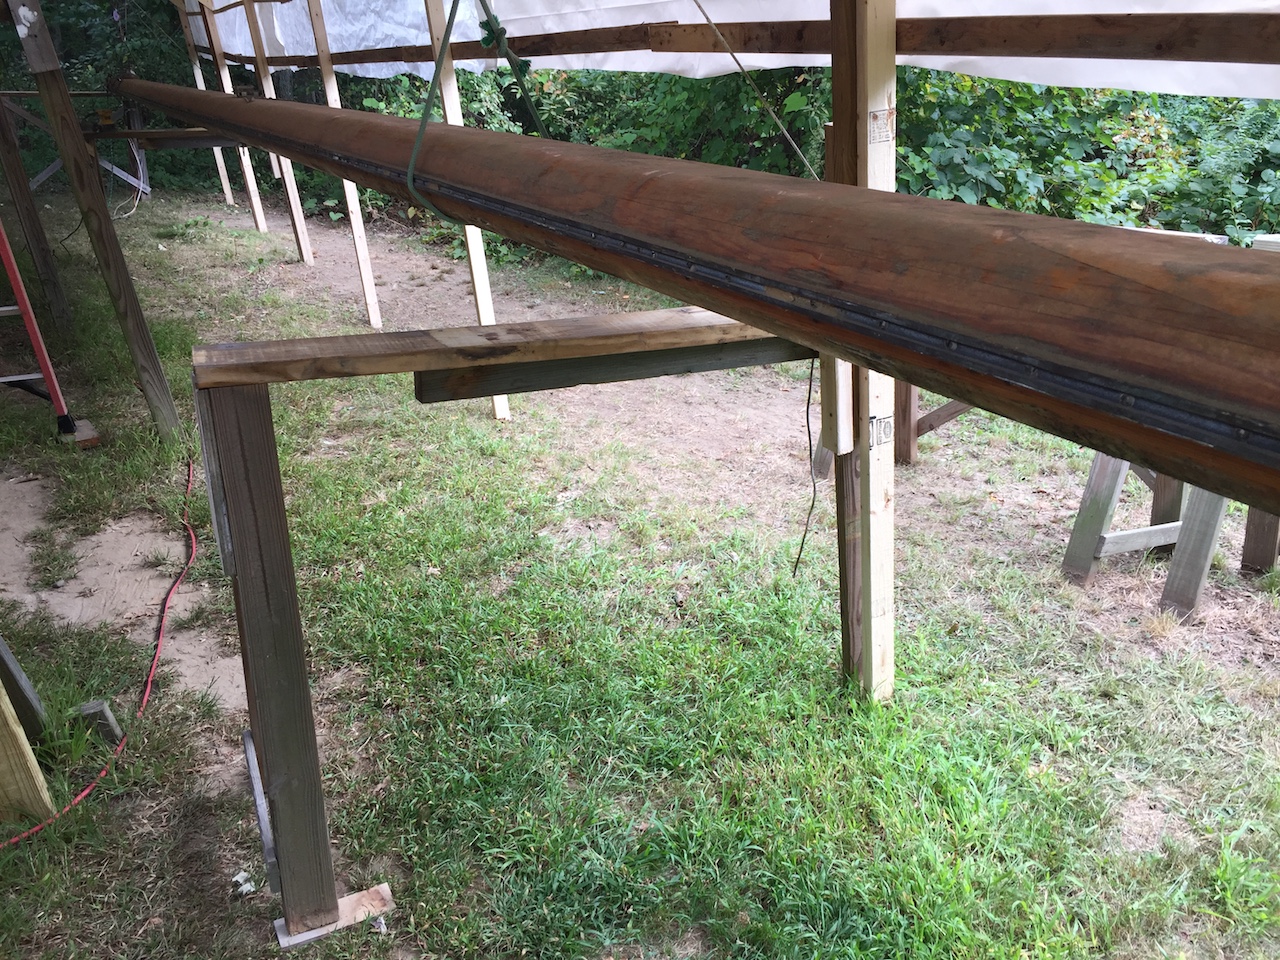
Next, I cut up some kneeling pads, and glued them to the tops of the sawhorses. Now the mast is protected as I roll it and slide it this way and that during future work.
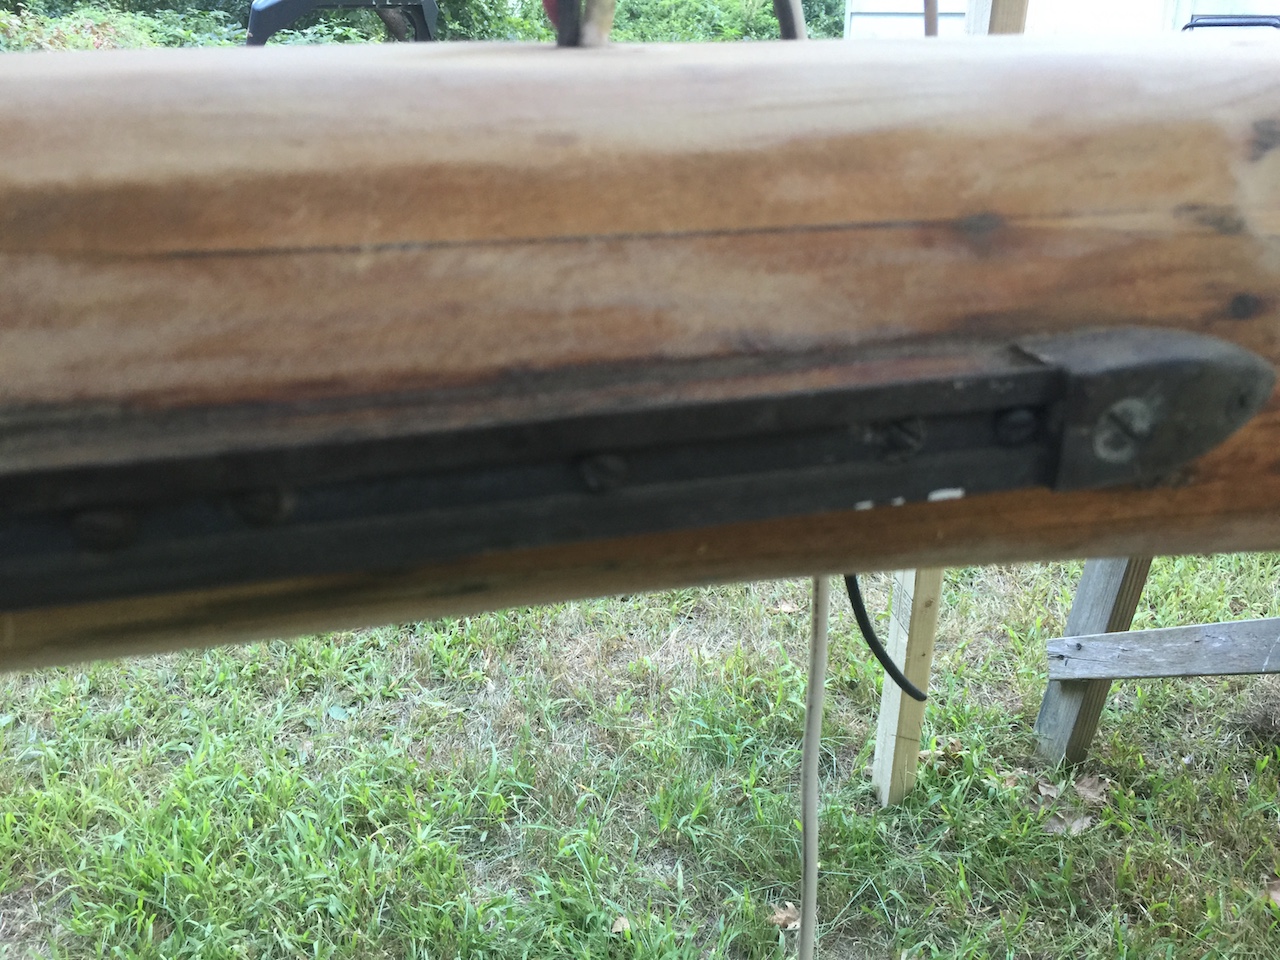
A proper refinishing will require me to remove all of the hardware, and the following photos show some of that process.
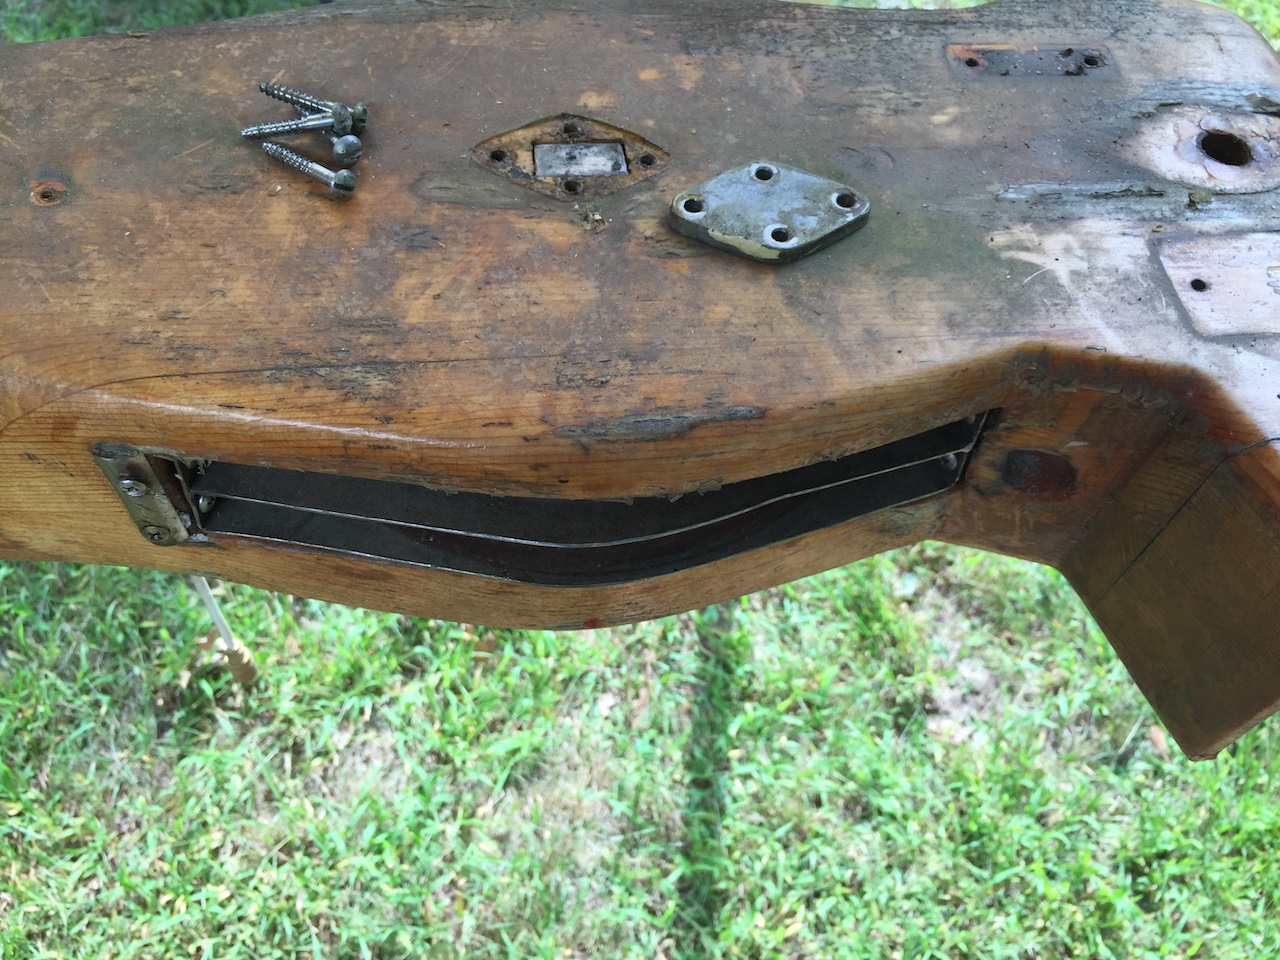

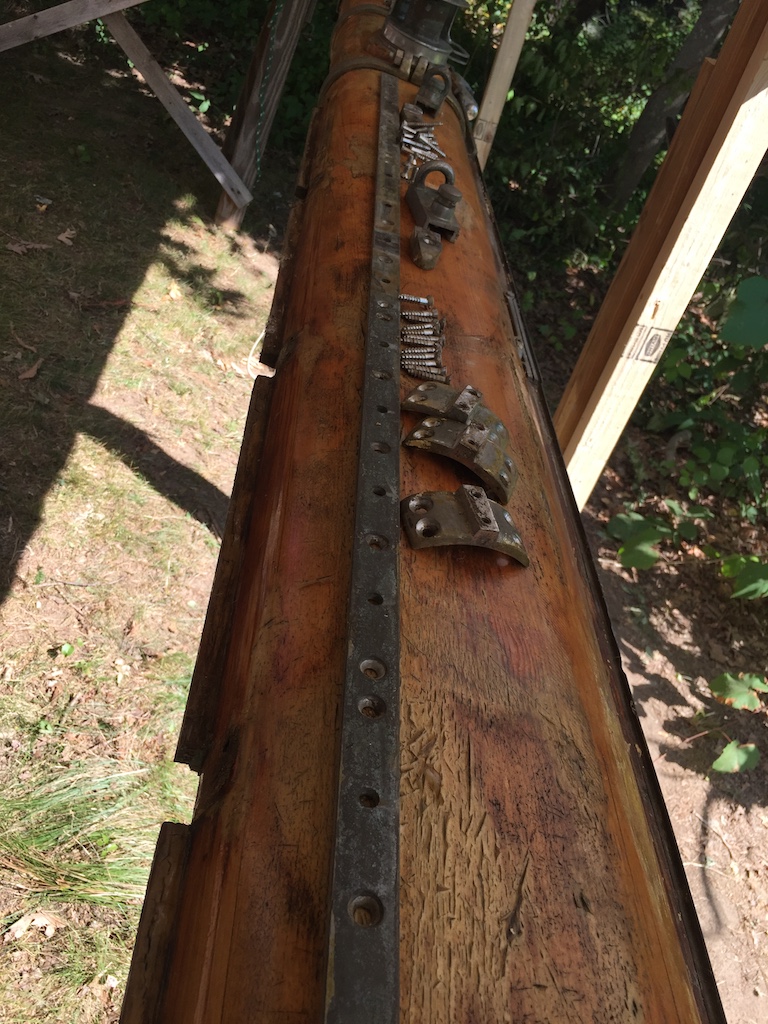
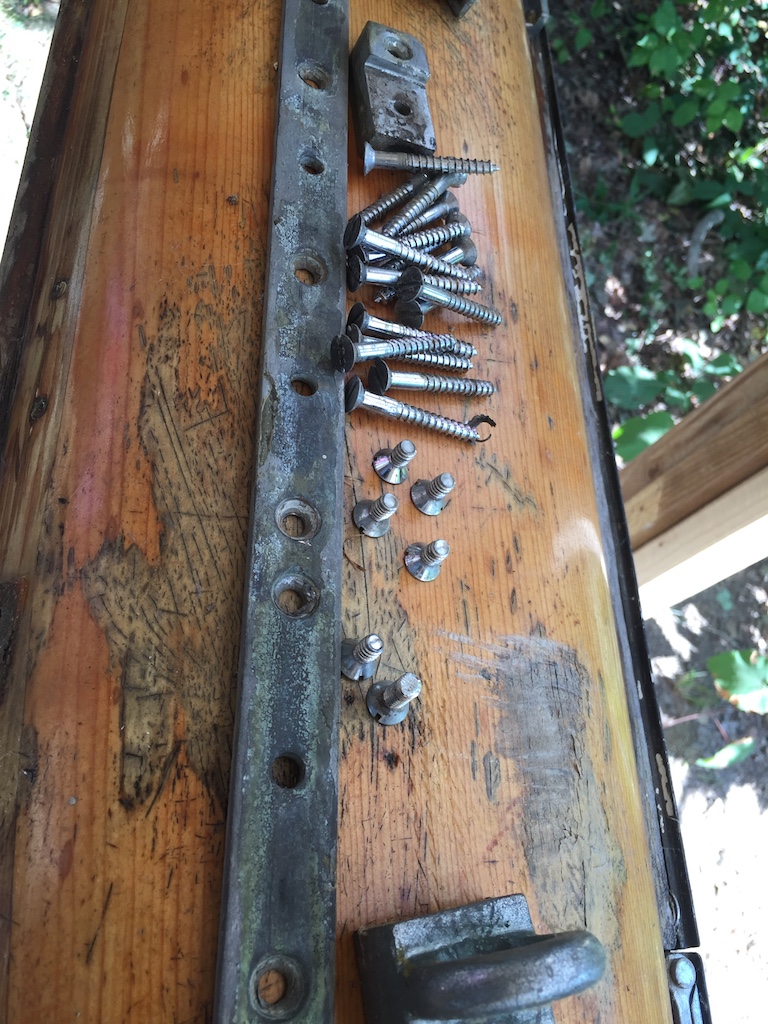
I will say much more about the mainsail track another time.

My next step will be to scrub the mast so it is clean, then begin removing the old finish.