10/23/18: Dinghy, Grab Rails, Masts
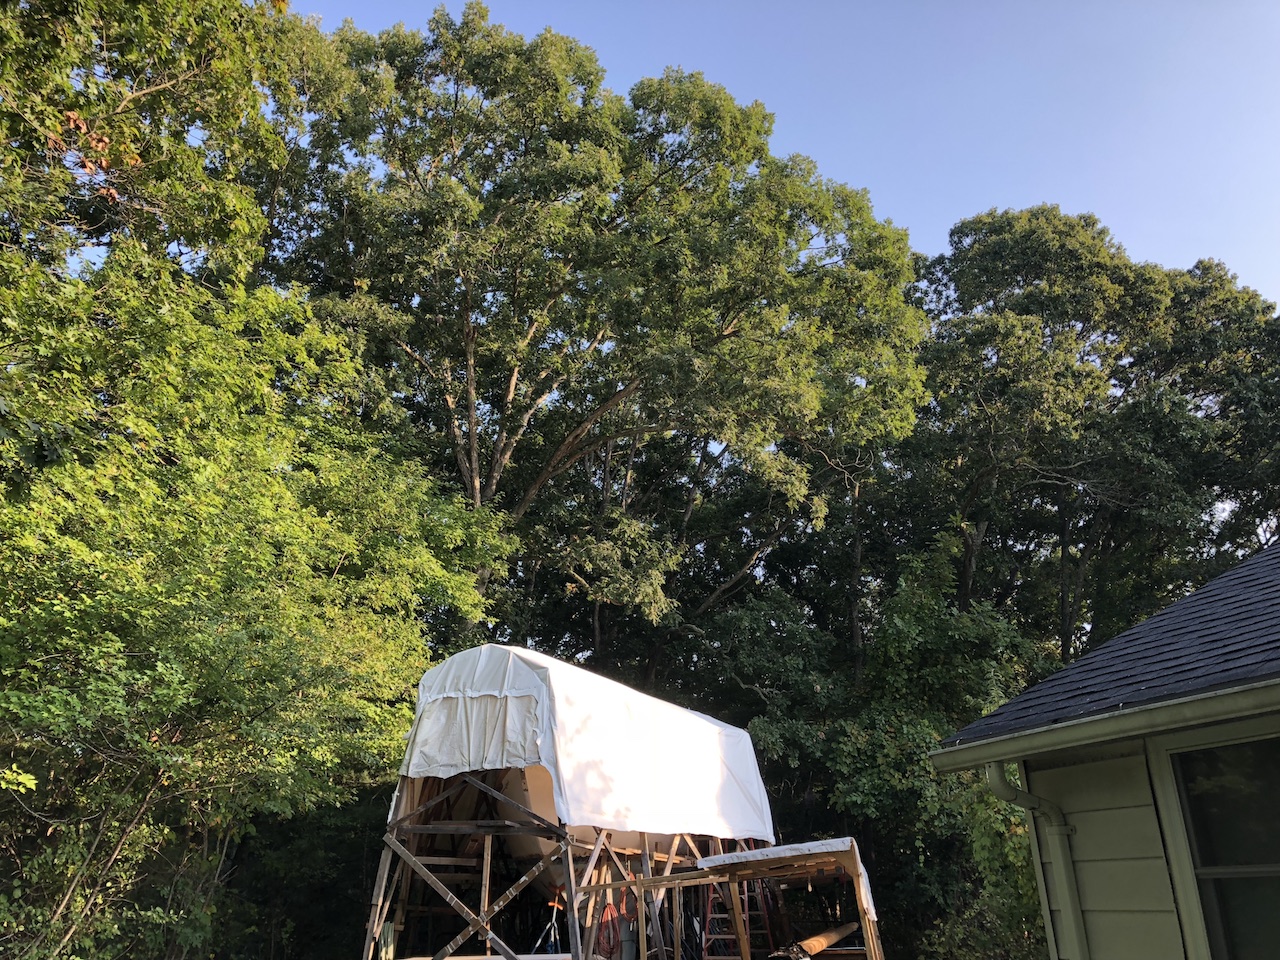
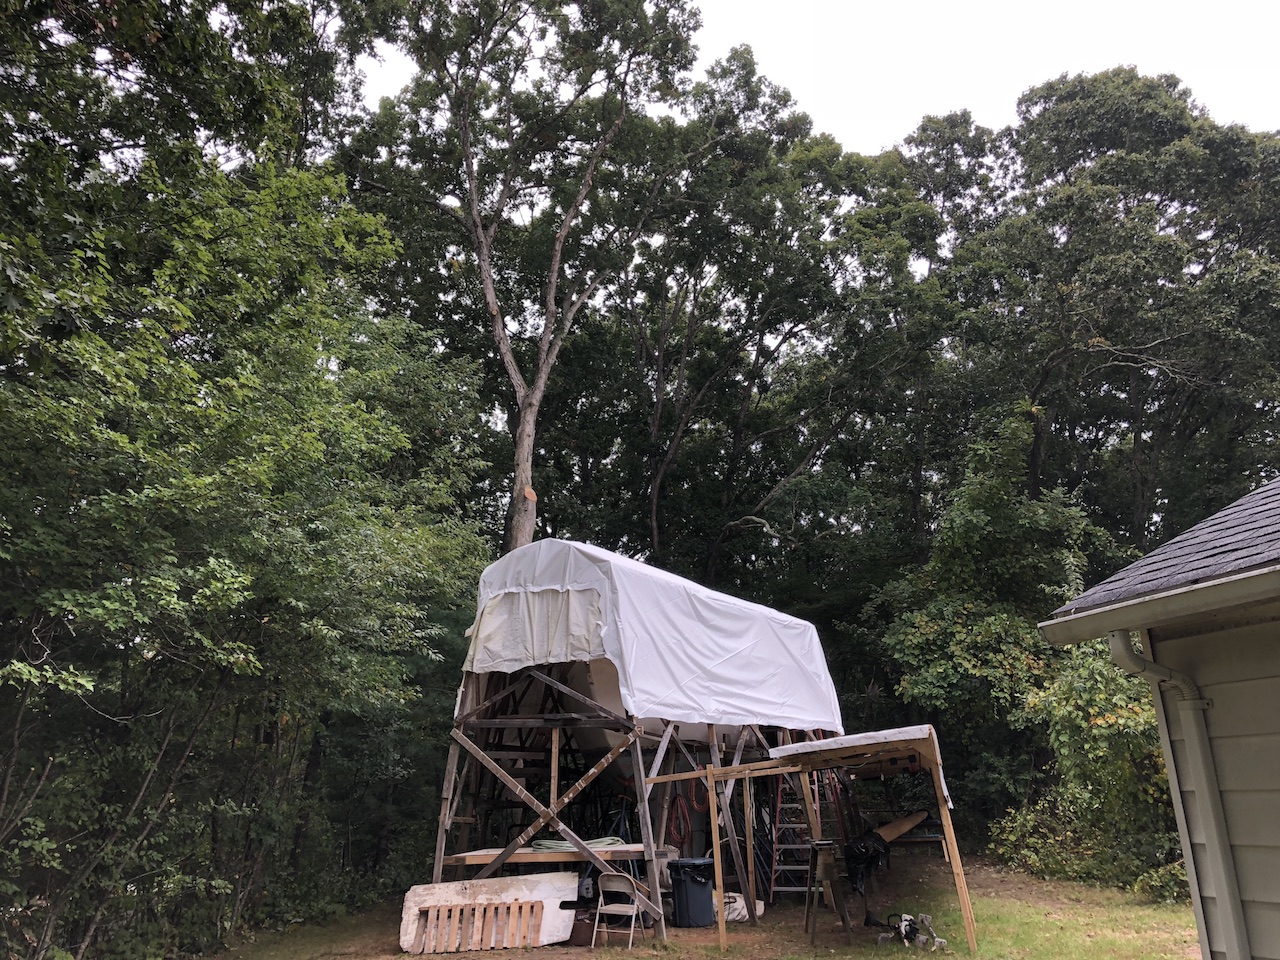
An ever-present concern is the possibility of a tree or branch falling onto the boat, resulting in a major setback. In particular, there is white-oak just off the starboard quarter. This oak tree towers over the boat, leans toward the boat, and there was a heavy branch extending out over the boat. I had the offending branch removed and the tree thinned out in other areas. The tree is more upright now, and the photos below show the situation before and after.
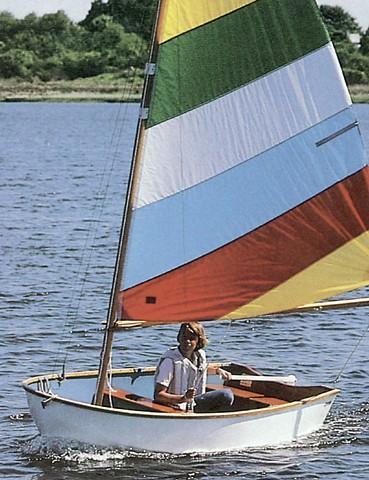
Eventually I will need a tender. I will continue to restore my Sea Dog, which will be my primary mode of dinghying to and from Thalassa while at home port or while on day trips. While cruising, however, I prefer a sailing dinghy. A sailing dinghy can be rowed, of course, but also can be rigged to sail, allowing me (or others) to explore harbors and beaches, or simply have fun sailing. After very little deliberation, I decided on a Dyer Dhow, one of which is pictured below.
I visited the company in Warren, RI, and ordered a new Dhow, which will be ready sometime near year’s end. There are numerous advantages the Dyer Dhow (and hard dinghies, in general):
(1) The Dyer Dhow has been in continuous production since 1944, and was designed by Charles Wittholz and Philip Rhodes. Philip Rhodes designed the Cheoy Lee Offshore 40, so the Dhow and Thalassa seem like fitting companions.
(2) The hard chines provide stability while boarding and unboarding.
(3) There is a centerboard in an enclosed trunk, which eliminates leakage issues associated with a daggerboard.
(4) The rig consists of a two-part, stayed wooden mast and wooden boom. The disassembled rig can be stowed belowdecks, unlike a one-part mast, which would take up room on deck.
(5) There are two sets of oarlocks, which will allow me to row from the front seat if I am carrying just one passenger. (Otherwise, as we all know, the dinghy sits bow-up and does not move well through the water.)
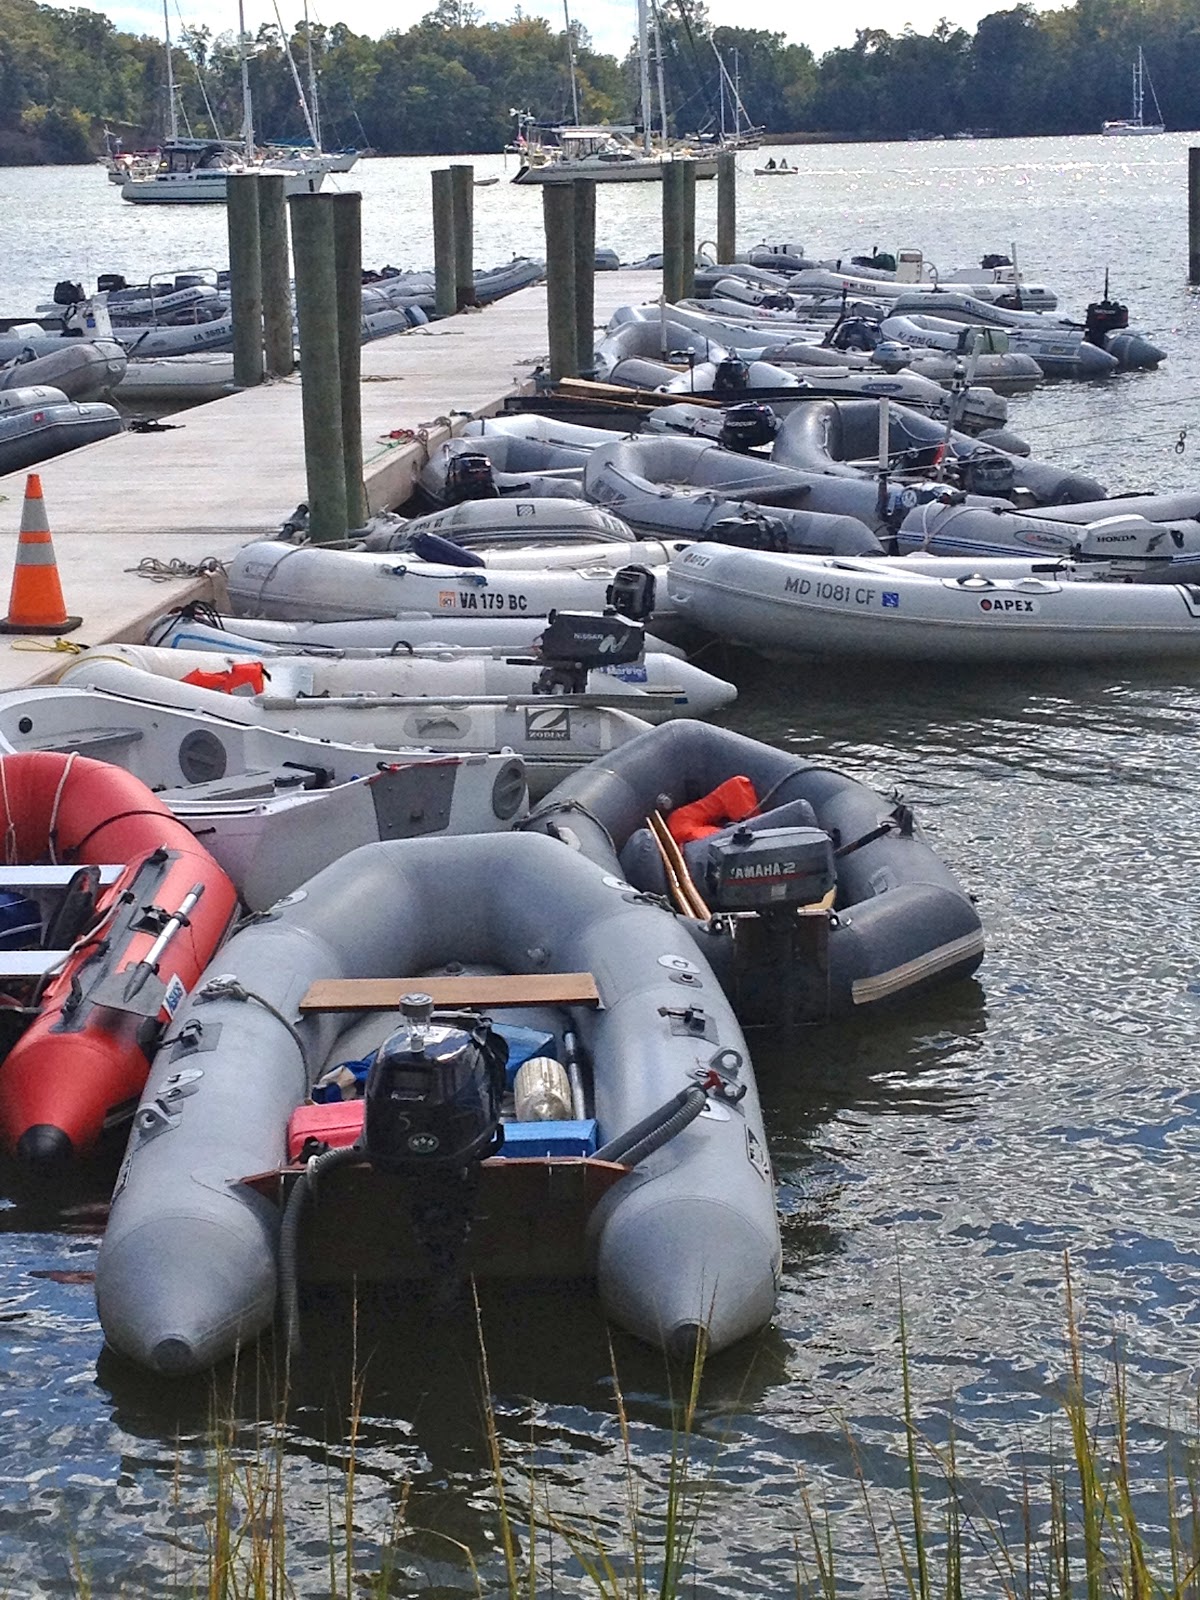
(6) Today, very few cruisers use a hard dinghy, and even fewer use the oars. I think this is a shame.
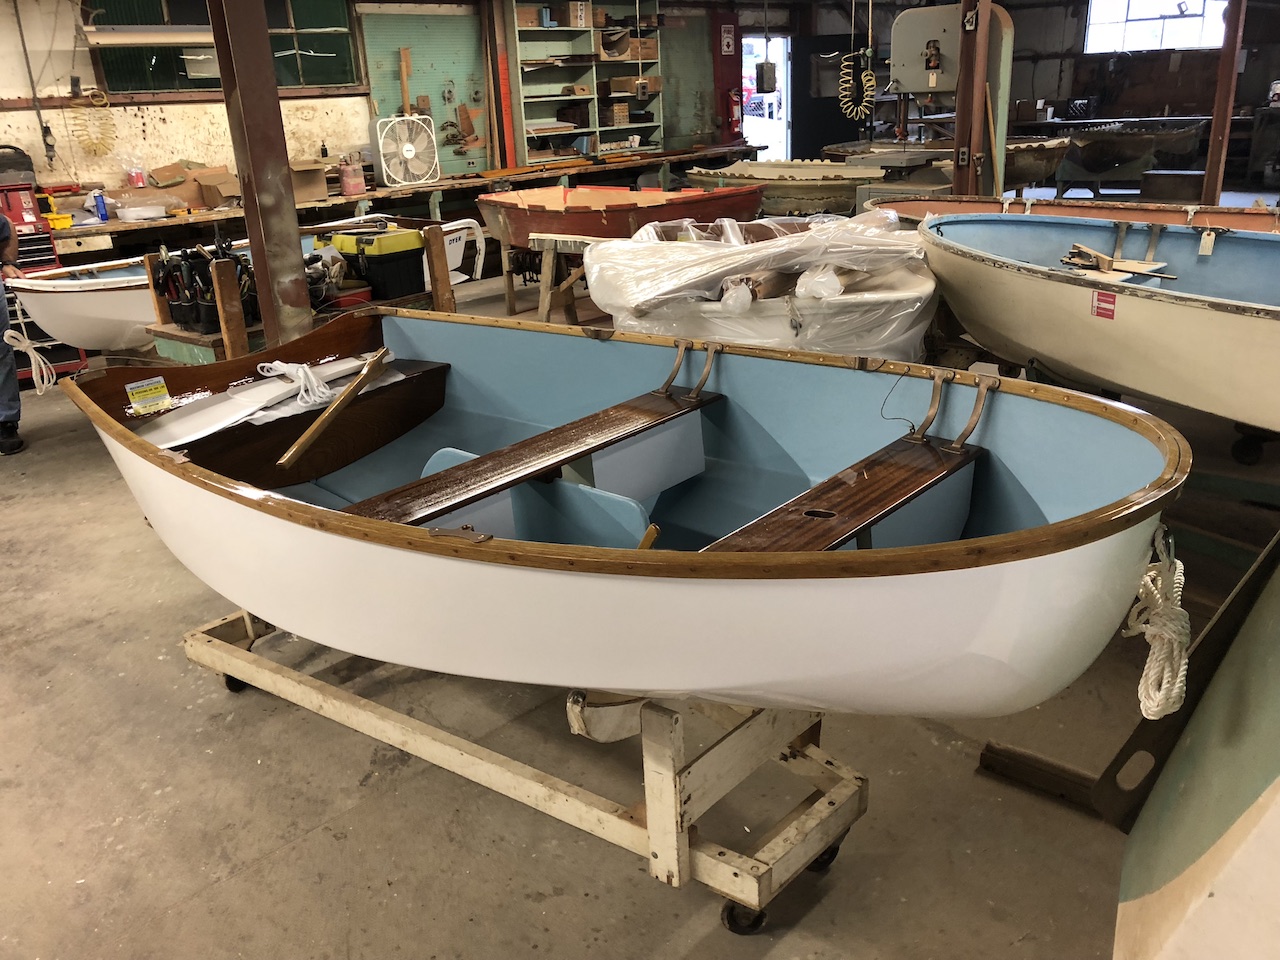
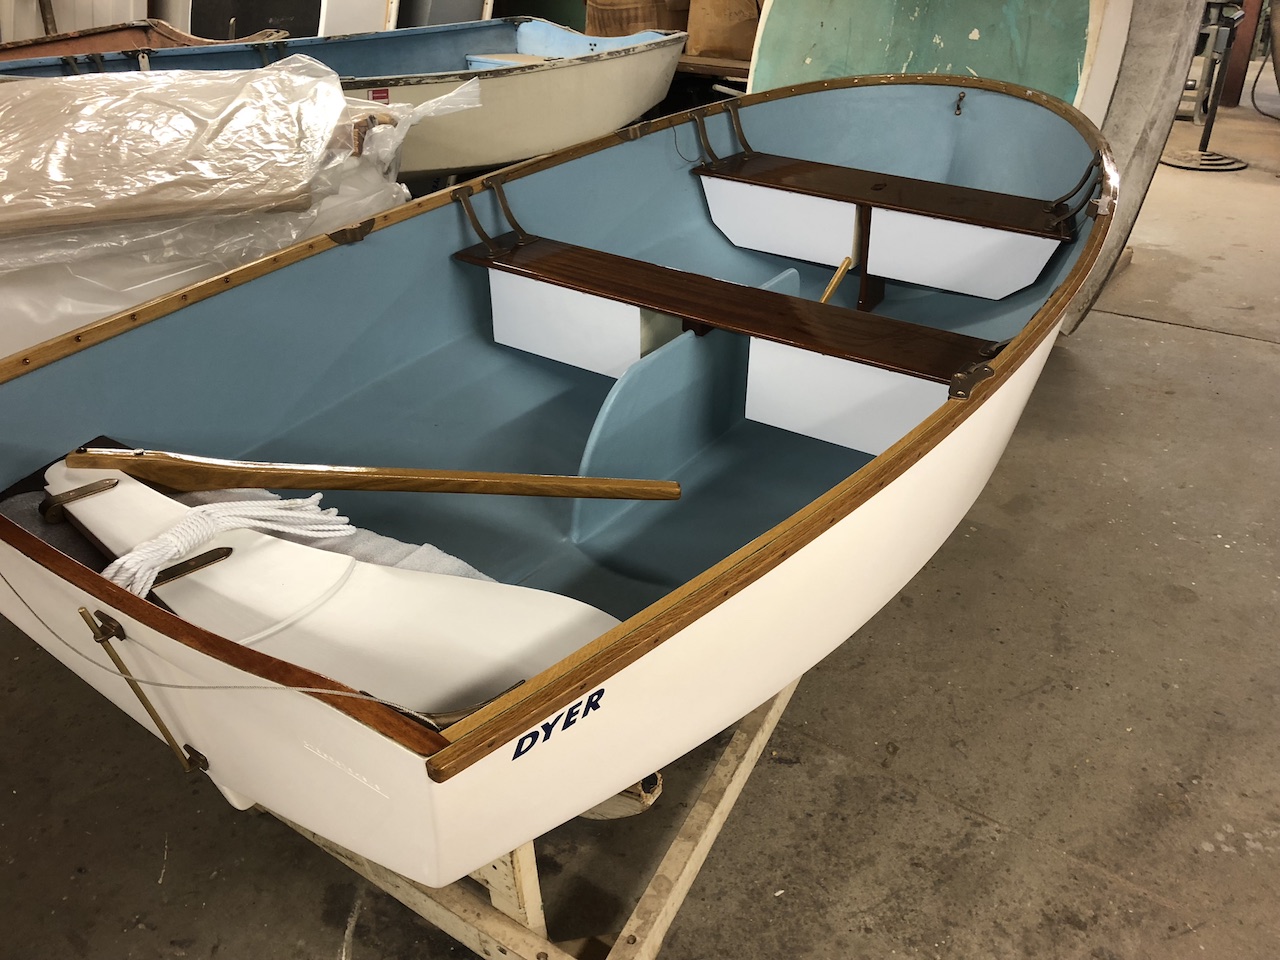
I took the following two photos while at the Dyer shop in Warren. This Dhow is ready for delivery.
Mystic Seaport has a fleet of 50 Dyer Dhows and their WEBSITE contains some interesting historical information about the Dyer Dhow.
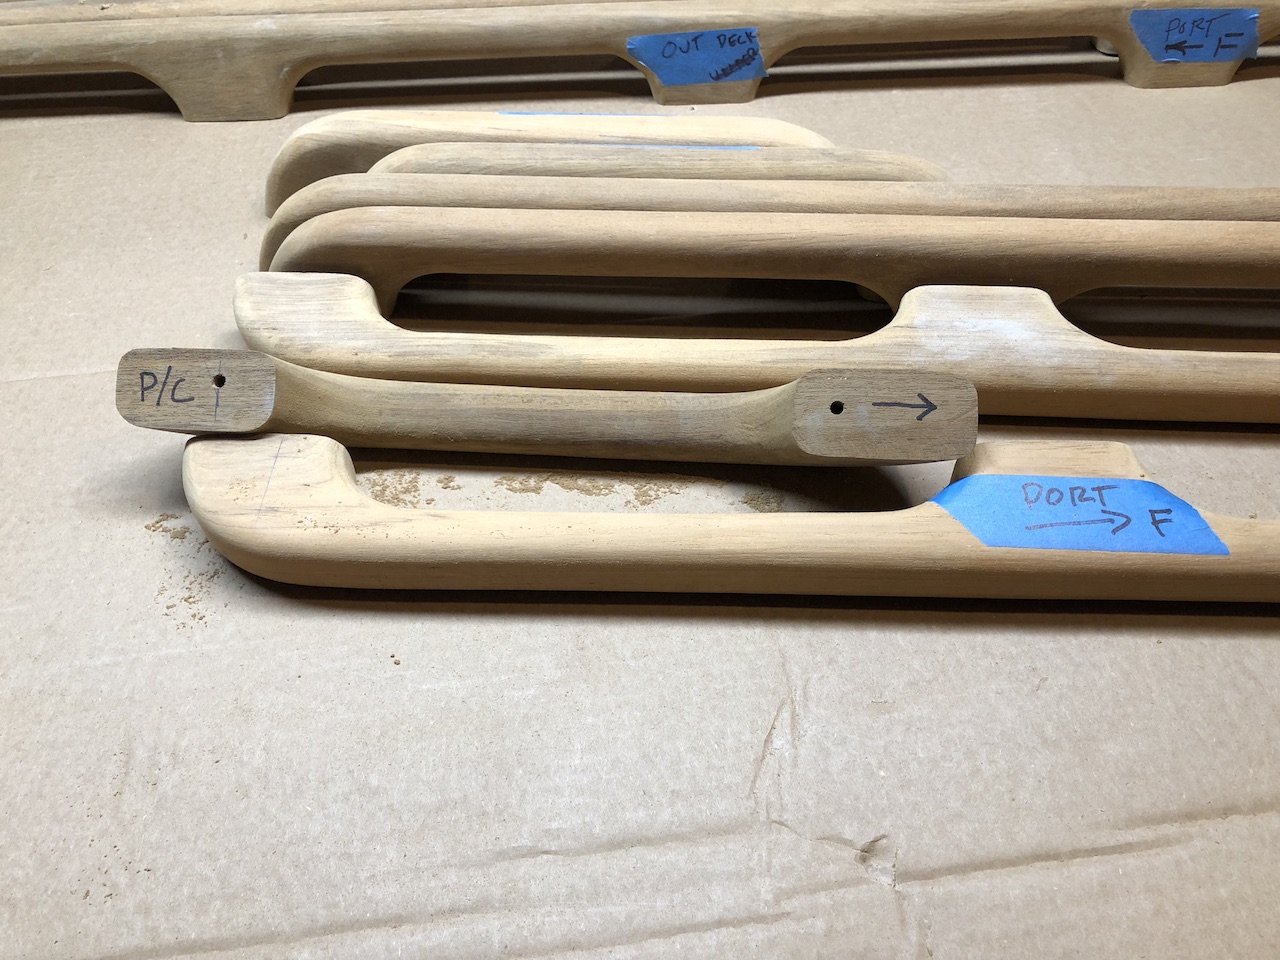
Back at home, I prepped the handrails for a first coat of varnish. I began by moving the labels from pieces of tape to the bottoms of the pads.
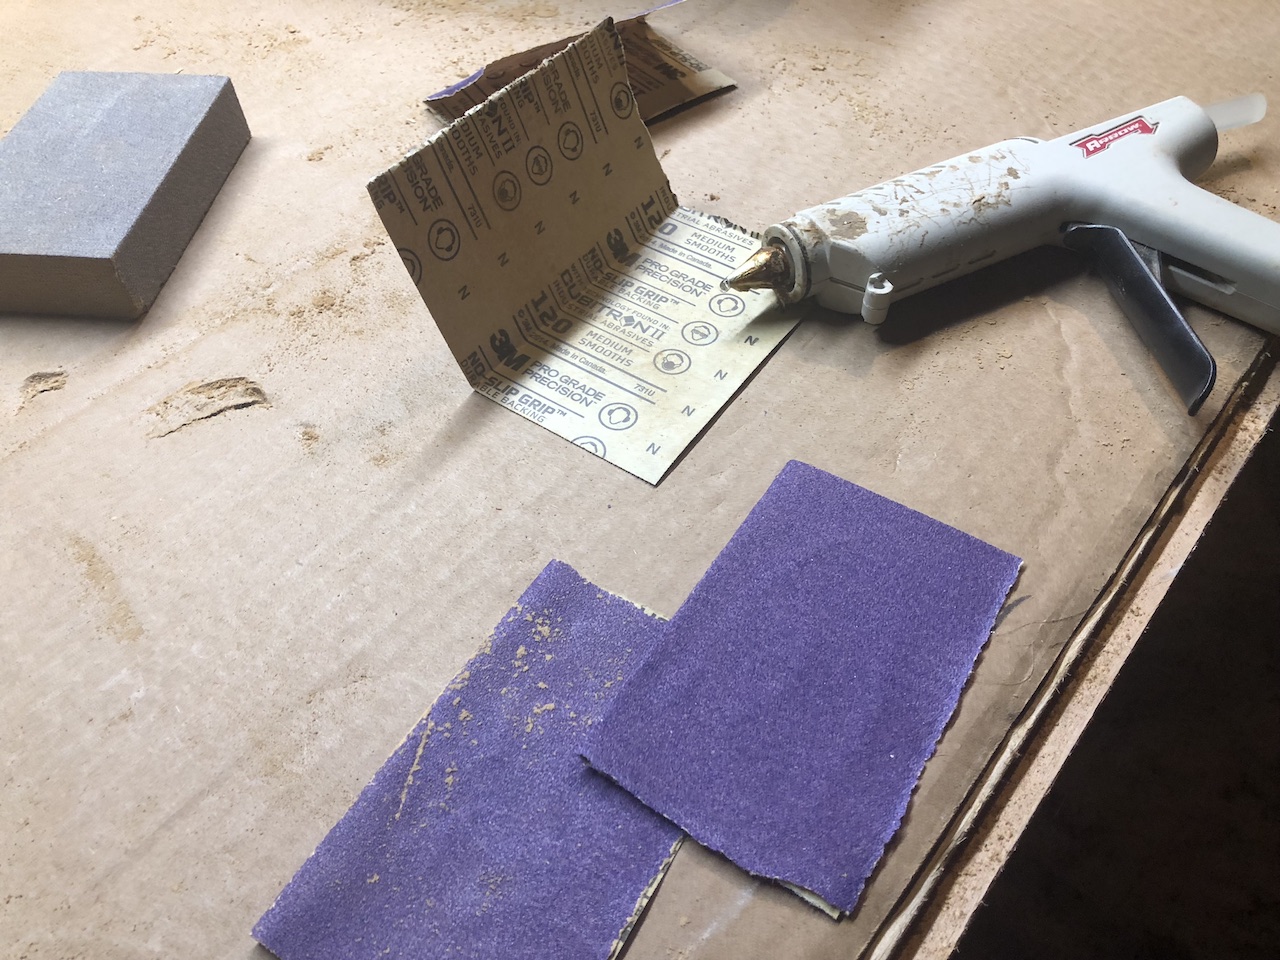
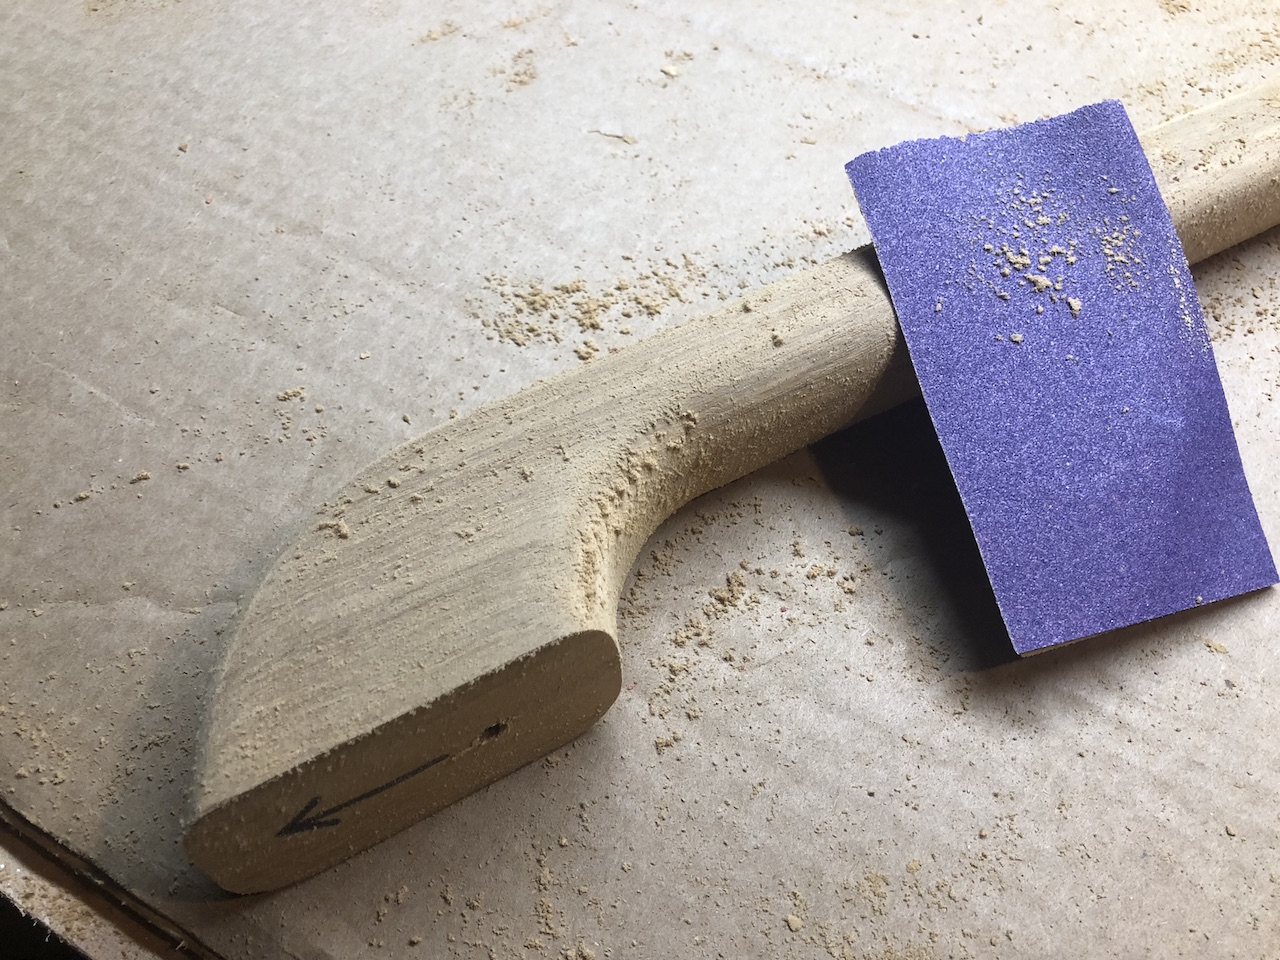
Next, I hand-sanded with 120-grit paper. I typically fold the paper back onto itself (gritty side outward, of course) for hand sanding, but have found that a little bit of glue prevents the back sides of the paper from slipping.
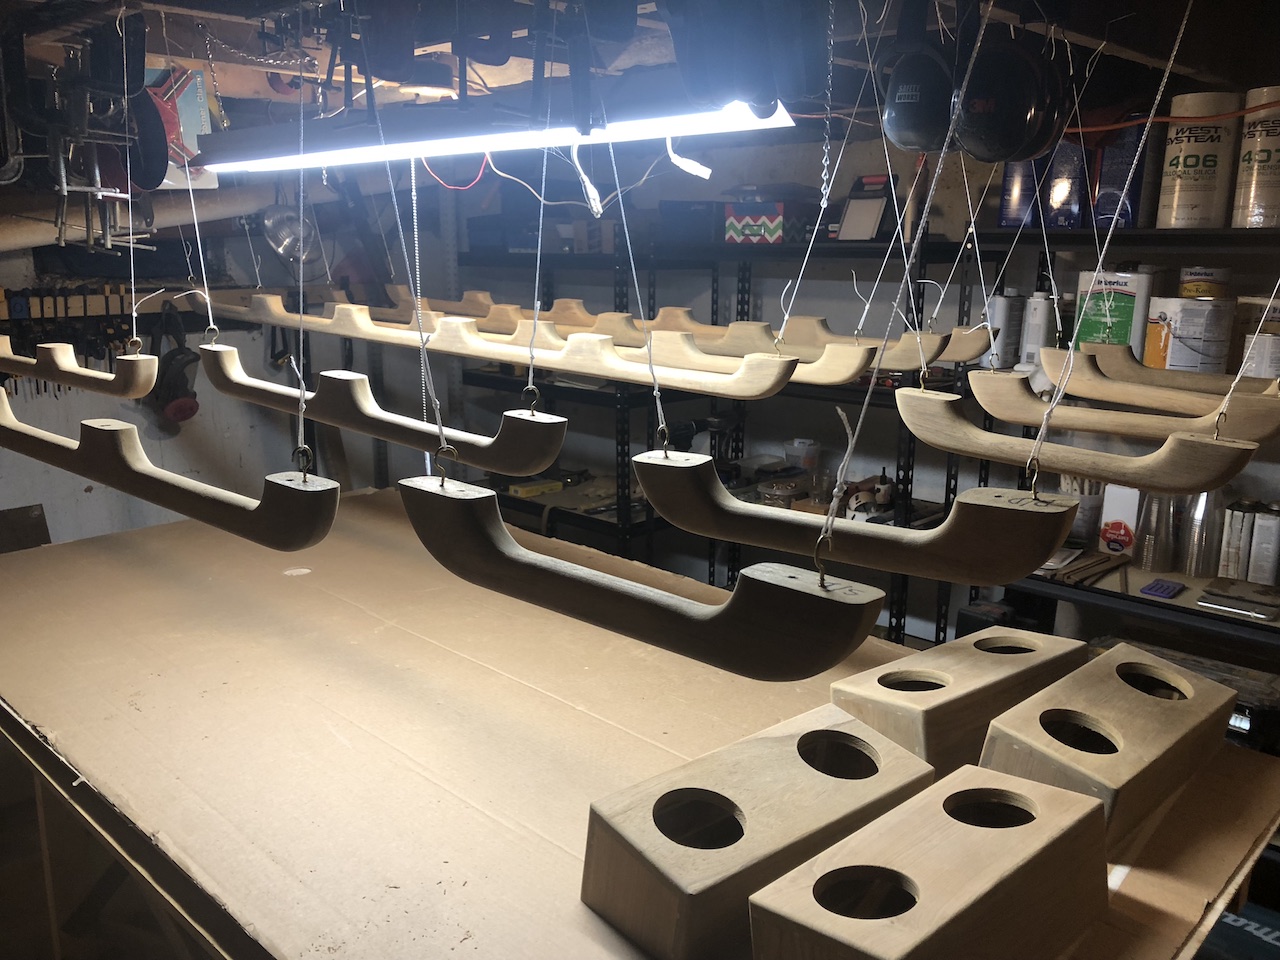
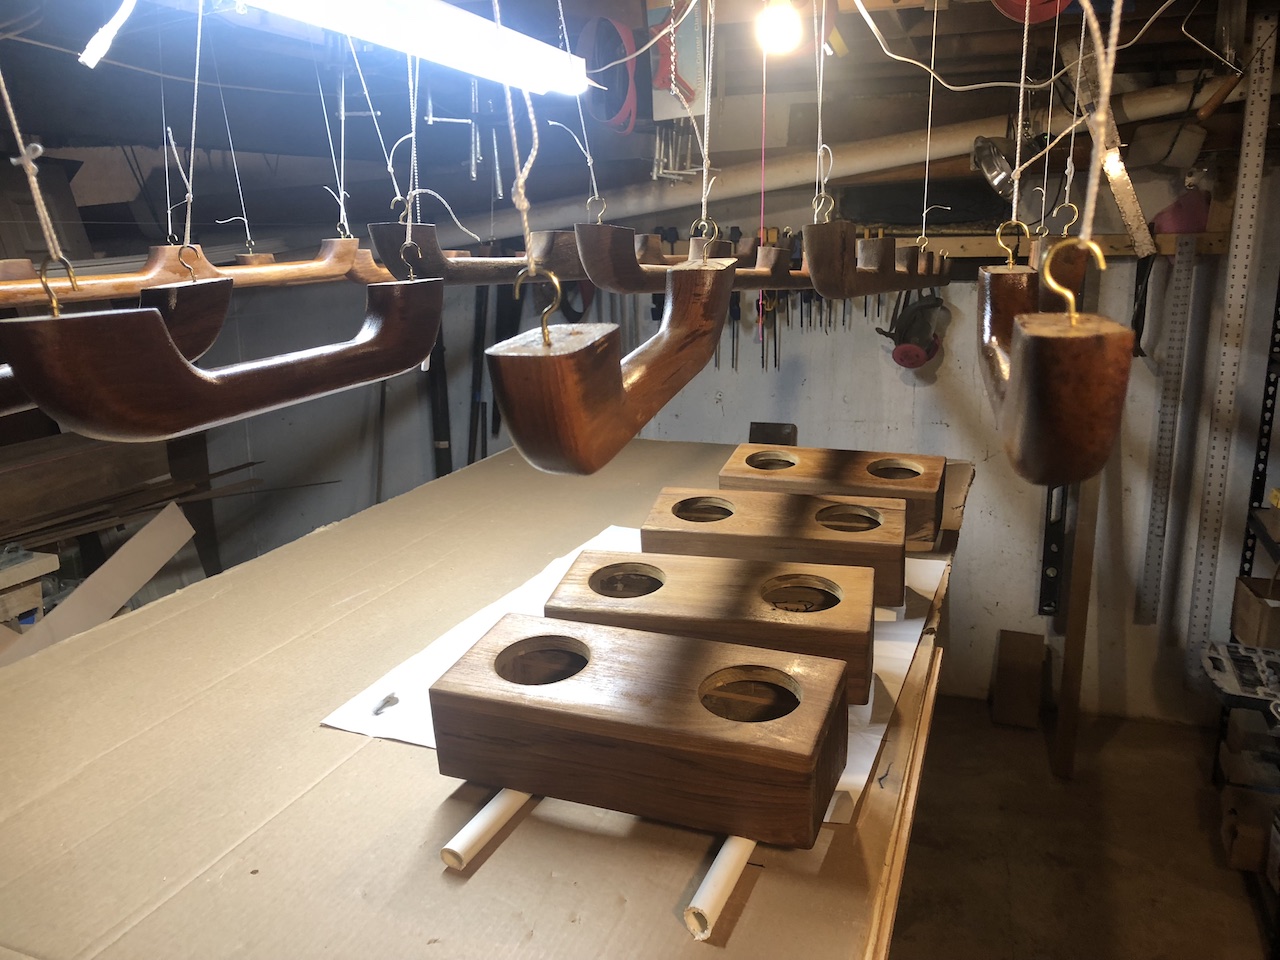
I screwed little hooks into the bottoms of the pads as a means to hang the rails for varnishing.
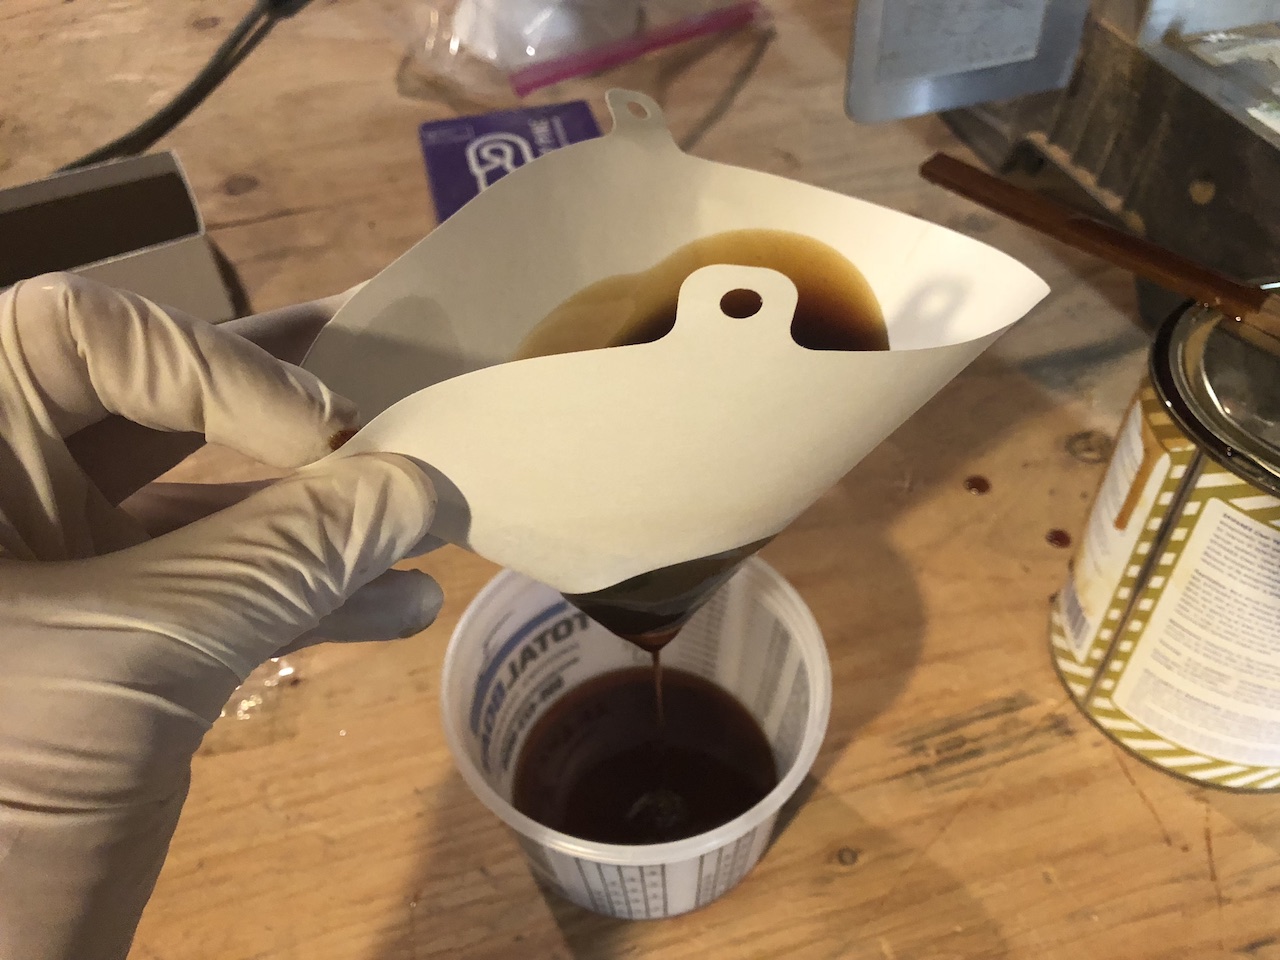
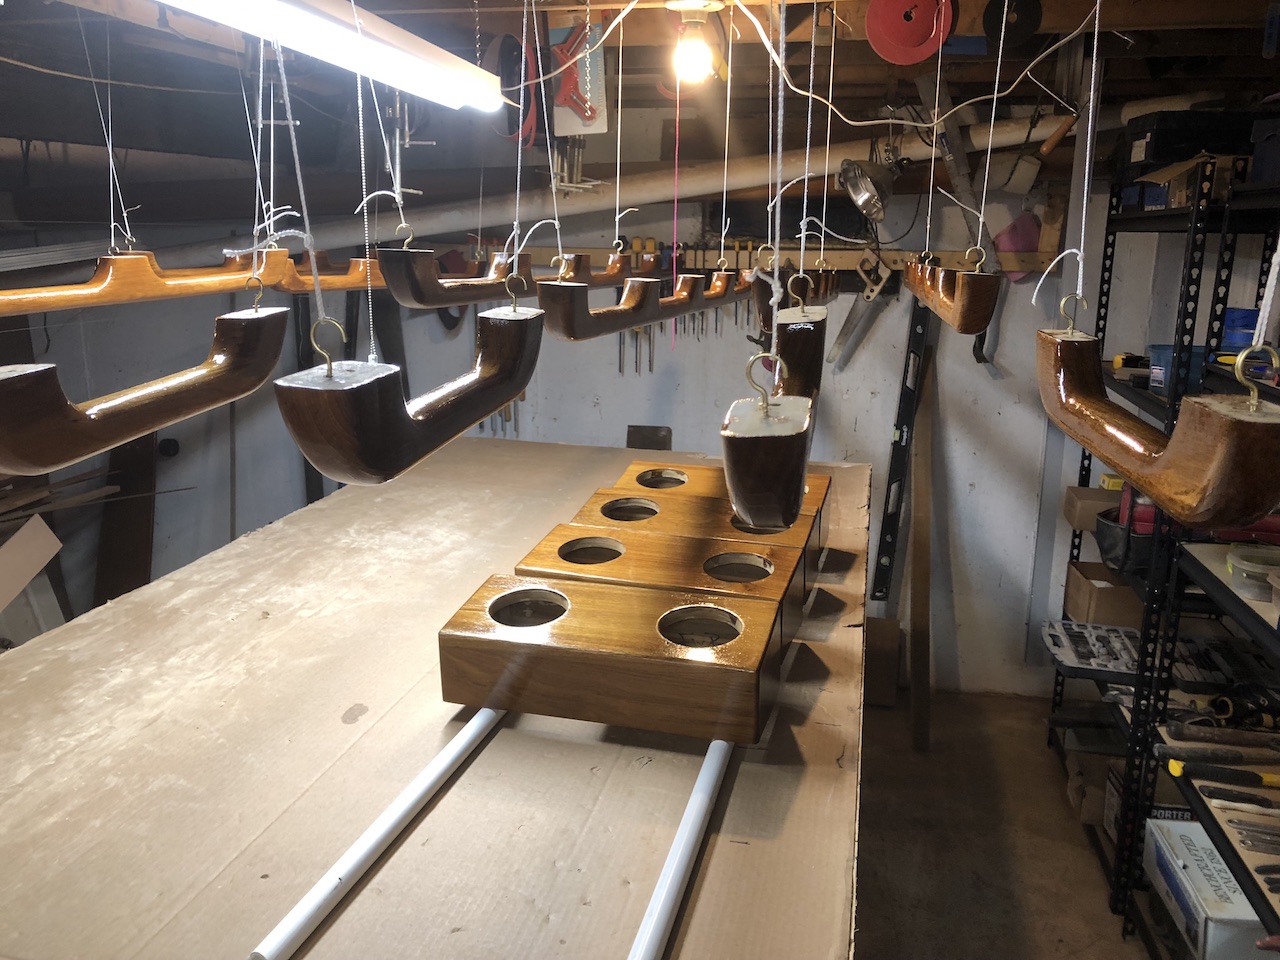
Varnishing always begins with removing sanding dust and wiping the wood with a rag dampened in mineral spirits. Varnish should always be strained. When varnishing teak, the first coat should be thinned by 50% with mineral spirits to facilitate soaking into the oily wood.
For the second coat, the varnish is thinned by about 30%, then just 10% for the third coat.
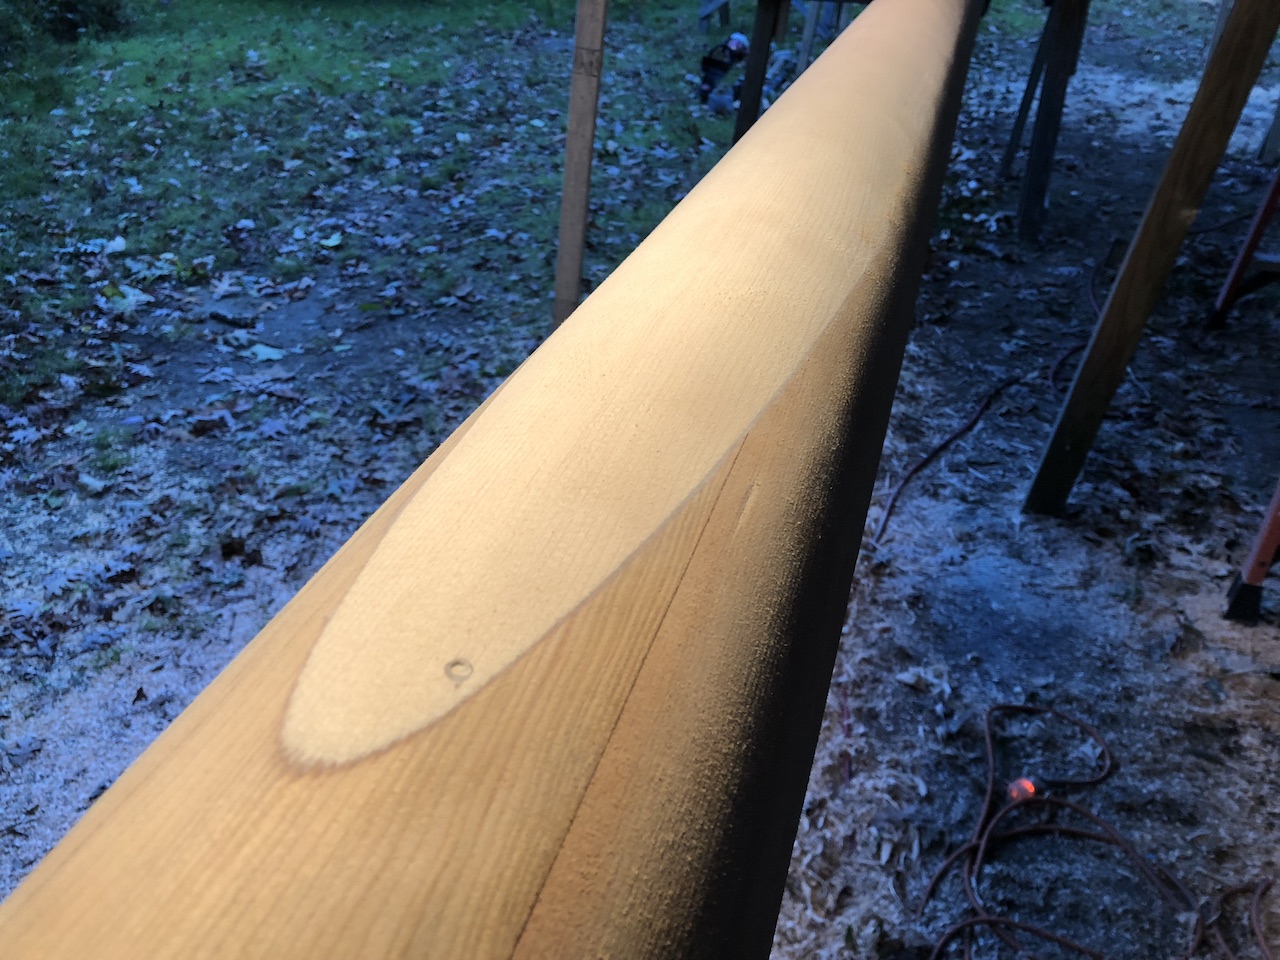
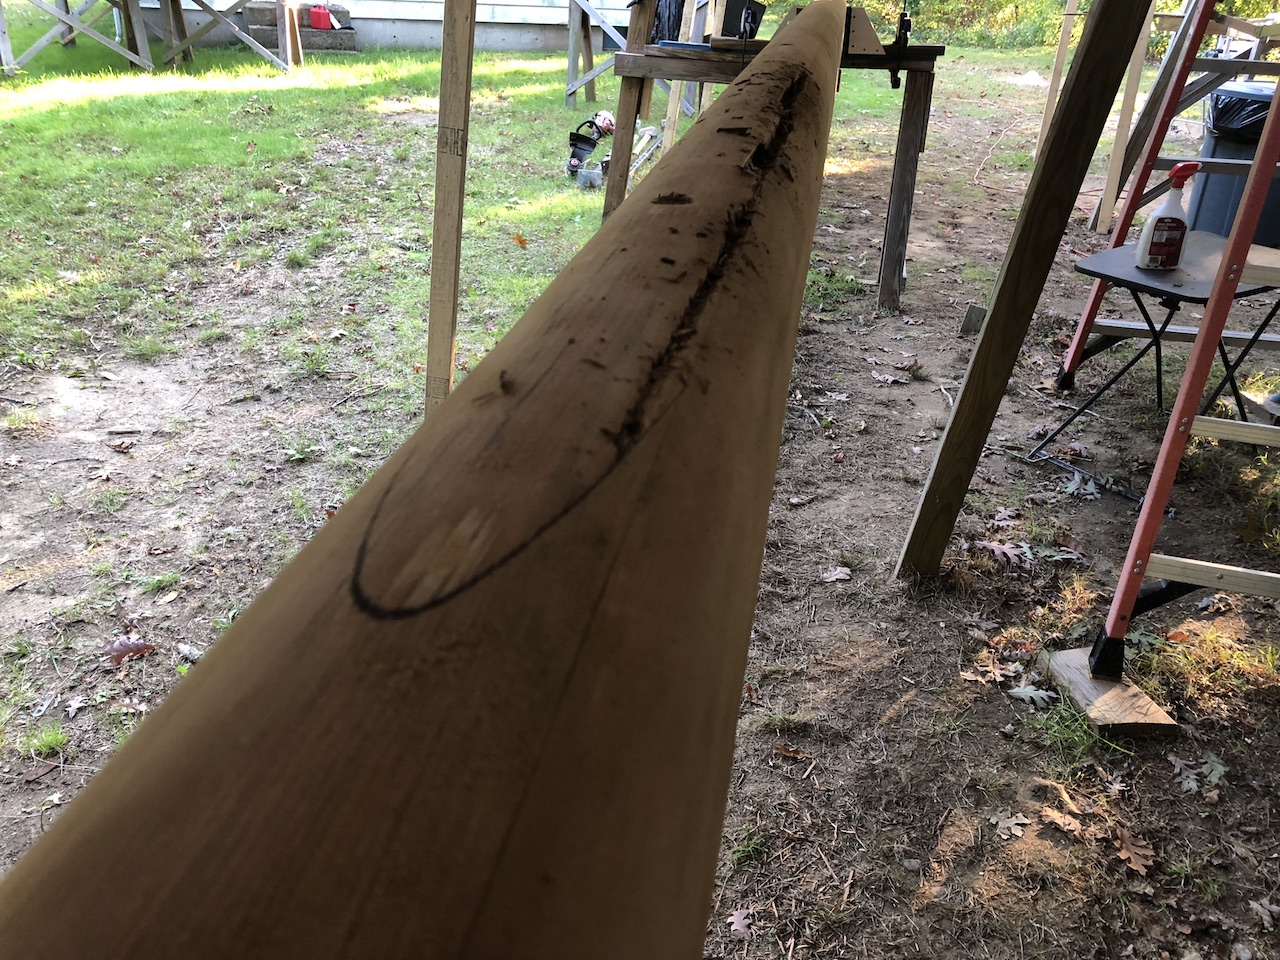
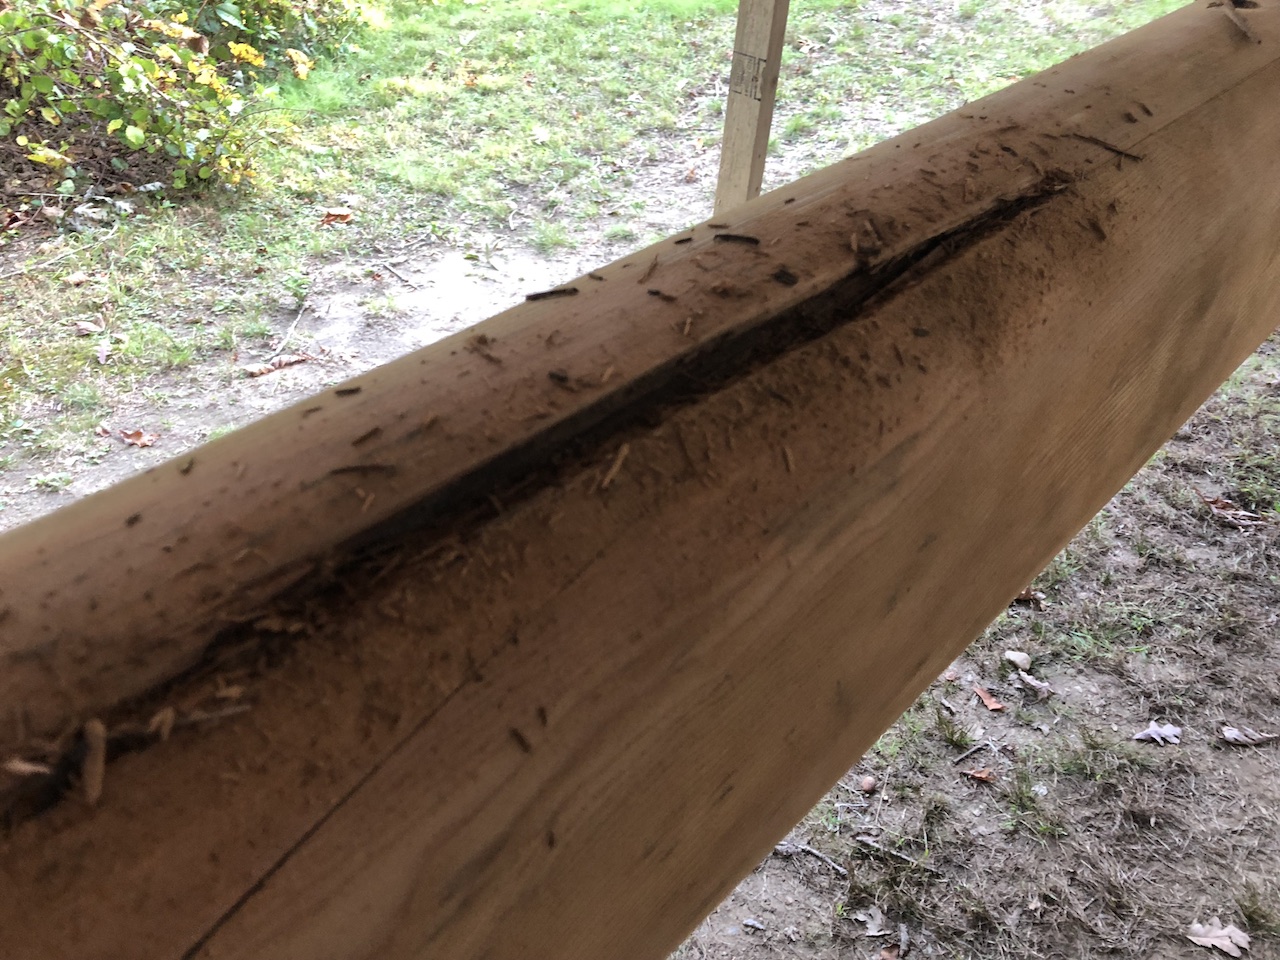
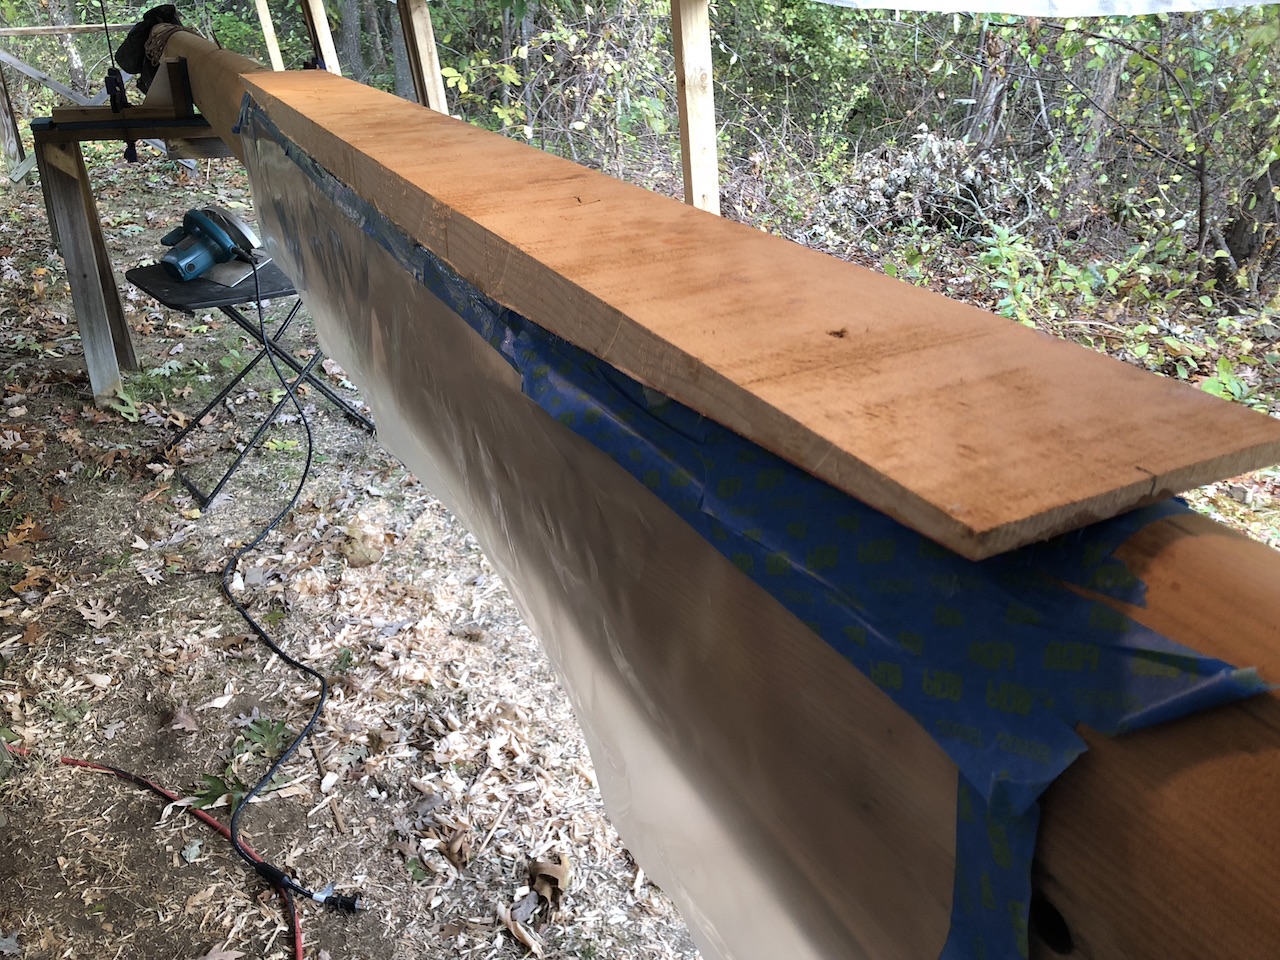
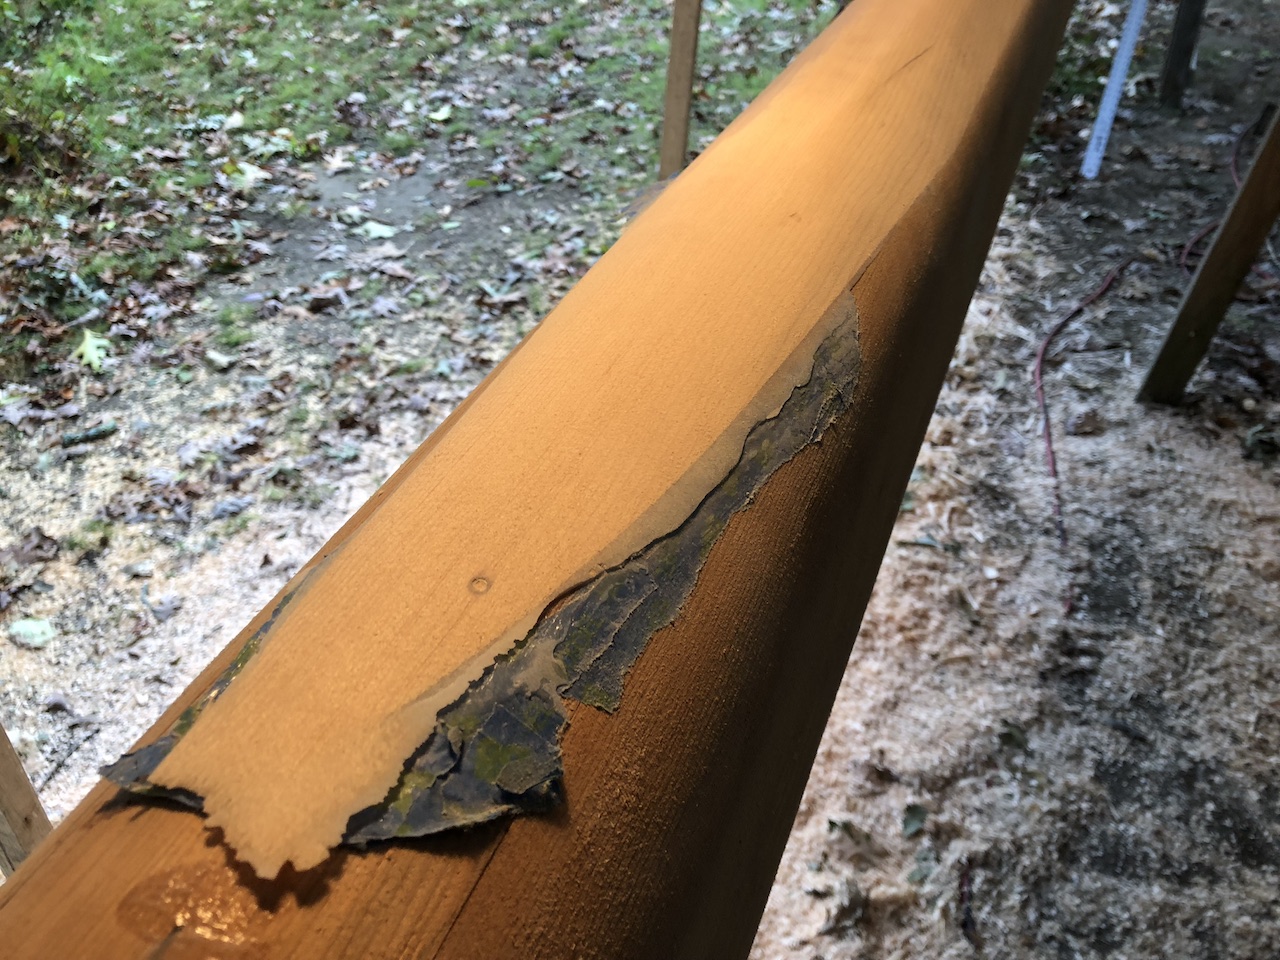
Back outside, I inspected the masts thoroughly, and identified a few areas that need repair. The masts are made up of many pieces of sitka spruce, resulting in long glue joints. Occasionally (probably due to neglect) a seam opens up a little, allowing water to penetrate, and causing rot. The most serious problem is a seam on the forward side of the mast, where there was about 3-4 feet of rot penetration. I started by digging out as much as could by hand with a chisel.
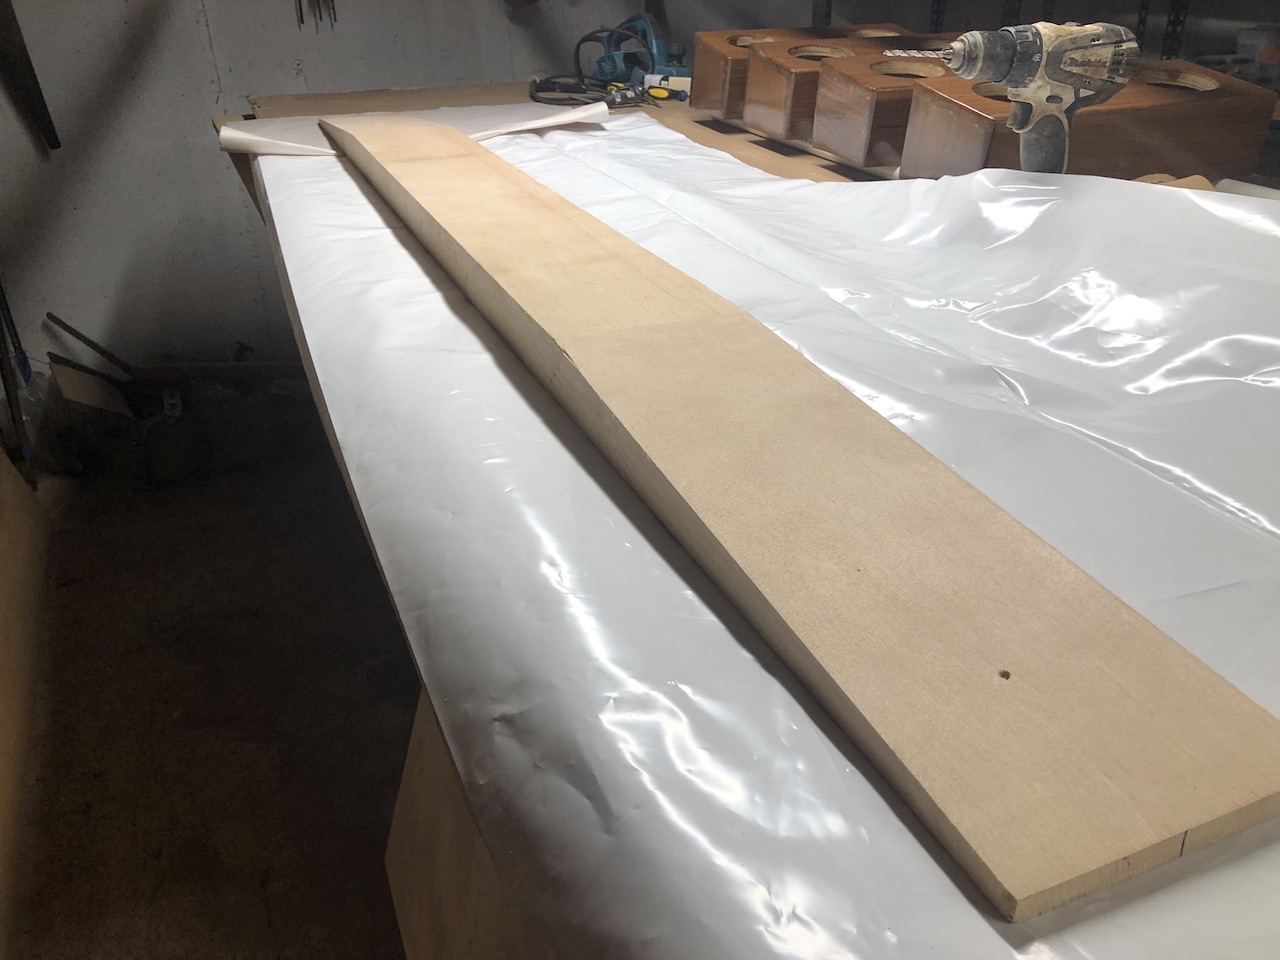
The proper way to repair a problem like this is to cut out all of the damaged wood (and more) and scarf in a dutchman. I made a trip to Boulter Plywood to select some sitka spruce lumber.

One technique for cutting the long, tapered scarf joints is to make a jig consisting of parallel rails and a “sled” for the router. Using a straight bit you can side the router this way and that, gradually removing the wood. There are several challenges, however, and one is maintaining the alignment of the rails as the jig is moved from place to place.
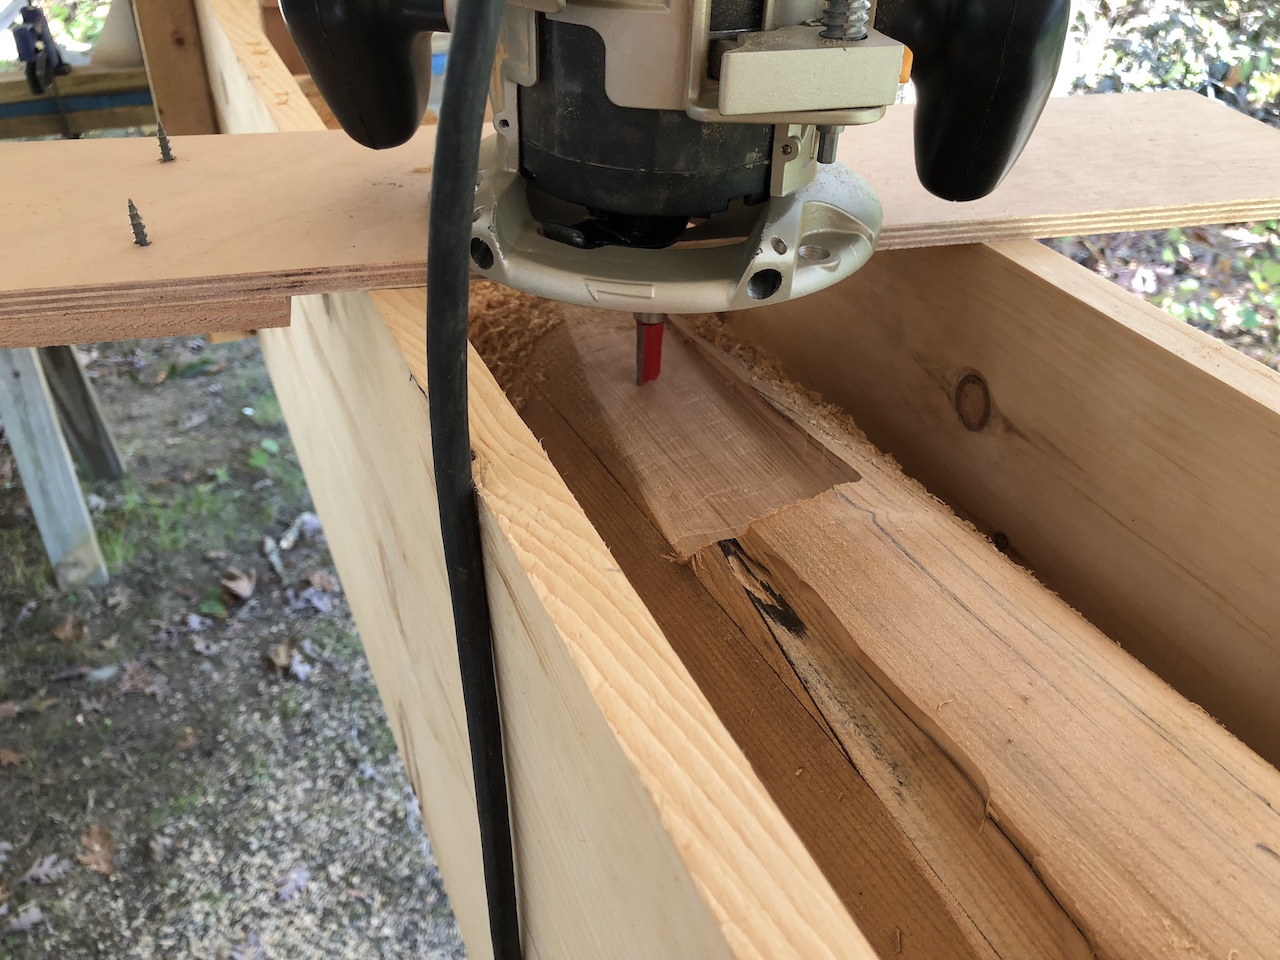
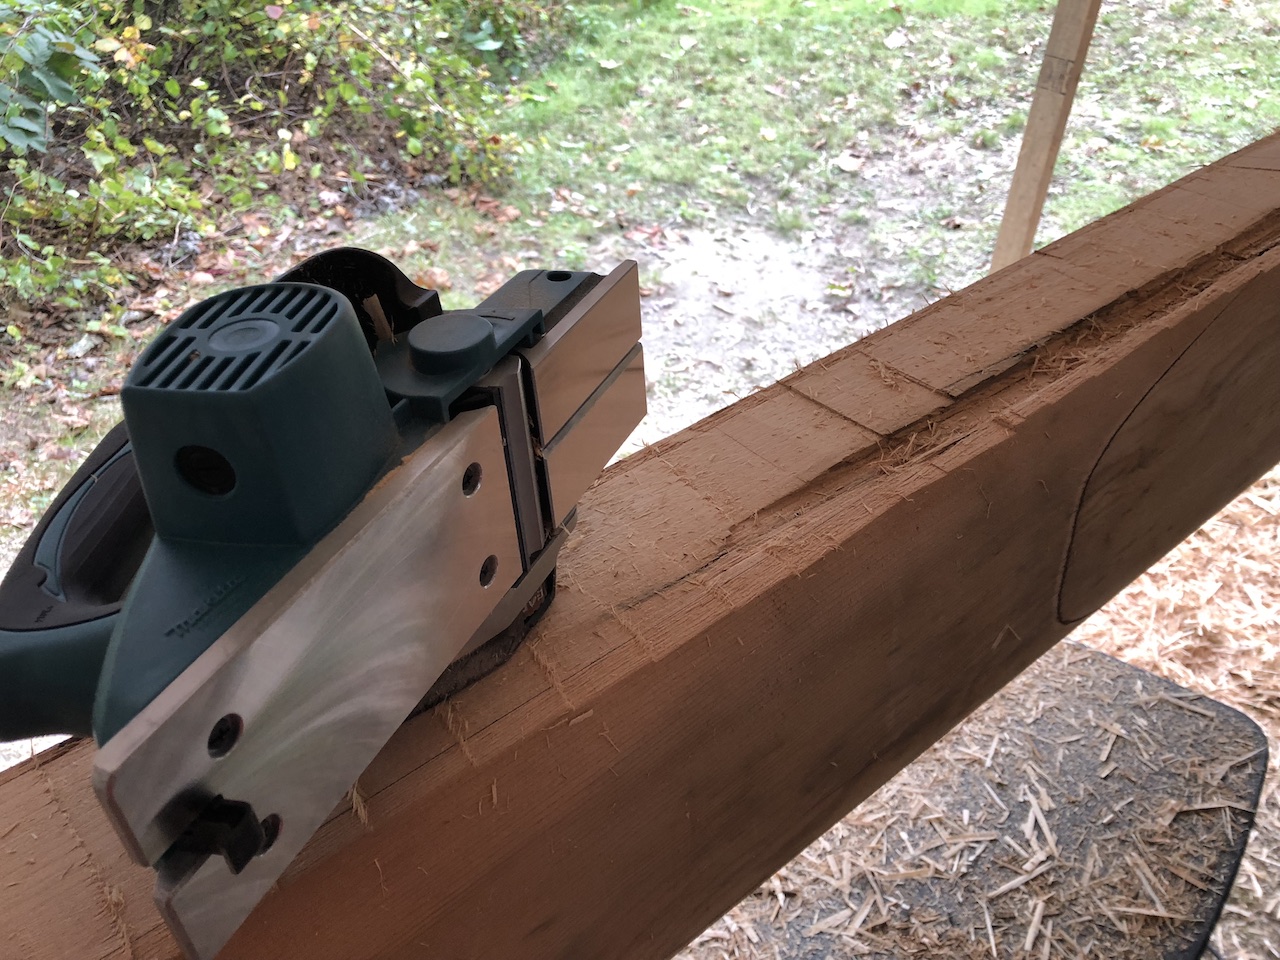
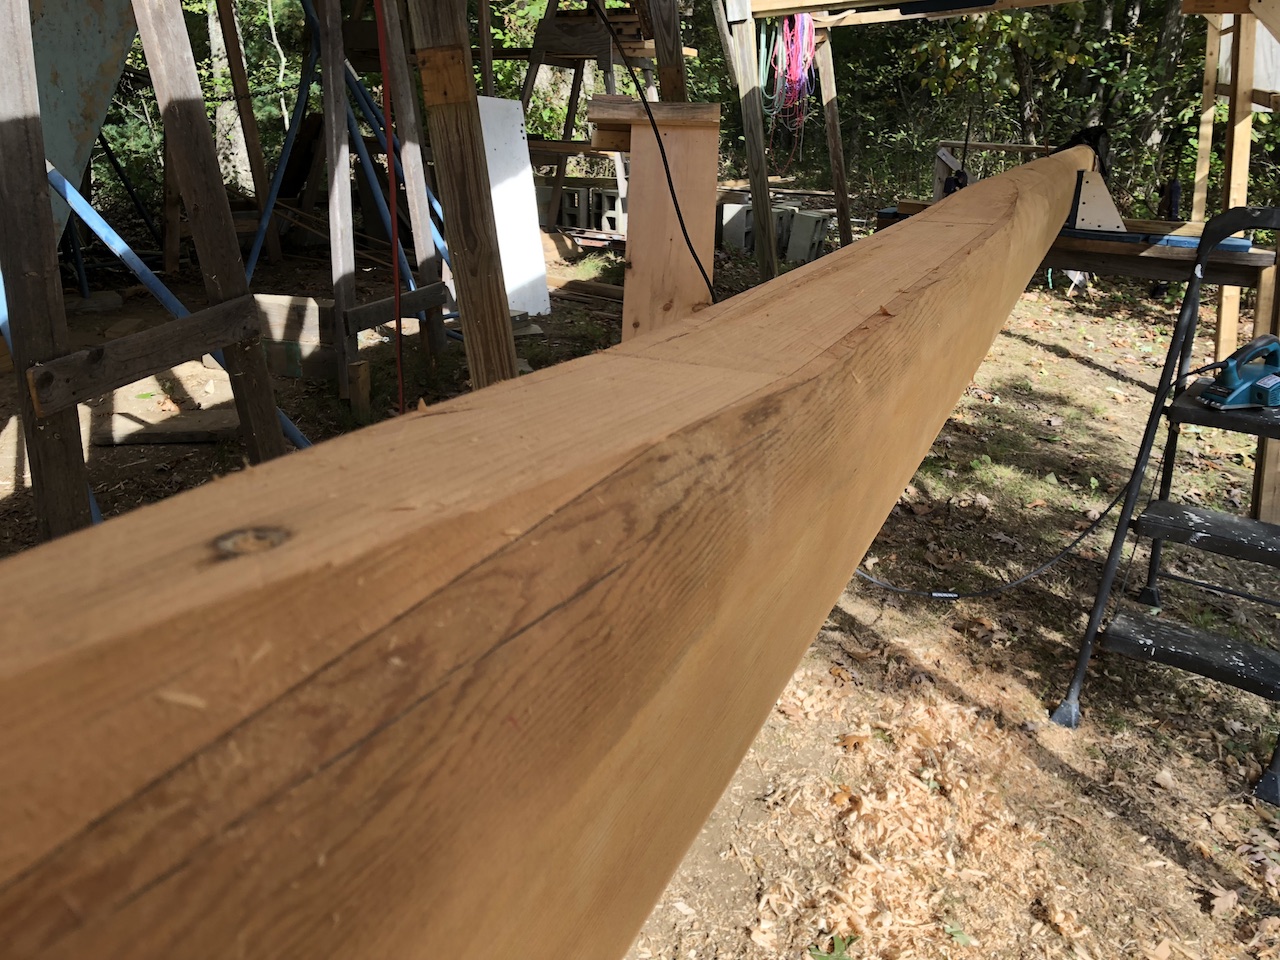
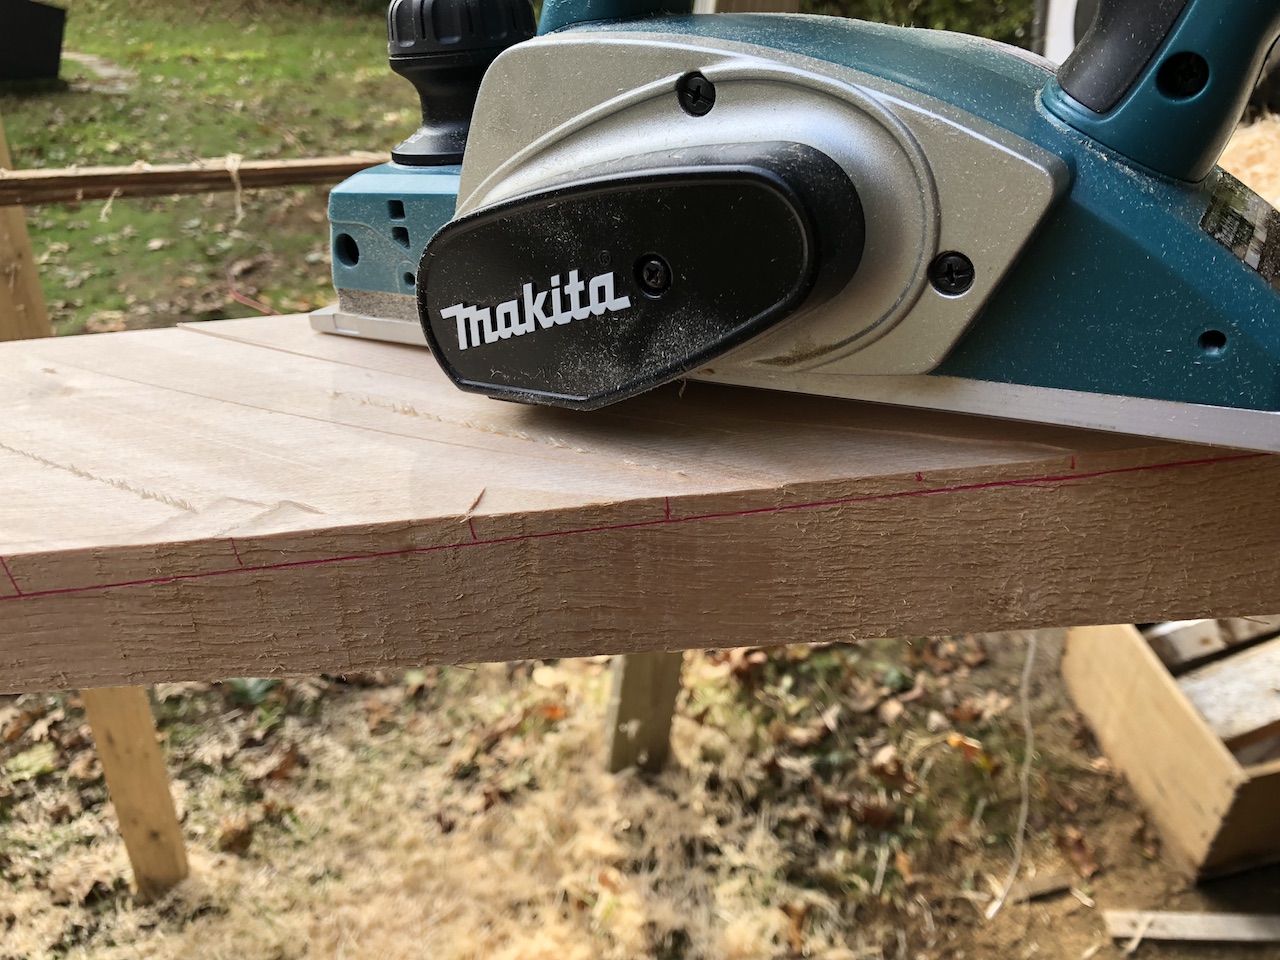
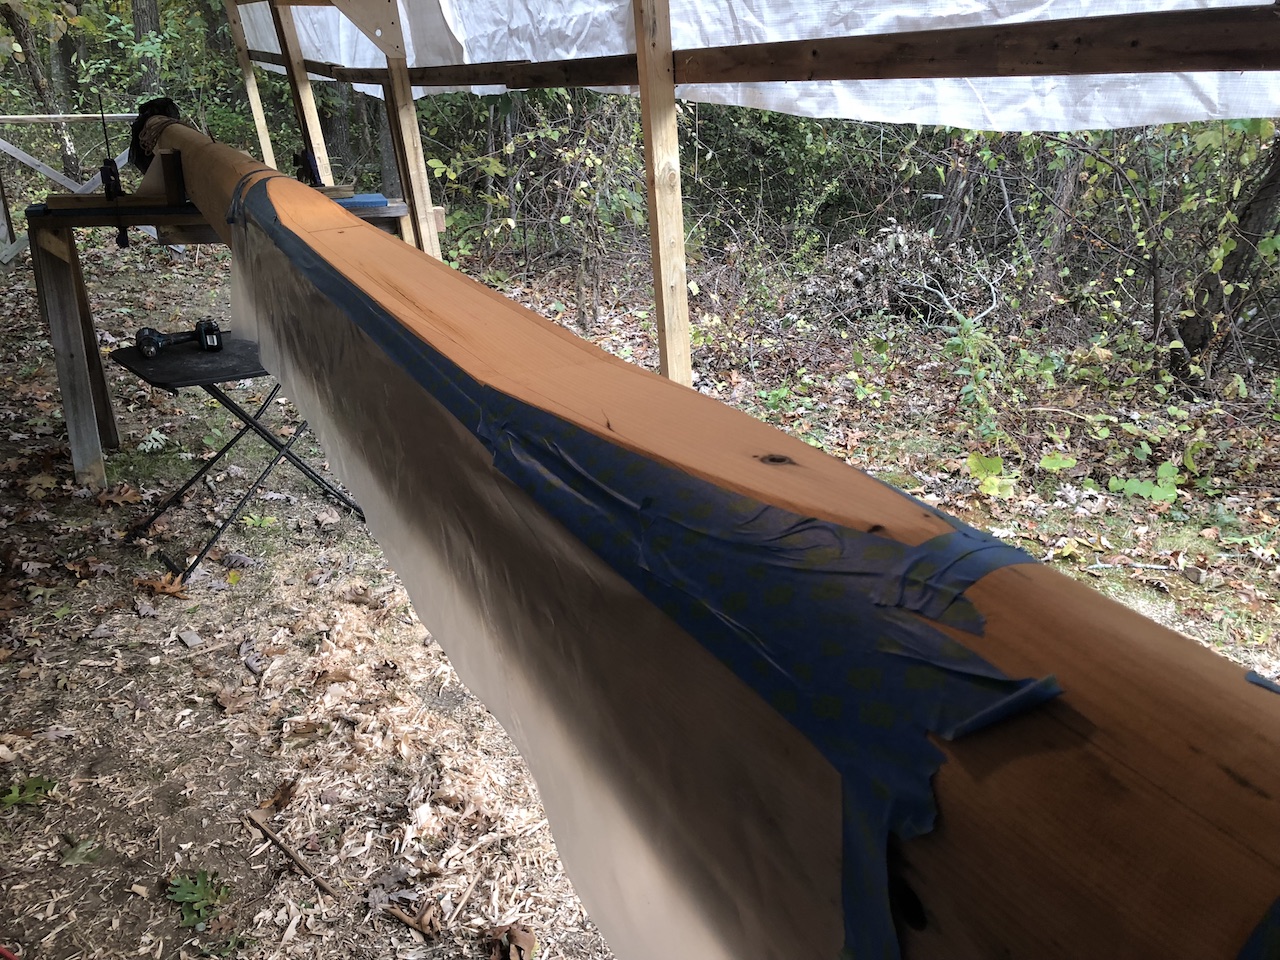
I consulted a local shipwright who suggested simply cutting the joints by hand, using a power planer for the rough work, and finishing with handplanes. Here I’ve begin removing material with the power planer, and some of the rotted area still remains.
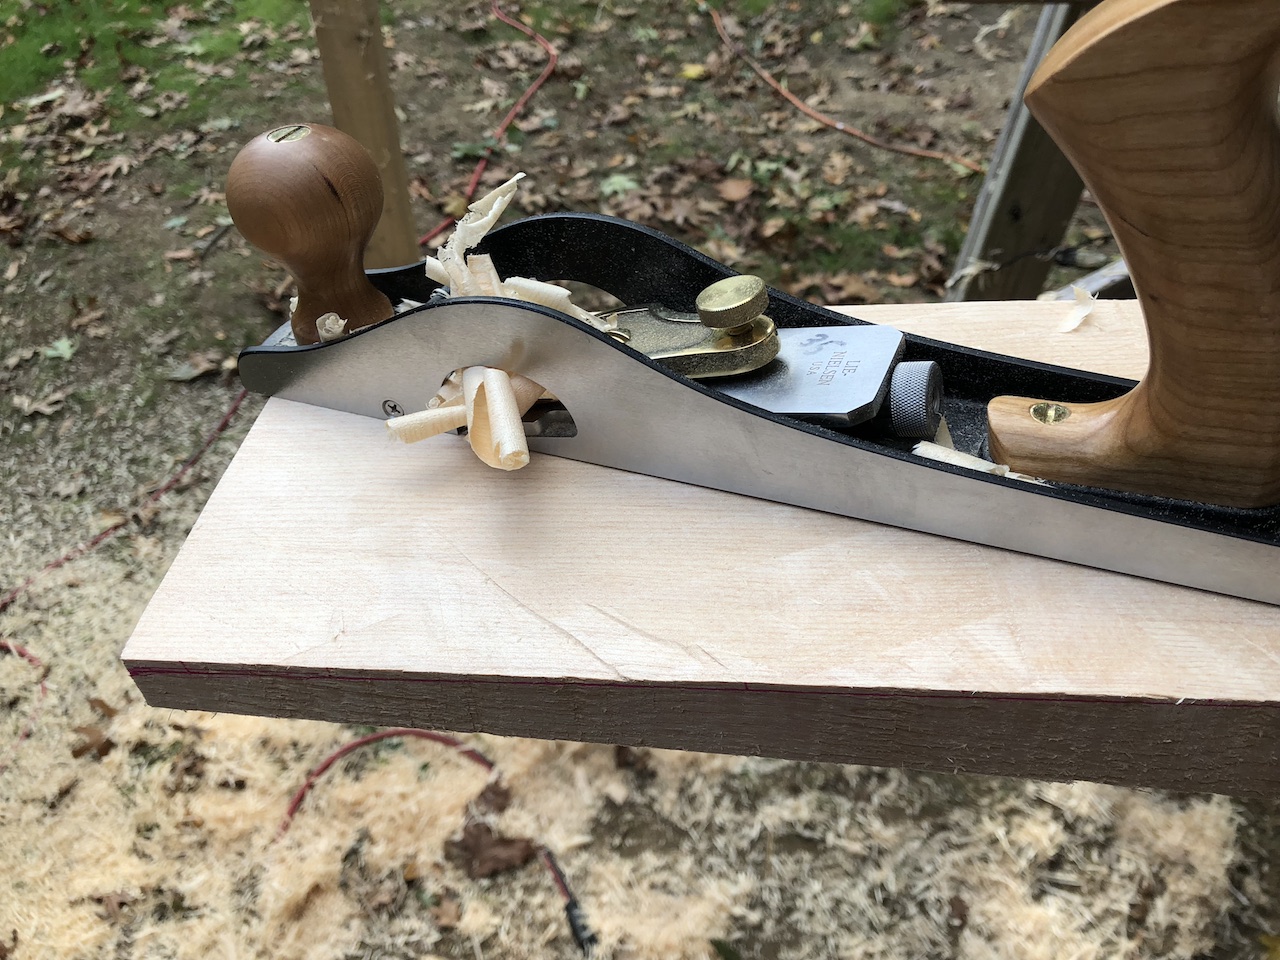
I purchased a new handplane–the Lie Nielsen low-angle jack rabbet plane. A “rabbet plane is one for which the blade width is equal to the width of the plane, allowing the plane to cut all the way to a corner. A “jack” plane is so named because it is versatile (the jack-of-all planes). A comprehensive discussion of handplanes is beyond the scope of this post, but this new plane will be indispensable for this project and others like it.
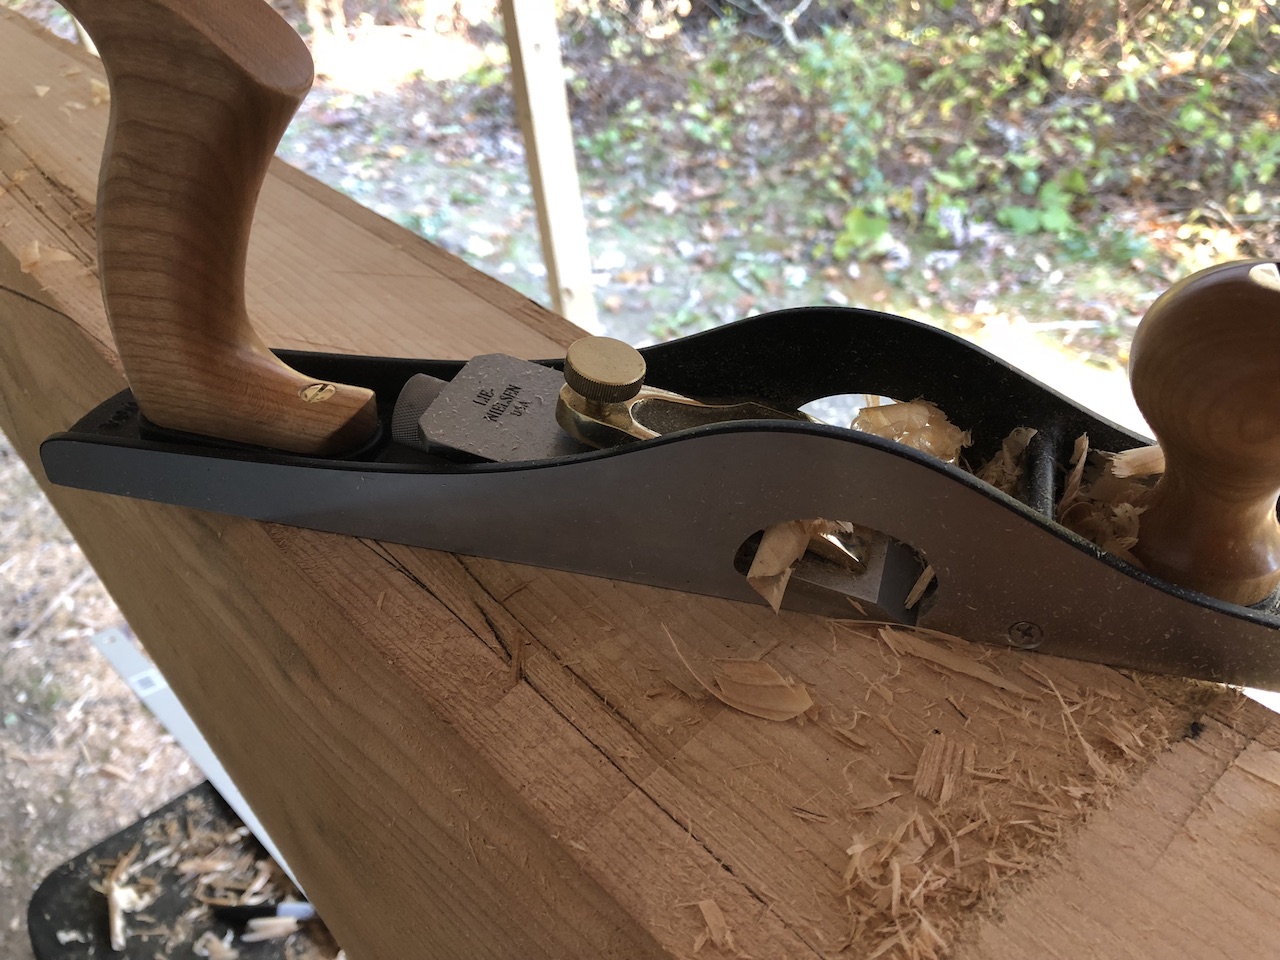
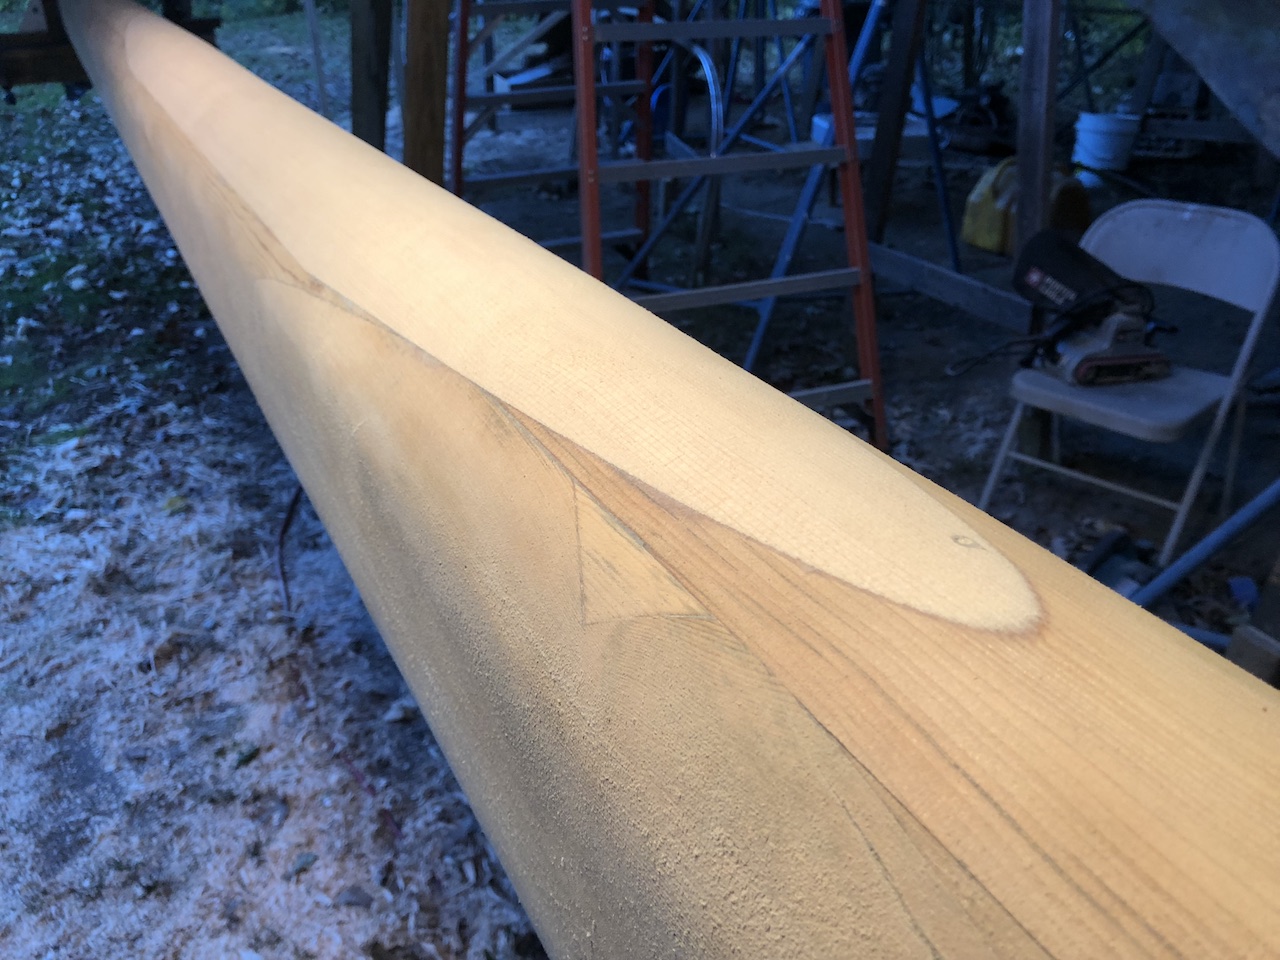
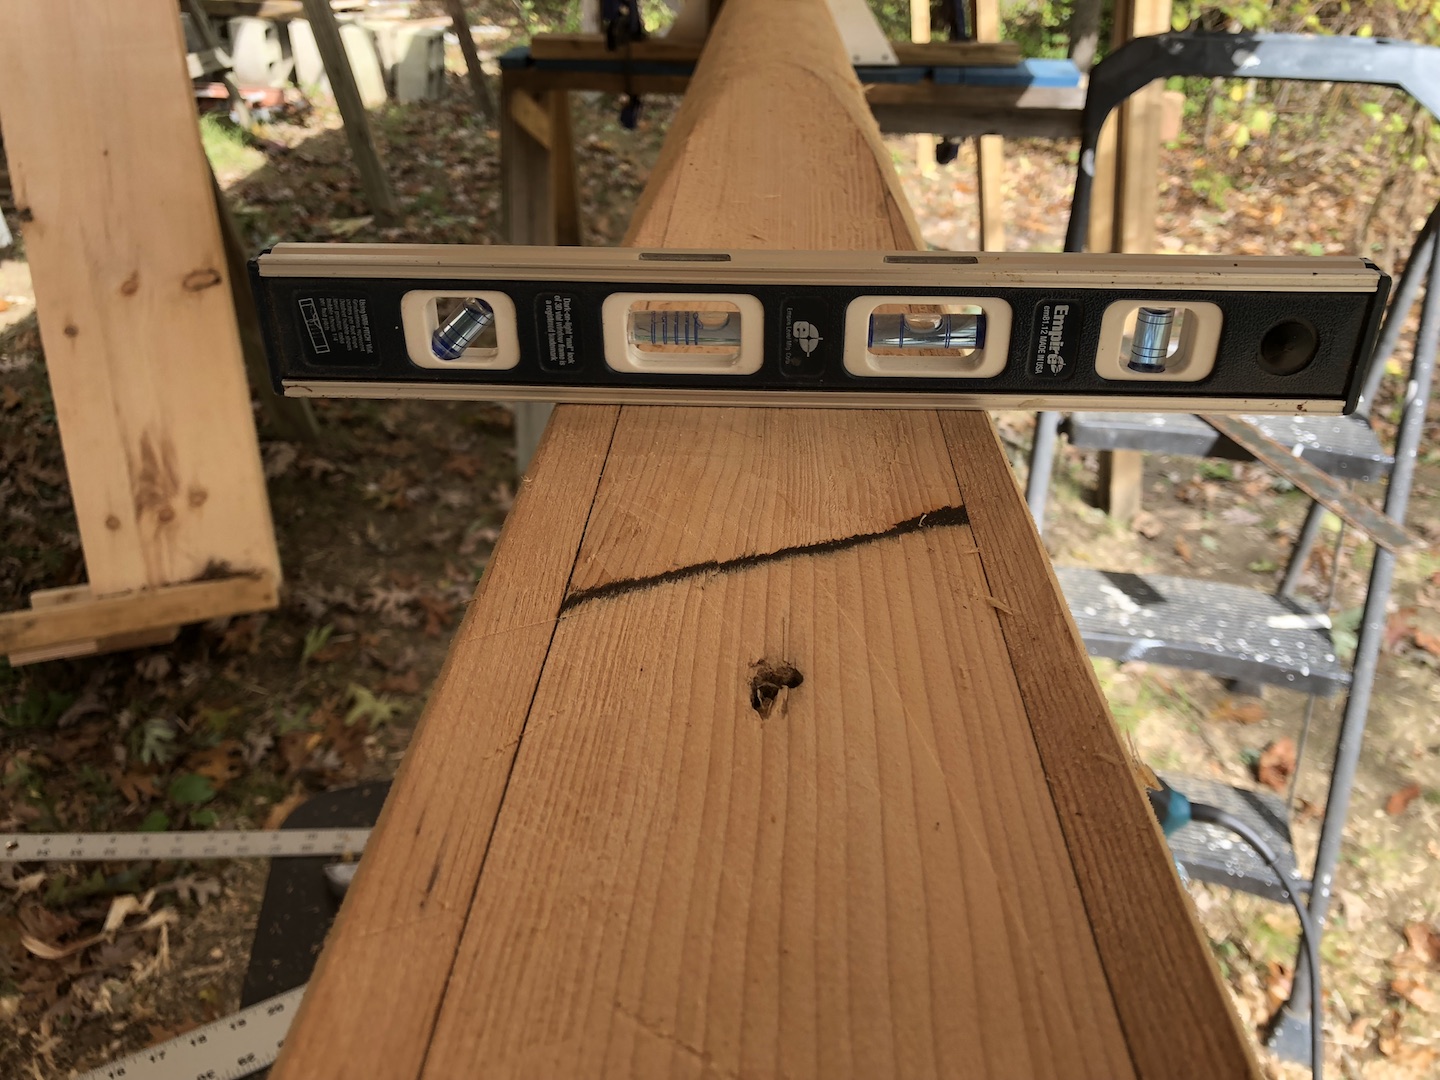
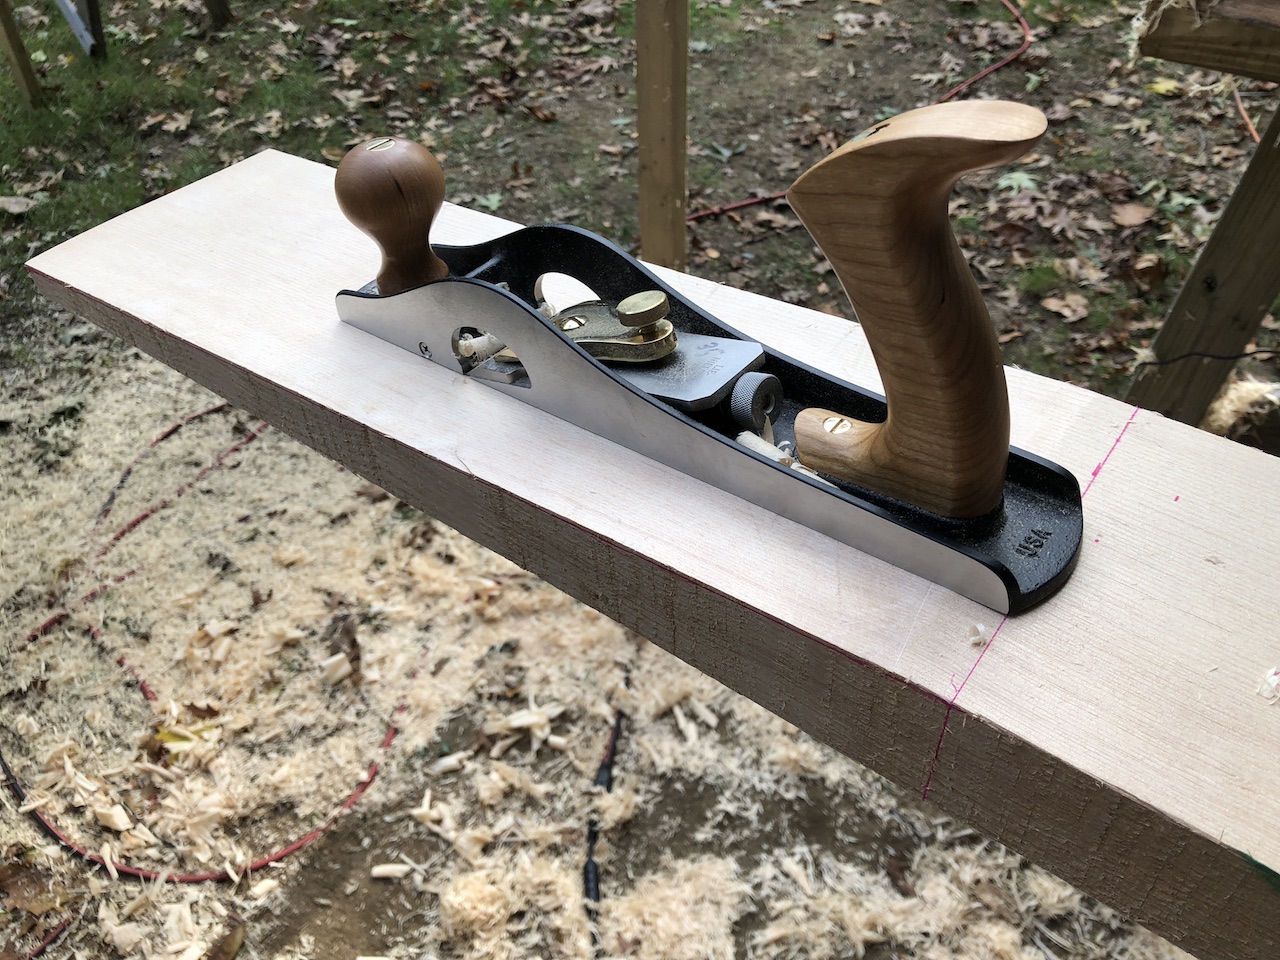
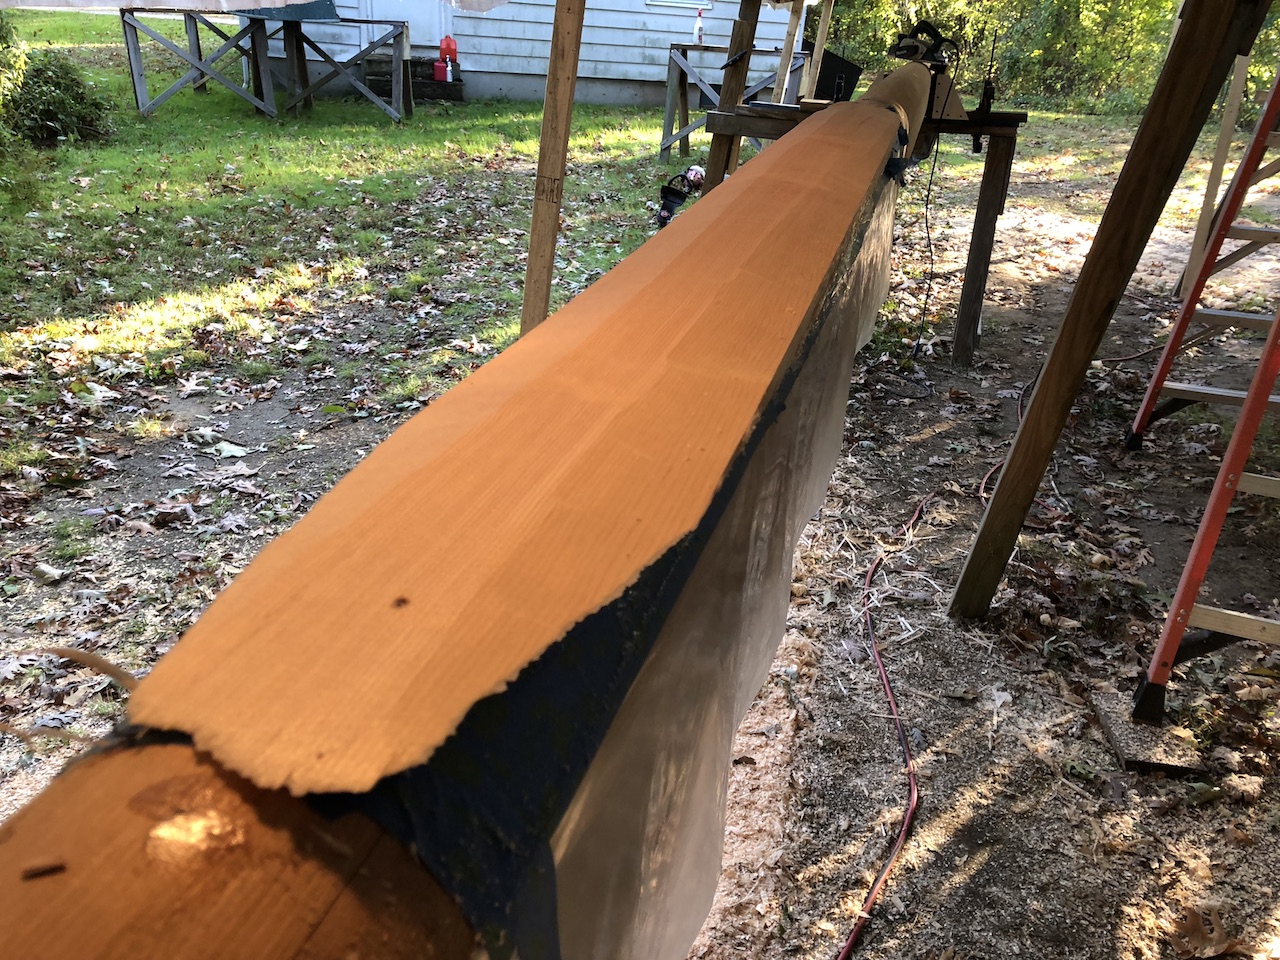
The joint does not have to be perfect, but it has to be close. Removing a little material at a time, and checking for straightness and flatness, eventually you get a flat area in the middle, with gently tapered bevels at the ends.
At this point I moved on to the new wood.
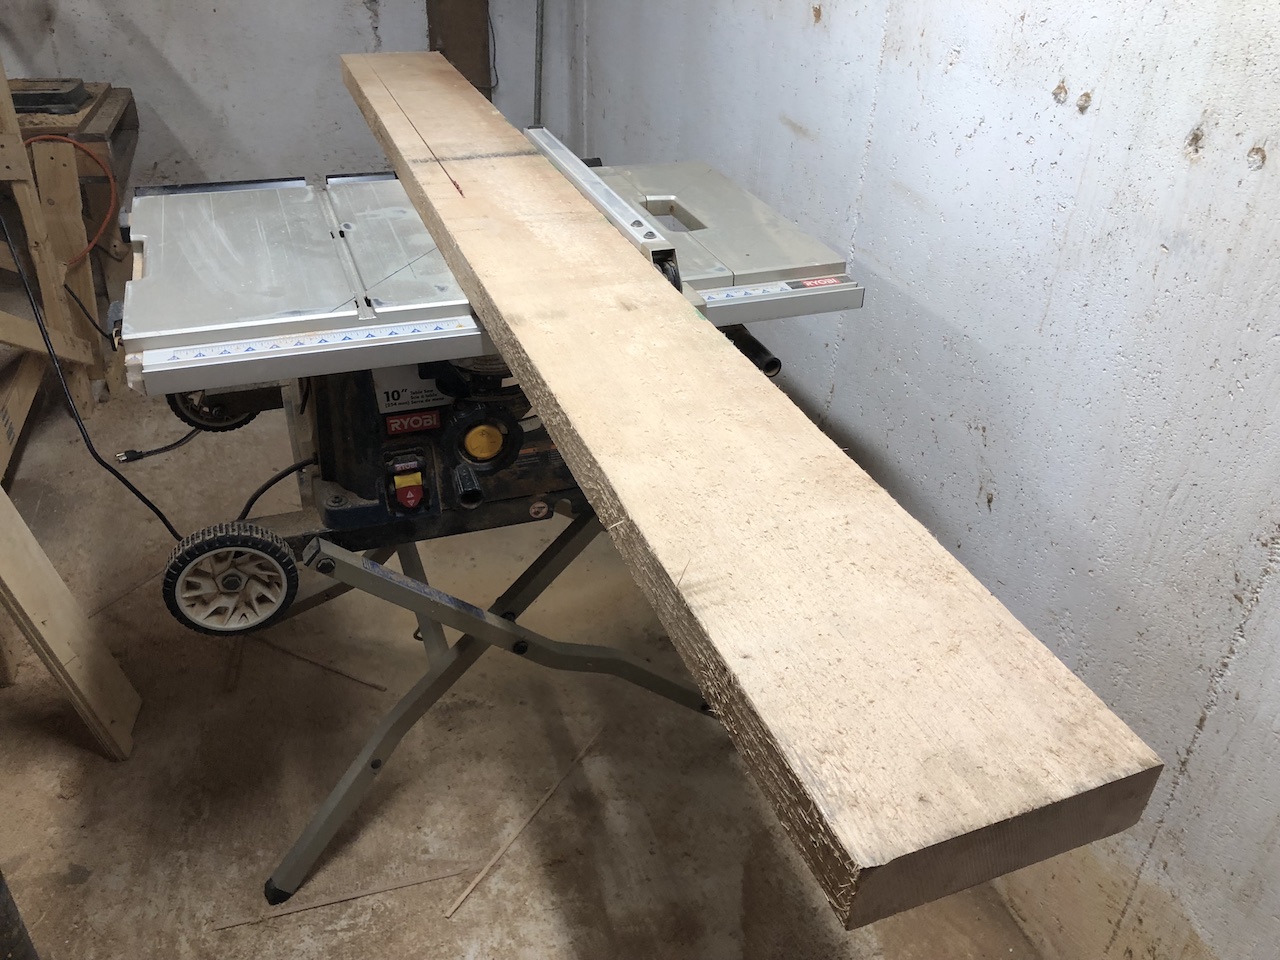
I used some thin, scrap plywood and hot glue to take the angles of the bevels on either end…
…then transferred them to the edges of the board. Once again, the power planer removes most of the material…
…and the handplane performs the final smoothing and adjusting.
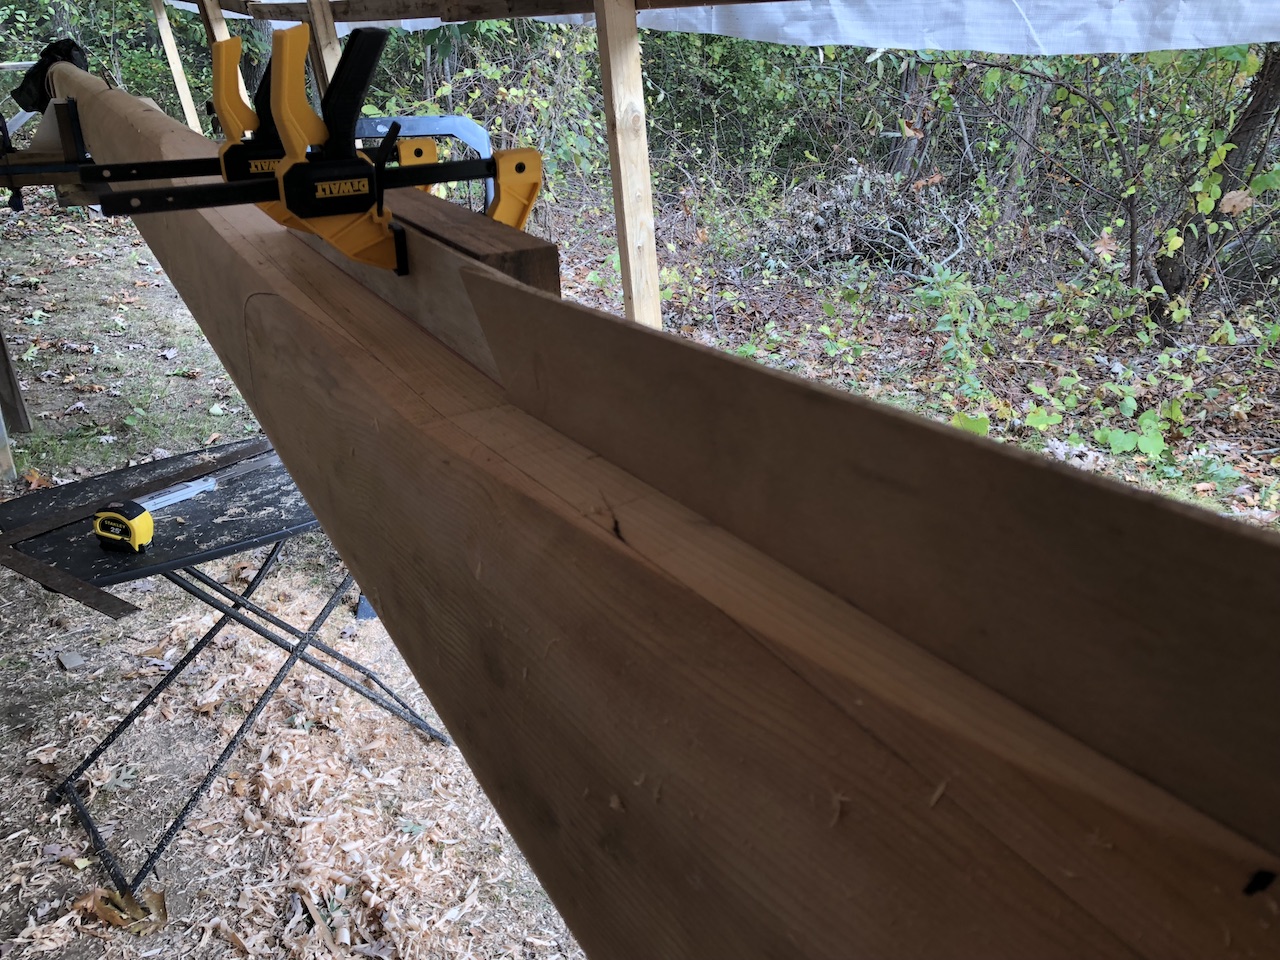
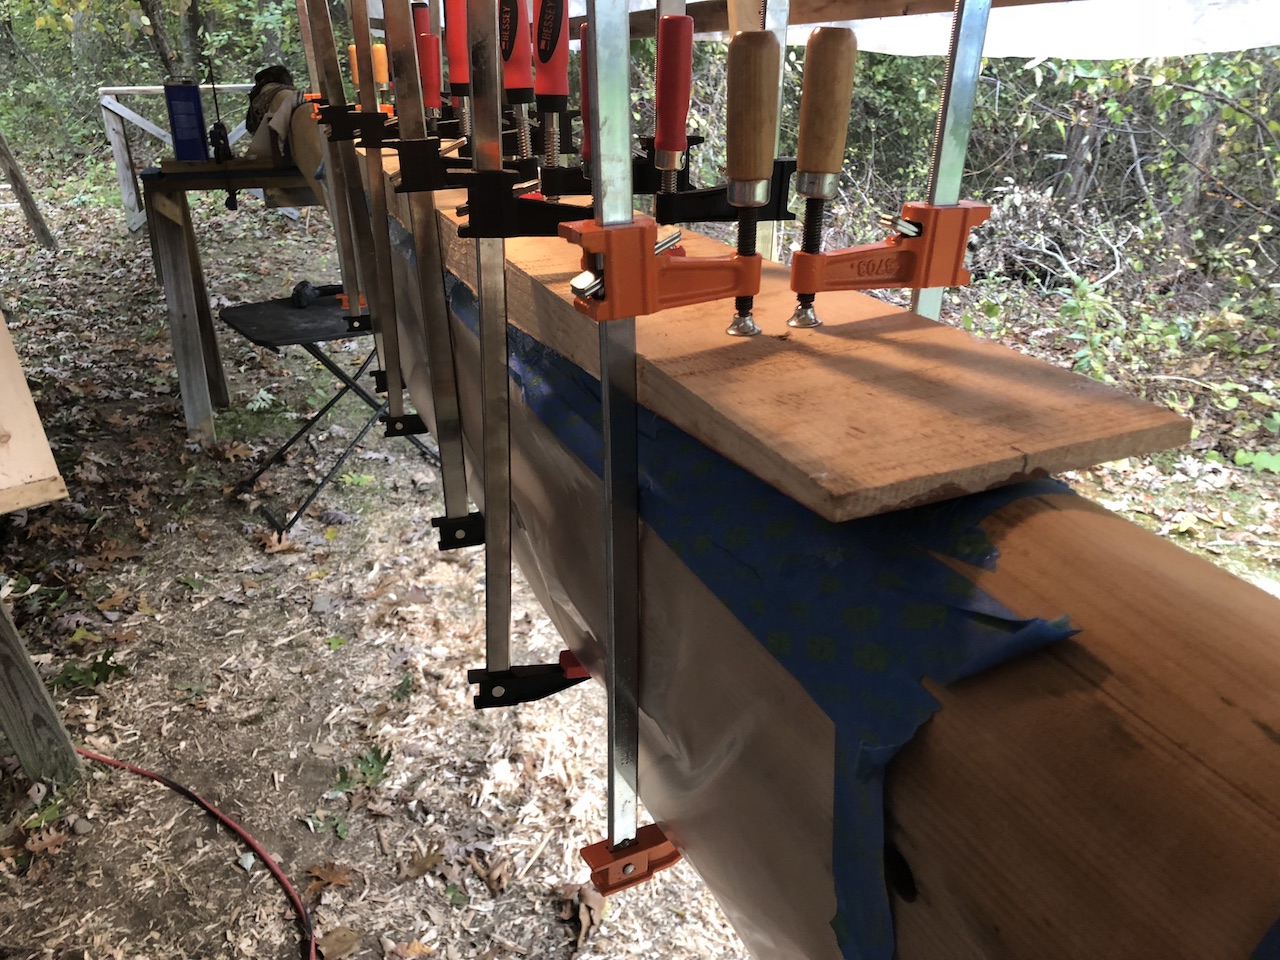
A dry fit inspired a few minor adjustments, and another signaled “good enough.” Before removing the clamps, I screwed down either end, then removed the screws. In this way I was able to position the board precisely during final glue up, preventing the two epoxy-covered surfaces from sliding over one another.
I sanded down the insides of the joints, then cleaned with acetone in preparation for epoxy.
I taped off the surrounding areas on the mast to protect it from drips.
I began by applying a thin layer of unthickened epoxy, then brushed thickened epoxy over that.
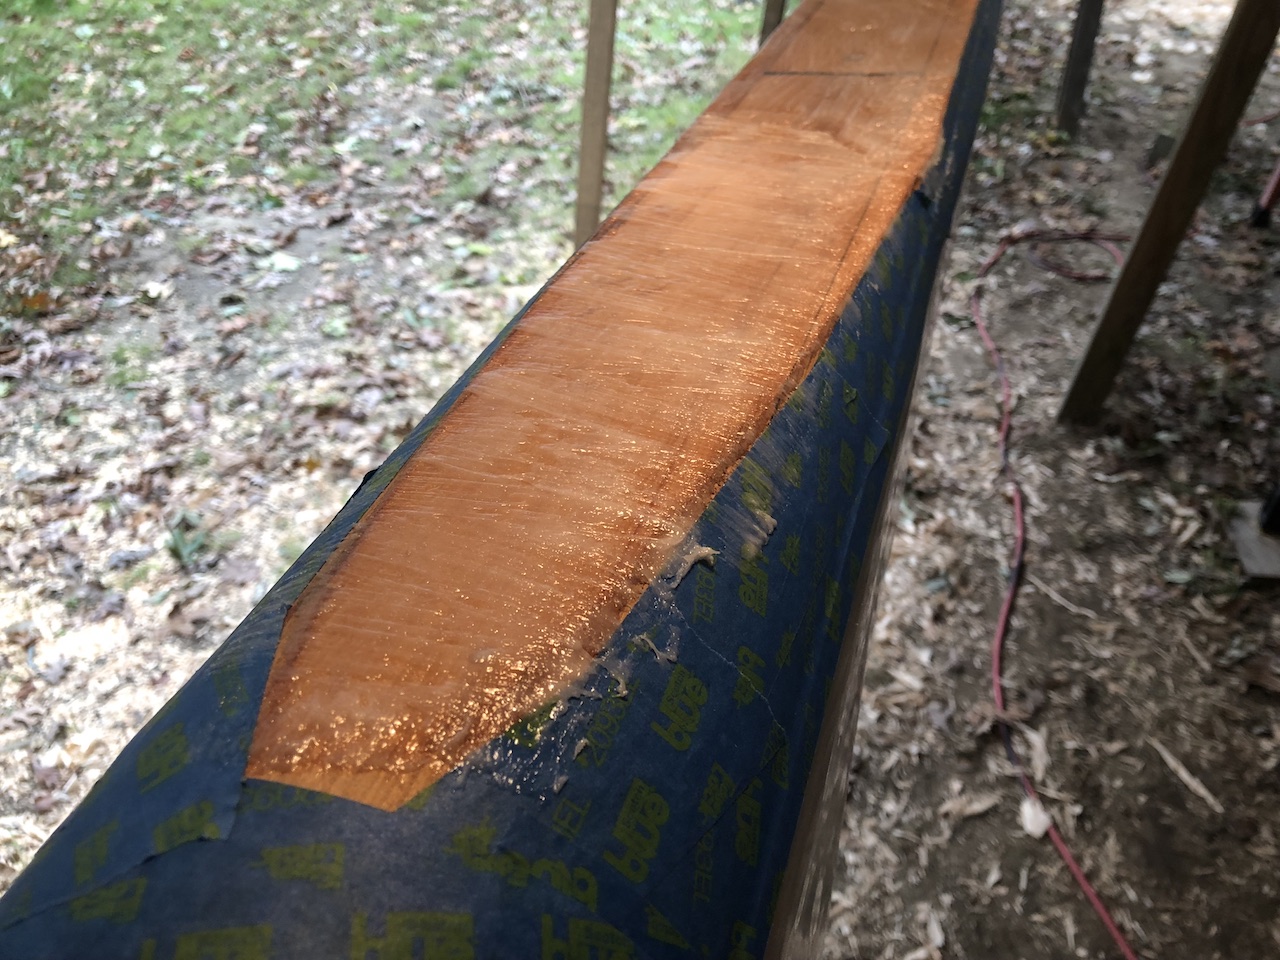
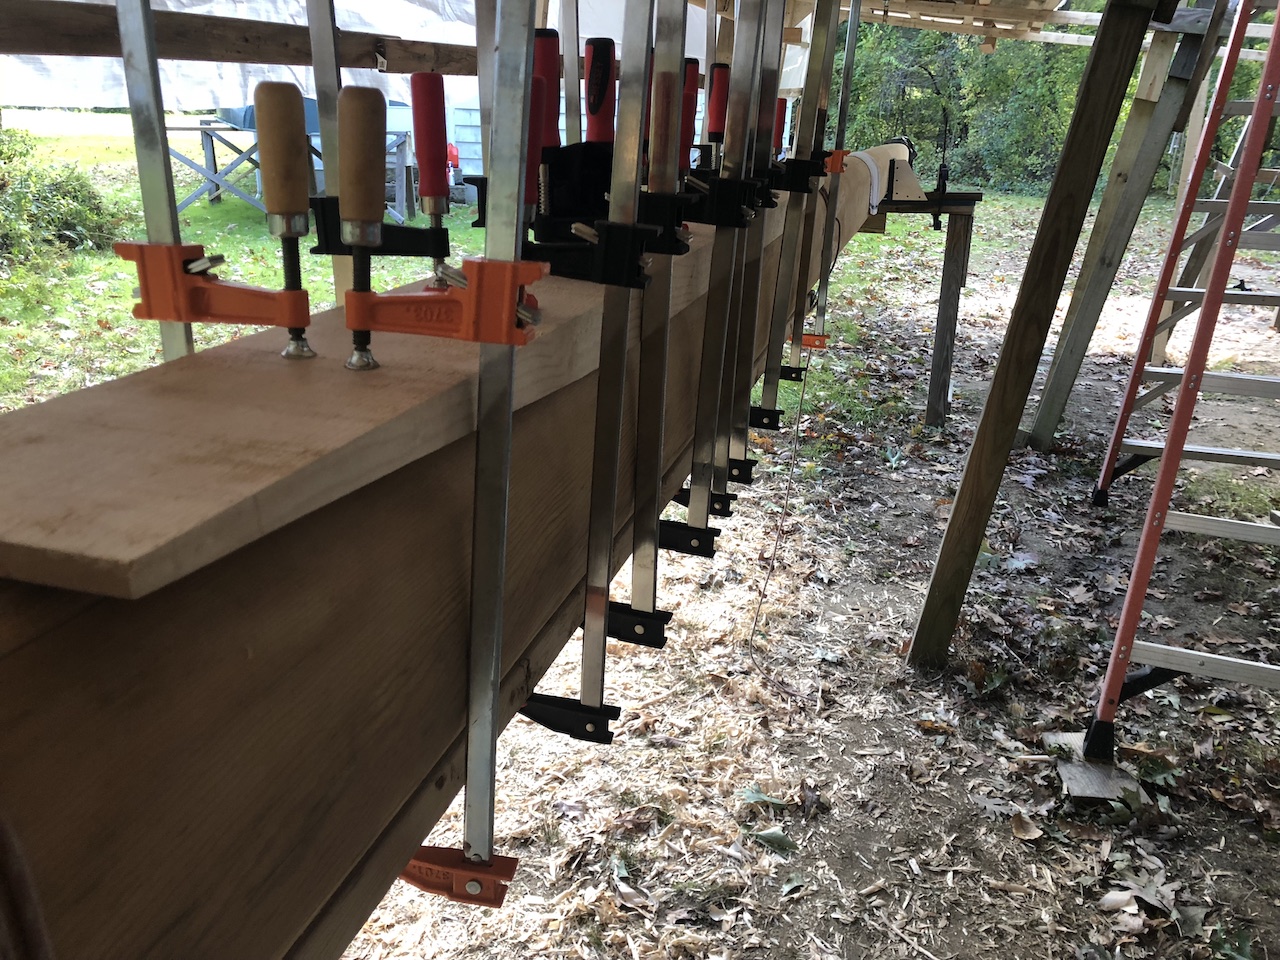
Here is the final glue up.
I removed the clamps 24 hours later.
As you can see, there’s a lot of material to remove, which was done gradually using the power planer.
Eventually I switched to an orbital sander with 60-grit paper.
Here the joint is completed. It took about 3 hours to go from “remove clamps” to “done.”