12/27/18: Face Frames
Work continues on the face-frame in the head. I made a template that defined the perimeter of the opening.
The shape was transferred to the face-frame, marking the line with pencil.
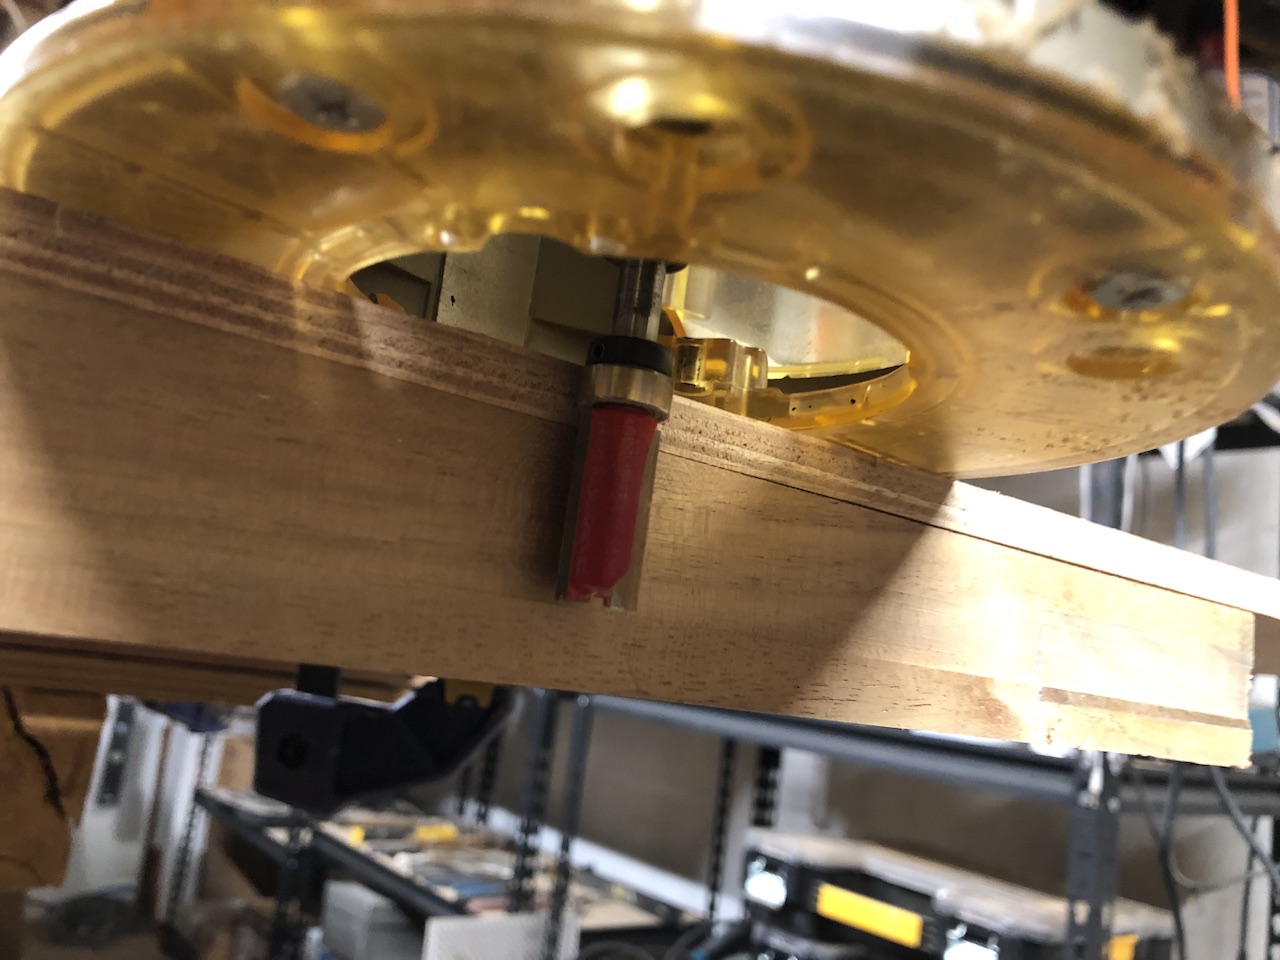
I cut close to the line with a jig saw, and cleaned up the mess with the router. In this case, my flush-trim bits are not long enough to span the thickness of the wood, so I started by using a bit with the roller bearing on top end…
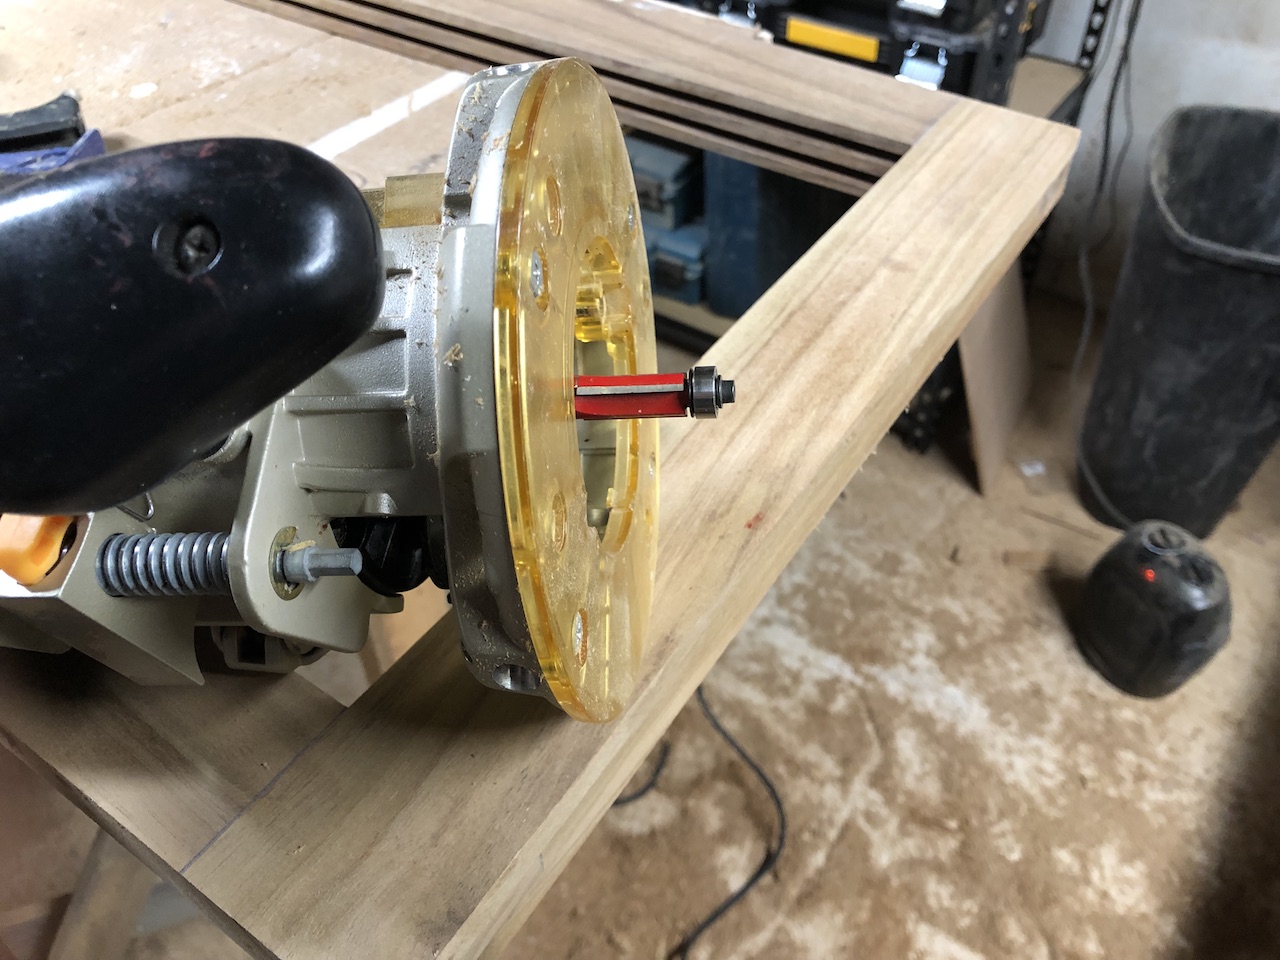
…then flipped the work over and swapped out the bit for one with a roller bearing on the bottom end.
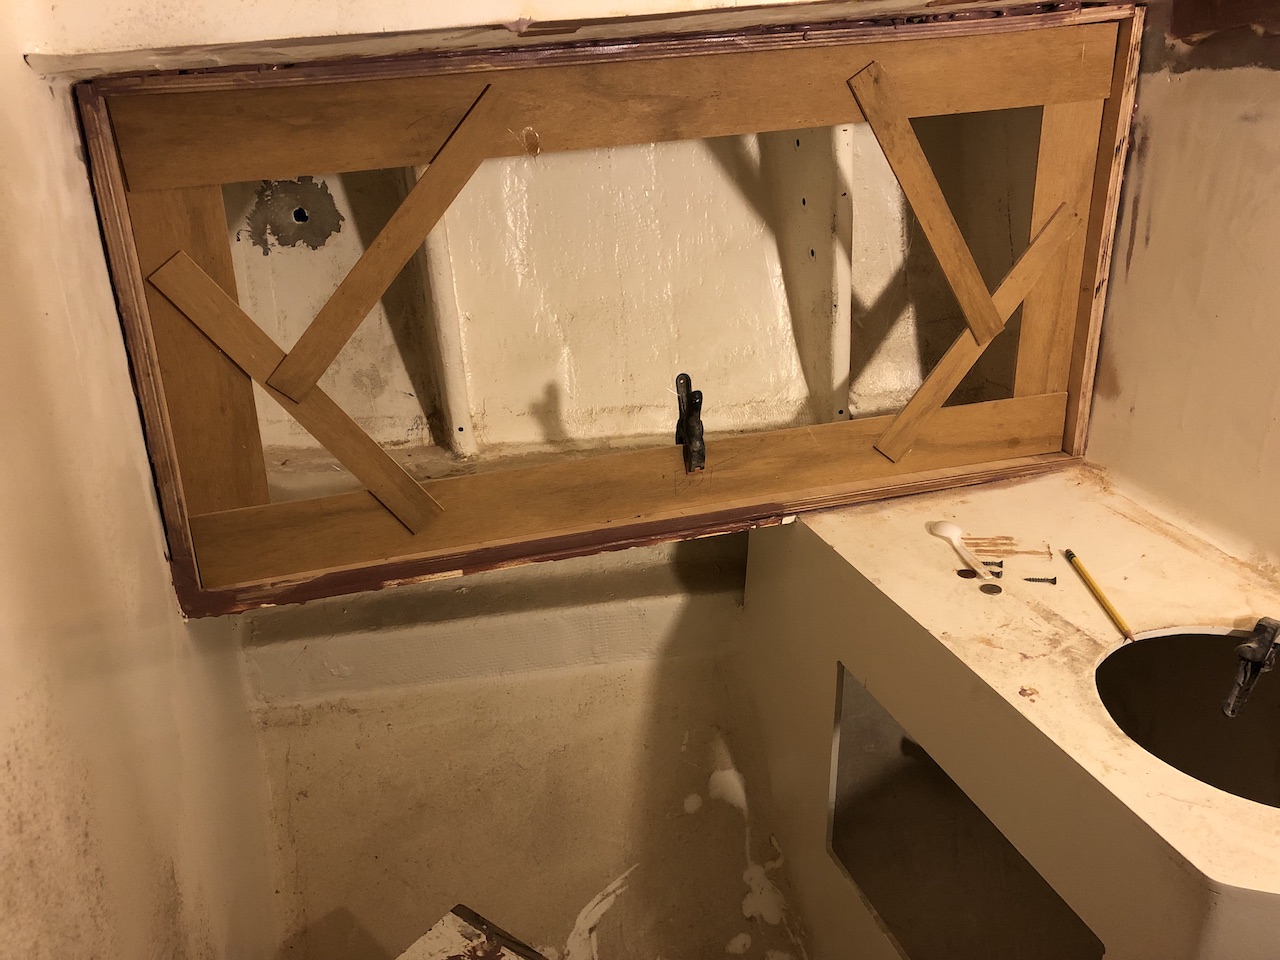
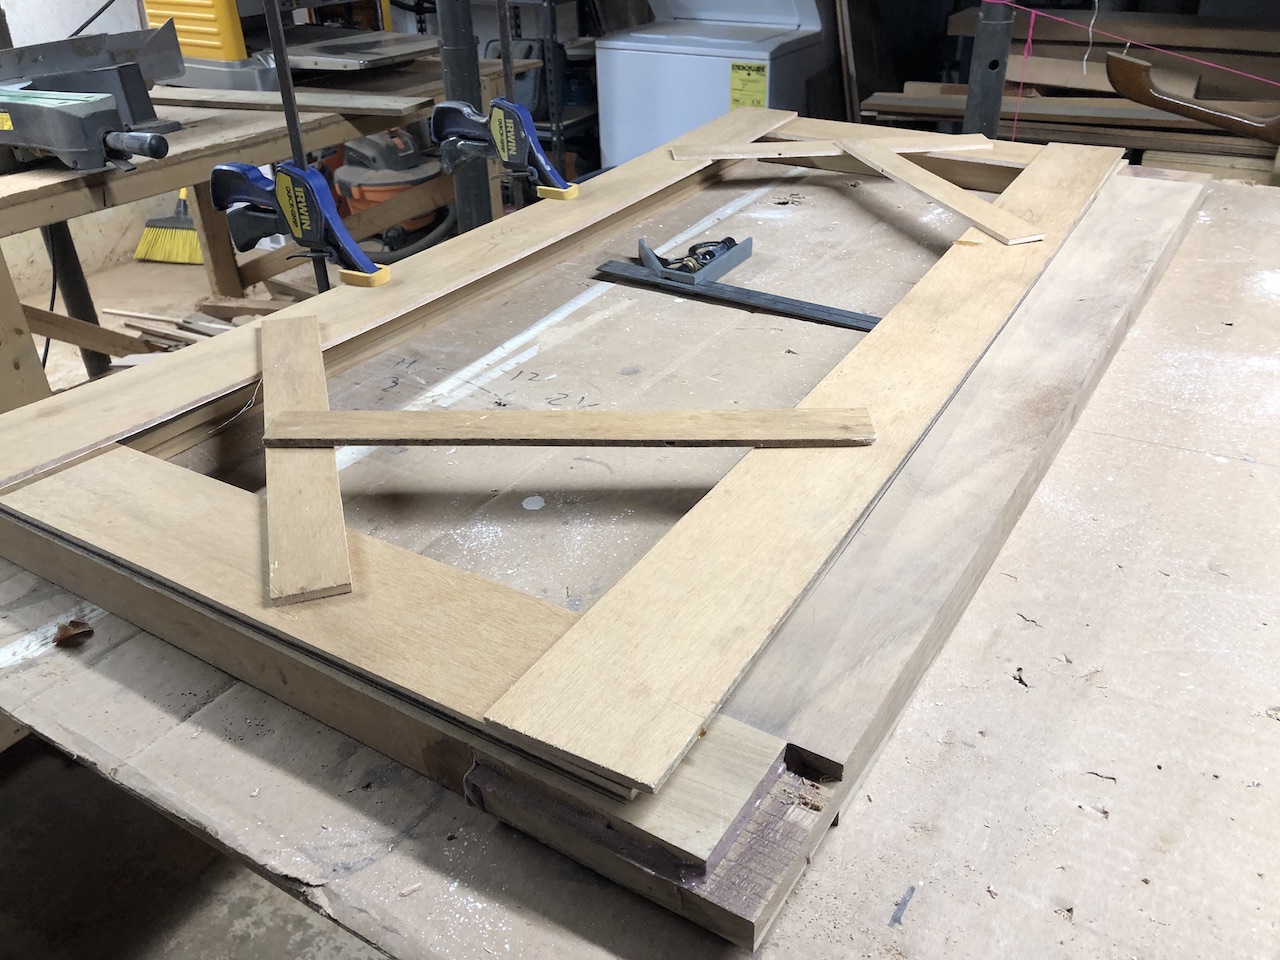
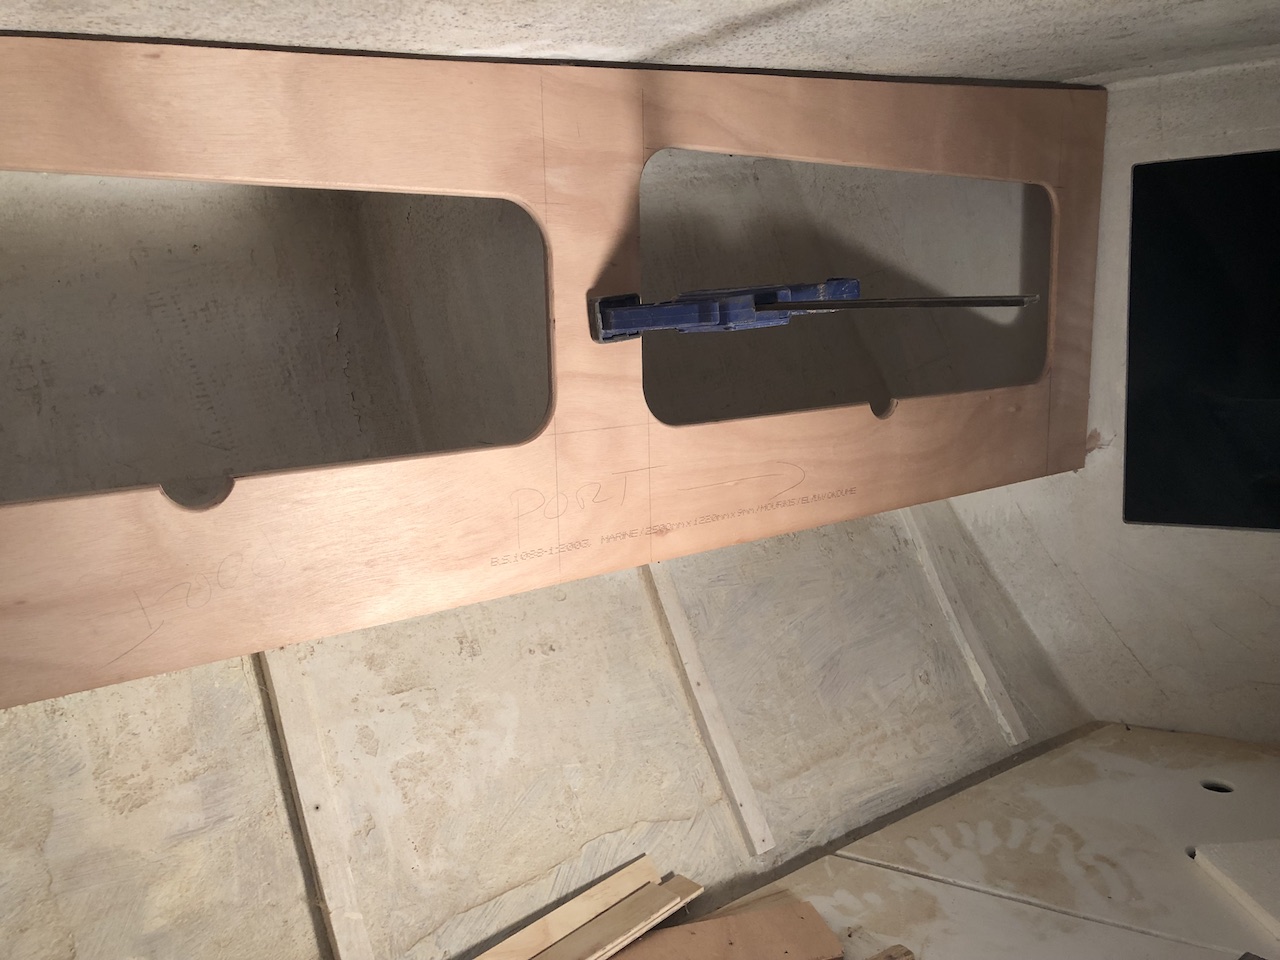
The following two photos show the piece temporarily in place.
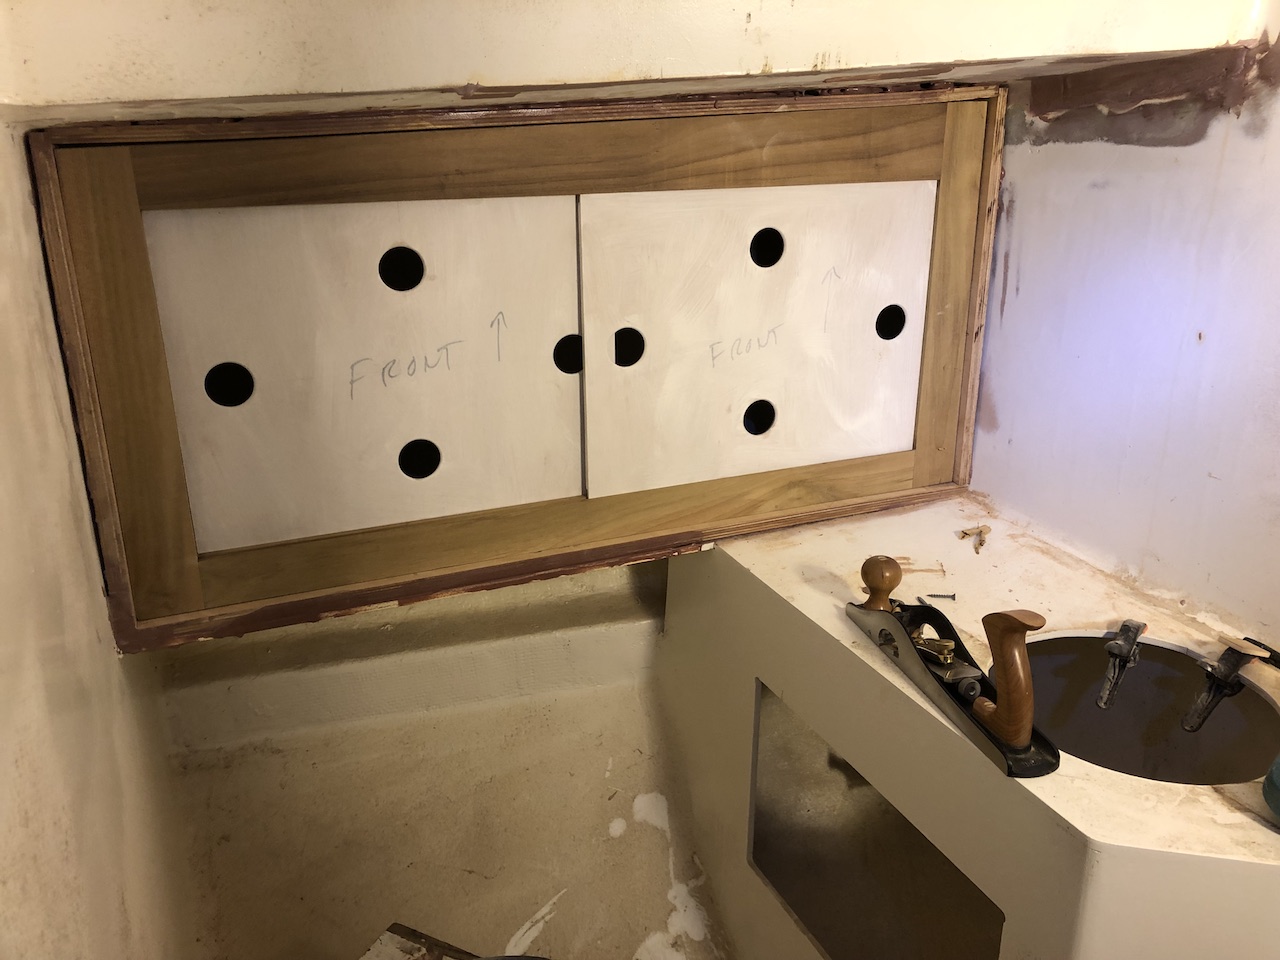
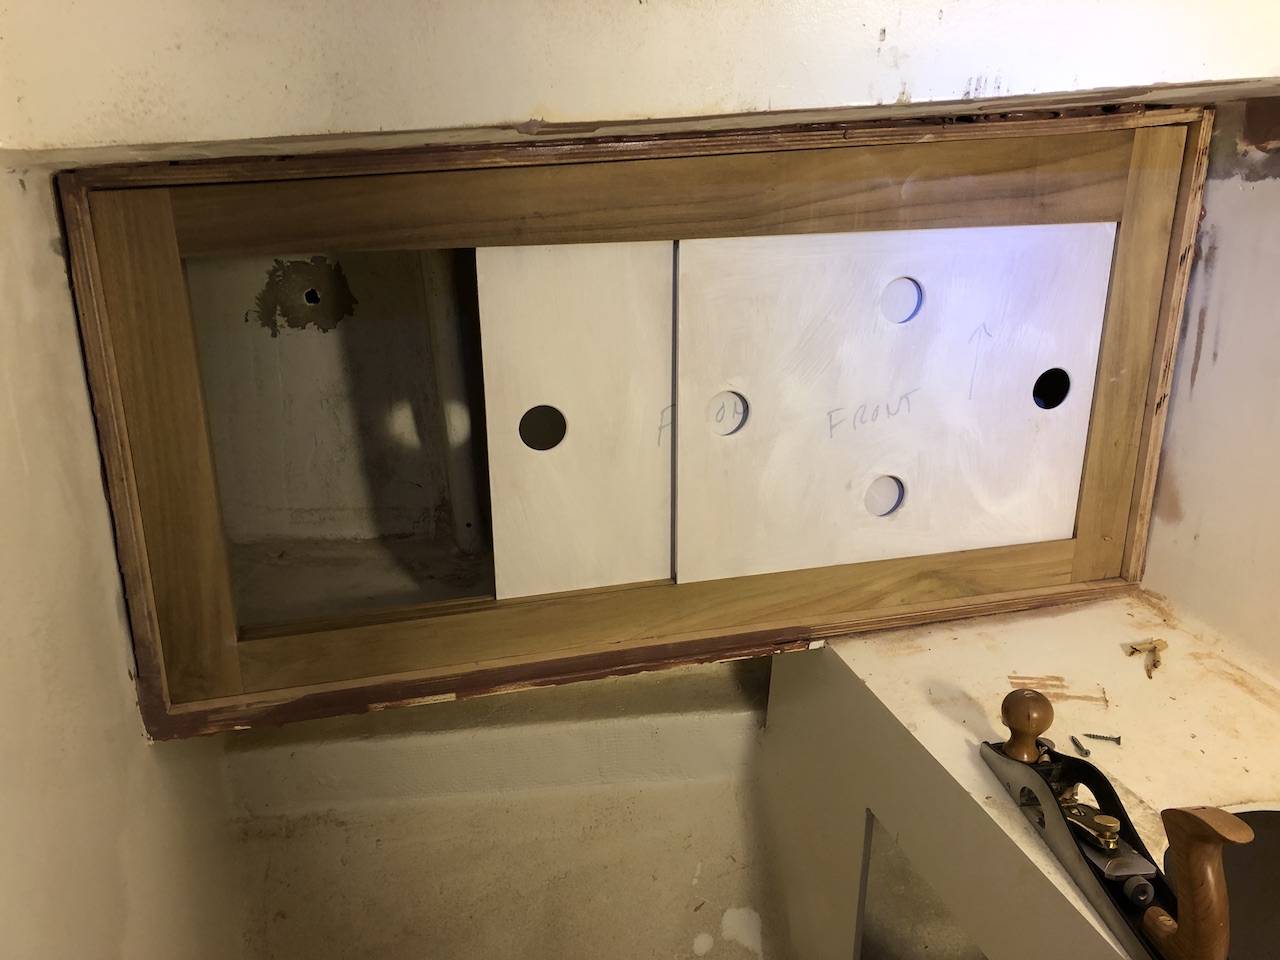
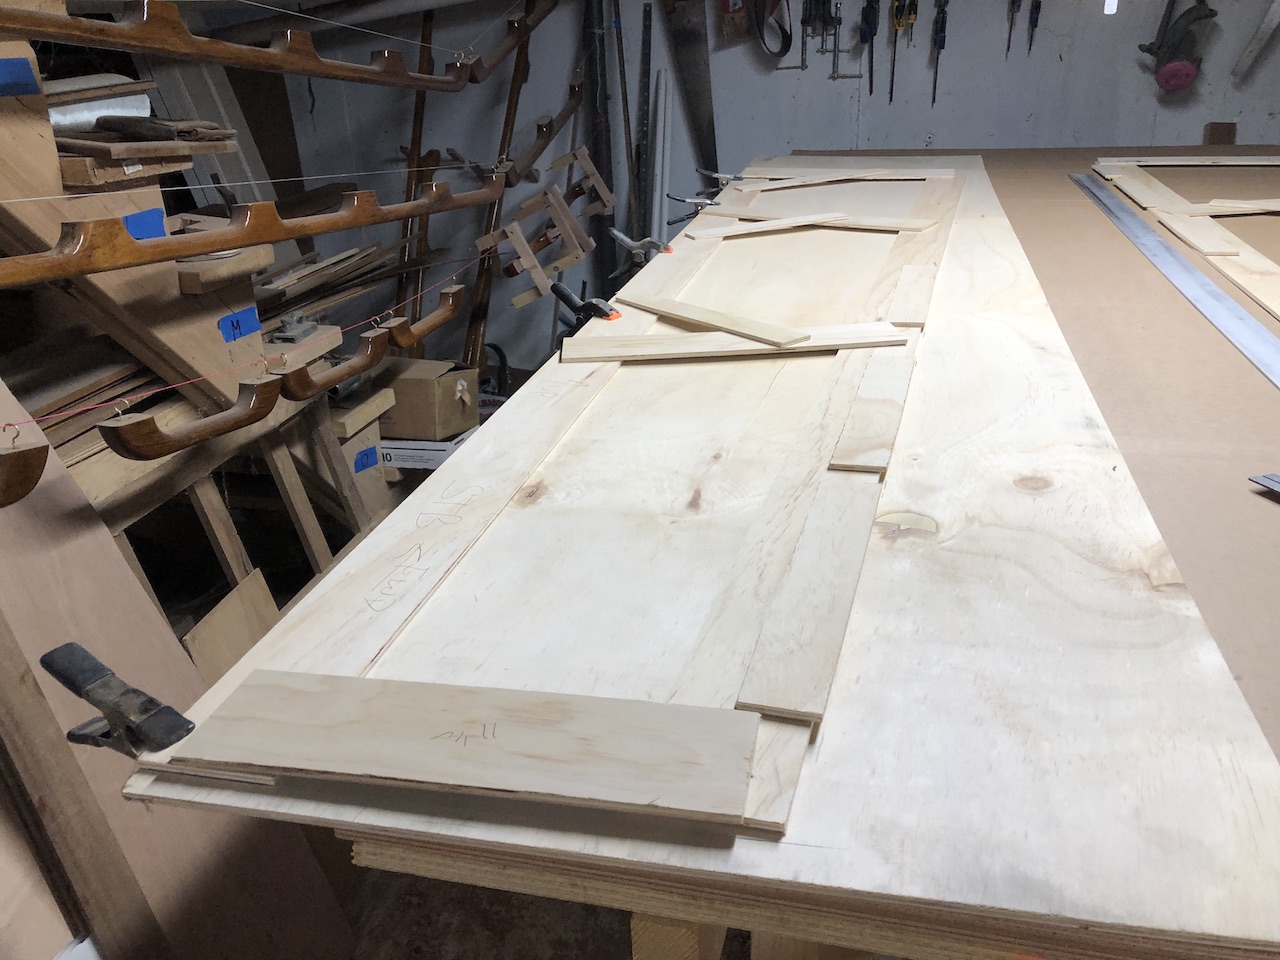
There’s still plenty of work to do on this face-frame, but the next steps involve some epoxy work, which has to wait for 40+ degrees. In the mean time, I moved on to the face-frames for the cabinetry in the forward cabin. I began by preparing the materials for making templates.
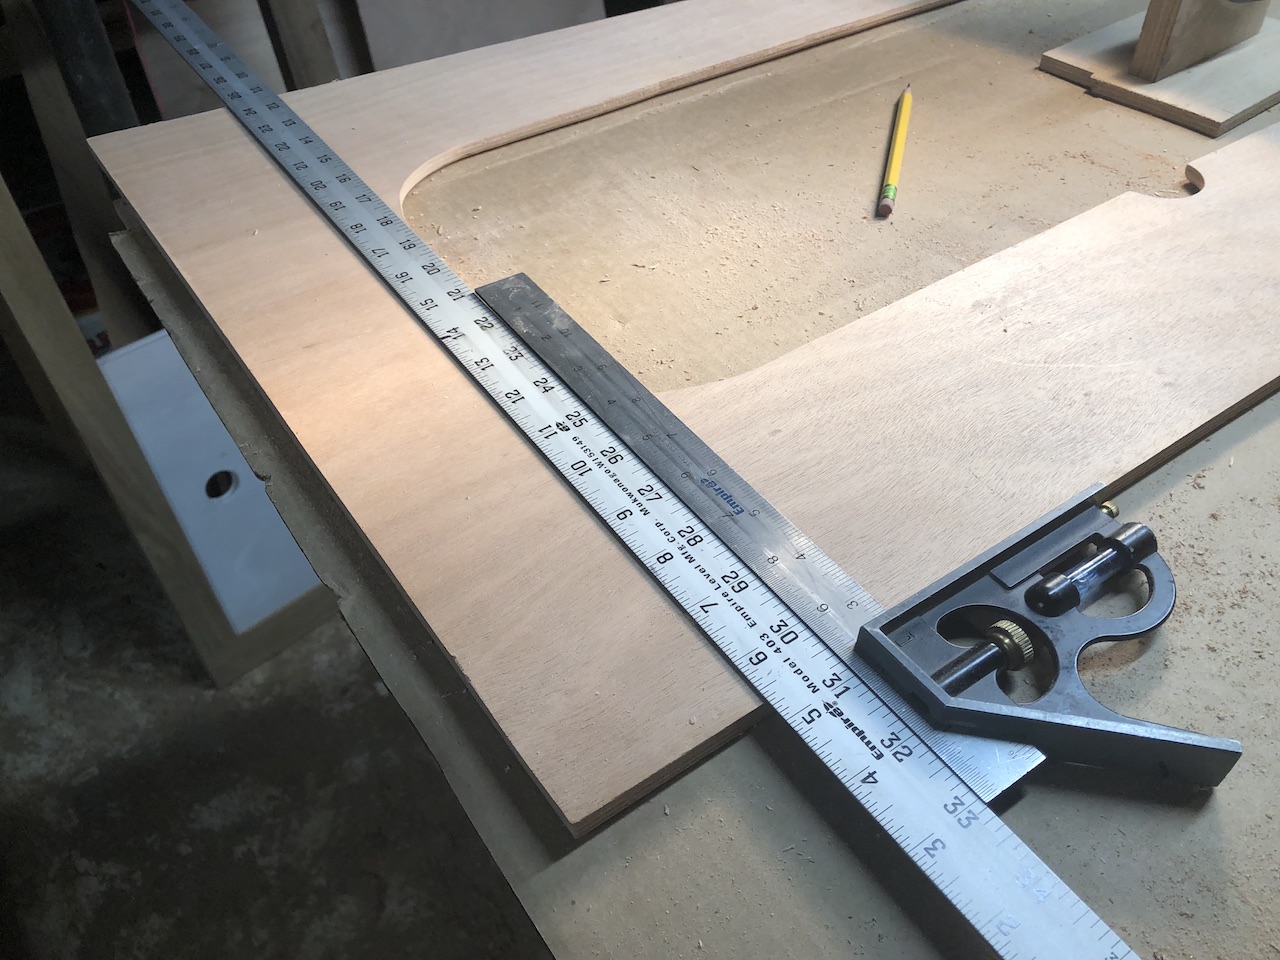
Here is the template for the starboard side.
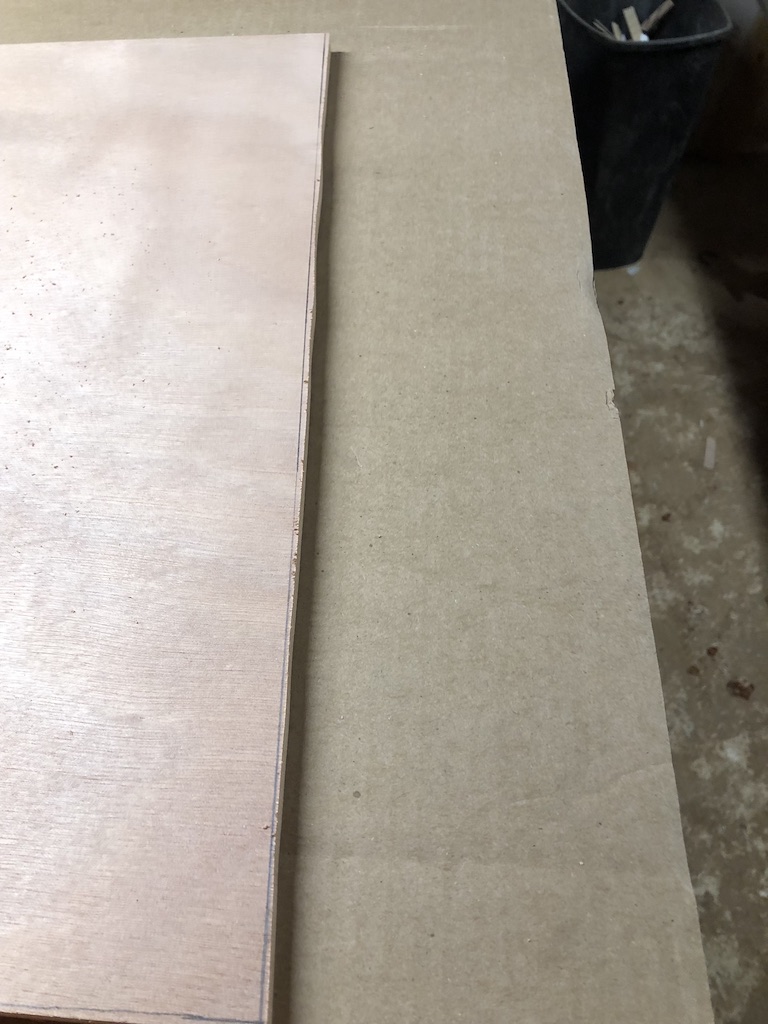
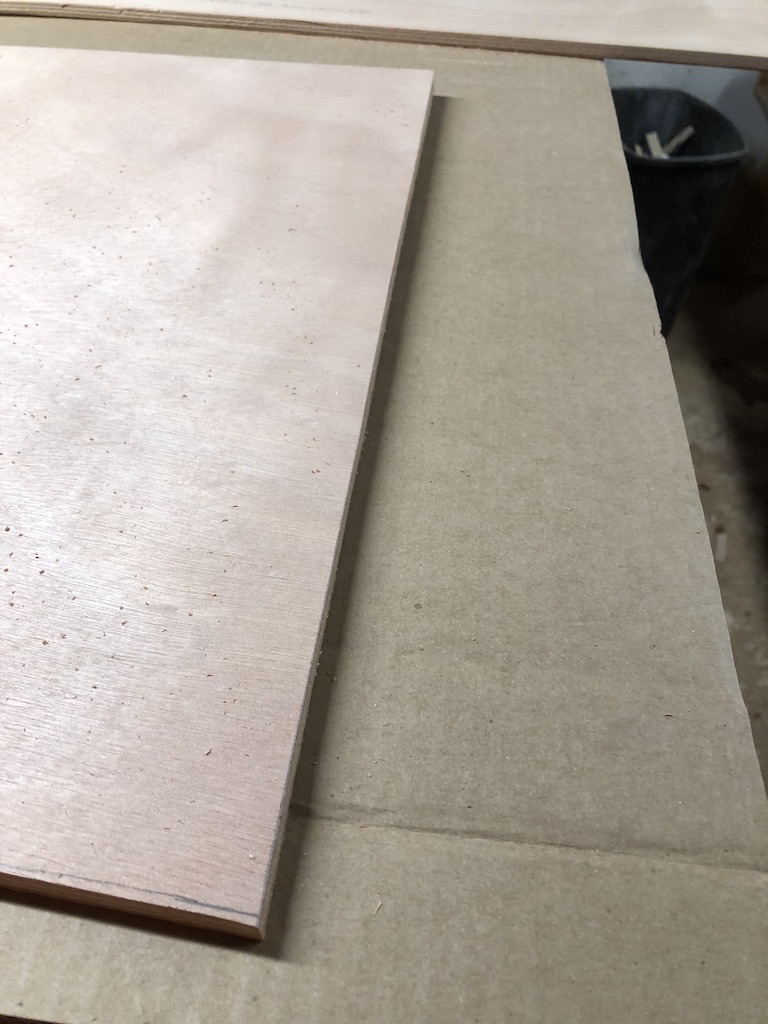
I transferred the shape to sheets of the templating material (cheap, 1/4-inch ply), then cut just outside the pencil lines.
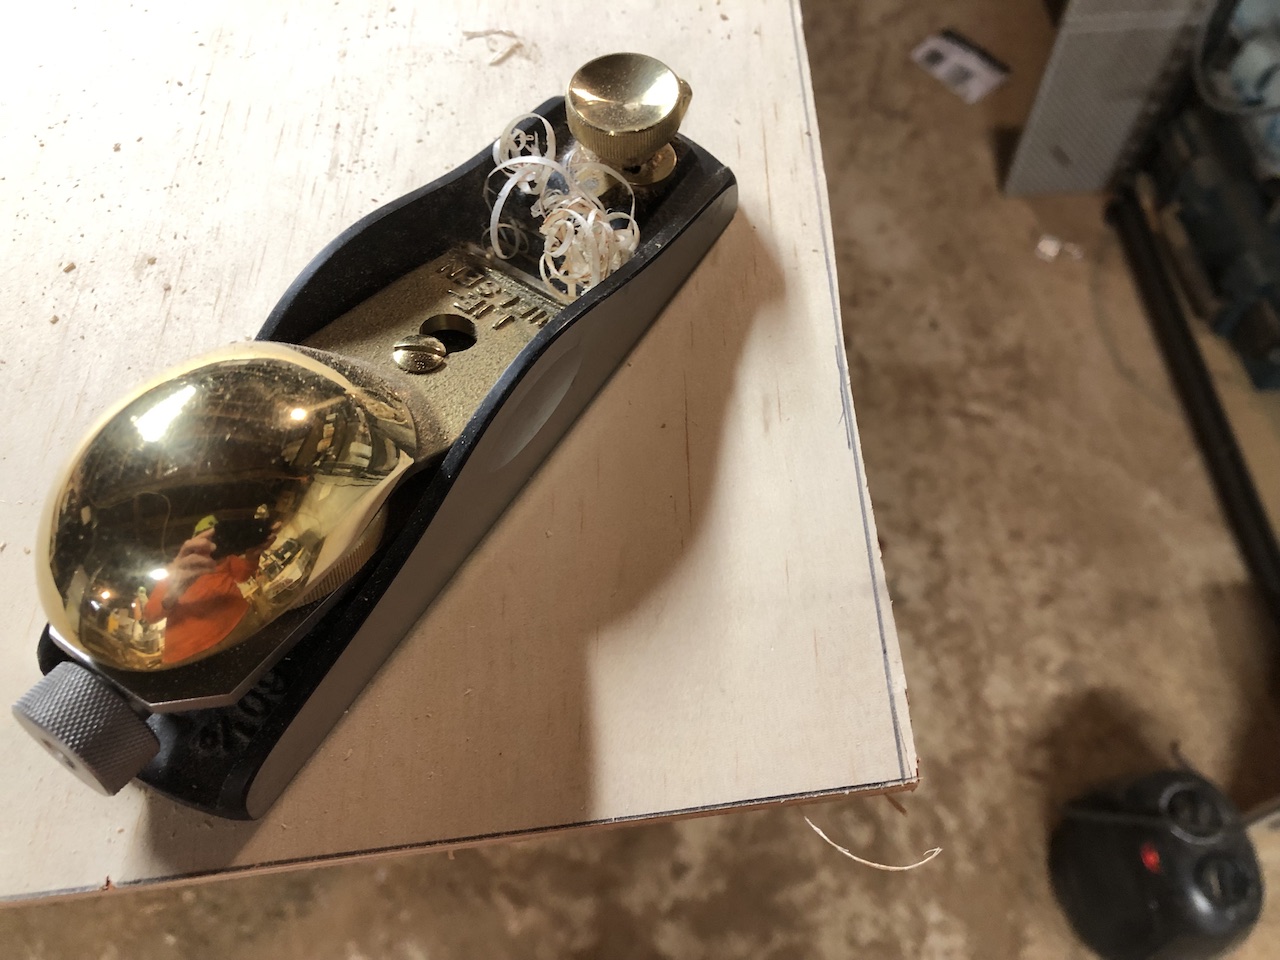
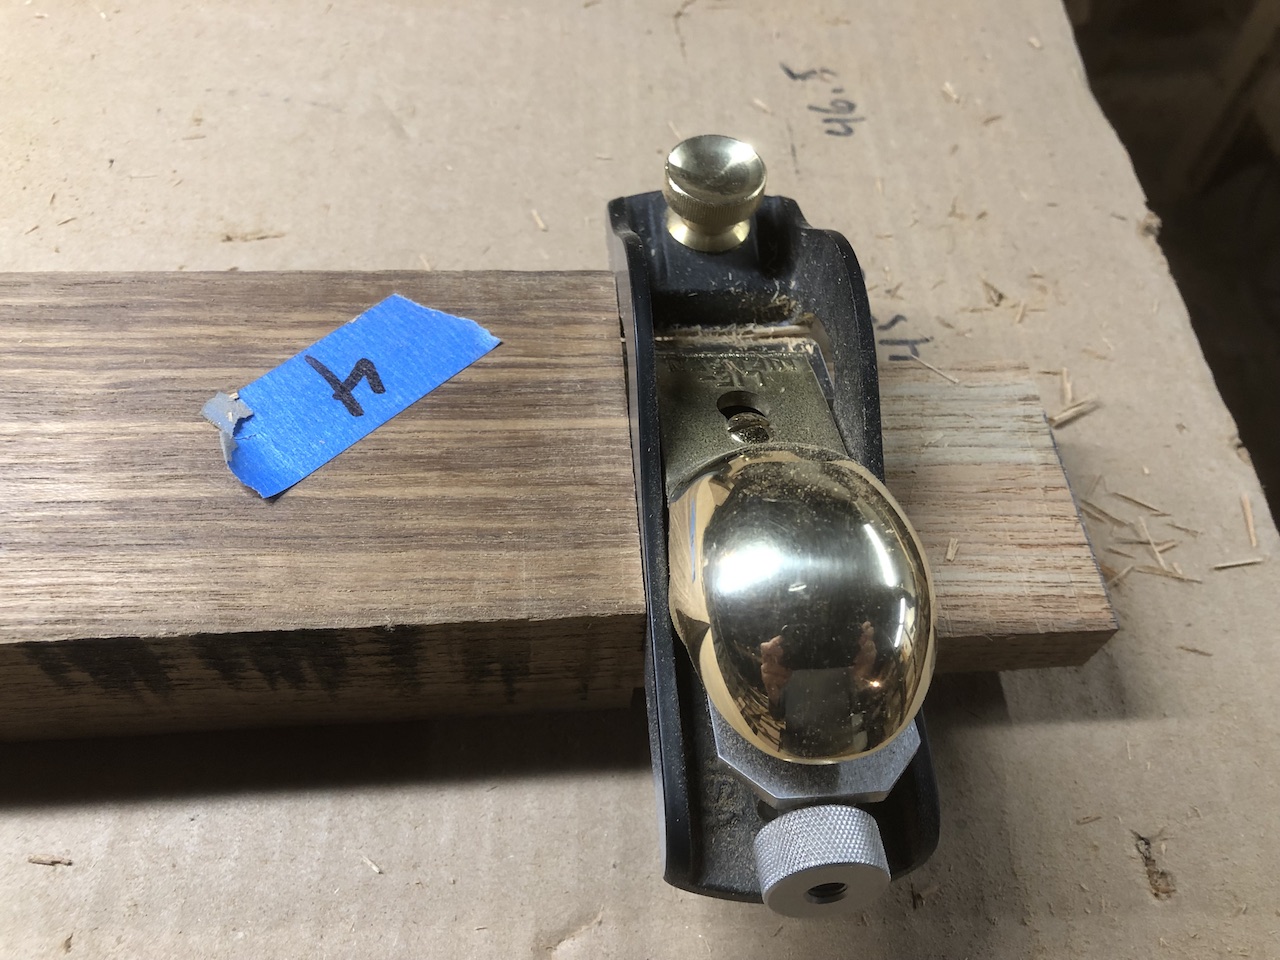
Most experts say that if you can own just one hand-plane, it should be a low-angle block plane. It is handled by one hand at a time, and the low cutting angle is good for end-grain and plywood edges, and here I’m planing down to the pencil line.
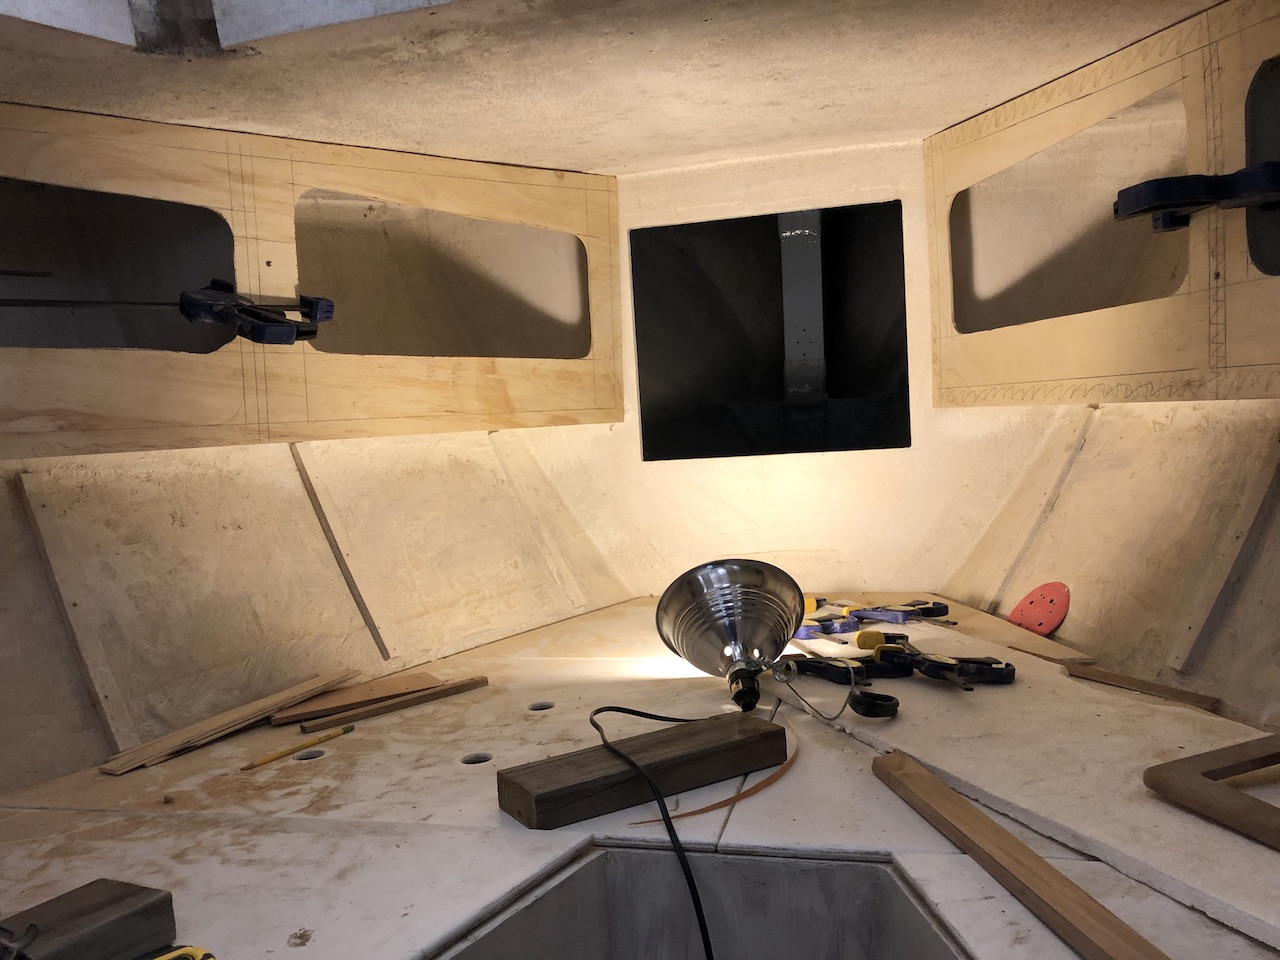
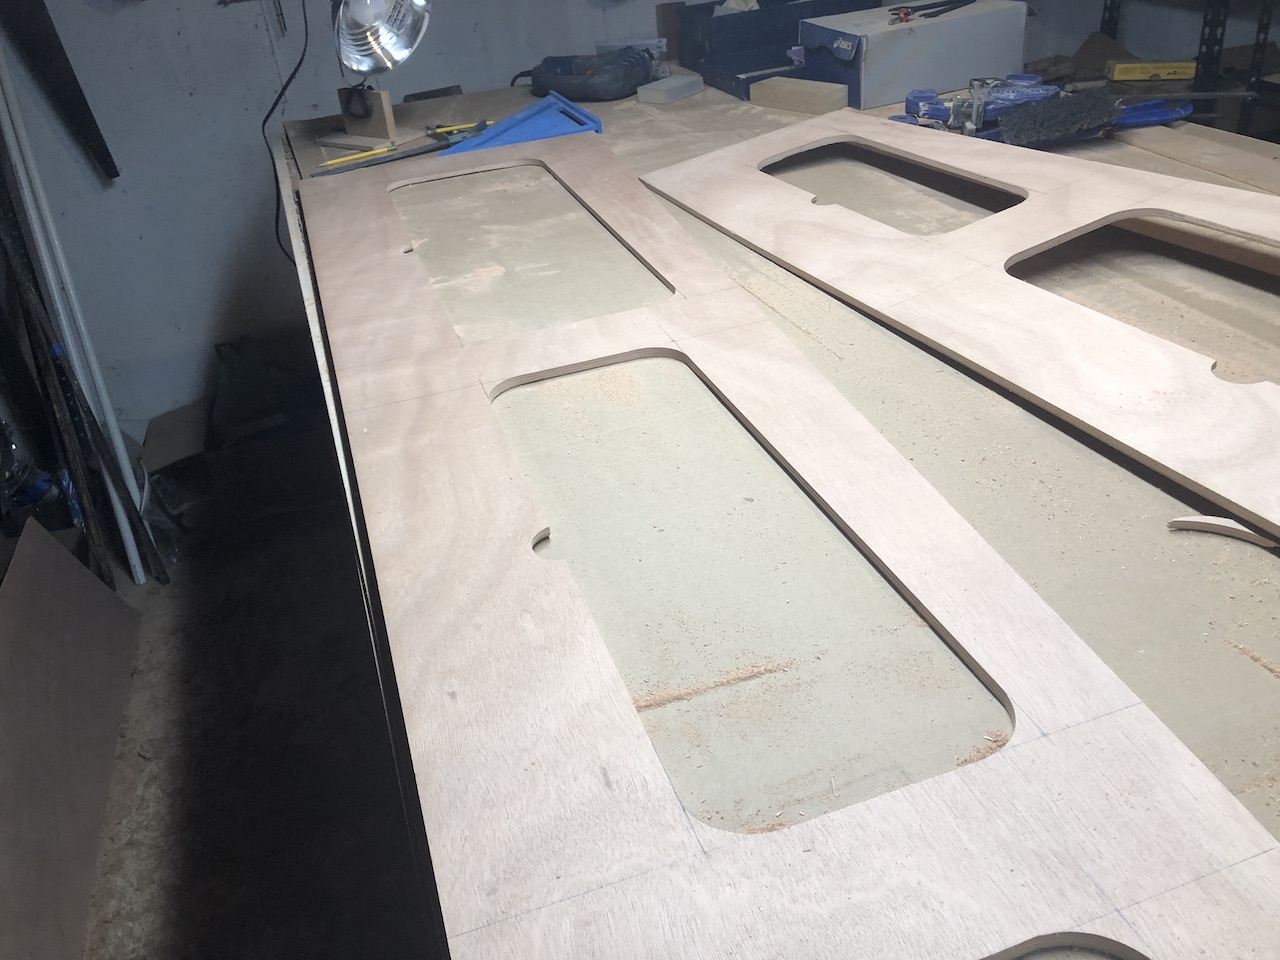
Each side of the V-berth cabinetry has three compartments. The shelf is horizontal, and the upward sweep of the deck means that the forward-most compartments are the largest. I decided that the bottom of the openings would all be 5 inches above and parallel to the bottom. The tops of the openings become progressively higher moving forward.
After cutting out the openings, I did a test fit. The ceiling not only slopes upward, but is uneven, so there are gaps here and there at the top edges. There will be molding around the face frames, but I might also have fill some high spots in the ceiling as well.
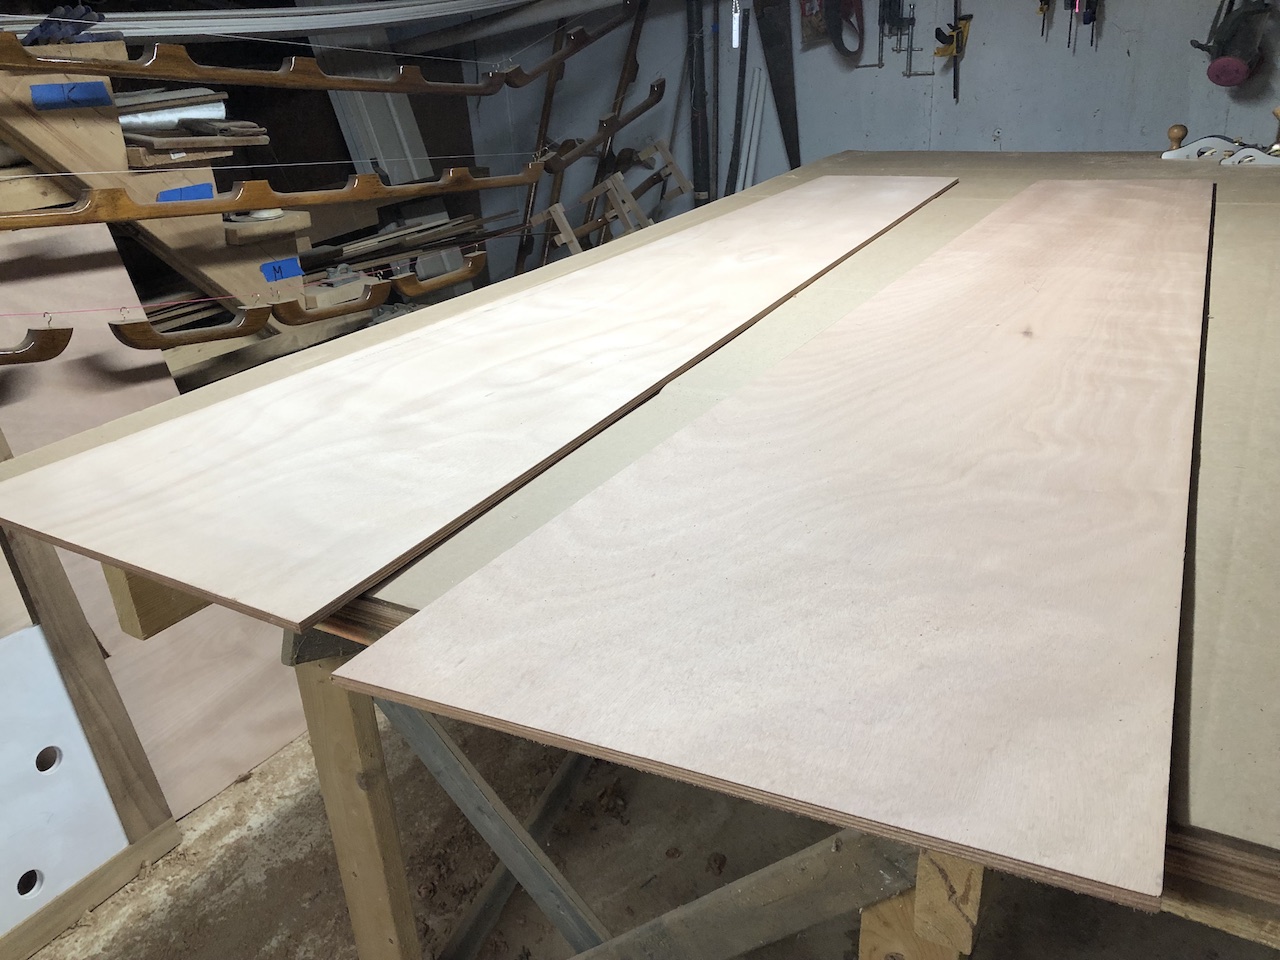
These face frames will be painted plywood with teak trim, and the next step was cutting out the plywood panels.
Once again, I cut just outside the pencil lines, then planed down to the lines.
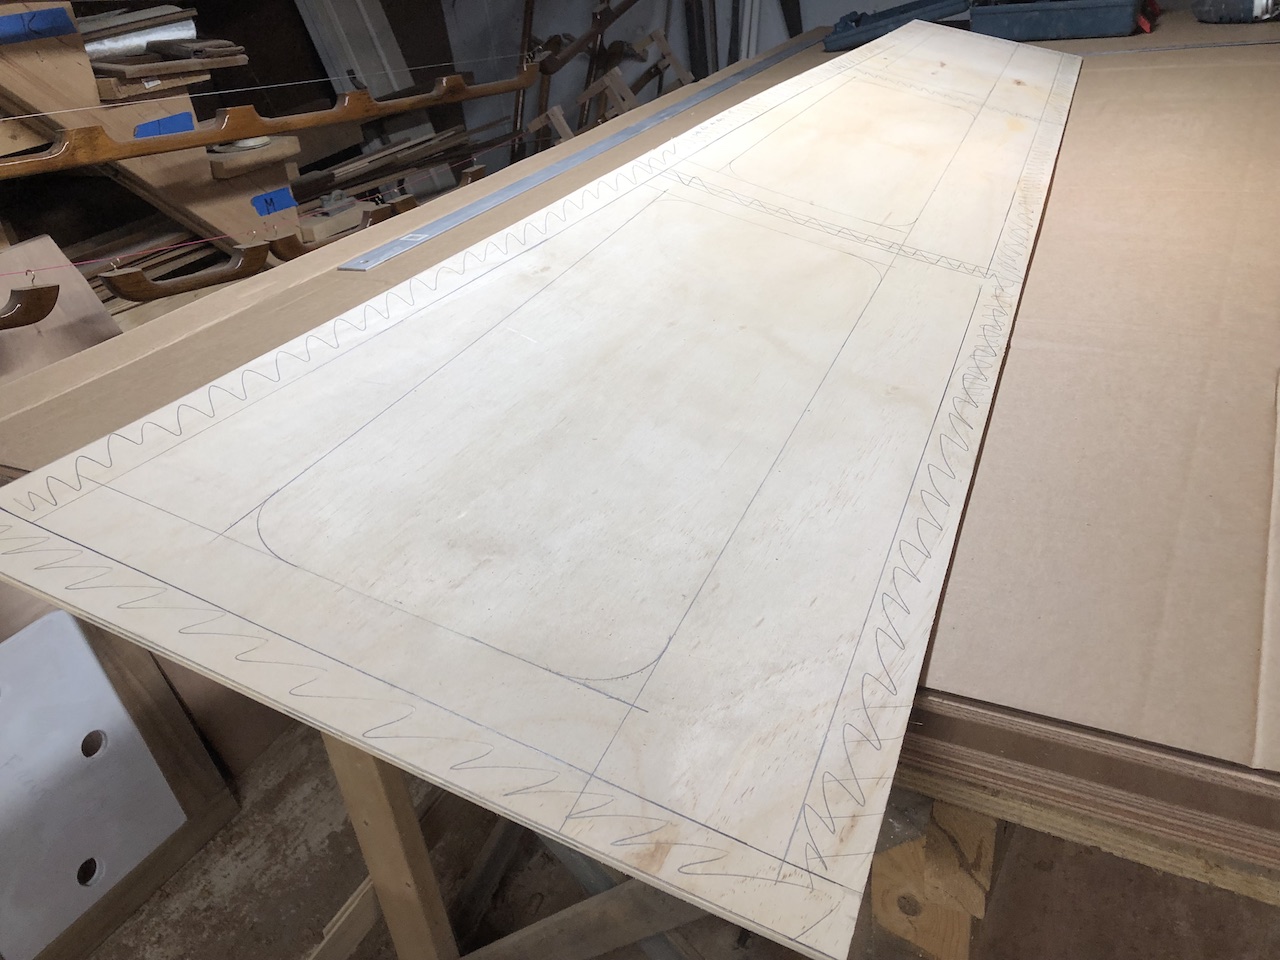
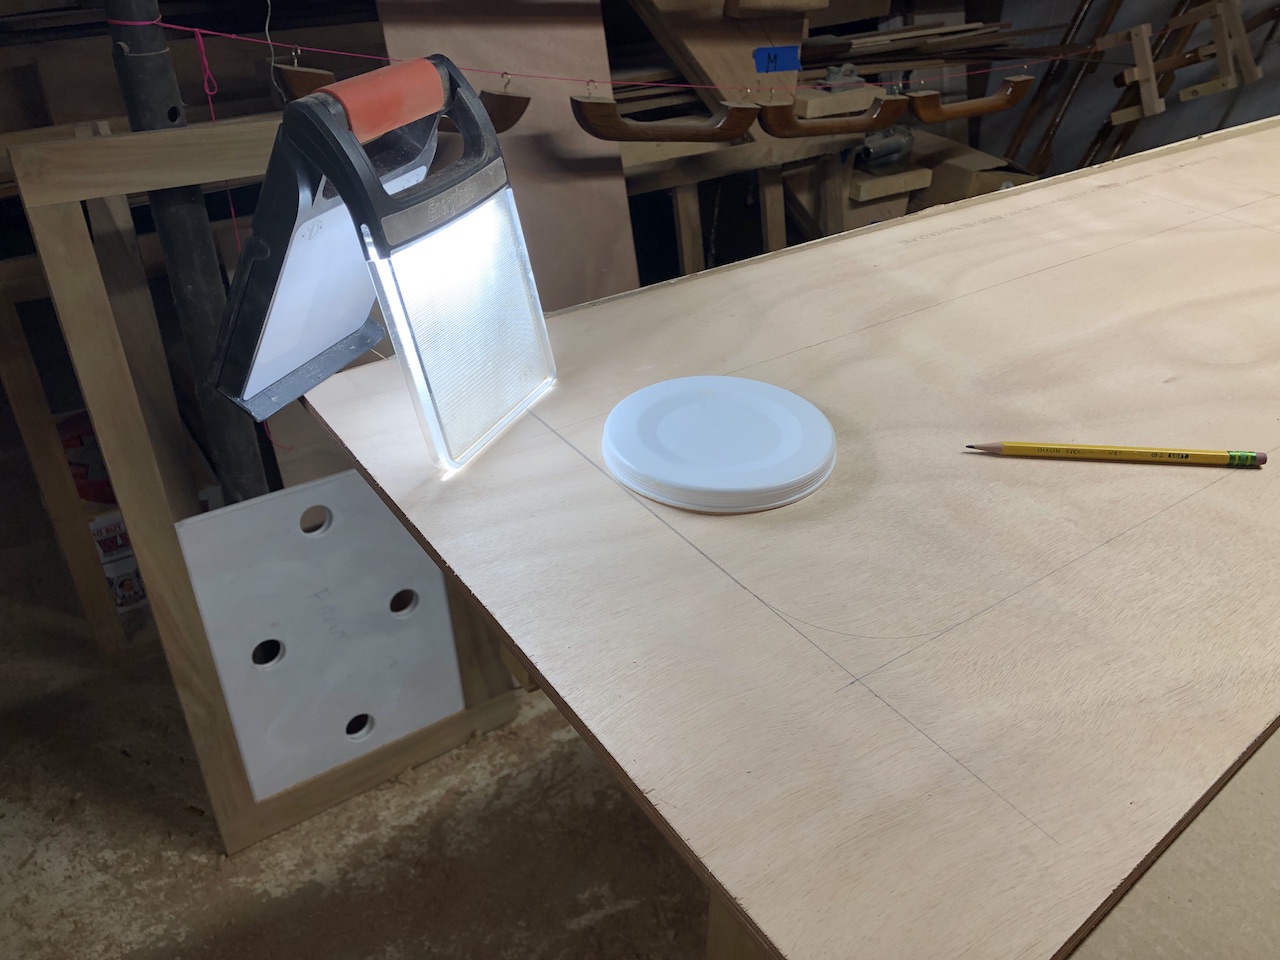
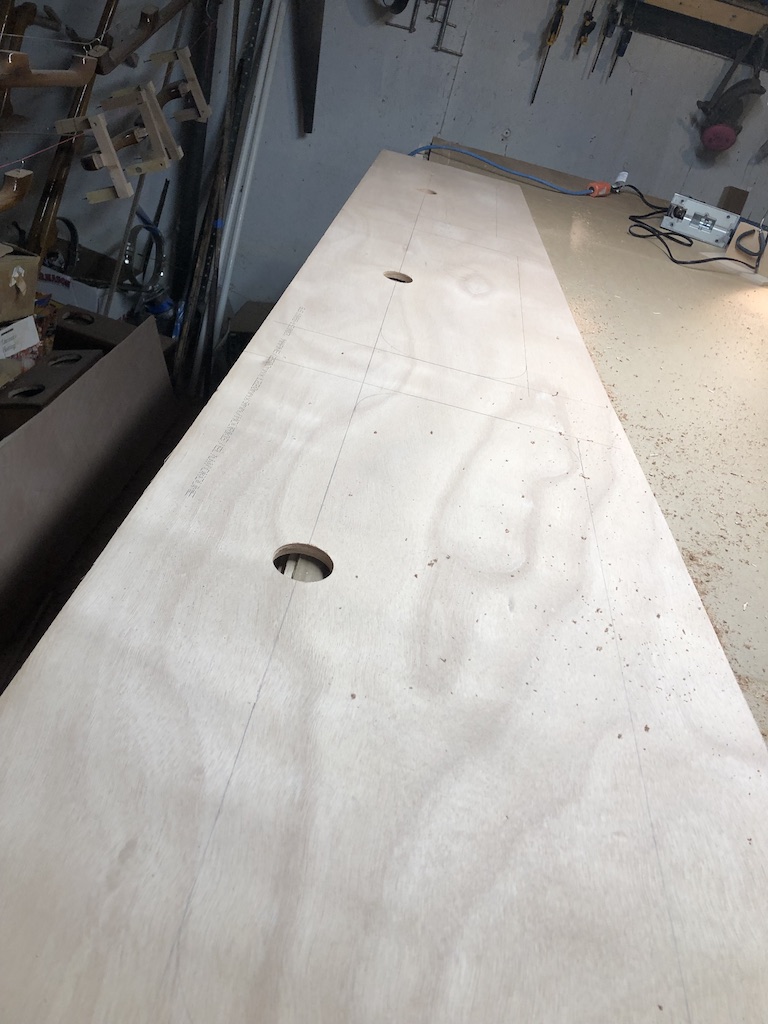
Below I’ve sketched the rectangular shapes of the openings, and am using a circular shape to trace the corners.
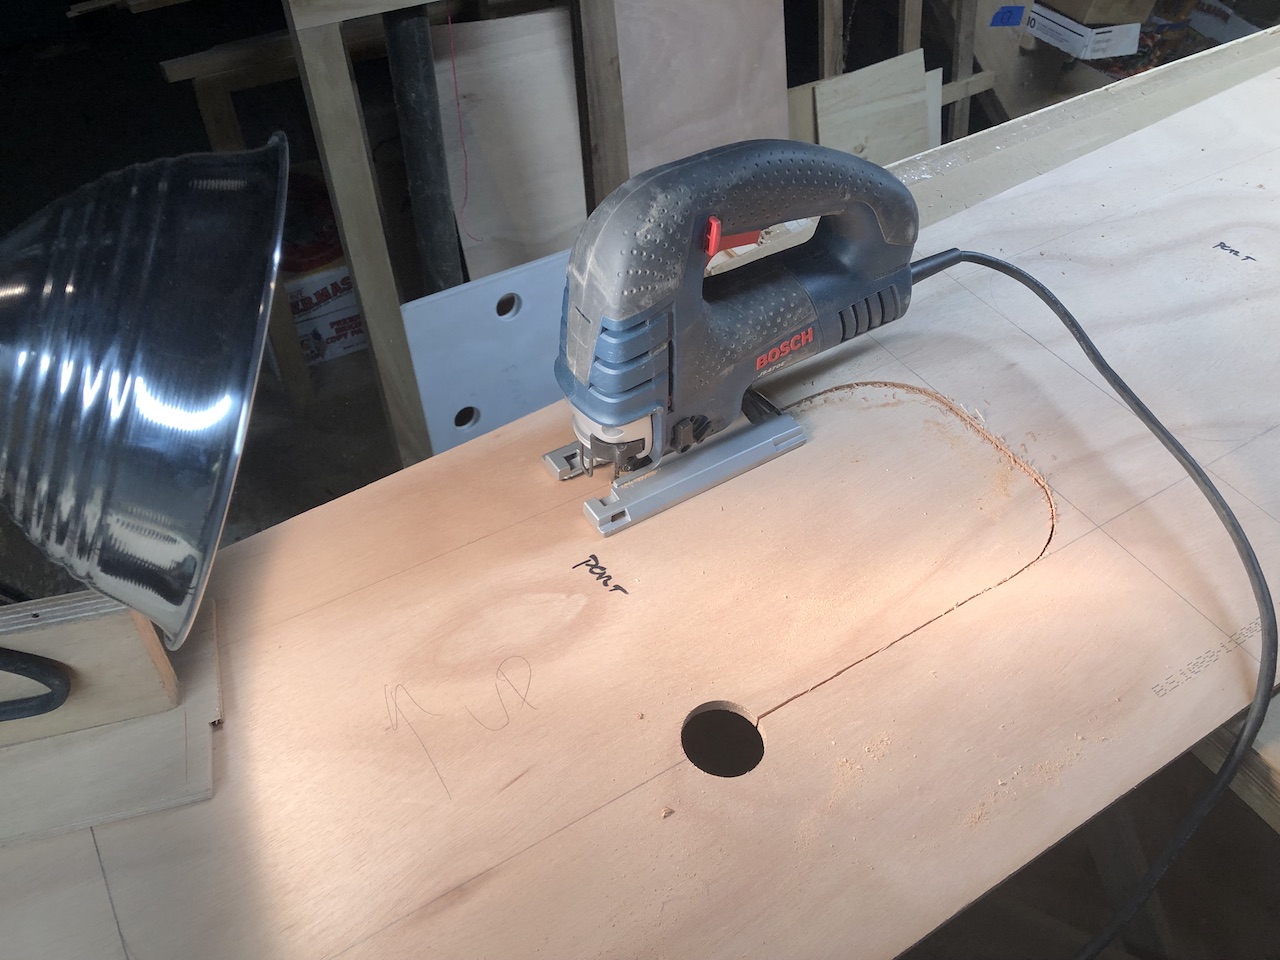
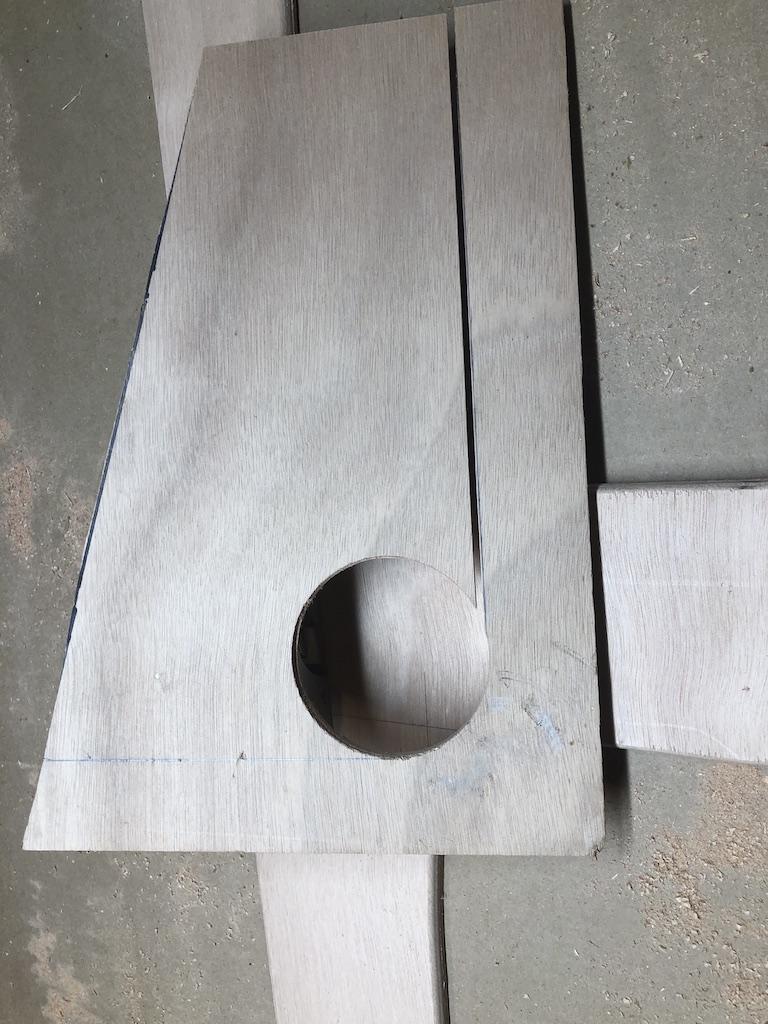
I’ve read that some craftsmen can cut out openings with such precision that they are able to use the cutouts for the doors. I learned today that I am not one of those craftsmen. My attempt began using a hole saw bit to make small holes in the middles of the bottom edges of the openings. These are centered on the line and allowed me to start the cut on the line. (Yes, the holes will be visible in the finished face frame, but will look just fine and will provide ventilation.
I cut very slowly and carefully.
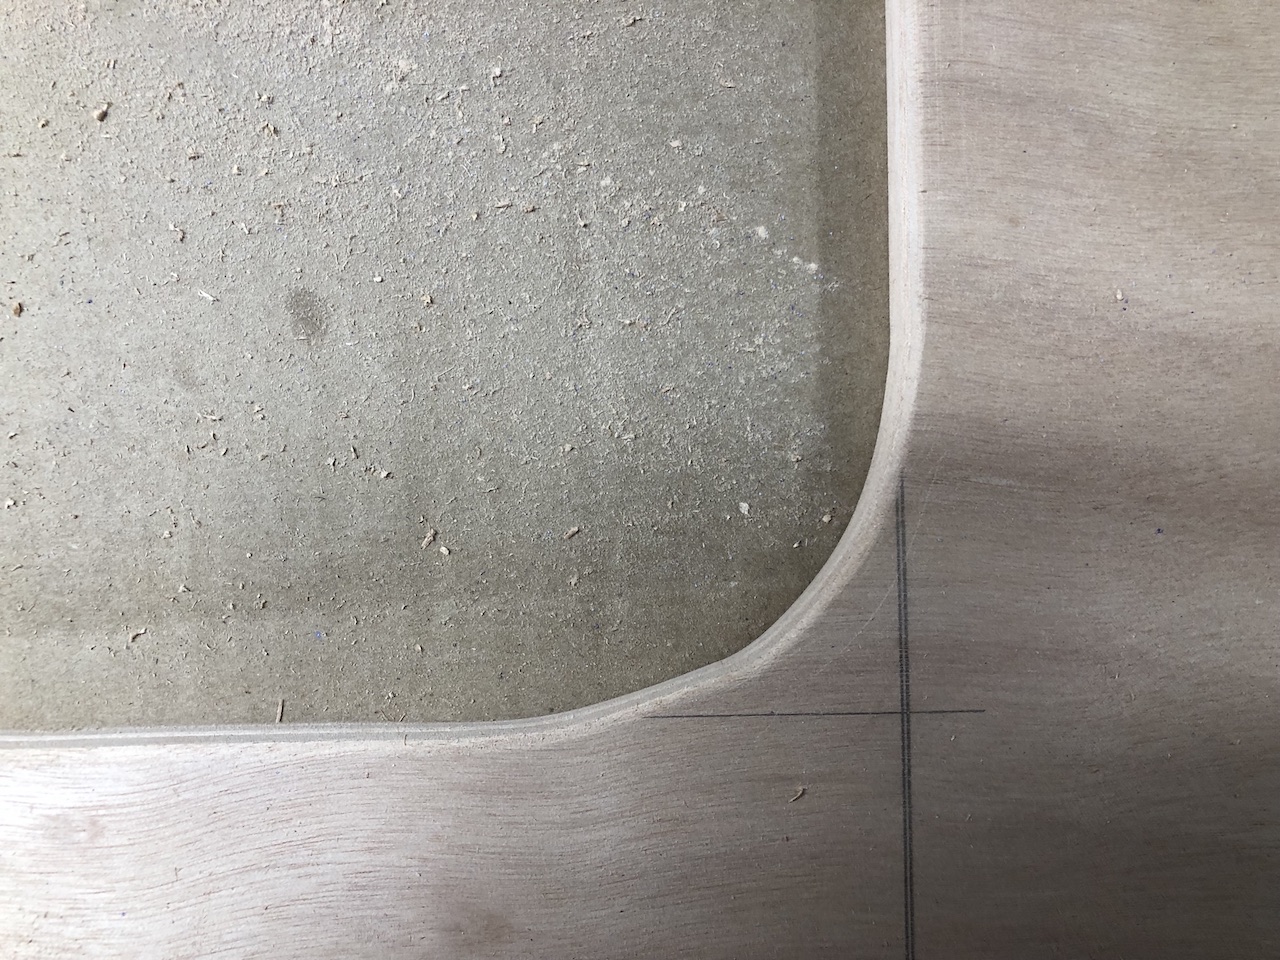
I used a fairly fine saw-blade, but I still had trouble following the line around the corners, as you can see below. Sanding out the unevenness would be easy, but the problem is that the corresponding unevenness in the door would have to be sanded out too, creating an unacceptable gap.
My backup plan was to increase the size of the openings, just slightly, to remove any unevenness and create a near-perfect shape. I began by cutting a hole in a piece of scrap wood, then making a corner jig along which to run the router. That, along with a straight piece, were used to rout the new shapes. Some of the steps shown below.

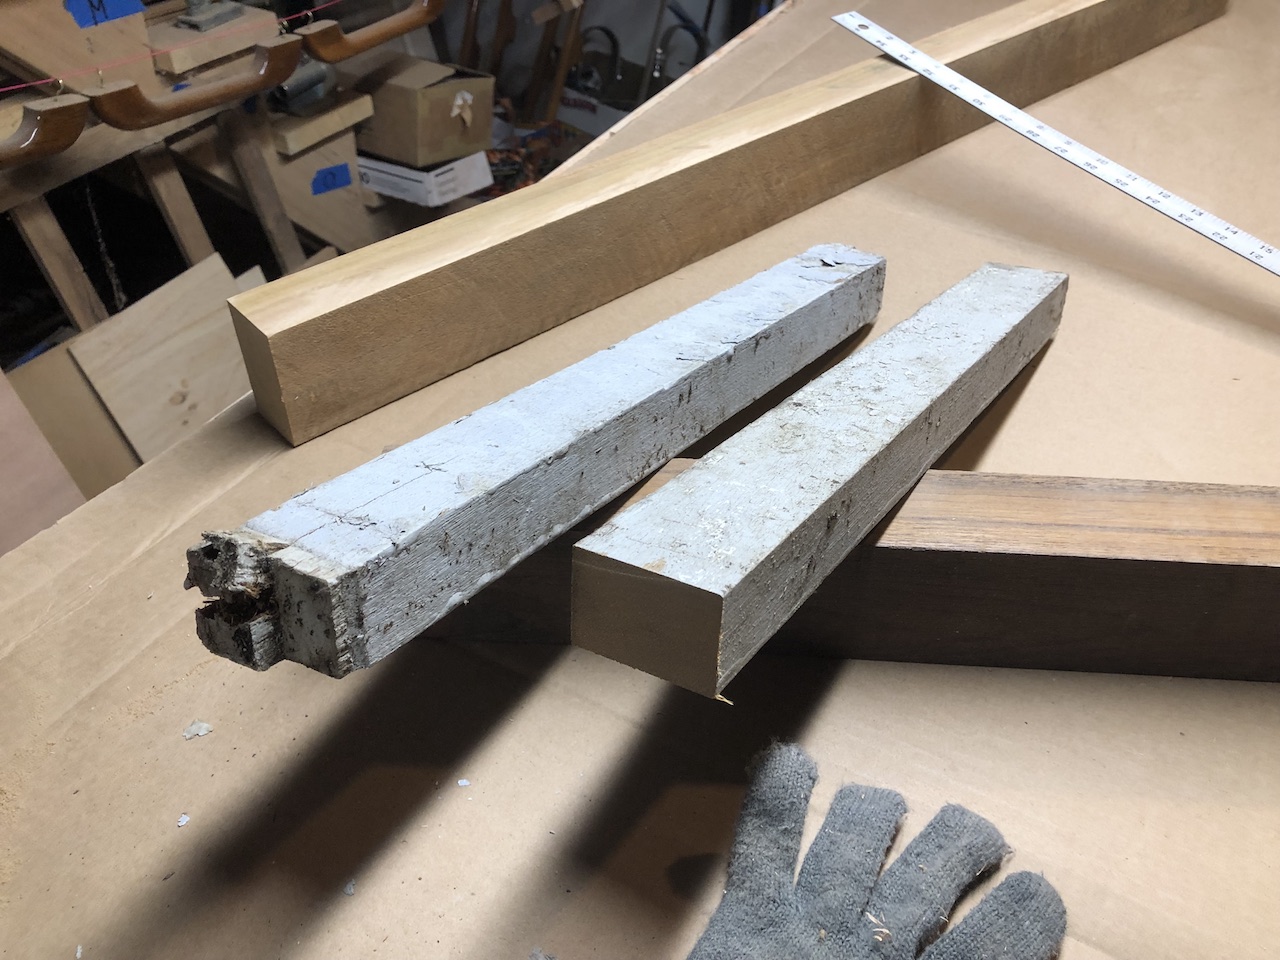
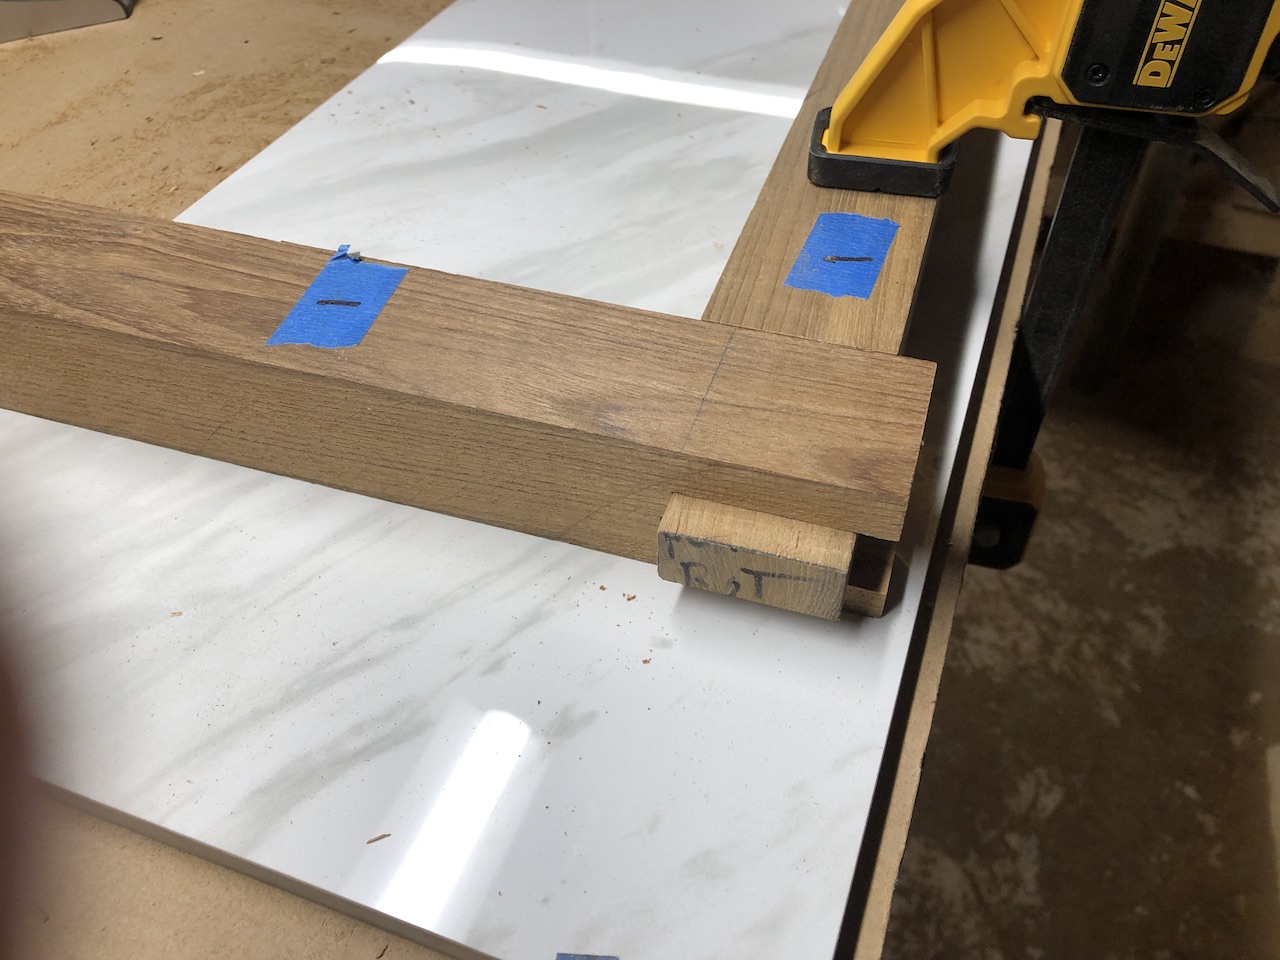
Further discussion of the doors will come later, but for now I thought about how I might attached these panels to the cabinets. I found some pieces of the original oak floor timbers, and cleaned them up and cut them into four blocks.
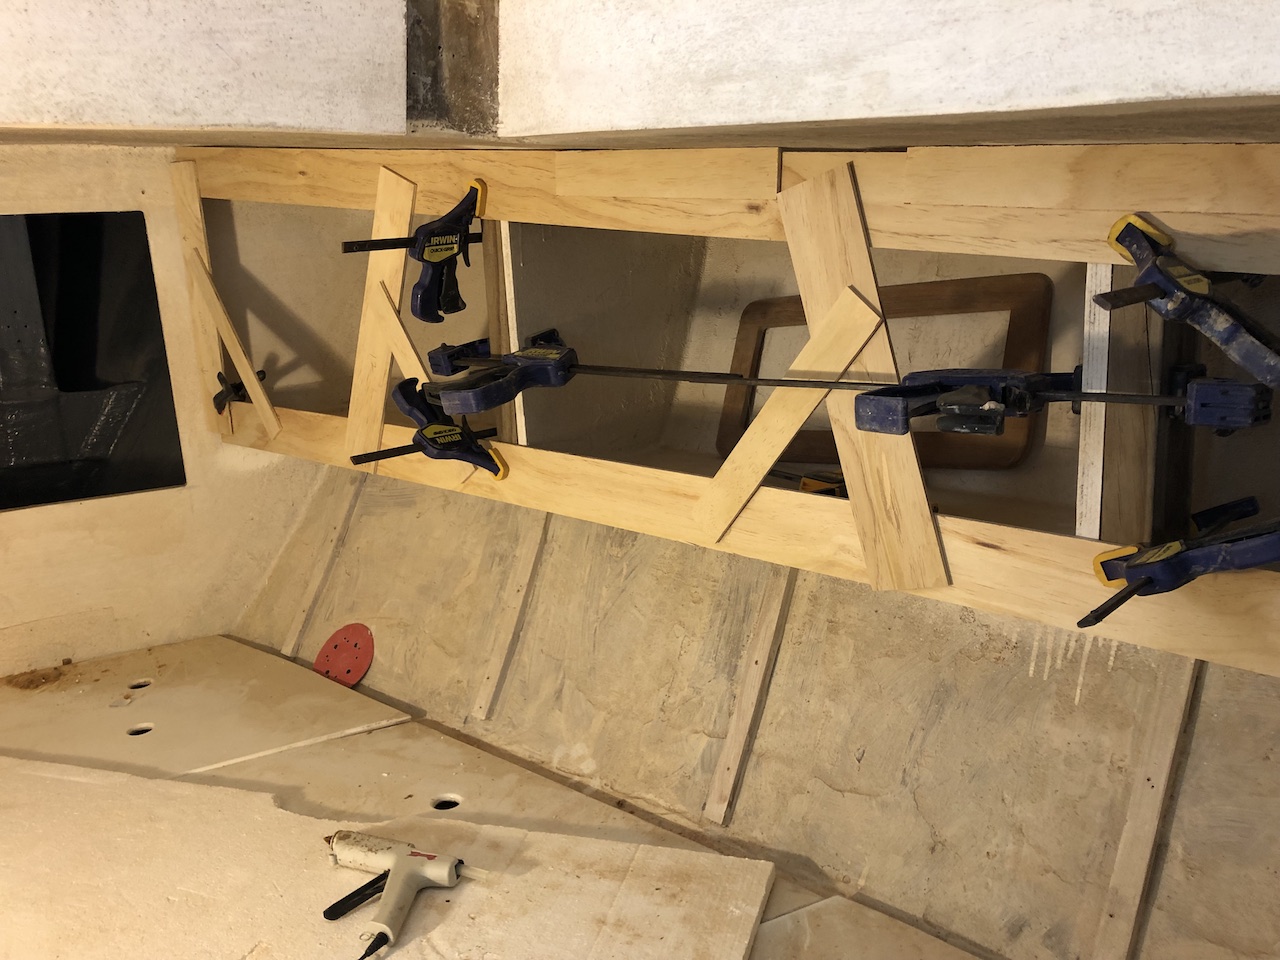
I attached these blocks to the compartment dividers.
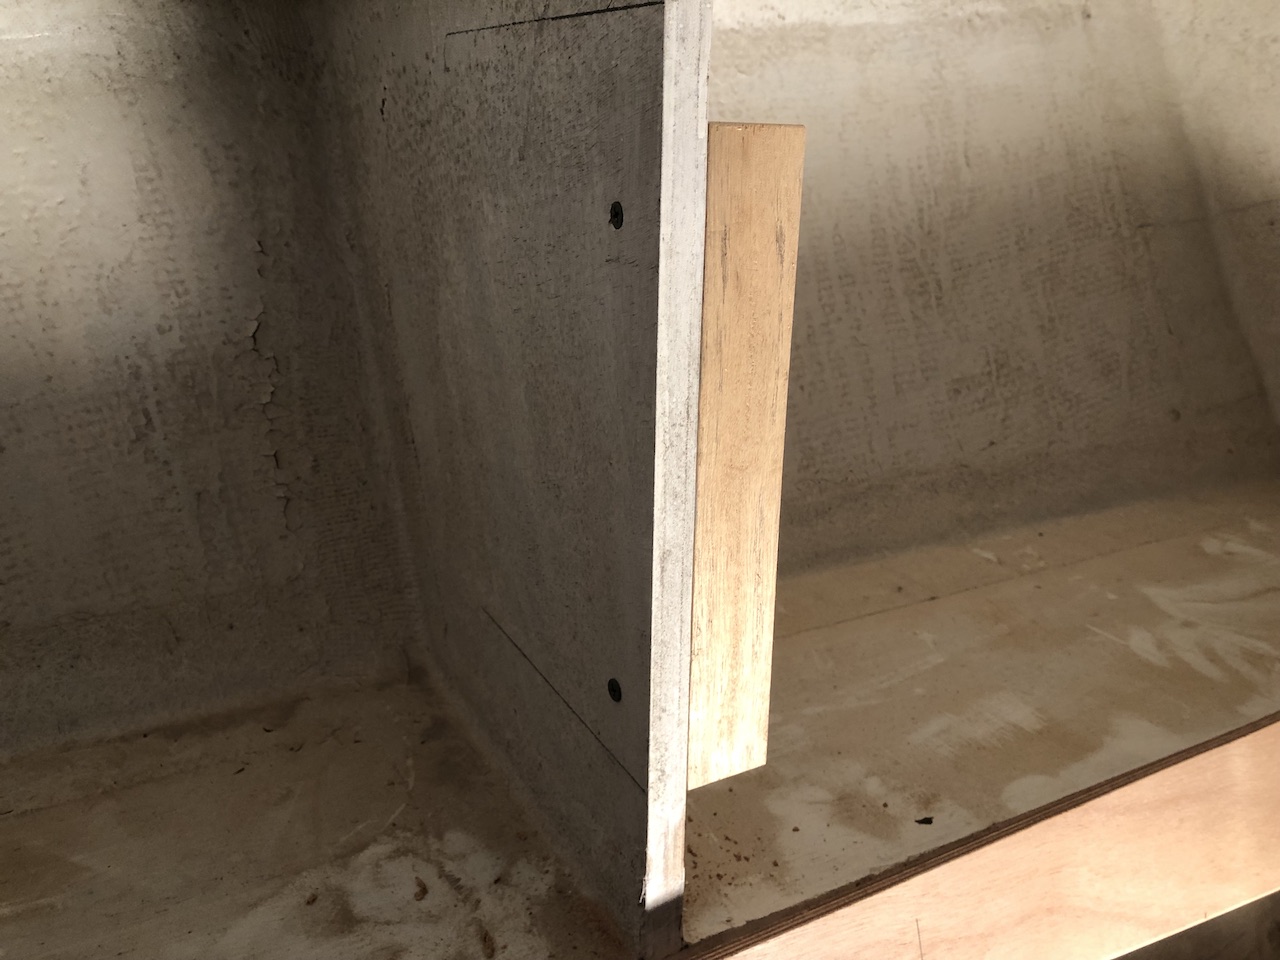
Eventually they will be attached permanently to the panels, bur for now they provide a convenient means of clamping the panels in place while planning the trim.
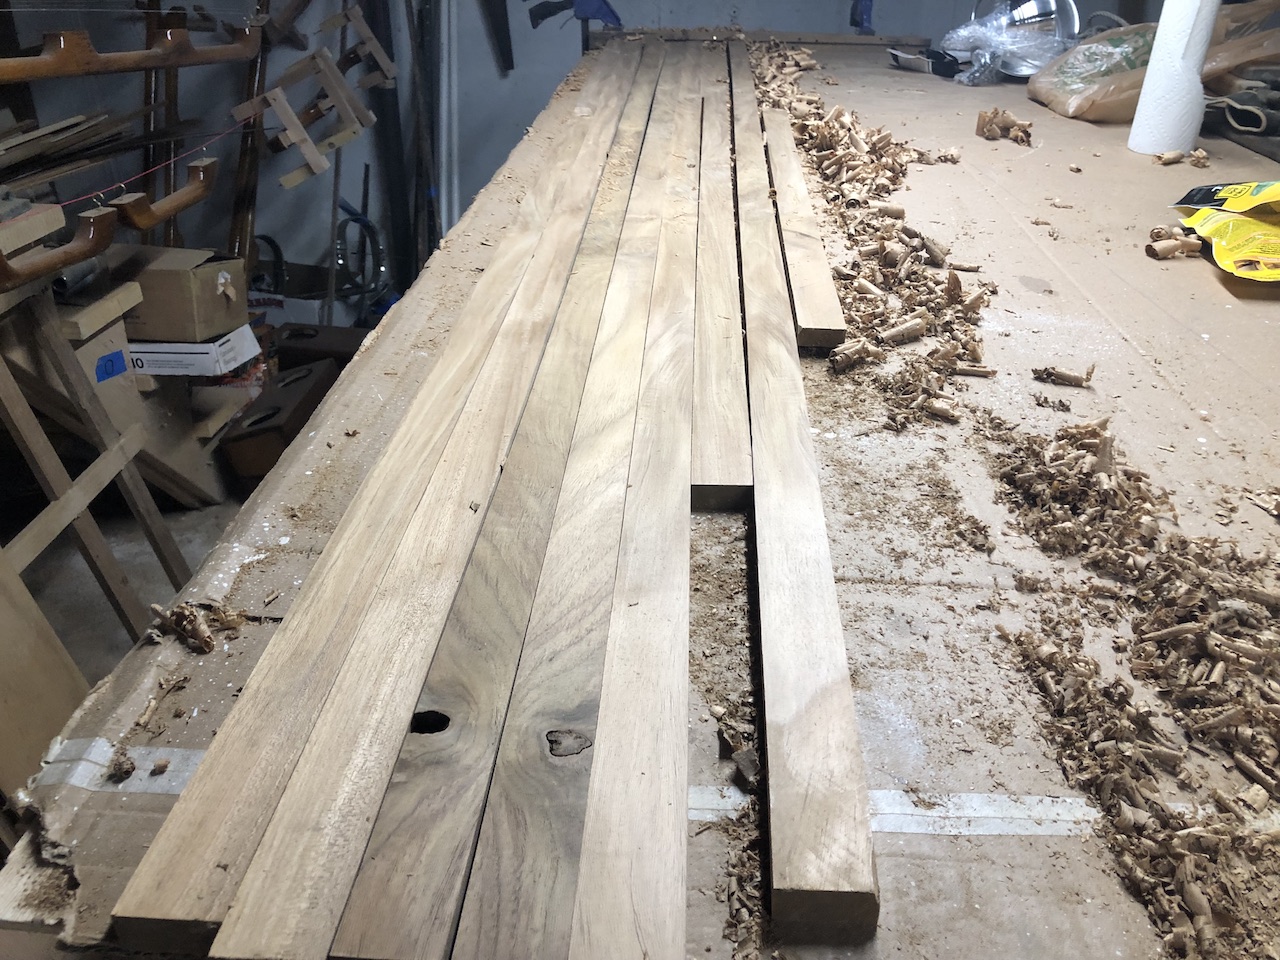
The trim will be teak, and I had a long piece of 6/4 teak that I purchased from a private seller over the summer for about 1/2 the price (per board foot) of lumber-yard bought teak. The lower cost corresponded to somewhat lower quality (more knots, rougher cut, more checking, etc).
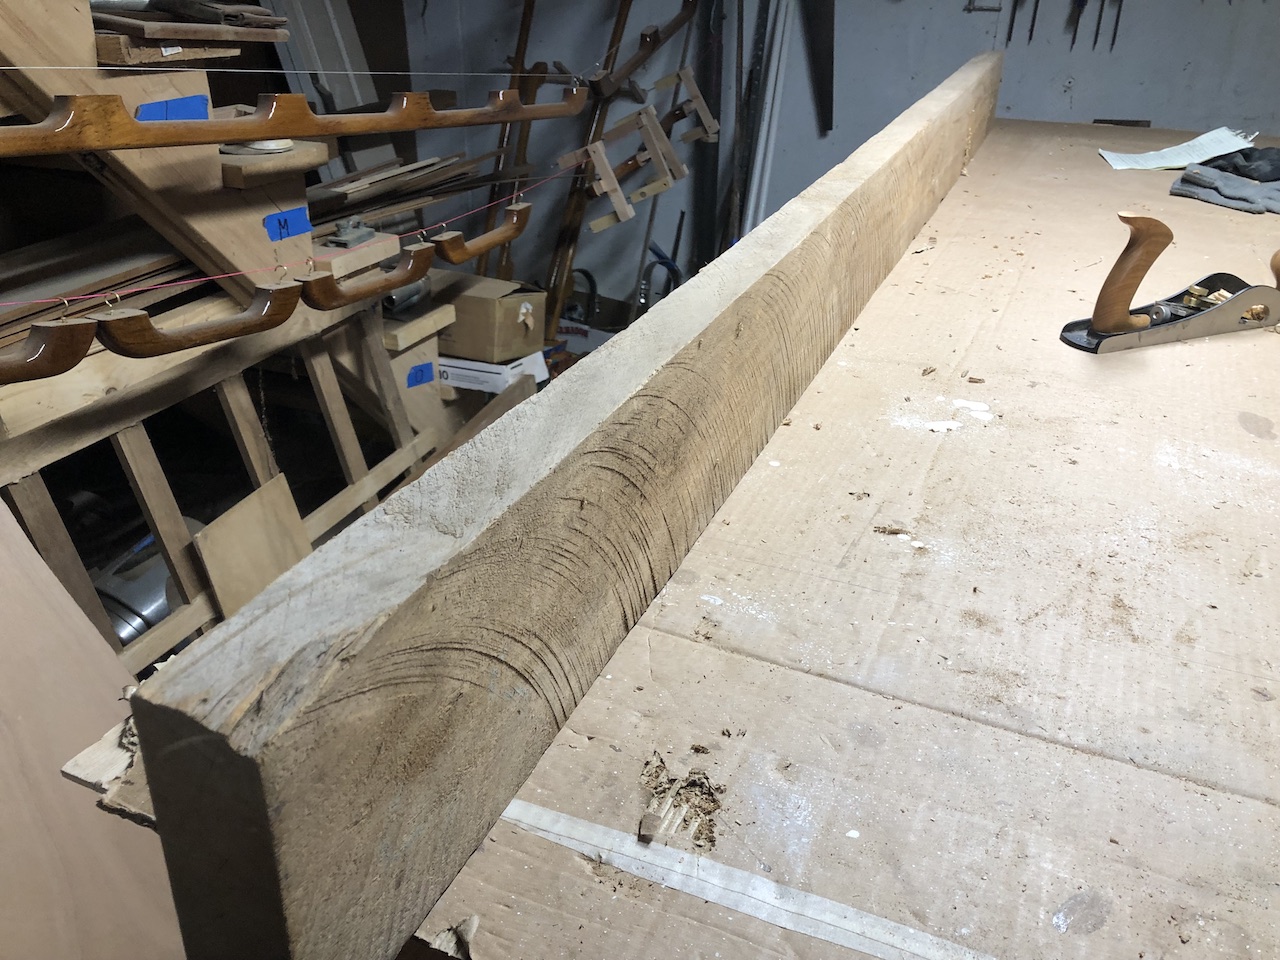
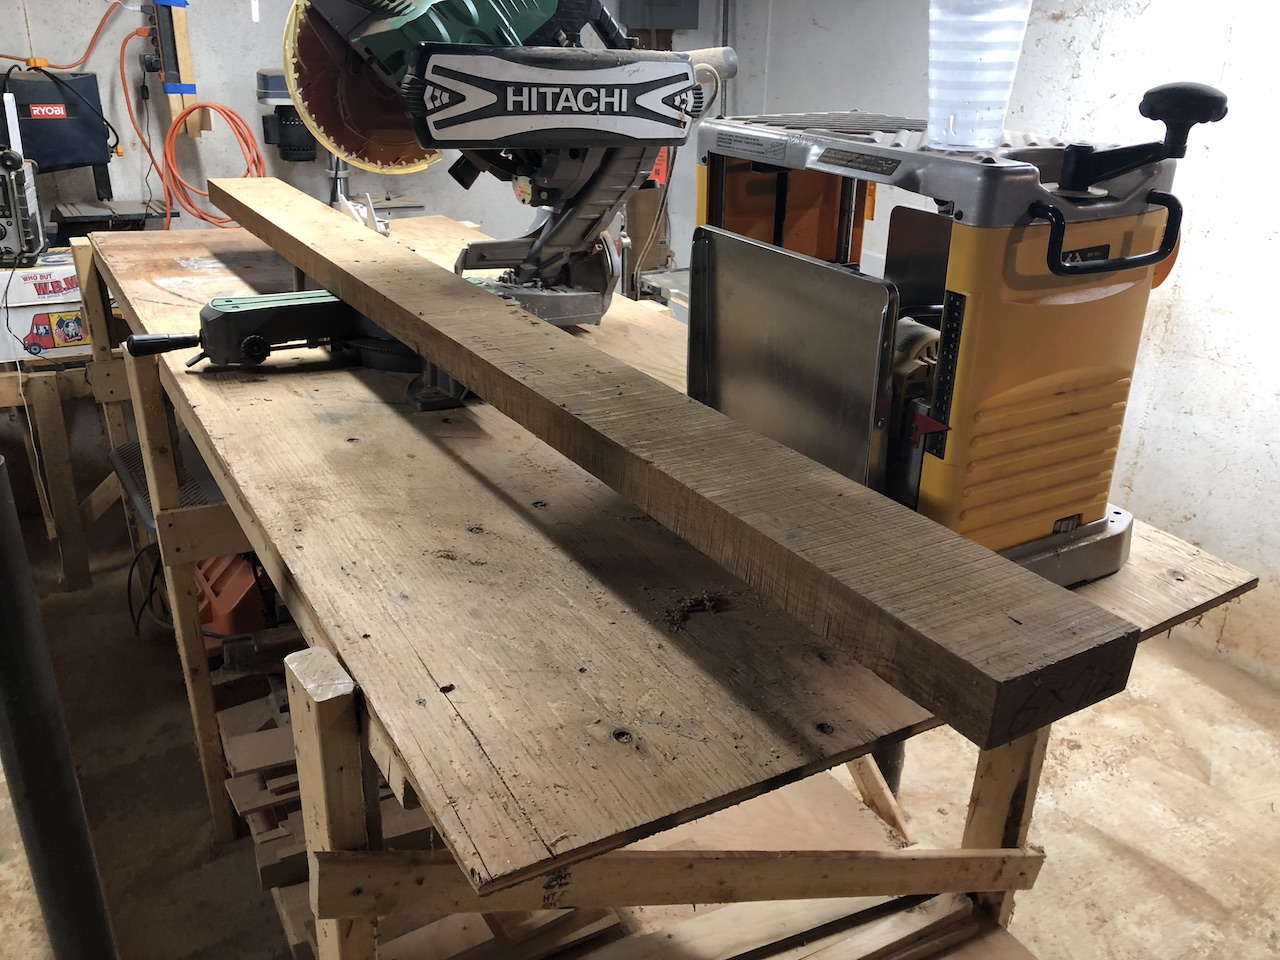
I started by using a hand plane to take down some of the saw marks and genera roughness…
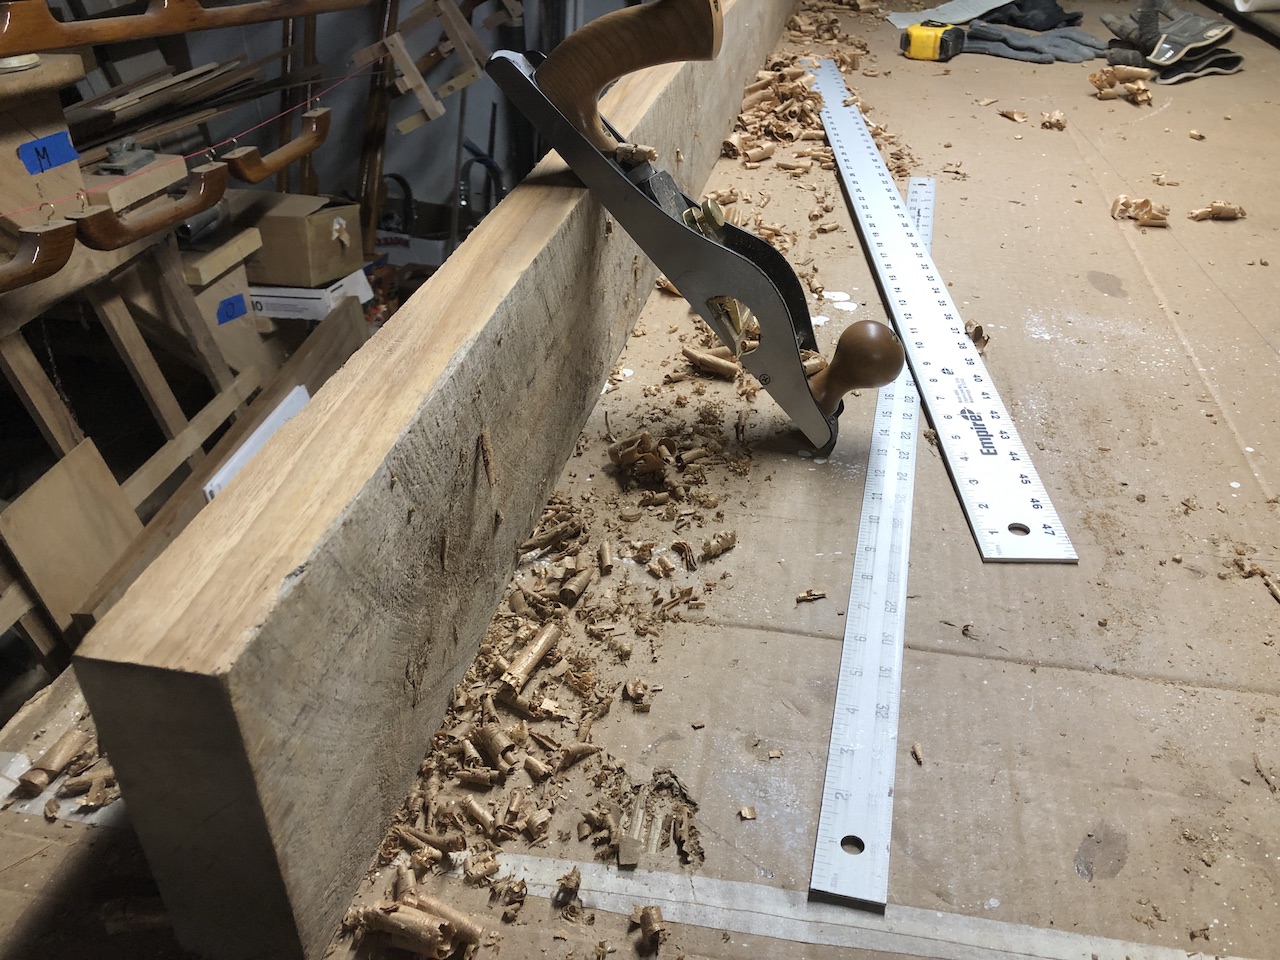
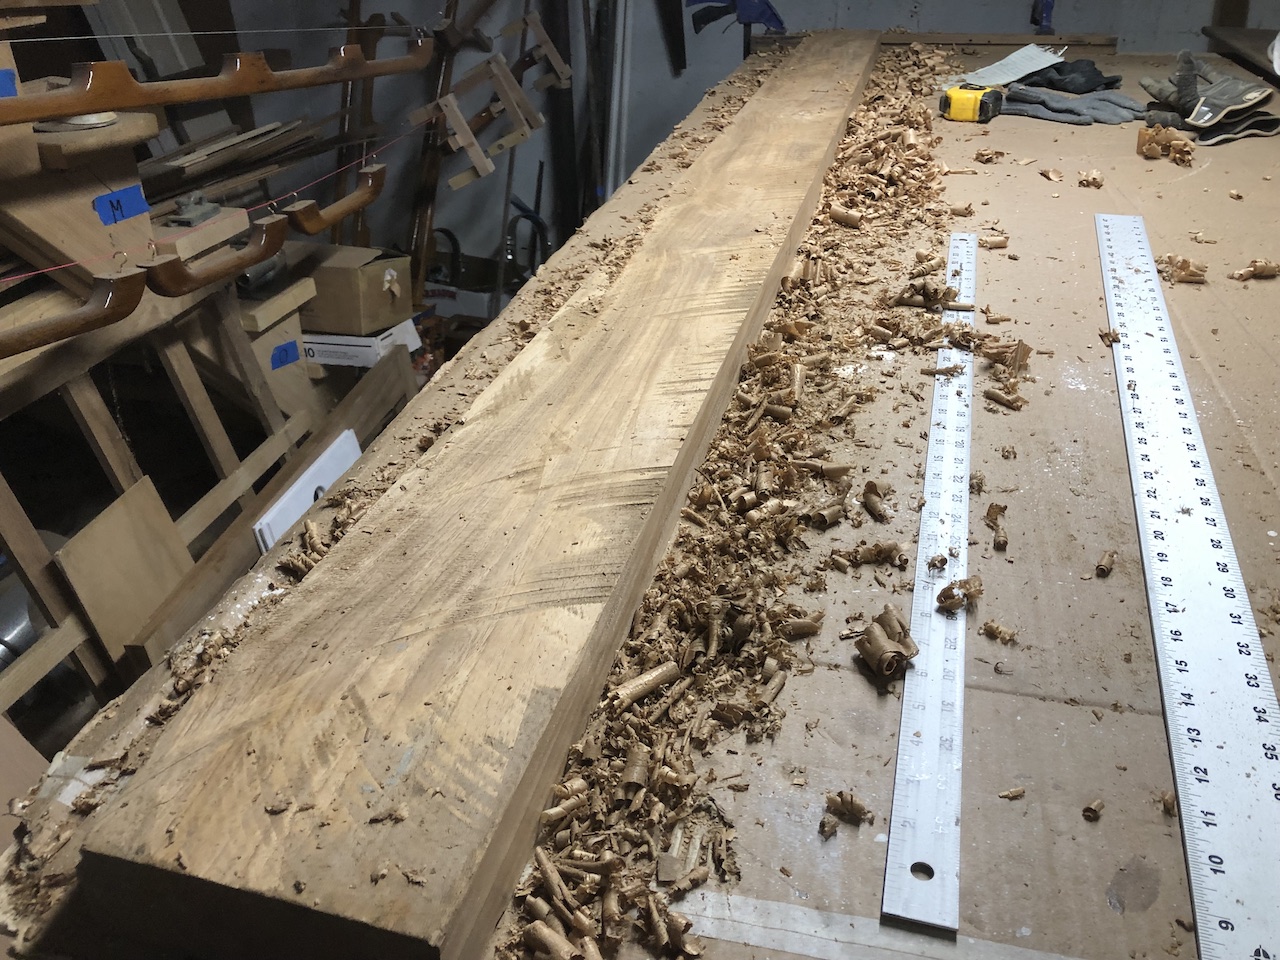
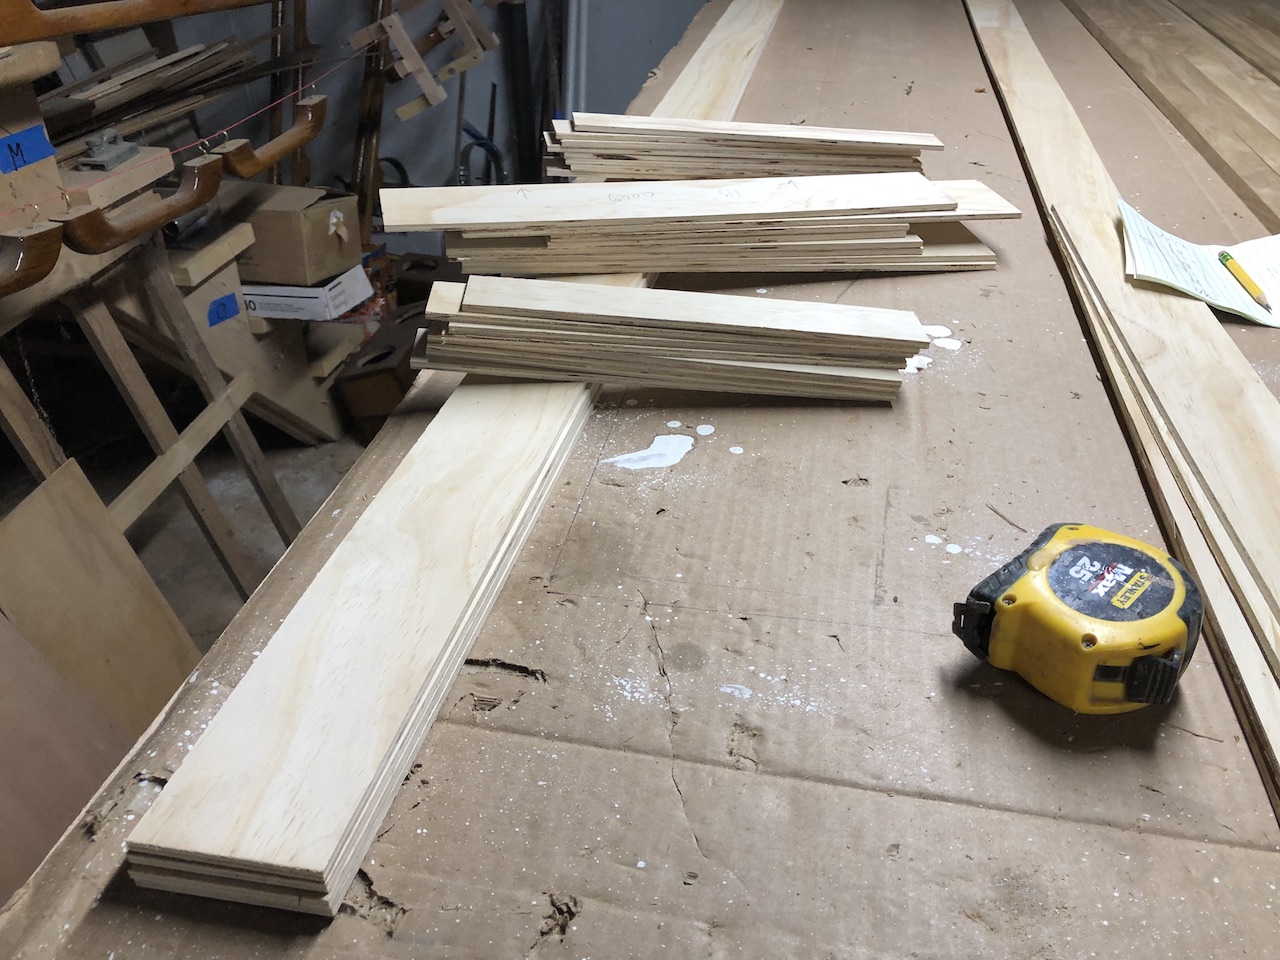
…then cut 1-inch wide strips, which will eventually become the trip for the panels.
More work on the V-berth cabinetry will come later.
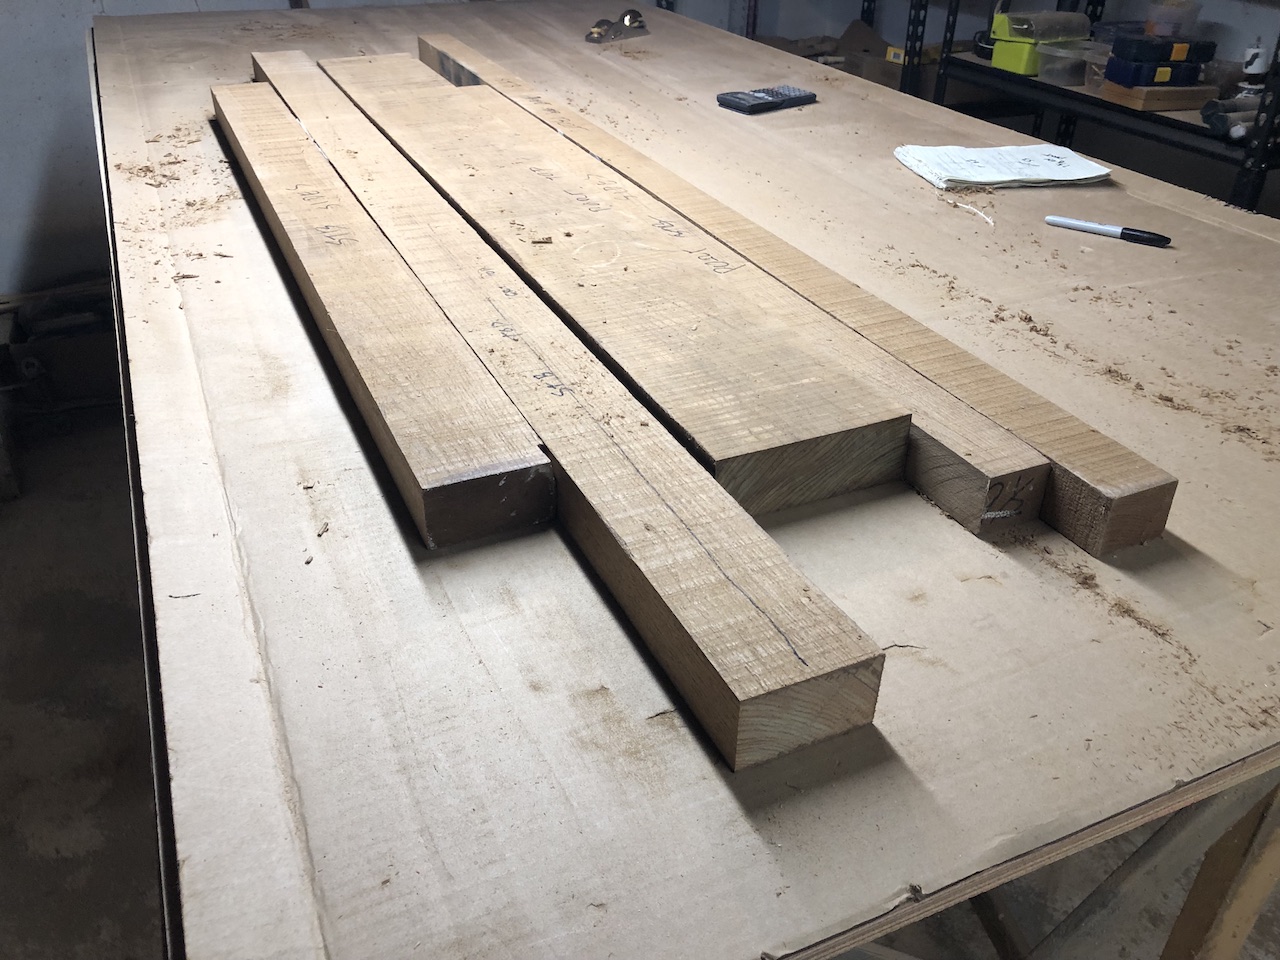
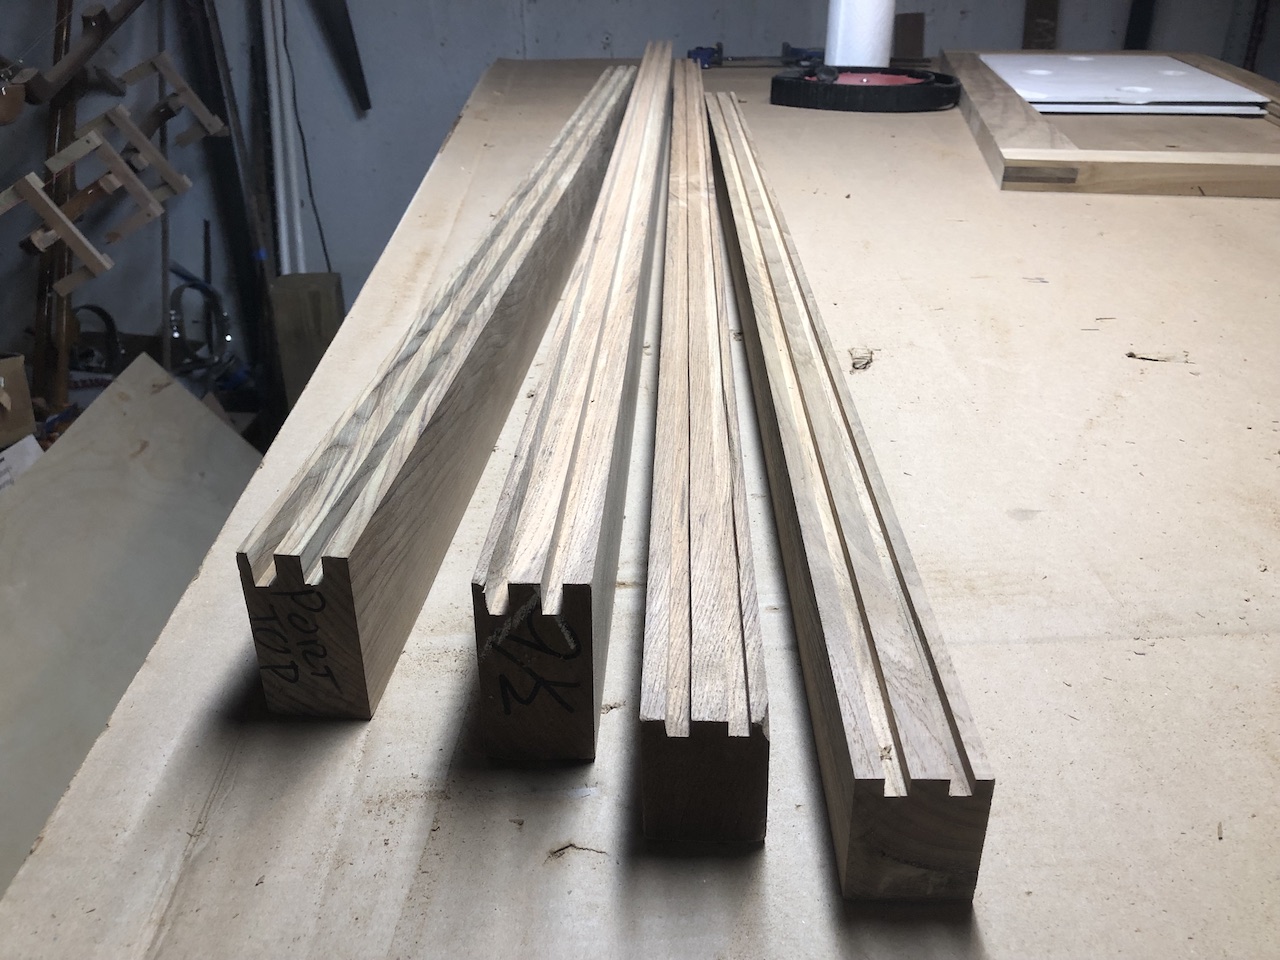
In the galley there will be sliding-door cabinets on both the port and starboard sides. I measured the sized of the openings, and cut from my good teak the pieces needed for the rails and stiles.
After some cuts and passes through the thickness planer, I was ready to make the grooves that will receive the sliding doors. I made the cuts with a single dado blade, adjusting the blade height and fence position as necessary.
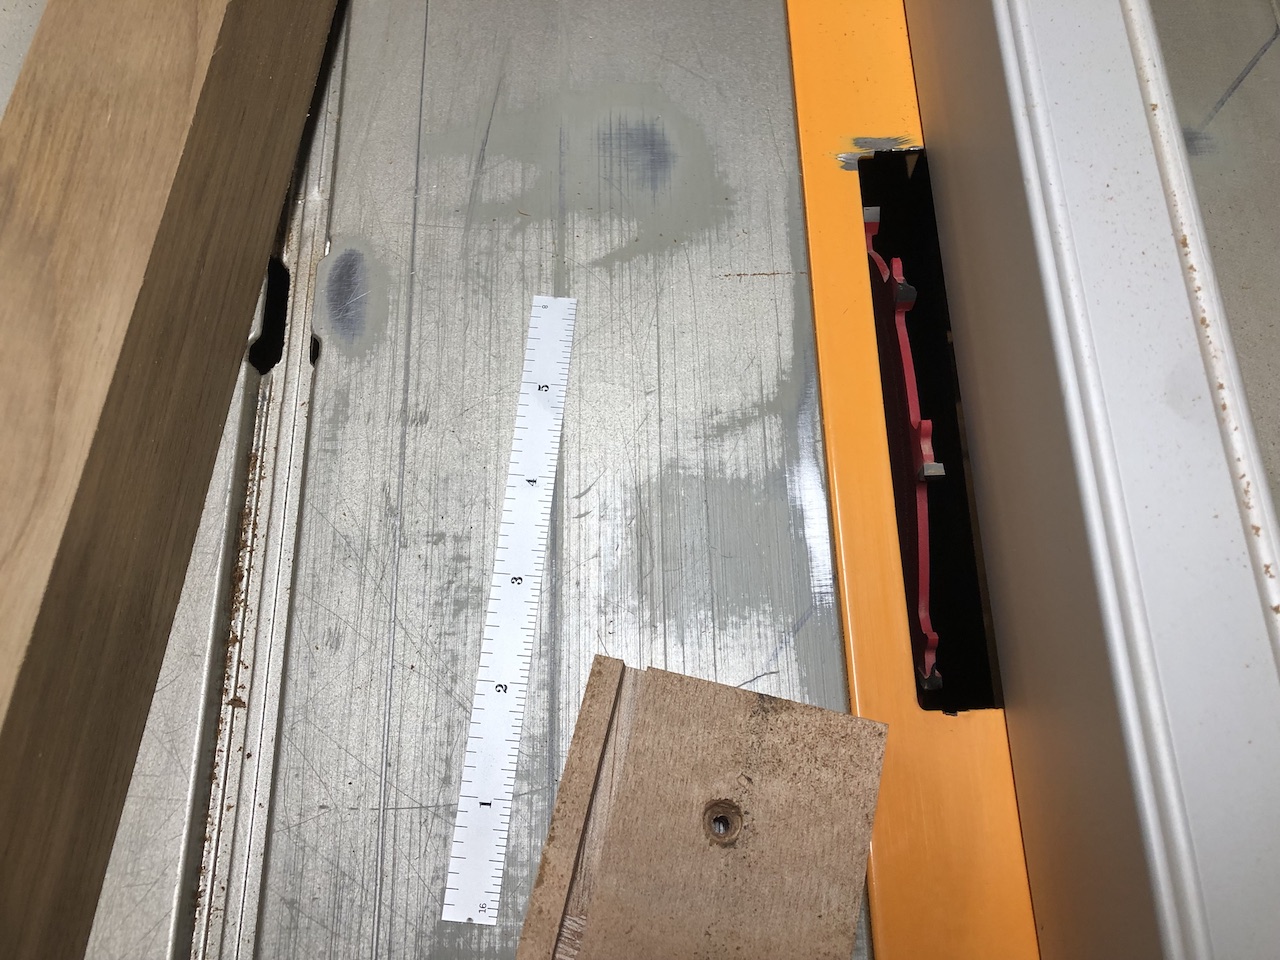
The grooves in the top rails are 1/2 inch deep, while those in the bottom rails are 1/4 inch deep.
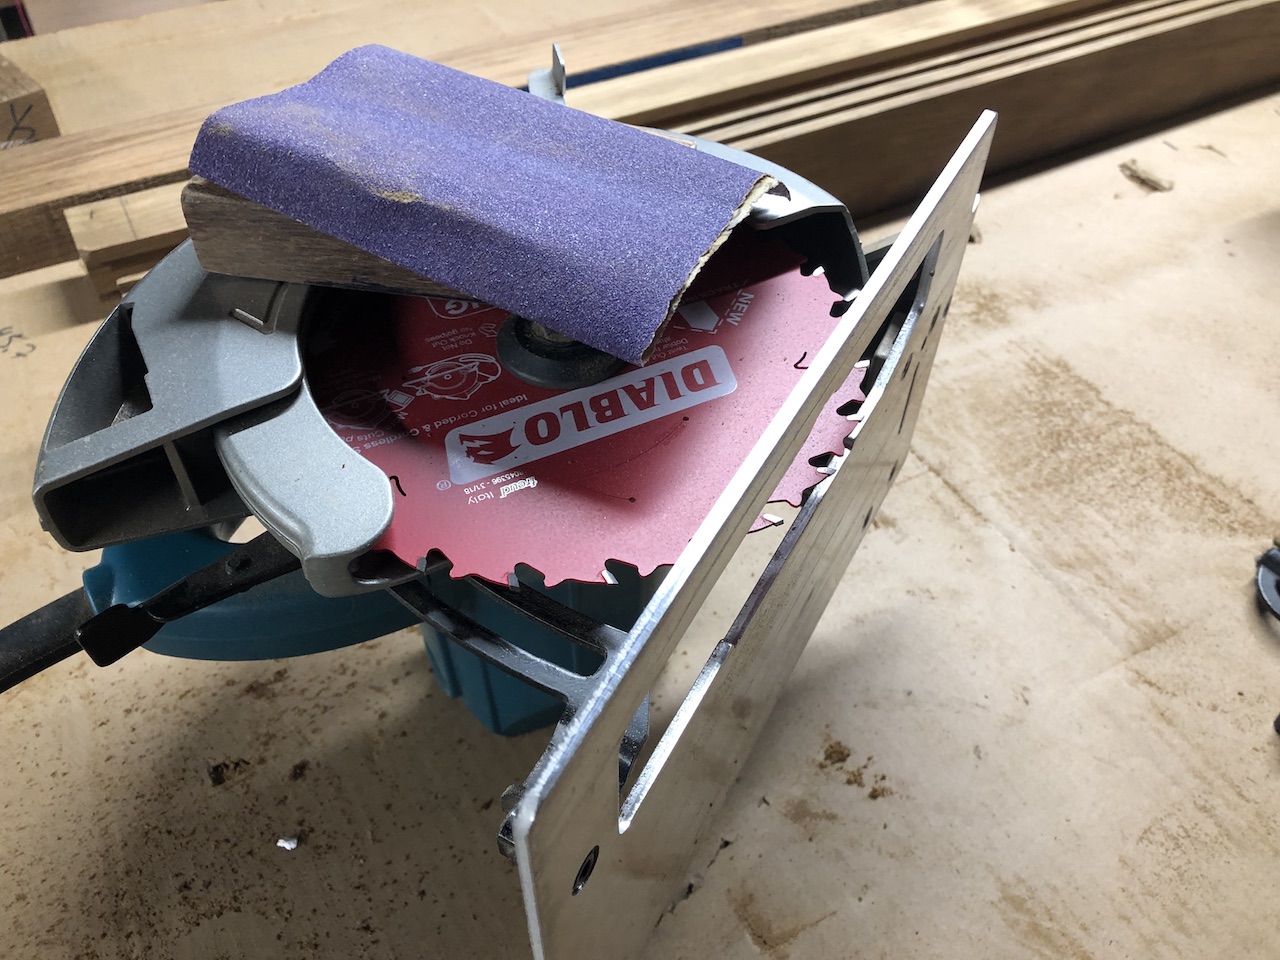
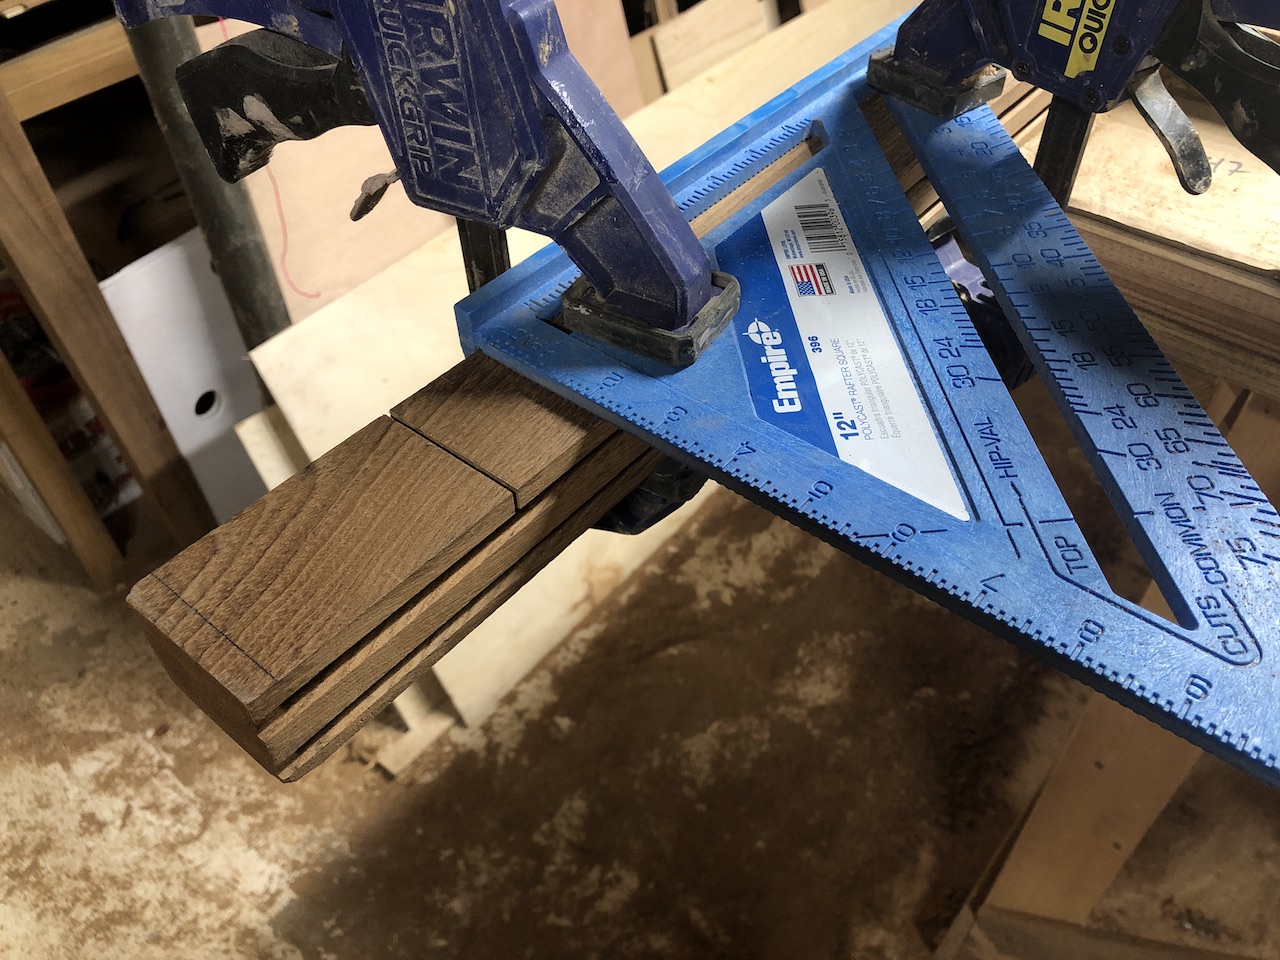
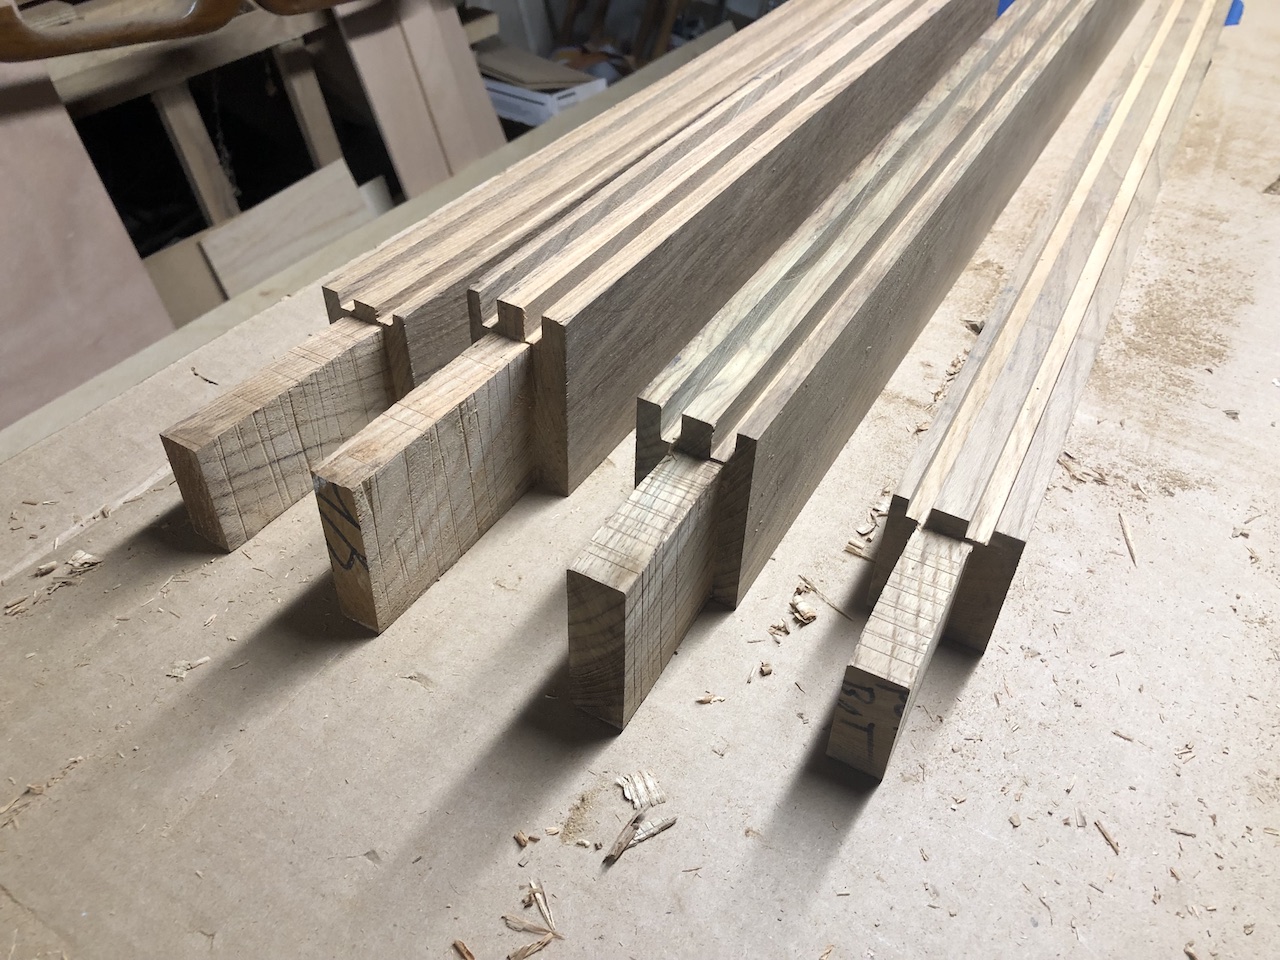
Much of the remaining work was much like what you’ve seen HERE, but these rails are longer, and I was not confident in my ability to cut the tenons cleanly using the dado set. In this case, I began the cuts with the circular saw, using a speed square as a fence.
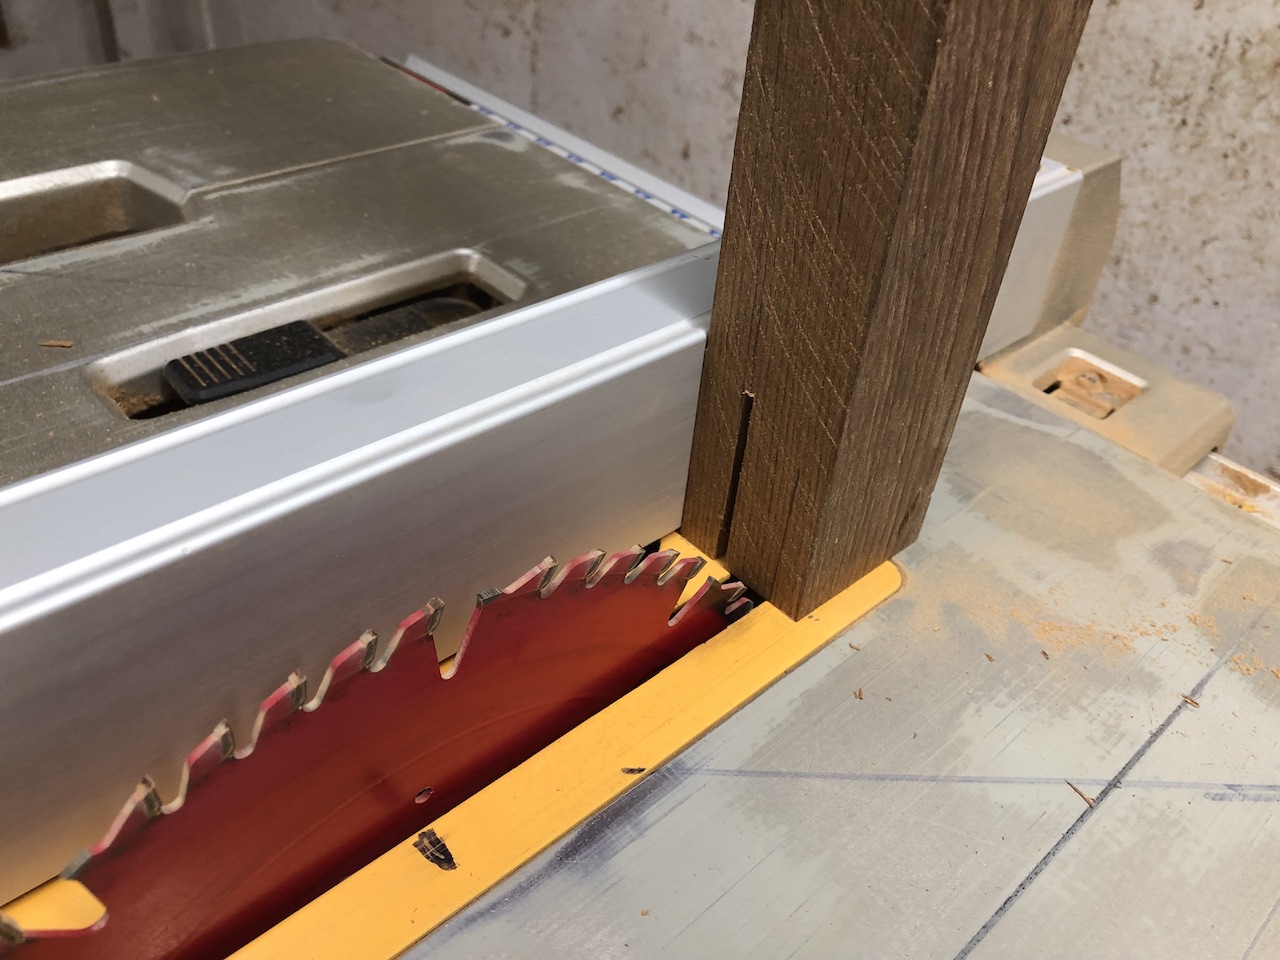
I finished cutting the tenons on the table-saw with the dado set.
The mortises were cut in the usual way.
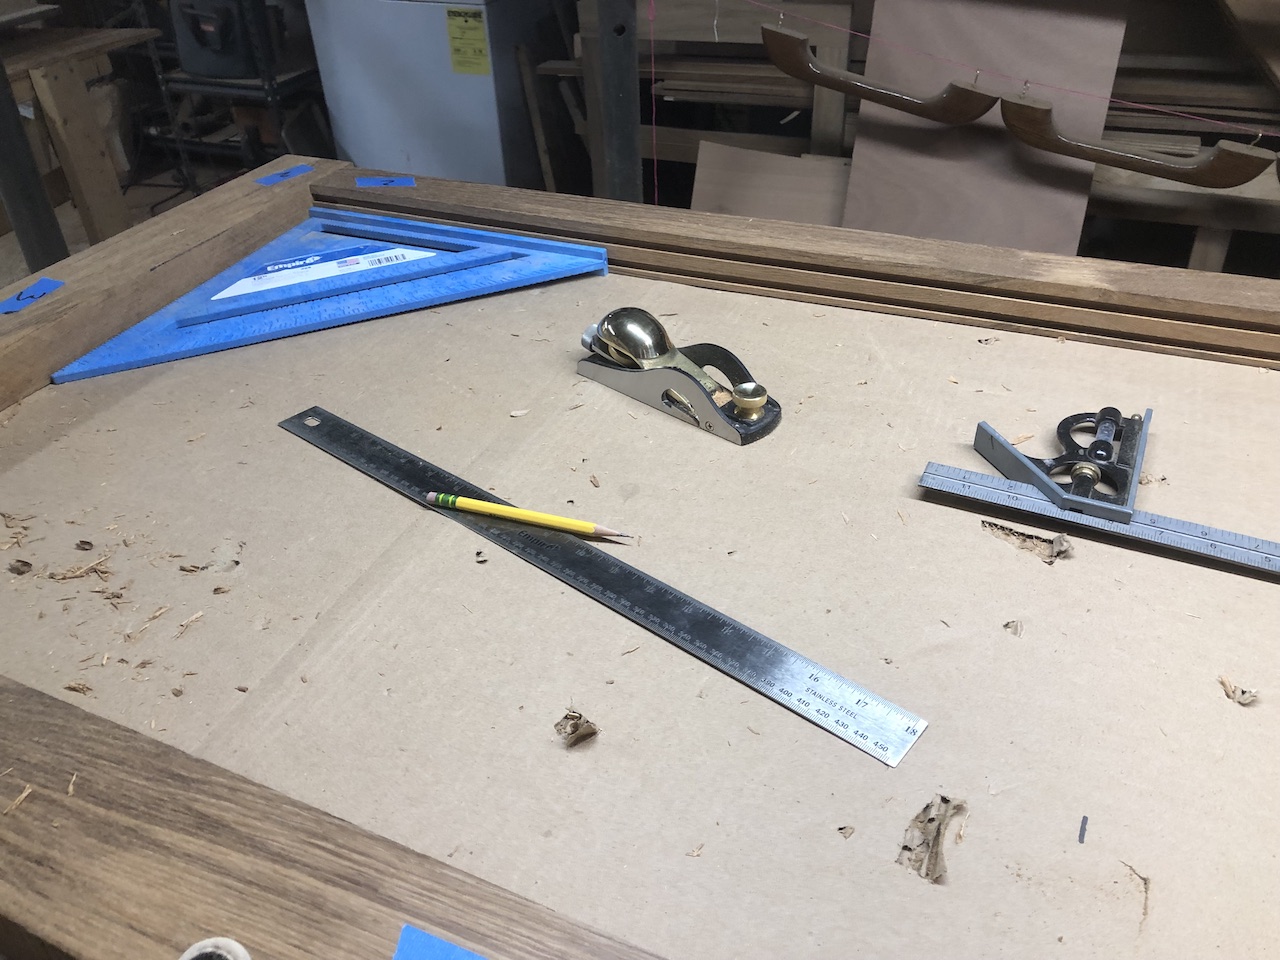
Fine-tuning the tenons is easy with a rabbeting block plane, whose blade extends the full width of the sole.
This type of work requires a lot of careful measuring and cutting.
Eventually I was able to put together both frames in a dry fit.
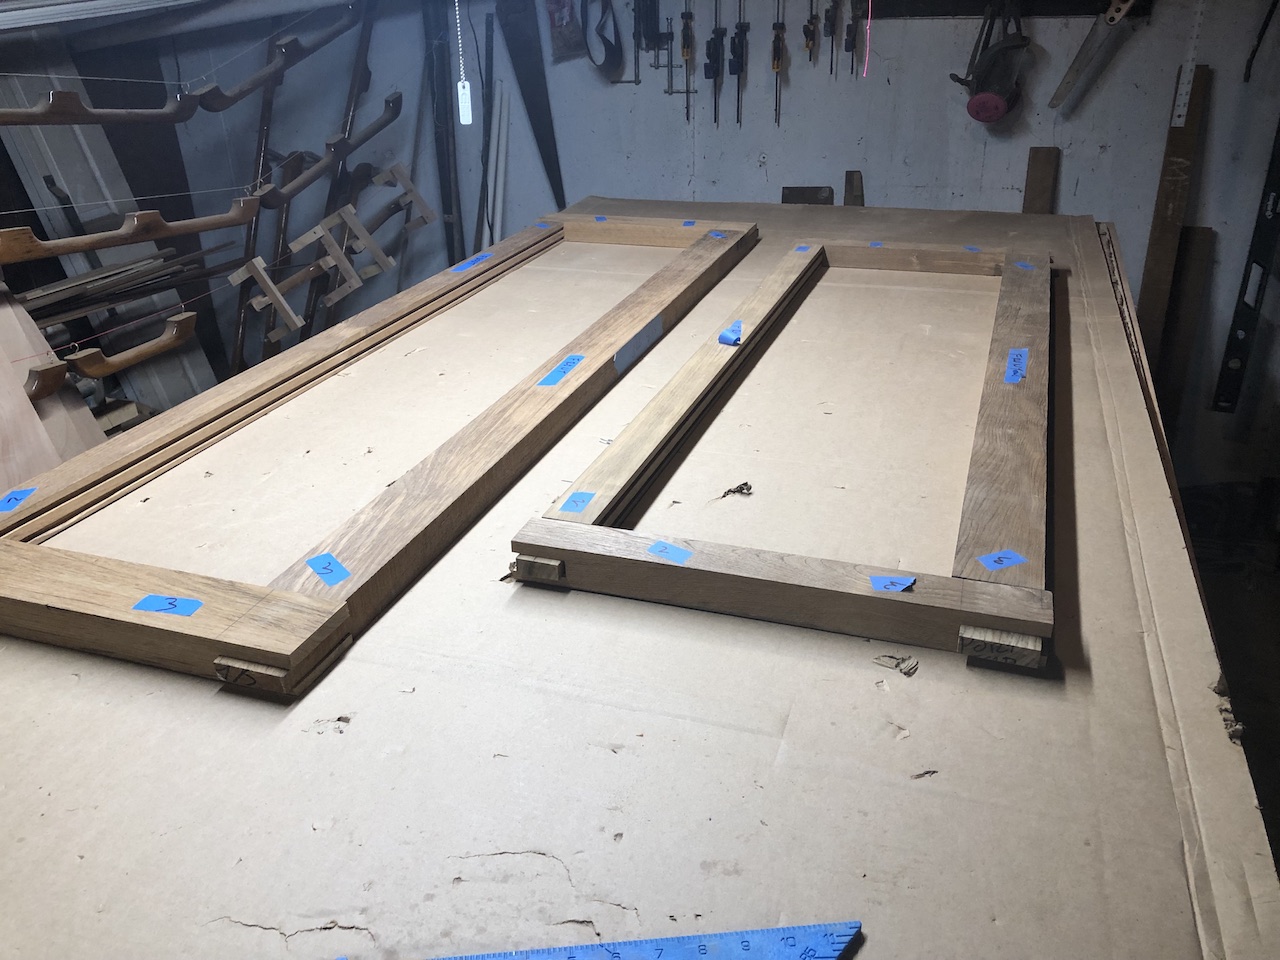
I purchased three more granite tiles, so I was able to glue up four corners at at time–in this case the bottom two corners on each piece. I start by checking alignment in a dry fit.

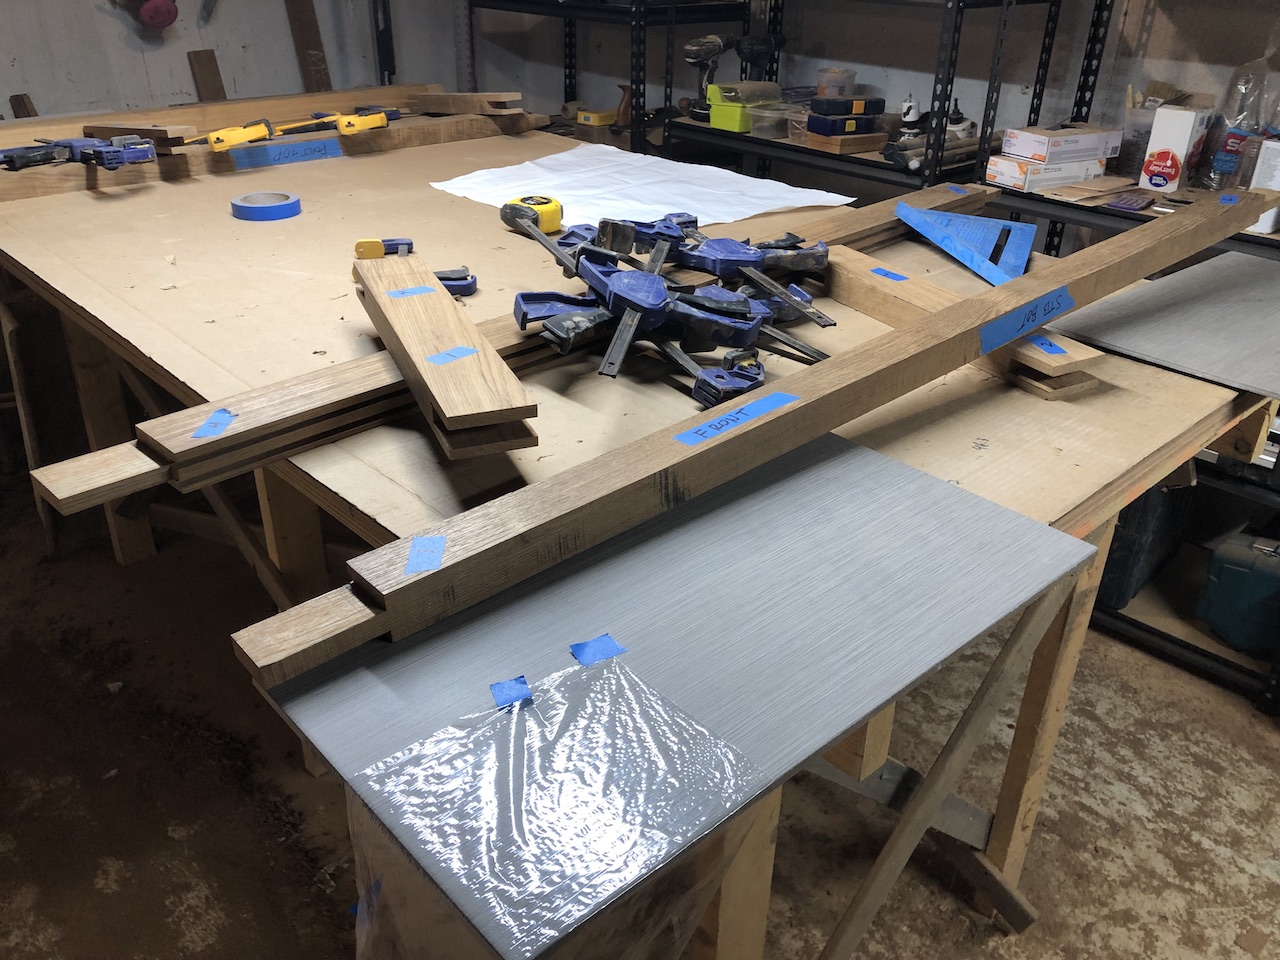
Both the tenons and mortises were coated first with straight epoxy, then thickened epoxy, then the joints were assembled.
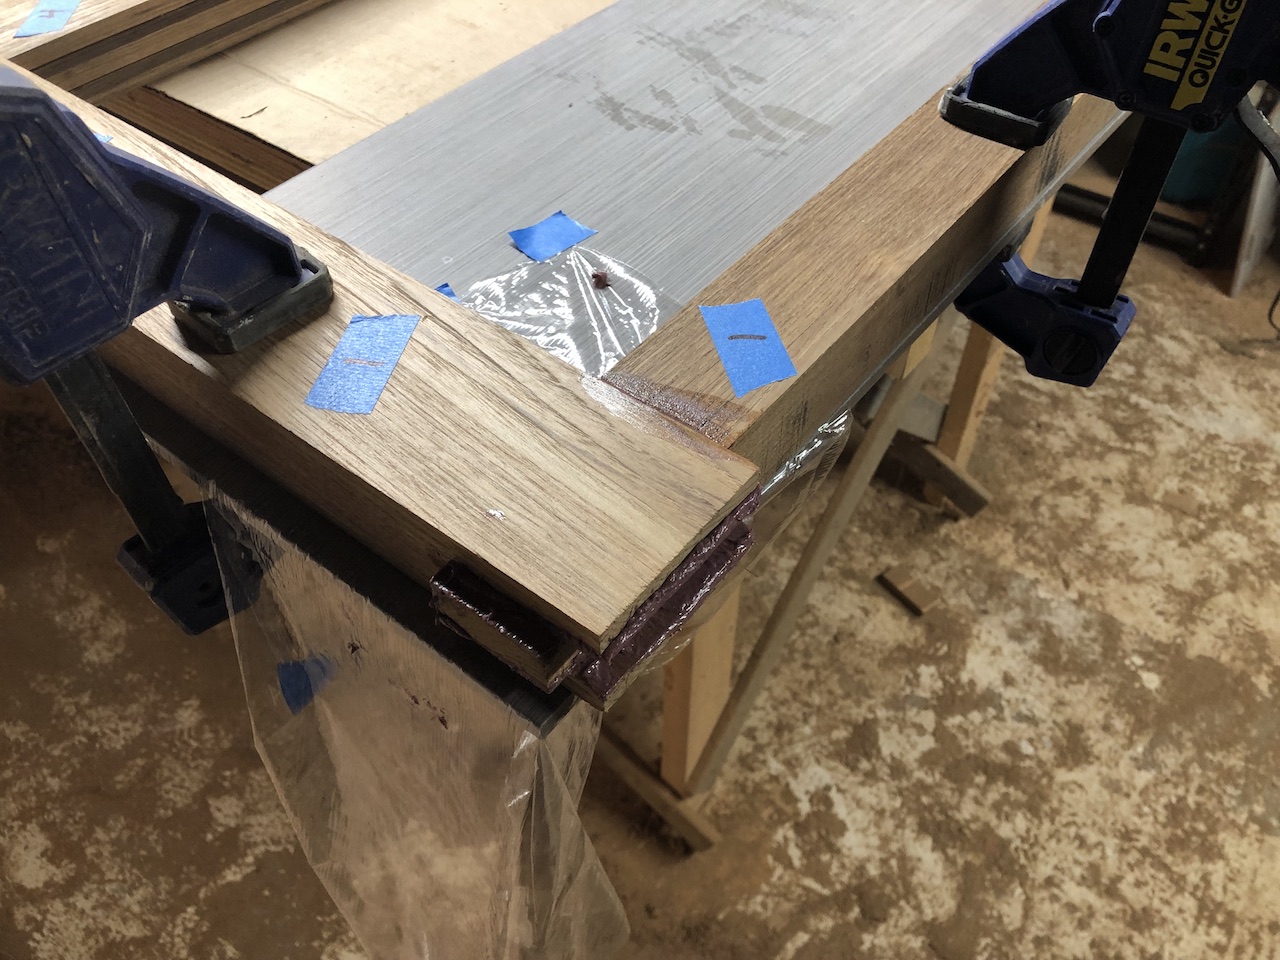
Tomorrow I’ll glue in the top rails, which will be much easier because the relative positions of the bottoms rails and stiles are now fixed.