6/5/19: Cabinetry
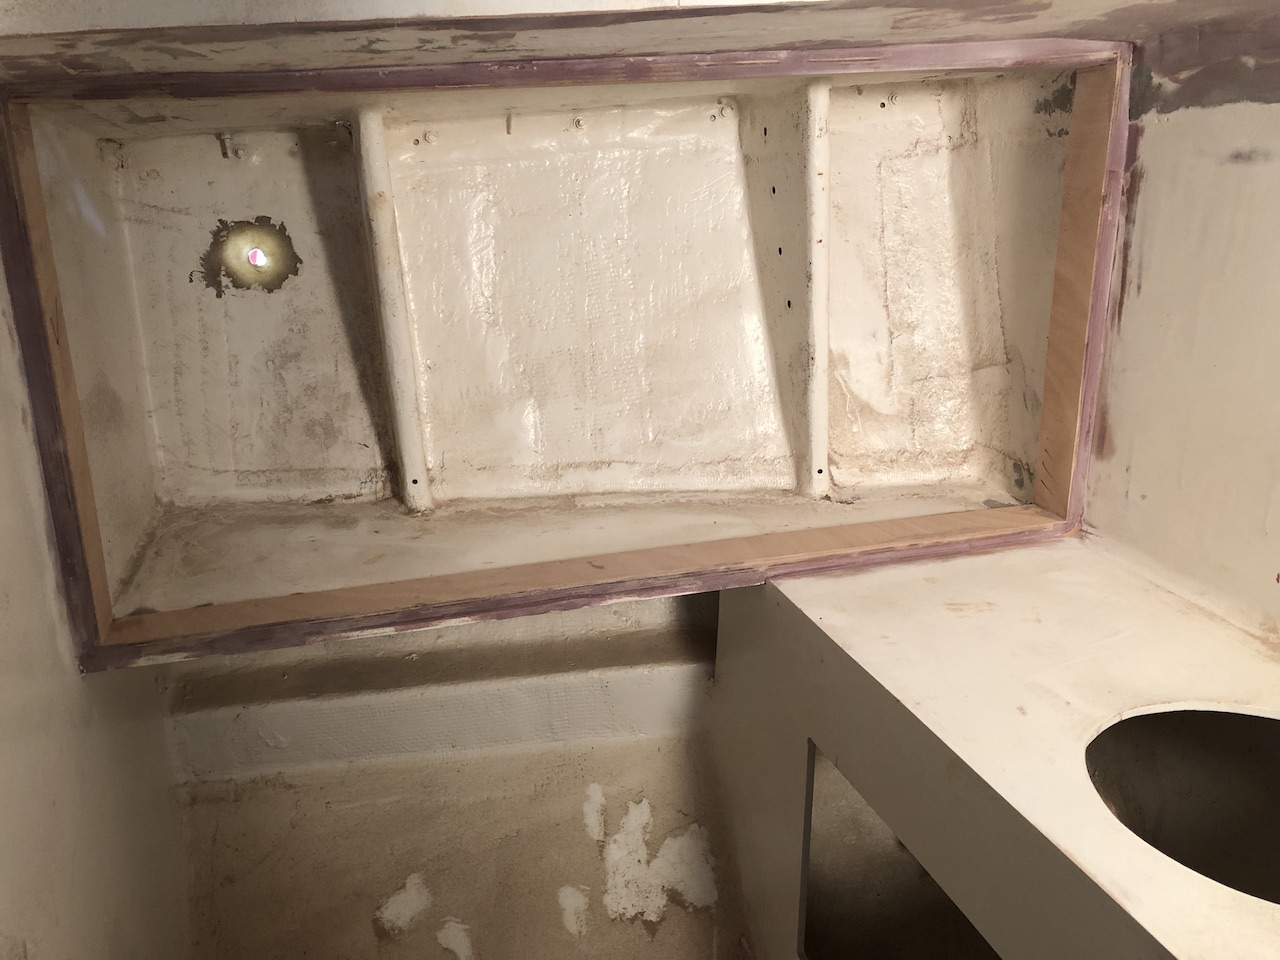
Last December (see HERE), I began fitting out the storage area in the head with a wood/epoxy boundary, which serves not only as a boundary for the sliding-door face frames, but also as a means to prevent countertop spills from seeping into the storage area.
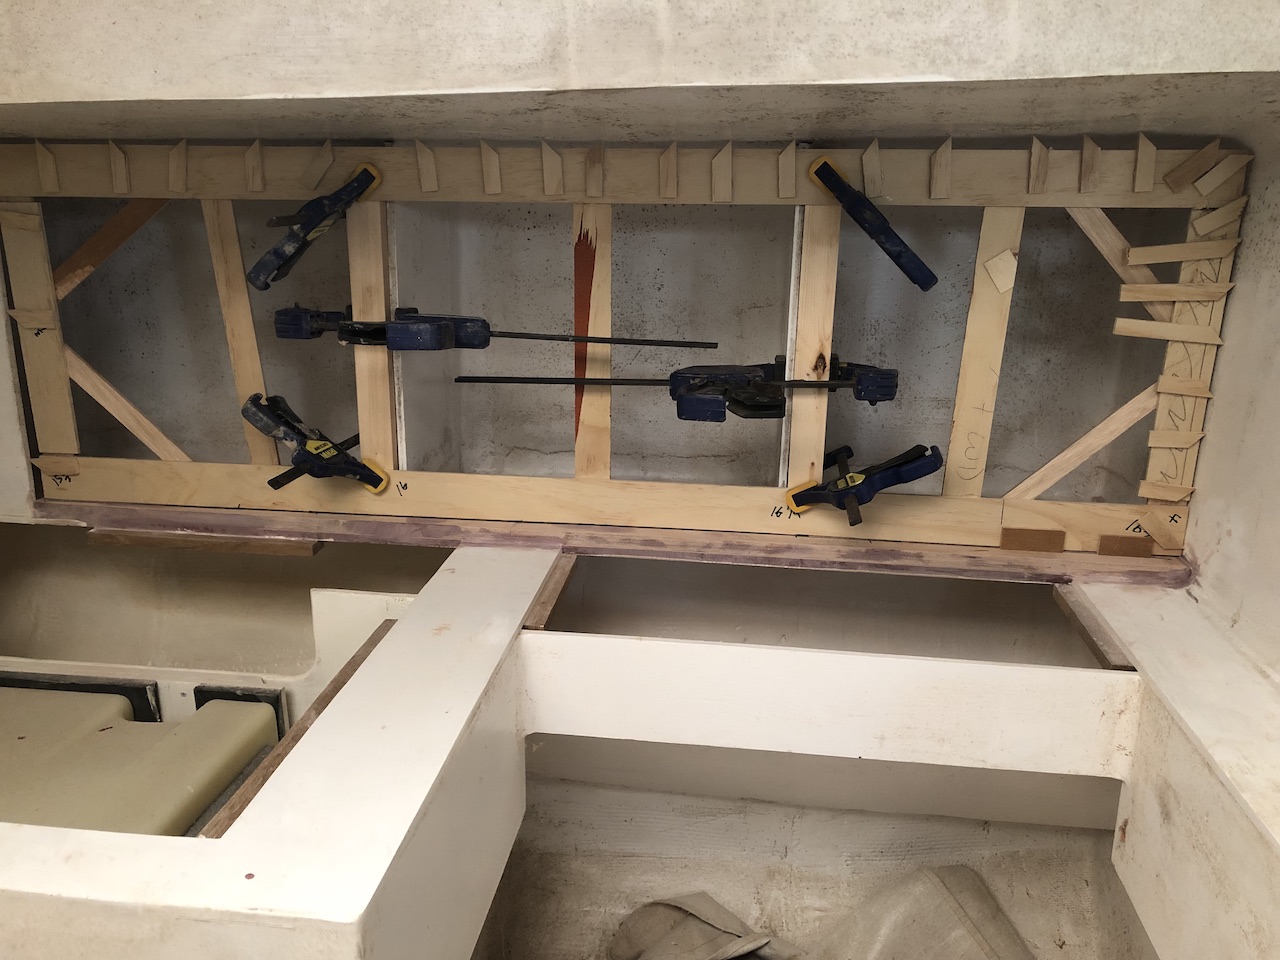
Meanwhile, back aft, I added a boundary for the bottom side of the galley cabinetry. Here is the starboard side:
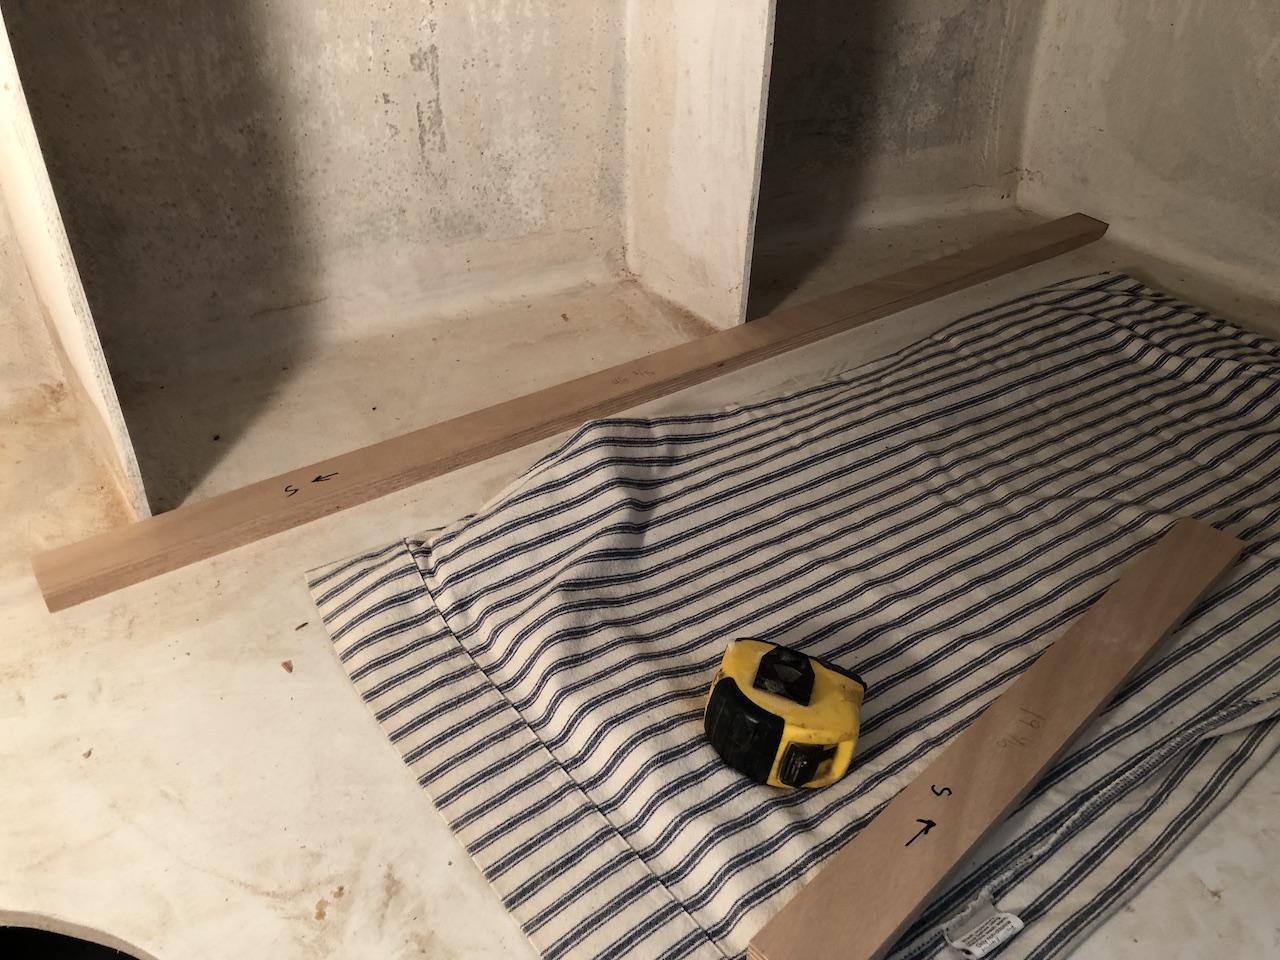
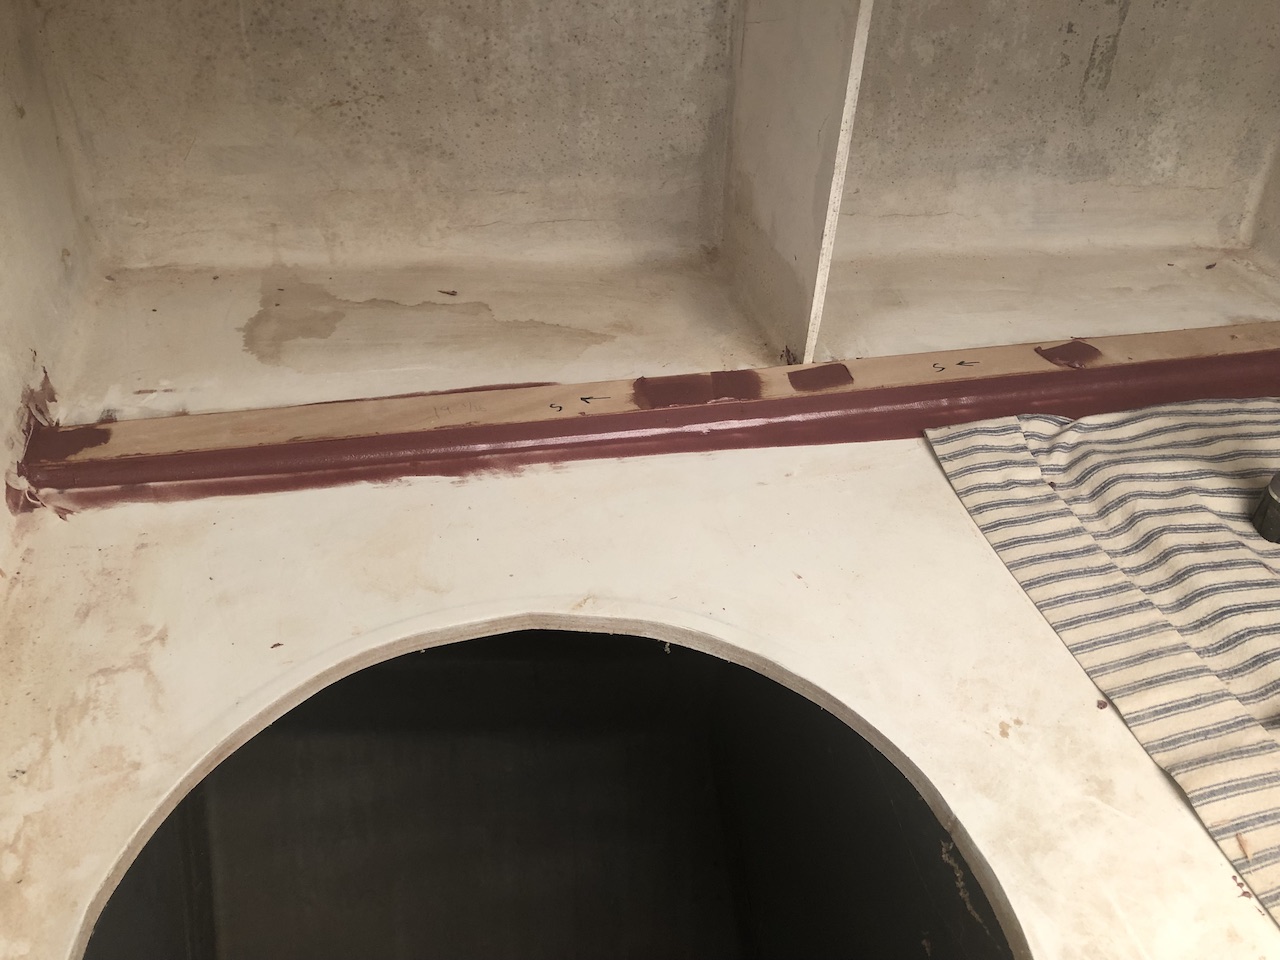
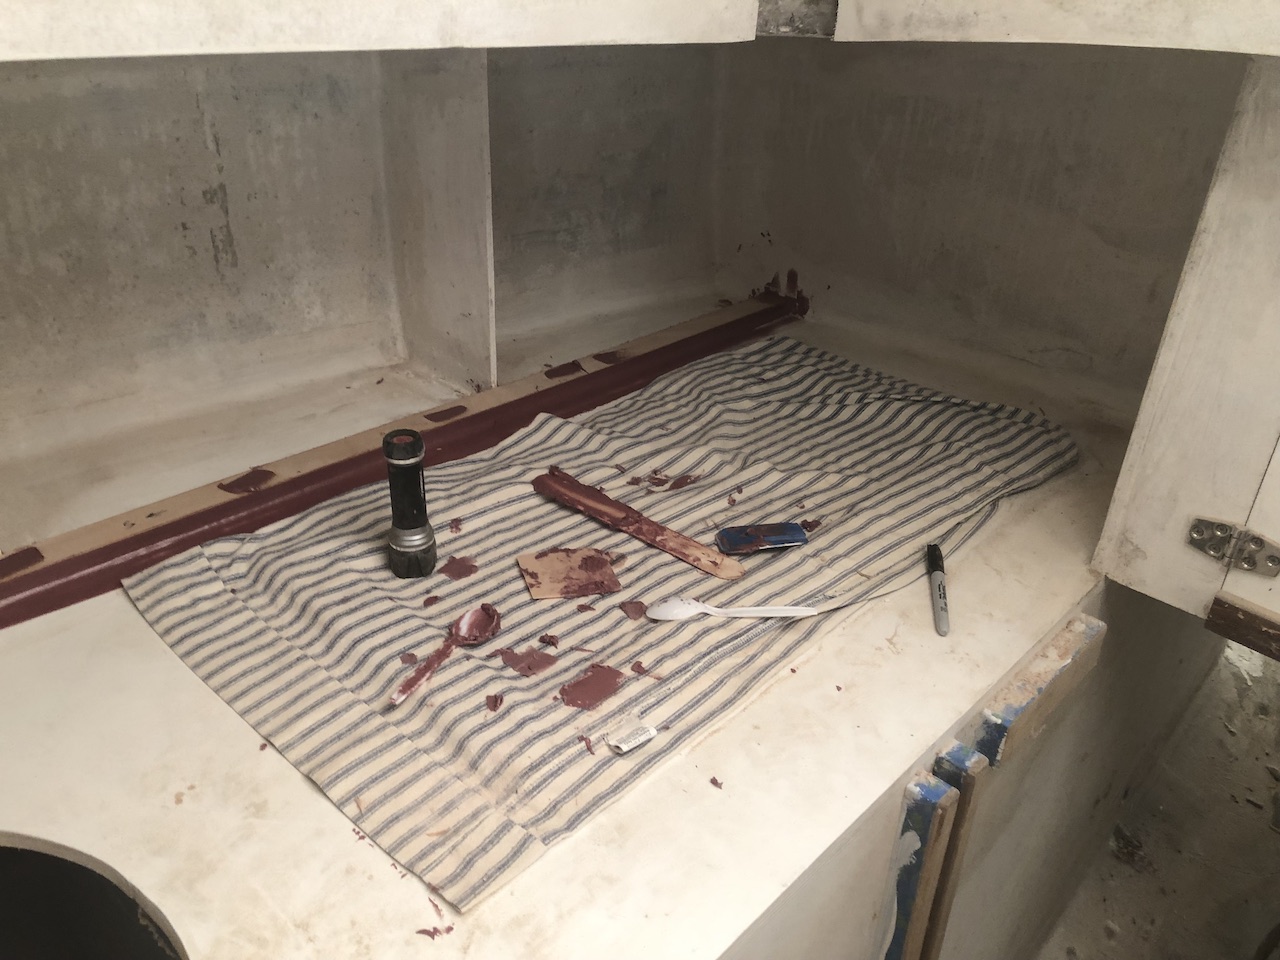
Port side was completed too, but no pictures of that process. The face frames for the sliding doors in the galley were were put together last December, too, but I needed to make templates for final cutting and fitting.
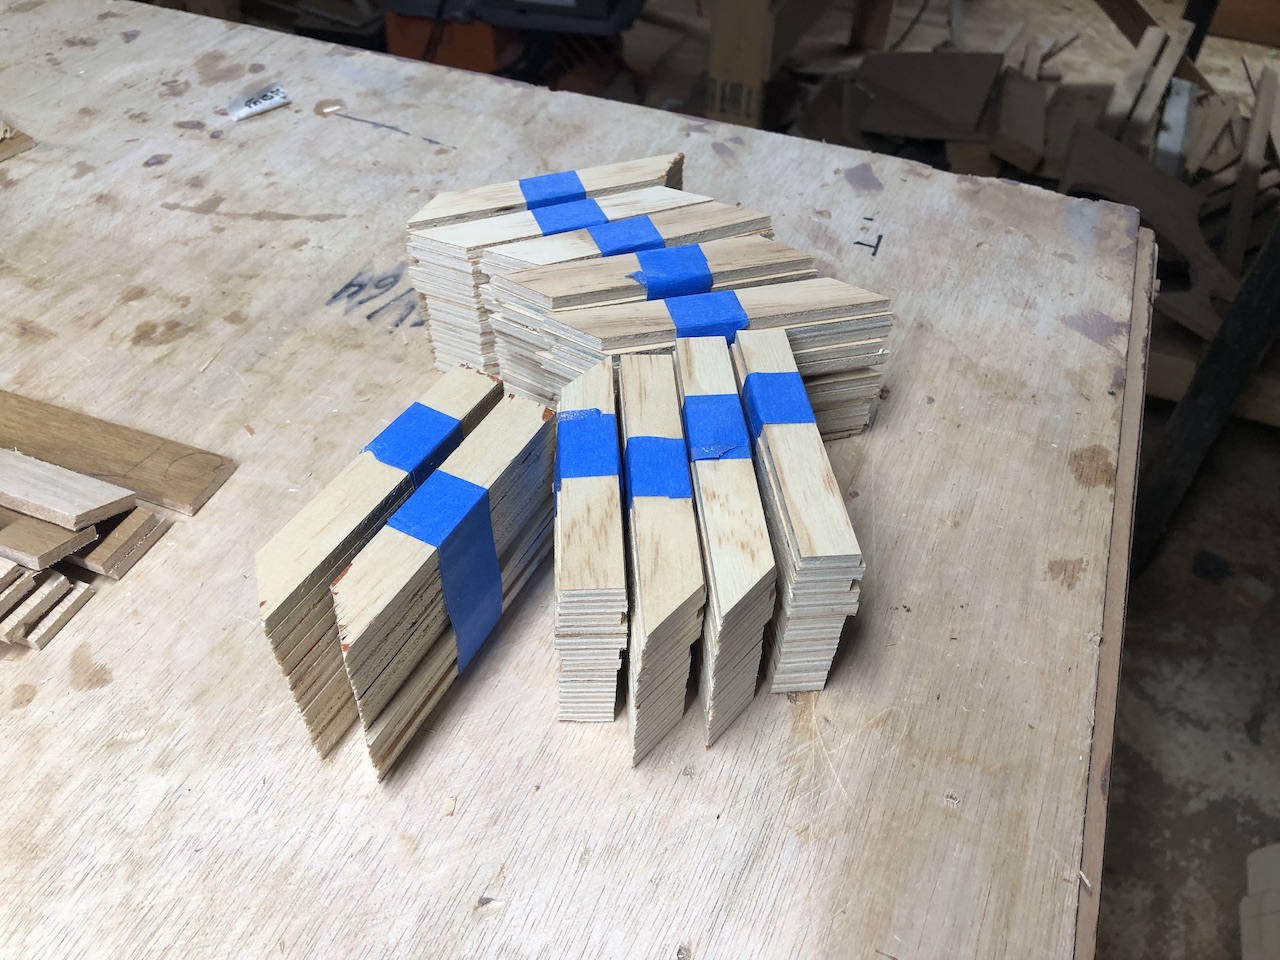
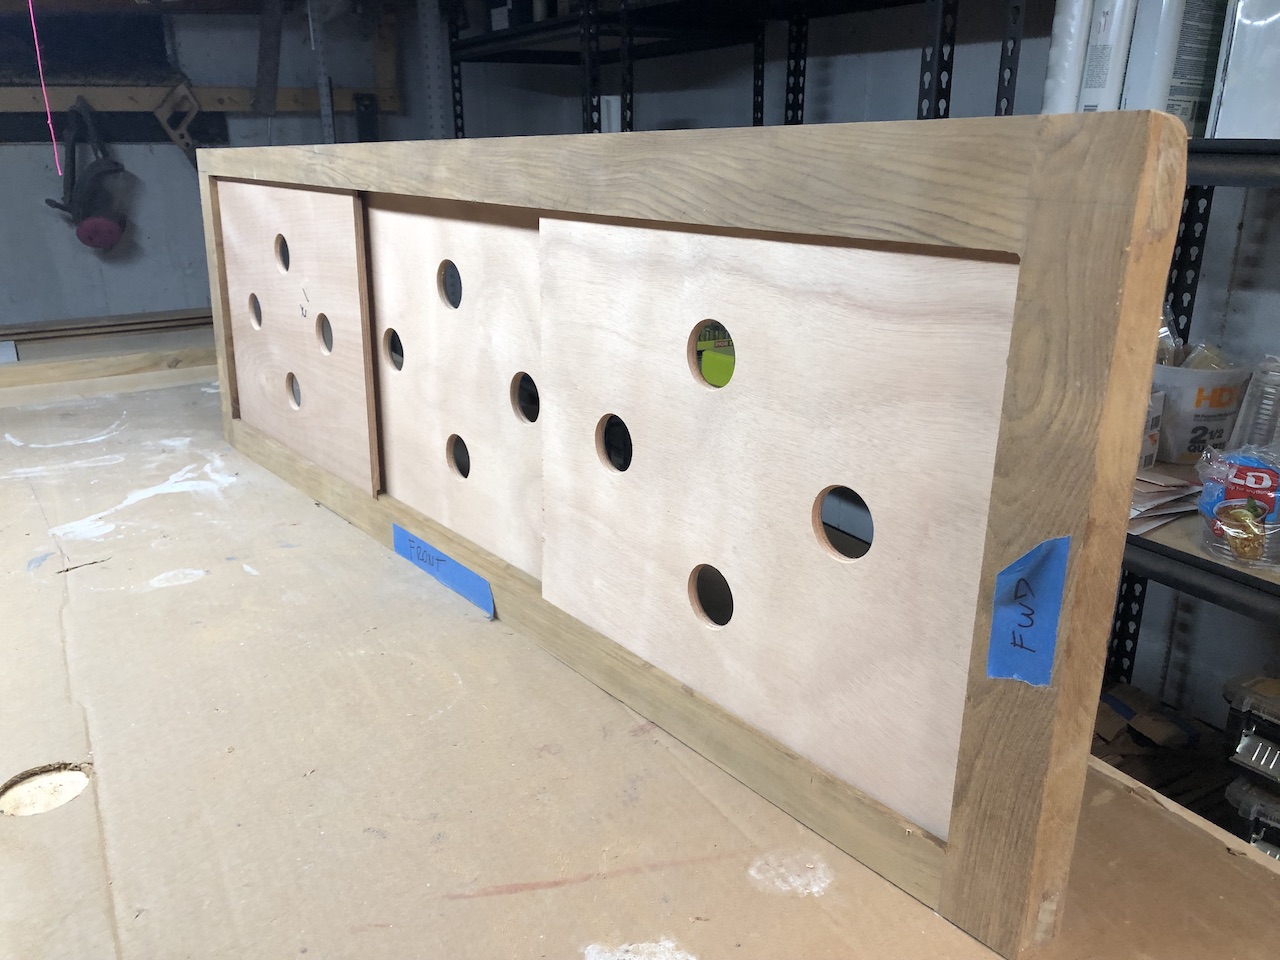
Here they all are:
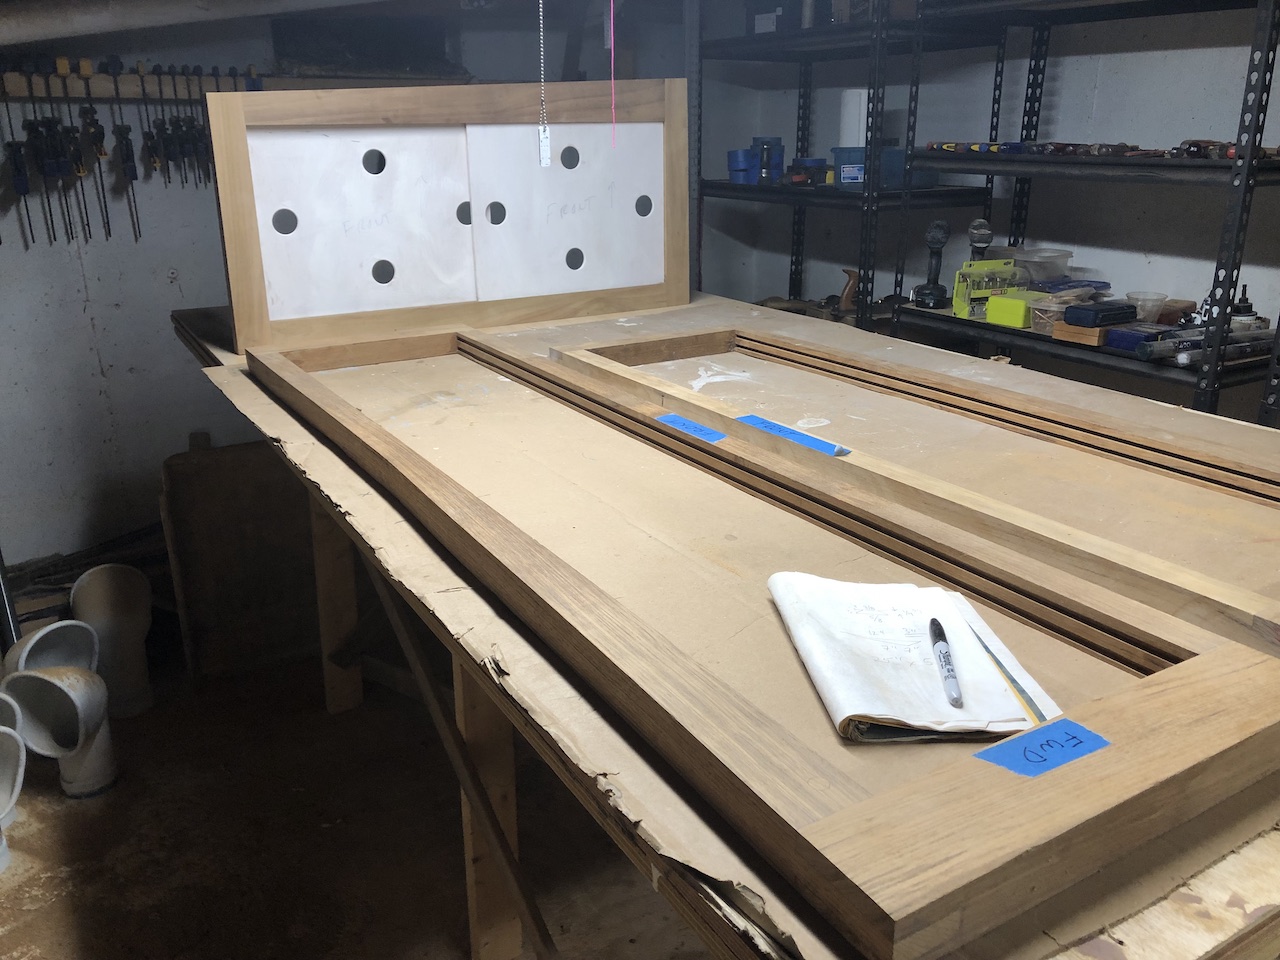
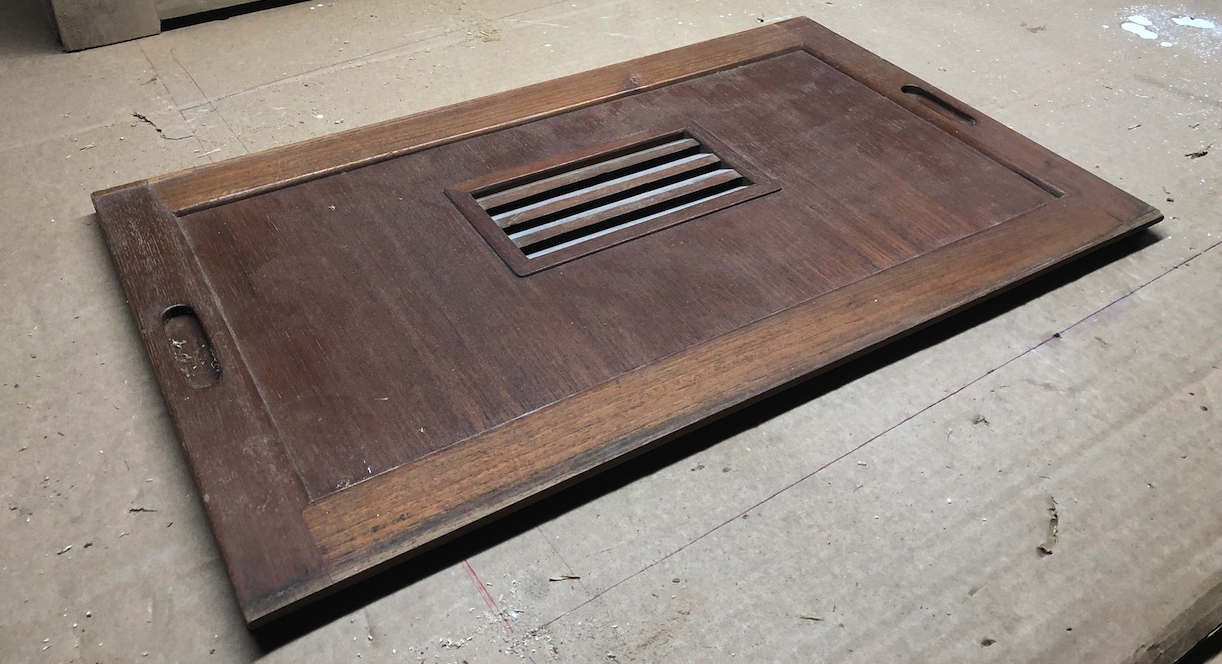
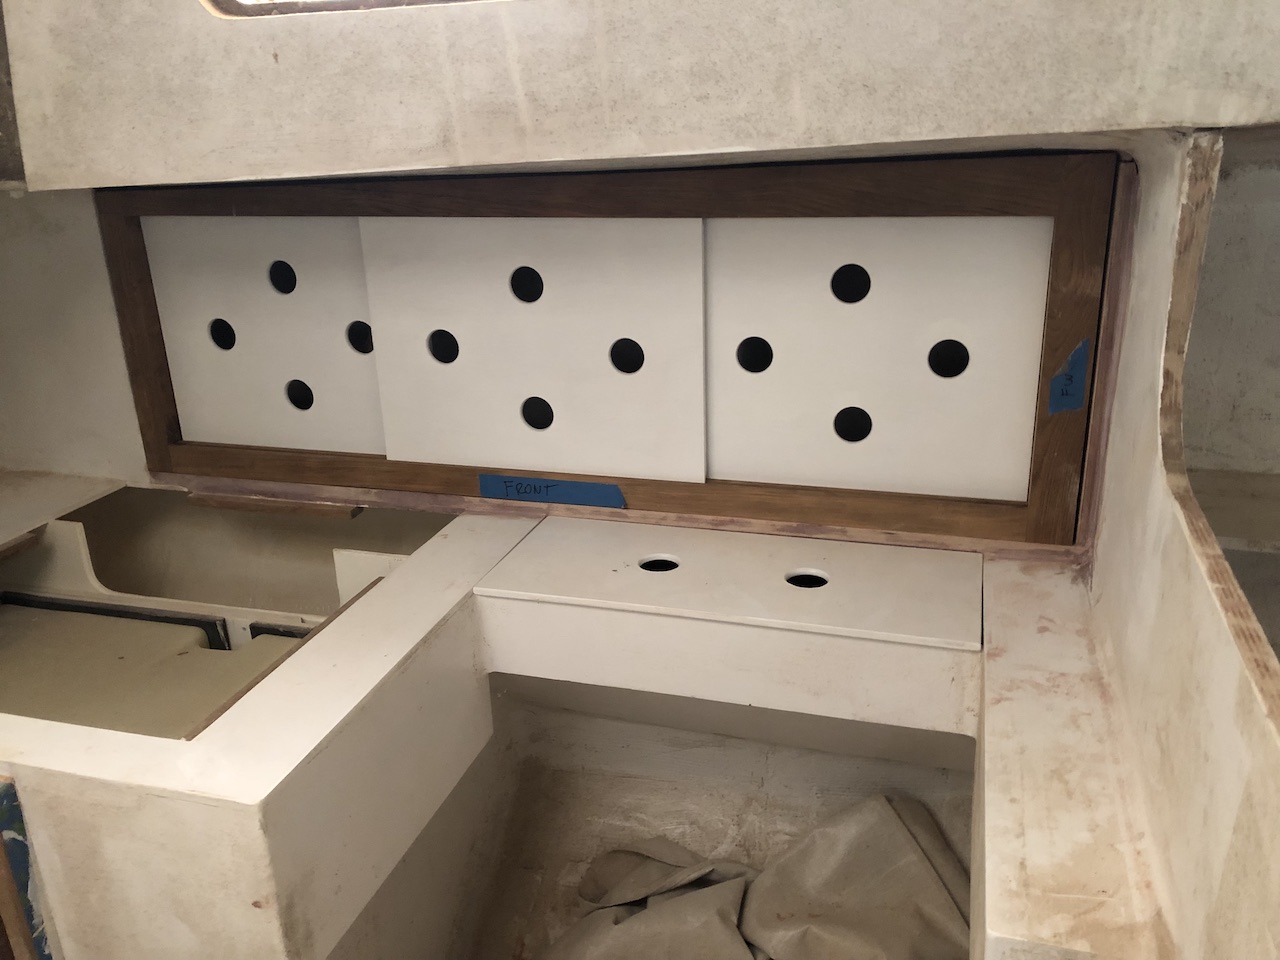
By now, the motif is established: Rounds holes in sliding doors, cabinet doors, and locker tops. These holes make the panels easy to grab, but also provide generous ventilation. The louvers in the original sliding doors (pictured below), while easy on the eyes, provide insufficient ventilation.
Next, I made doors for the galley storage.
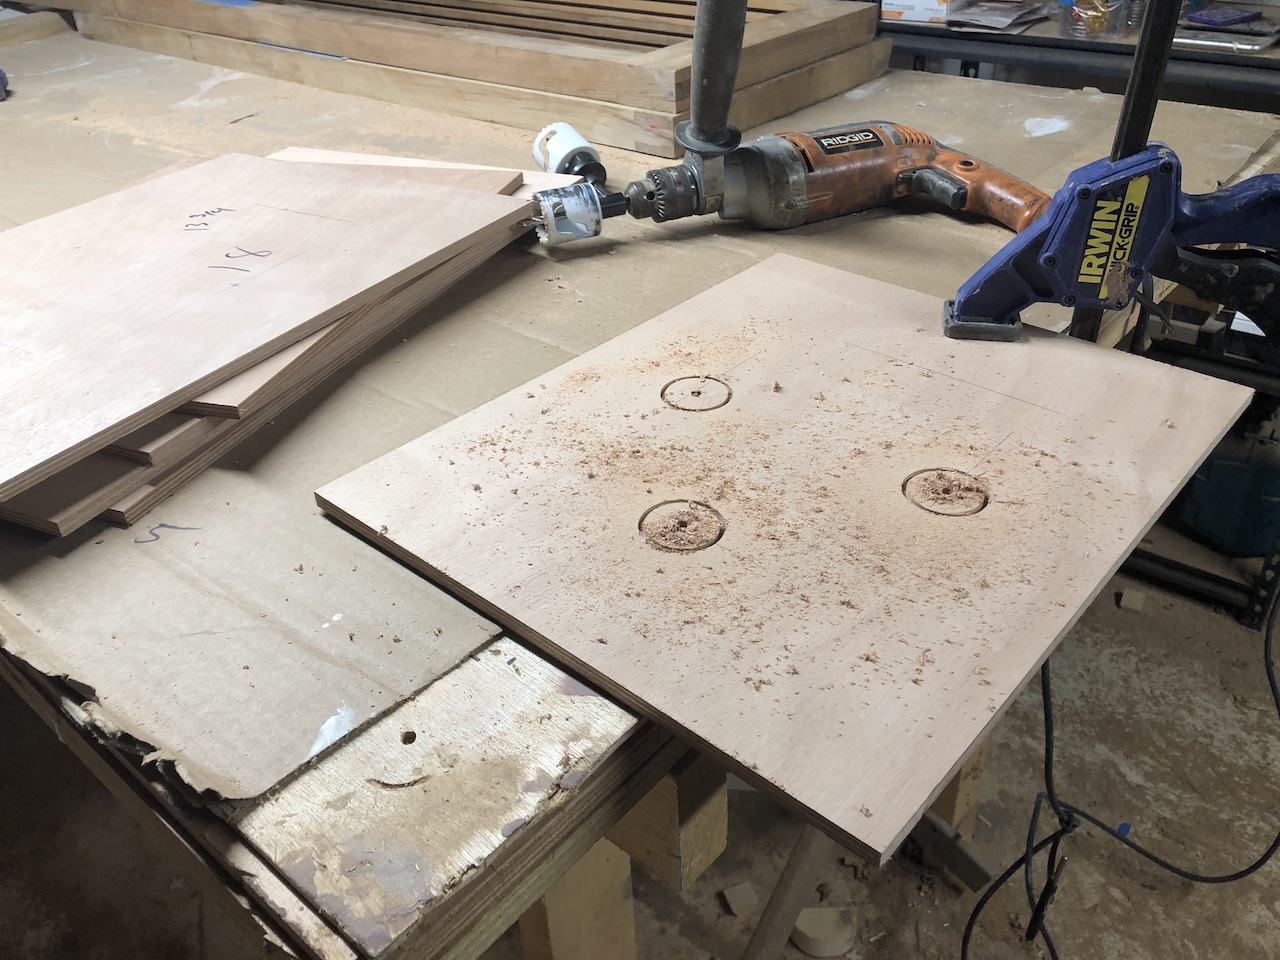
The process uses a hole saw, a trim router with a round-over bit, and sandpaper to clean up the rough edges. Here is the port side galley face frame:
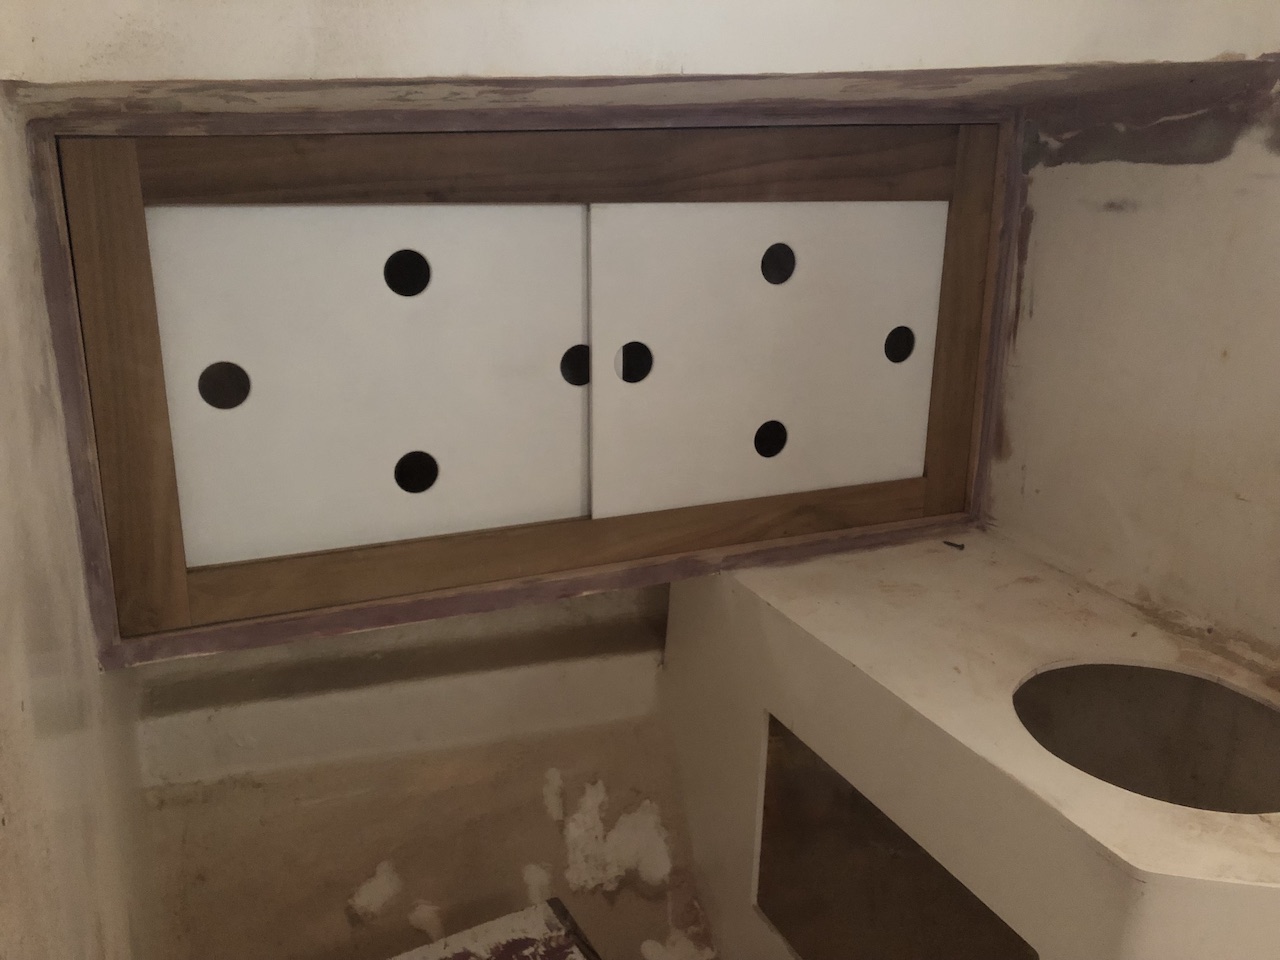
Next, two coats of primer and one paint:

Here is the storage behind the head:
Here is the starboard side of the galley:
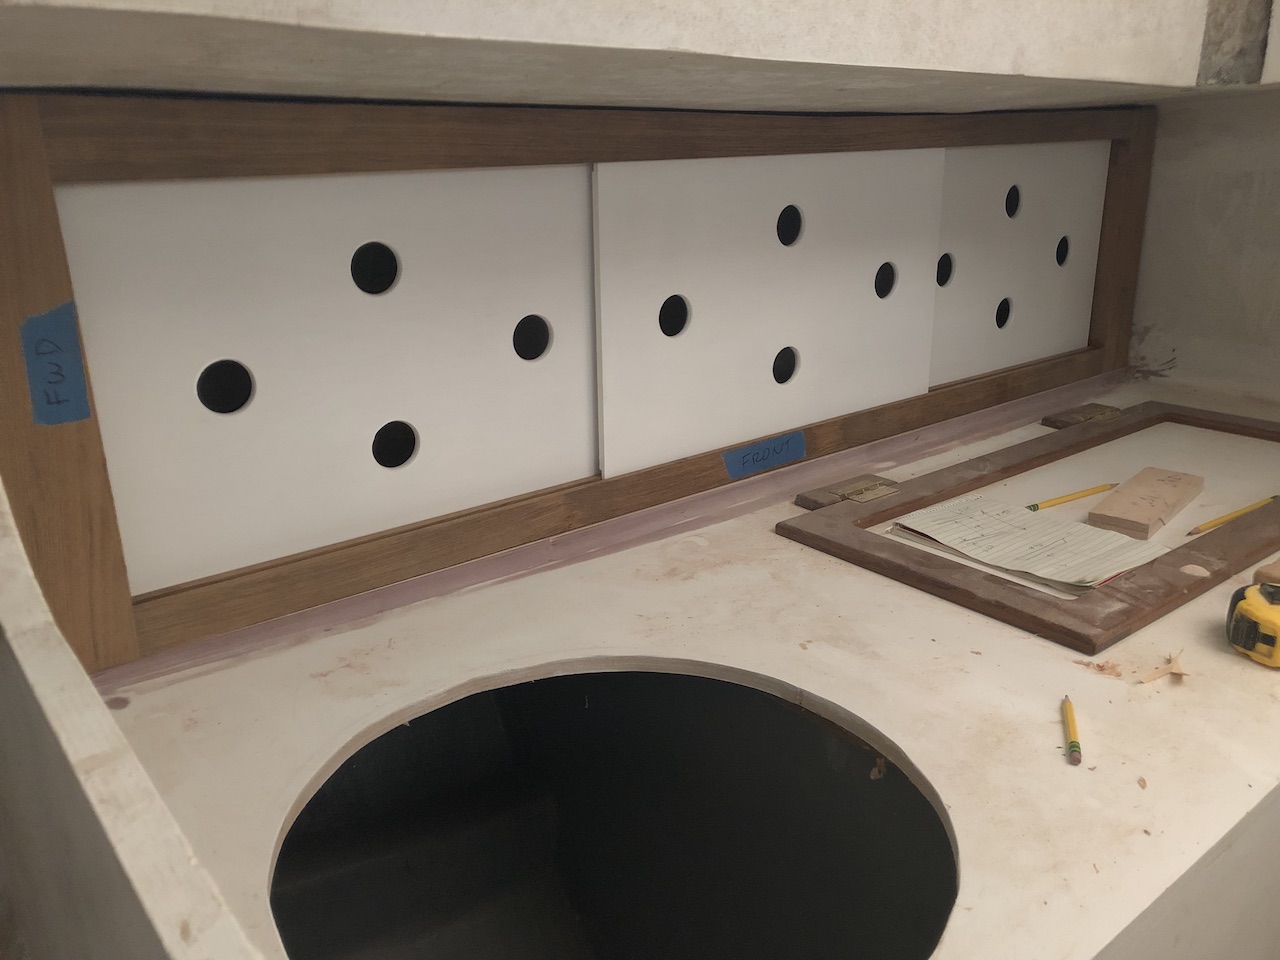
Here is the port side of the galley:
More on final installation and choice of finish for the teak later.