6/22/19: Bottom, Dinghy, Rails
One of this summer’s major projects will be to barrier-coat the bottom and prime and paint the topsides, including the bootstripe and cove stripe.
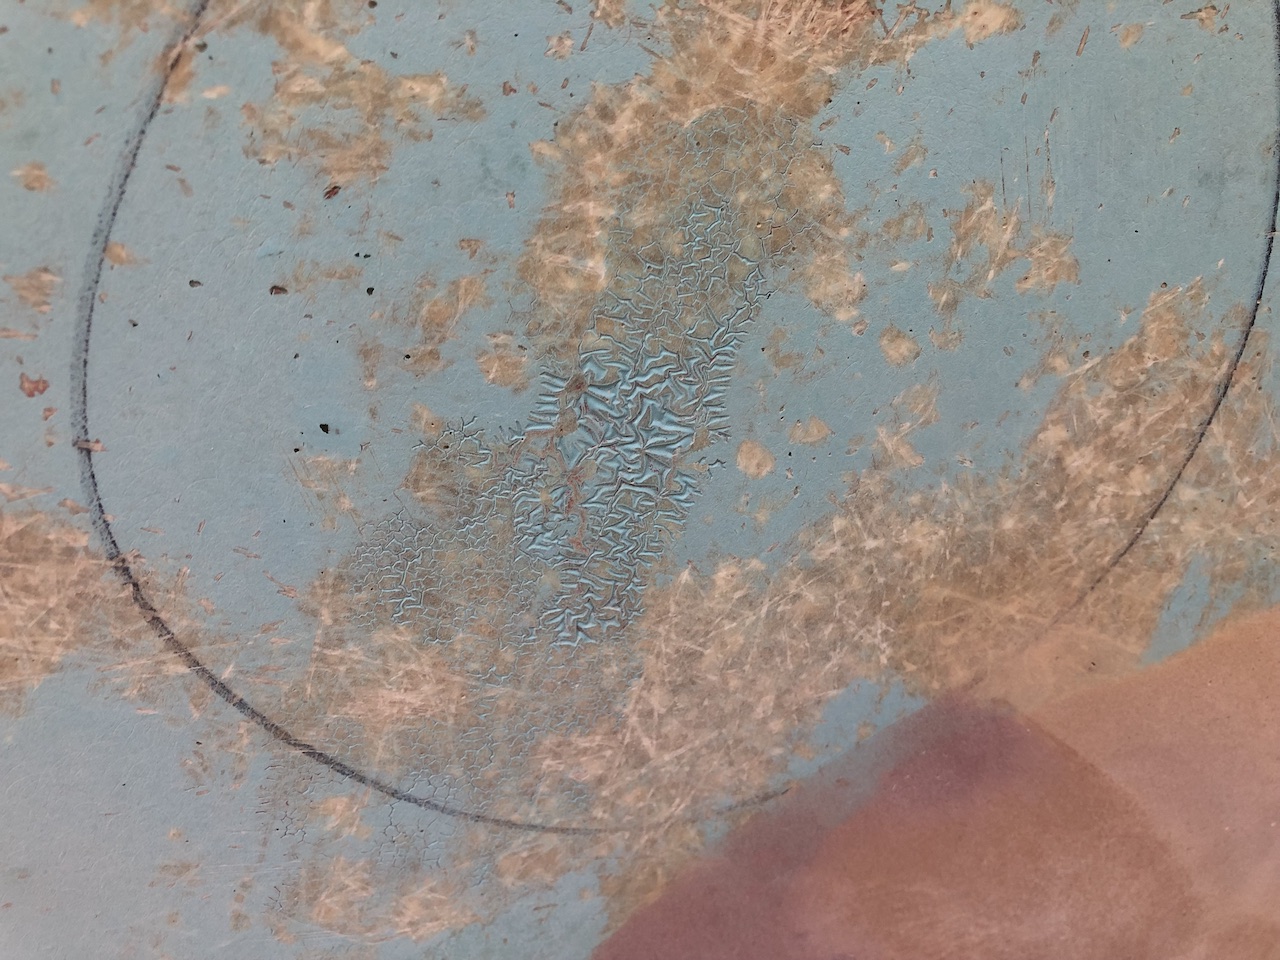
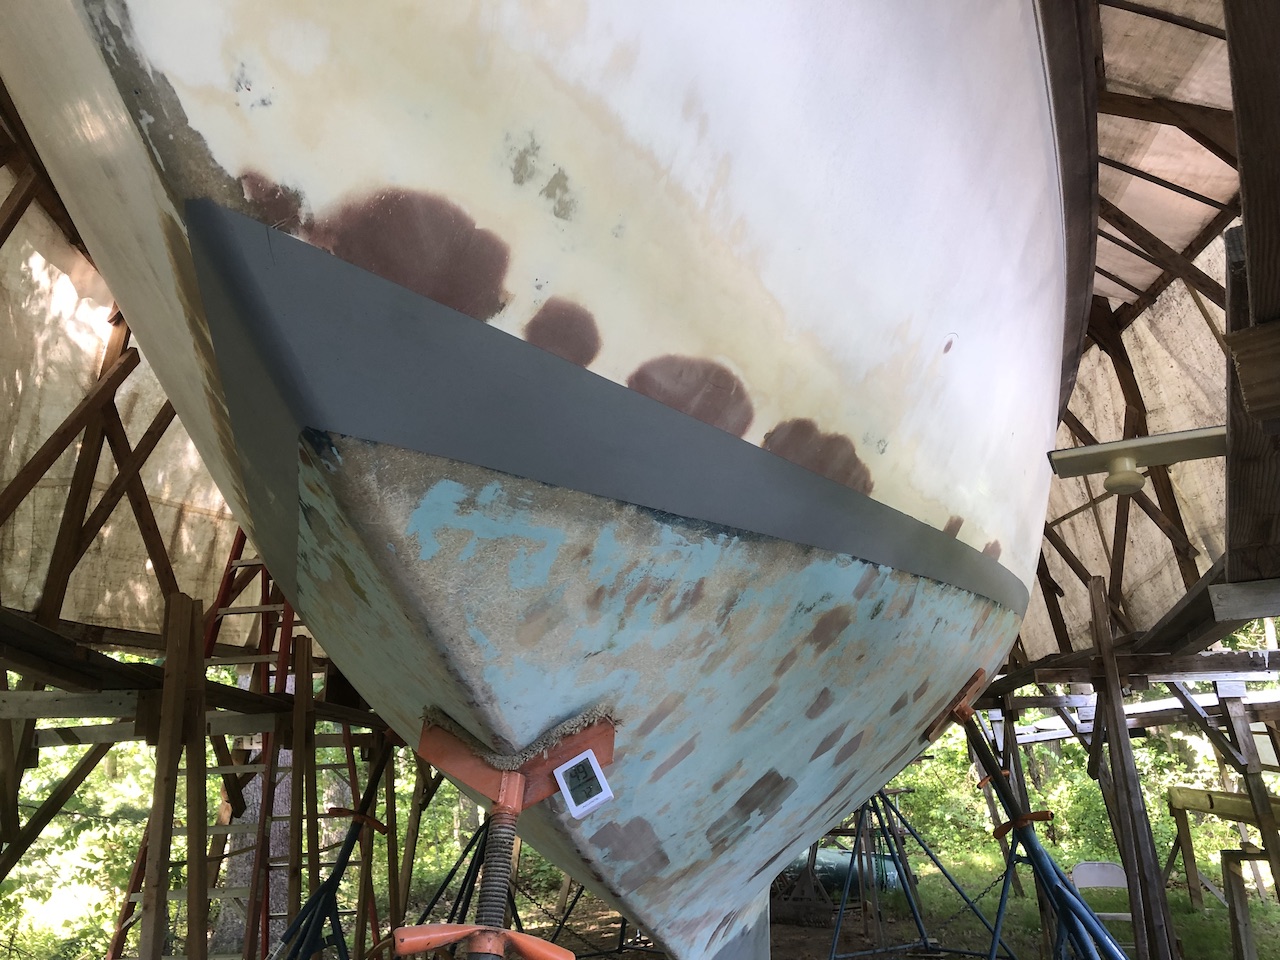
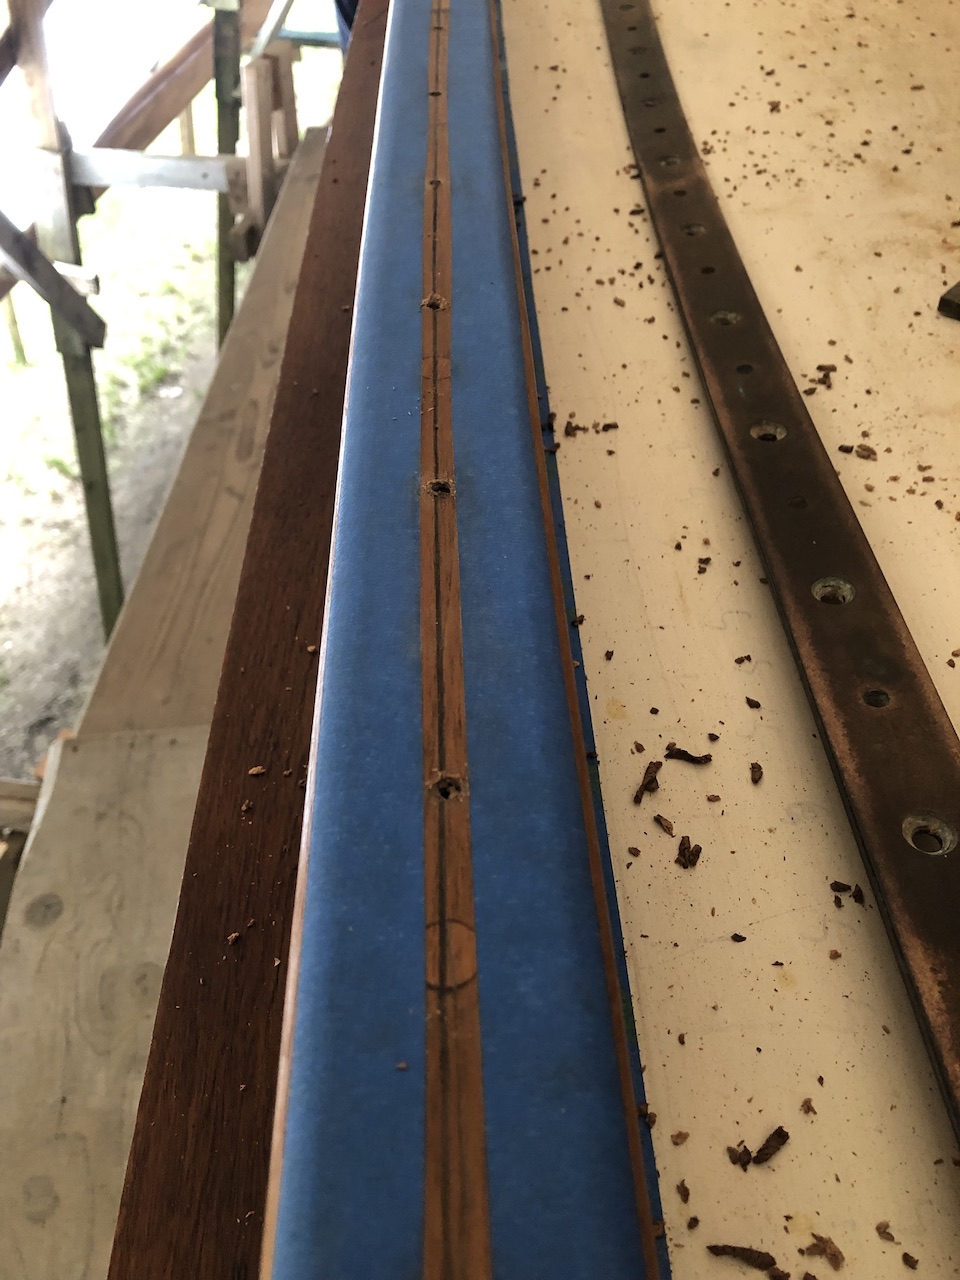
The many layers of bottom paint were removed long ago, revealing a surface that looks like what you see in the picture below, The red stuff is recent (fairing compound) and the rest is bare glass and mysterious blue stuff, which is probably fairing compound applied after a long-ago bottom job. (By “bottom job” I mean a complete stripping of the paint, and here it seems like gelcoat too, in order to address/cure/reverse osmosis problems.)
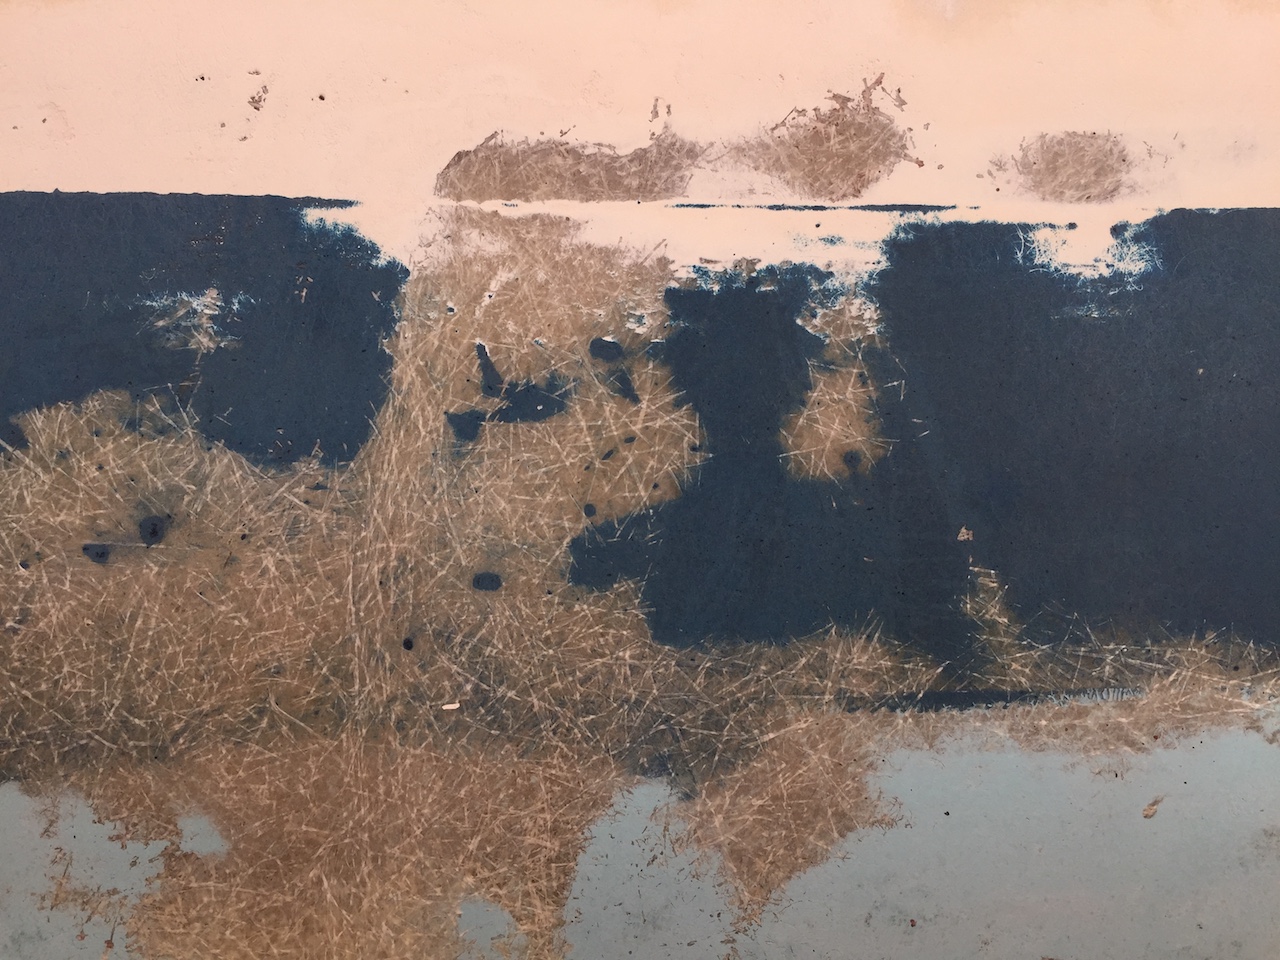
Another thing revealed by removing the old paint layers was the remains of the original bootstrap, which you can see part of in the image below.
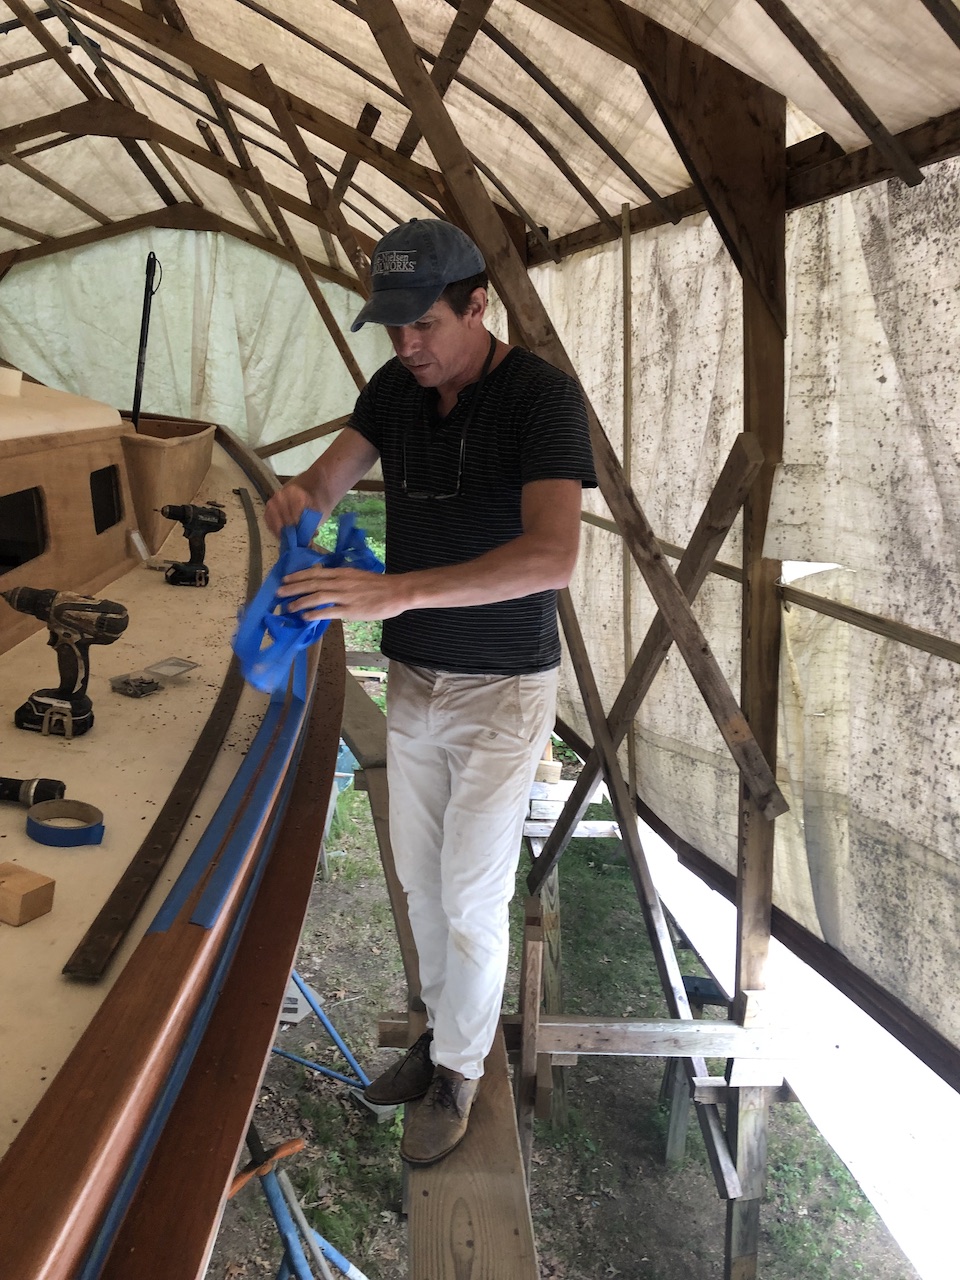
My first task was to preserve the bootstripe so it does not become lost in all the upcoming work on the bottom. I started by carefully taping off the upper and lower borders.
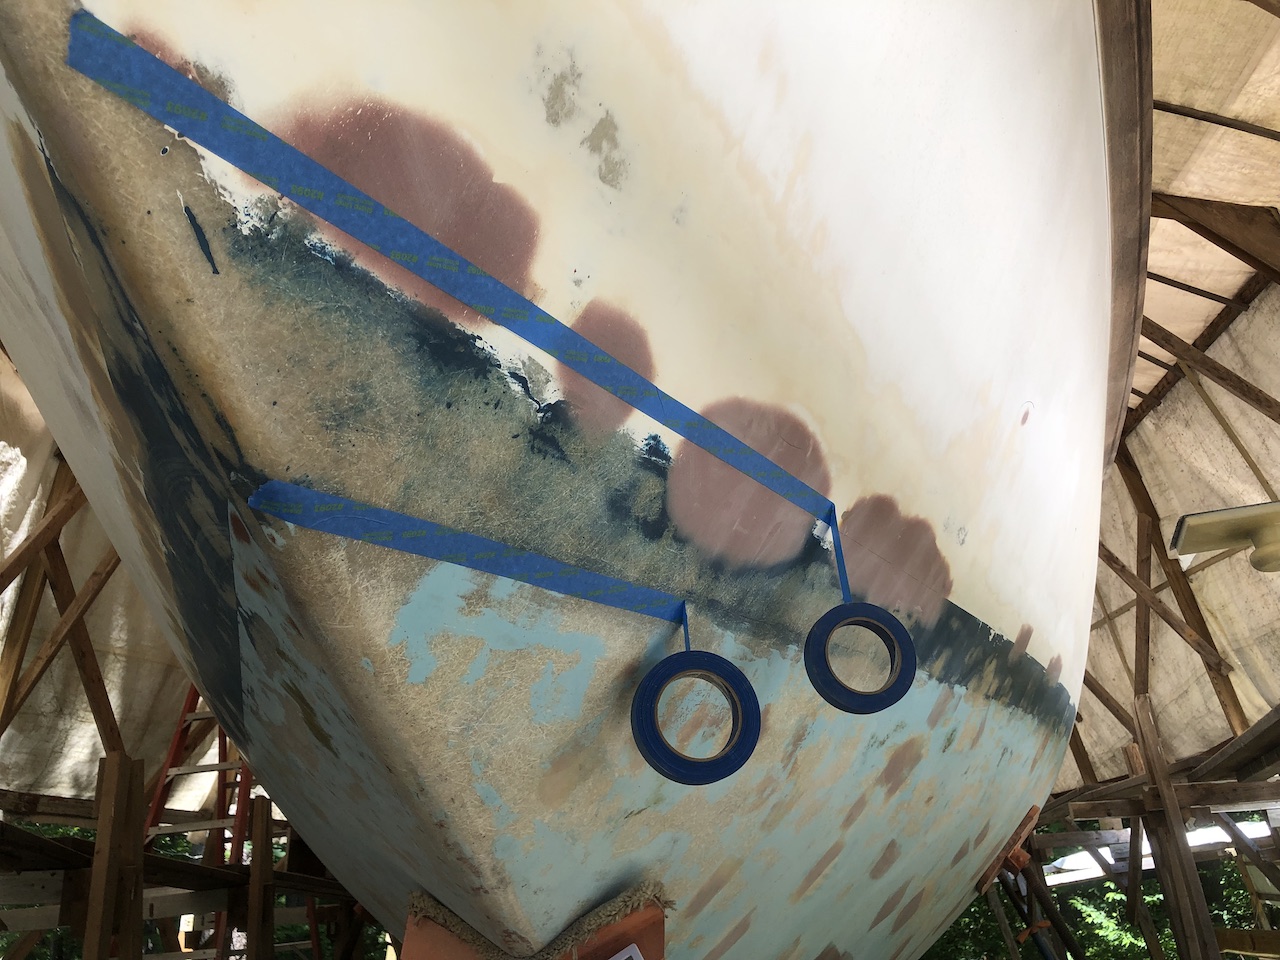
Next, I applied one coat of Interlux 2000E barrier coat/primer. My original intent was to use 6 coats of the the 2000E as the barrier coat on the bottom, but I found that it sanded too easily for my liking. Through some research, I learned that straight epoxy is the most effective and durable barrier coat, so I will do 3-4 coats of straight epoxy before moving on to 2000E and eventually antifouling paint. More on that later.
Moving up to deck level, I sanded the toe rail and cap, and the rub rail in preparation for varnish. Plenty of blue tape was needed.
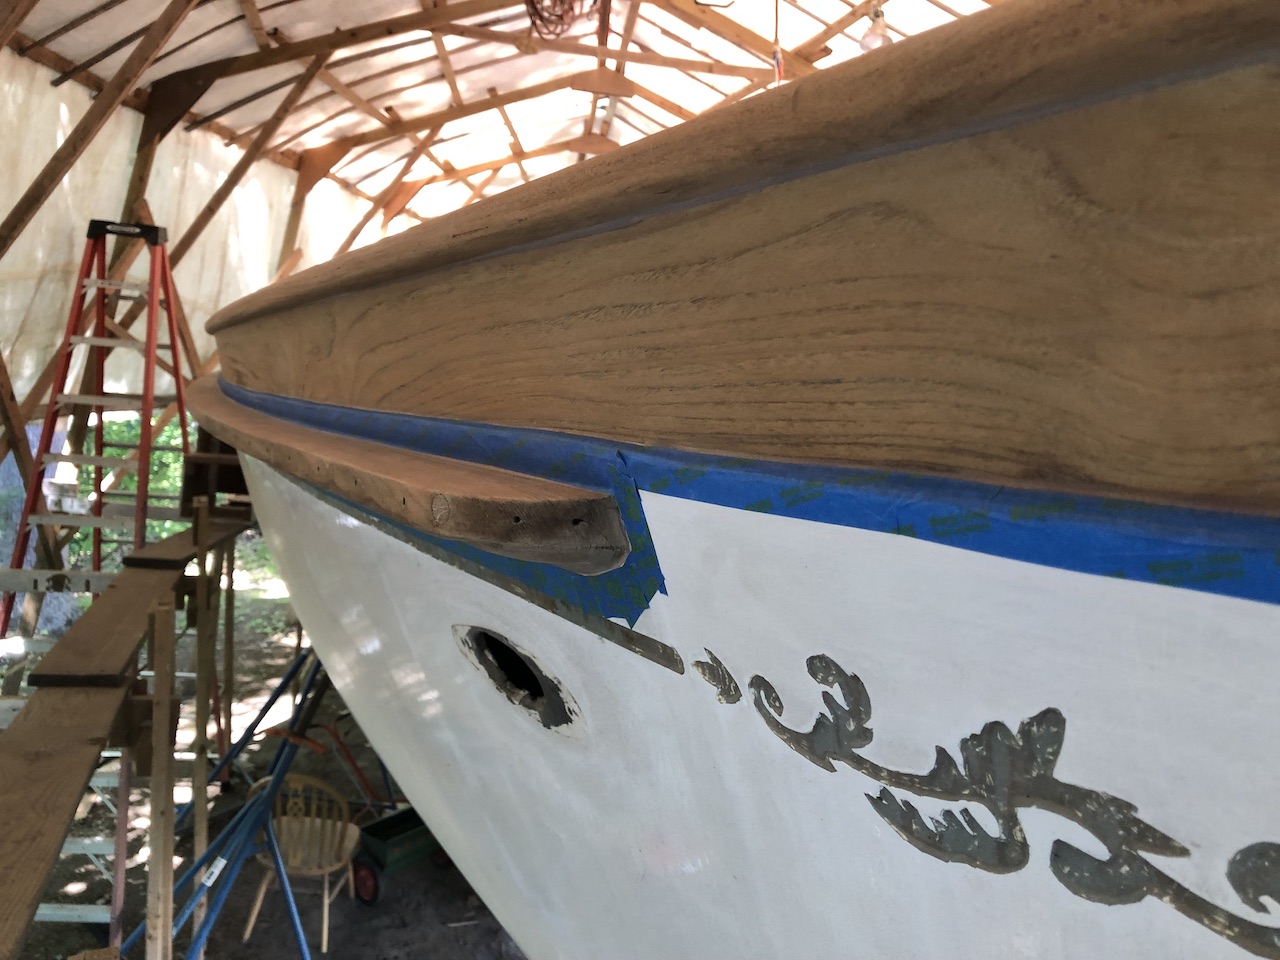
So far I’ve applied two coats, and will continue until there are 9-10.
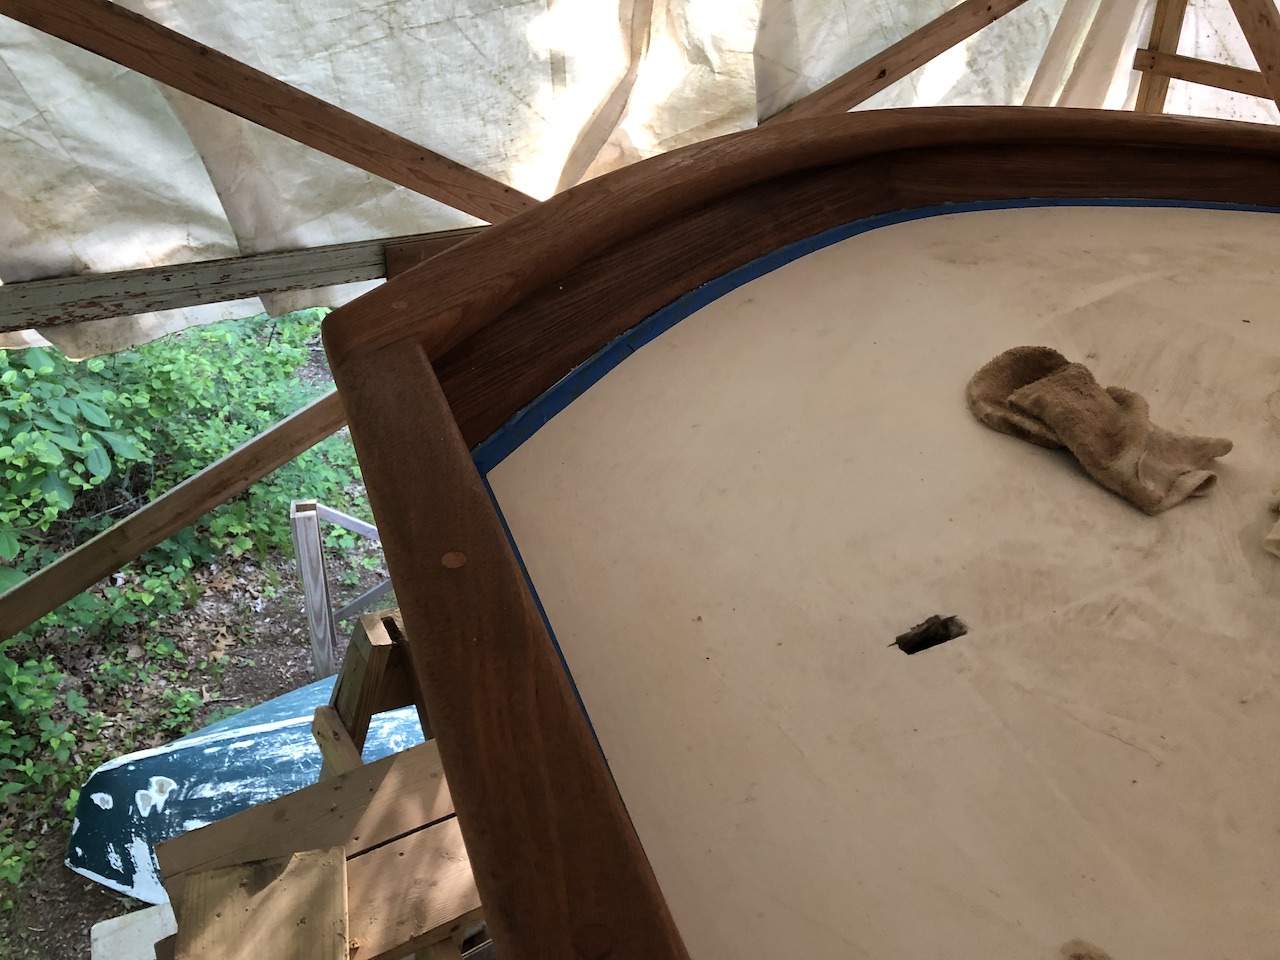
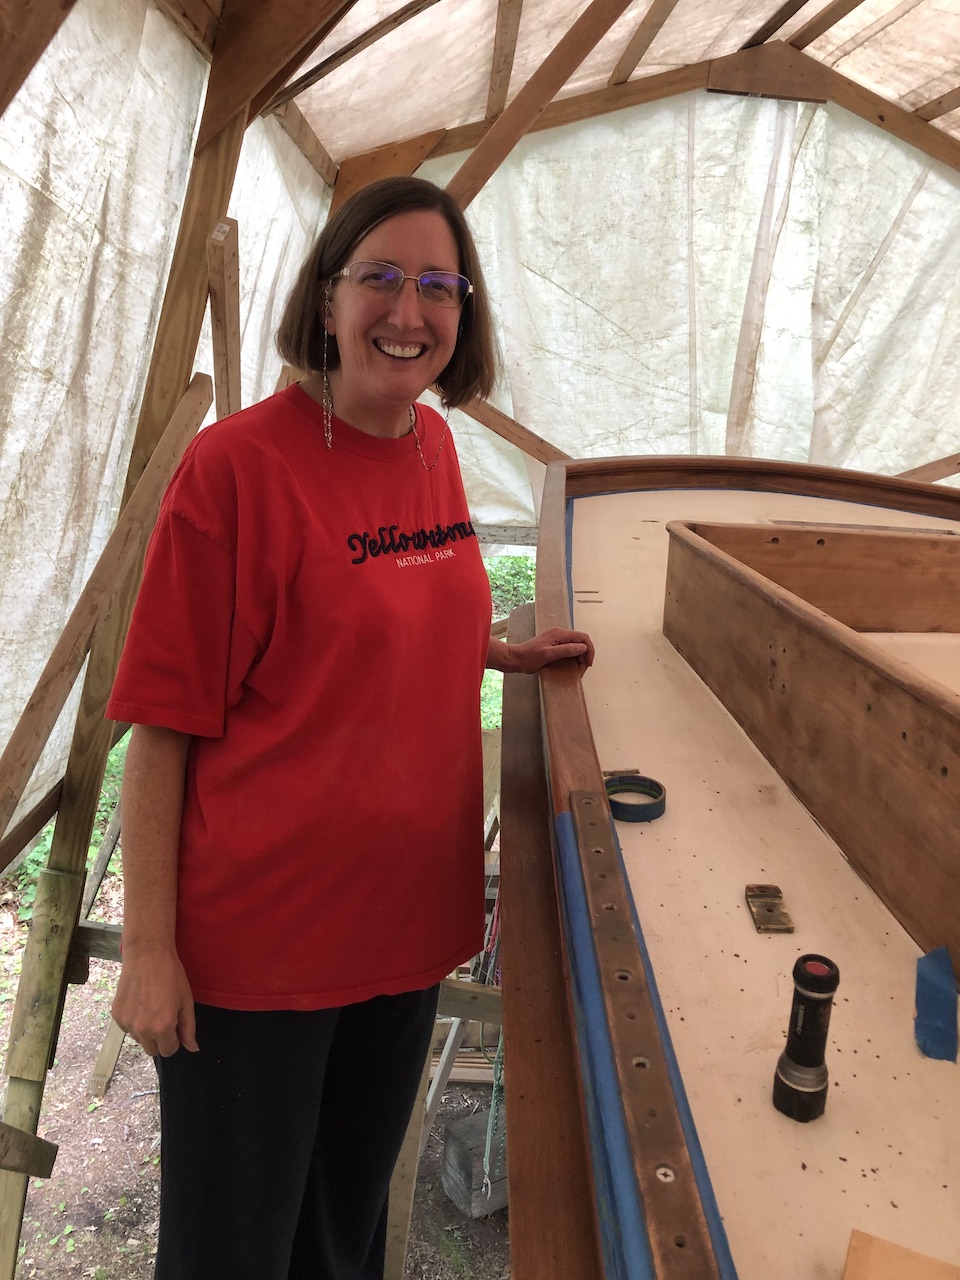
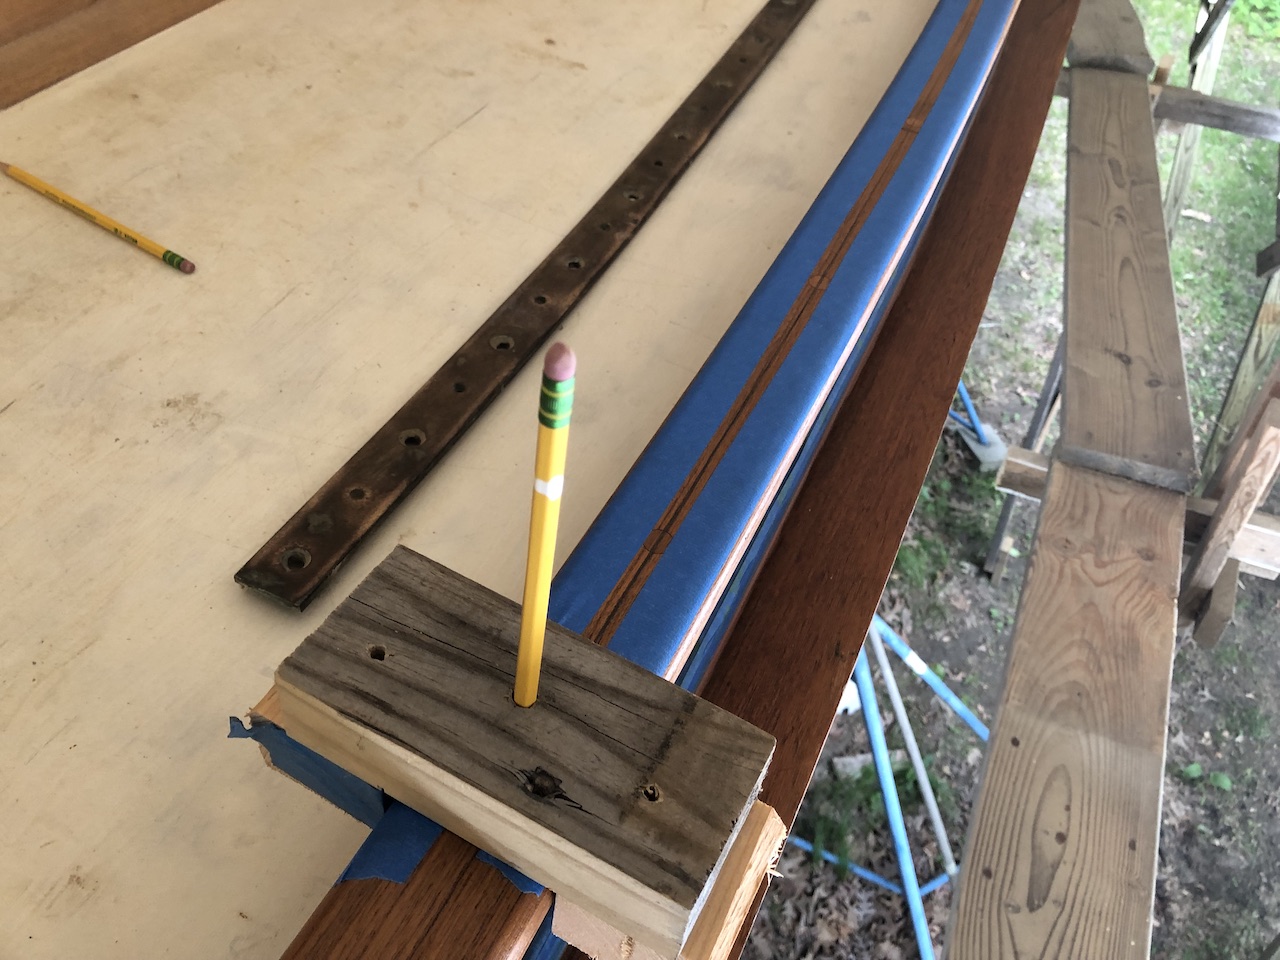
Before getting too far with the varnishing, I wanted to drill full-depth pilot holes for the screws that will attach the genoa track to the cap and toe rails. A while back I marked the locations of the all the existing toe rail bolts and former cap rail and genoa track screws. I want the new genoa track screws to be set into fresh wood, so there was a lot of trial and error in finding suitable positions for the track. My sister is in town, so…free labor!
We started by making a jig to make a pencil line at the dead-center of the cap, followed by masking with tape to protect the varnish from the tracks.
The tracks will eventually sit on risers, but we used undersized screws to temporarily fasten the tracks to the cap. The procedure was to have my sister bend the track into place, then I drilled the hole, then added a screw.
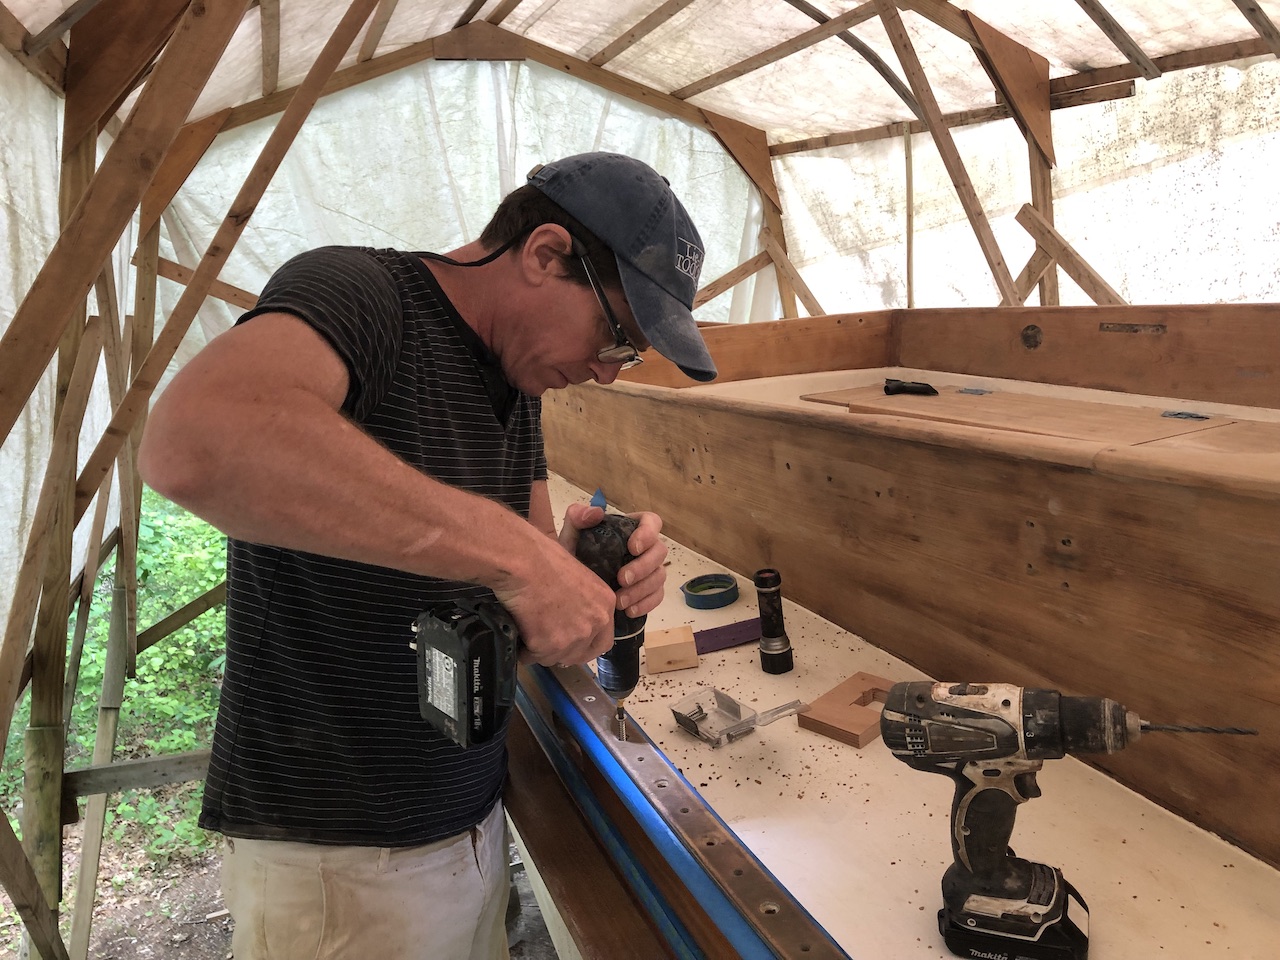
Eventually we had temporarily attached each track to the cap, then we removed the screws.
And then the tape.
Although the planning was very careful, I was nevertheless relieved that not once did My drill bit find a screw or bolt, nor did the drill bit find its way through the side of the toe rail.
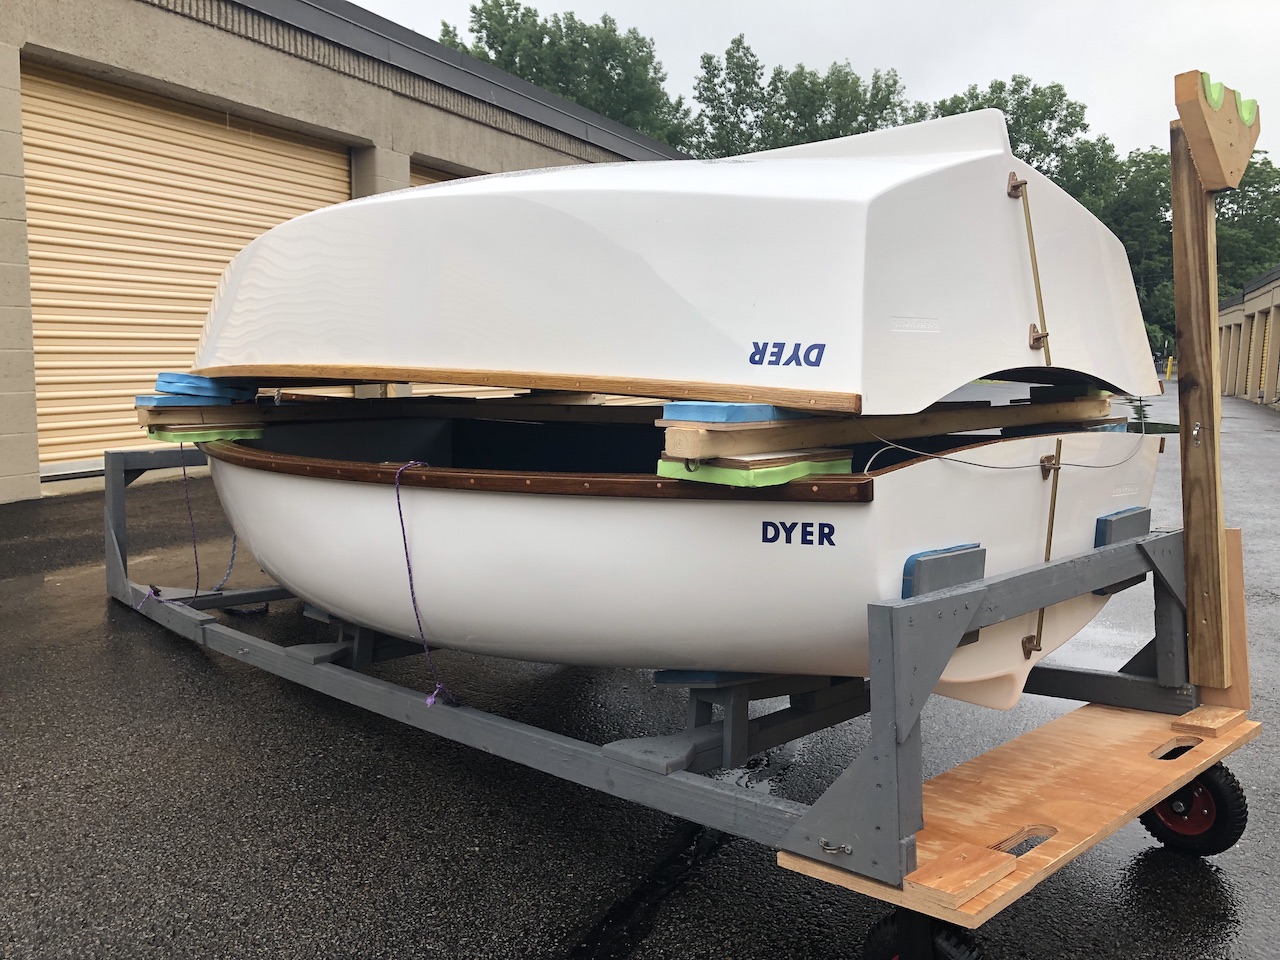
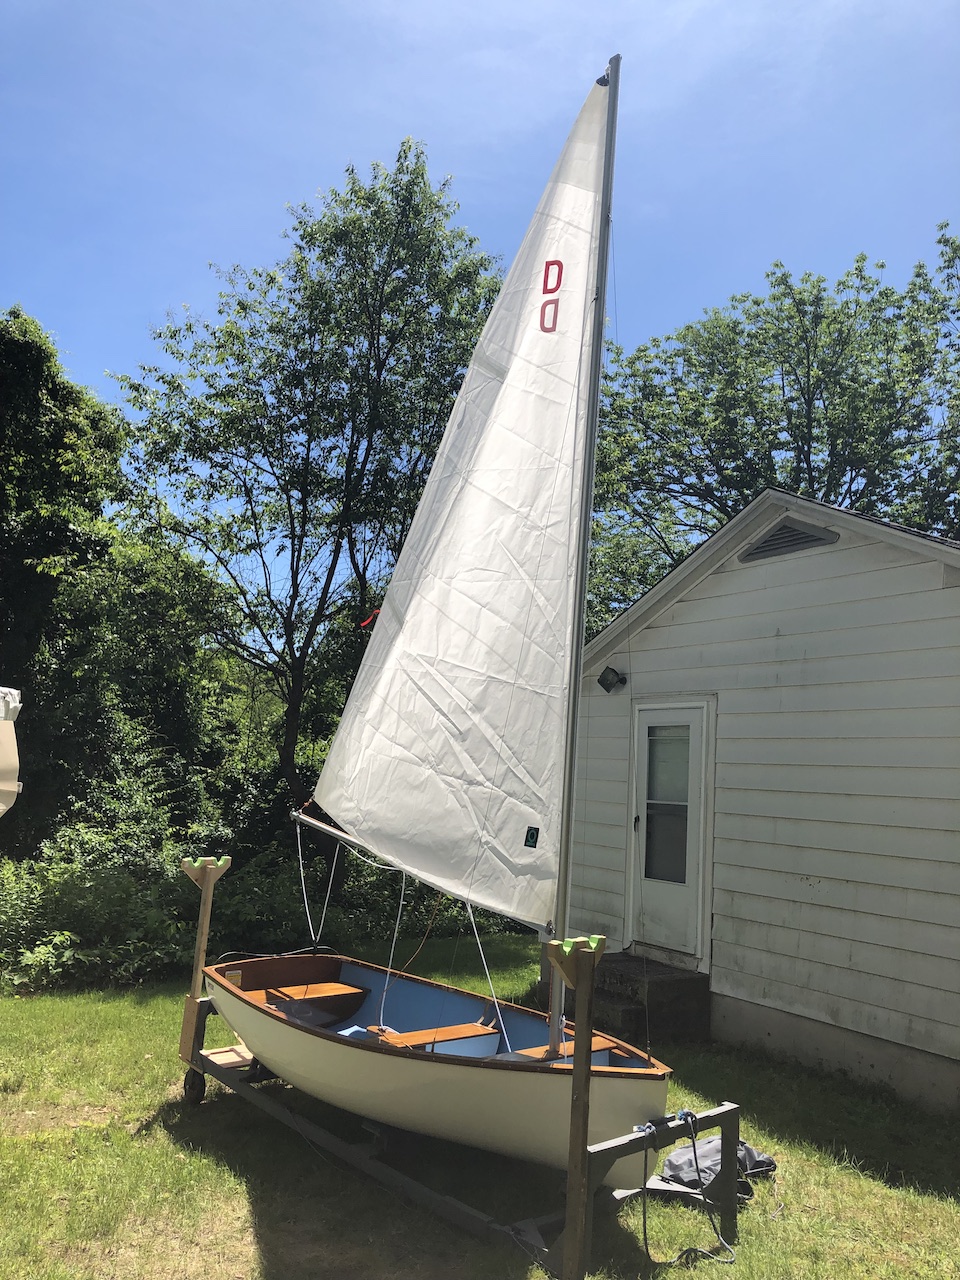
The photo below shows the top of the mainmast. Here the masts have 5 coats of varnish on their way to 9. The dinghy in the background is my new 10-foot Dyer Dink.
The Dyer Dink was designed by Philip Rhodes, the same designer who designed my Cheoy Lee.
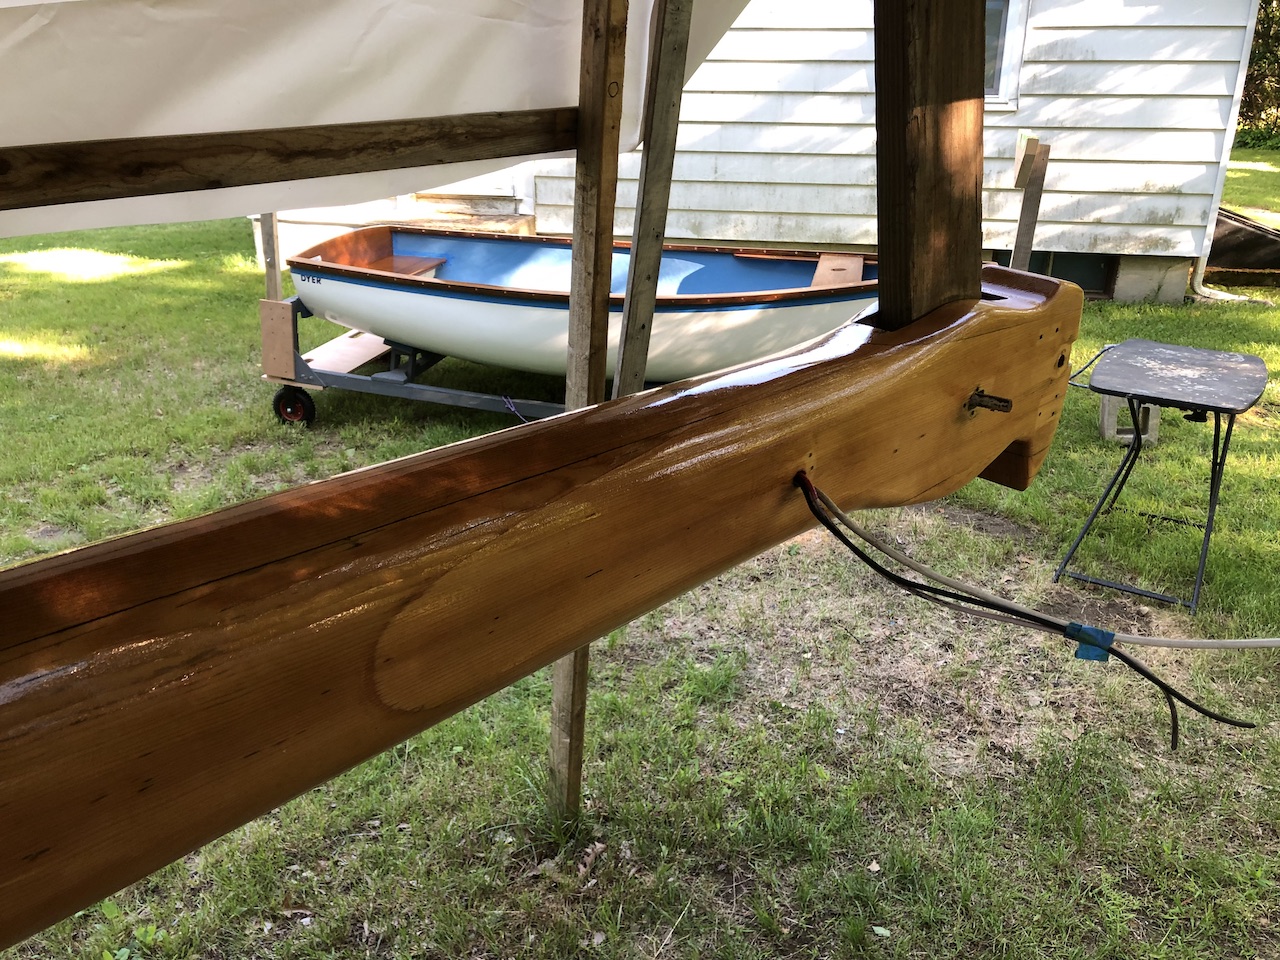
I picked it up in its unvarnished state at The Anchorage in Warren RI (the Dyer factory).
If you order a Dink in the mahogany/oak option it comes varnished. If you order the all-teak option, they do not varnish (unless you want to add $600 to the bill). Thus, I removed the hardware, and applied 4 coats of varnish.
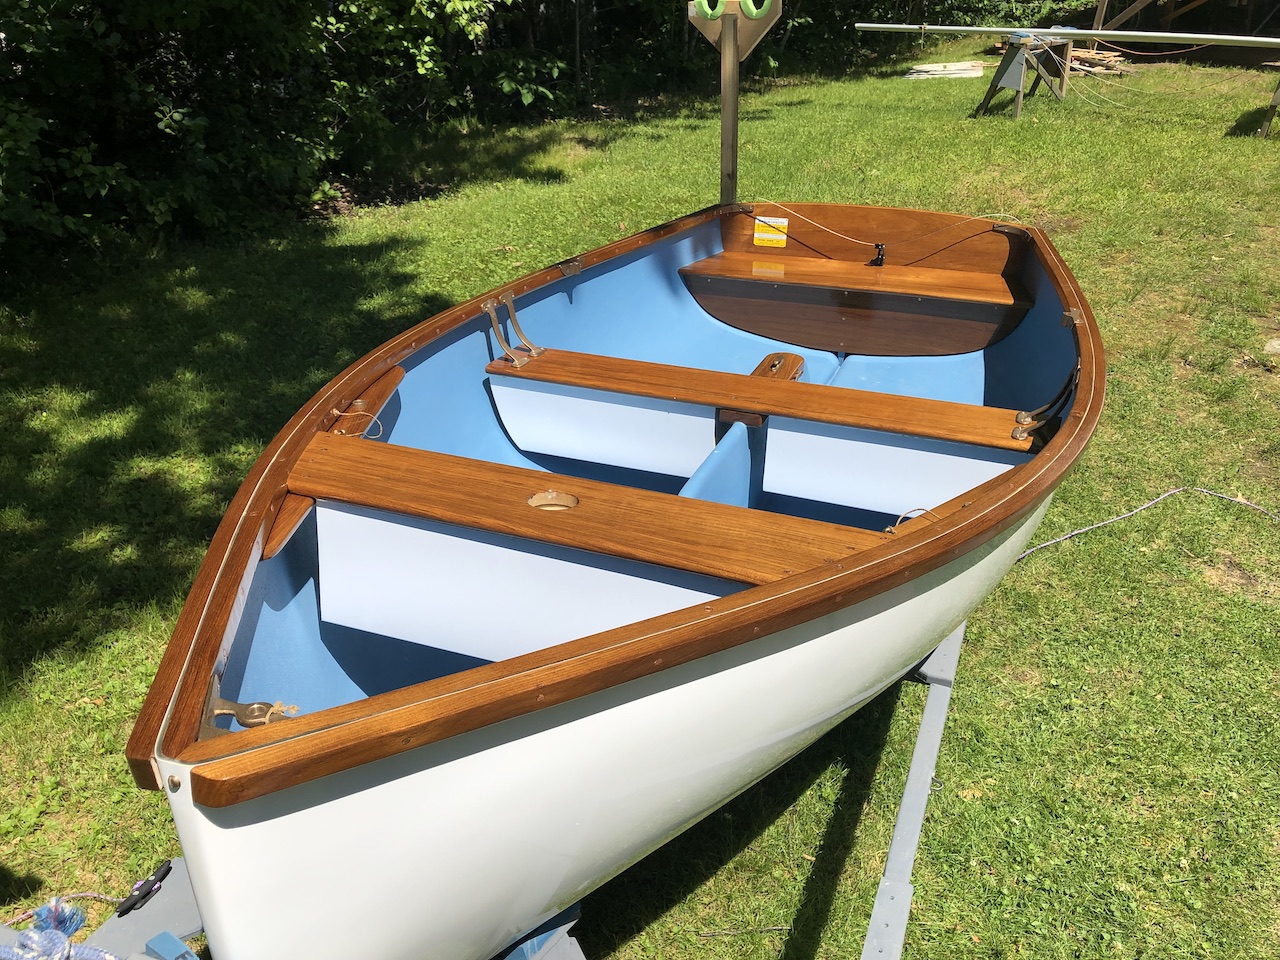
I ordered the boat with the two-piece wooden mast and wooden boom, but they will not have those spars until later this summer. In the mean time, I have loaner spars.
There is a fleet of 90+ Dyer Dinks in Riverside CT, and the frostbiting fleet typically gets 50 boat out on racing days. Here is a video that shows some of the racing:
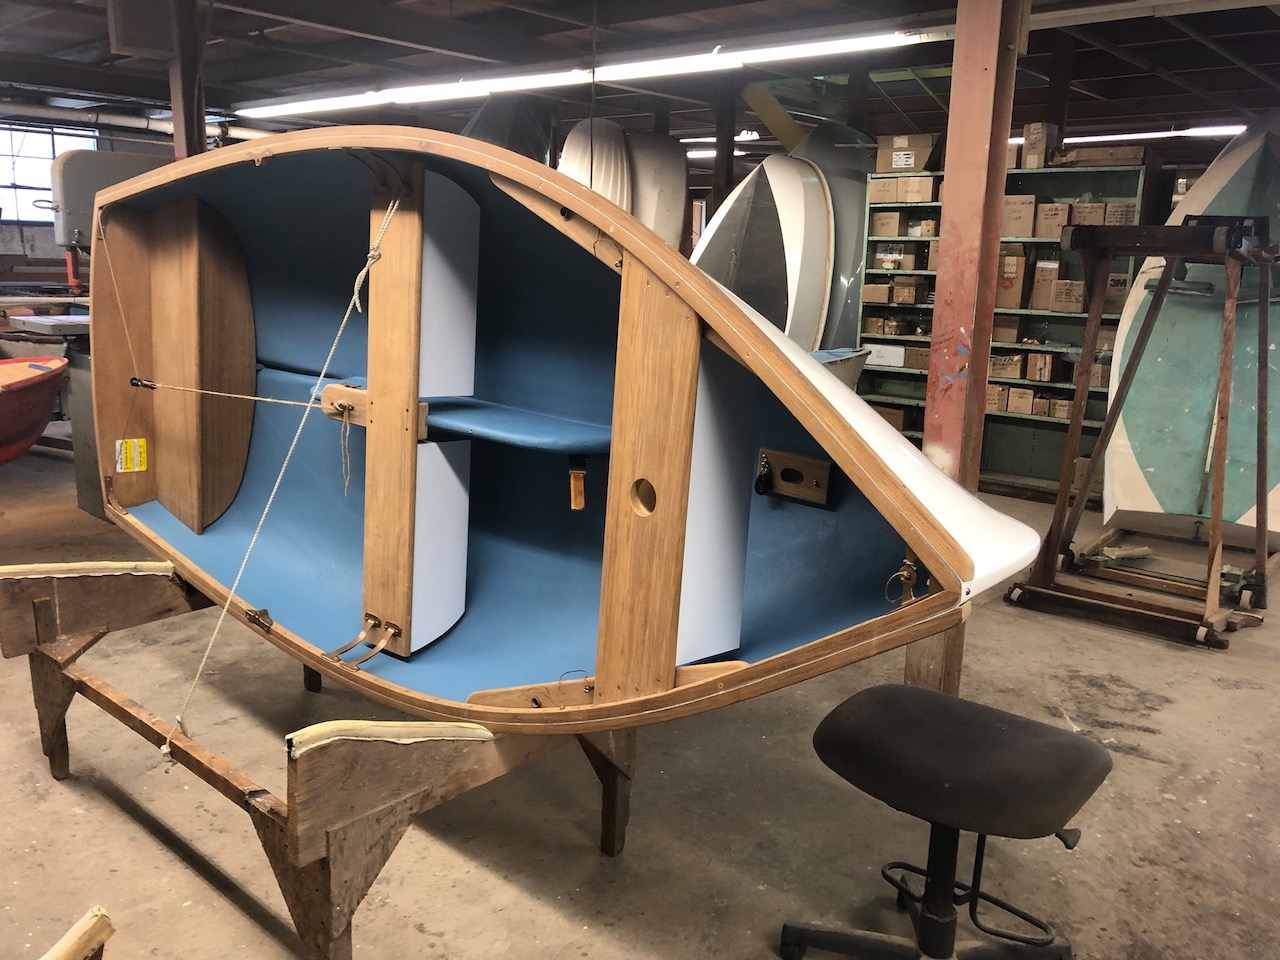
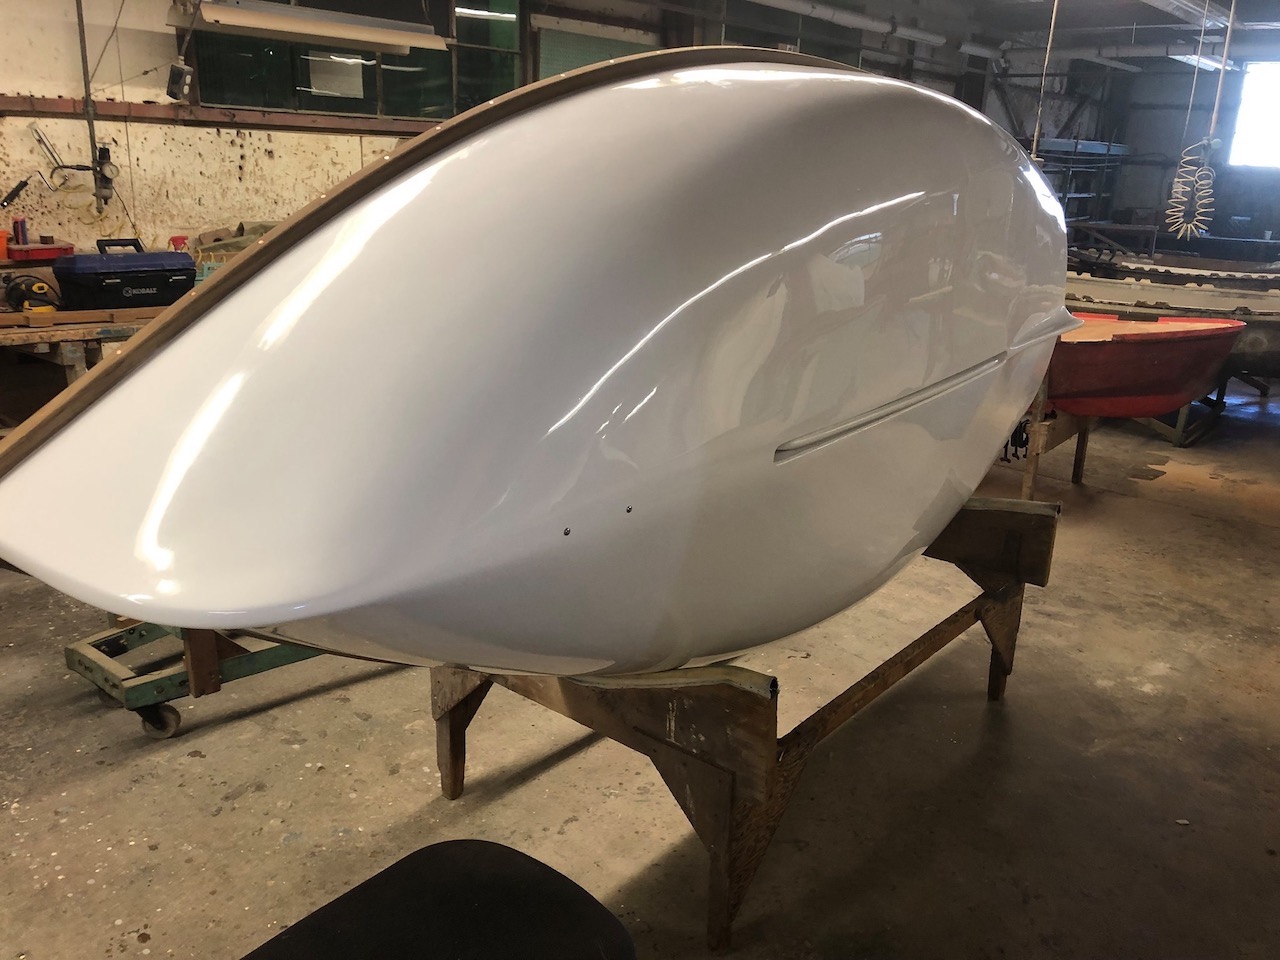
You might recall that I ordered a Dyer Dhow last Fall. My Dyer Dhow was ready just a few weeks after I picked up the Dink. Supposedly the Dhow tows better and, therefore, might make a better tender.

I’m looking forward to finding out.