8/22/19: Rudder, Deck, Topsides, Stripes, Scrolls
Work on the rudder continues.

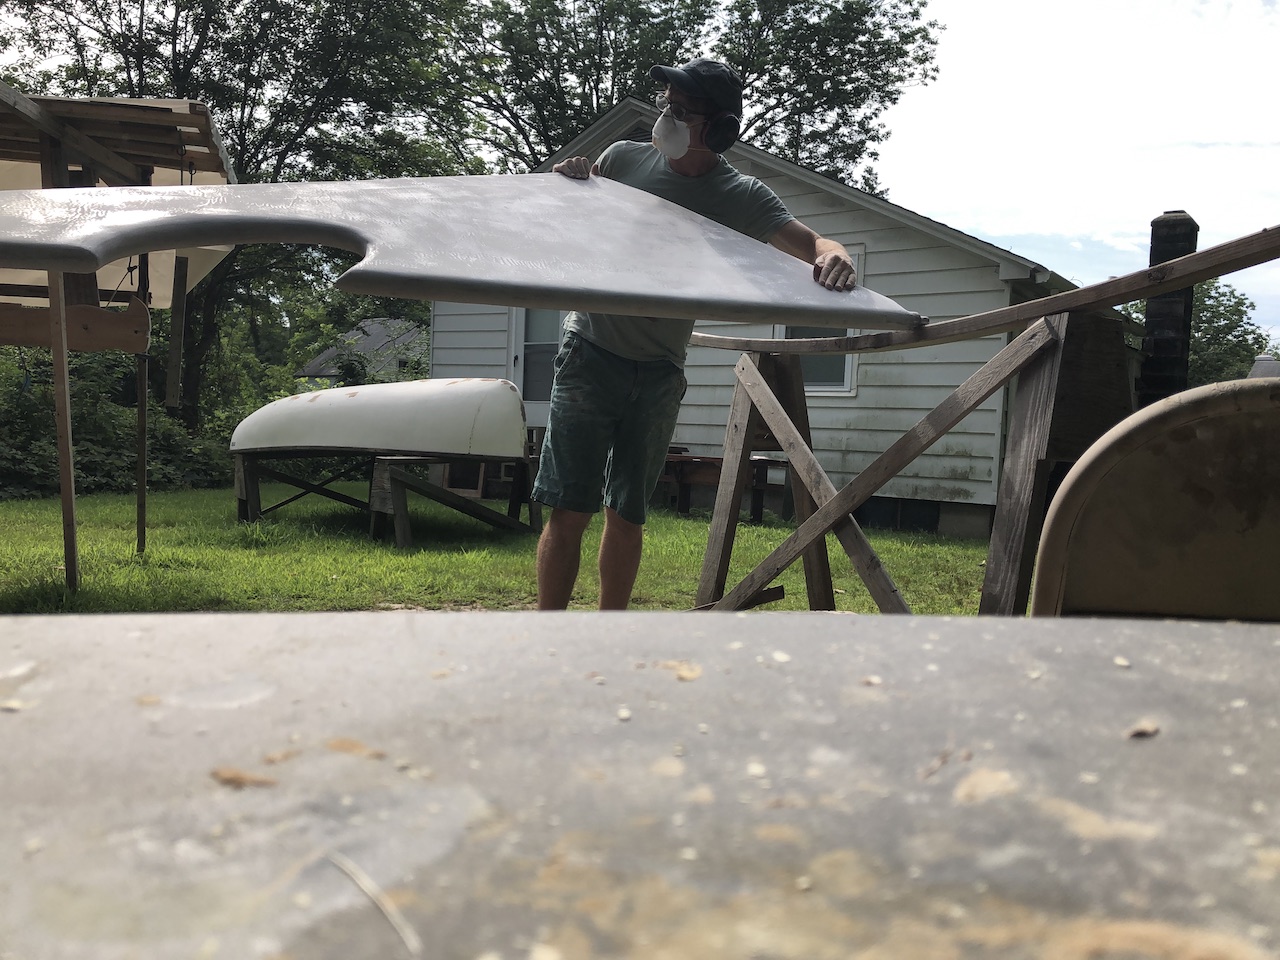
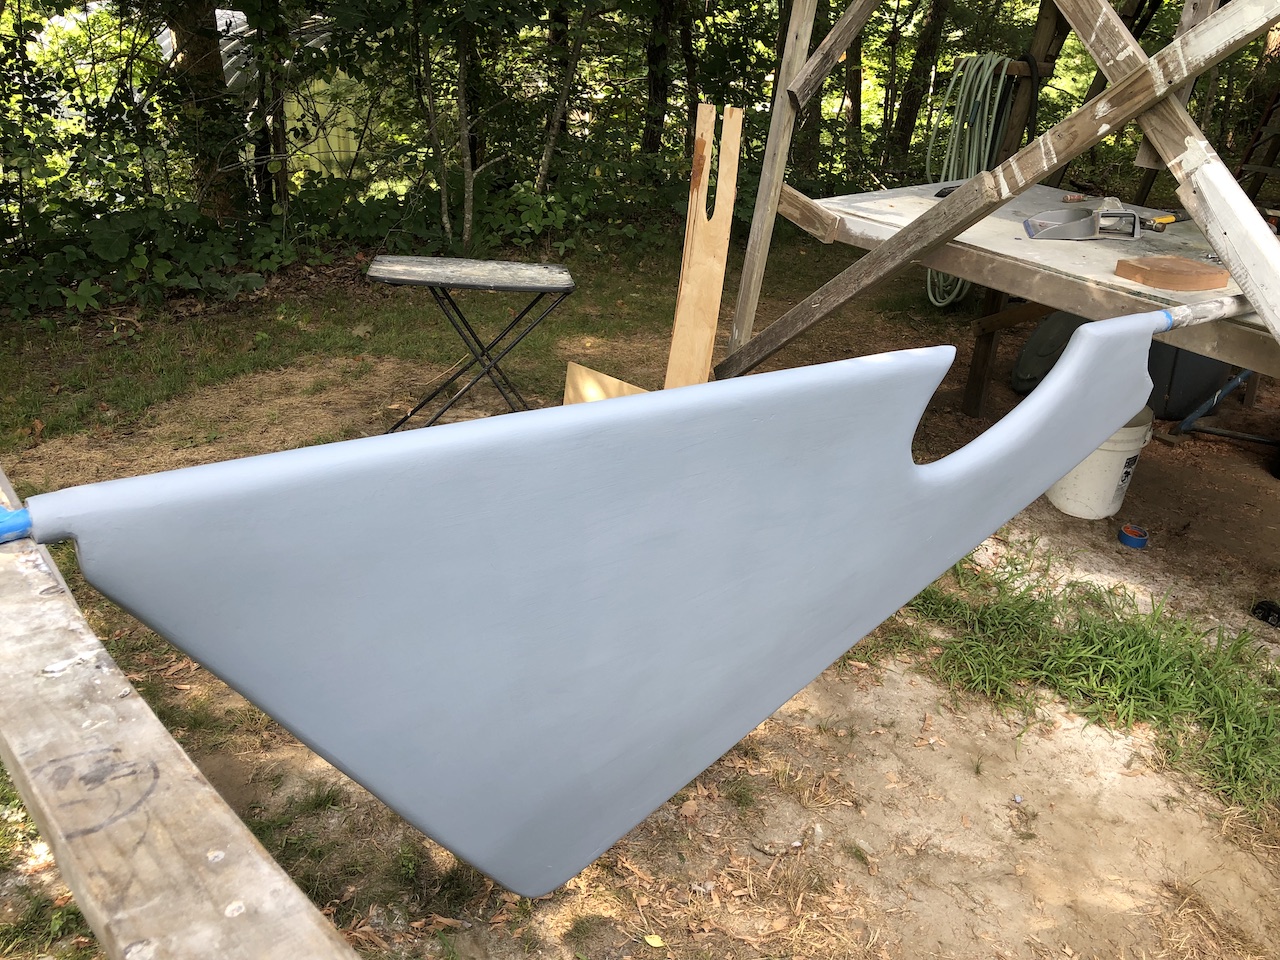
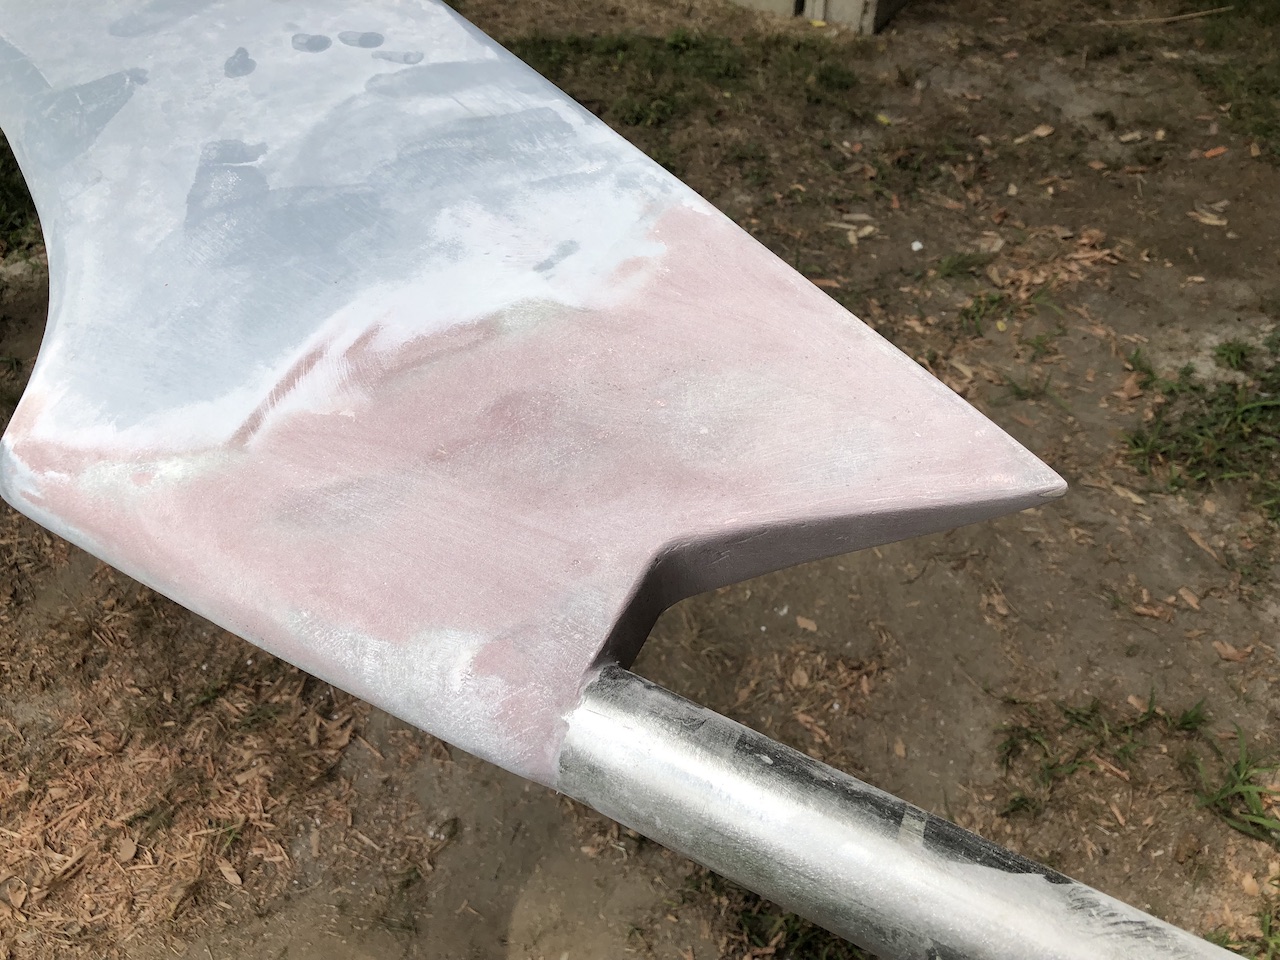
Below I’ve applied three coats of Interlux Interprotect 2000E, which is a barrier coating. Barrier coating the rudder is not necessary because of the layers of epoxy/glass on the outside, but the 2000E serves as a suitable two-part primer for eventual antifouling paint.
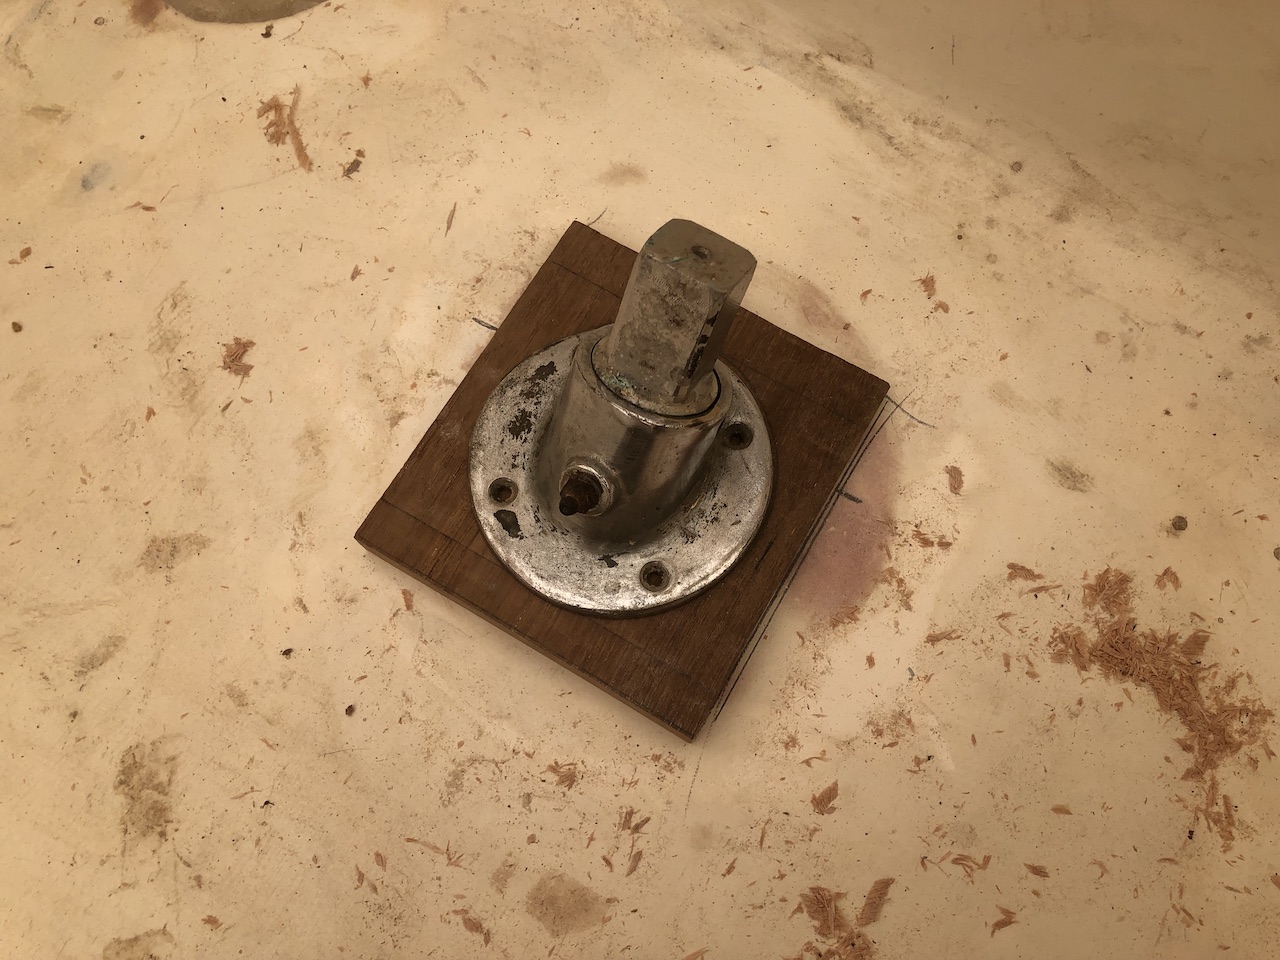
I retrieved the rudder shoe from the workshop.

After cleaning it up a bit, I dry-installed the rudder (with help). I did not build the top of the rudder because a good fit is required. The pin on the bottom of the rudder is 1 inch in length, so there must be less than 1 inch of “play” at the top of the rudder. Otherwise, an accidental grounding in which the rudder is pushed upward might cause bottom of the pin to rise above the top of the shoe–obviously a bad situation.
Thus, I made a pattern for the shape of the top of the rudder.
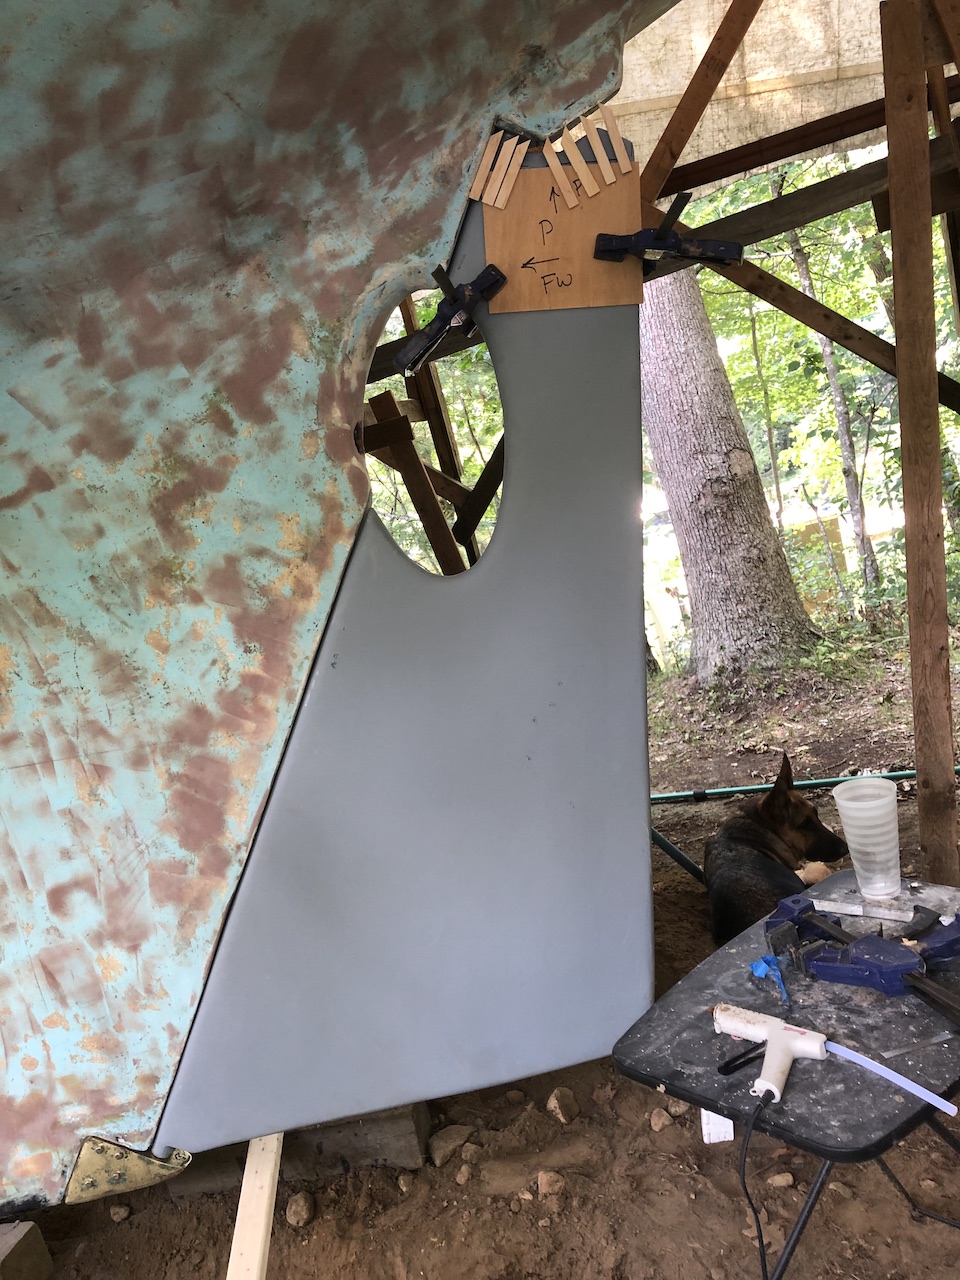
At the same time, I noticed that in turning the rudder there was a lot of resistance. After removing the rudder I noticed that the upper and lower posts were not parallel. The posts were individually straight, so the culprit was the curved section. The picture below is from a previous post, but placed a red rectangle around the curved section.
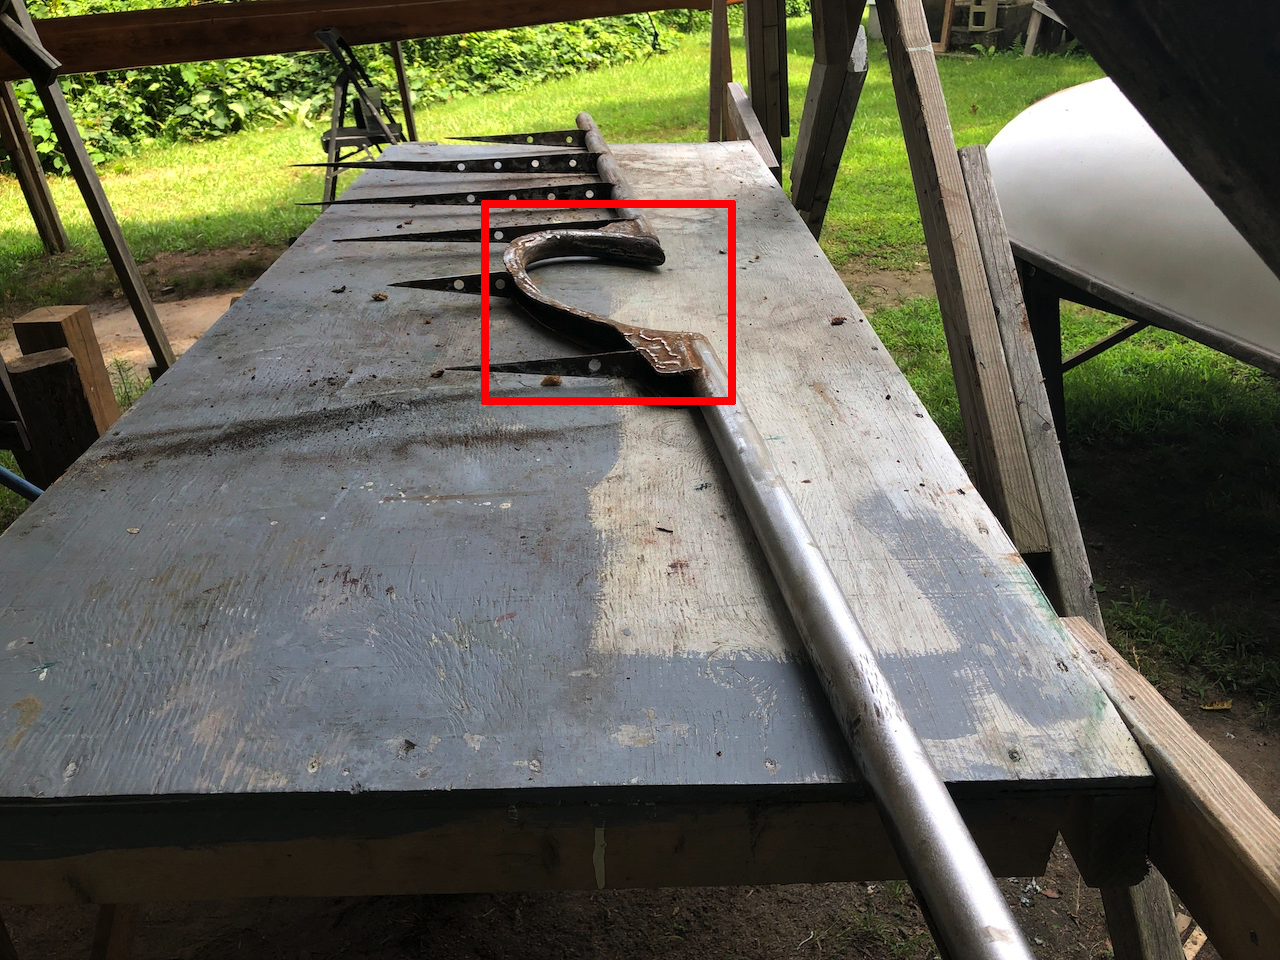
I knew there had been a previous trauma suffered by the curved section because a short length of it was caved in slightly, which you might be able to see in the image below (also from a previous post).
I haven’t sailed the boat since about 2010, but I don’t recall undue friction inhibiting steerage. It might be that I never noticed because it was mitigated by the steerage. It might also be that disassembling the rudder removed certain stresses that were actually keeping the ruder straight. In any case, it would have been nice if I had noticed the issue before rebuilding the rudder.
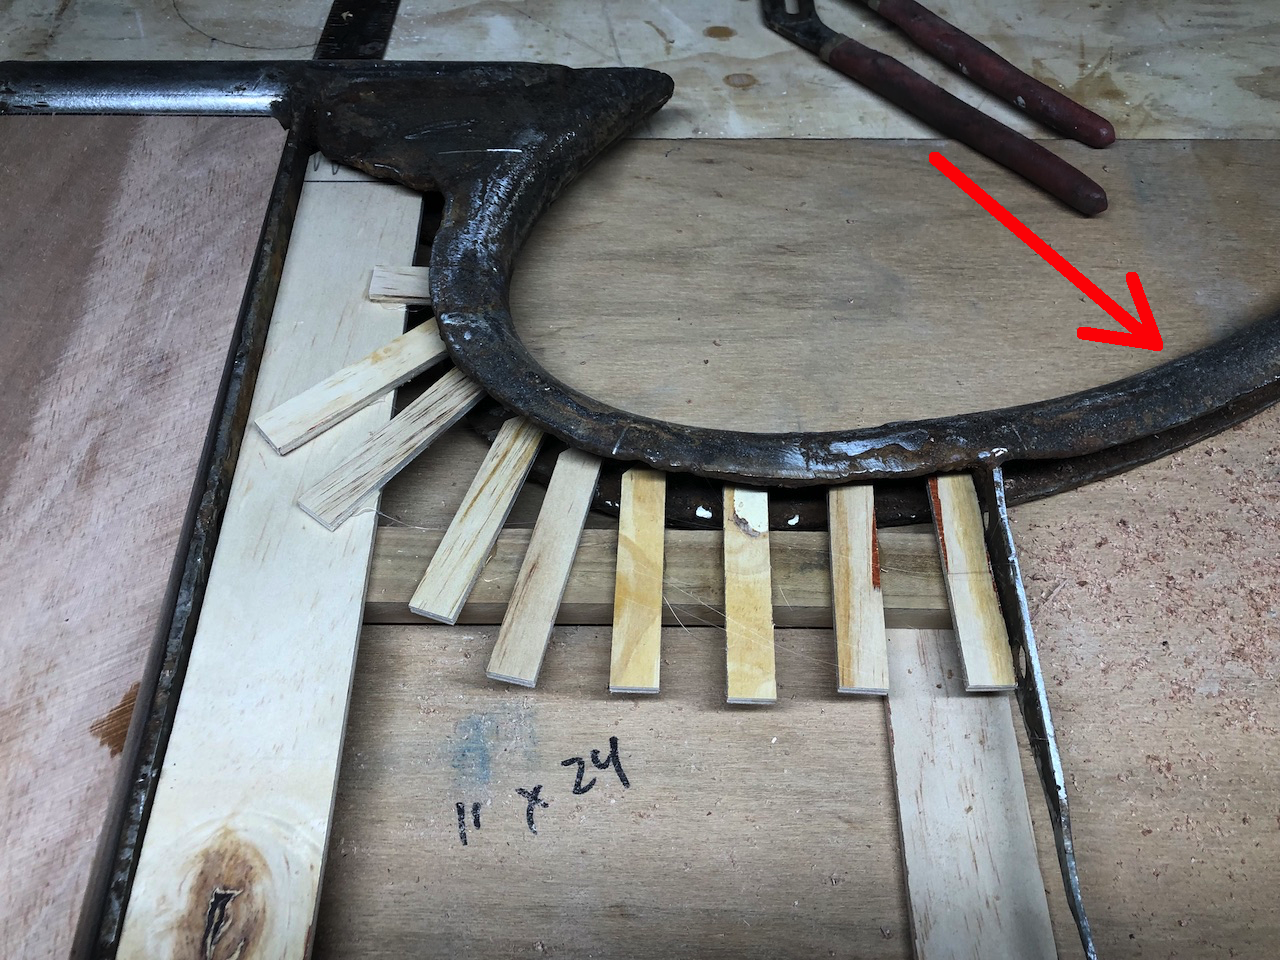
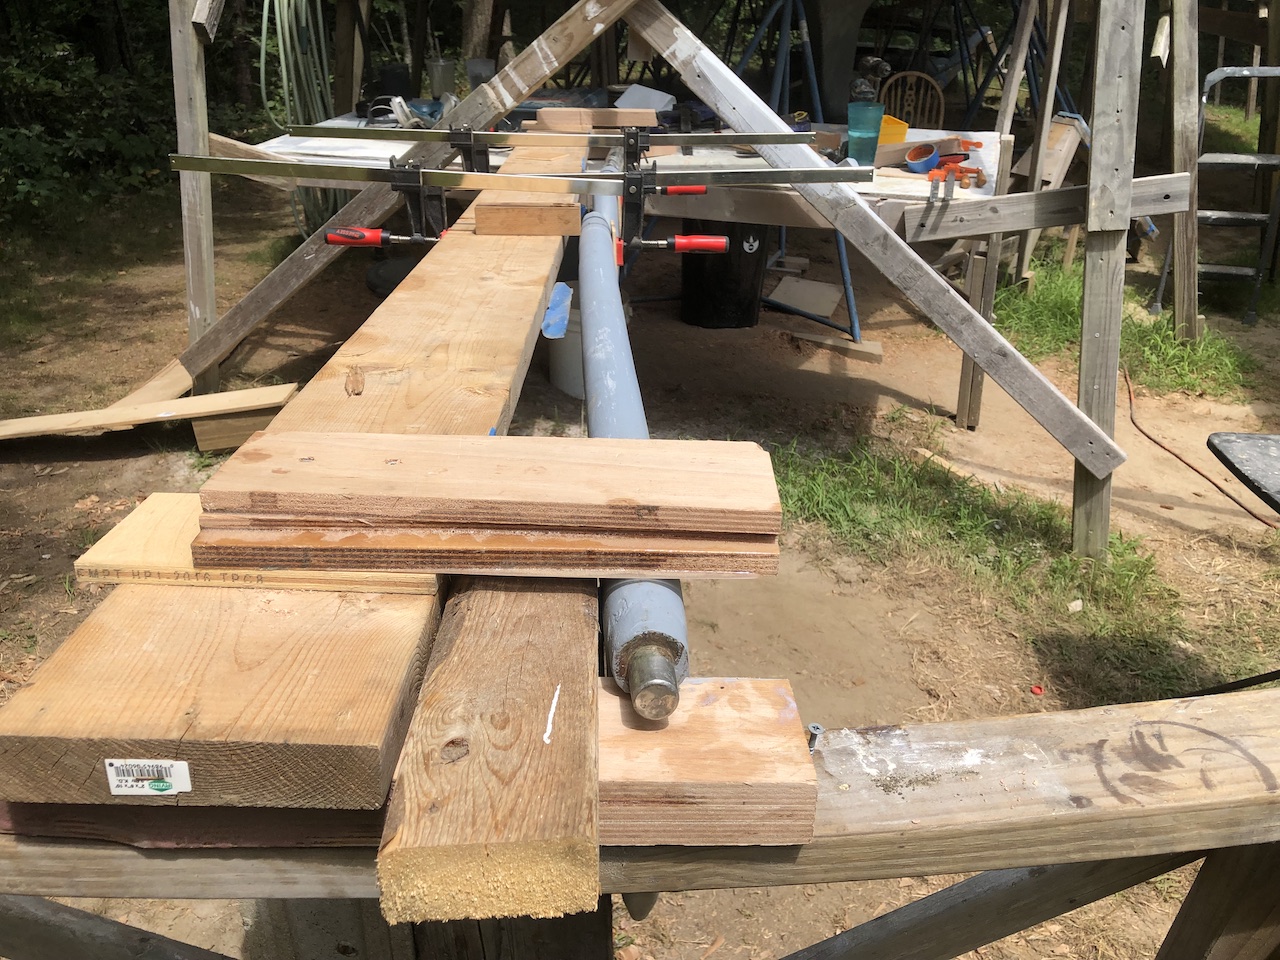
To address the situation, I built the “bending jig” shown below. The misalignment between the upper and lower posts was slight (perhaps a few degrees), and here I’ve used a few clamps to take most of the misalignment out. Of course, removing the clamps at this point simply reintroduces the misalignment, so…
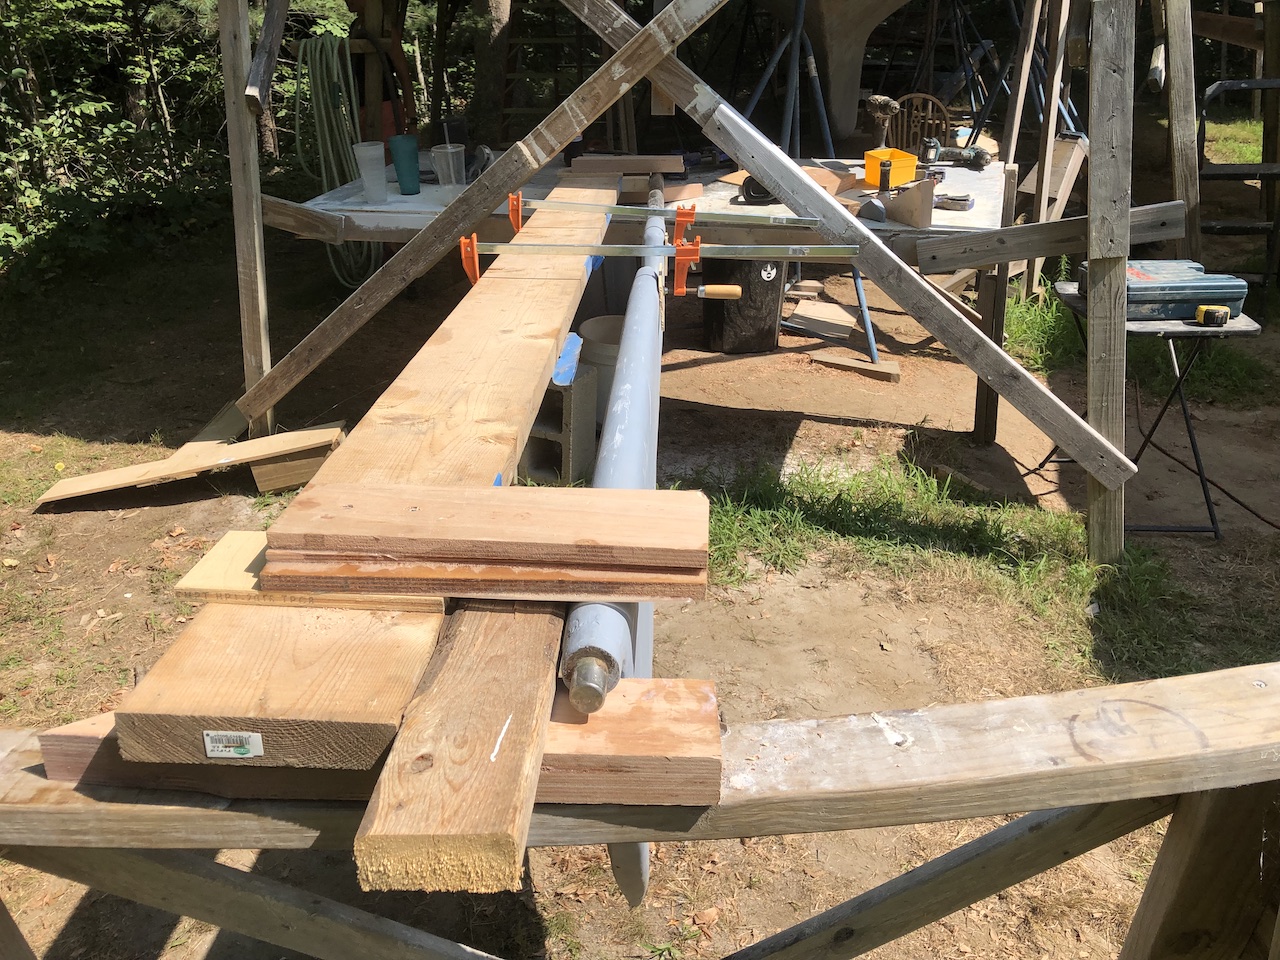
…with the help of a friend I introduced a significant amount of bend. We bent, unbent, bent more, unbent, bent even more, unbent…until we seemed to have removed the misalignment. Mostly.
Here is the view from the cockpit with the rudder reinstalled (dry fit). There is a teak base on which the stainless collar is attached. The top of the rudder post protrudes through the collar, exposing a square head onto which the emergency rudder can be attached.
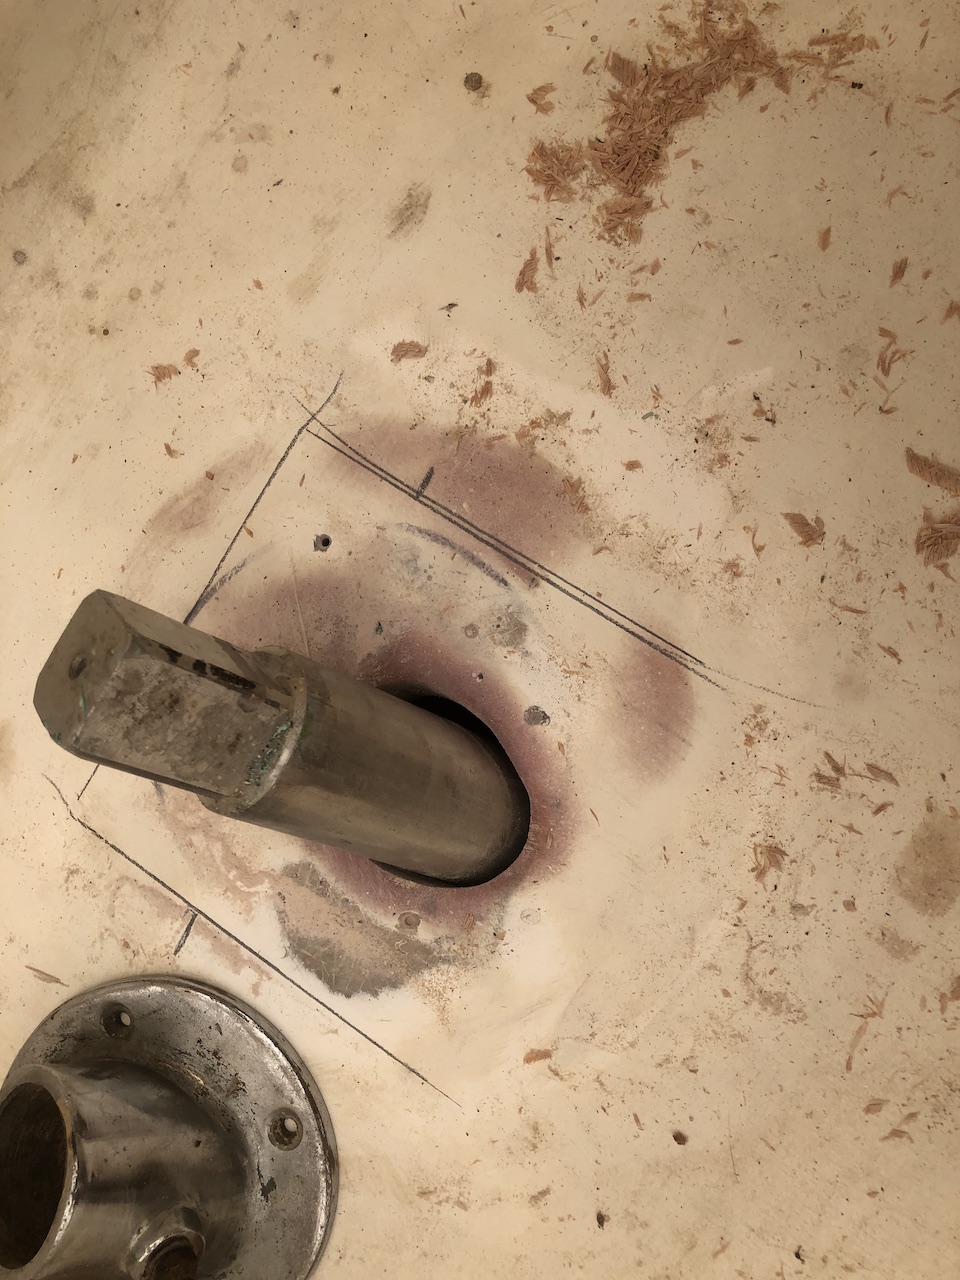
Turning the rudder revealed two things about the situation after the bending. (1) The undesirable friction was reduced sufficiently. (2) The alignment is not perfect, as evidenced by the photo below. I had my assistant turn the rudder all the way port, then all the way starboard, and the teak base moved back and forth just a bit. No more than a millimeter or two. (Note the parallel pencil lines indicating the extremes of the positions of the teak base.
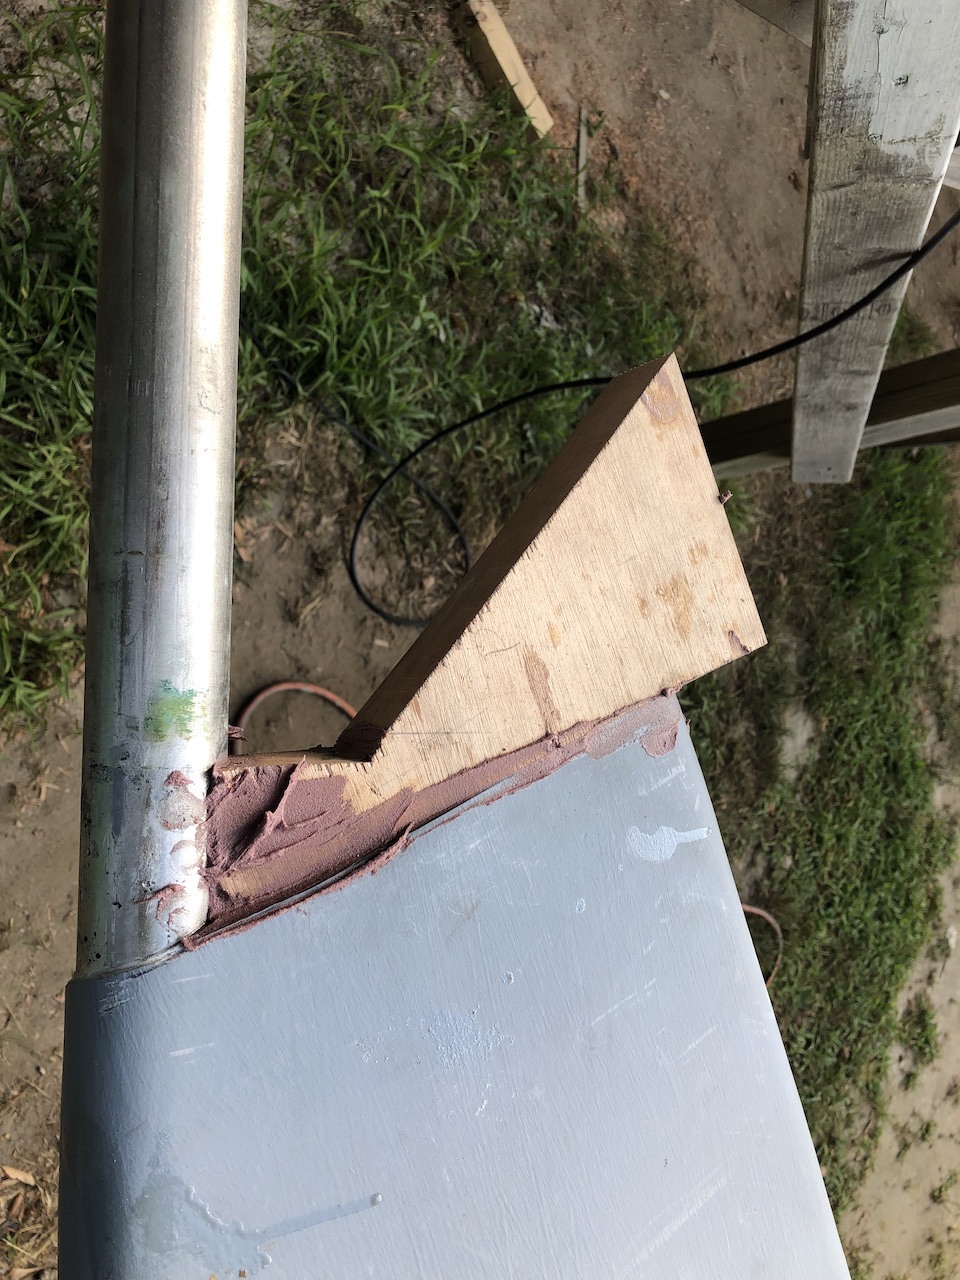
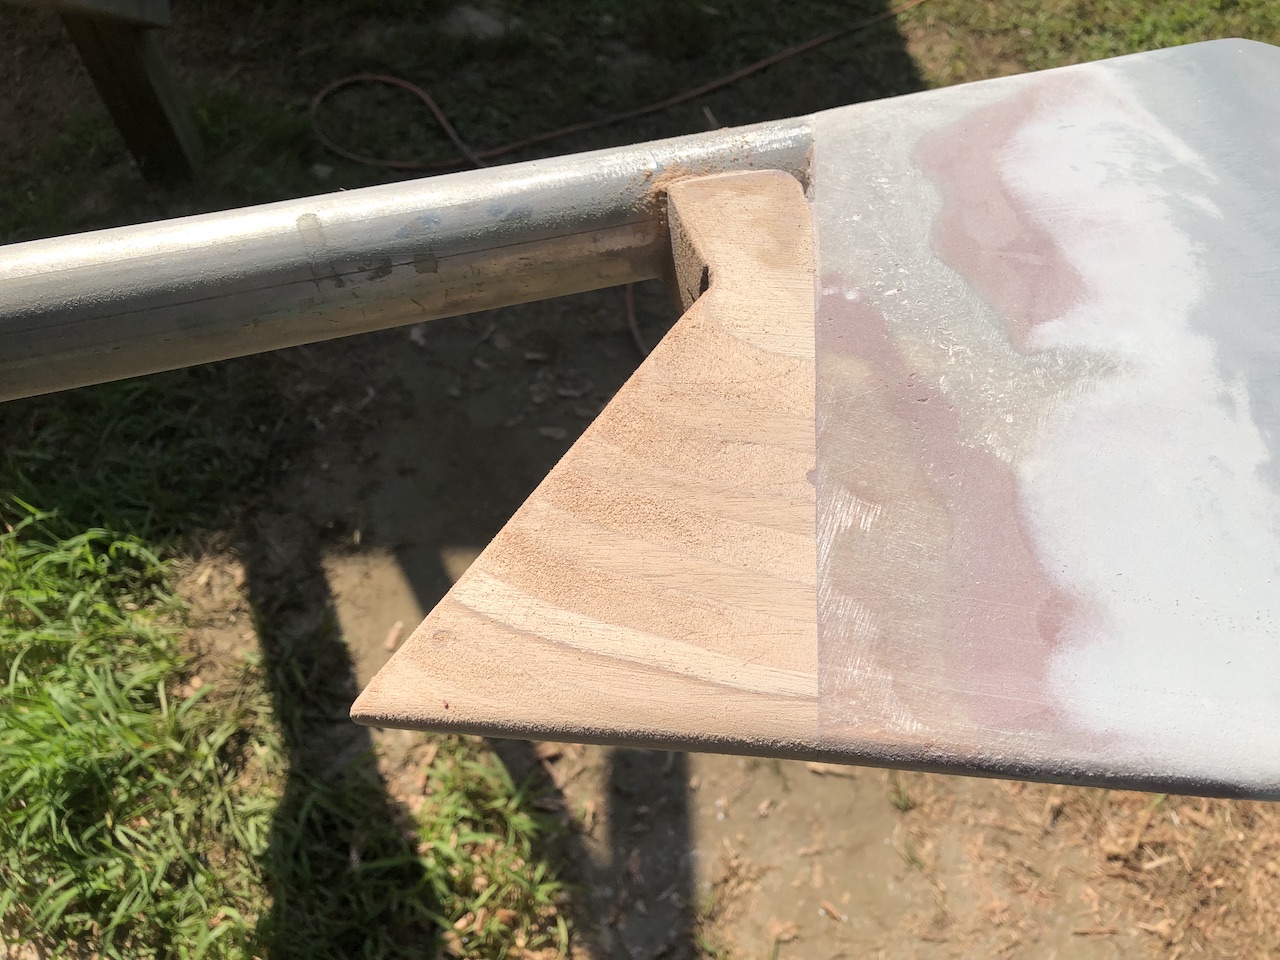
I’ll do a little more bending later on, but for now I got back to building the top of the rudder. The following images are self explanatory.

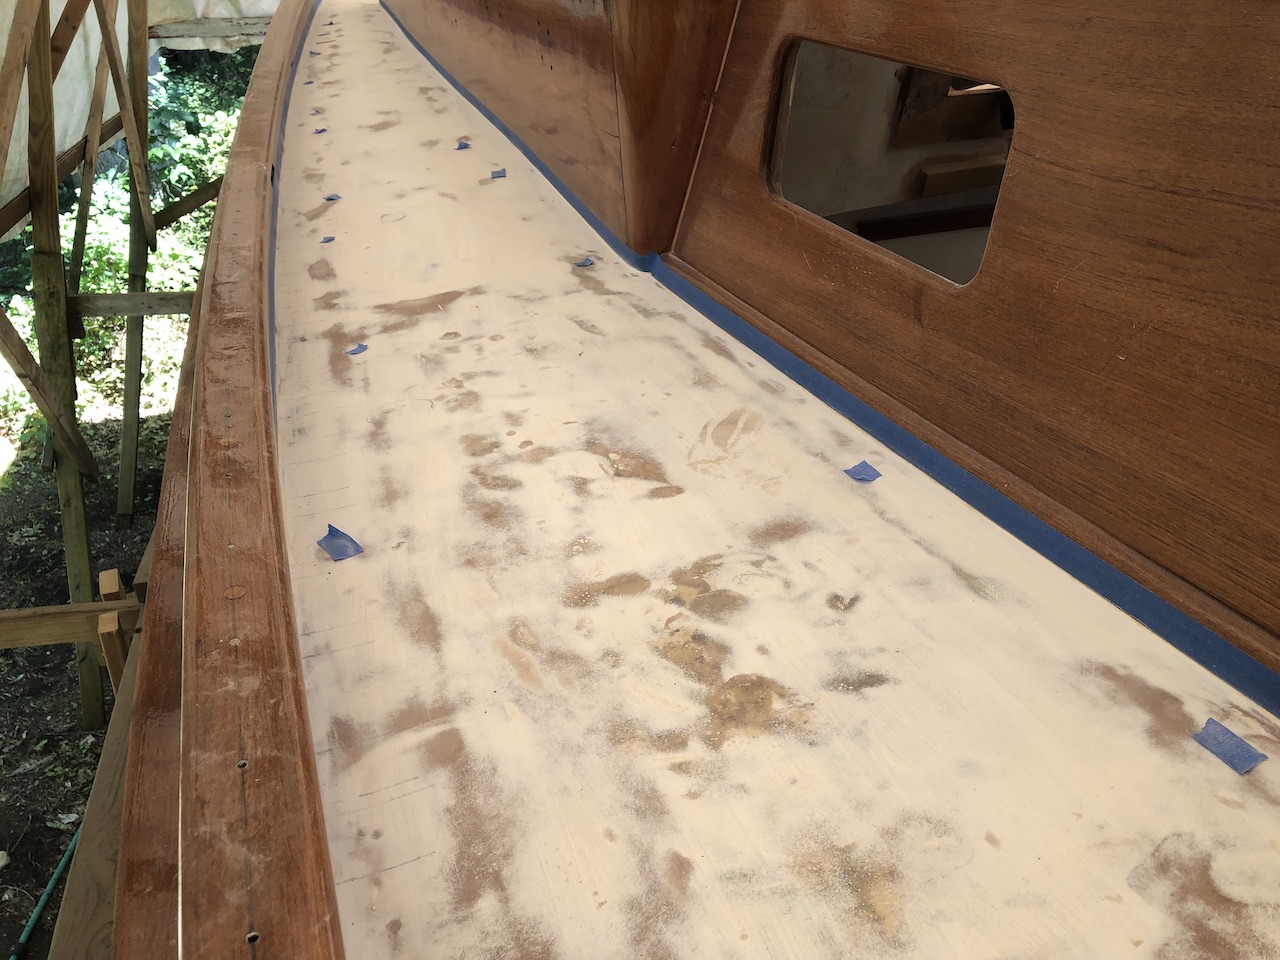
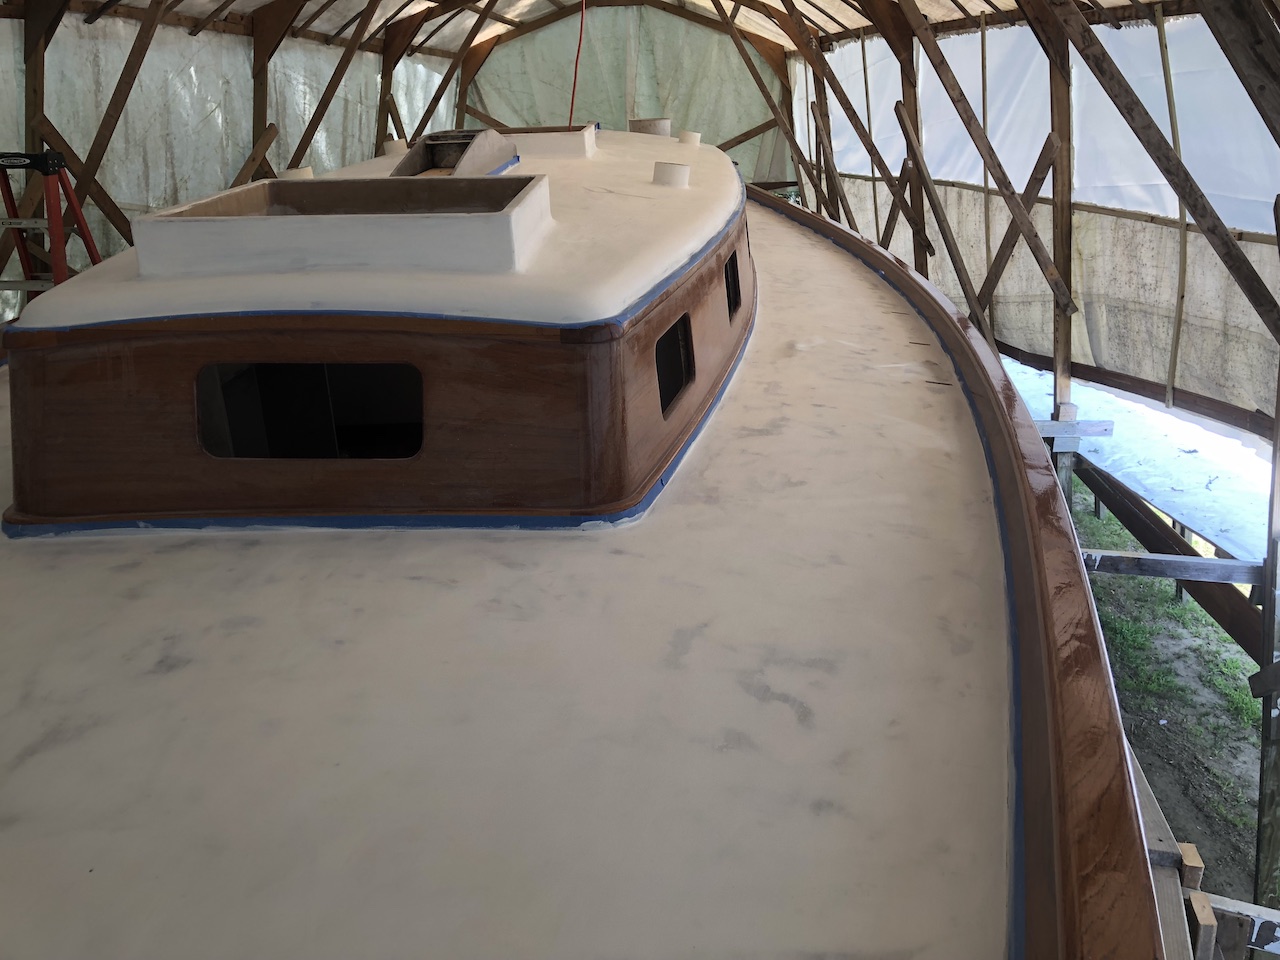
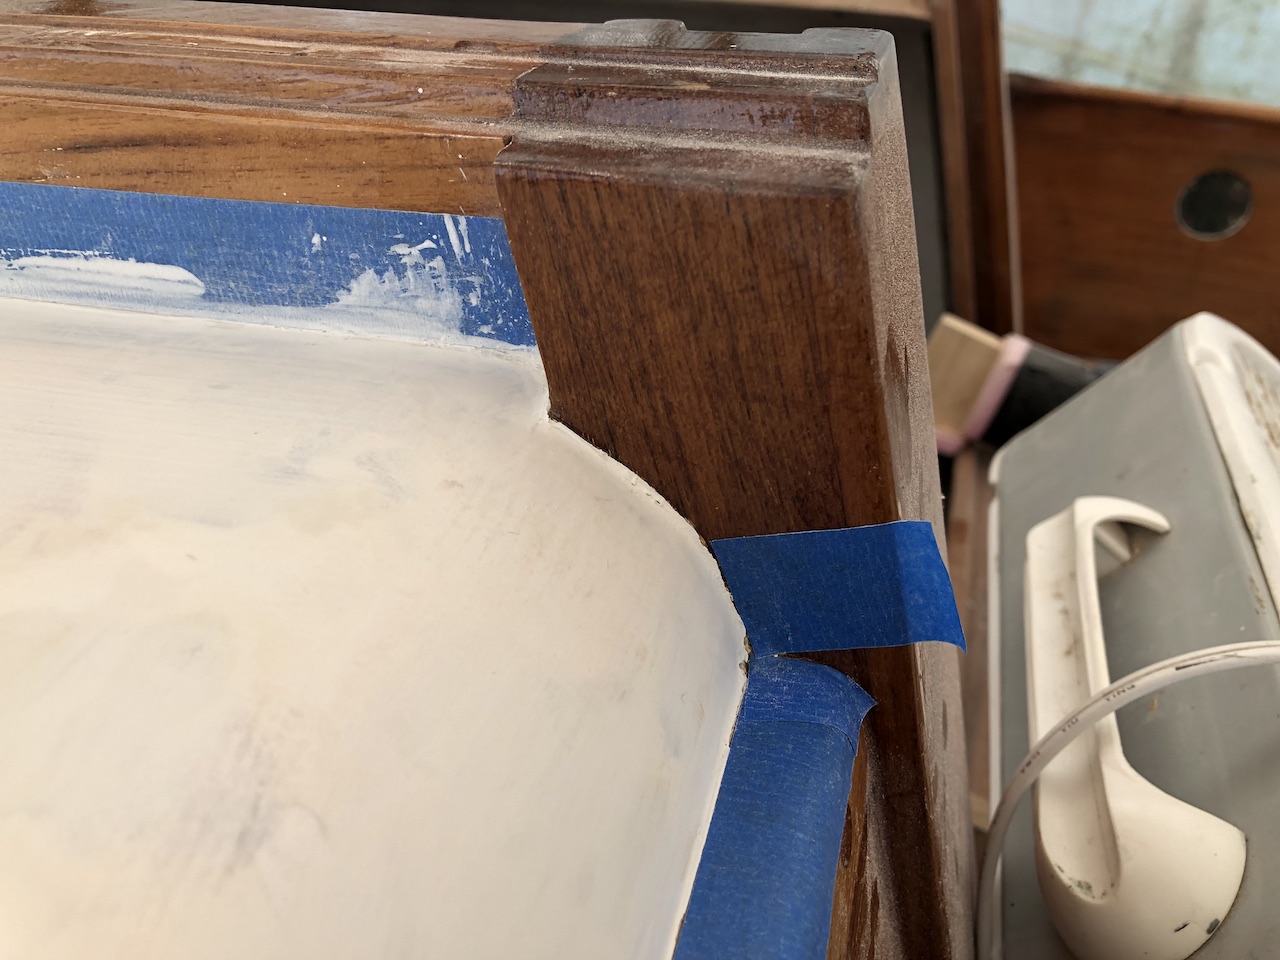
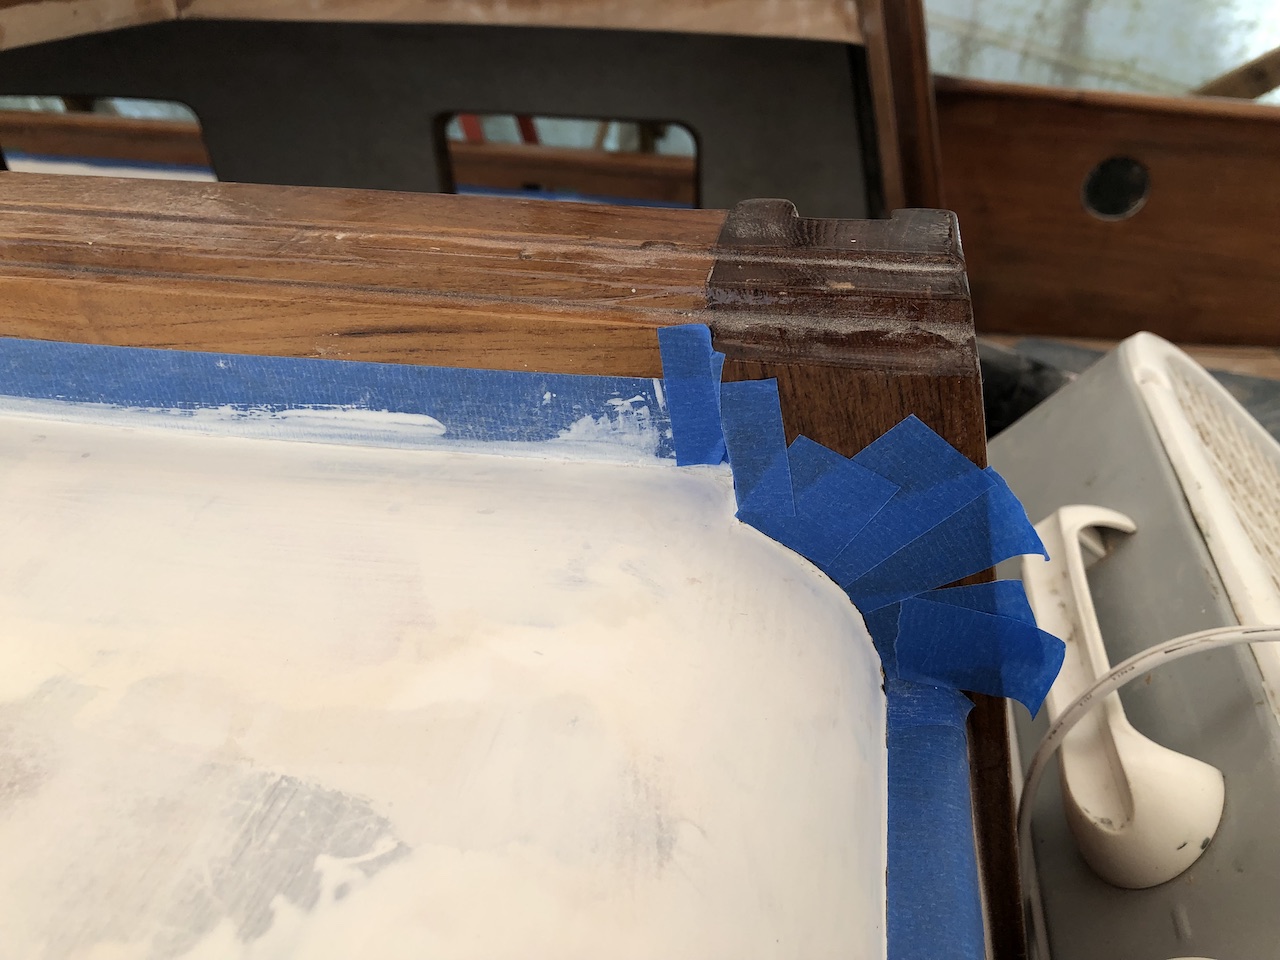
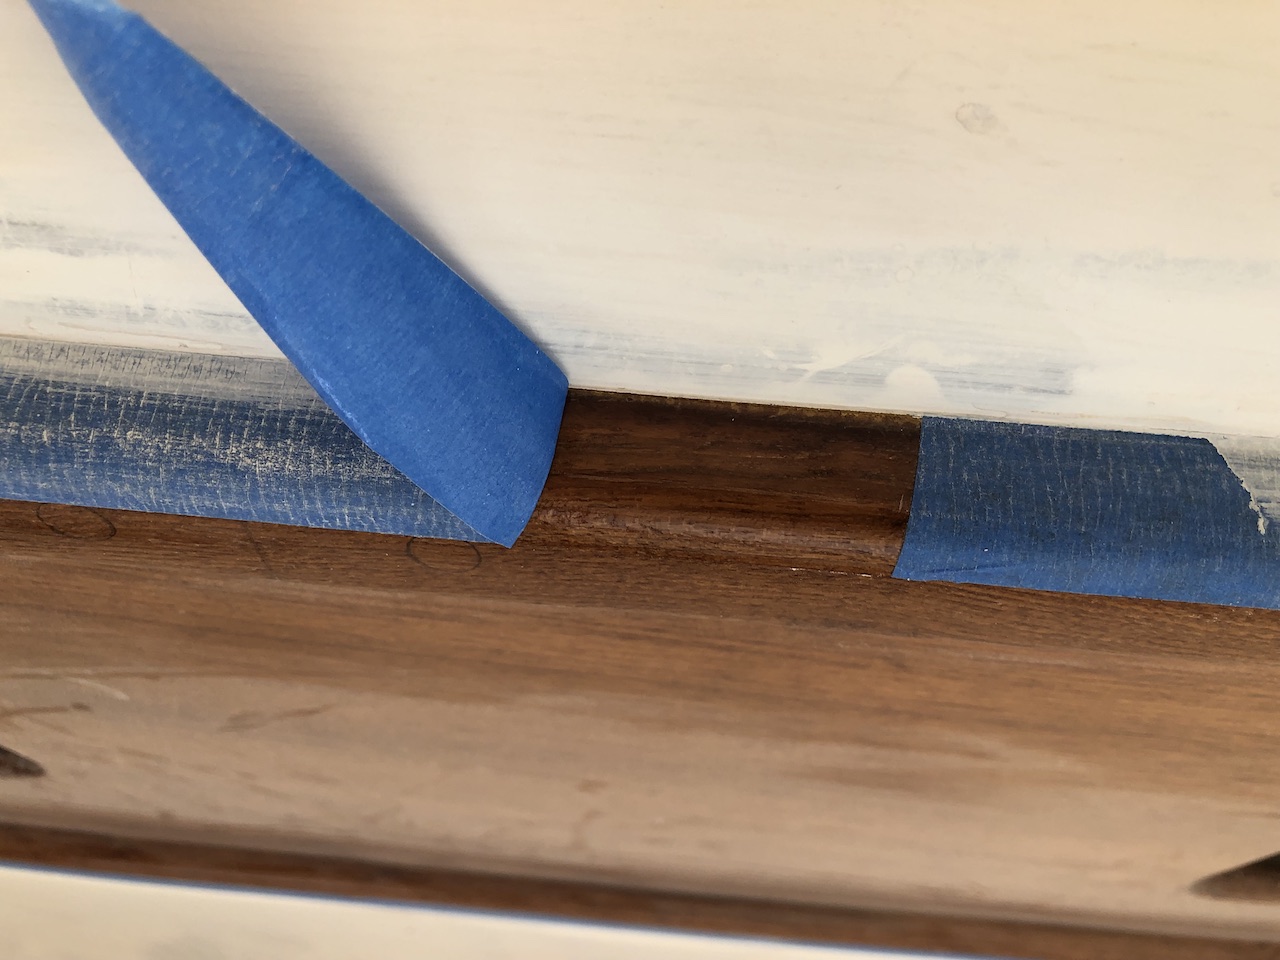
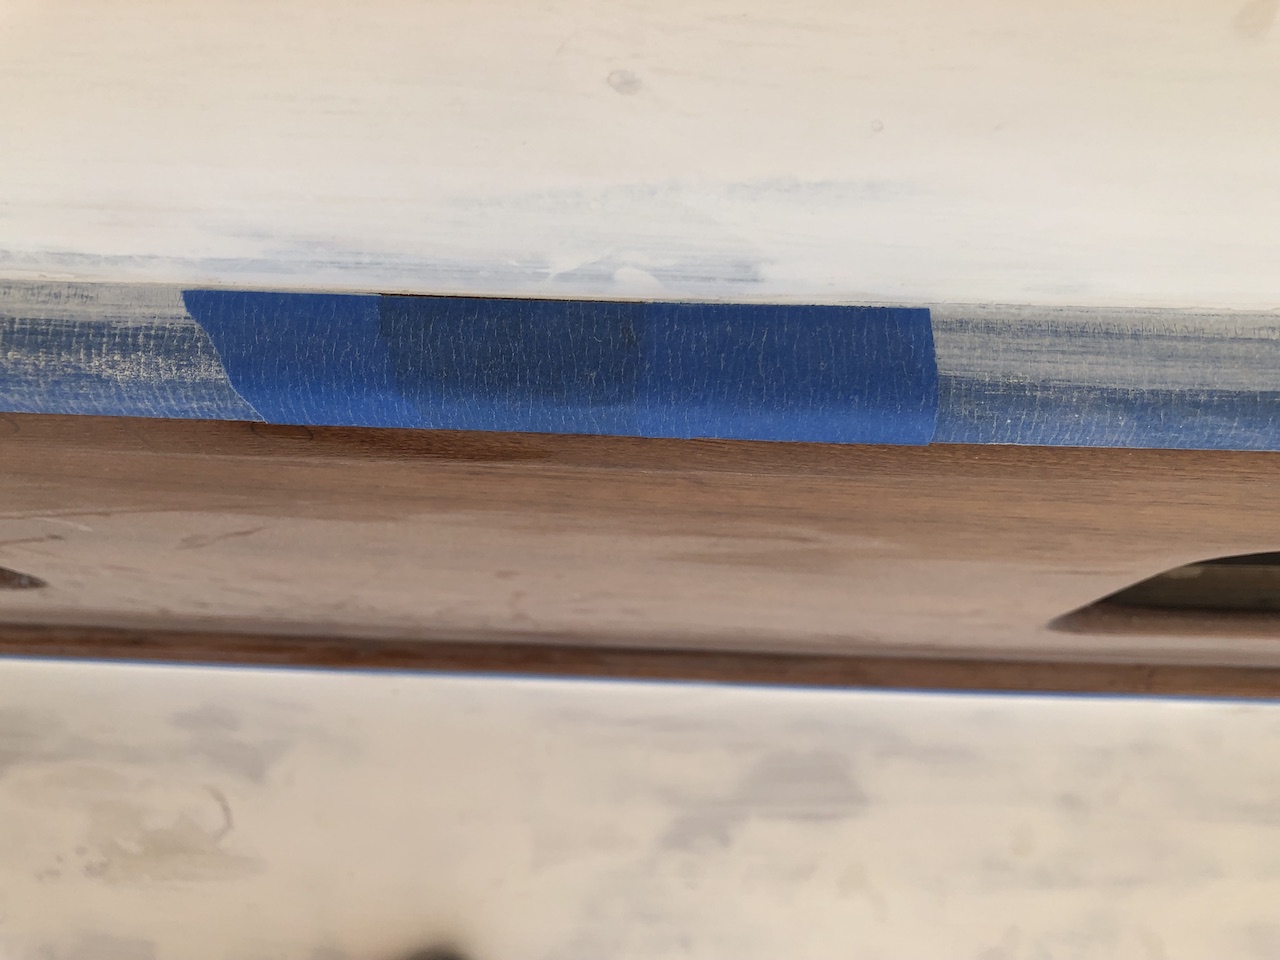
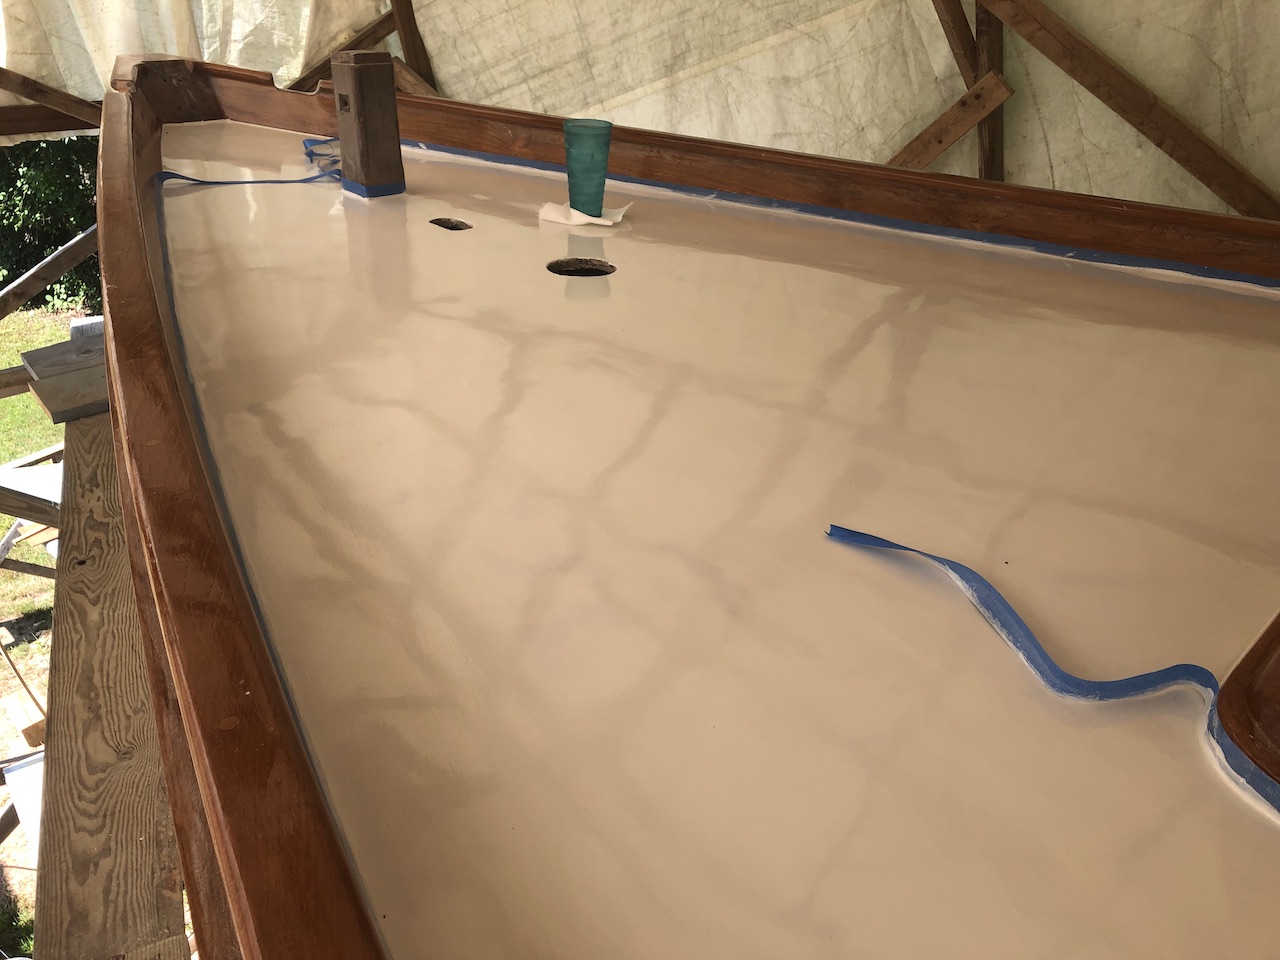
Meanwhile, I began preparing to paint the decks and roof by taping off the adjoining wood.
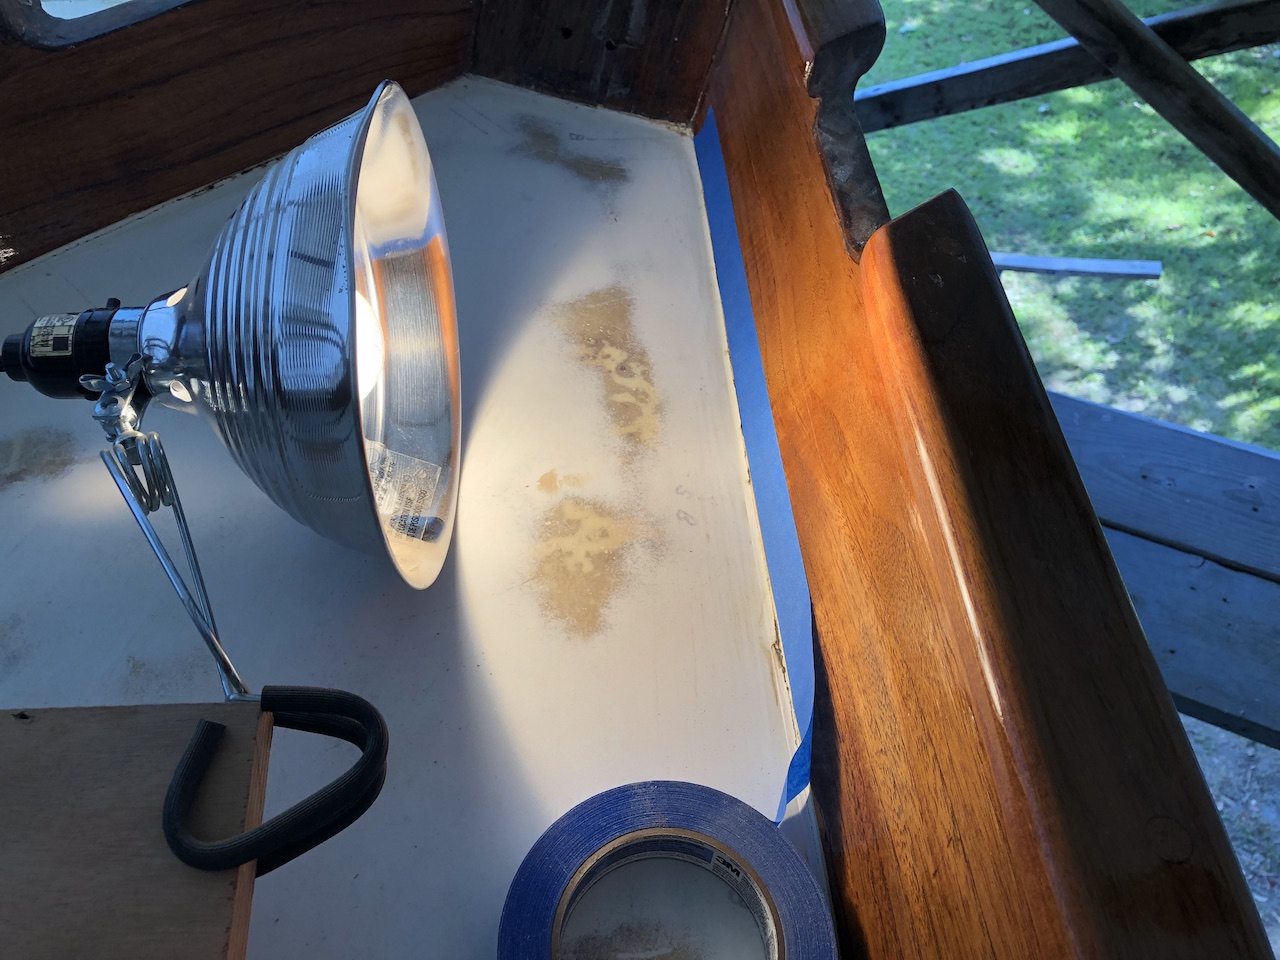
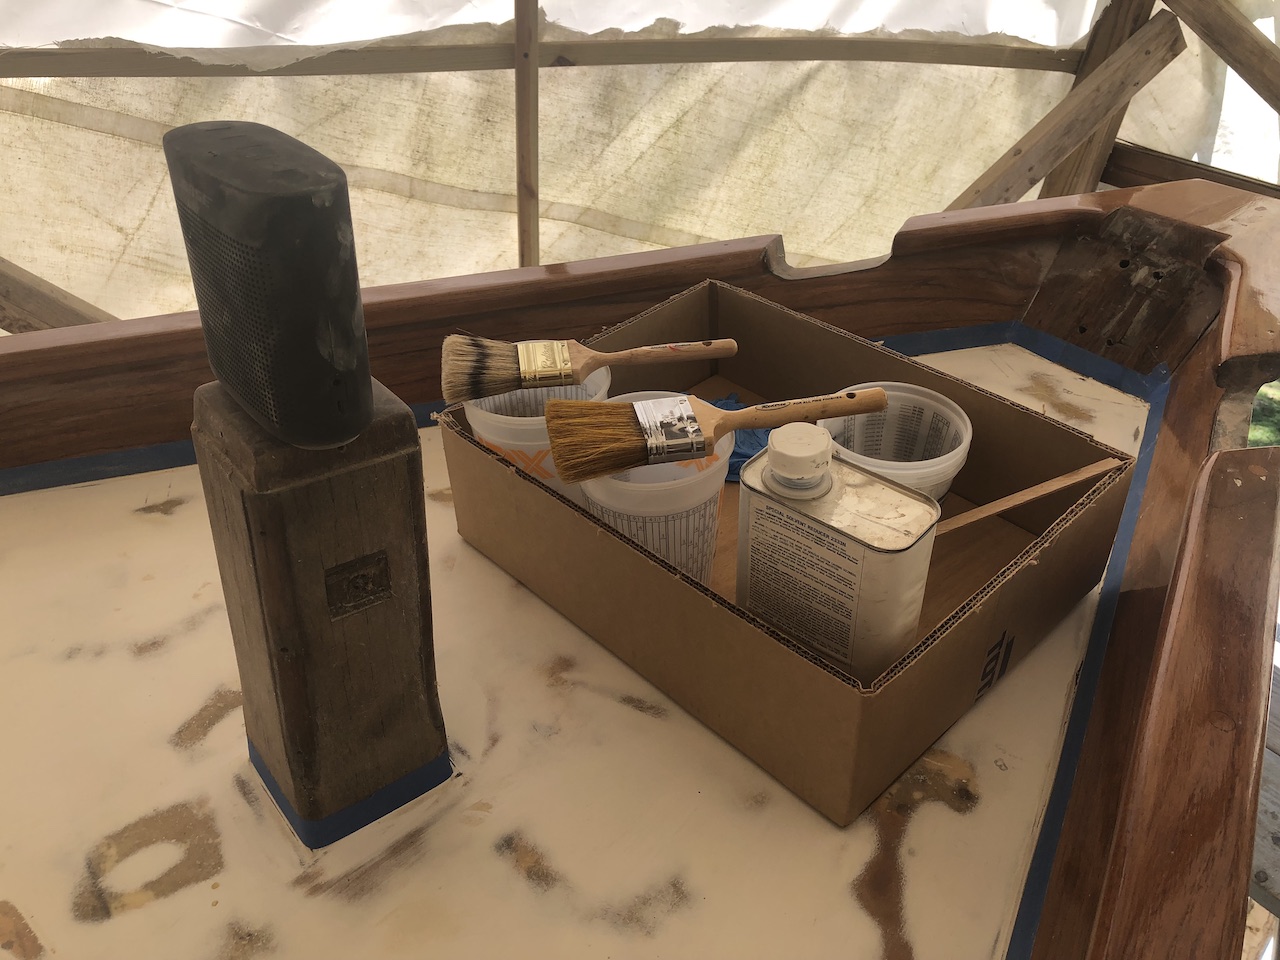
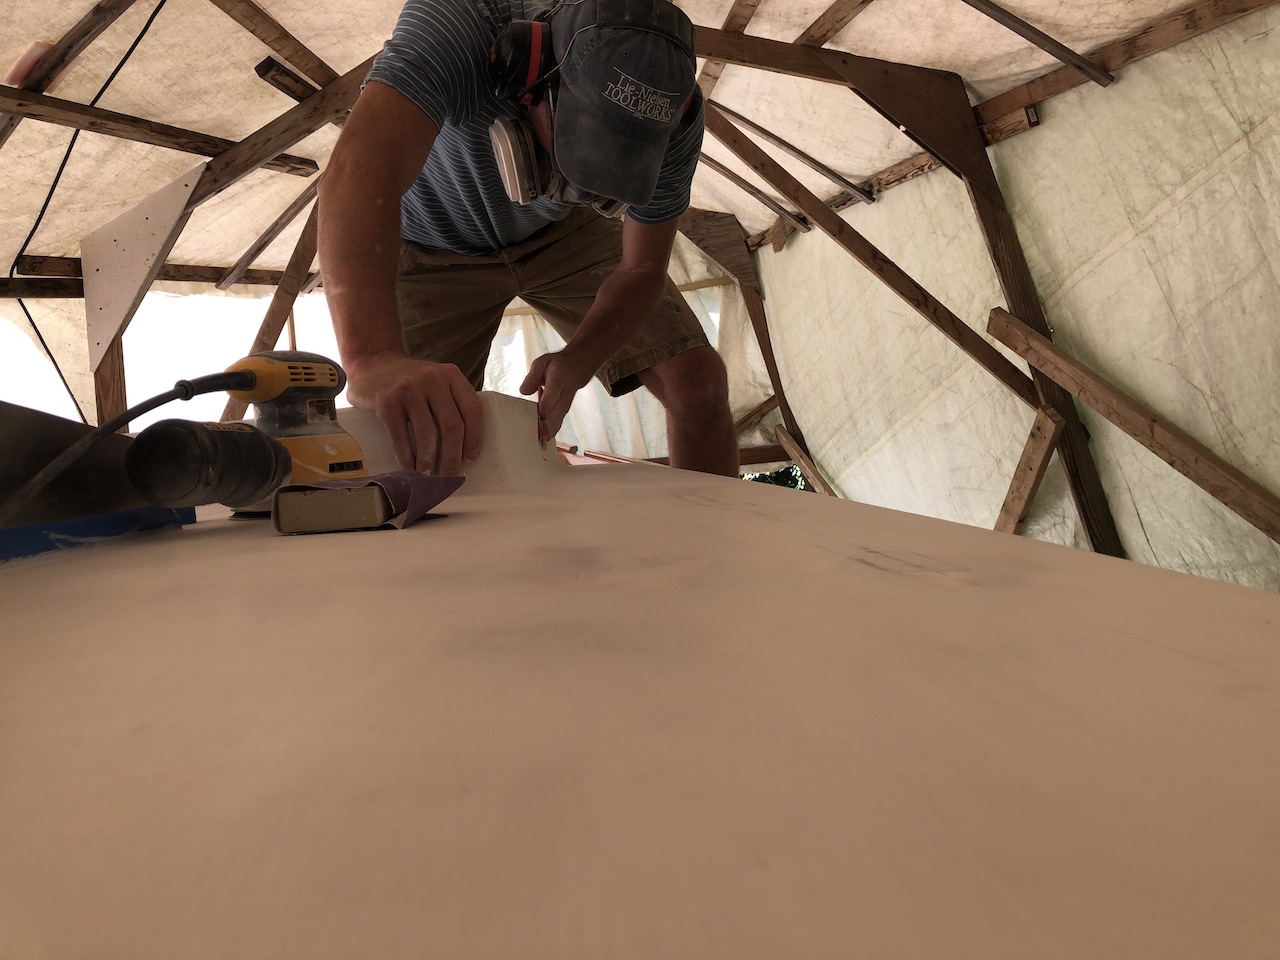
I started by sanding everything with 120-grit paper.
Doing so by hand facilitated identifying a number of small imperfections that I later filled and faired.
The two-part primer I used was Interlux Epoxy Primekote 404. Whether varnishing or painting, there are two main challenges.
(1) Maintaining a “wet edge”. Varnishes and high-performance paints set up quickly, and running a brush or roller over a surface that is sufficiently “set up” makes a mess that cannot be corrected on the fly. Making a mess in this way when applying a final coat means you’re not applying the final coat. Careful planning, experience, and quick work is key. In some cases it’s impossible to not leave a wet edge to dry. (The deck, for example, wraps around the house. I start aft at the narrowest part of the deck, and where there will eventually be a winch. I work my way forward on the starboard side deck. The side decks are narrow enough to that keeping a wet edge is not too difficult. The foredeck is big, but by I am barely able to maintain a wet edge before reaching the port side deck and working aft. After working around the aft deck I find myself back a the starting point where I do my best to make a neat job out of joining the new wet edge with the old.
(2) Thinning paint or varnish is important to keep it flowing. Whether brushing, brushing and tipping, or rolling and tipping, the brush is guaranteed to leave initial brush marks. Trying to brush them out simply introduces a different pattern of brush marks. The painter’s job is to make sure the consistency of the paint is such that the brush marks flow together as the paint dries, leaving a smooth surface. Easier said than done. The extent to which paint or varnish flows is highly variable on temperature, humidity, and orientation of surface. There’s no gauge with which you can measure the consistency of a paint and know that it’s going to flow correctly. To make matters worse, your pot of paint or varnish is continuously thickening due to evaporation of solvents, so even if you find the perfect consistency it will be imperfect in just a few minutes. The correct protocol is to thin the product so that it is a little too thin, then thin again when it is a little too thick. With painting and varnishing I find myself thinning about every 5 minutes, depending on conditions.
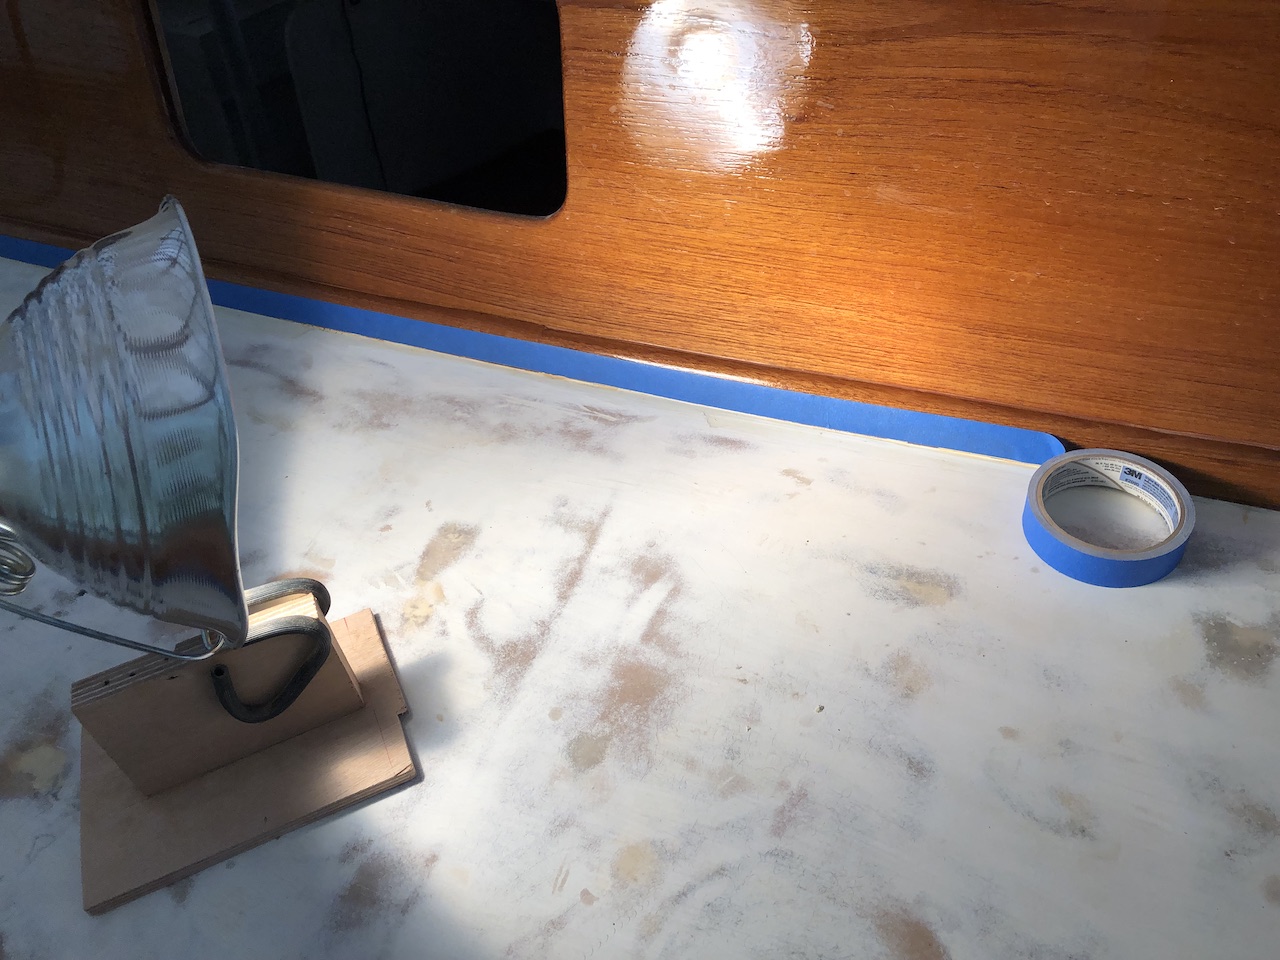
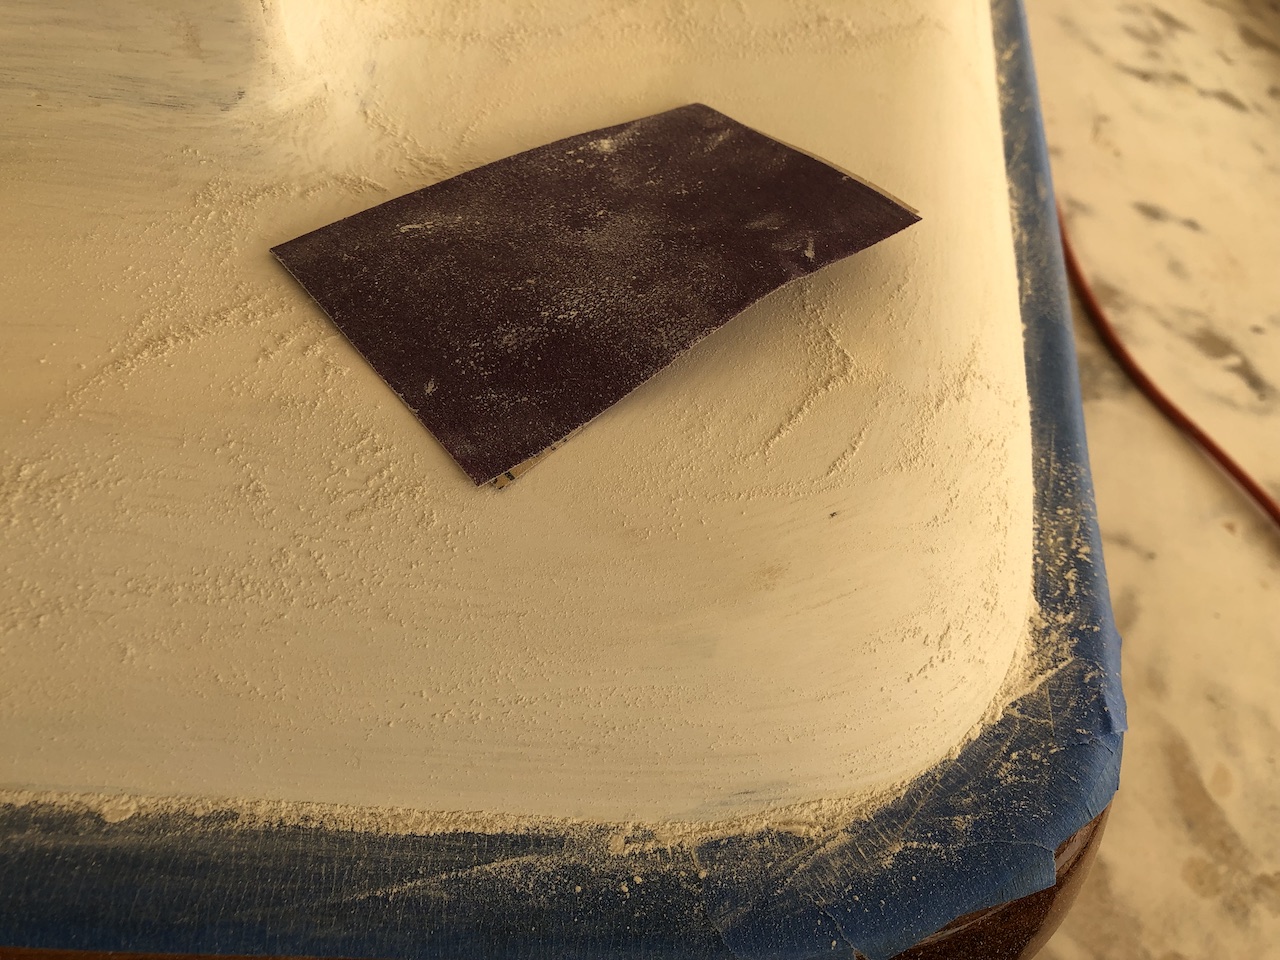
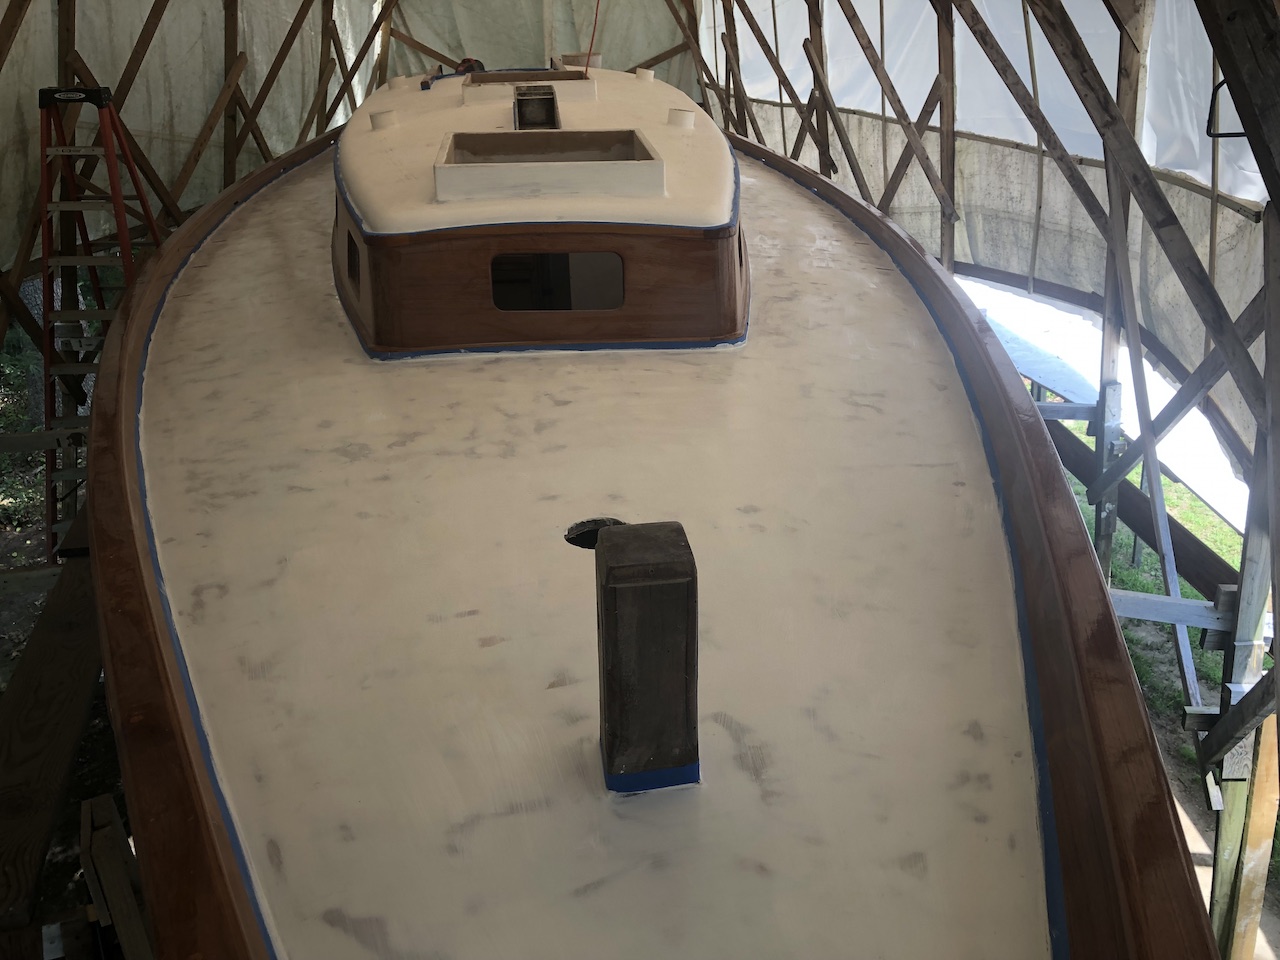
One coat of primer.
Sanding between coats.
The first coat of primer makes it easy to spot pinholes, and other imperfections that should be filled.
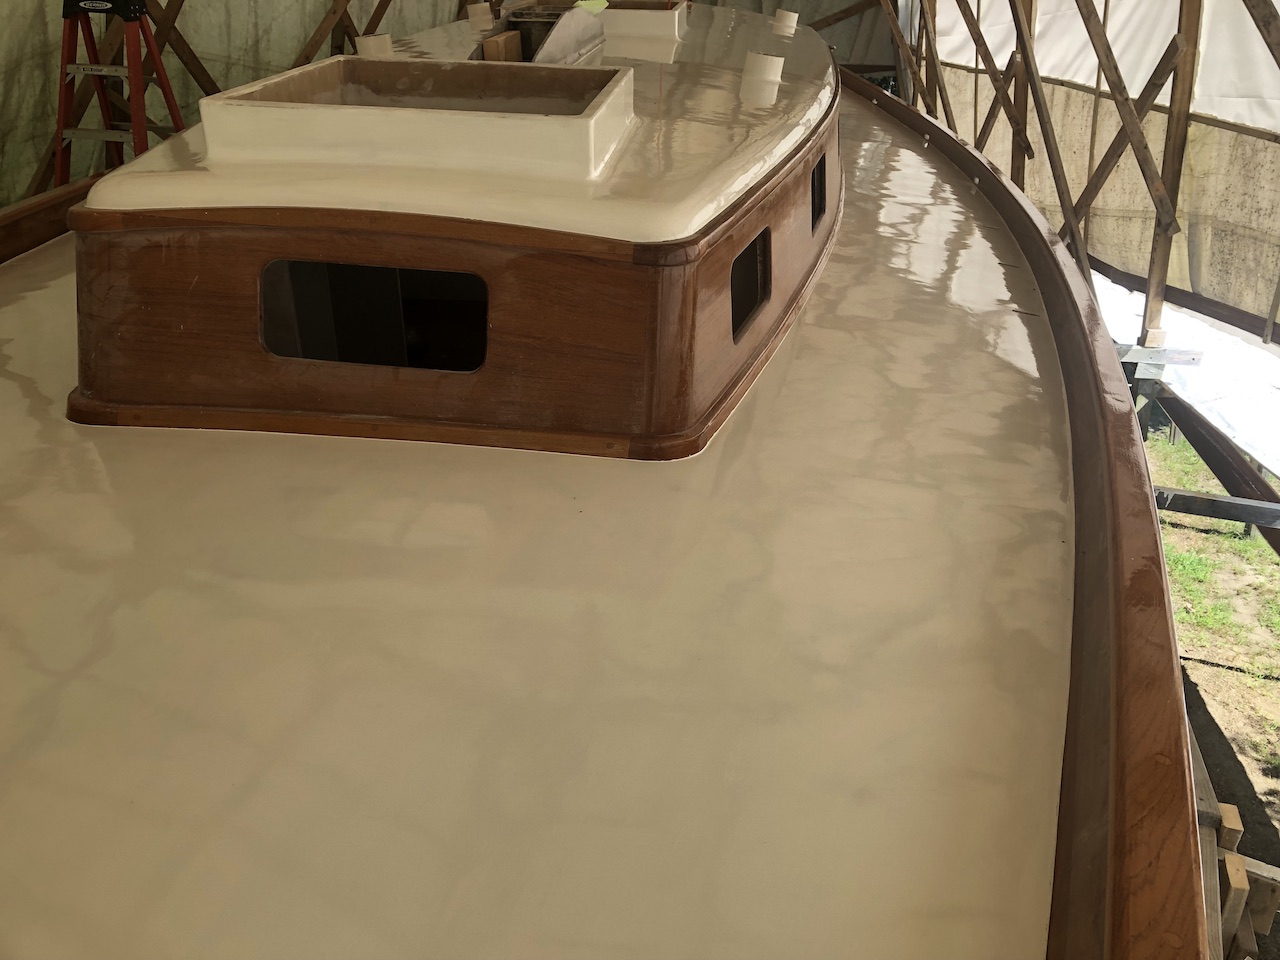
Two coats of primer.
Taping takes time, so it’s better if you can get away with leaving the tape on for multiple coats. Leaving the tape on for too many coats or for too long can create issues with edge unfairness or difficulty in simply removing the tape. I removed and reapplied tape in a few spots to gauge the wisdom of leaving the tape on for two topcoats.
The topcoats are Interlux Perfecton–off white. One coat:
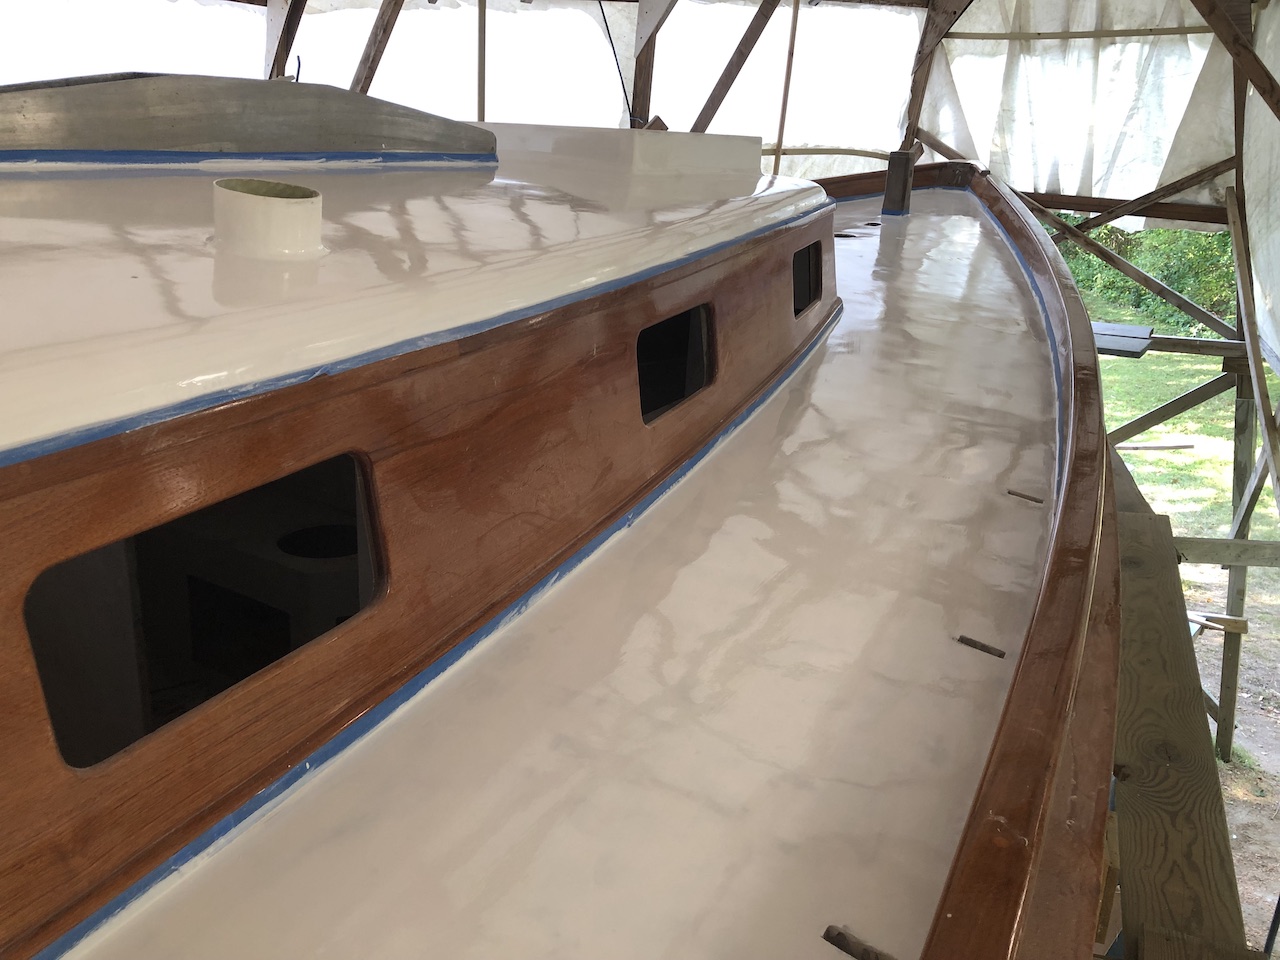
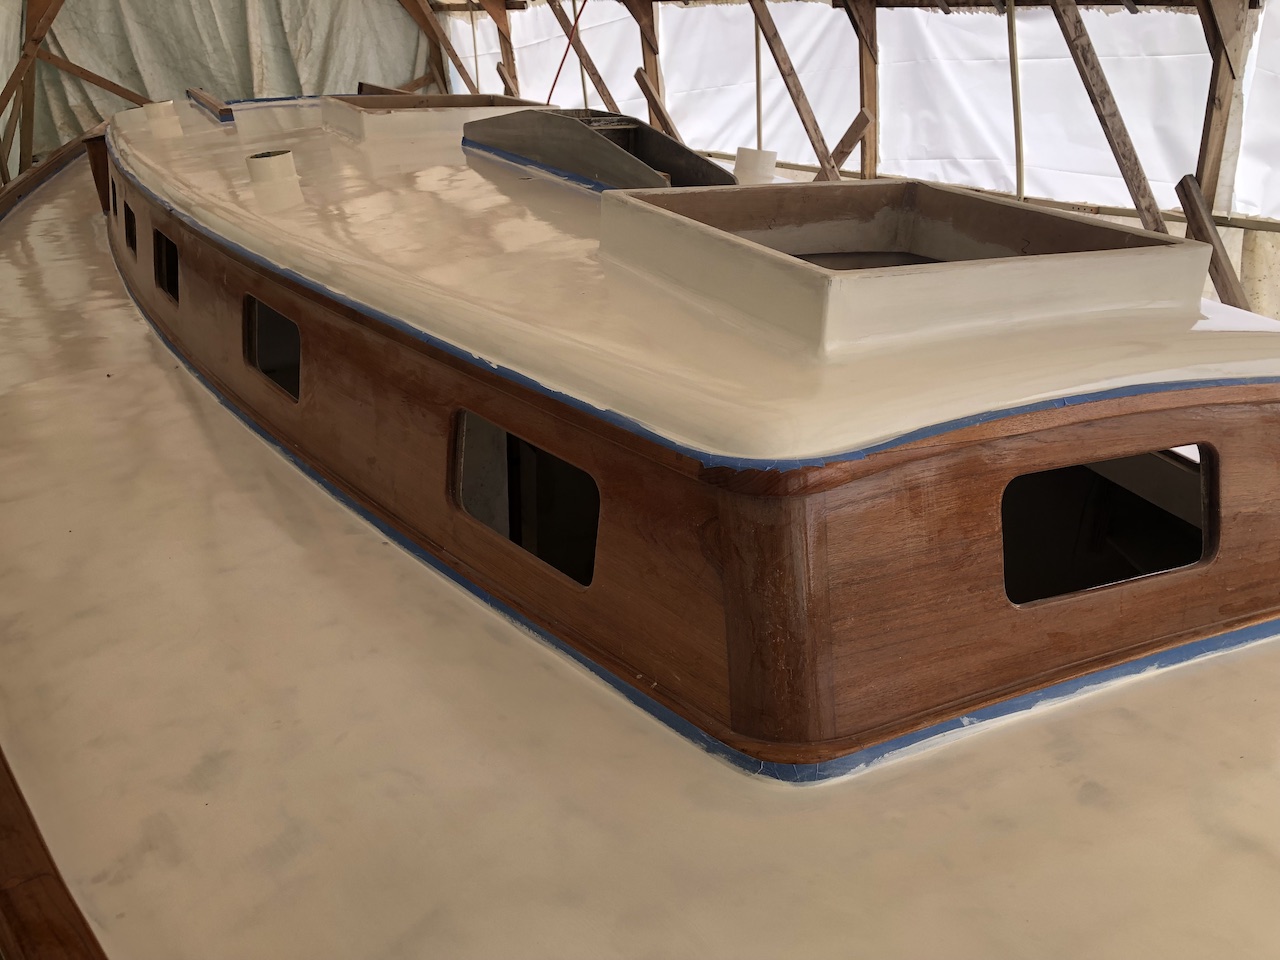
Removing the tape after the second coat.

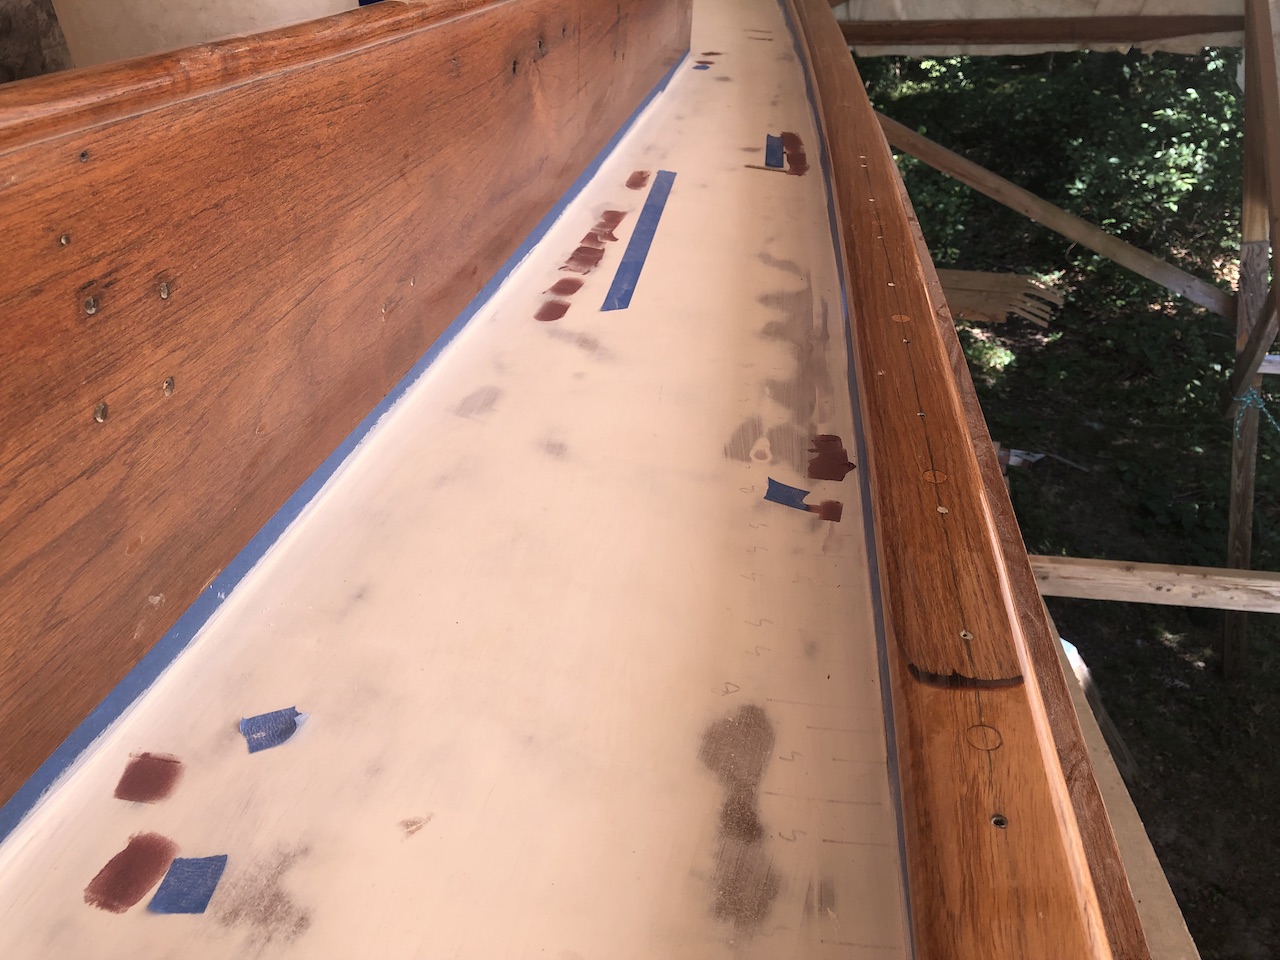
There’s still more varnishing and deck painting to do, but I needed to get at least a few coats of primer on the topsides first. You might remember (see HERE if you don’t) that I discovered the original bootstripe, then taped it off and gave it one coat of primer as a means to preserve it. I later decided on a different protocol for painting the topsides, so I needed a new way to preserve the shape of the bootstripe. First, I measured out “stations” separated by 6 inches all along the bottom of the stripe.
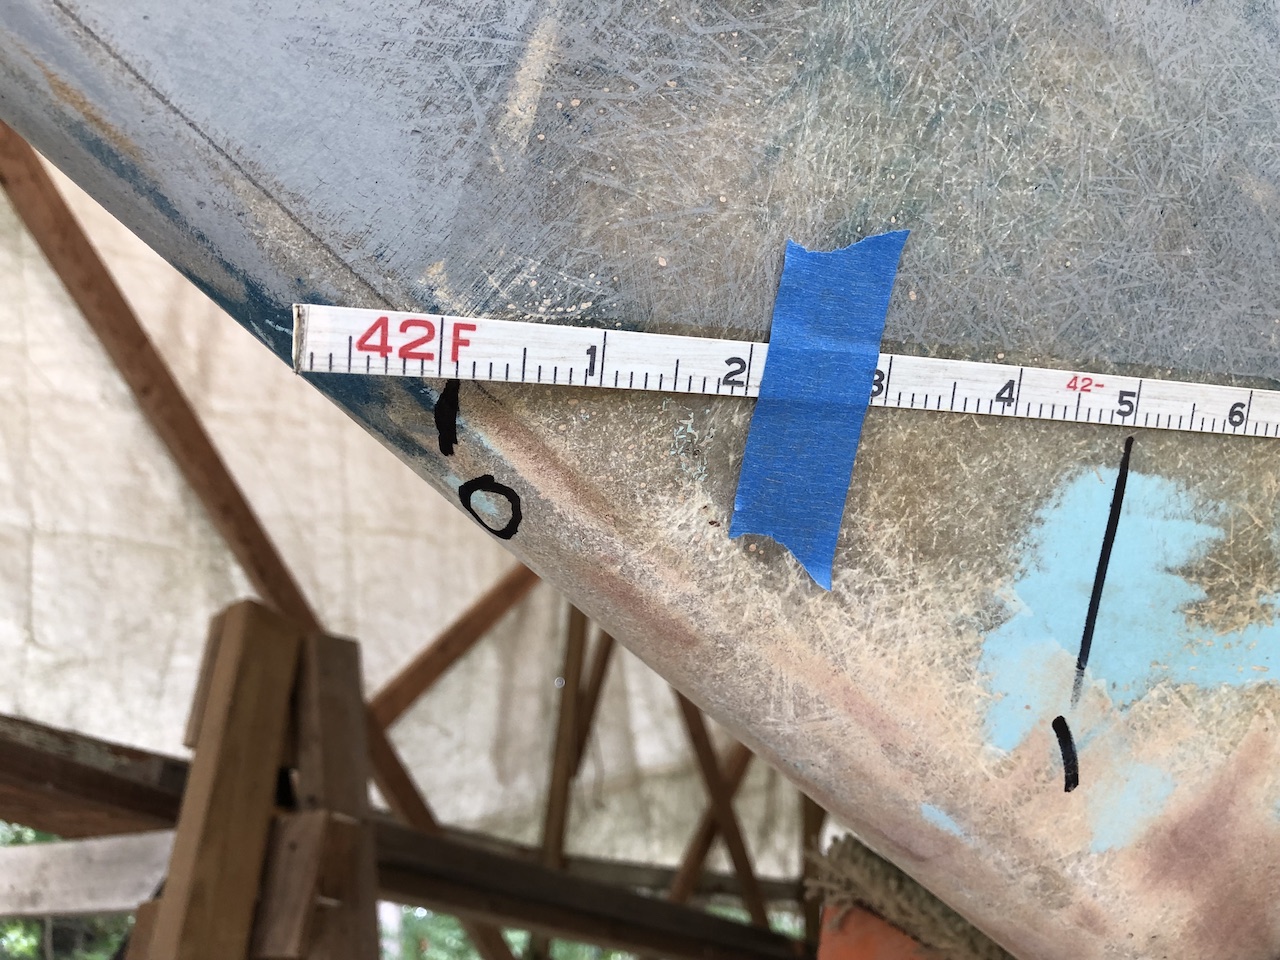
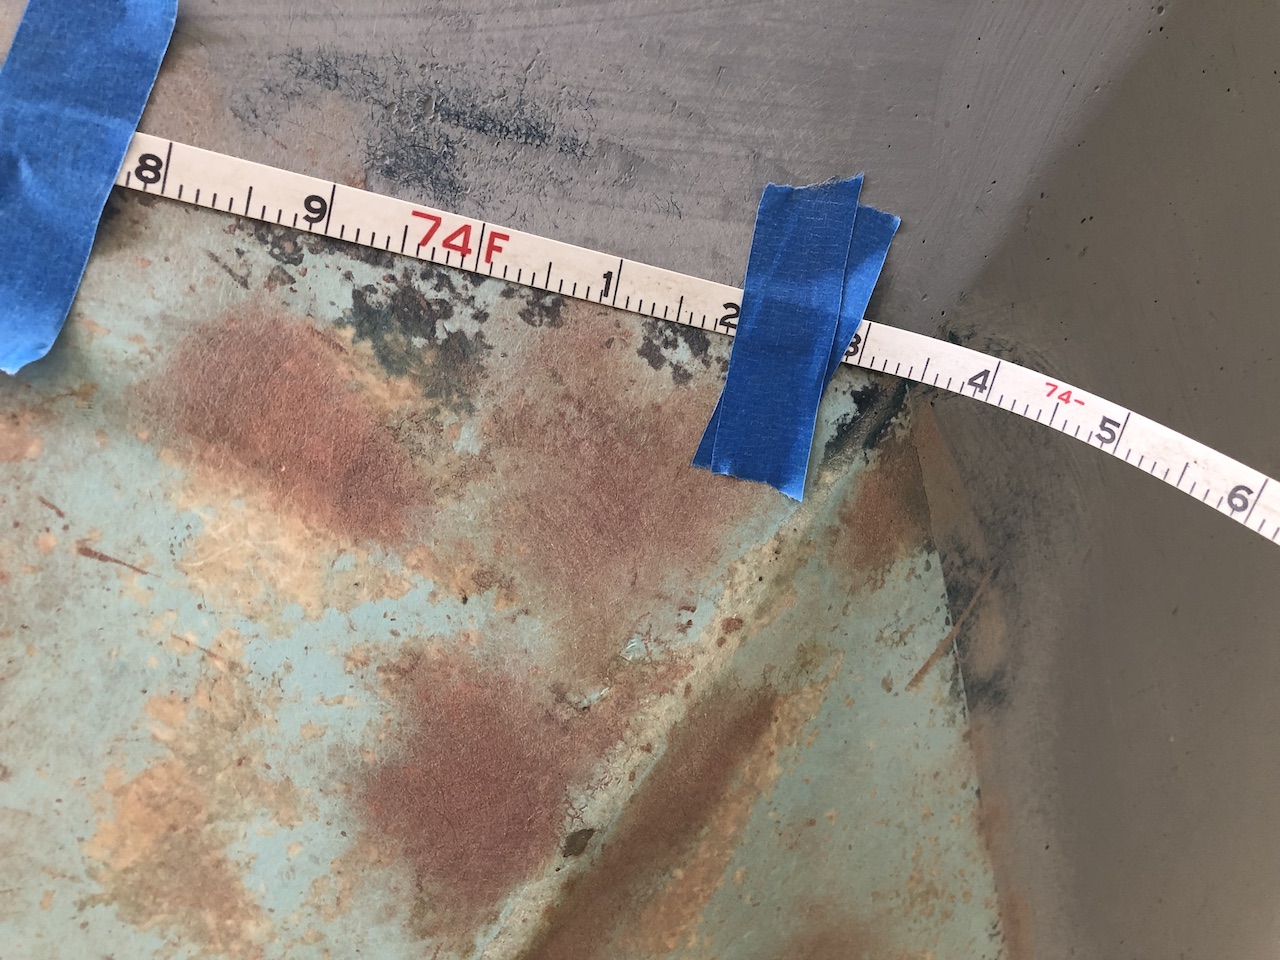
I drew lines exactly perpendicular to the bottom of the stripe then numbered them.
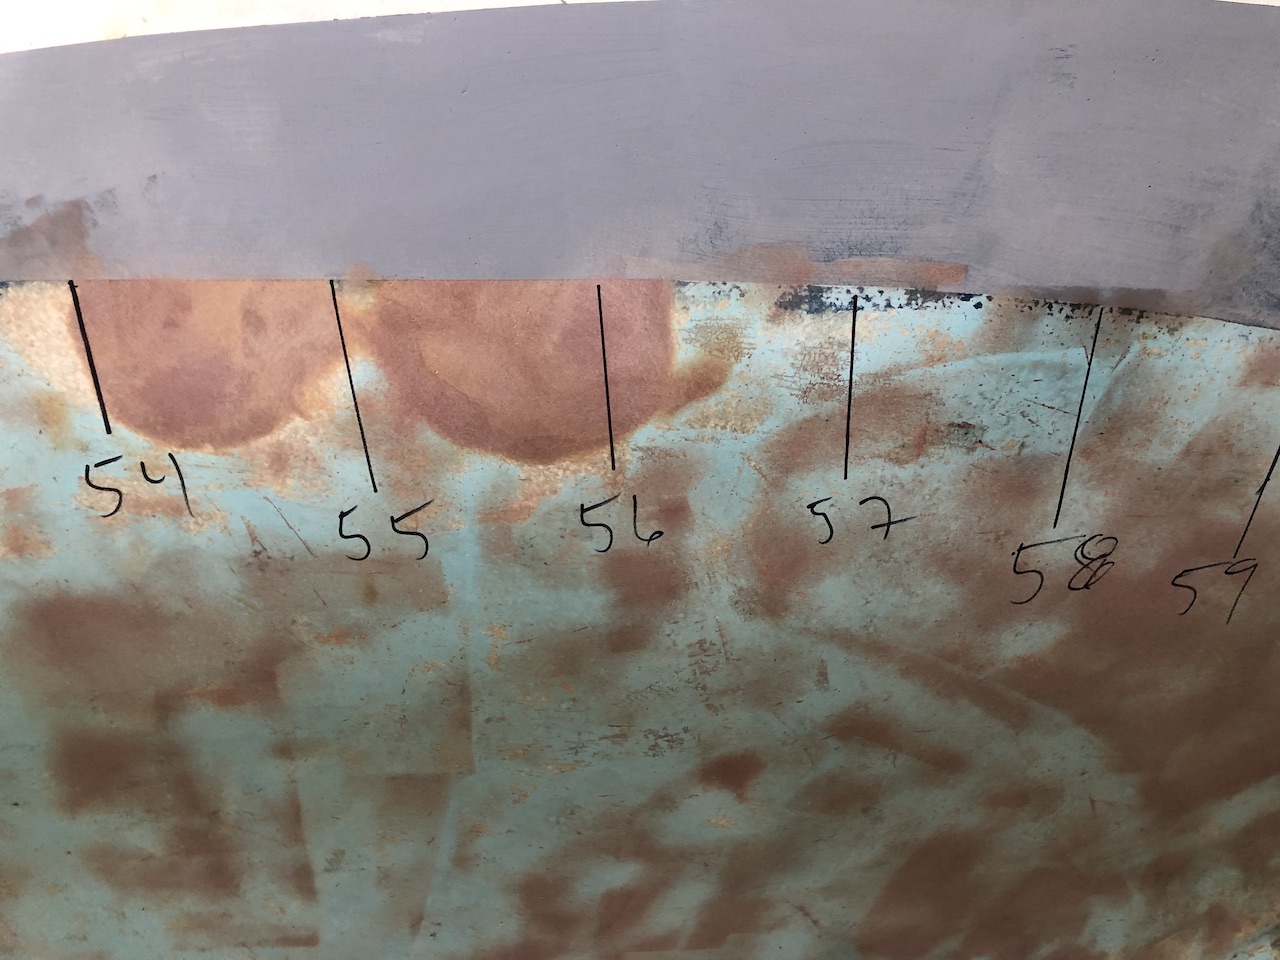
Next, I measured the width of the stripe to the 16th inch and recorded.

I later decided that I wanted to paint the topsides down a little lower than the bottom of the stripe. Knowing now that I was going to lose the bottom of the stripe, I needed a means to recreate it. This was easy, and I simply took a 2-inch wide scrap of wood and traced a pencil line exactly 2 inches below the bottom of the stripe and parallel to it. I’ll use the same scrap to recreate it.

I began sanding the topsides at the transom.


I soon discovered that I will need a new scaffolding system. More on that later.
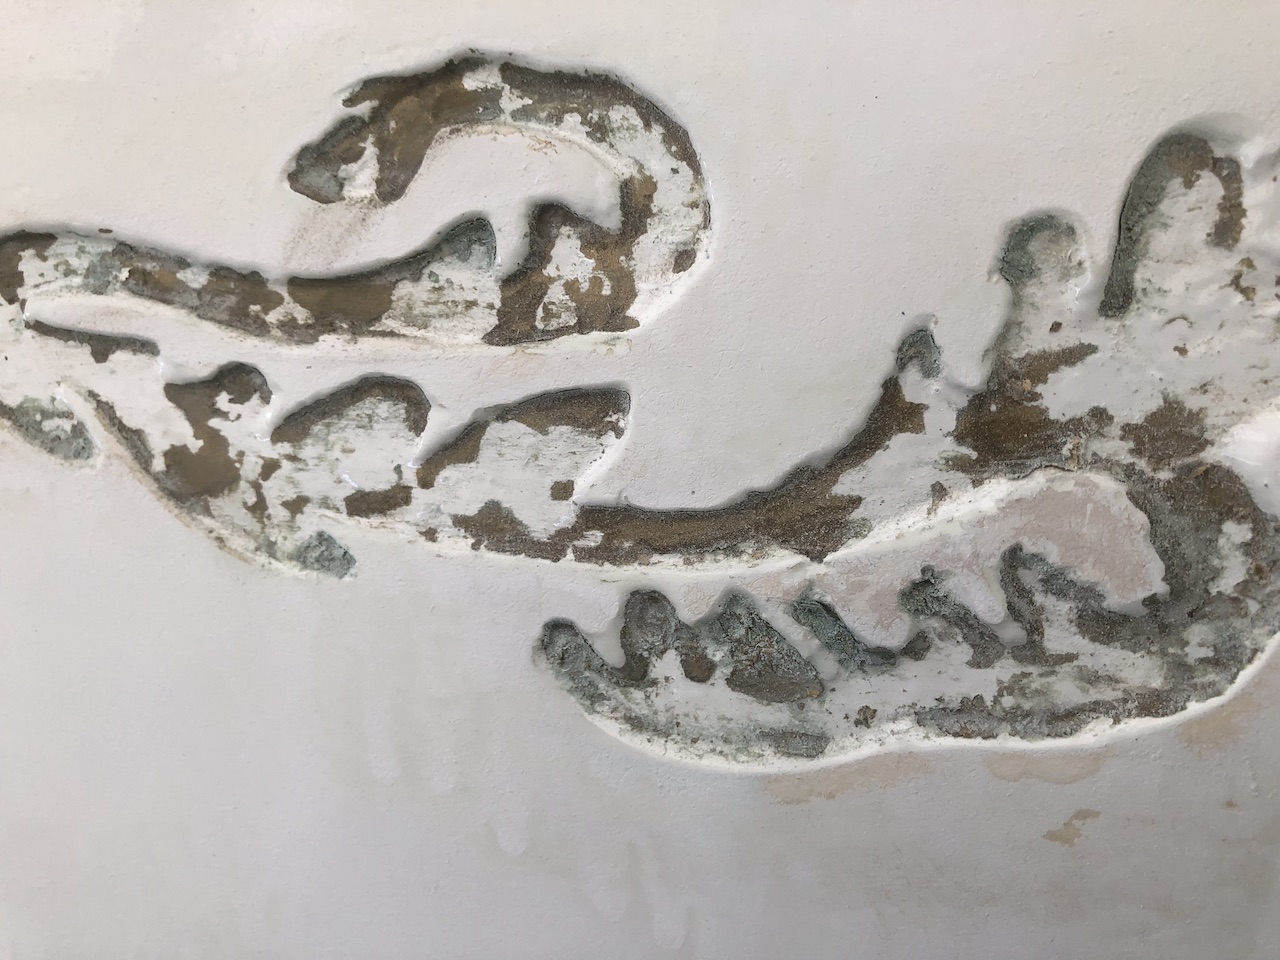
Meanwhile, the fancy molded-in cove stripe and decorative “scrolls” (as I’ve heard them called) represented a significant headache. There are a number of issues. One is that their complexity and that they are molded-in makes removing the old gold paint a challenge. This paint must be removed because it is a one-part paint, which cannot be over-coated with two part paint.
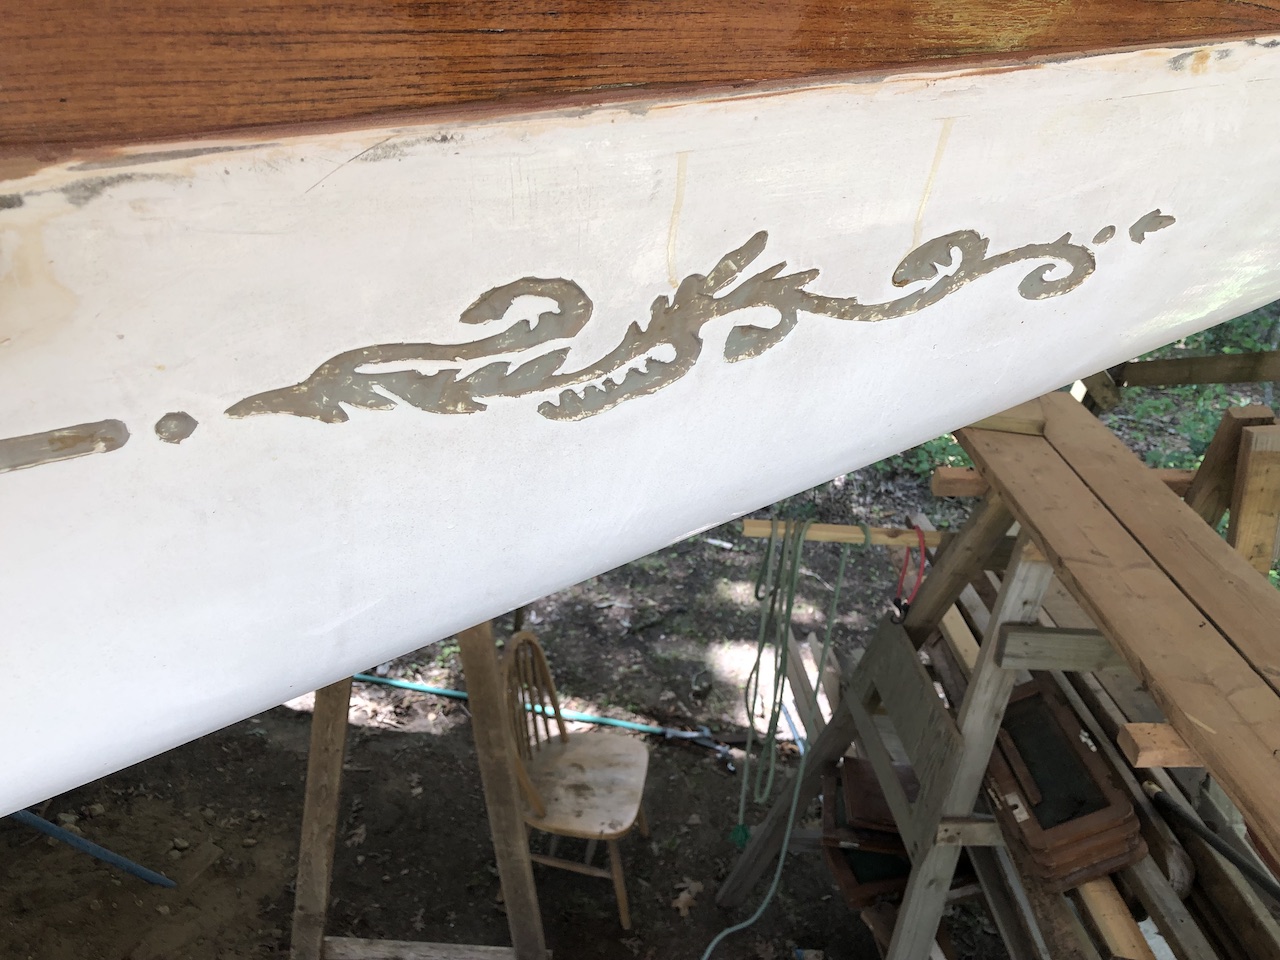
A second issue is that there is damage in some places. When the boat was laid up in the mold in 1970, the first layer is gelcoat, which is sprayed on. Next, is a layer of fiberglass (chopped stand mat). It’s not surprising that there are some voids at the stripe and scrolls. Laying down glass in sharp corners is notoriously difficult.
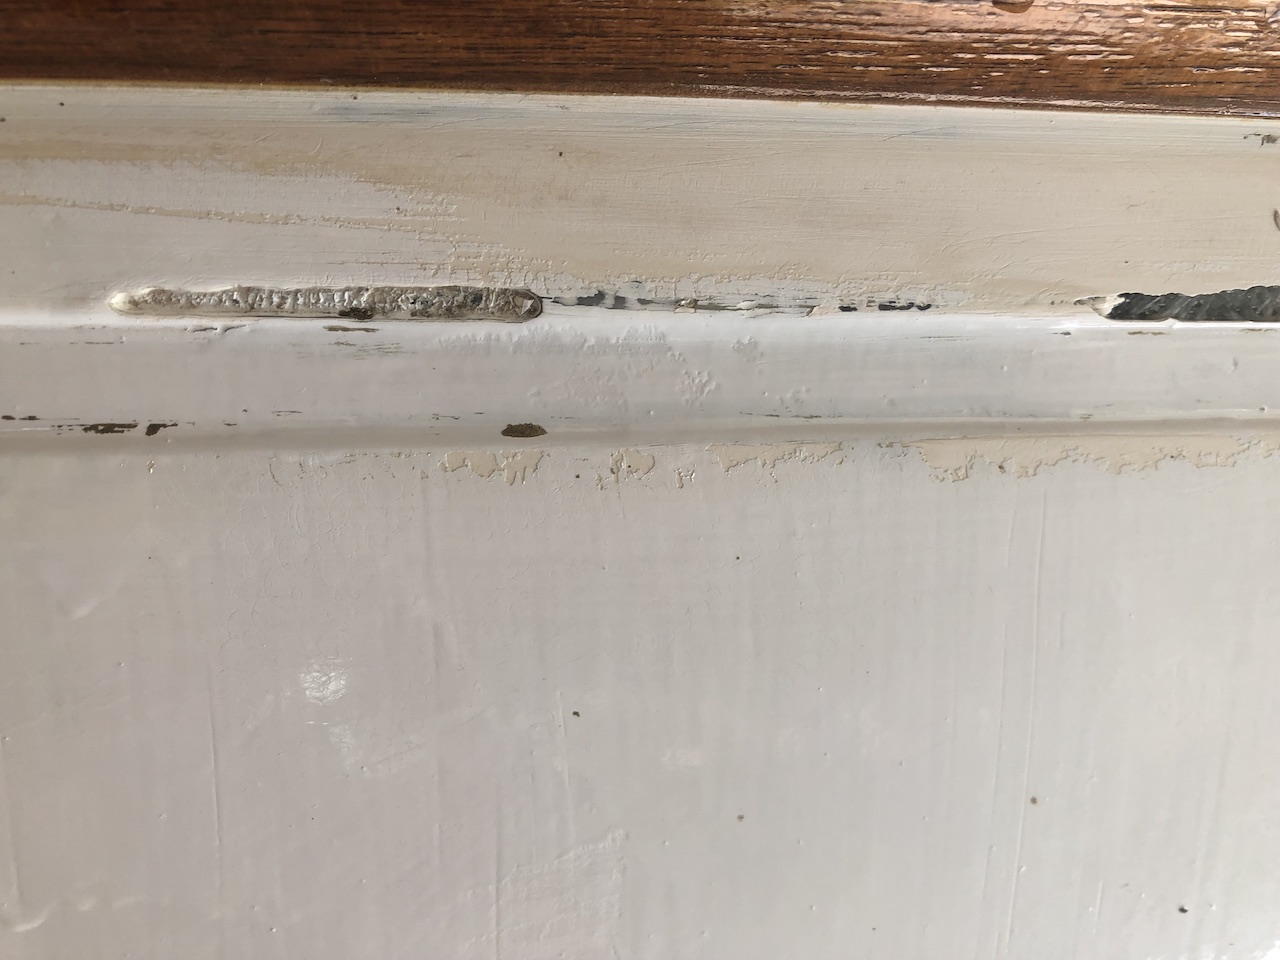
After considerable deliberation, and a little advice, I decided to fill in the stripes and scrolls. First, I had to grind them out a bit.
Thickened epoxy, as usual for the filling.
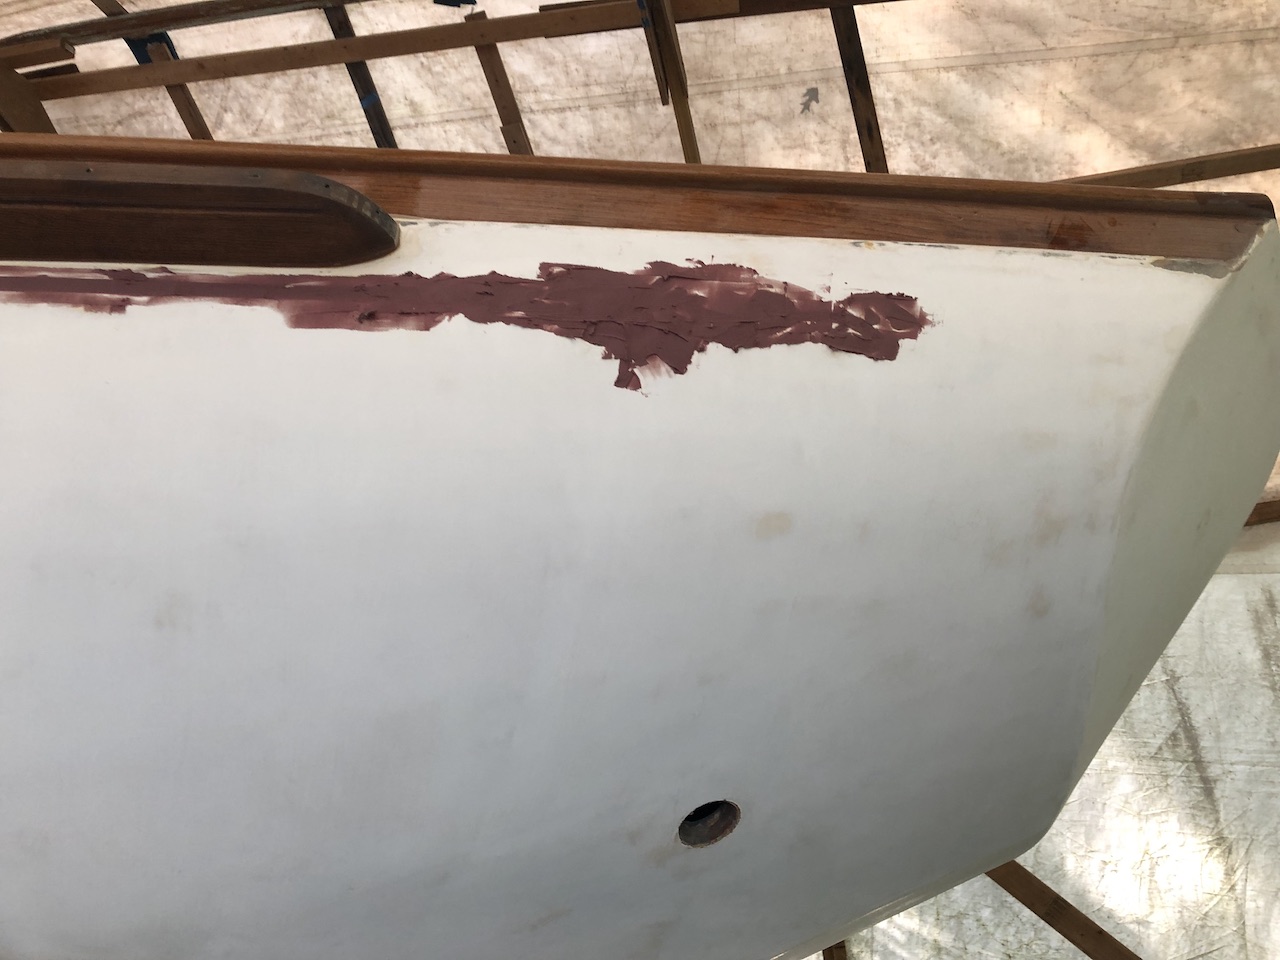
There’s still plenty of work to do in filling and smoothing.
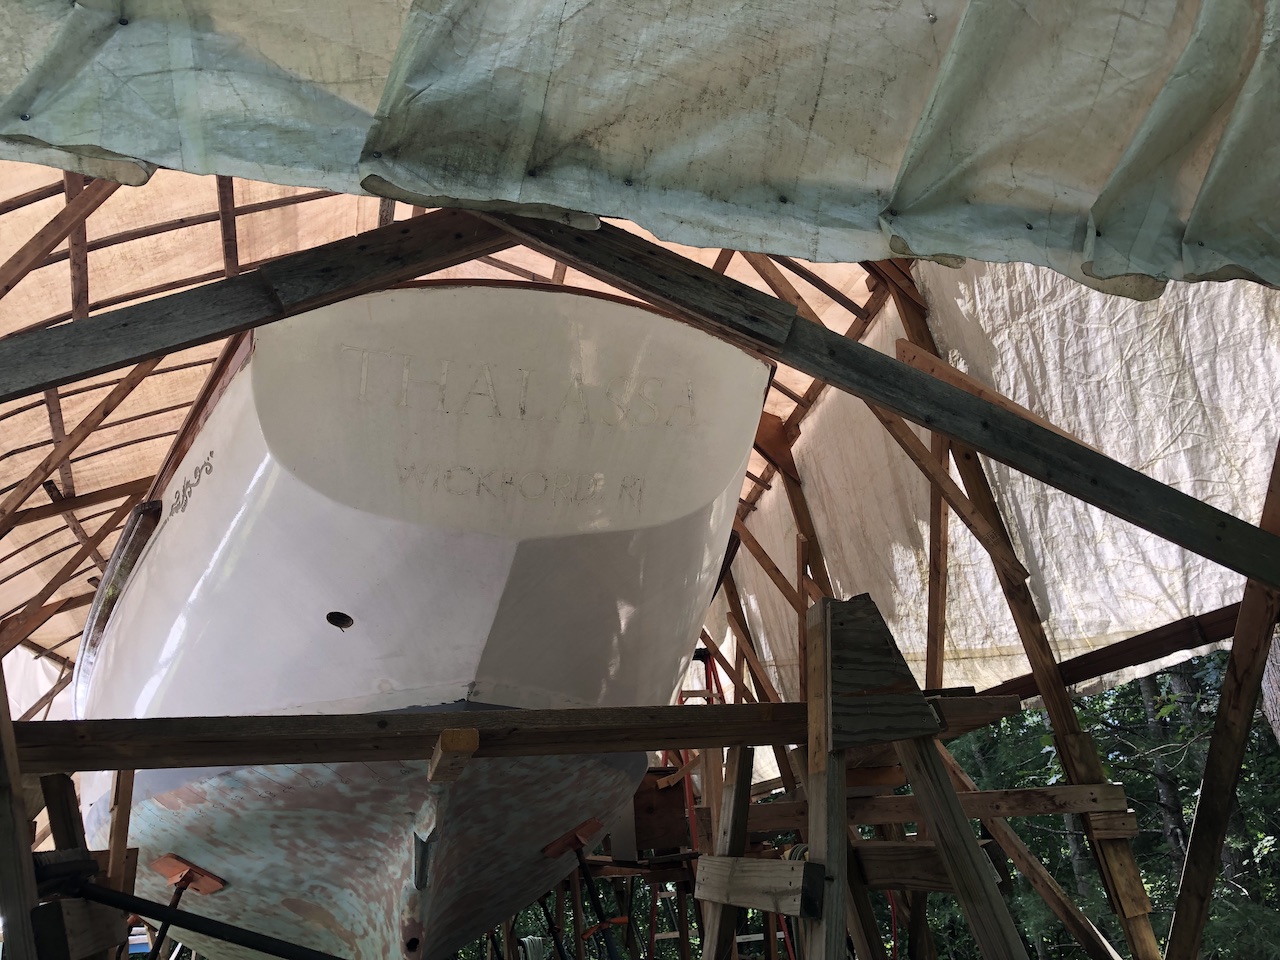
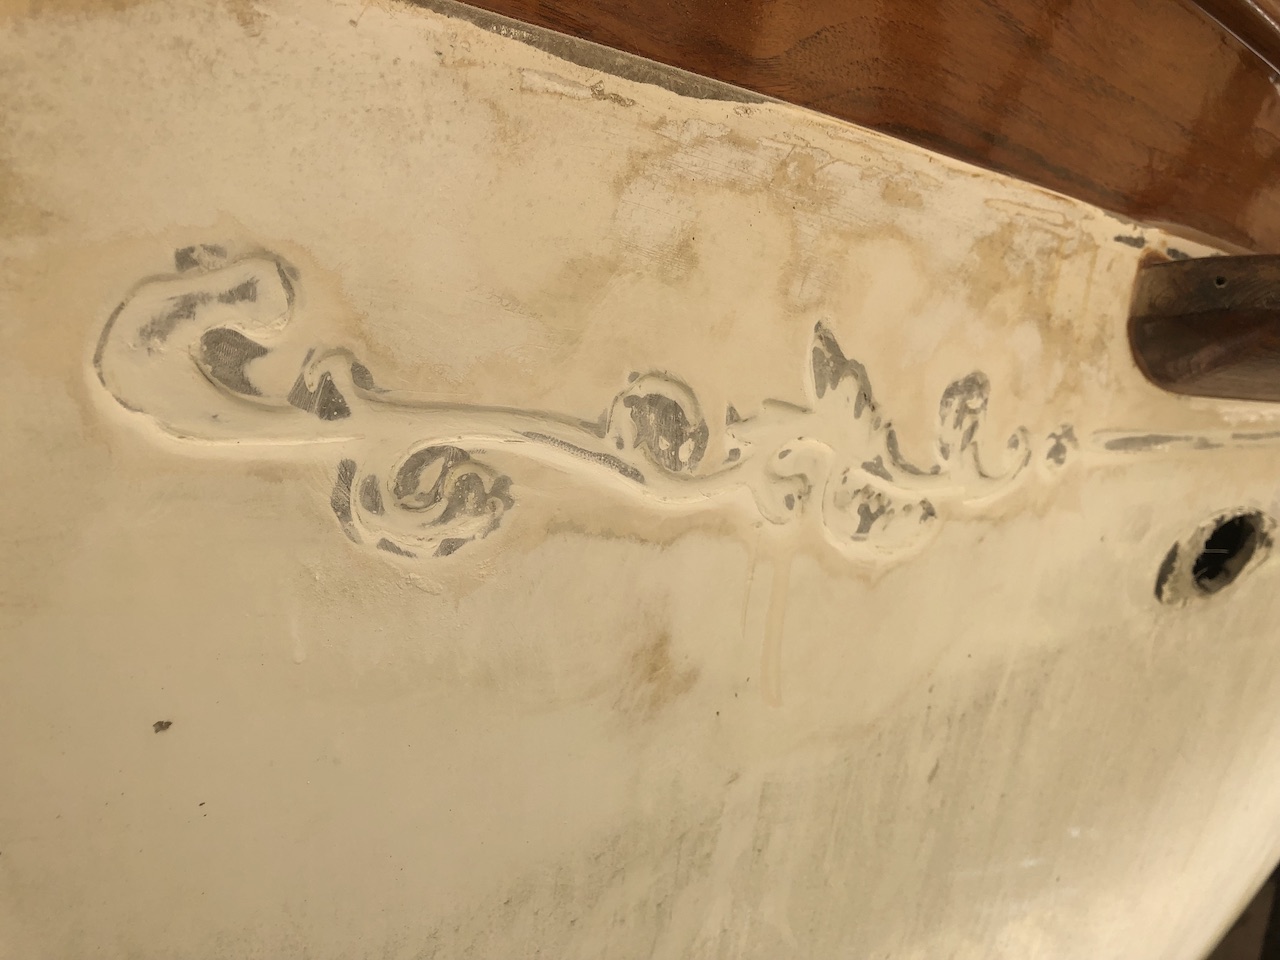
The scrolls are very distinctive and an almost fool-proof way to identify a Cheoy Lee. I will paint the scrolls and stripes on the surface, or perhaps have decals made up, as I will likely do for the name. In any case, I had to preserve the shape of the scrolls. I was able to do so using Adobe Illustrator, YouTube tutorials on the “pen tool”, and photographs of the scrolls.
Here’s the result for the aft scroll pattern:

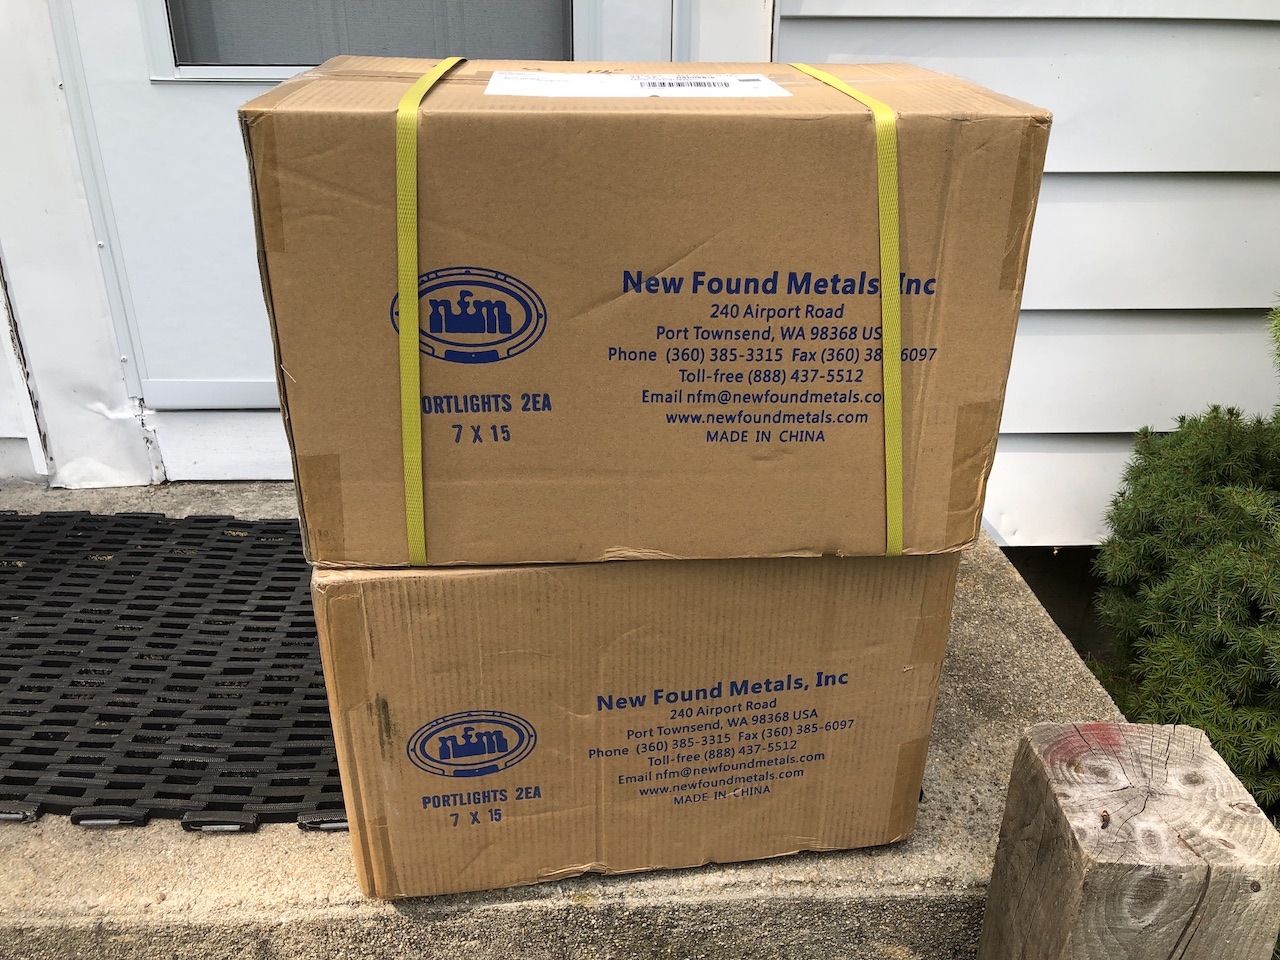
At some point during all this four stainless-steel portlights from New Found Metals showed up. You might read more about them this fall.