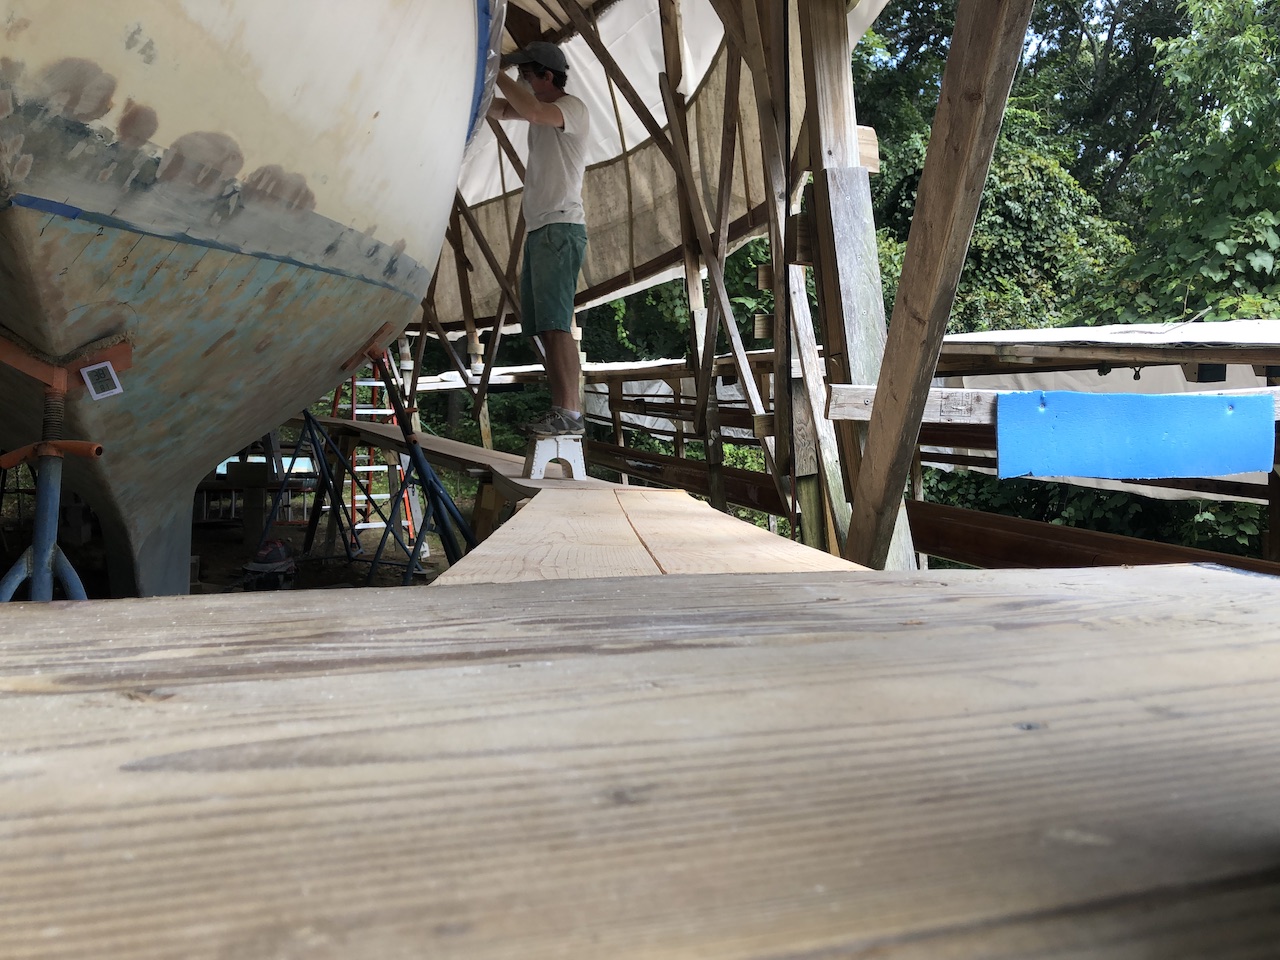
9/8/19: Scaffolding, topsides
The current scaffolding system is convenient for working on the decks, rails, etc., but much too high for refinishing the topsides. So I took it apart…
…and built a new, improved system that is now two-planks-wide instead of one.
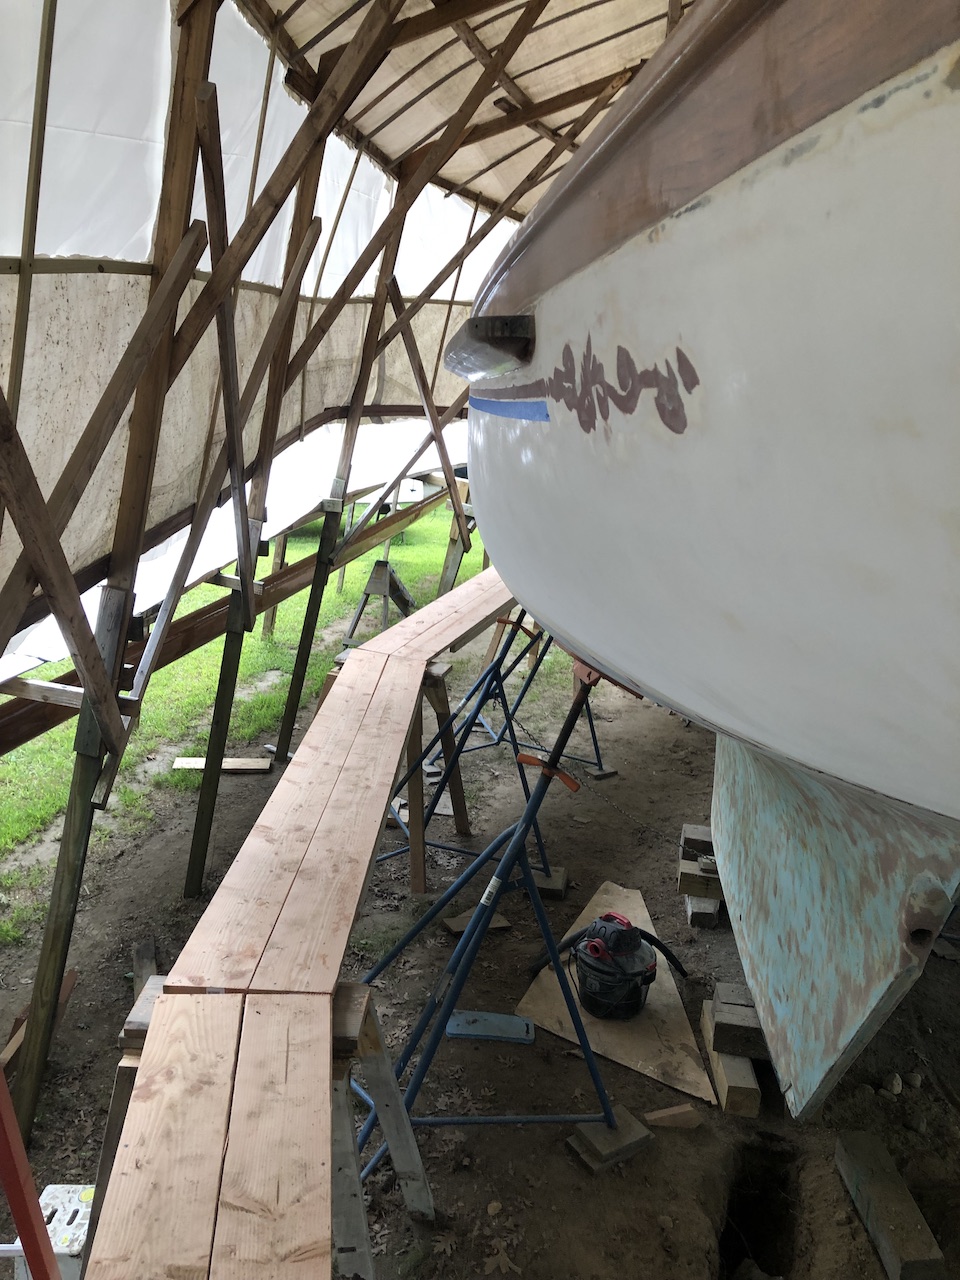
Once the topsides are finished I’ll move the new system up about 2 feet everywhere so I can resume varnishing rails, house, and more work on the deck, and eventually installing deck hardware (stanchions, winches, cleats, etc.
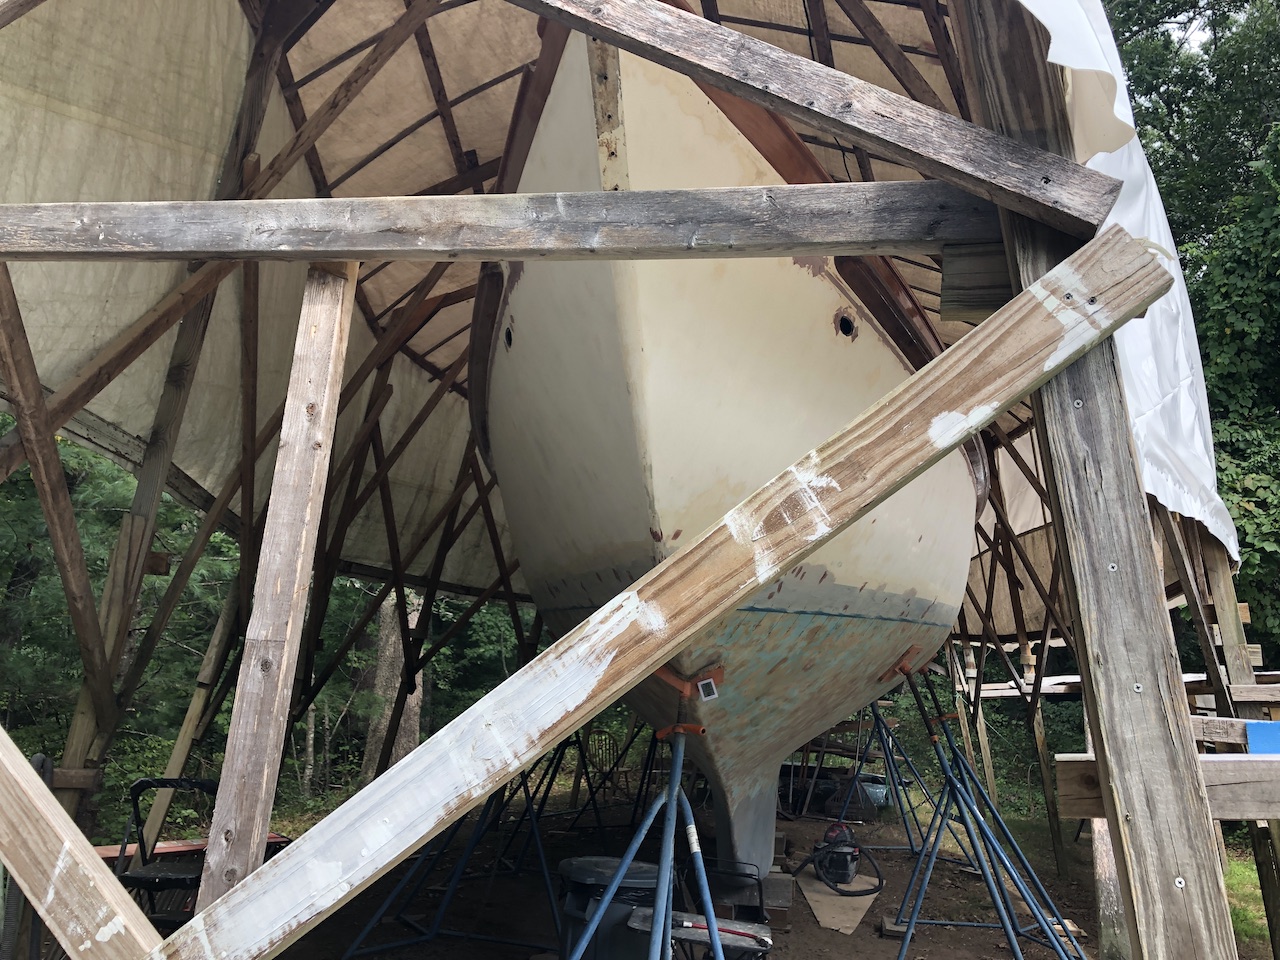
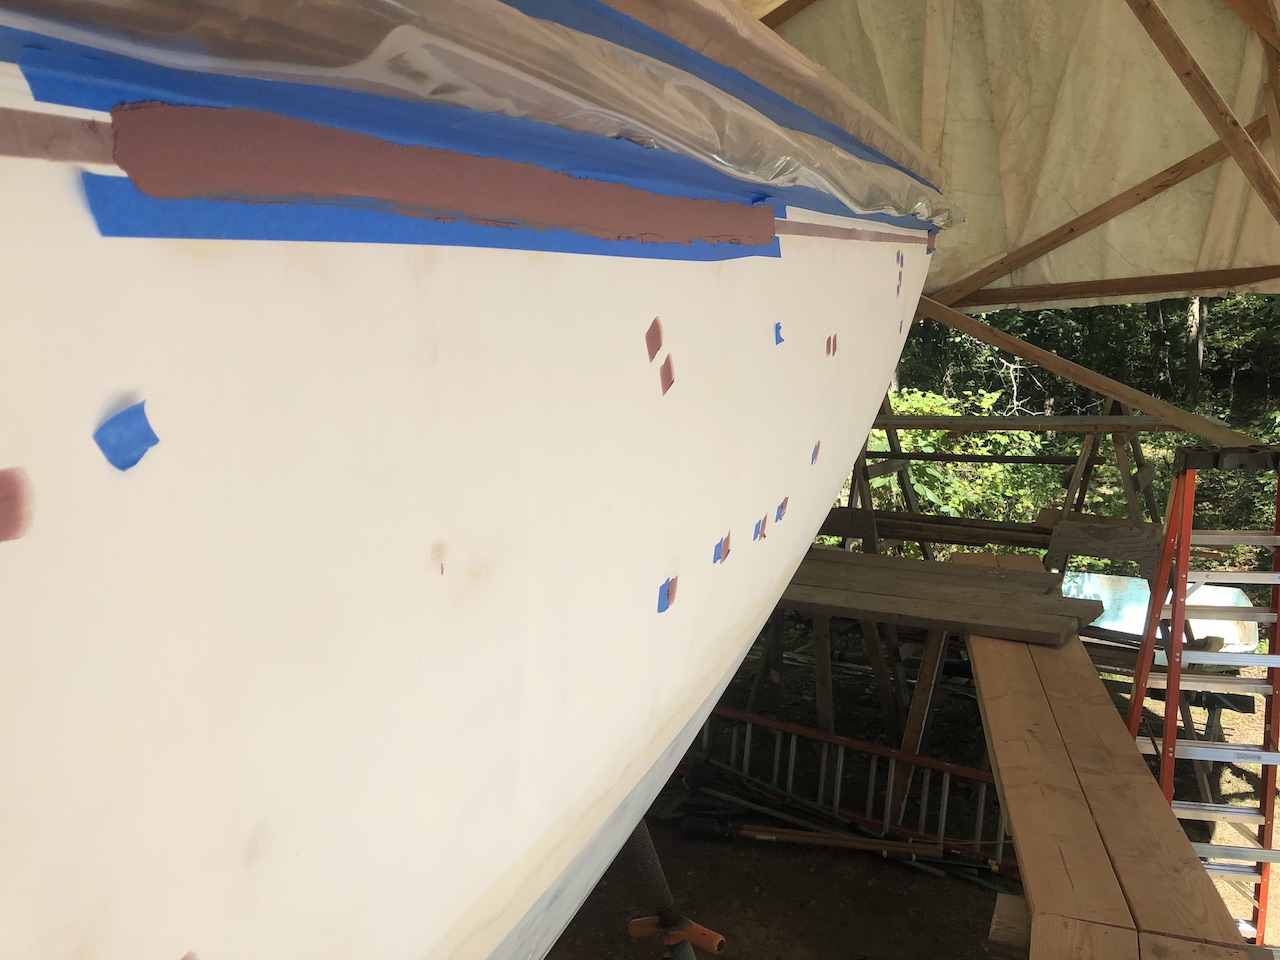
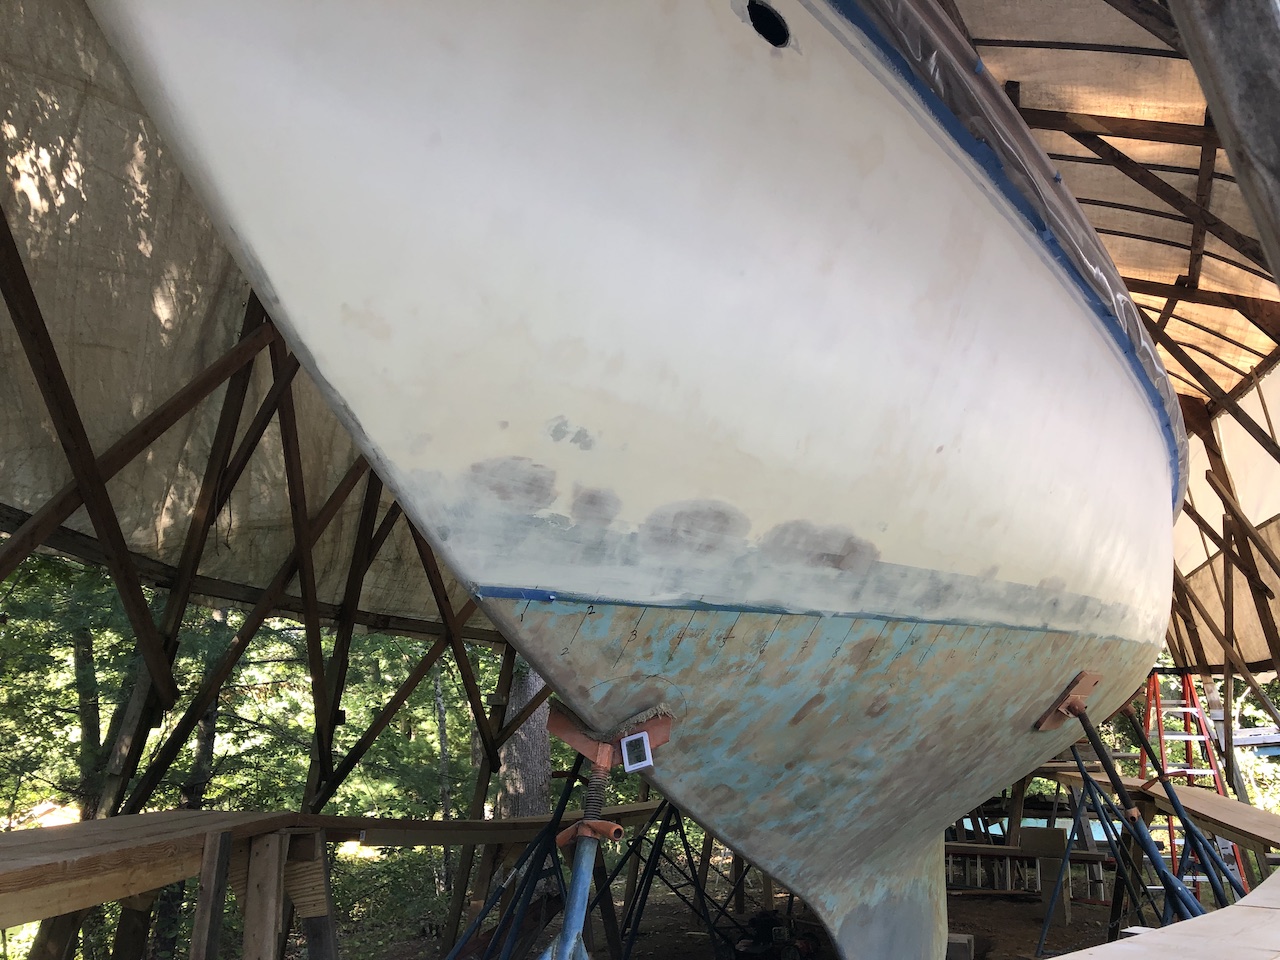
With the new scaffolding done, I continued to fill and fair the cove stripe and scrolls.
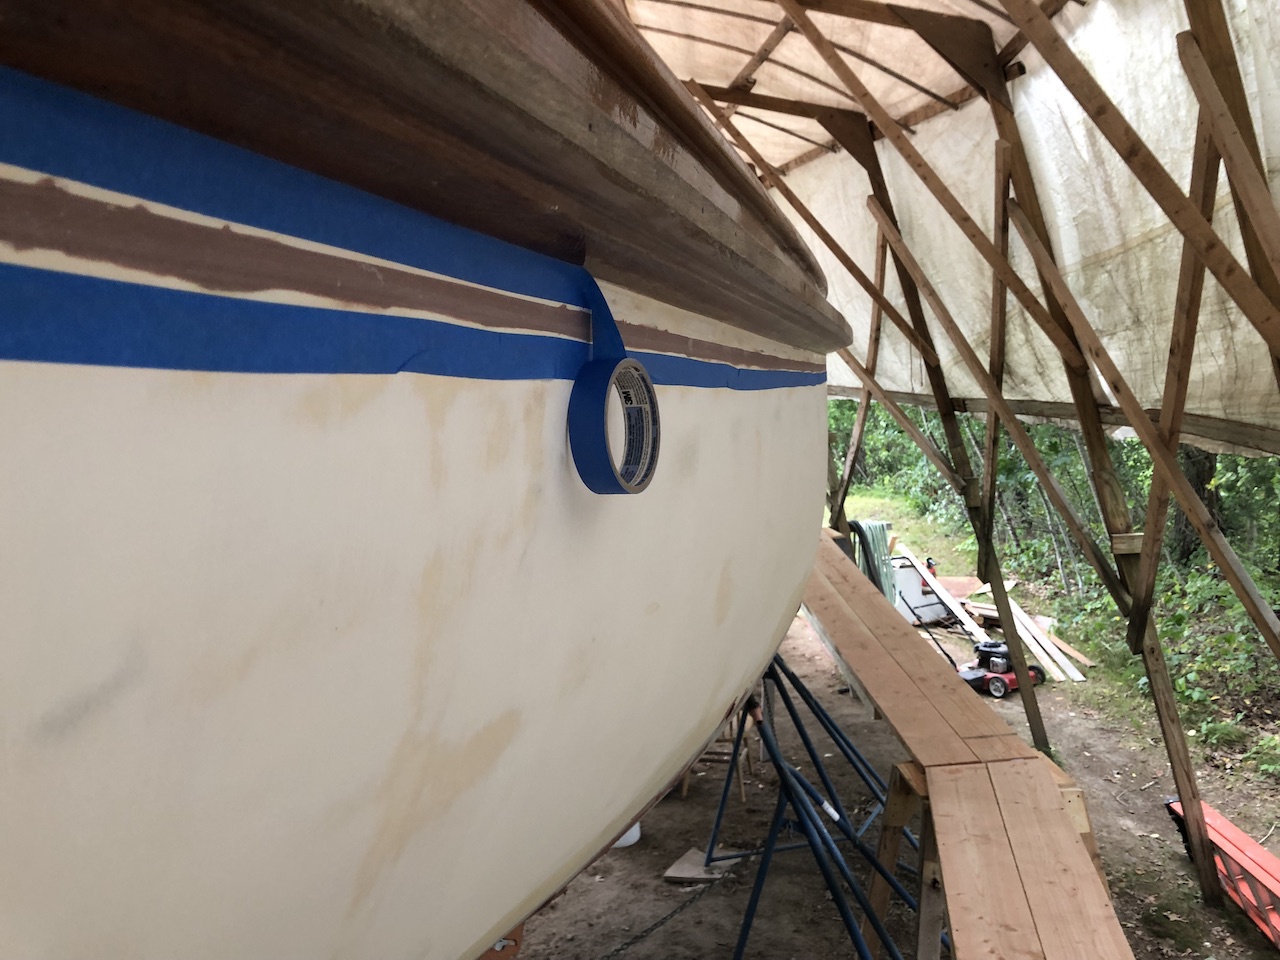
Which took three rounds of filling and sanding.
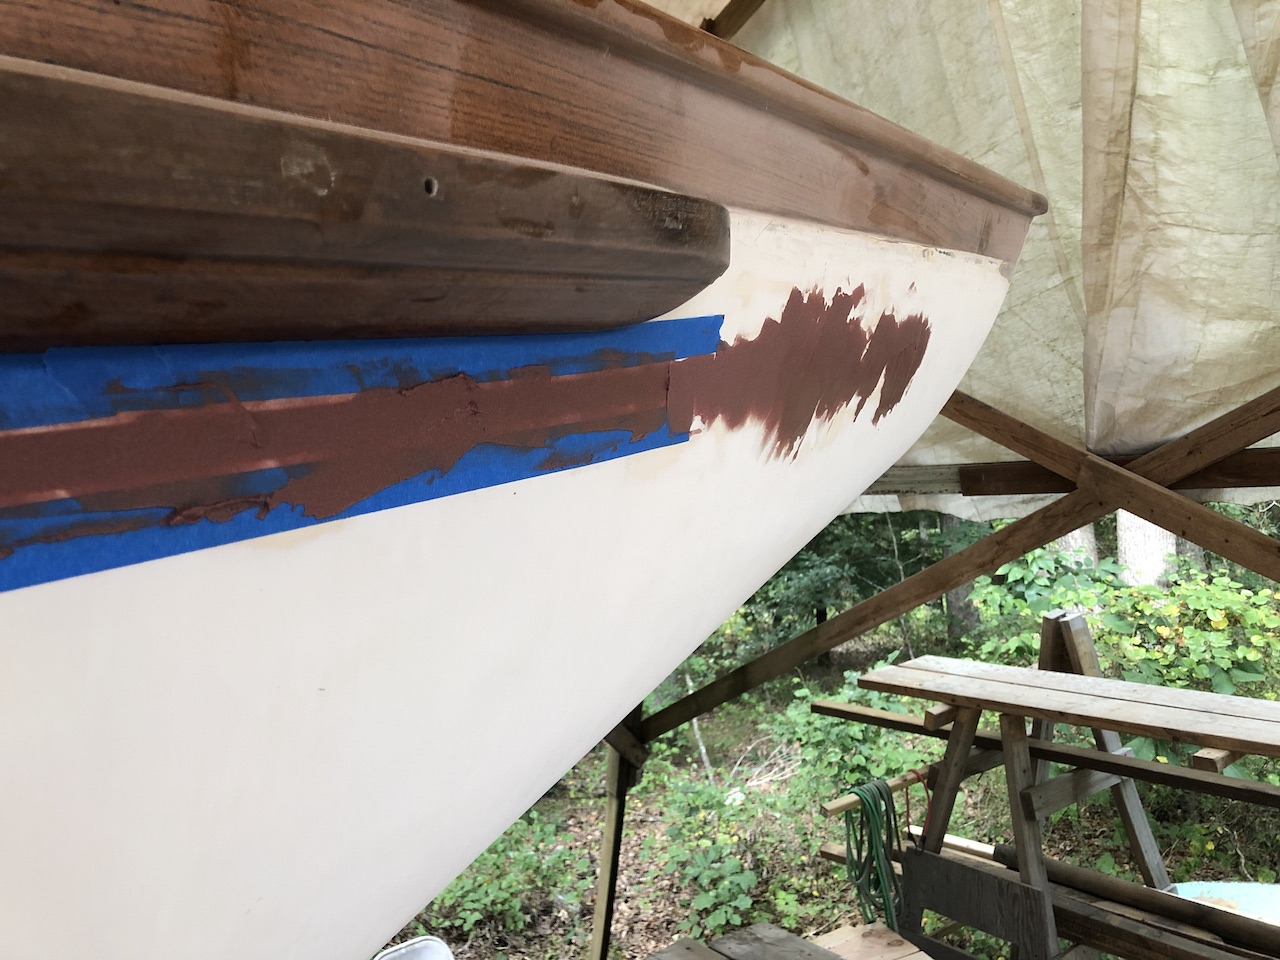
Eventually I applied a first coat of primer (Interlux Epoxy Primekote).
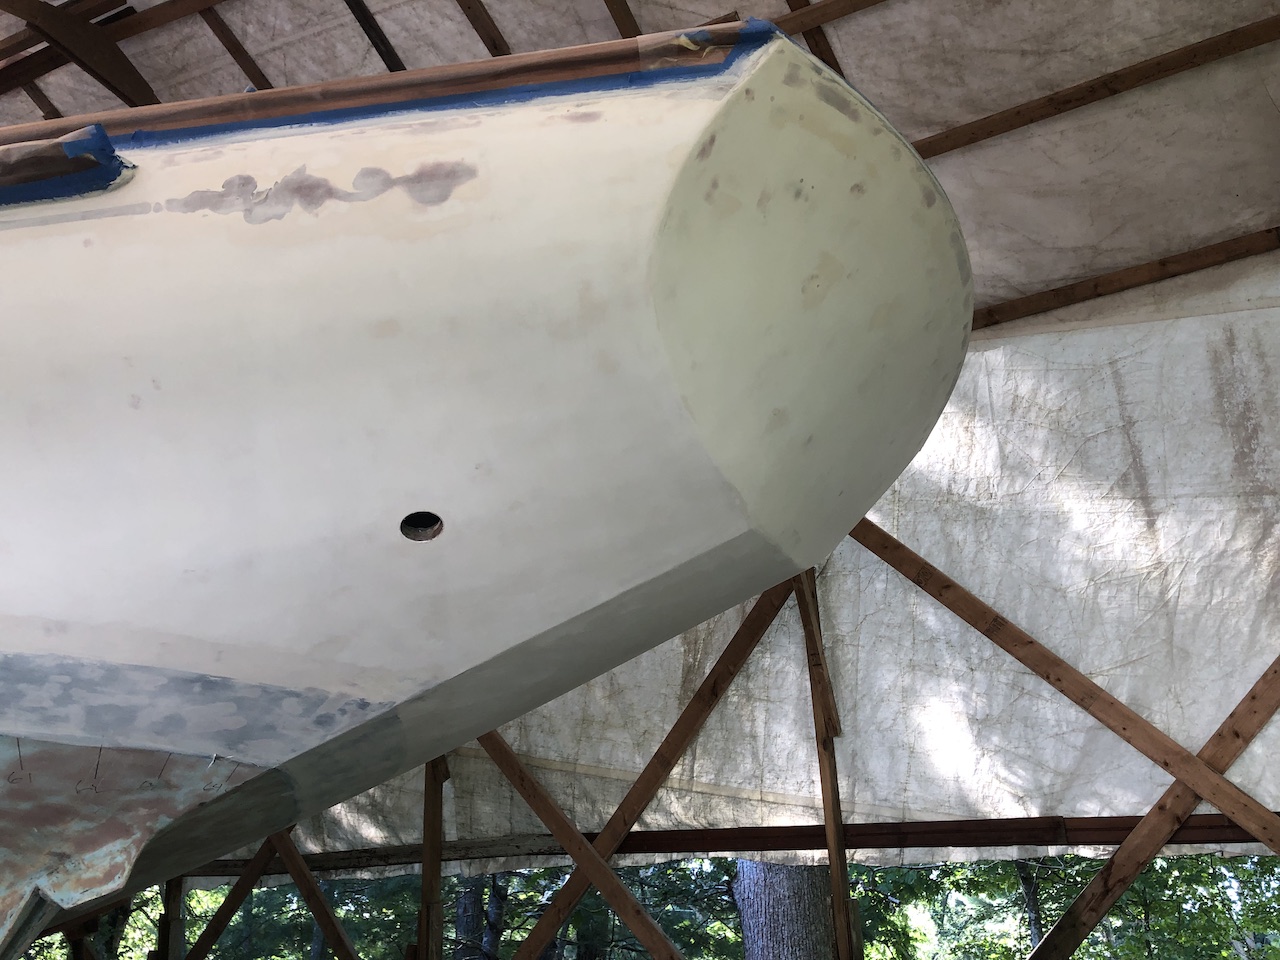
Sanding between primer coats removes a lot of material.
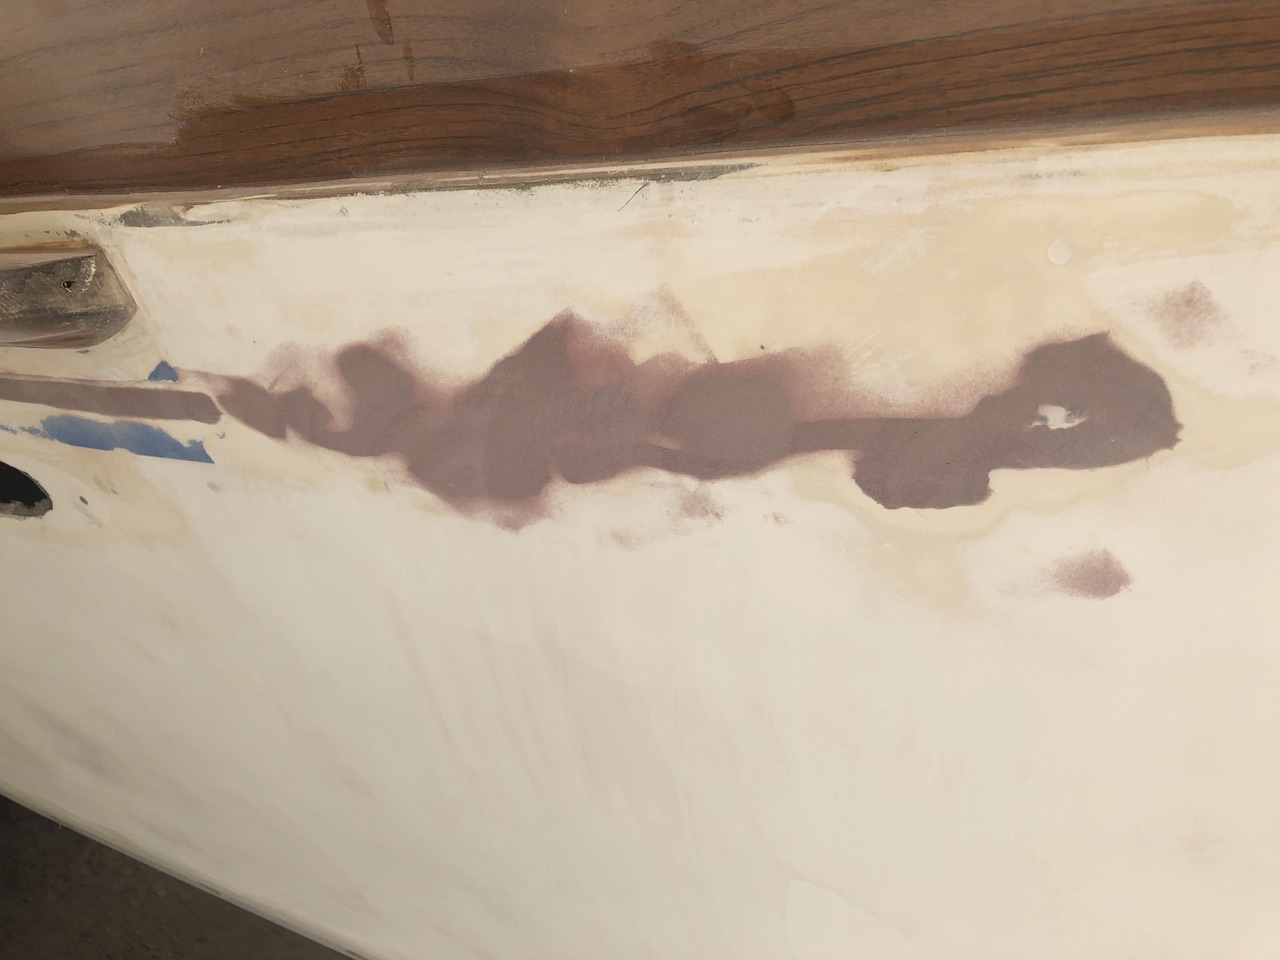
Before applying the second coat, I measured the lengths of the fore and aft scrolls…
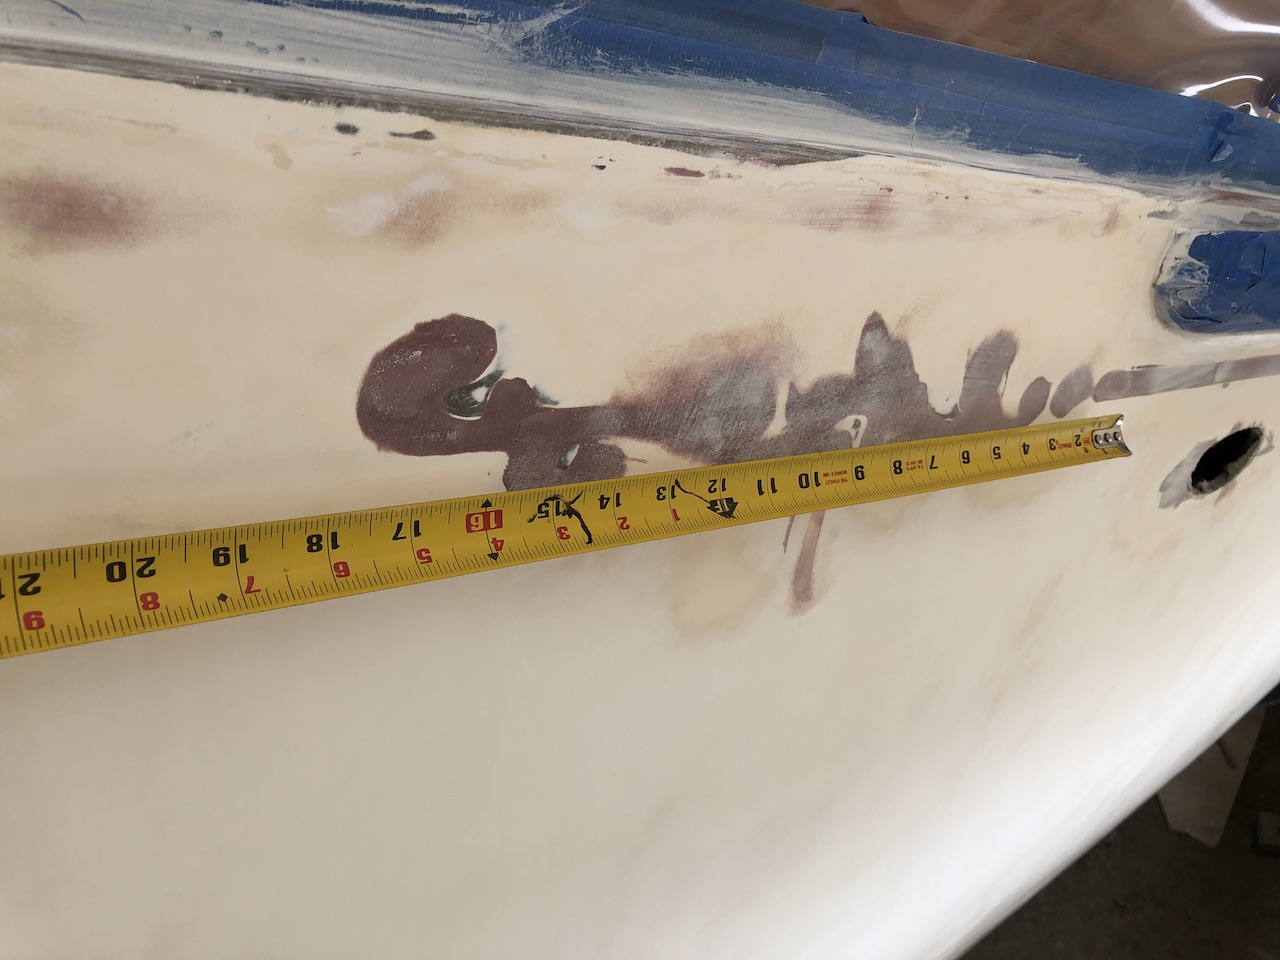
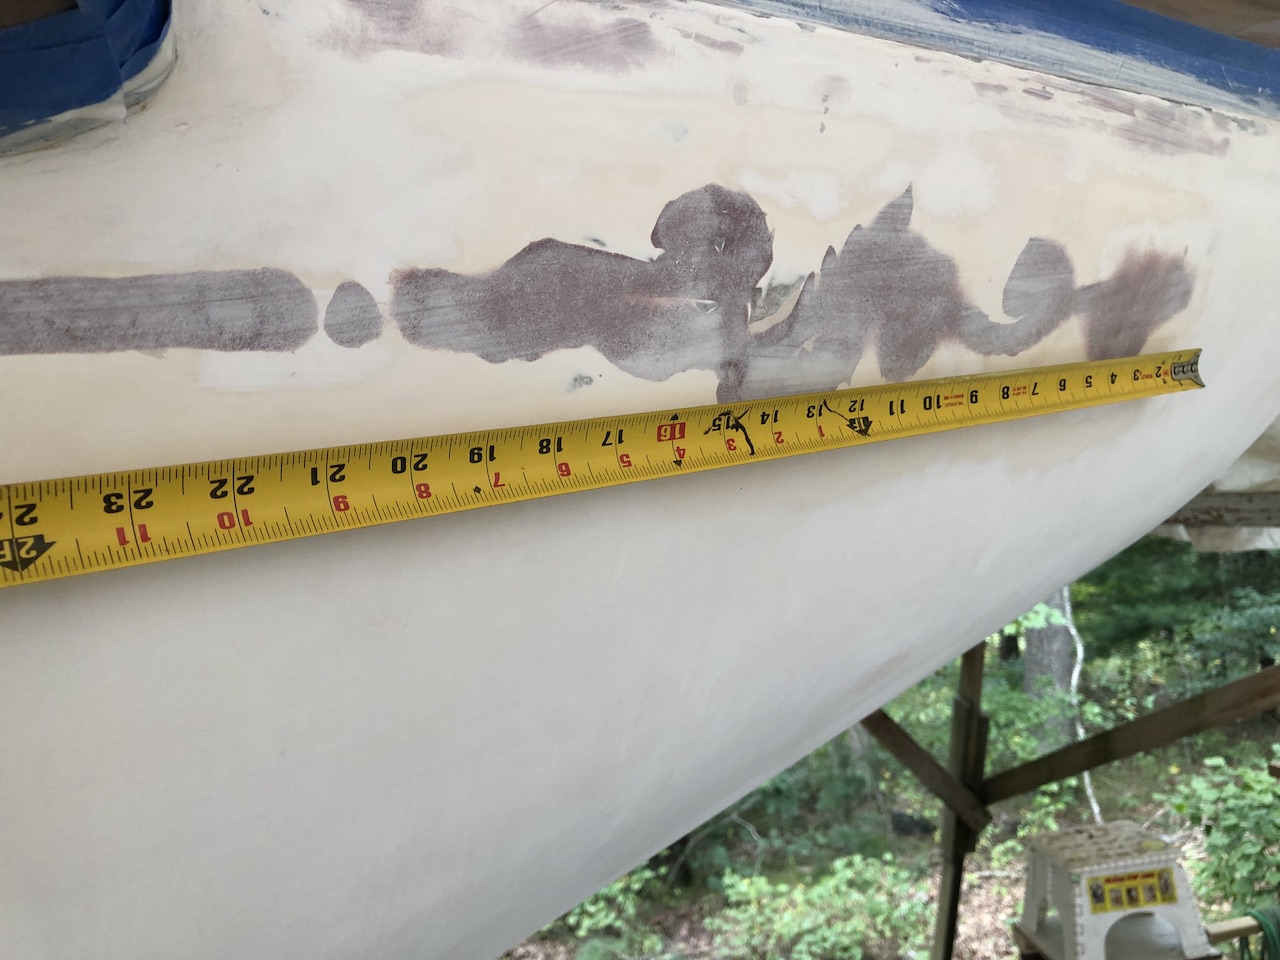
…and did some additional filling and sanding.

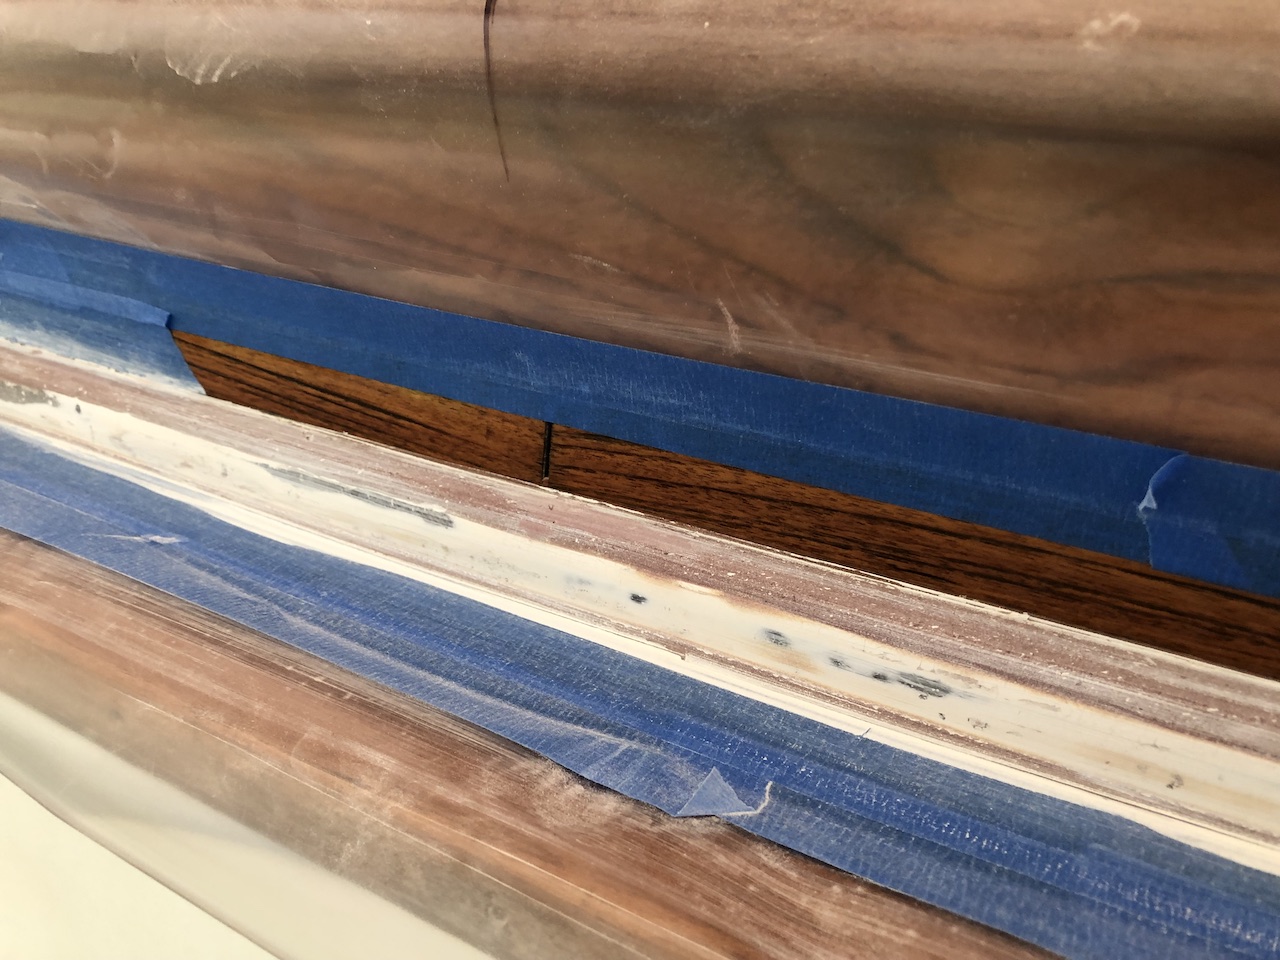
Spot checking the taping:
The second coat:
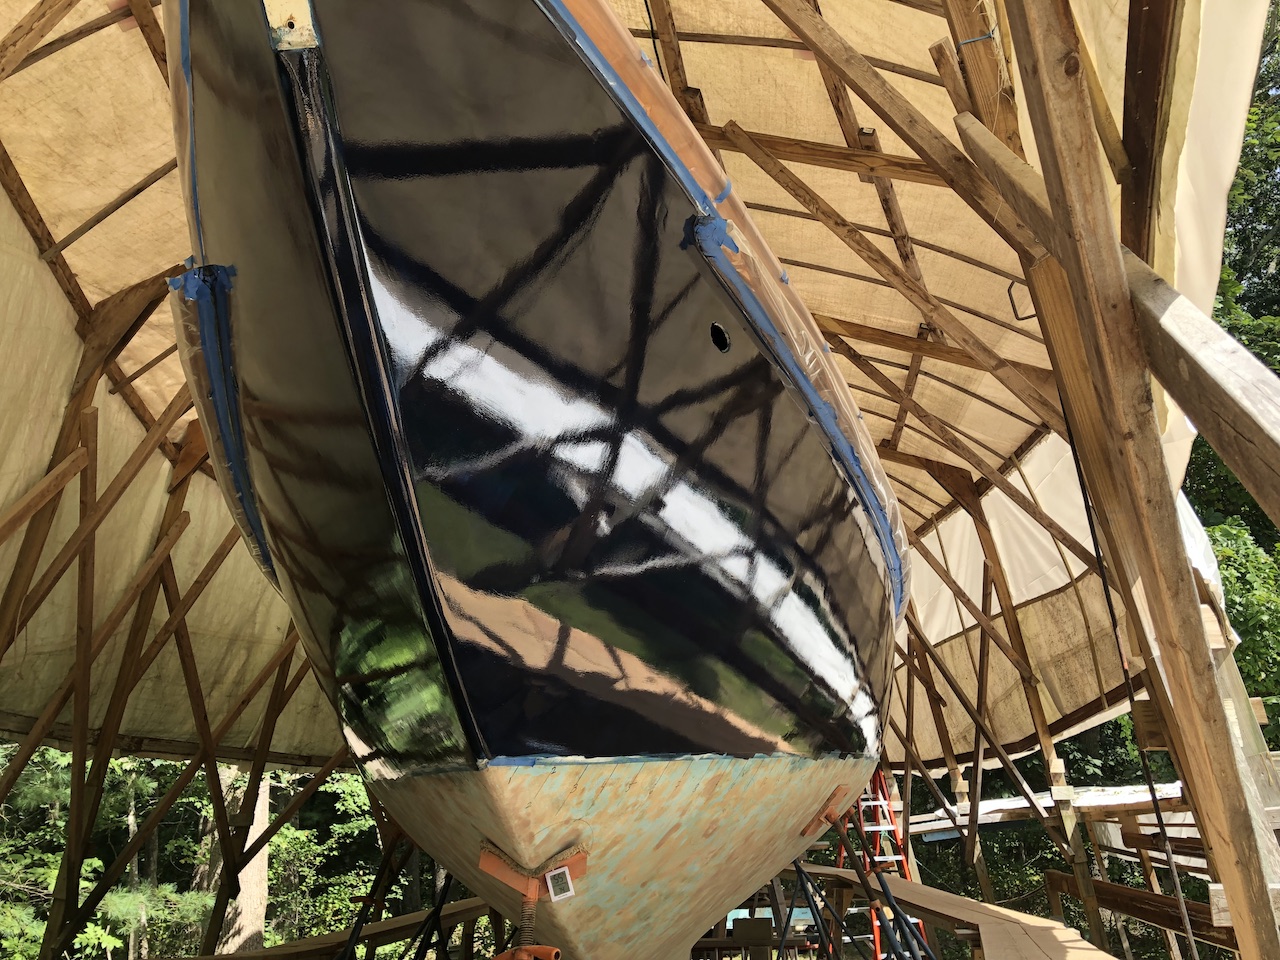
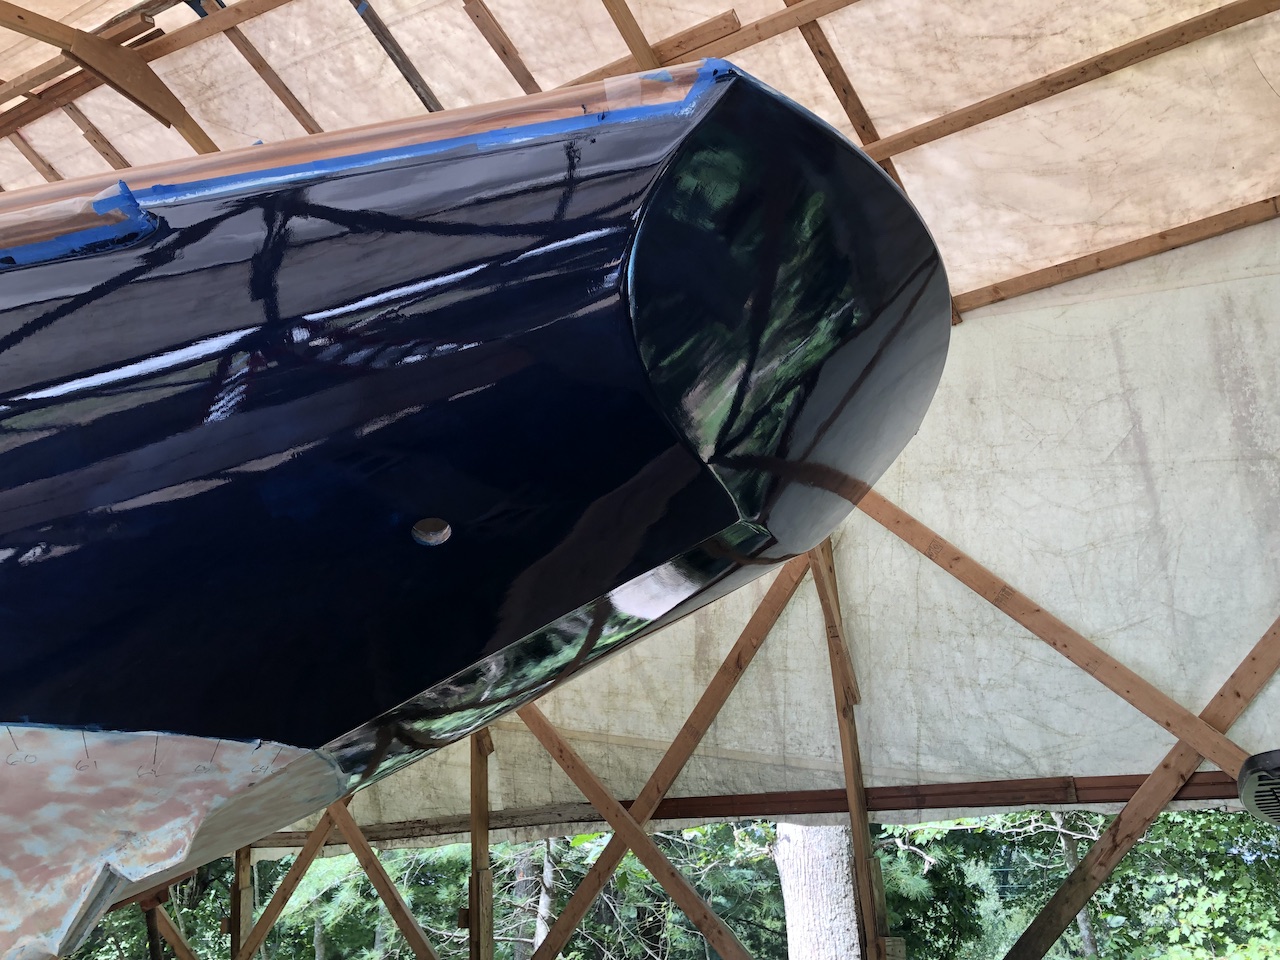
The topcoat will be Interlux Perfection, in the Flag Blue color. The first coat doens’t cover completely.
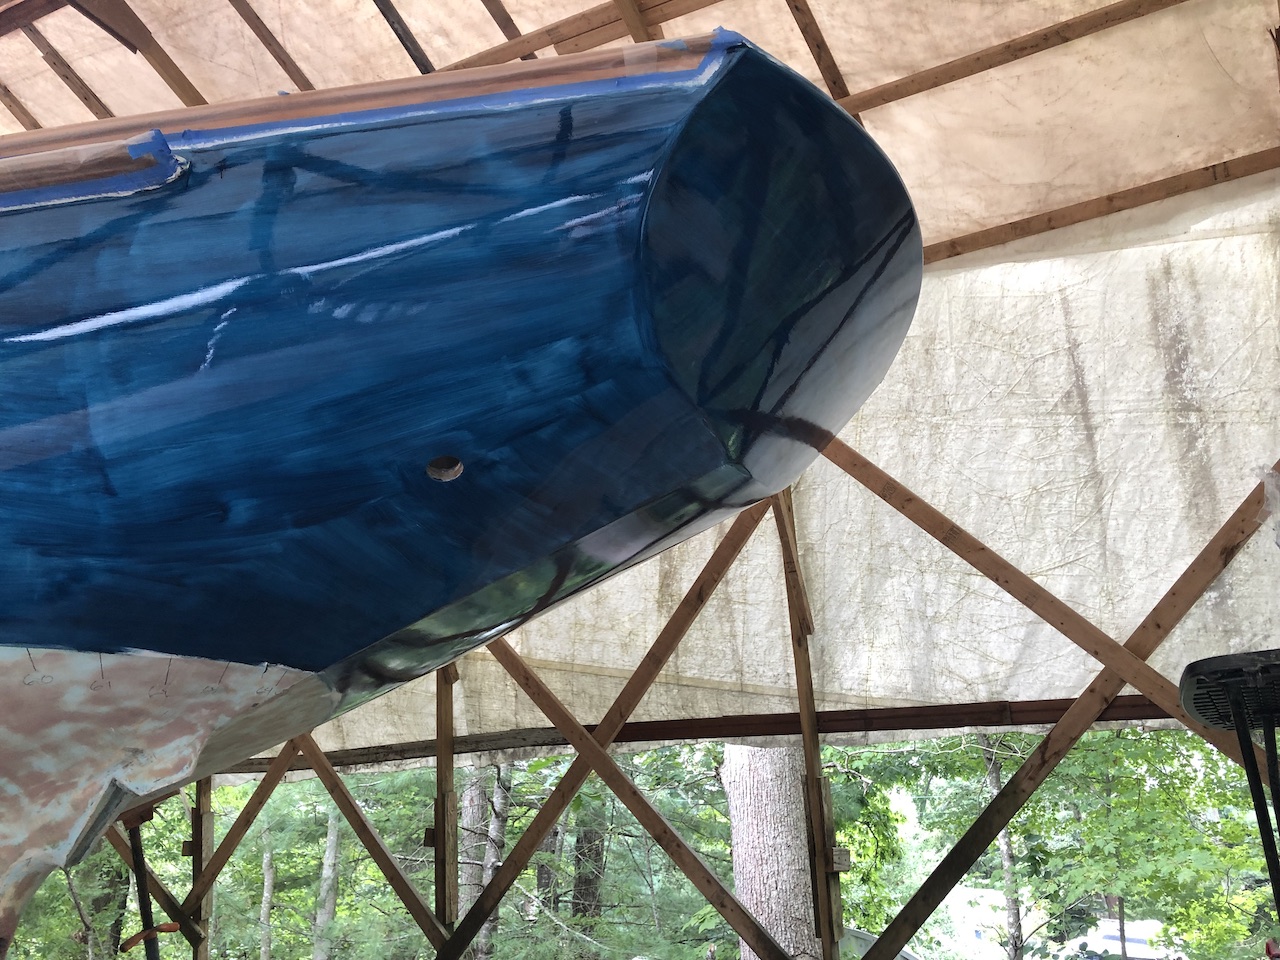
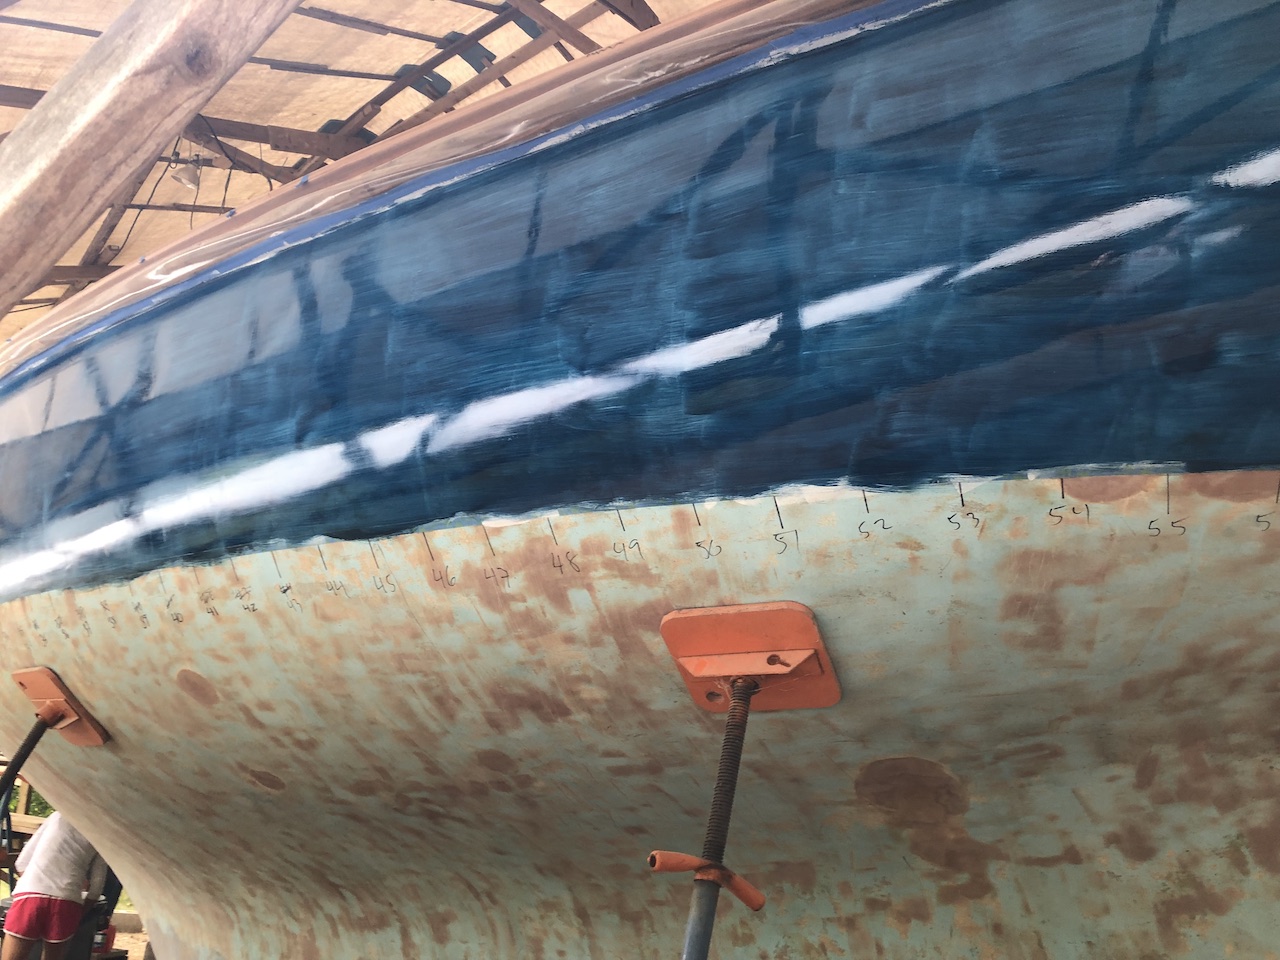
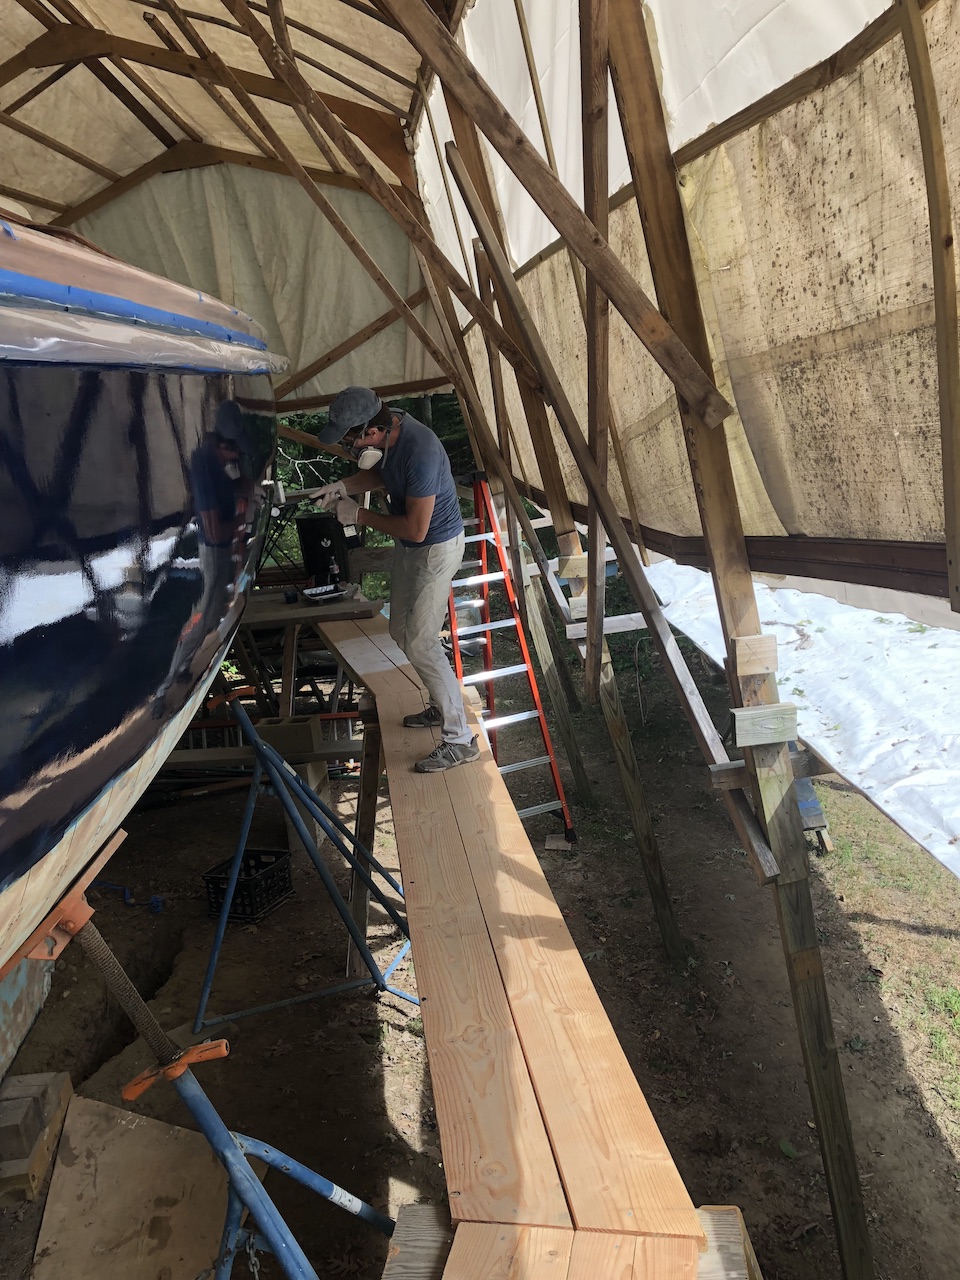
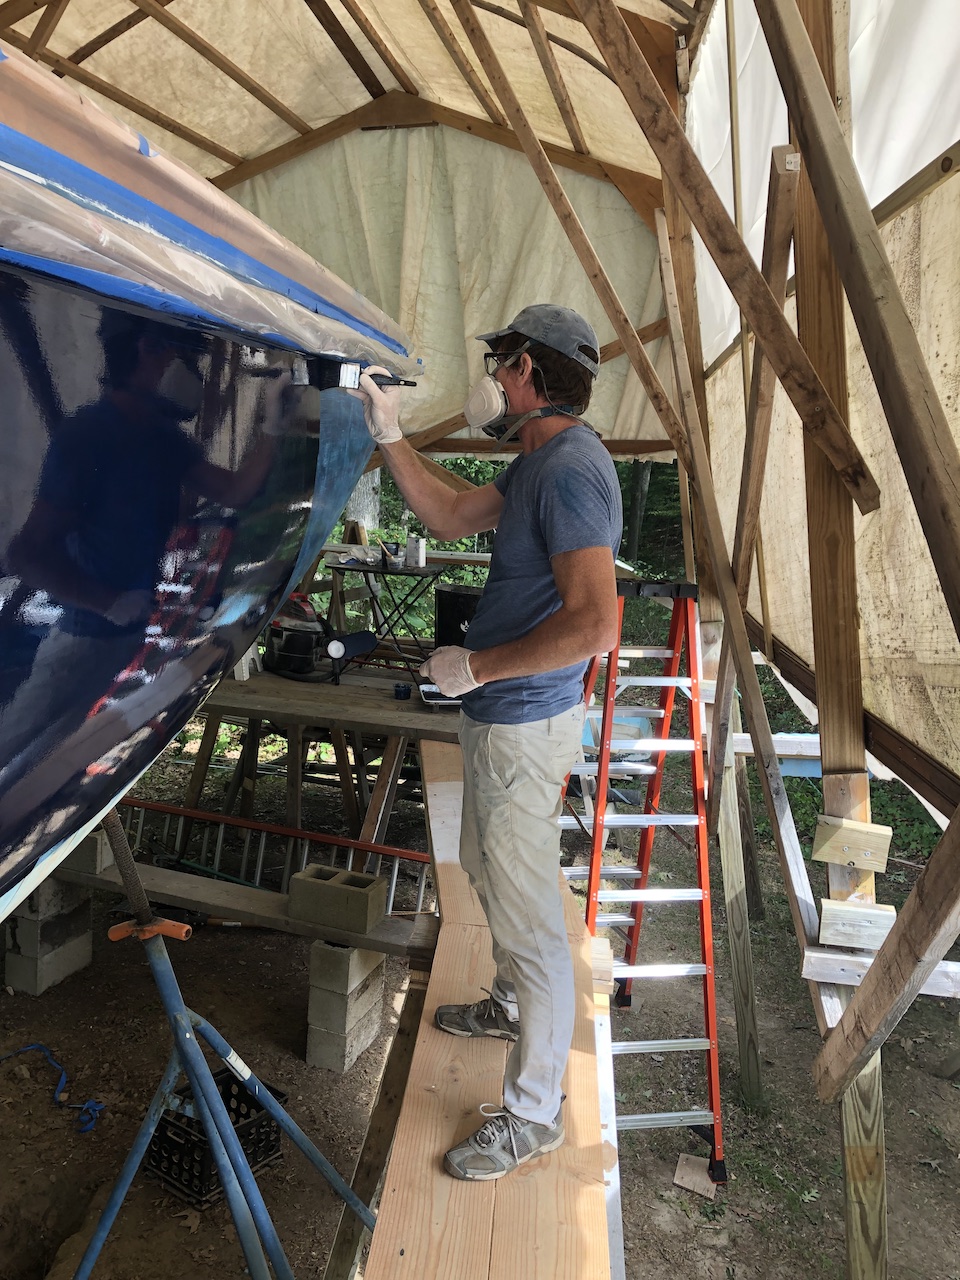
The second coat almost covers completely, and gives a real preview of the look of the final product. The technique I used is the well-known “roll and tip” method. My “tipper” took a few pictures of me rolling and cutting in around the rubrail.
The color is exactly what I had hoped for. The finish, on the other hand, is not quite perfect, but I have one more coat to get it right. Interlux claims, and I have now confirmed, that dark colors don’t “flow” as well as light colors. After tipping you want the fine brush marks to melt into each other, forming a perfectly smooth glossy finish. My strategy for the final topcoat will be to thin the paint a little extra.