5/3/20: Hatches
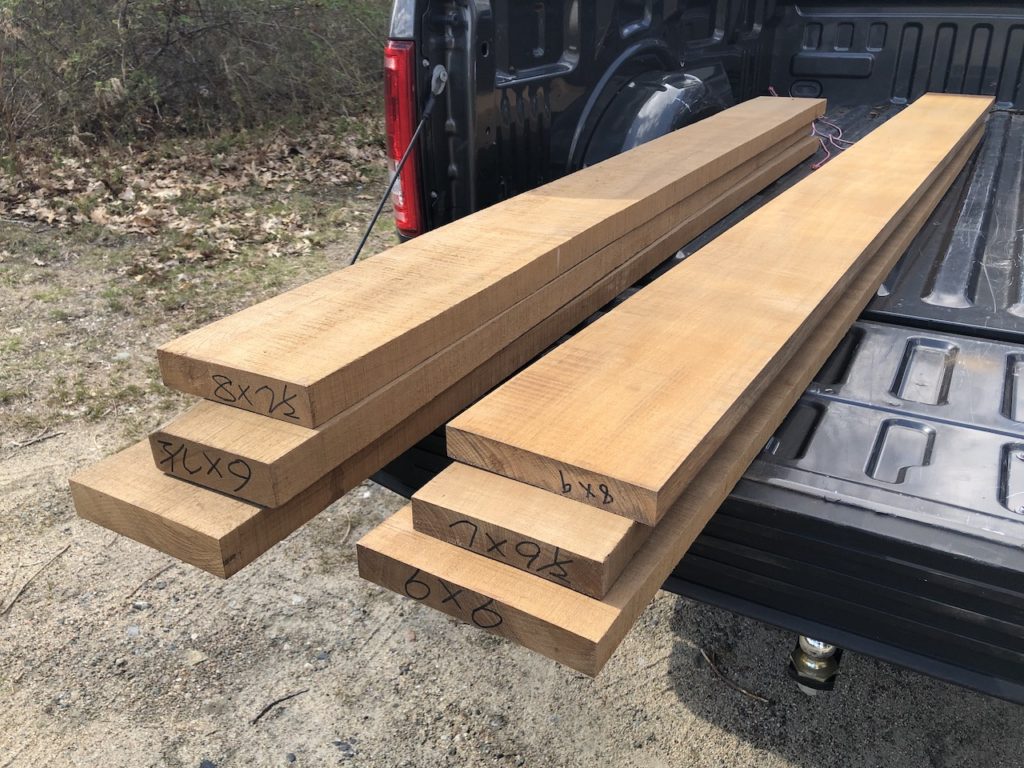
The teak from St. Angelo Hardwood will be used for hatches, door frames, and miscellaneous trim. There are six boards in the photo below. All are between 6 and 9 inches wide. Those on the left are 7.5 feet in length, while those on the right are 9-9.5 feet in length. The thicknesses are 6/4 (1.5 inches) on the left, and 5/4 (1.25 inches) on the right.
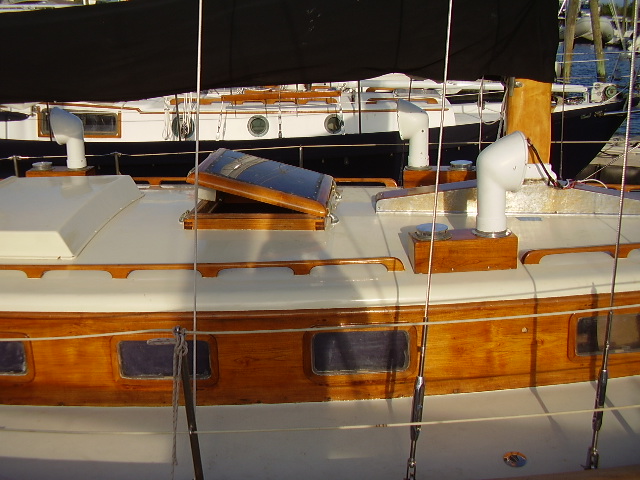
The following photo, from 2009, shows the original hatch that opened to the main cabin. There was an identical hatch in the forward cabin, then a similar hatch that opened to the storage under the aft deck, under the mizzen boom.
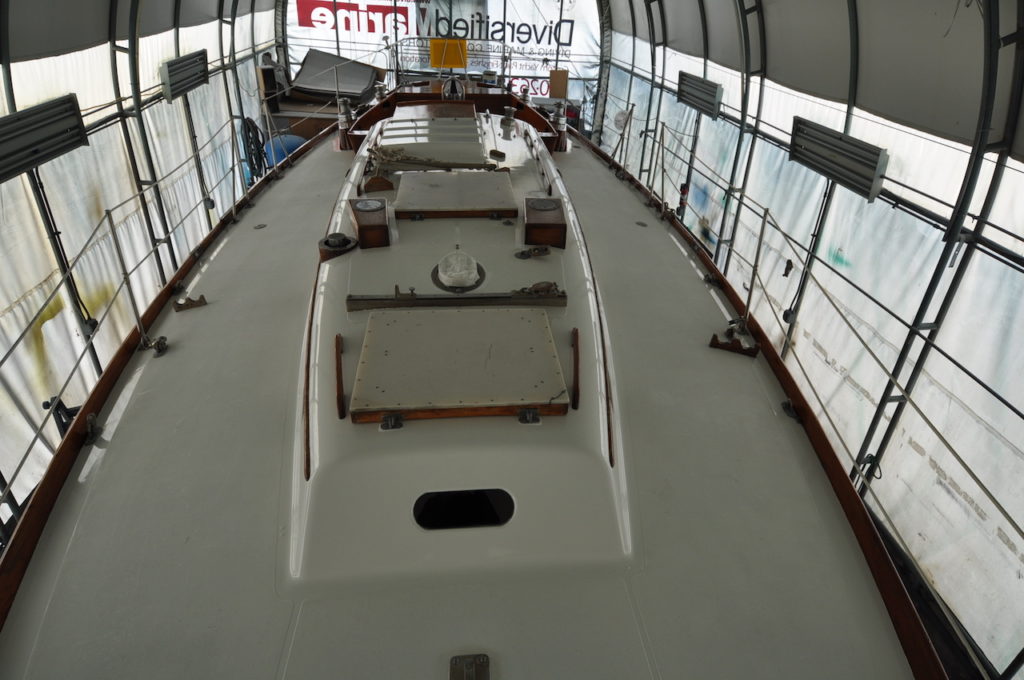
Thus, I need three hatches of similar size. You might recall that I build the hatch coamings back in 2017. You can revisit that project here and here. I’ll make no attempt to duplicate the original hatches, in which the hatch closed on the coaming. While there’s nothing wrong with the original design, I’ve settled on something a little simpler, and lot less prone to leaks. My new hatches will be more like hatches found on the Hinckley Bermuda 40 shown in the photo below.
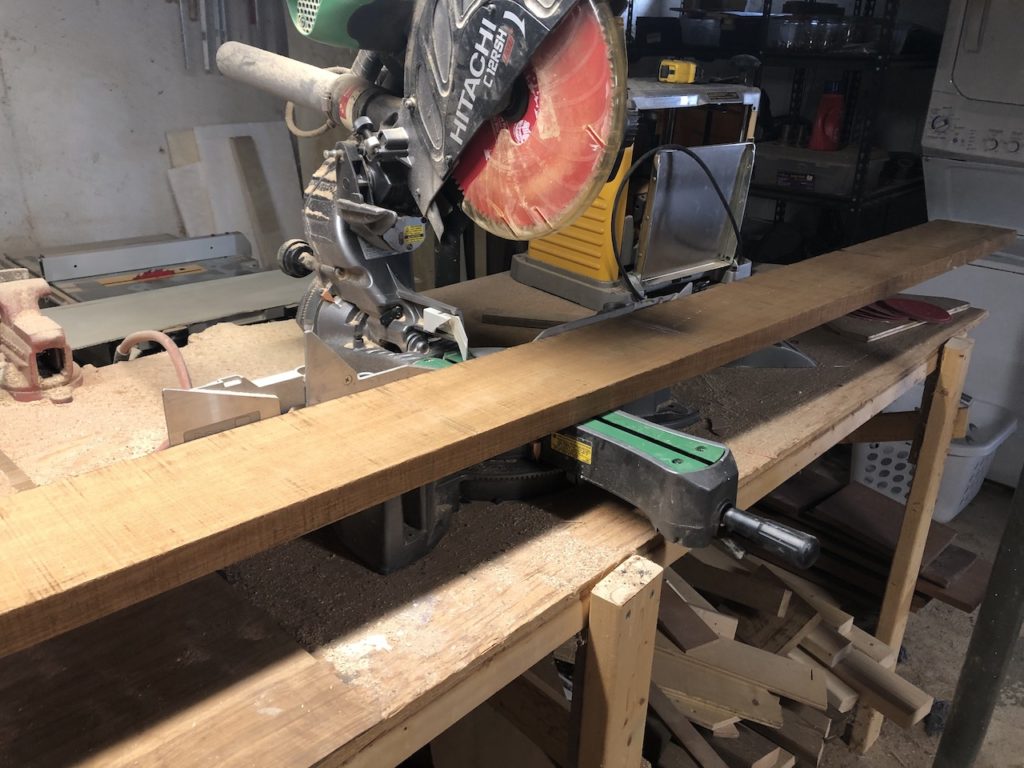
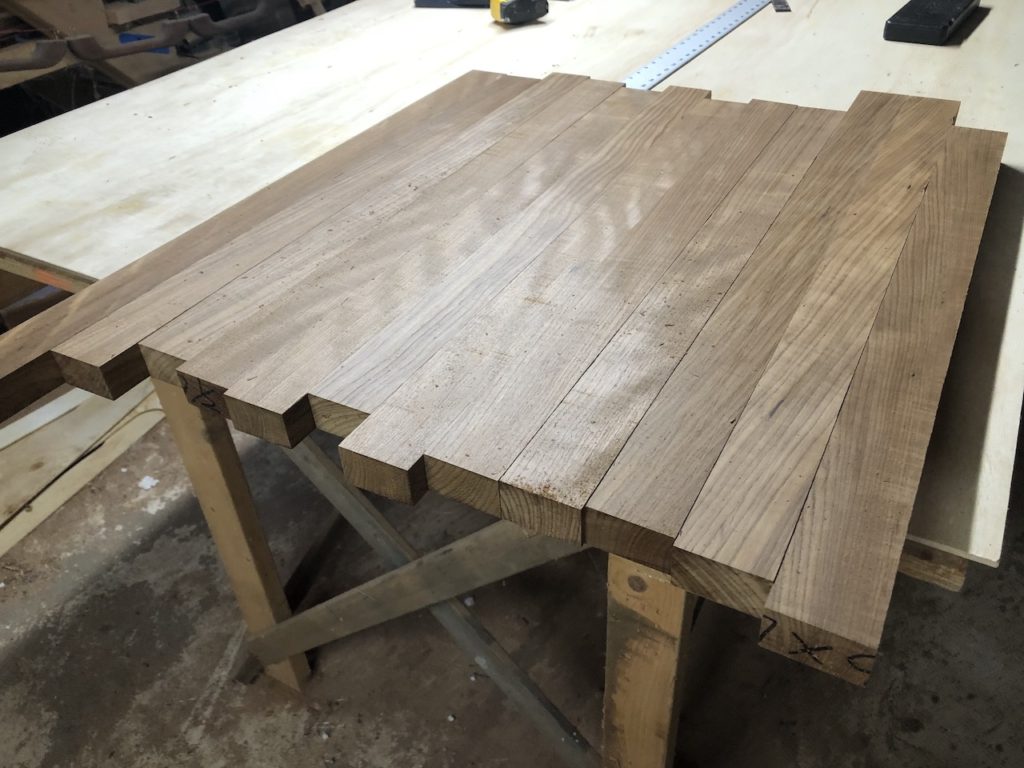
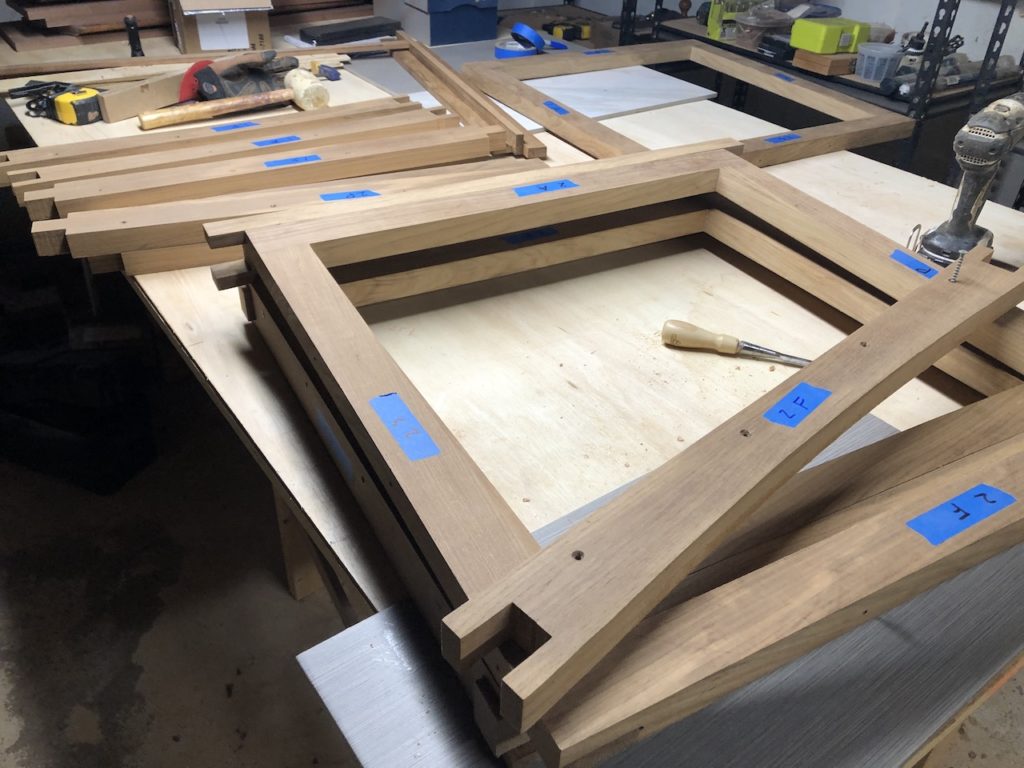
The coamings will be adjusted for height, as you will see, but they are already built, so I got started by working on the lids. As usual, I start by cutting the rough lumber to length.
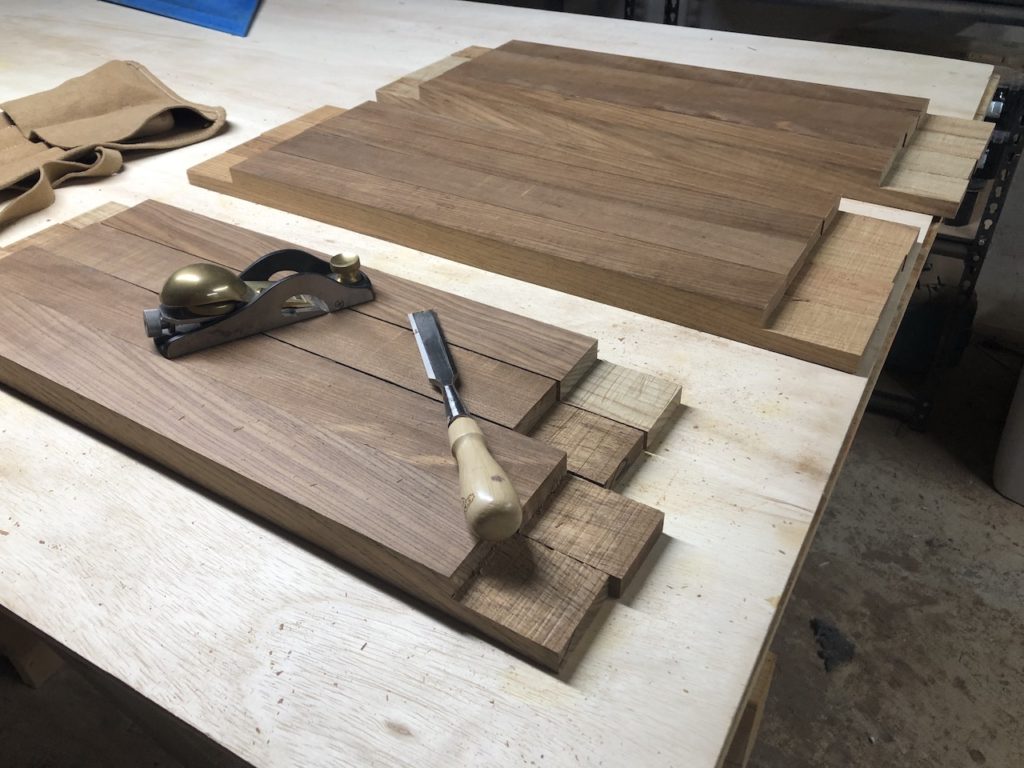
Then make a straight edge using a makeshift “jointing jig.”
Then cut strips and plane to desired thickness.
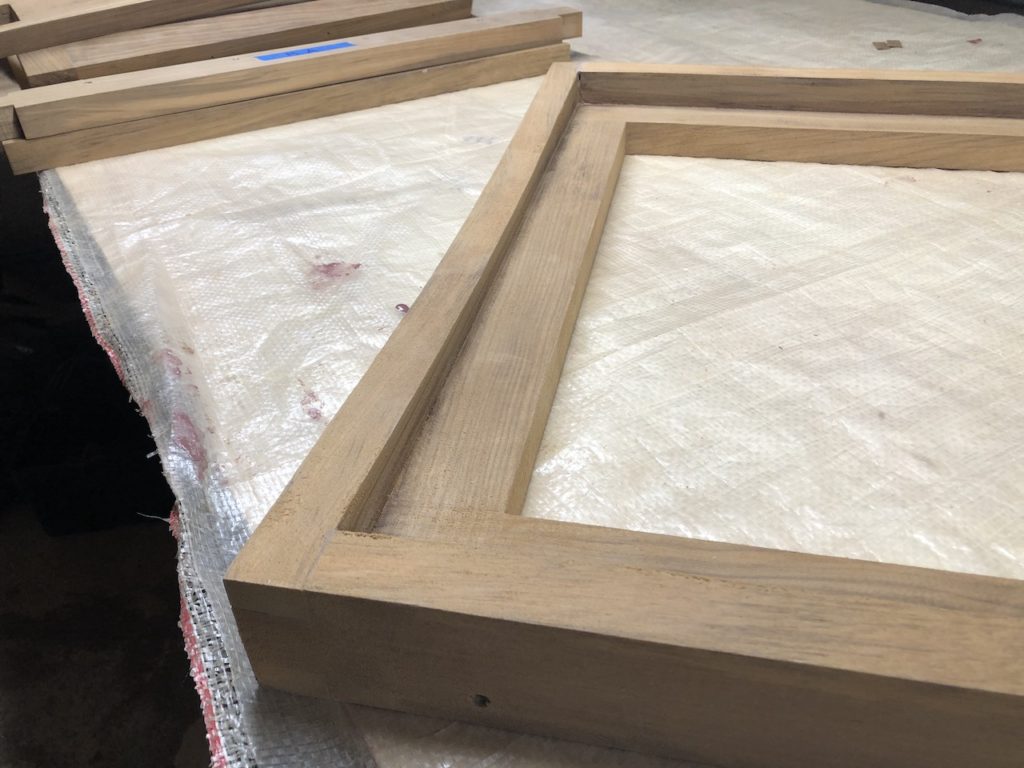
The basic frames were connected using simple lap joints.
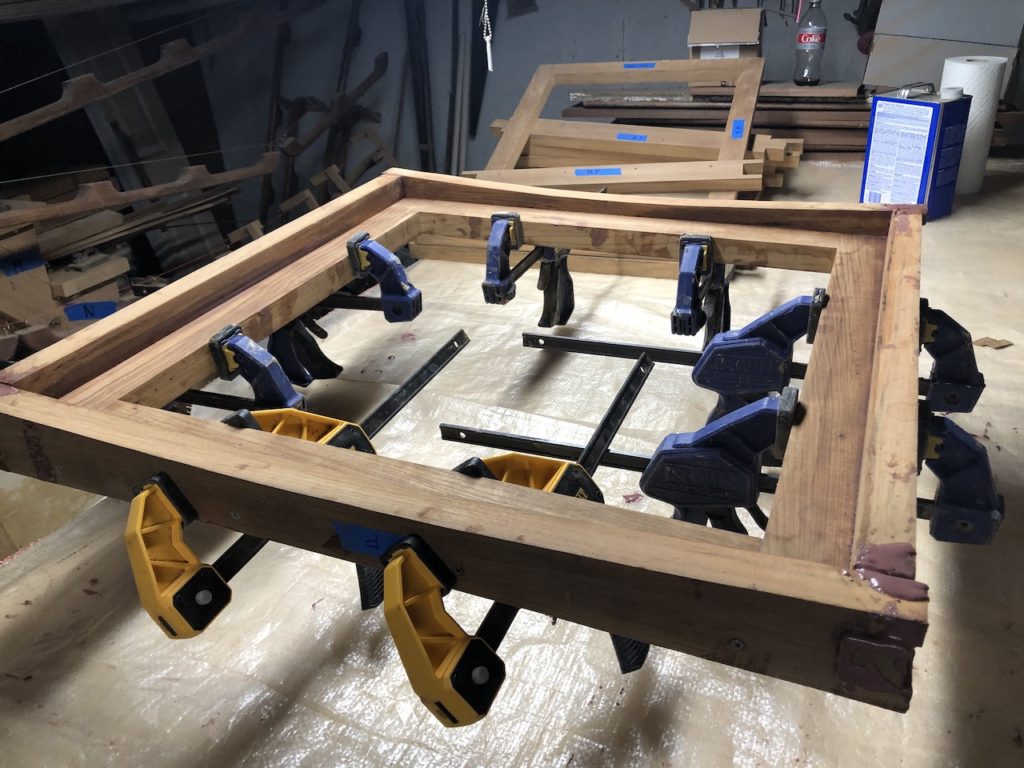
A dry fit.
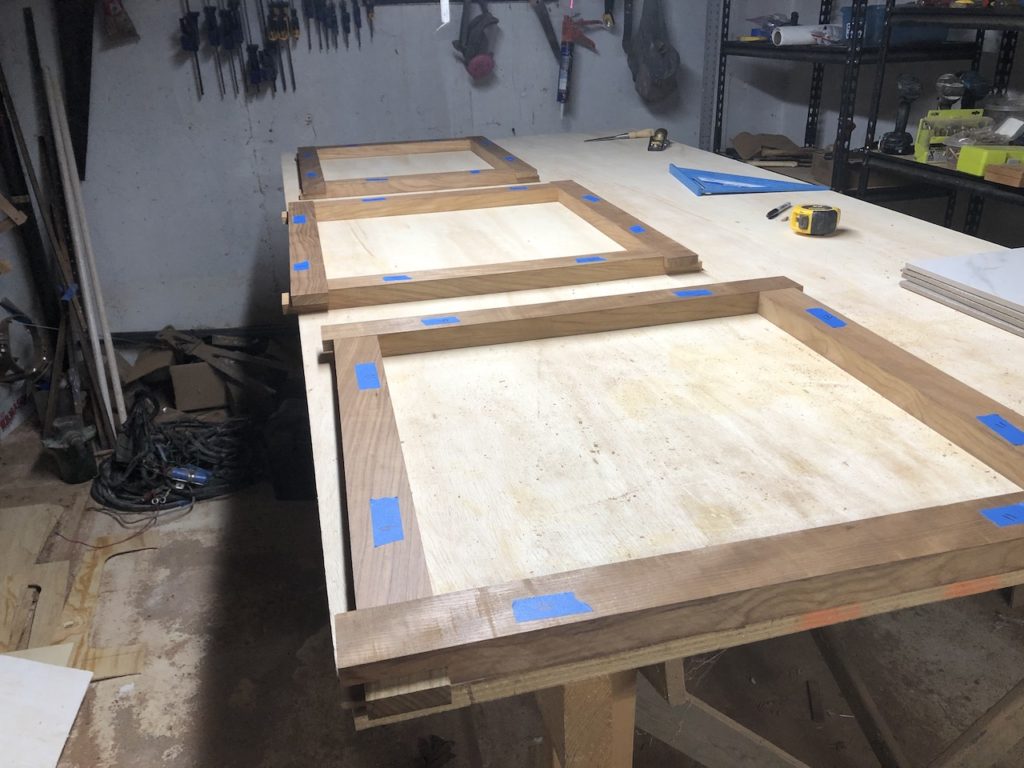
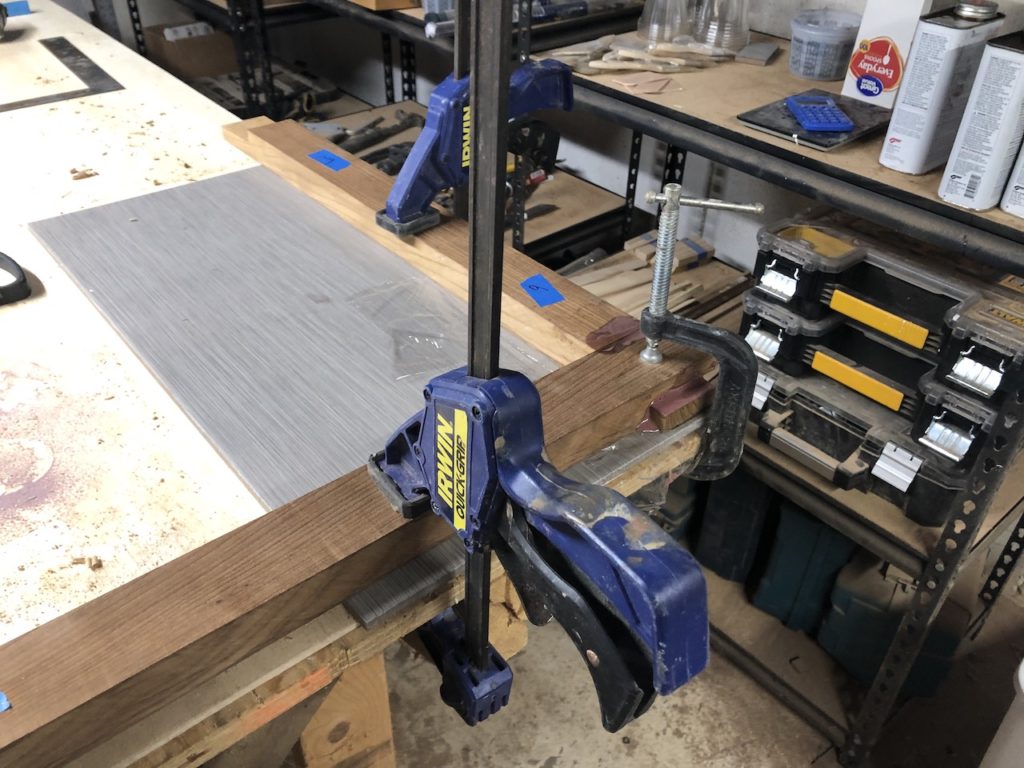
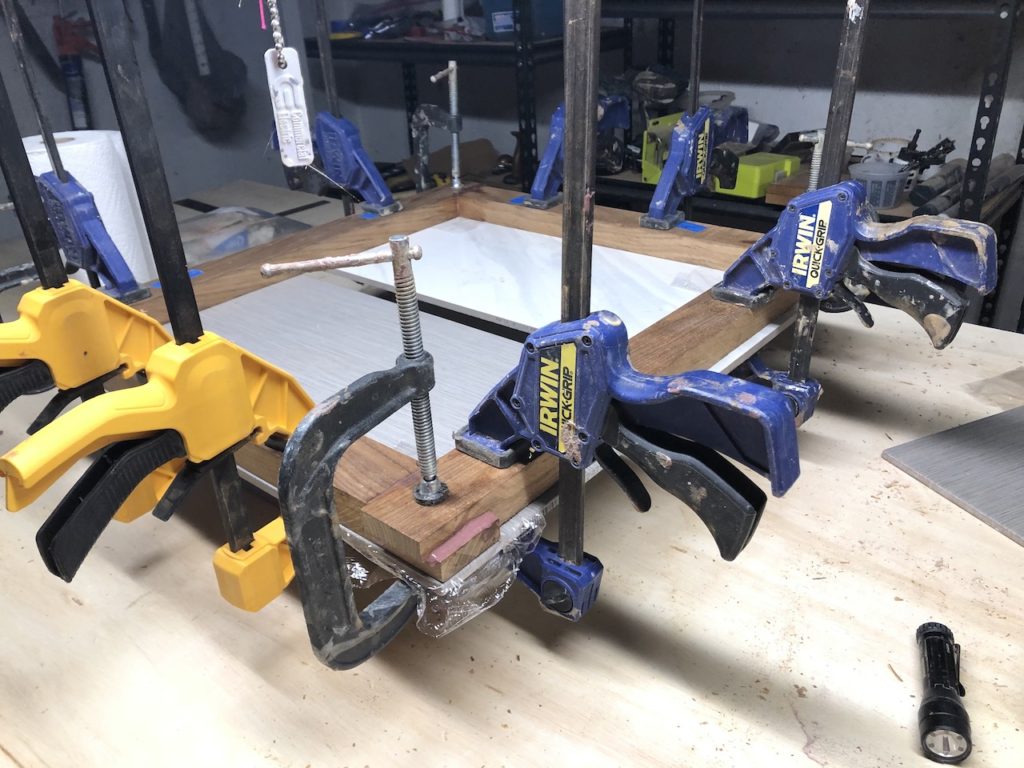
It is essential that these frames be very flat, so I utilized ceramic tiles during the various glue-ups.
These frames will be surrounded by vertical pieces that will surround the coamings. The fore and aft parts will need to follow the camber of the cabin-top and aft deck. I captured this curvature in the obvious way.
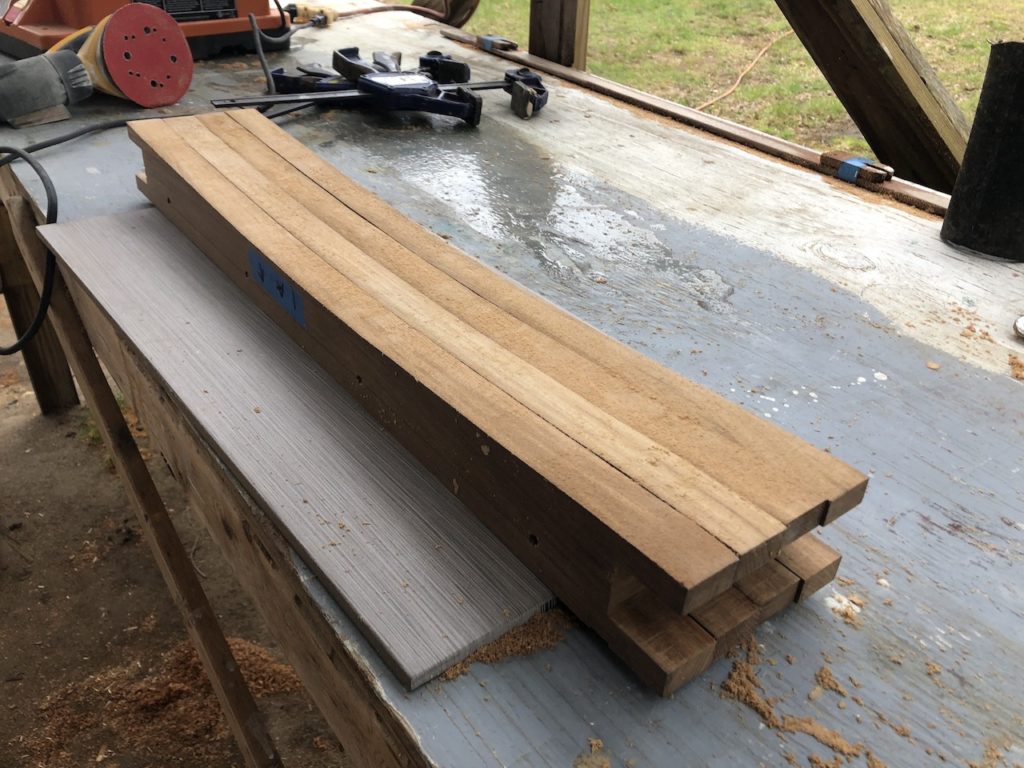
About half of this 9-foot board will be the side pieces.

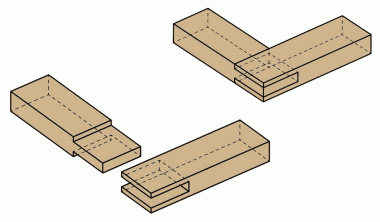
The following image, from HERE, illustrates an “open mortise and tenon” joint, which I will utilize for the side pieces.
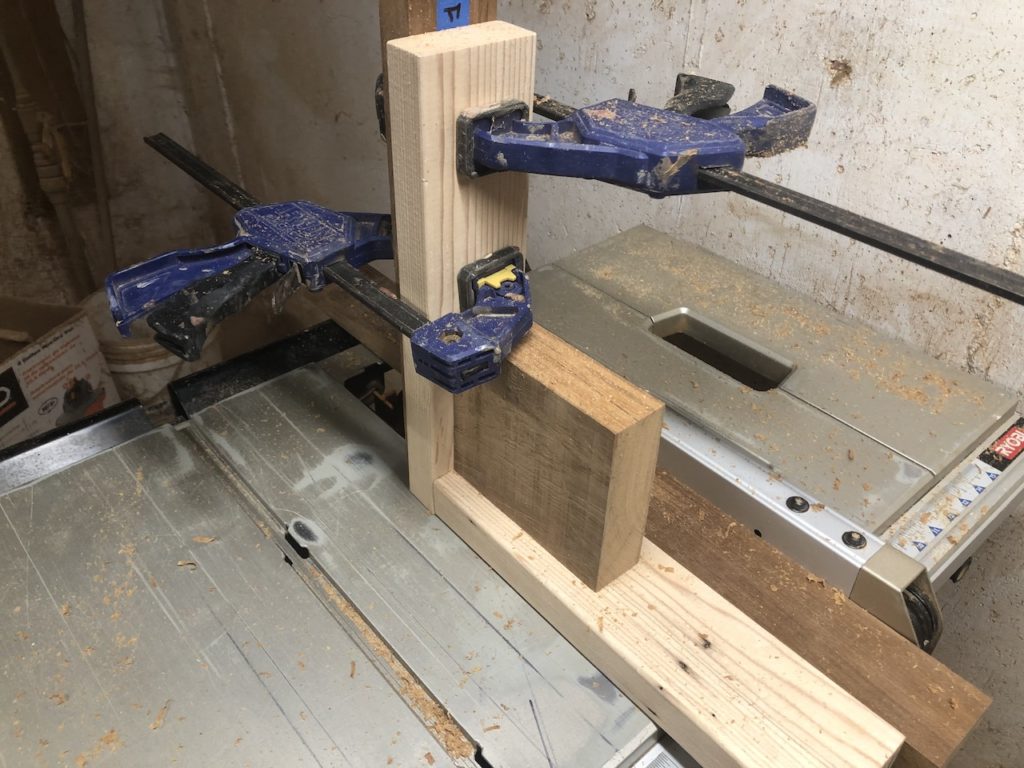
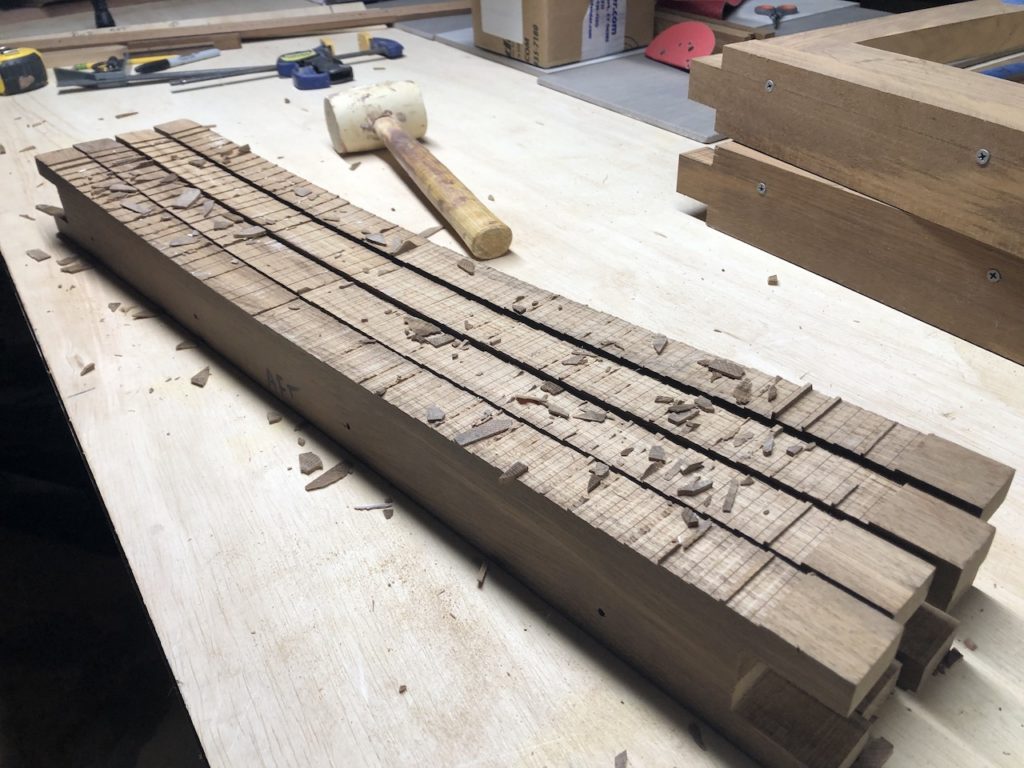
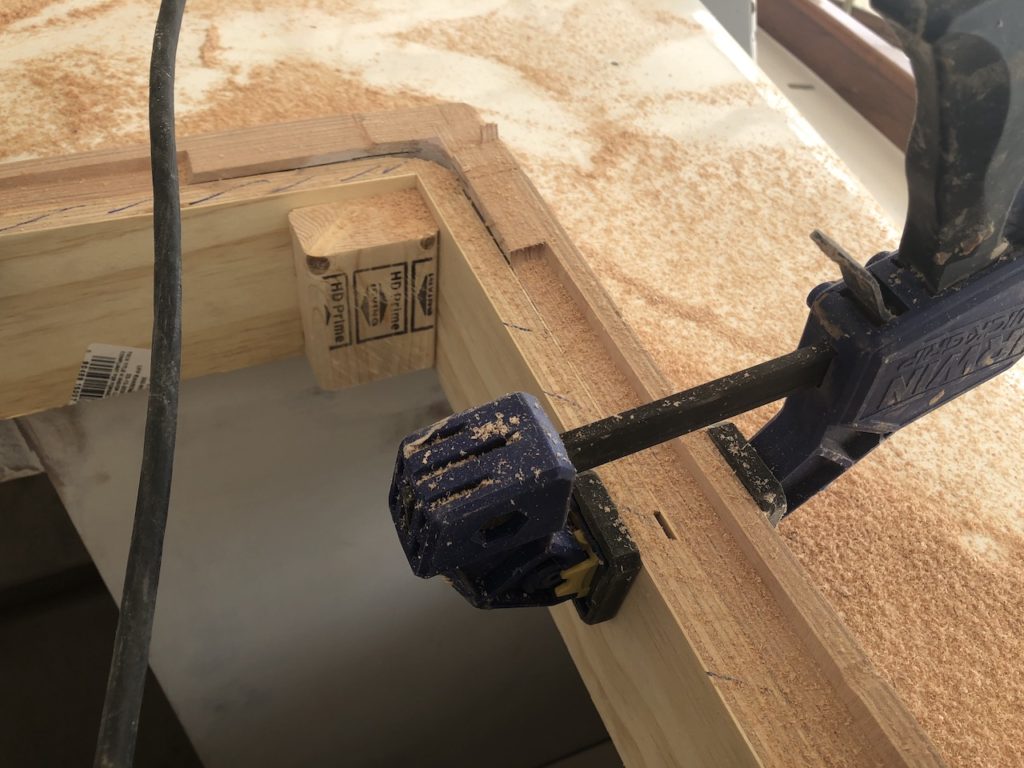
Making the tenons (the pins) presents little more difficulty than making a simple lap joint. The mortises (the holes), on the other hand, required a special jig to hold a side piece vertically while I passed the work over the stacked dado blades.
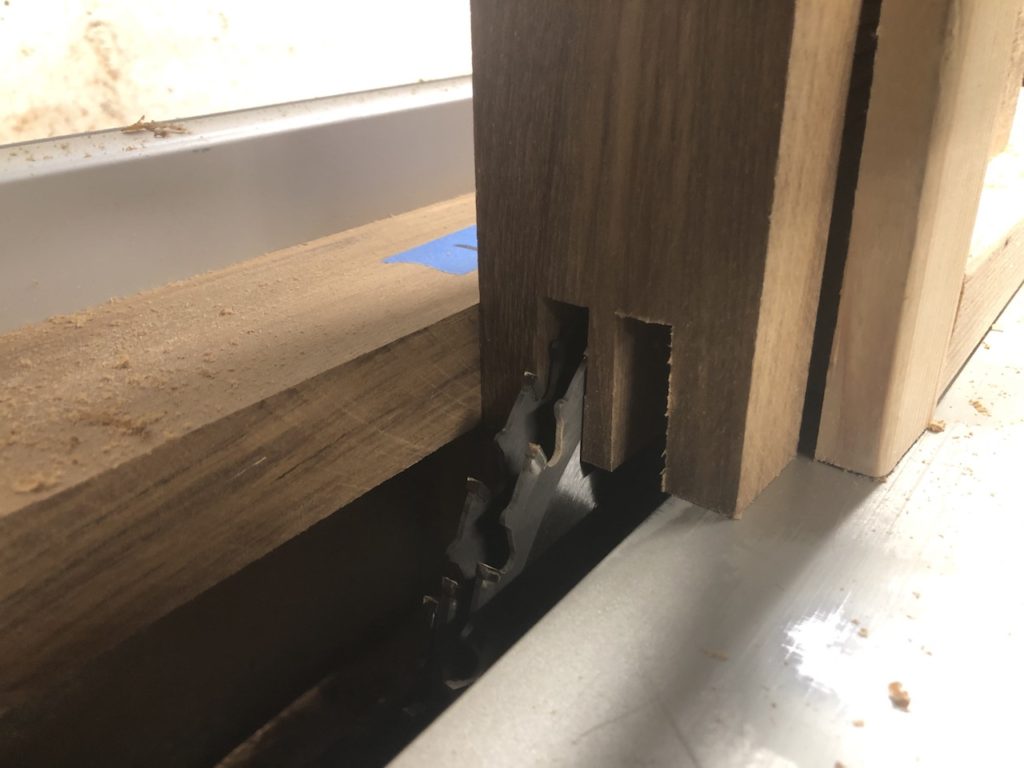
Here’s a closeup. To achieve a centered mortise you simply run the work through once, then flip it around and run it through again. The leftover but in center can be removed with a couple of freehand passes.

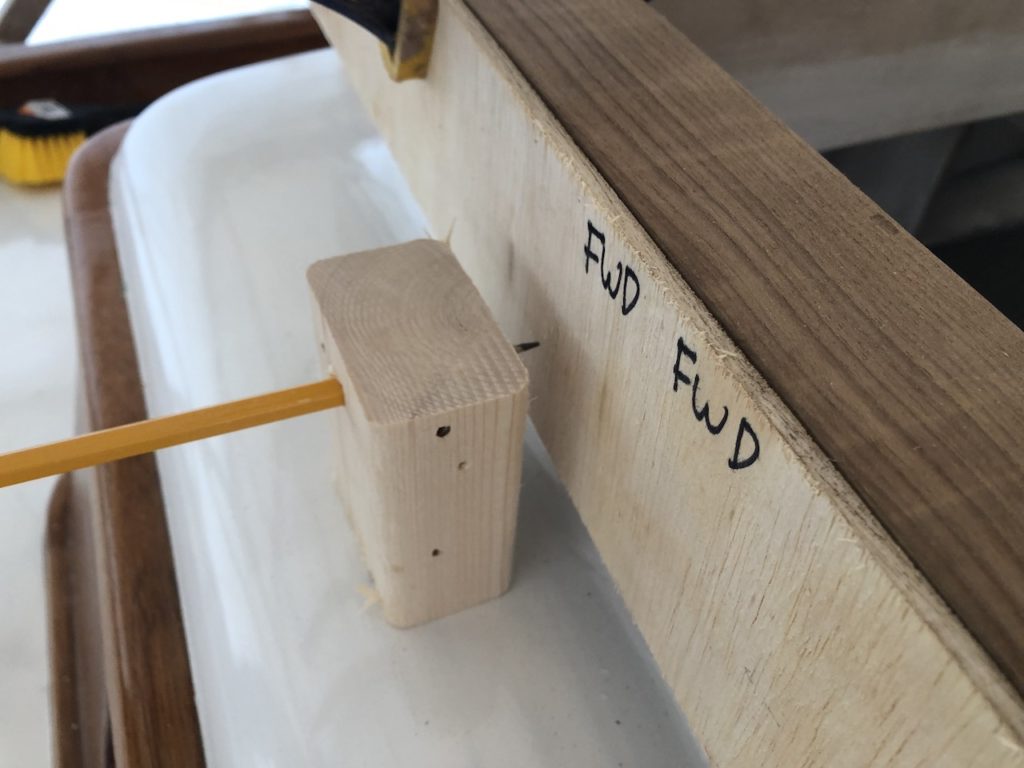
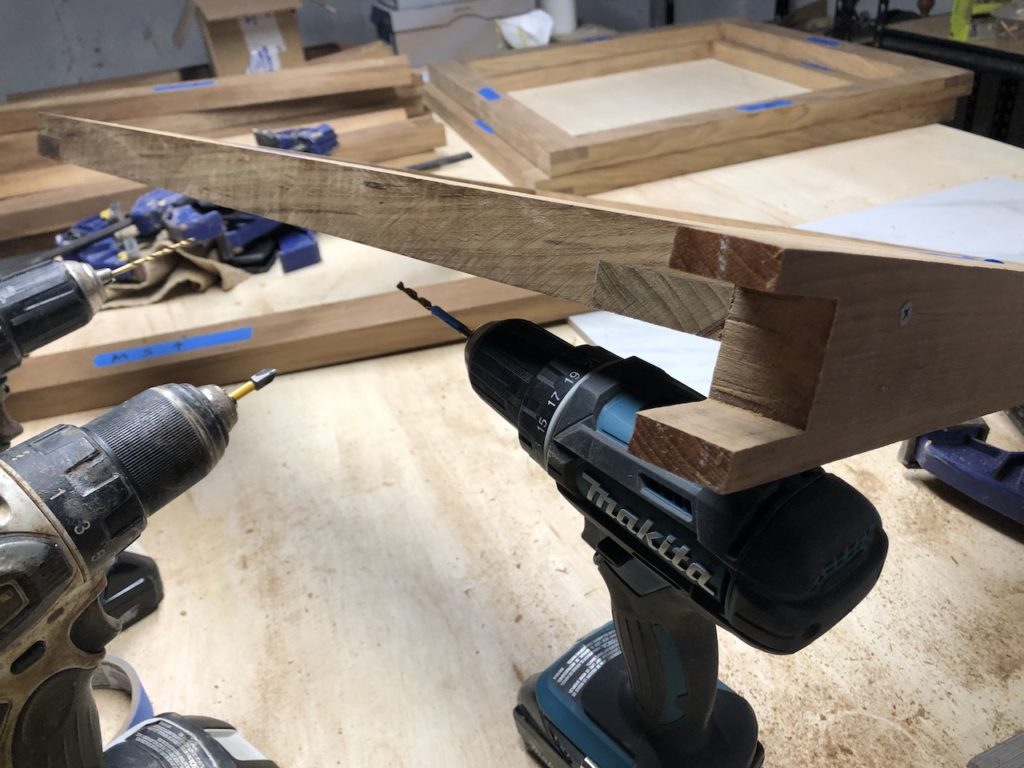
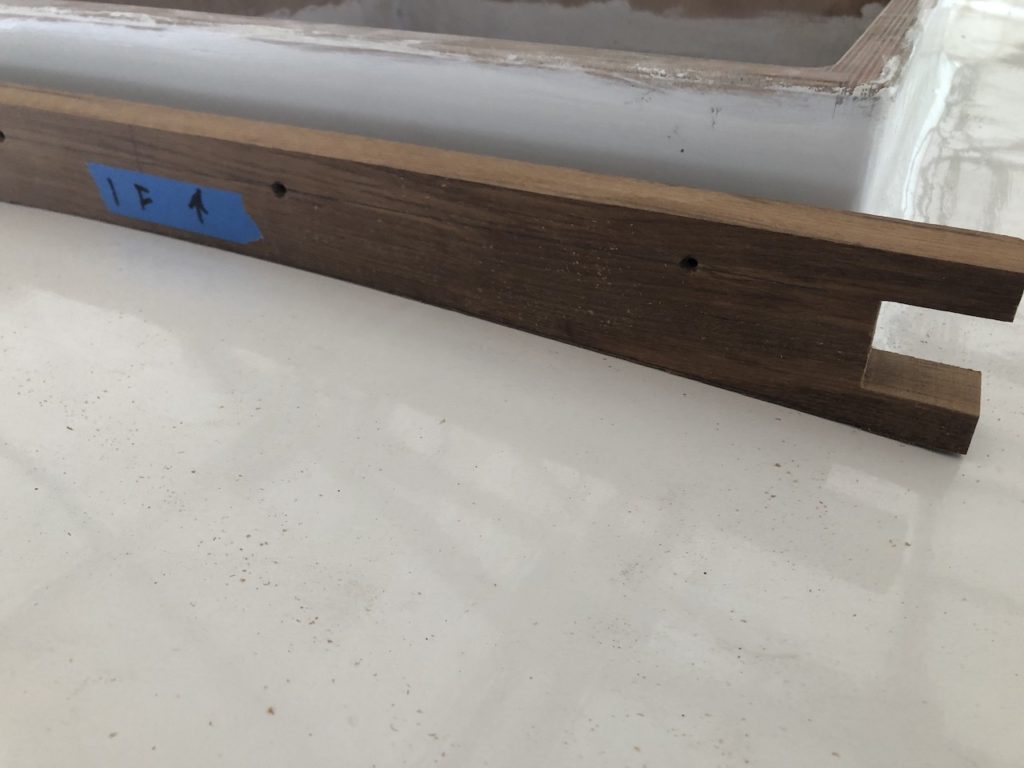
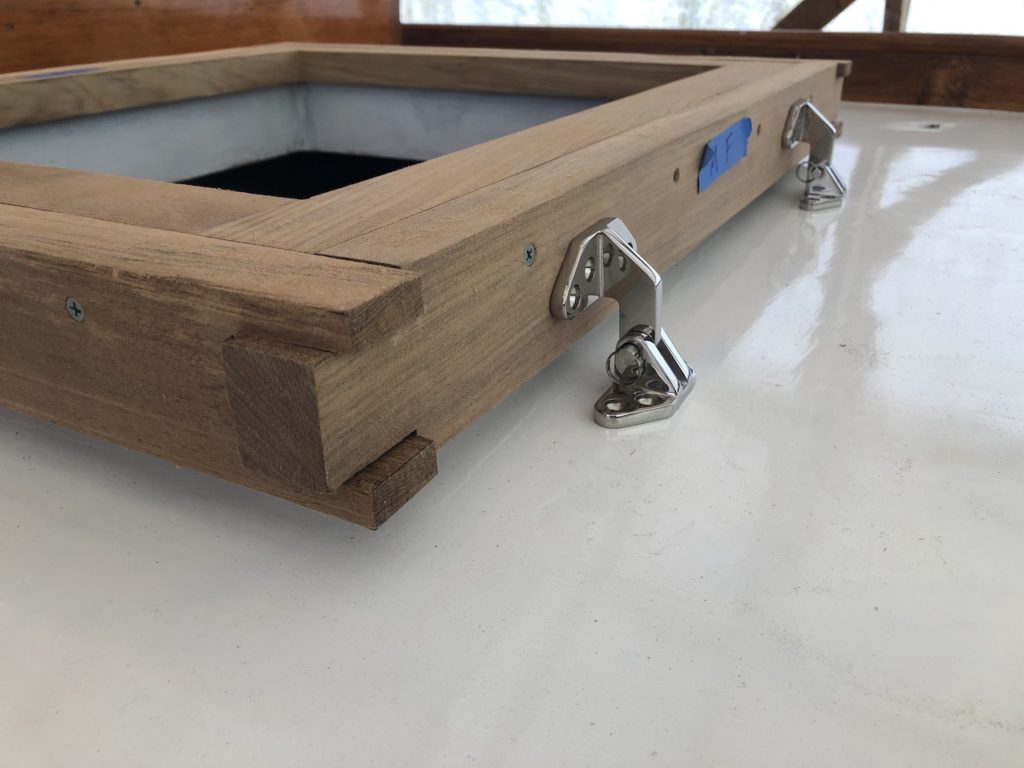
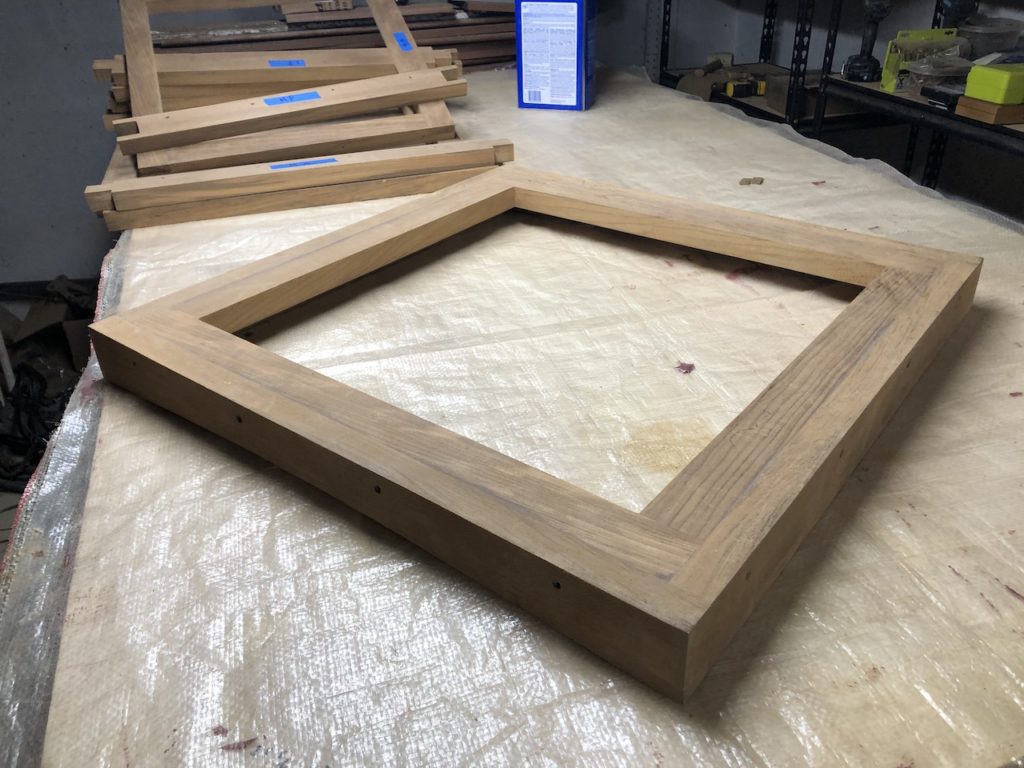
The side pieces will be glued and screwed to the frame. For a neat appearance, the screws should be all the same distance from the top edge and approximately evenly spaced.

Temporary screws were used first, and eventually stainless or bronze screws will be used, countersunk and plugged.

Cutting a tenon requires no special jig.


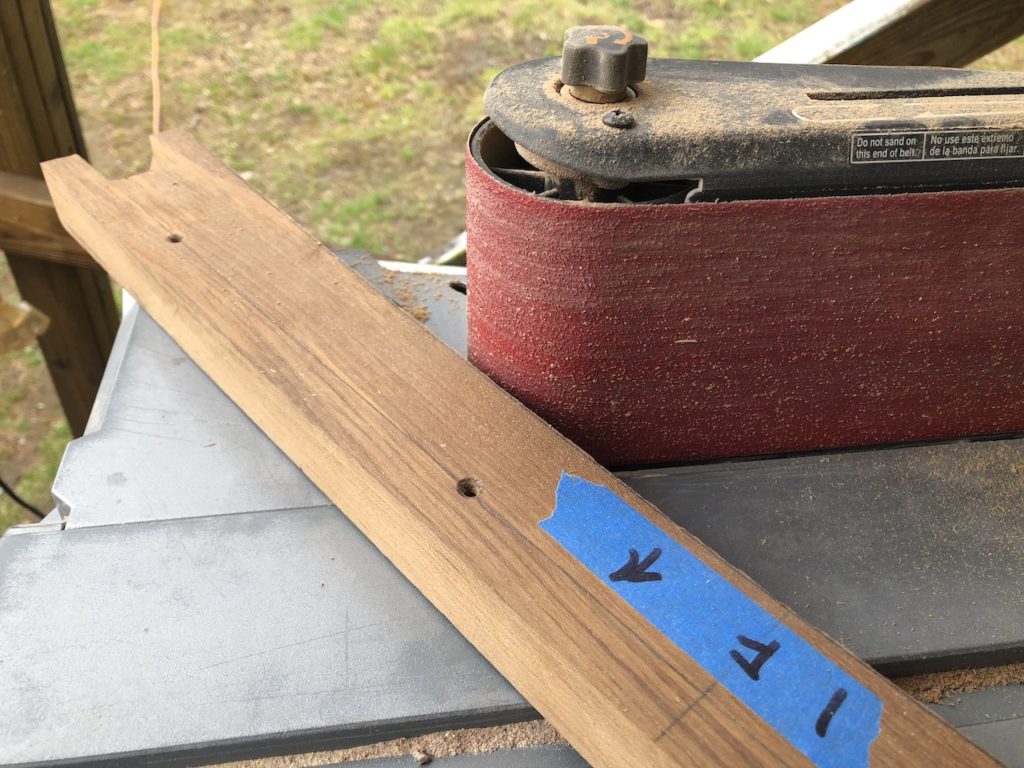
You saw above that I traced the camber of the deck onto thin plywood. In the end those templates weren’t used, and I simply measured the height of the camber, then bent a strip of wood over that height and traced a fair curve on the four side pieces requiring camber.

I felt it too risky to try to cut these curves with a jig saw, so I utilized the dado set again. By varying the height of the blades appropriately I was able to remove everything just under the pencil line.
Not bad at all:
Some final trimming to get up to the pencil line:
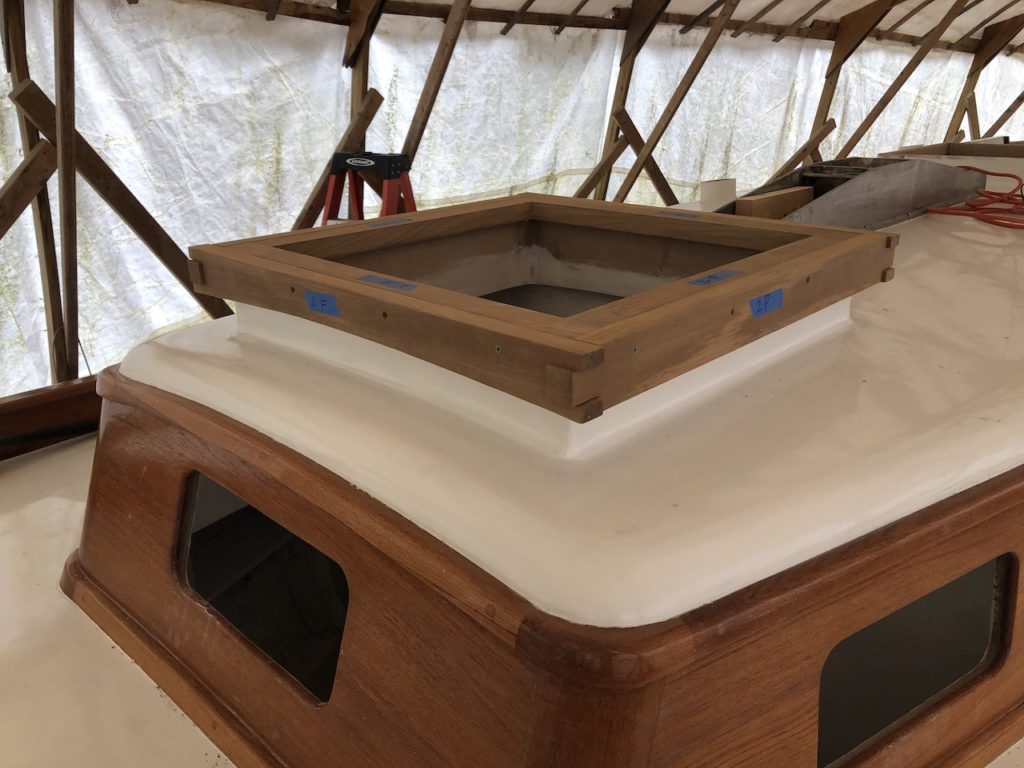
I assembled all three hatches with temporary screws.
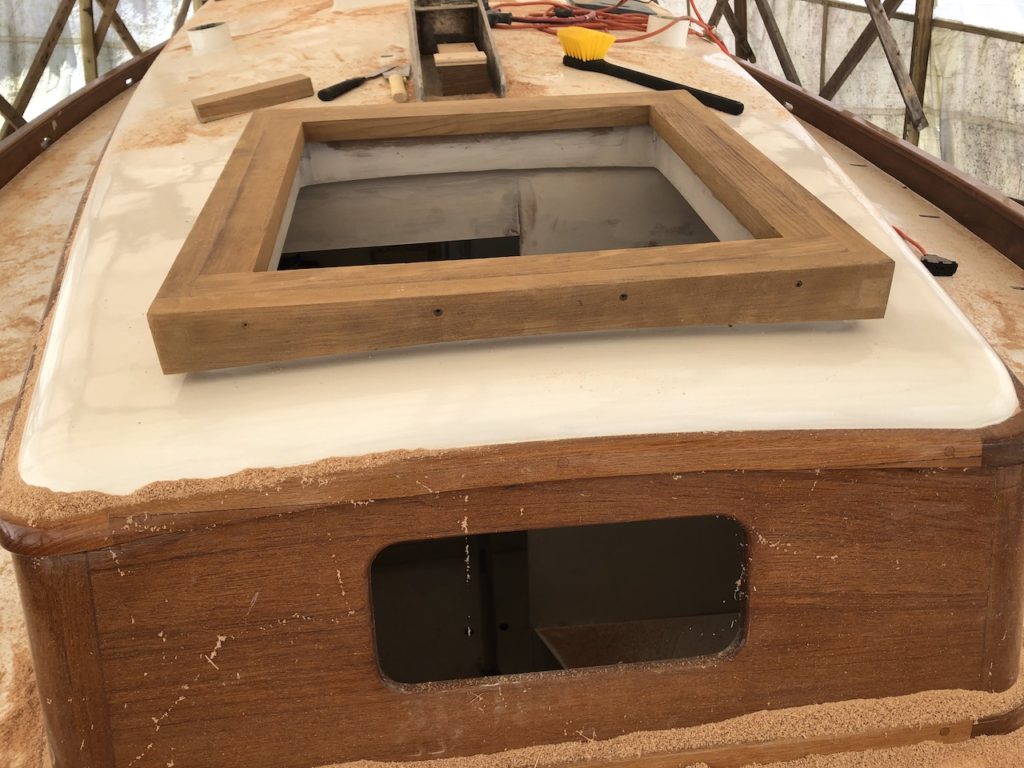
The hatch coamings were built too high on purpose because at the time I was unsure of the final design of the hatches. Clearly what you see below is not ideal or practical.
On the aft deck, however, I built the coaming quite low.
But not low enough for the hinged in this orienation.
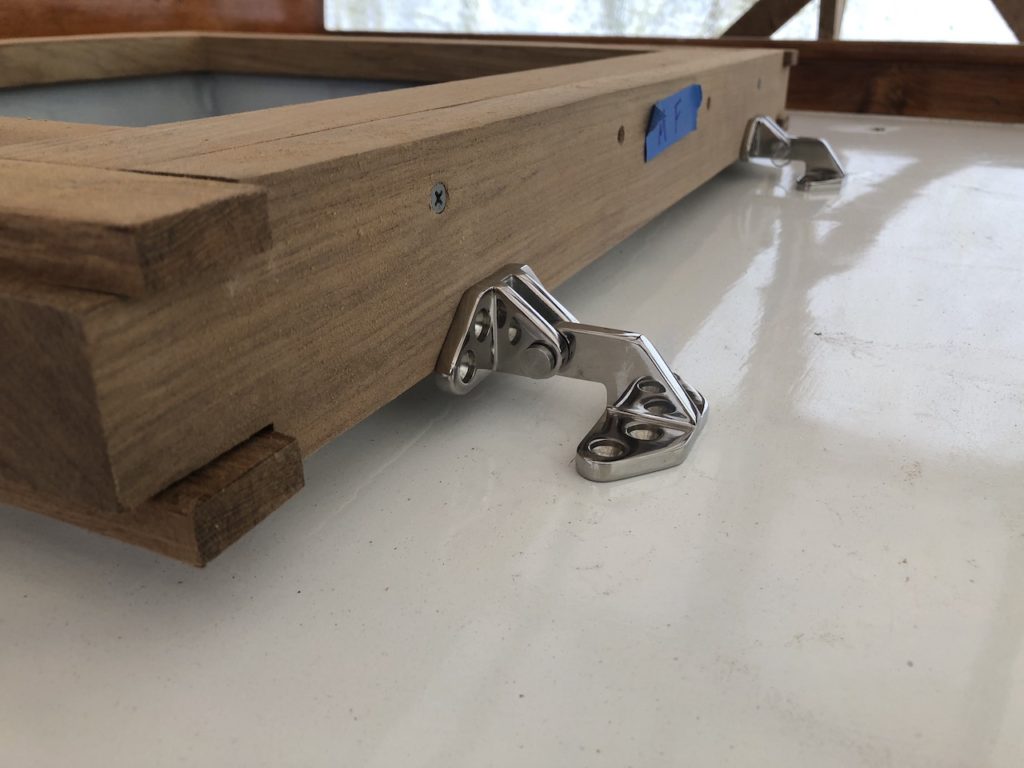
But just fine if I use them in the other orientation.
Meanwhile on the cabin top, I took off about 2.25 inches of coaming, then built a square box I used as a router guide
After cleaning up the corners we have a much different look:
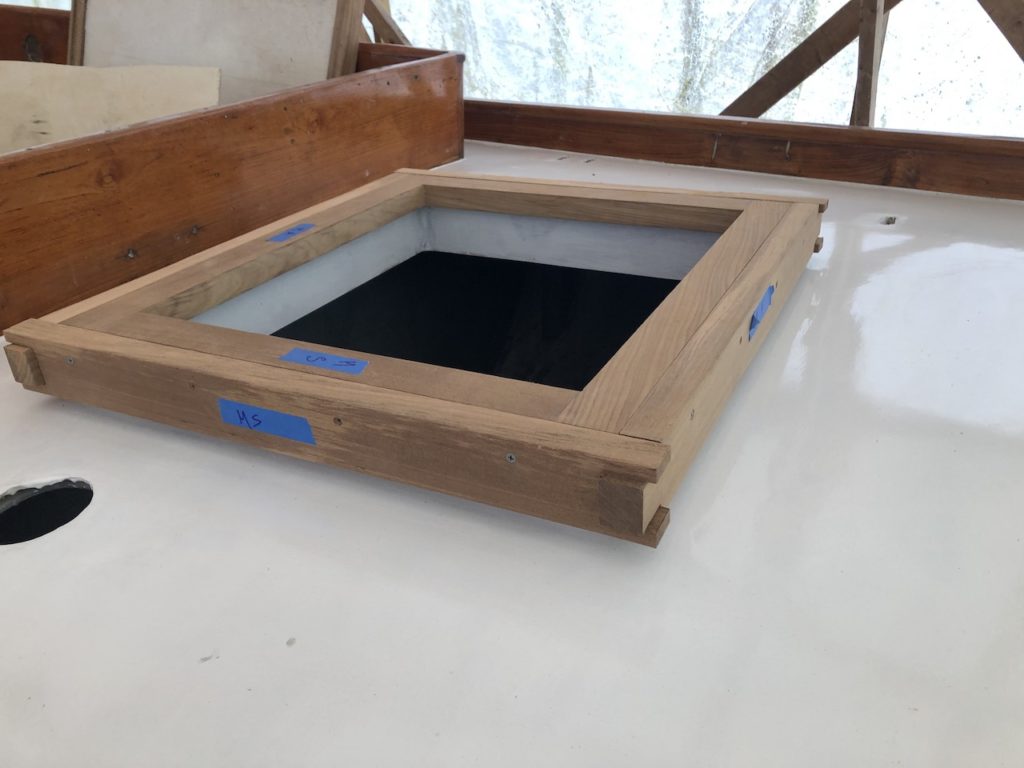
Meanwhile, in the workshop I had glued up one of the cabin-top hatches and let it dry overnight.
An hour of sanding later…
Back up on the boat, the overall look is much better with the lowered coaming.
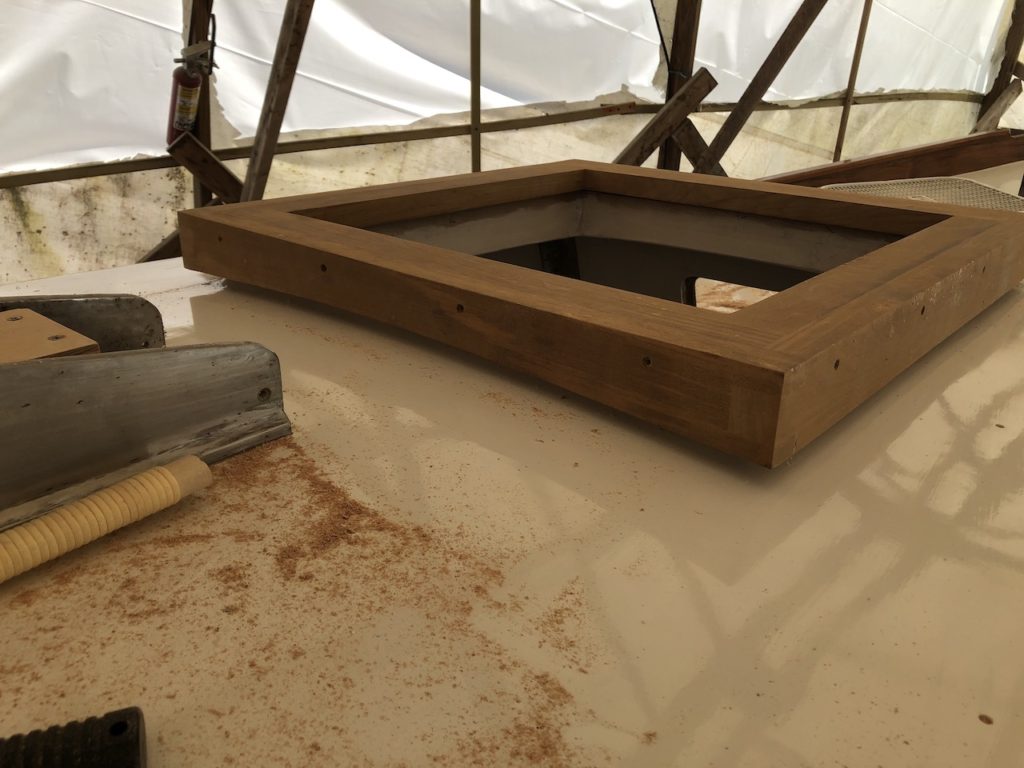
The hatch has about a 1/2 inch of clearance all around, but I’d like to take that down to 3/8 or 1/4. Those will be my next steps.