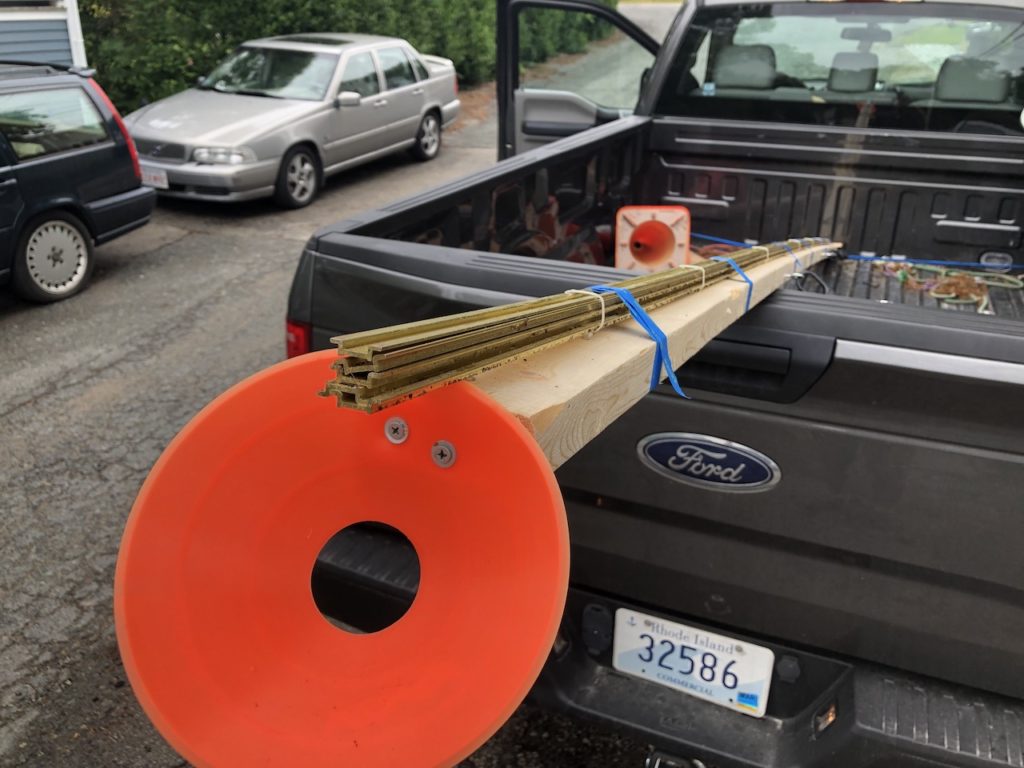
6/14/20: Booms
I took a ride to Hull MA to pick up five 12-foot lengths of sail track for the mainmast and boom.
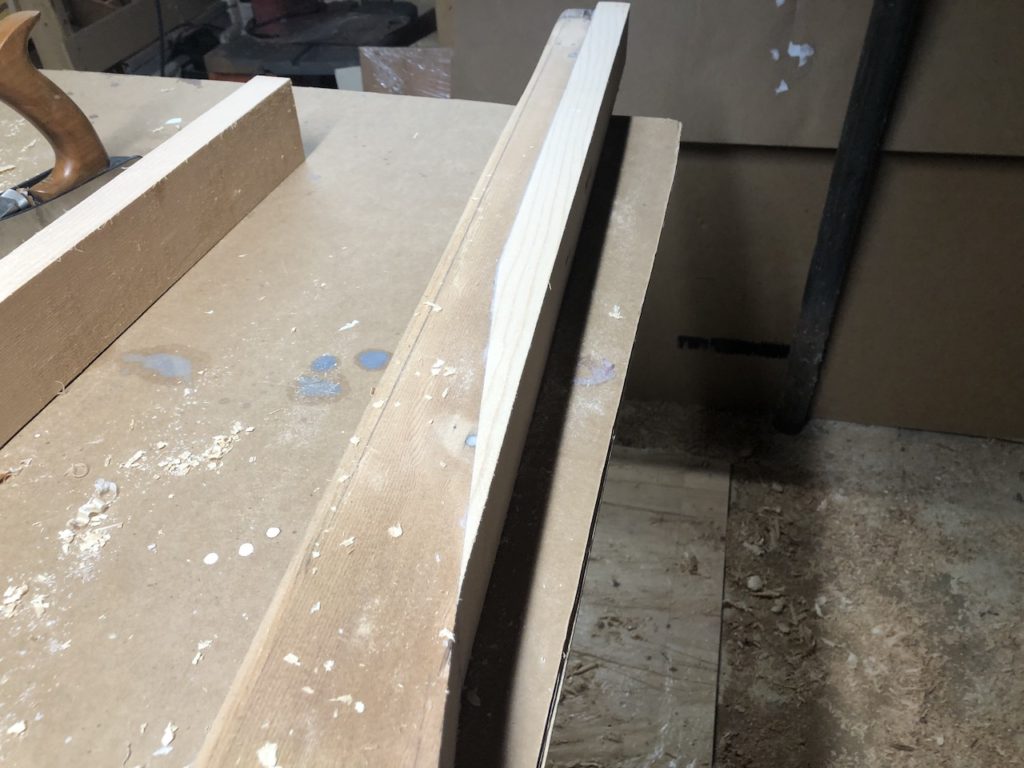
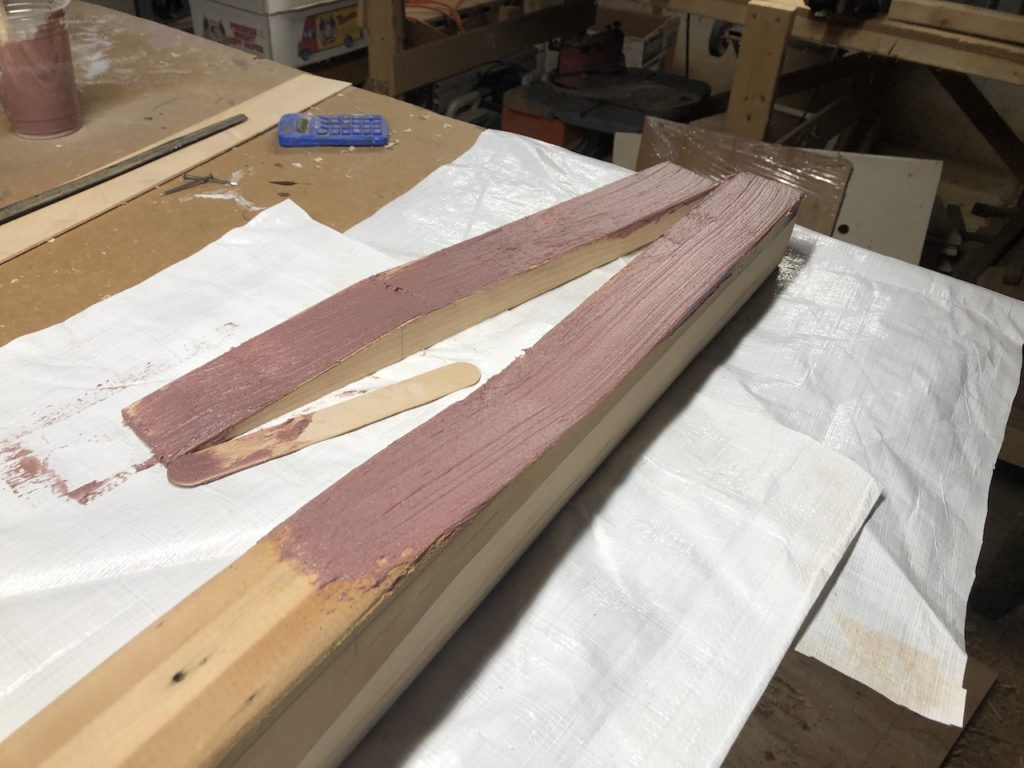
The following image shows the profiles of the new and original track. The new track (left) has two raised ridges along the bottom side. The purpose of these ridges is to provide two contact points with a curved surface, but I need these tracks to lie flat on the flat riser.
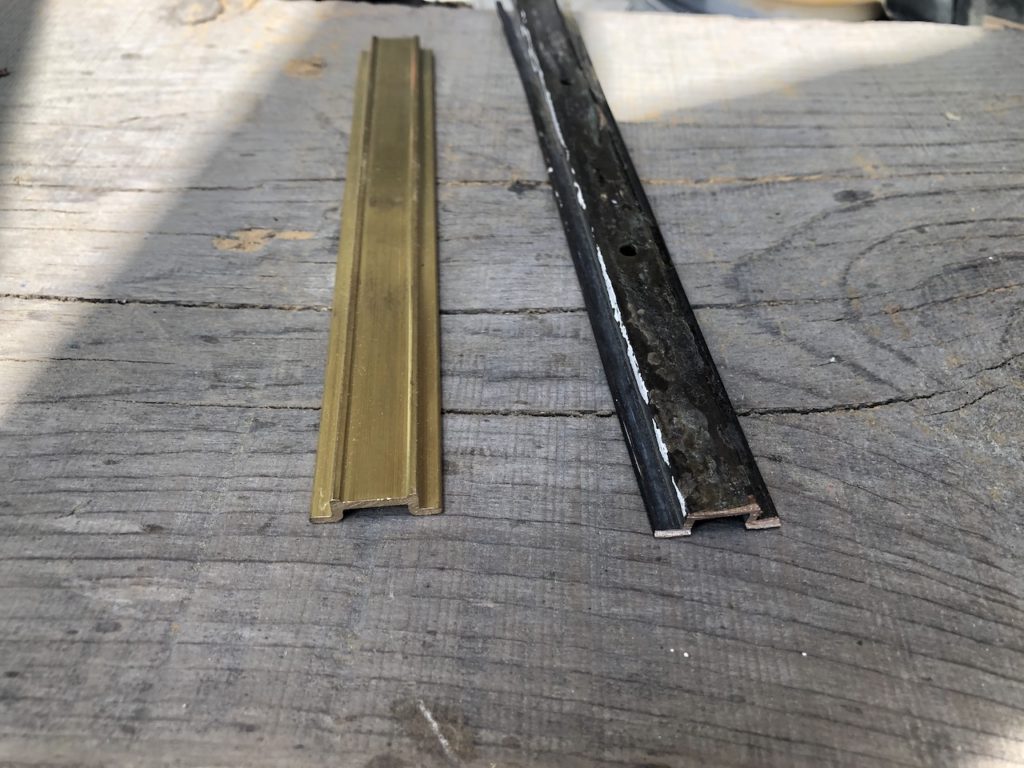
With the help of a machinist-friend, I removed most of the raised part by running the tracks over a router table with the appropriate setup. I sanded what was left with an orbital sander. More on the sail track later.
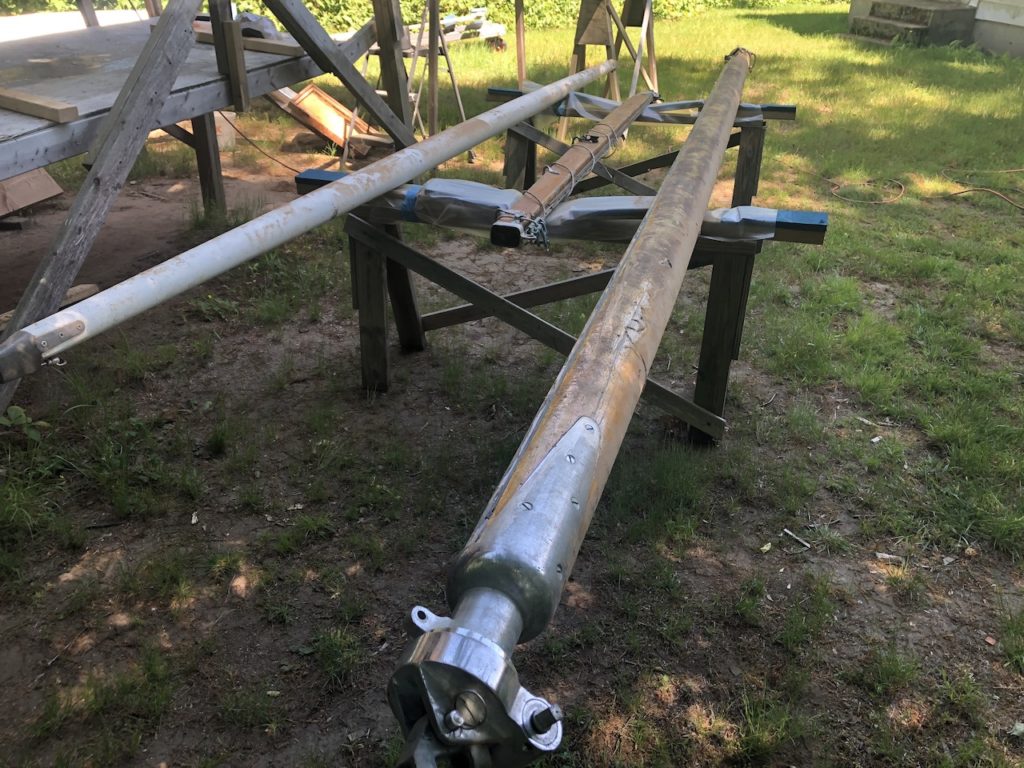
With the sail track in hand, it seemed like a good time to start thinking about booms, and I rescued the main boom, mizzen boom, and whisker/spinnaker pole from the basement.
Removing the hardware was quick and straightforward.
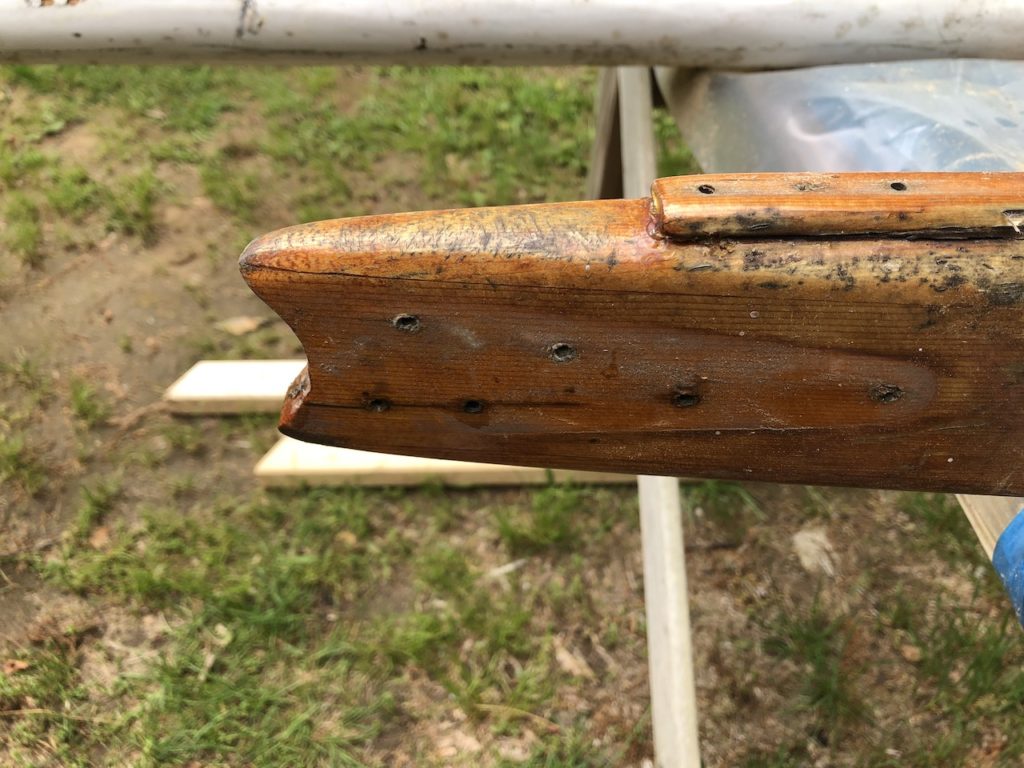
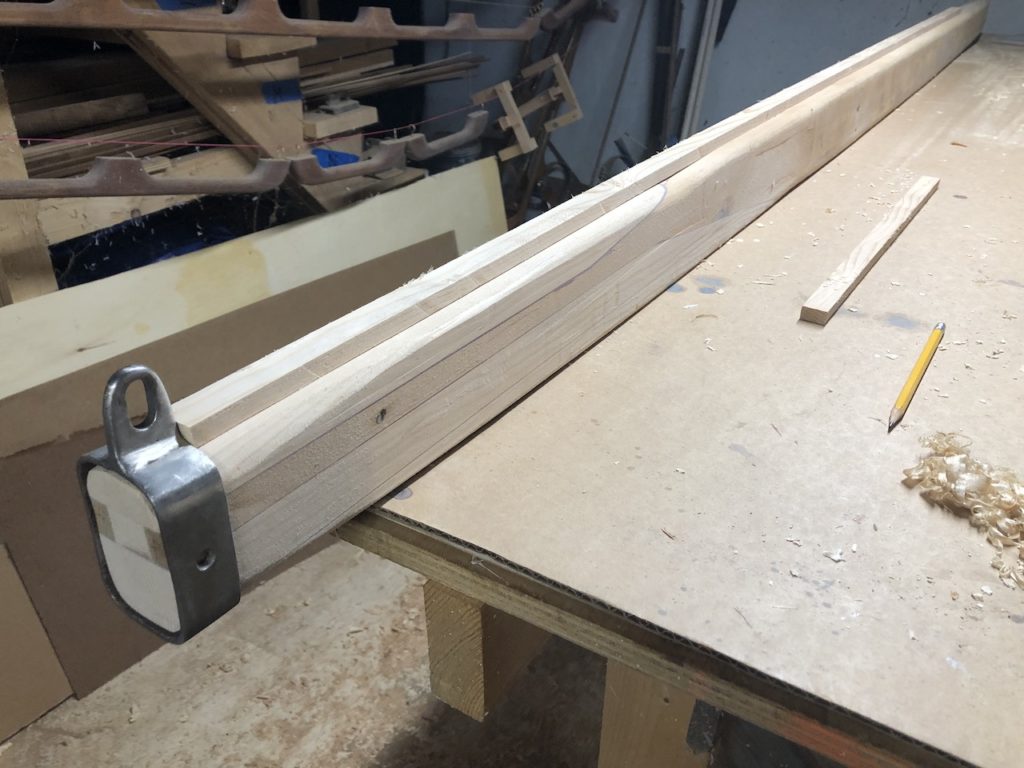
The sail track on the aft end of the mizzen was through-bolted, and over time water penetration caused some problems.

I knew immediately that there was rot and the aft end of the boom would have to be rebuilt. My experience with main-mast repairs and rebuilding the bottom of the mizzen mast came in very handy, and made this boom repair seem easy by comparison. I started with some exploratory poking around:

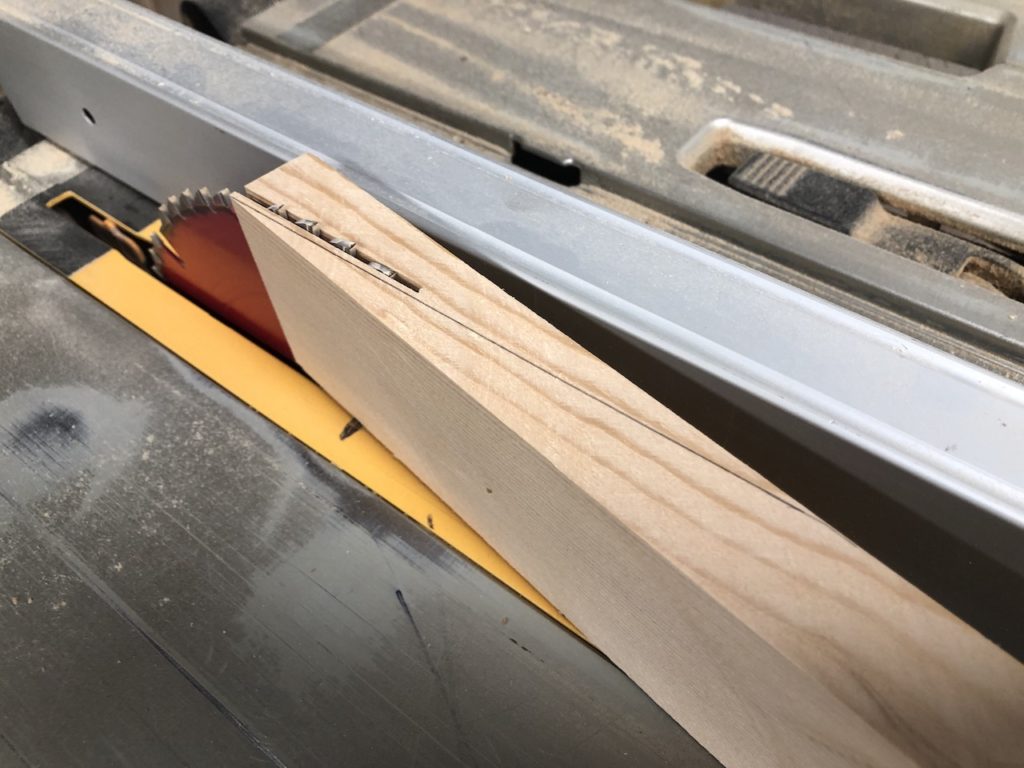
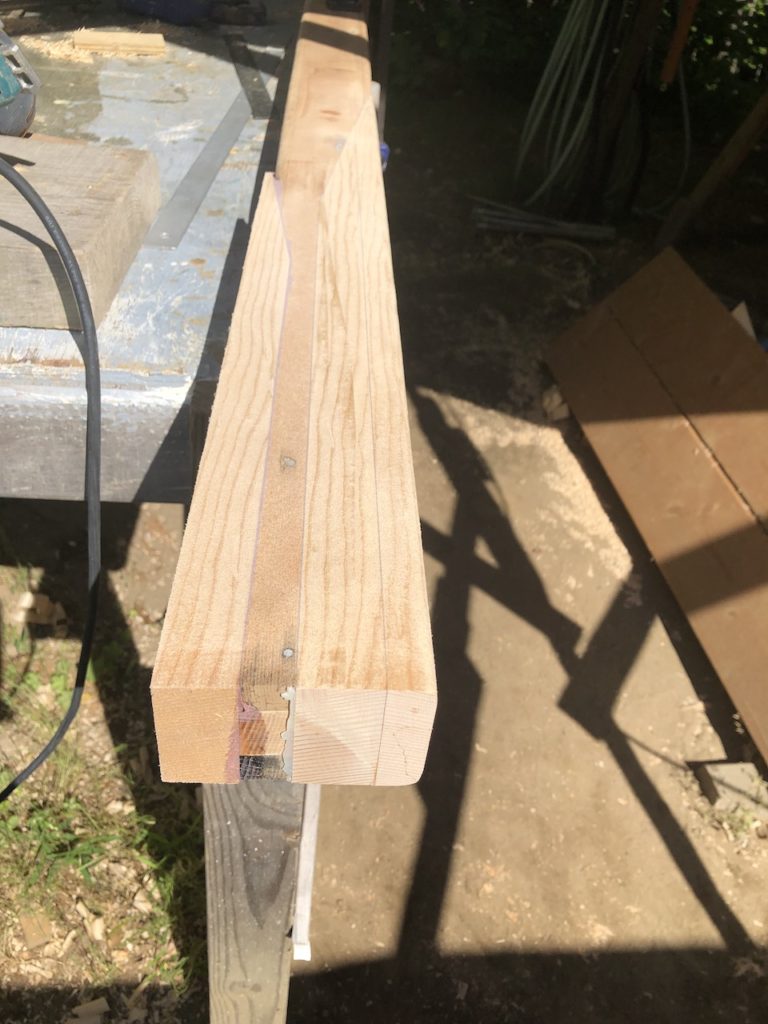
Next, I ran about 18 inches of the end of the boom through the tablesaw to establish a flat surface. The boom is a hollow, box construction, but the ends of hollow spars are typically solid. The rot here was confined to the piece of wood that was the center of the solid section.
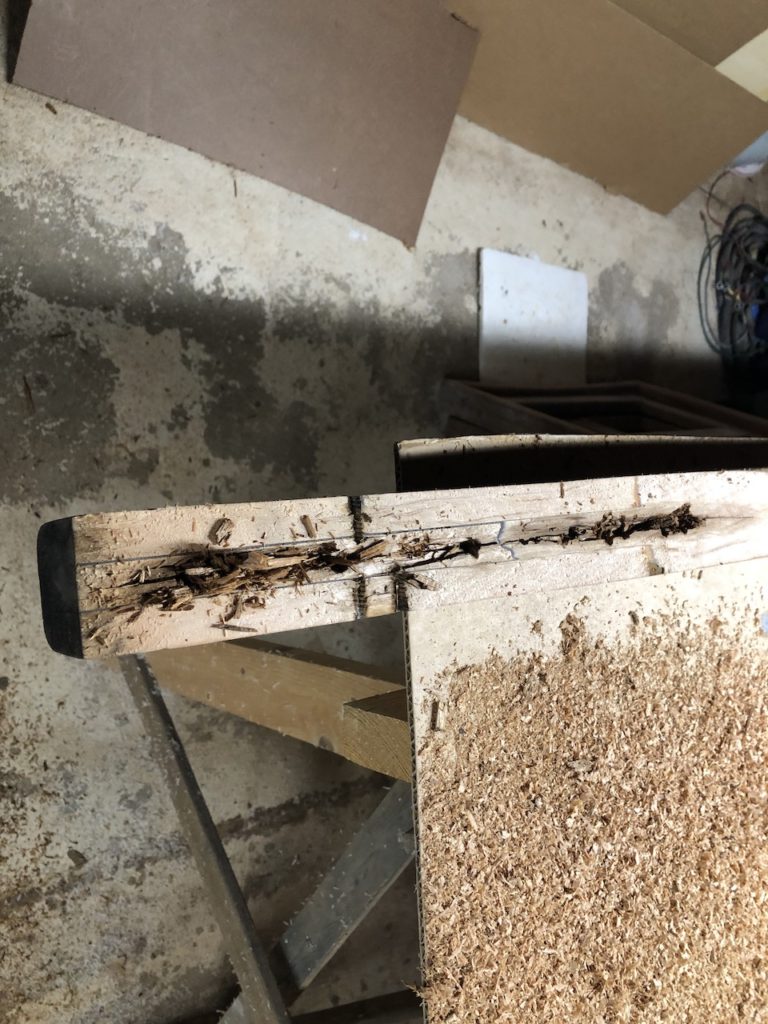
More poking around poked a hole in the top side.
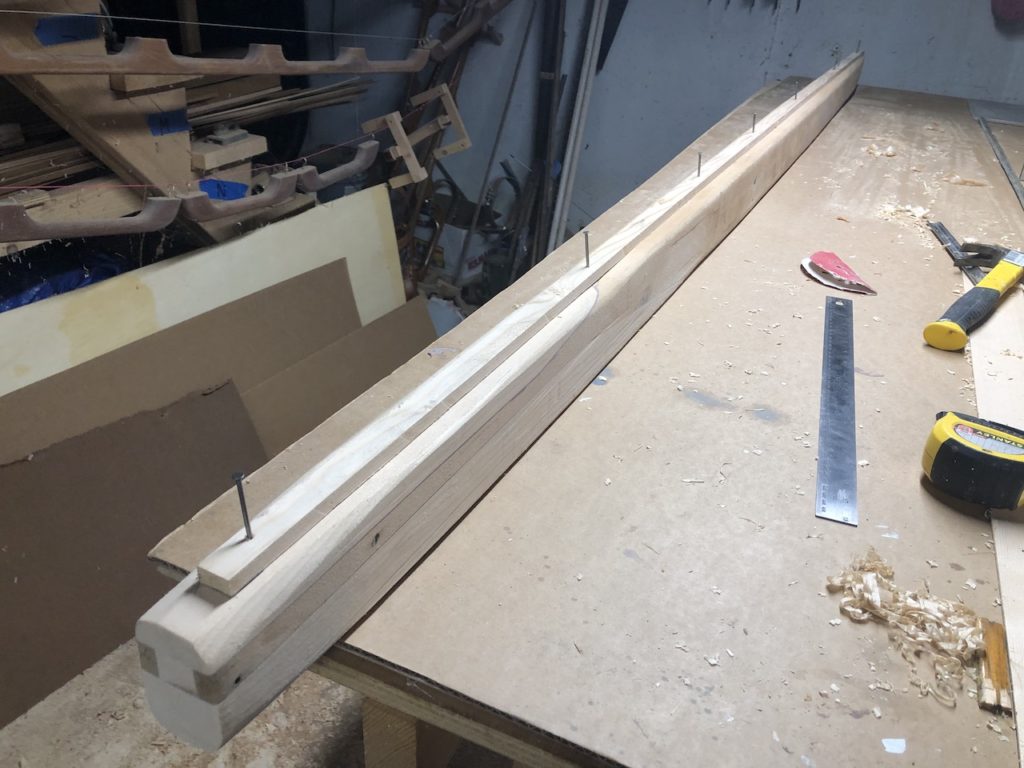
Fast forward a bit, and here I’ve glued up a piece that will serve as the foundation on which I will rebuild the end of the boom. Note the bevel that will be part of two scarf joints
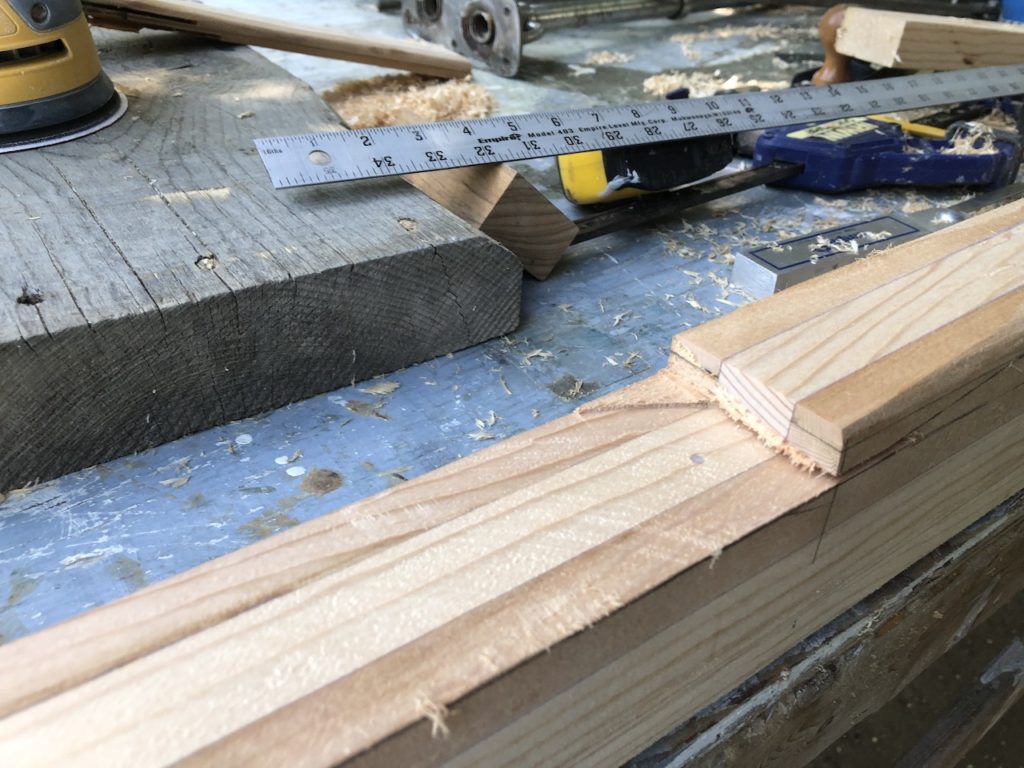
I was happy to have some sitka spruce left over from the mast repairs, but the thickest I had was about 1 inch, so I had to scarf in two pieces to build up the bottom side. Here’s one:

For small joints like this I was able rough cut the bevel freehand using the table saw, which saved me some work with the power planer.
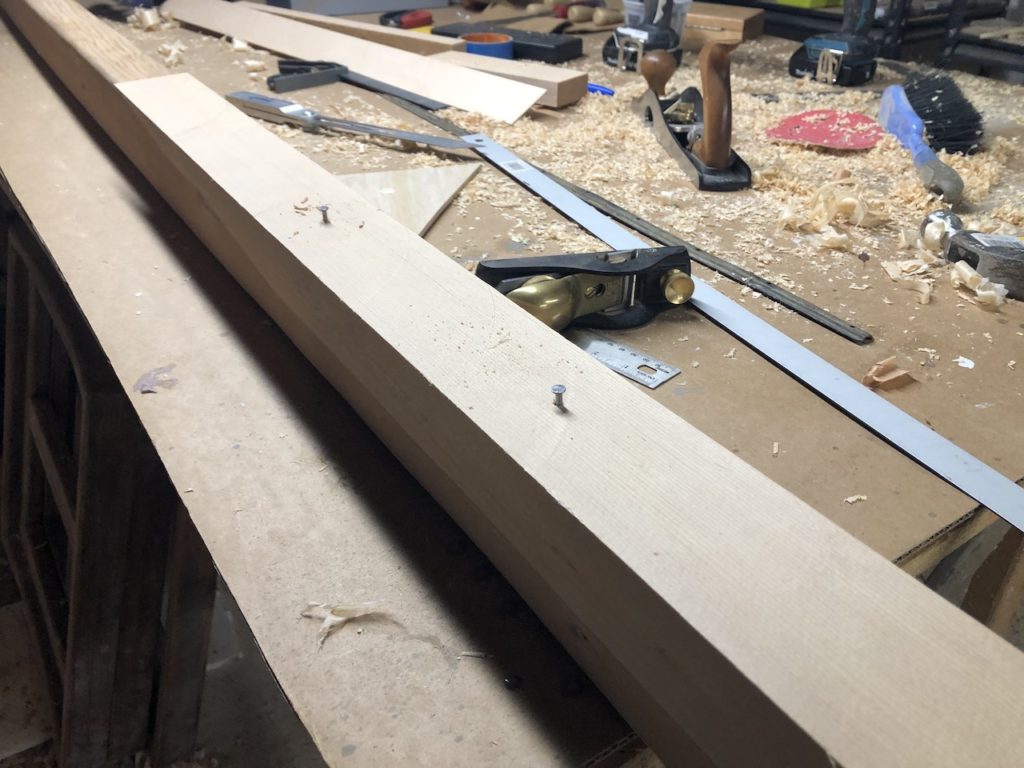
As usual, one needs a method to secure the work so that the joint doesn’t slide around under the pressure of the clamps. I use small nails through pre-drilled holes
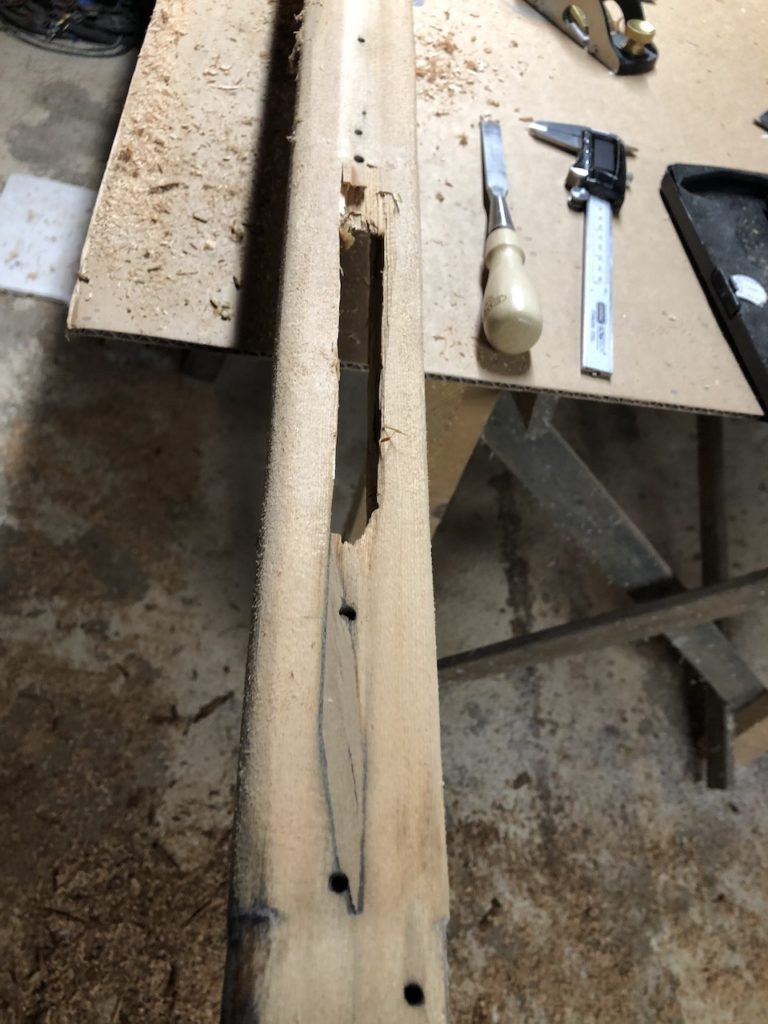
Here you can see the two scarf joints.

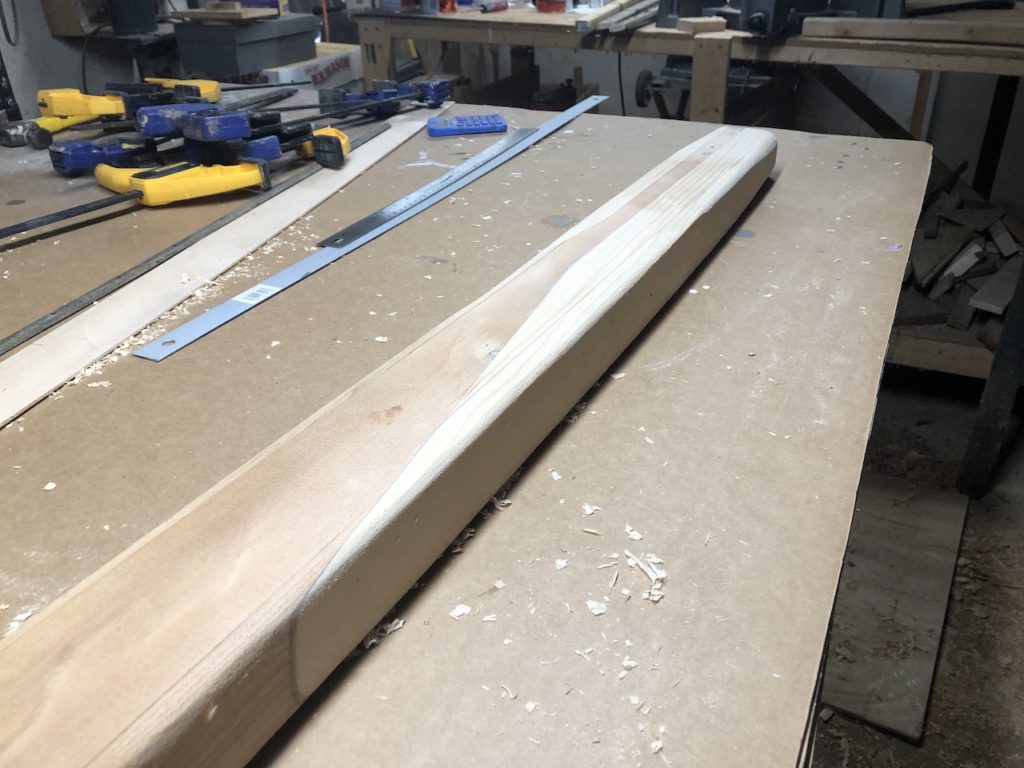
The top side of the end of the boom was somewhat irregular and wavy, so I decided to fix that up too.
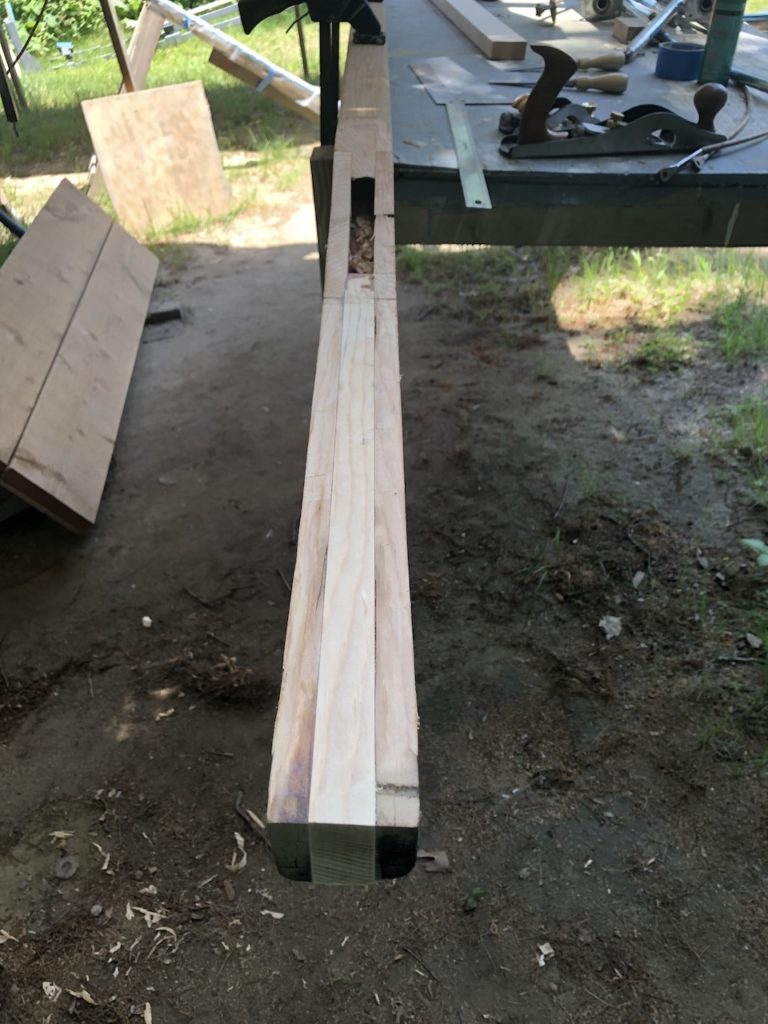
Almost done:
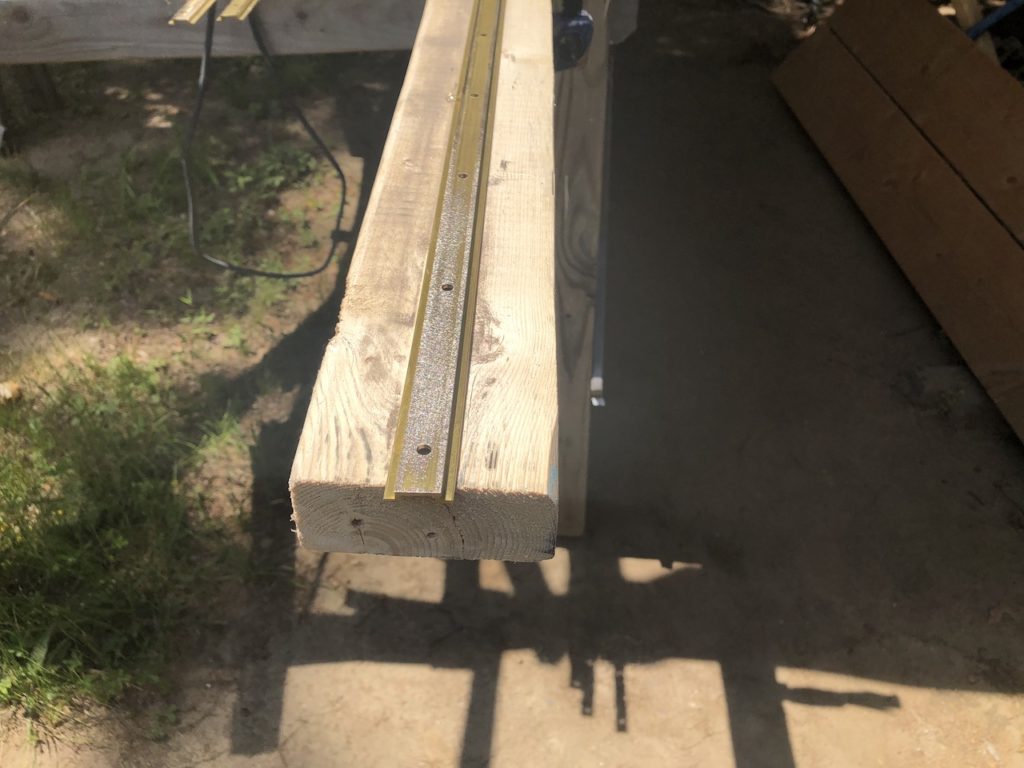
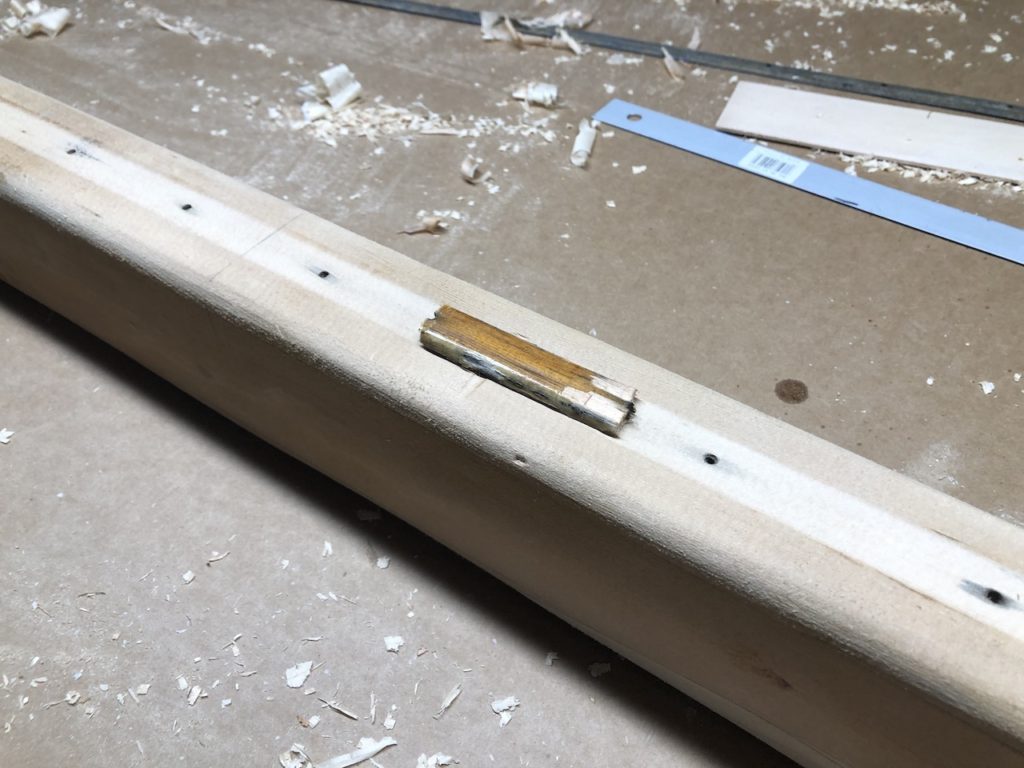
There was a riser under the sail track, but I removed it for these repairs. Here is a piece of it sitting on the top of the boom:
I had some long pieces of spruce with which I made a new riser. The original riser was 3/4 inch wide and 1/4 inch high. What you see below is 3/4 inch wide and about 1/2 inch high. I was tempted to run it through the table saw to take it down some more, but this piece was so perfectly straight that I didn’t want to risk introducing waviness by removing material. It’ll be easy enough to adjust after the glue up.
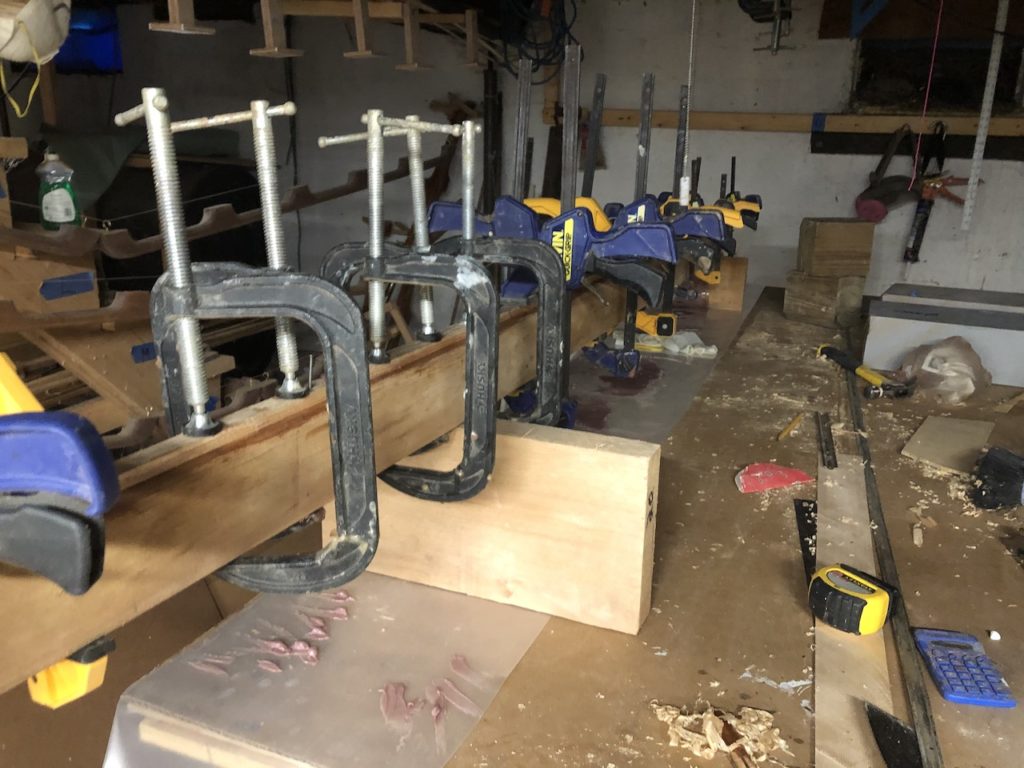
Speaking of glue up:
The next steps are preparing the booms for varnish, and getting back to the work on the hatches.
Kathleen
06/14/2020 — 9:22 pm
Wow! That is amazing, Mike! As someone who is dealing with wood damage in my house, I am fascinated with the wood repairs you are doing.