7/24/20: Spars, Genoa/Traveler Track
I’ve ordered all of the fasteners I’ll need for installing the hardware to the masts and booms. Some of it is on backorder, but I was able to install the tang hardware at the spreader on the mainmast.
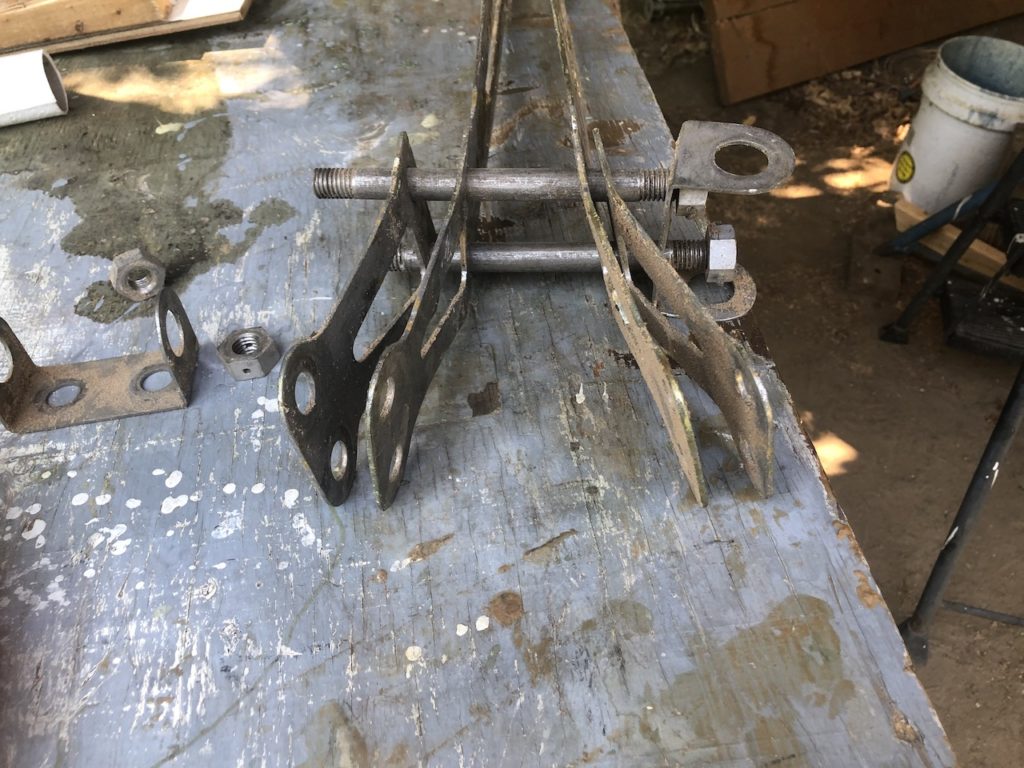
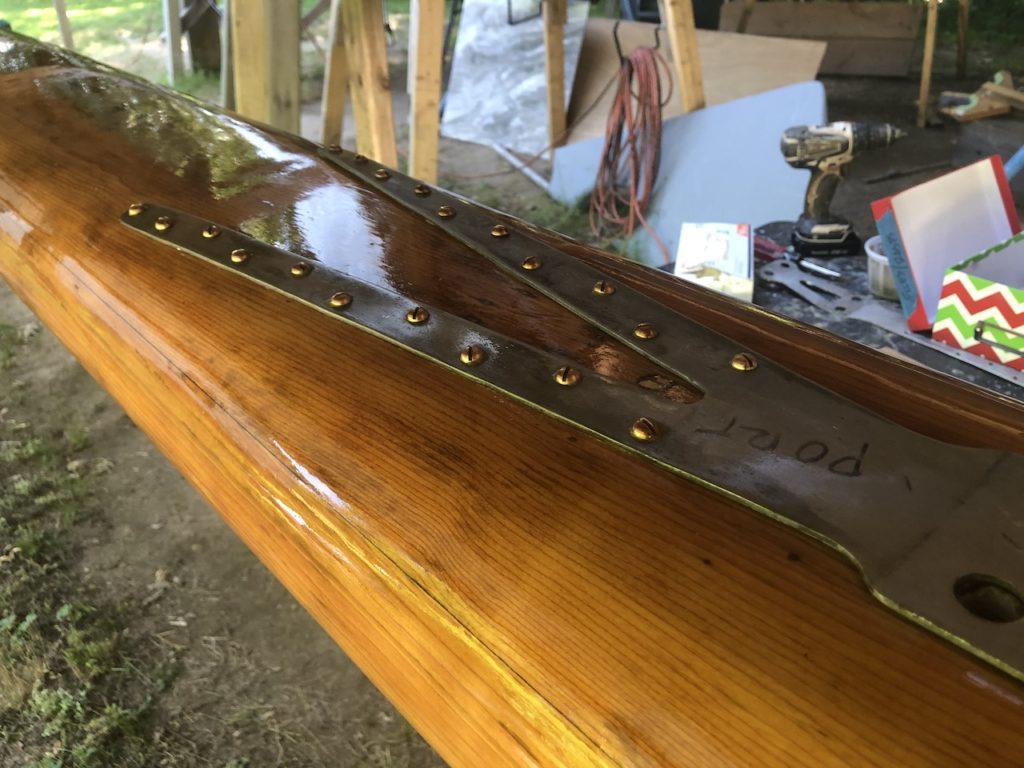
The hardware both at the spreaders and the masthead include several 5/8-inch stainless bolts. threaded on both ends, that pass through holes where the mast is solid. I hammered one bolt through the the topmost hole and I tore out some wood, as you can see below.
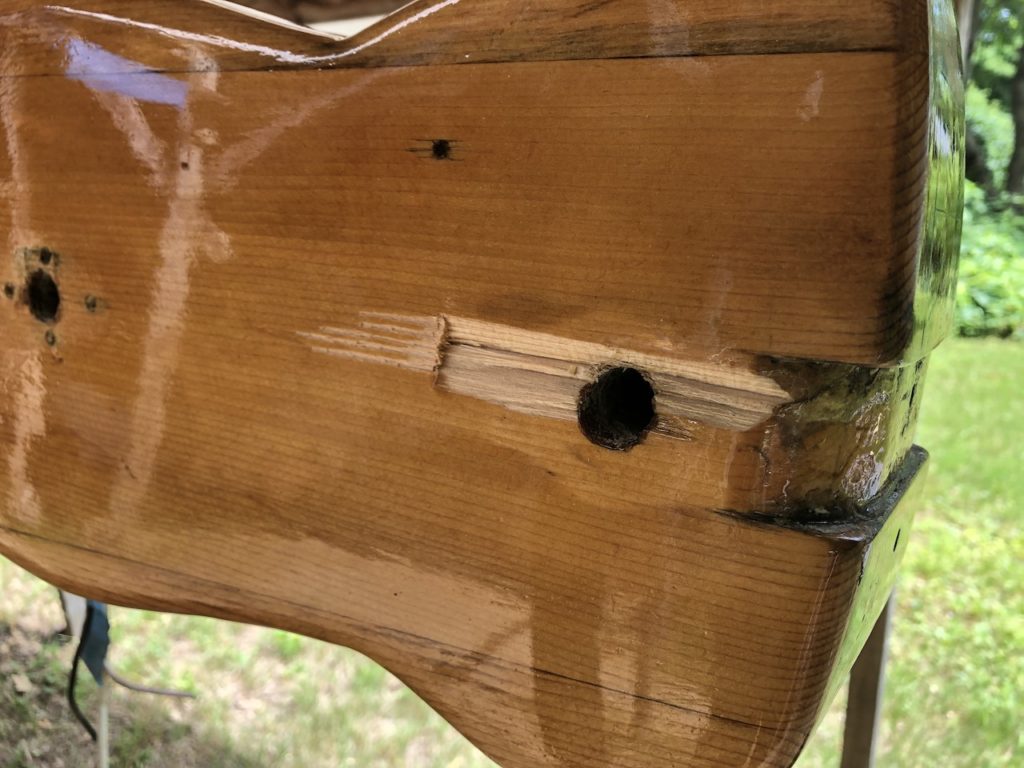
While this was a nuisance, it led to the discovery and correction of an existing problem. The repair was a simple scarf joint.
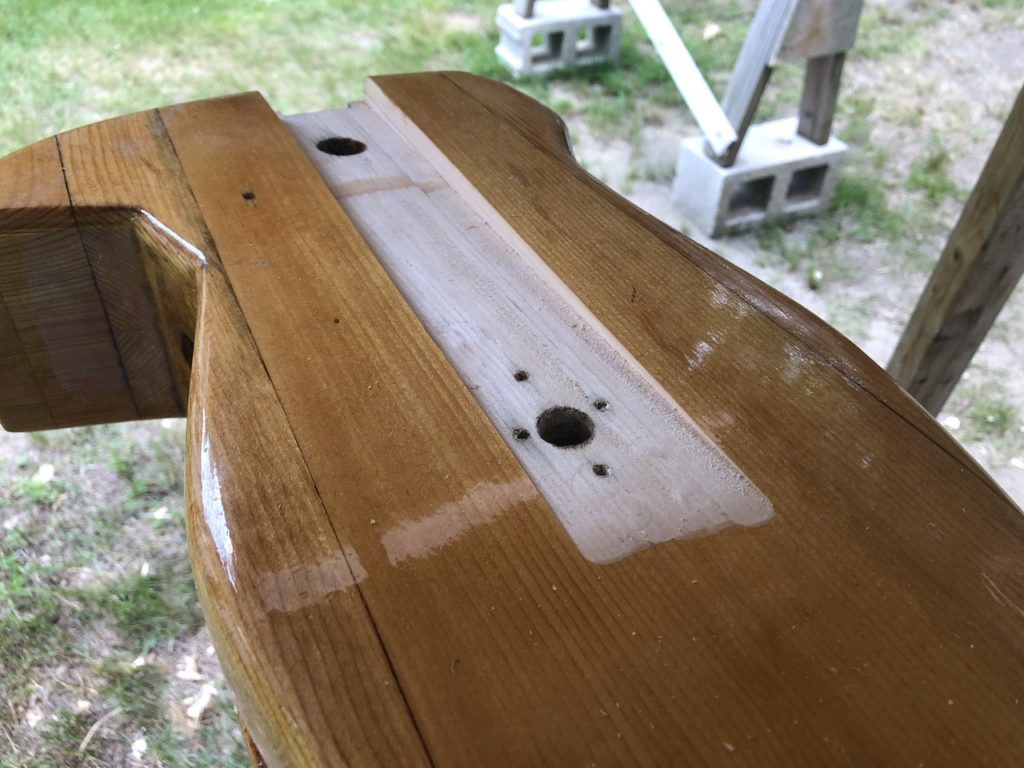
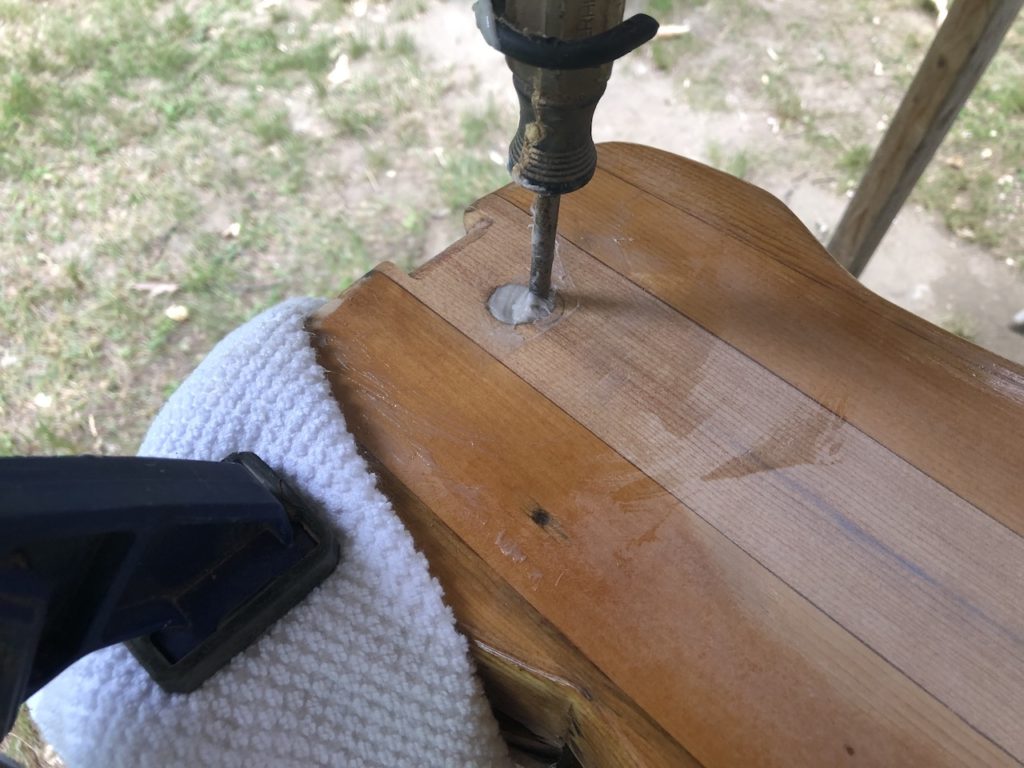
I noticed that the bolt hole was worn badly on the starboard side, as if there was too much force pulling down and elongating the hole in the wood. I “corrected” the problem by positioning the bolt where the original hole was drilled, then filling the gaps with thickened epoxy. (I waxed the bolt so the epoxy would not bond to the steel.)

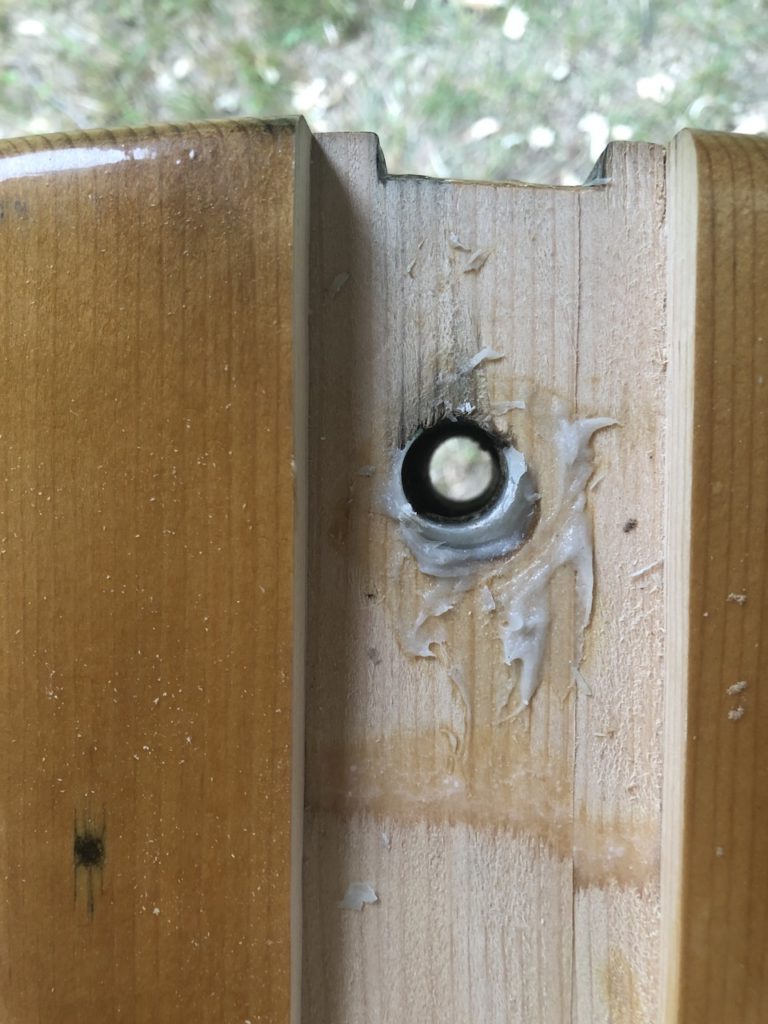
Here is the fixed hole.
Here is the wedge of sitka spruce for the scarf joint.
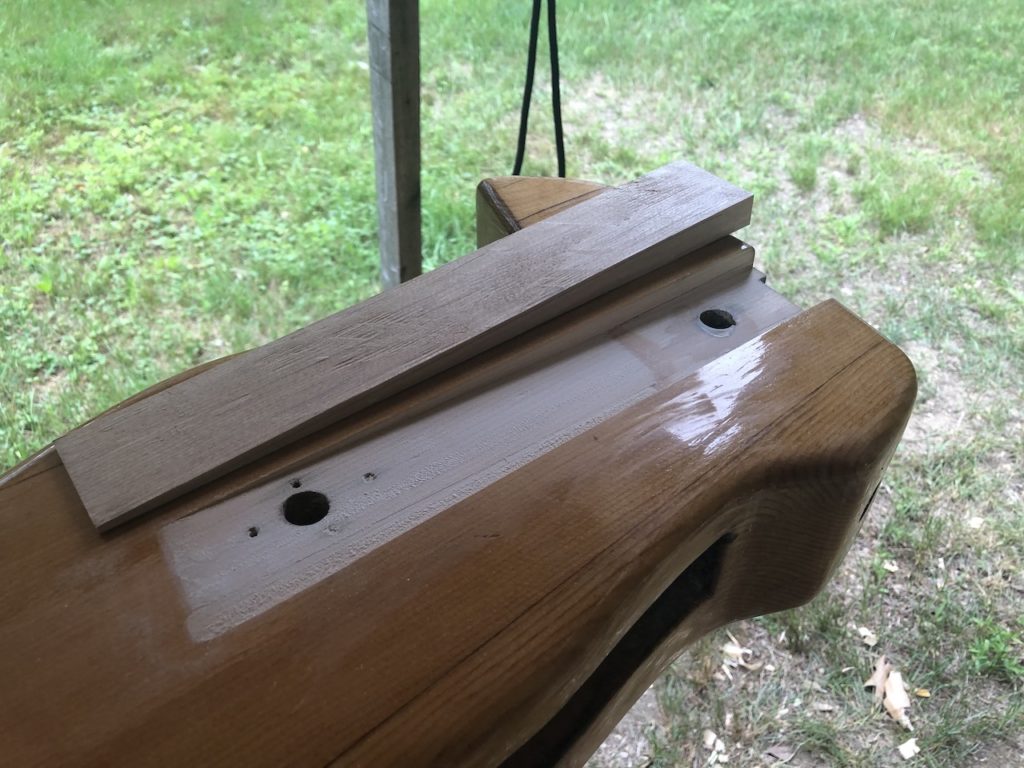
The glue up:
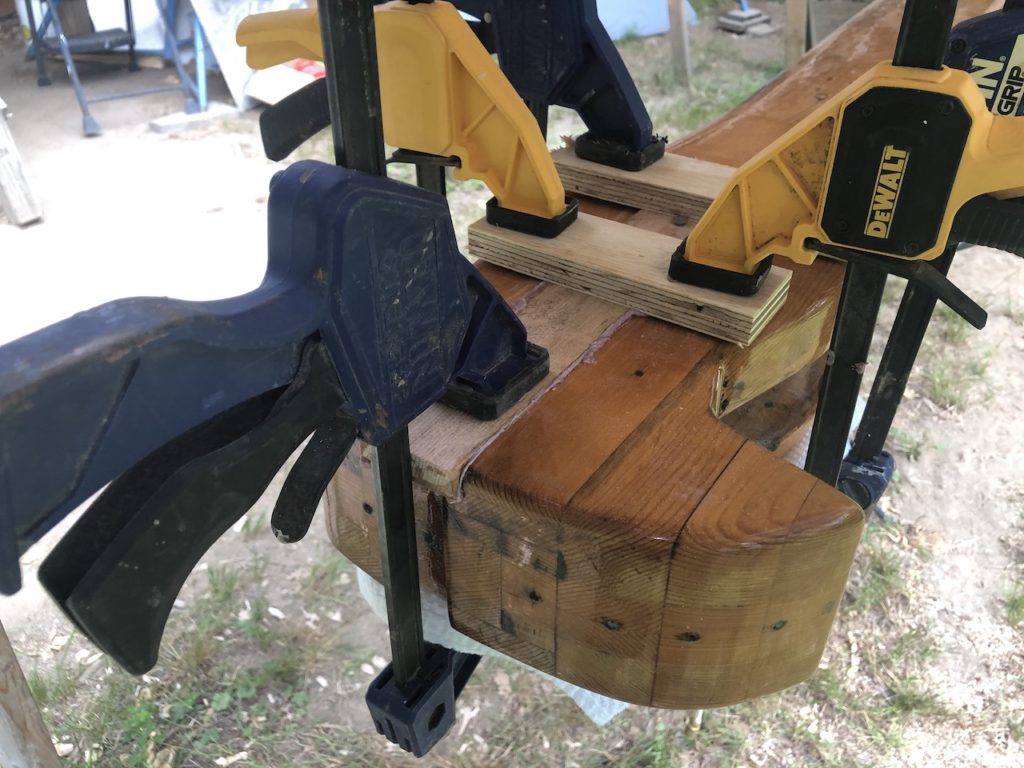
Planing to get close enough to finish off with sanding.

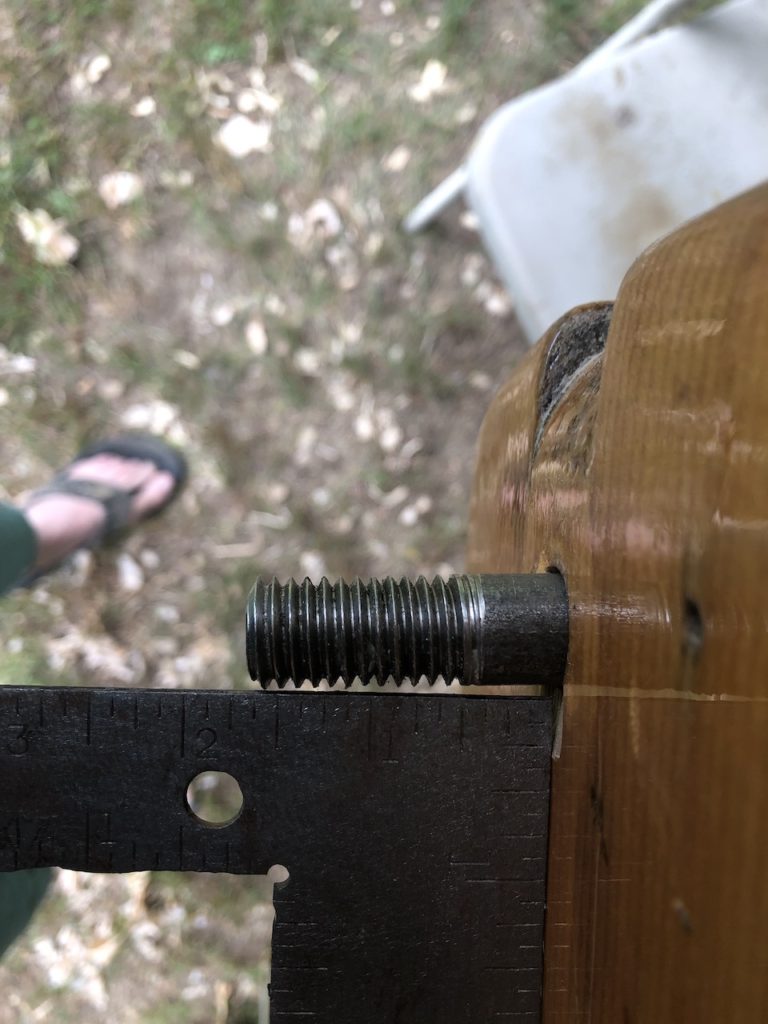
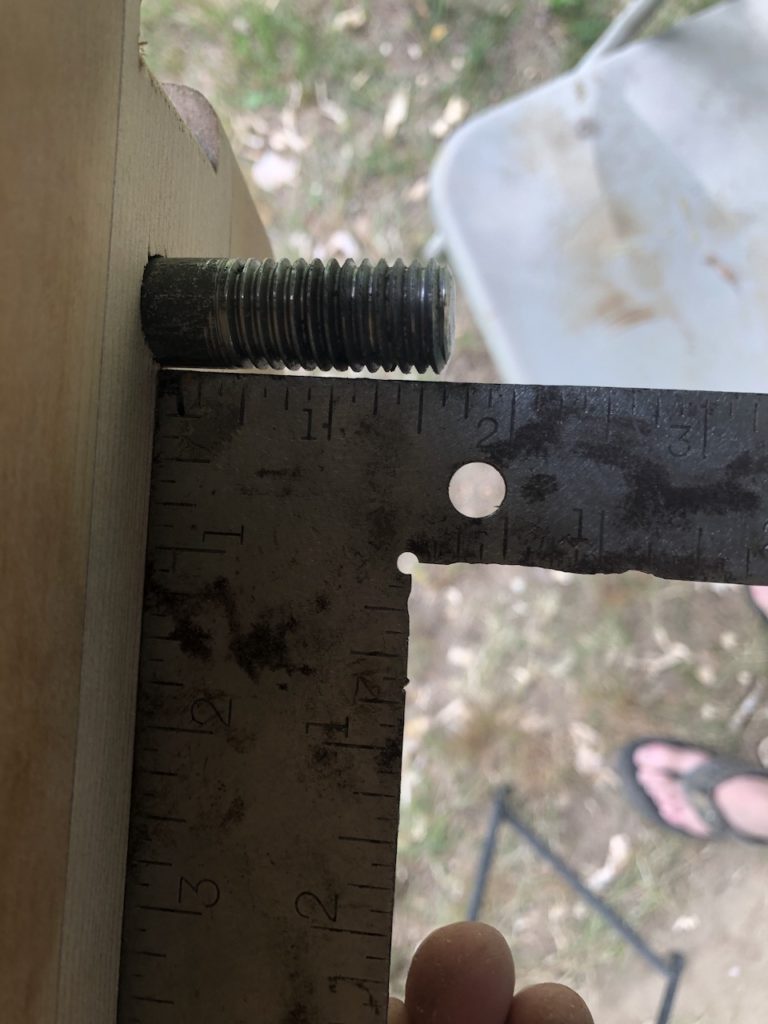
There was a problem, however. The bolt, I found, was not perpendicular to the vertical surface of the mast on either the port or starboard sides:
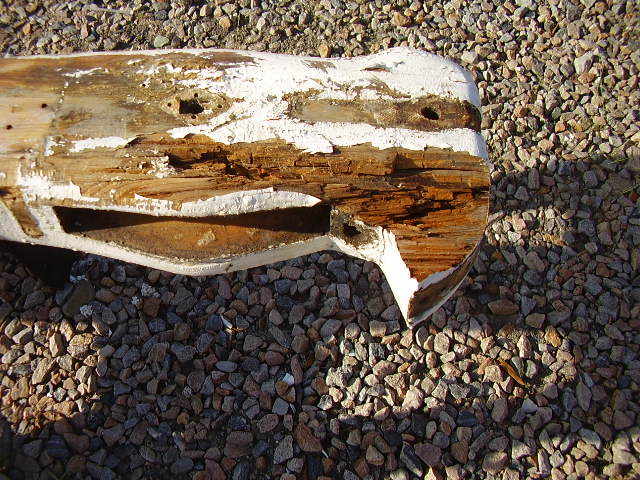
The problem, I suspect, lies with a repair that was done on the mast back in 2007. Here is the mast back in 2007, and you can see major rot damage at the top.

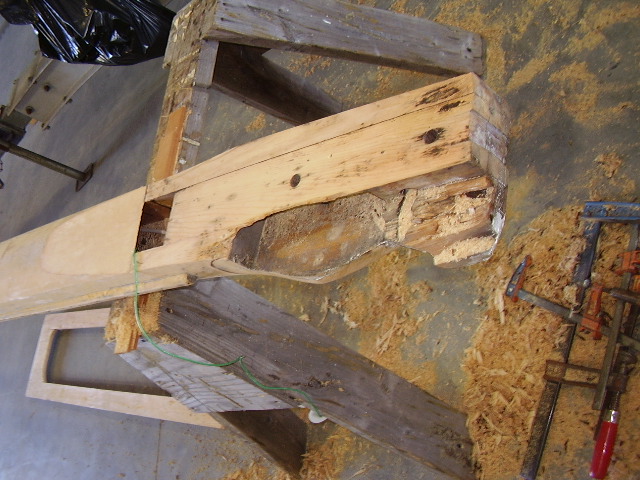
Here is the mast during its repairs in 2007.
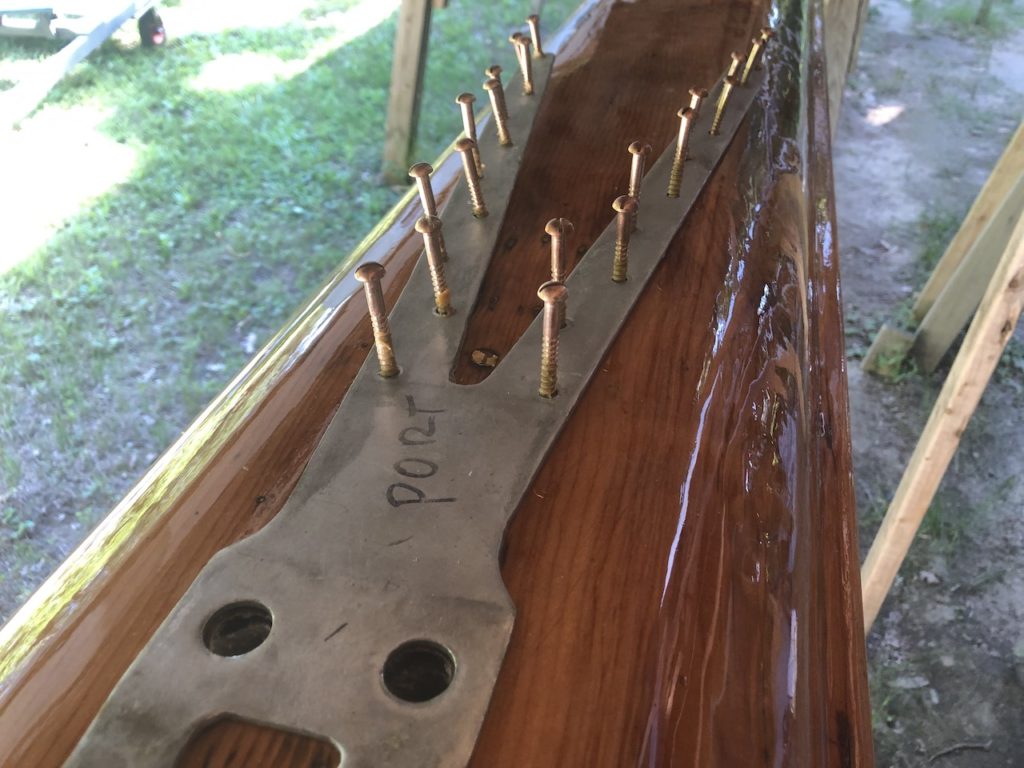
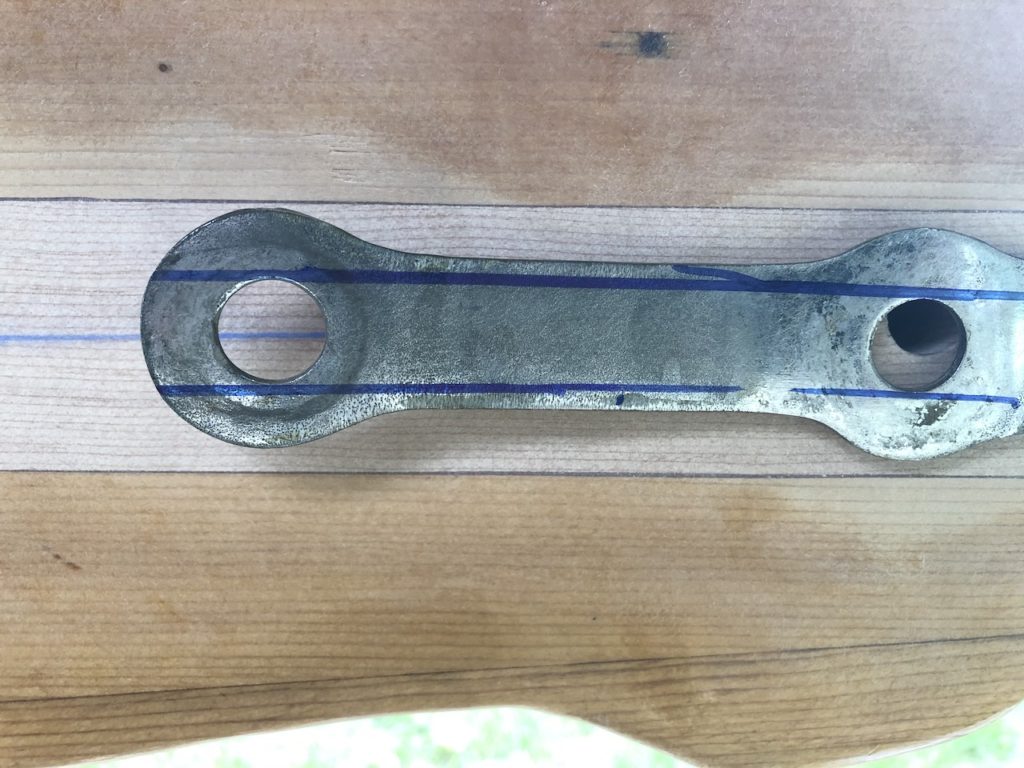
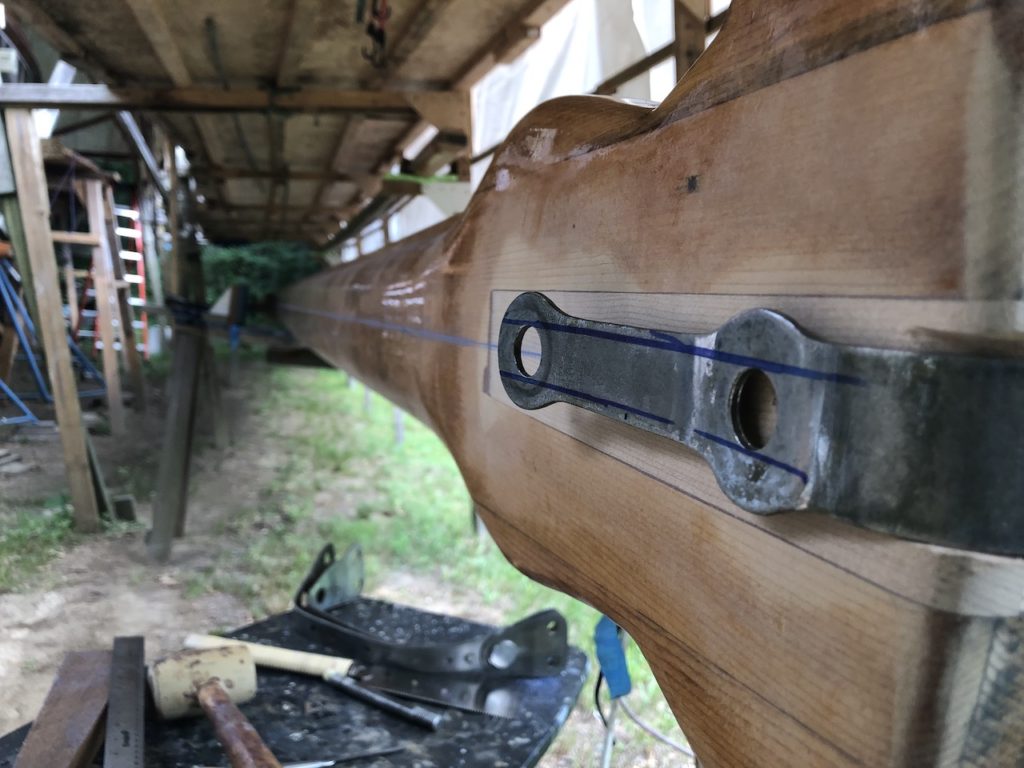
I can’t be sure, but I suspect that the craftsmen who repaired the mast back in 2007 did not precisely duplicate the original hole location and orientation. To find the correct orientation, I snapped a chalk line from the middle of the spreader hardware to the middle of the top of the mast. This is the line of action of the force exerted by the upper shrouds to the masthead hardware. Next I drew lines on the hardware that should be parallel to the chalk line, and did a dry fit. You can see the misalignment of the holes in the mast and the hardware below.
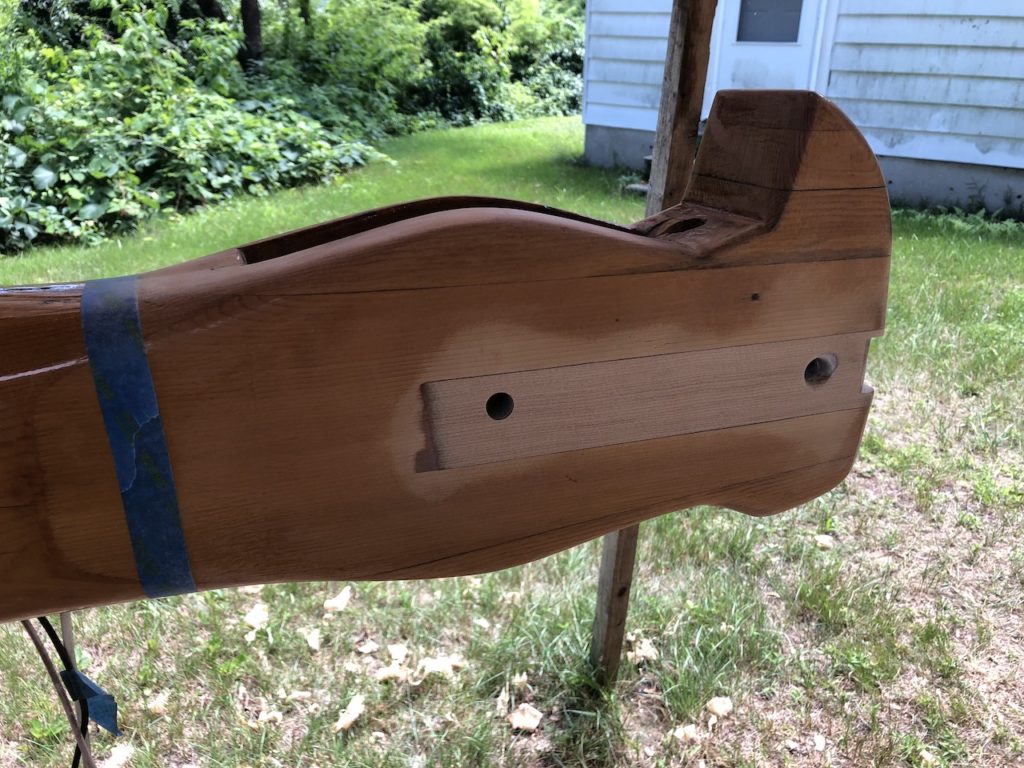
In order to correct this, I needed to fill the hole completely, except for a pilot hole at the dead center. I used a long, narrow screwdriver (waxed). The hold on the port side was fine, so I build a simple jig to hold that end of the screwdriver dead center (not shown). On the starboard side (shown below) I sanded out the hold until the screwdriver on that end was able to lie dead center of the desired hole.
The next day I knocked out the screwdriver and bored the new hole with a 5/8-inch bit.
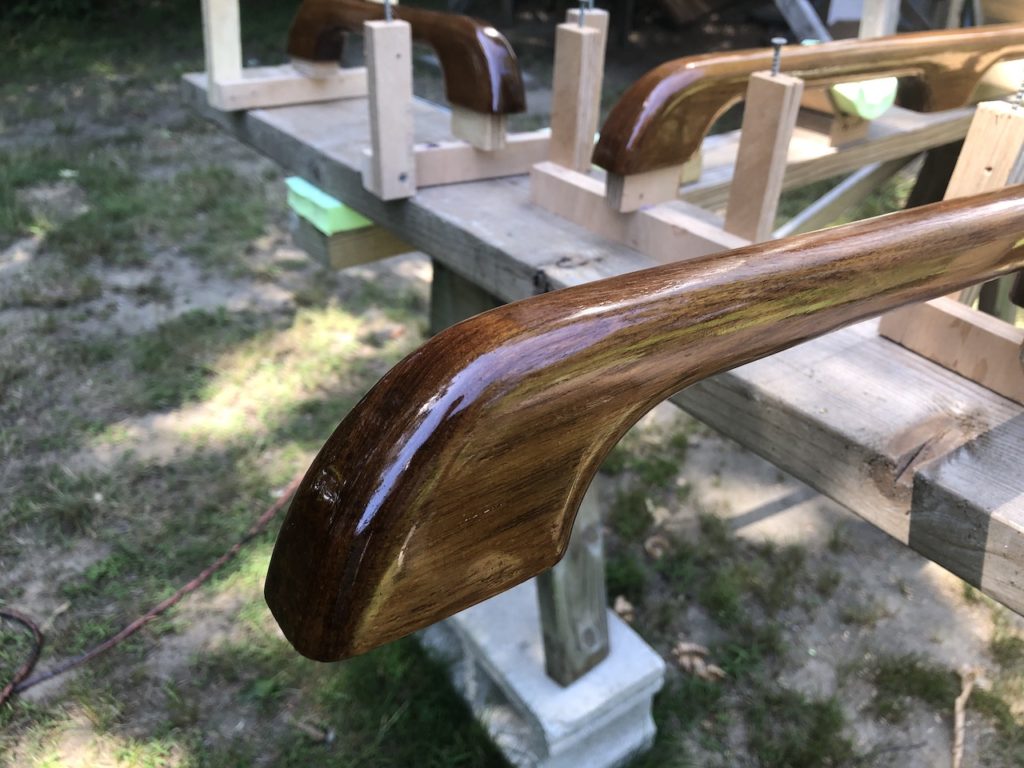
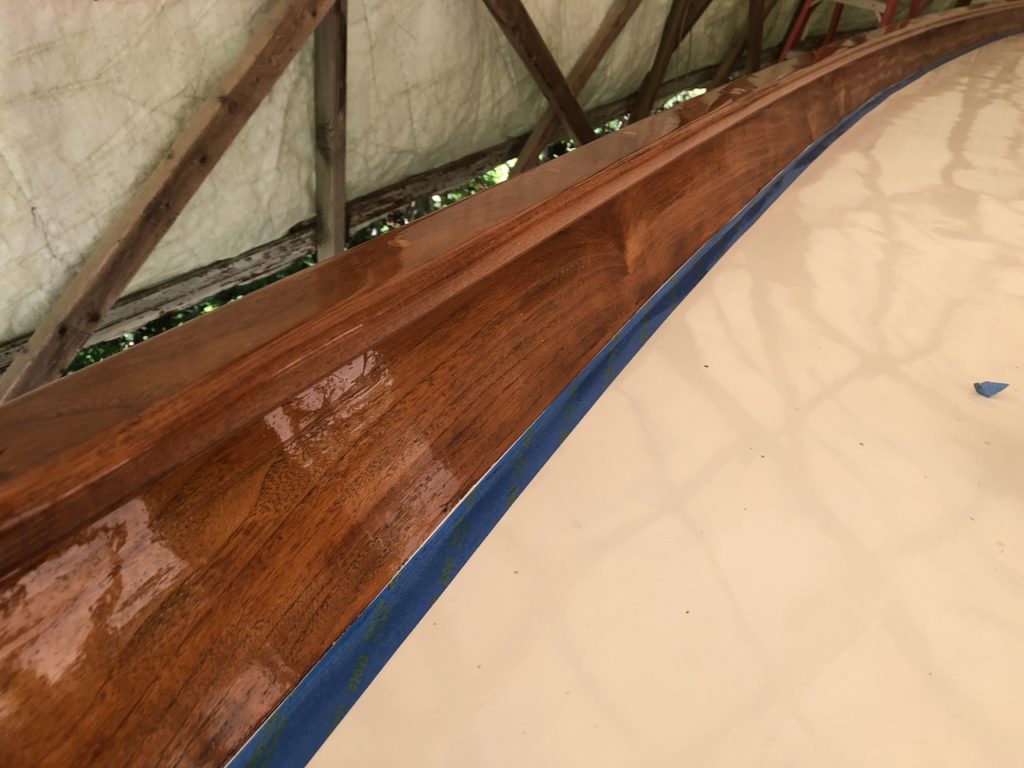
Meanwhile, the handrails that will be on deck received their 8th (ish) coat of varnish. No more varnish on these until maintenance coats next year.
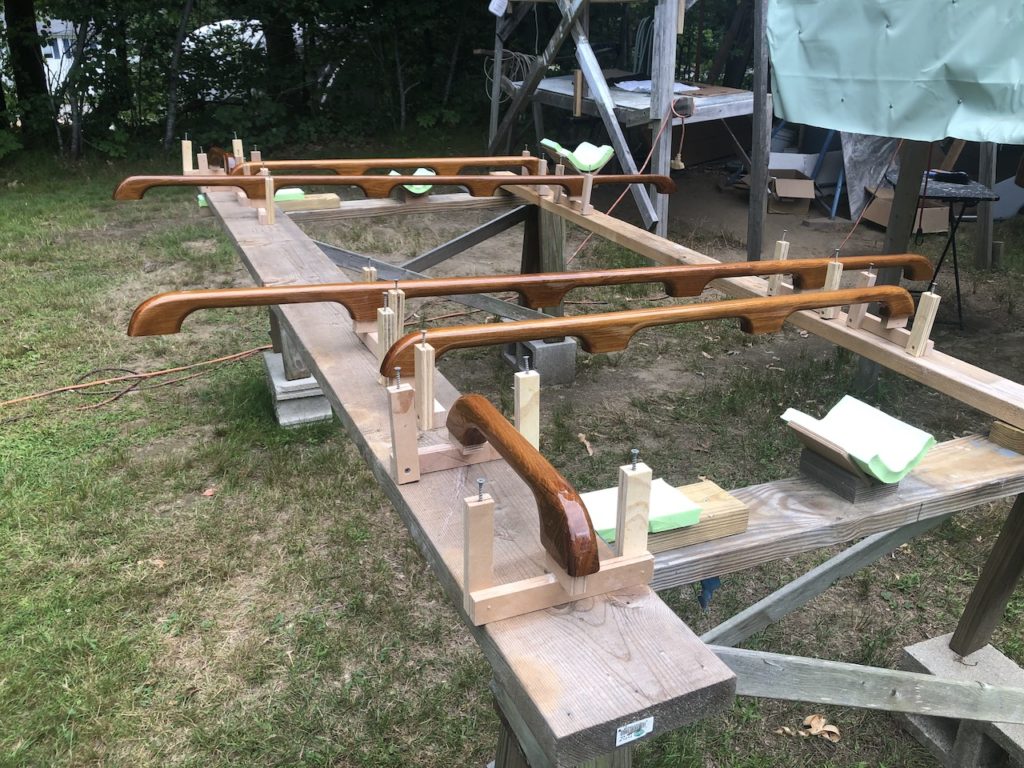
After reviewing my notes I found that the house and rails on the boat have received 5 and 7 coats, respectively. Thus, a few more to go:
8th on the rails:
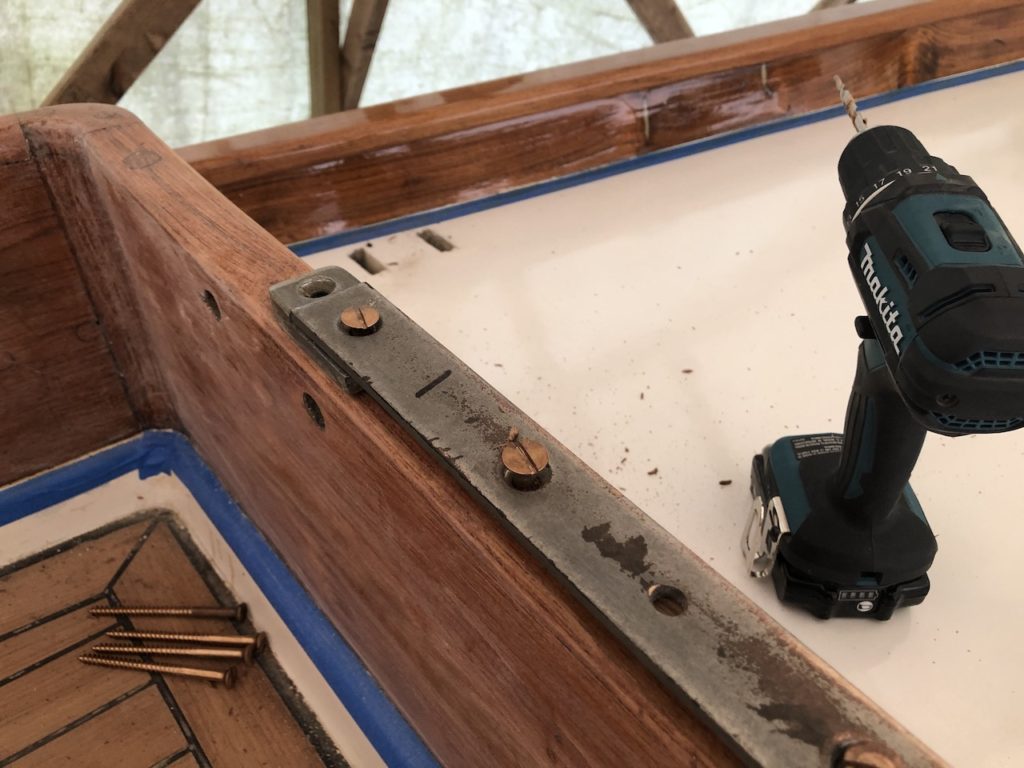
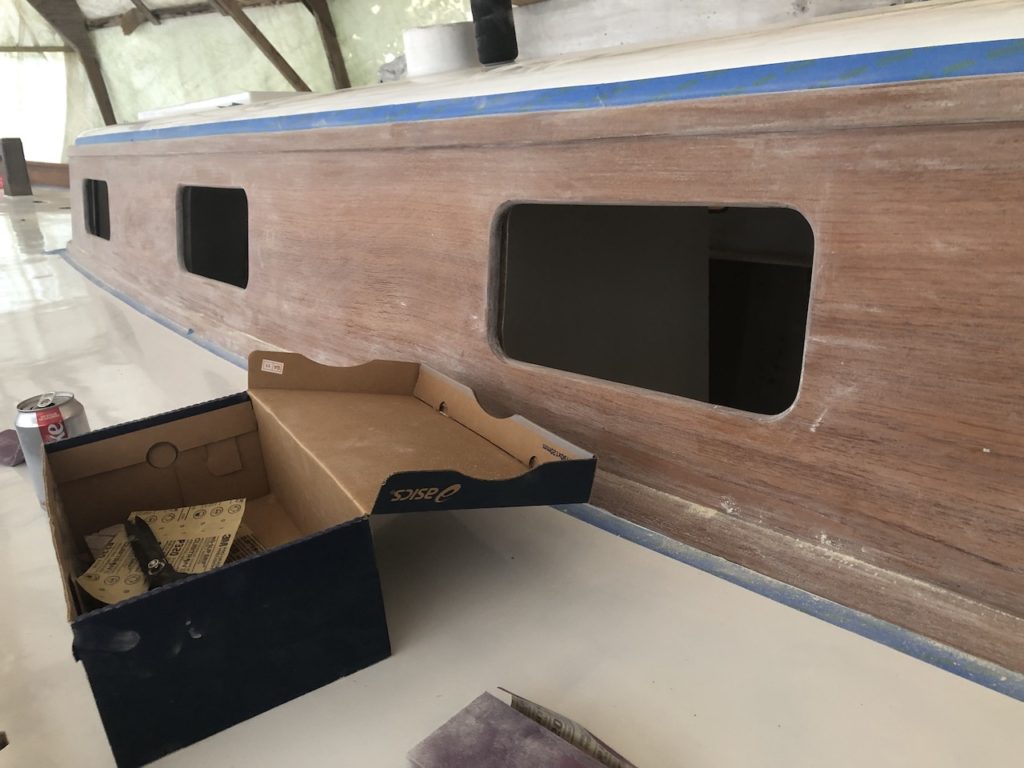
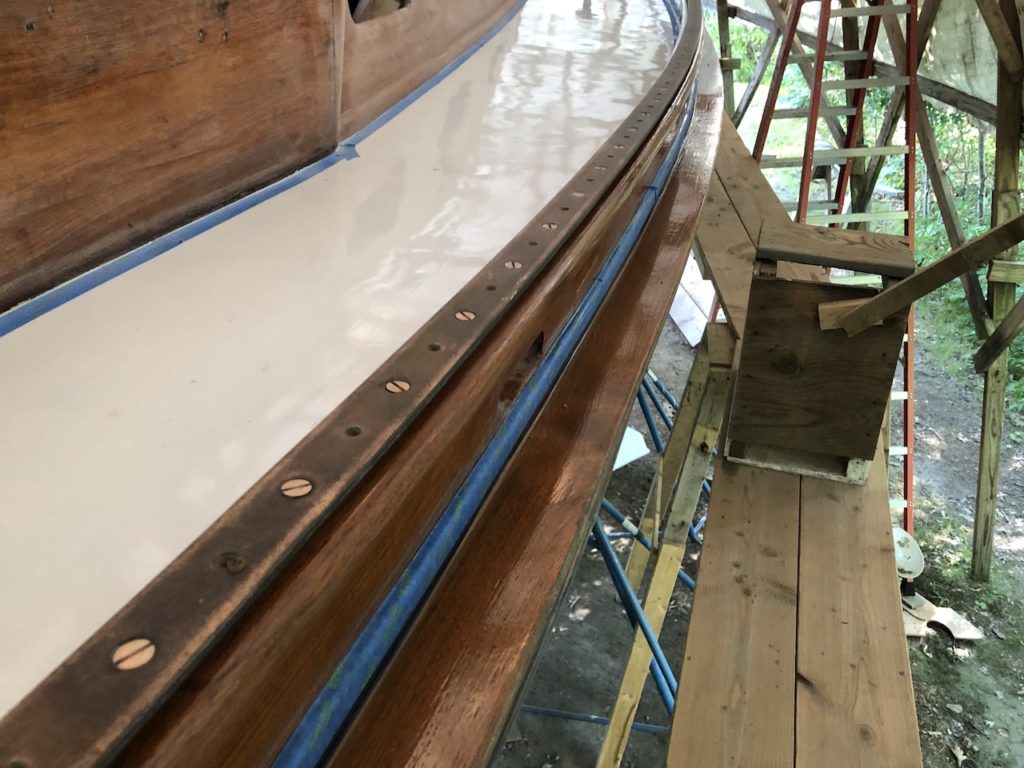
The varnishing will never end, so I may as well get used to varnishing around hardware, so here are the genoa tracks:
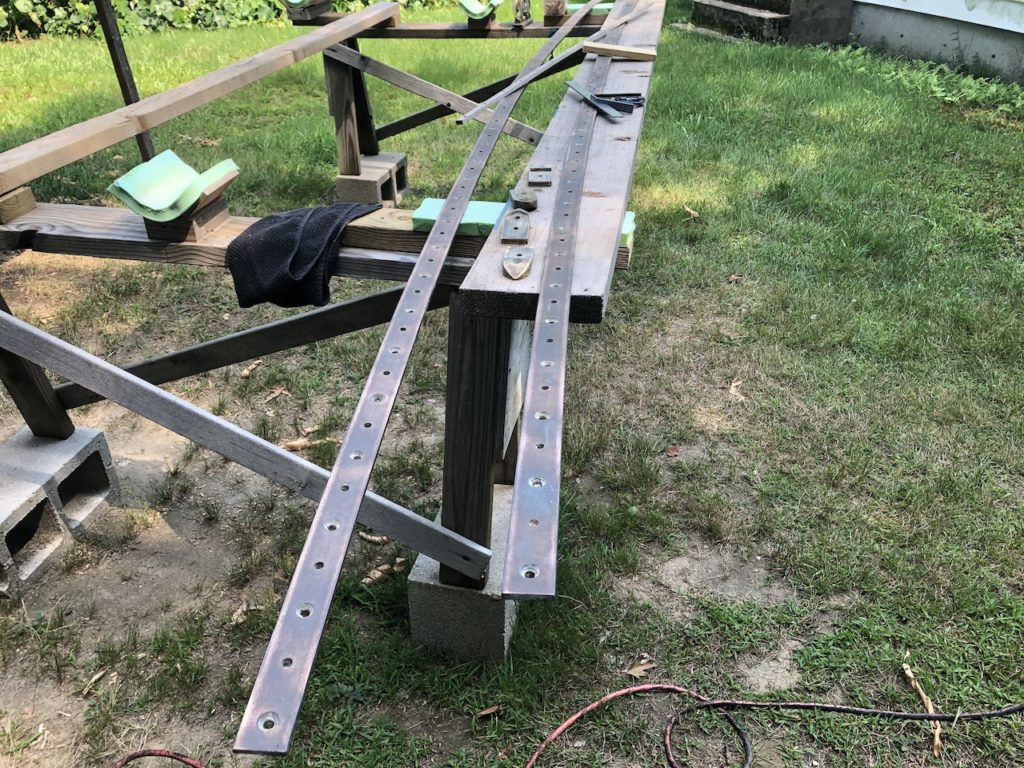
I made a new teak riser, and pre-drilled the holes in it, centering the riser under the rails with a sliding jig and an extra pair of hands.

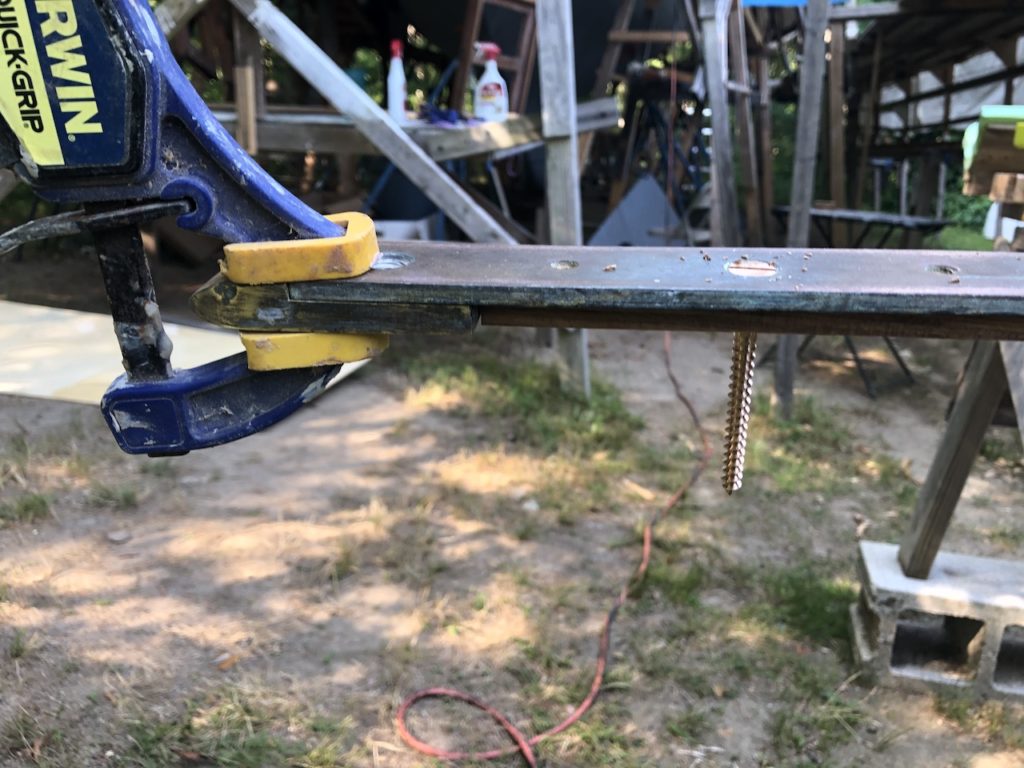
It took two of us two hours to install them on deck. Recall that there was considerable thought and energy spent finding a location so that each screw would enter nothing but fresh wood. I’m happy to report that the roughly-140, 3-inch screws went in without a hitch.
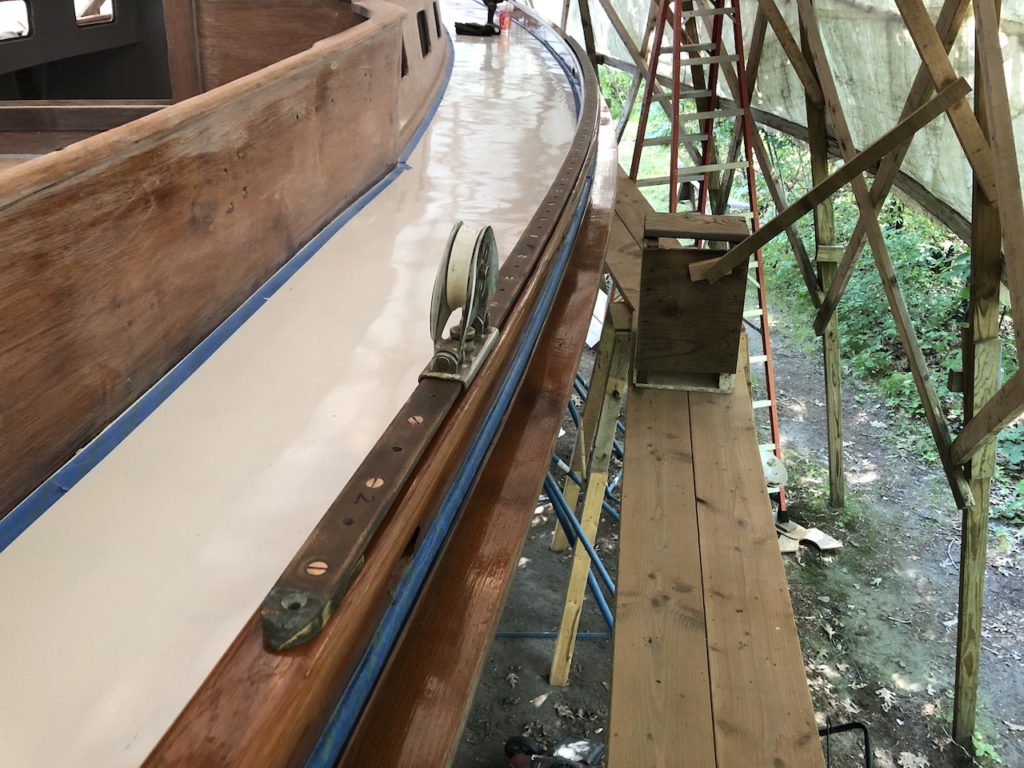
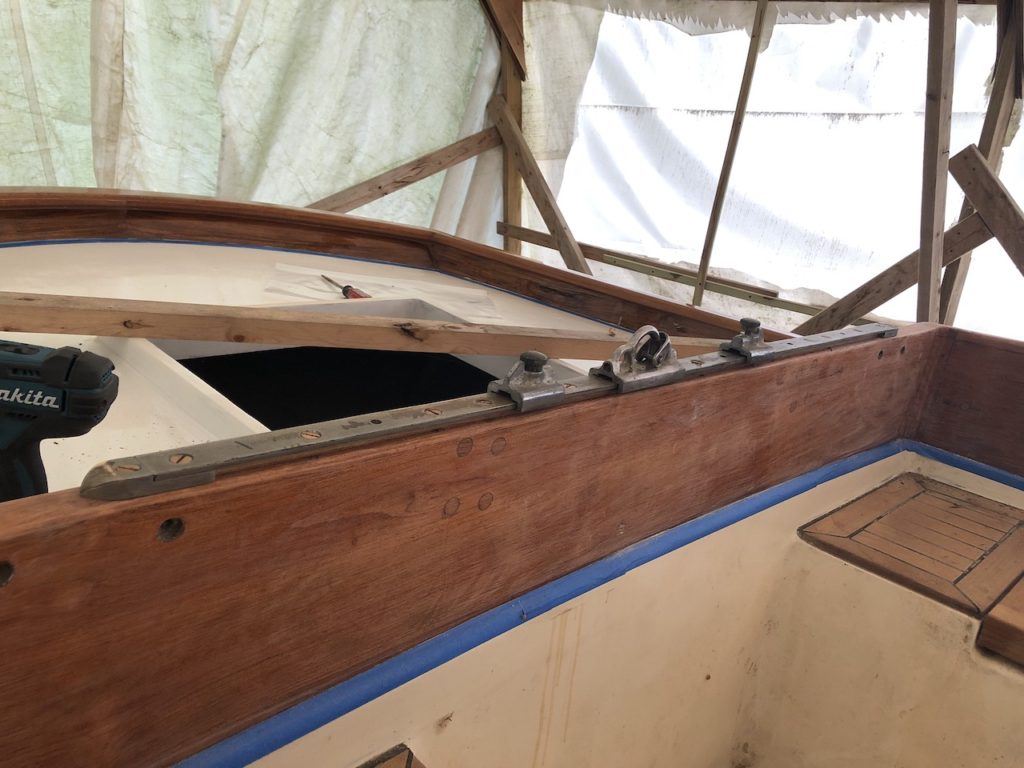
A few days later I performed the very similar, but much quicker task of installing the traveler-car track, this time with 4-inch screws. Please excuse the condition of the coamings. They are sanded and between coats.