8/23/20: Handrails, Hatches IV, Misc
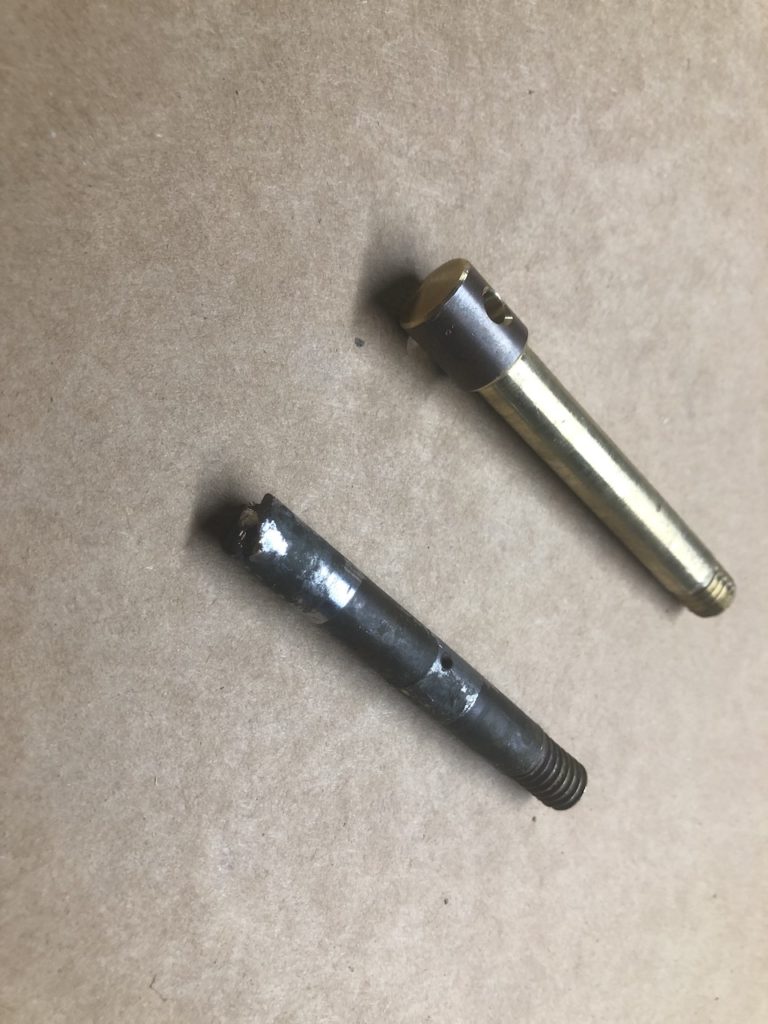
The image is the gooseneck assembly for the mizzen mast. The pin secures the mast piece to the boom piece was seized, and the flat-head slot was partially stripped. A friend who is a machinist made me a new and better pin.
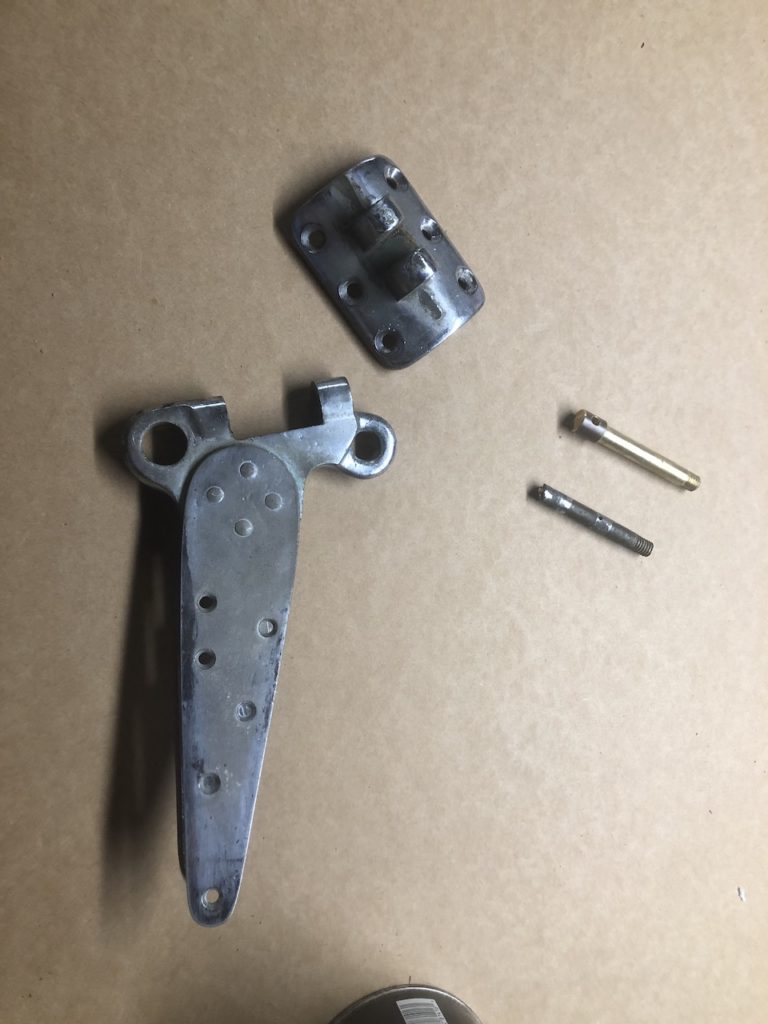
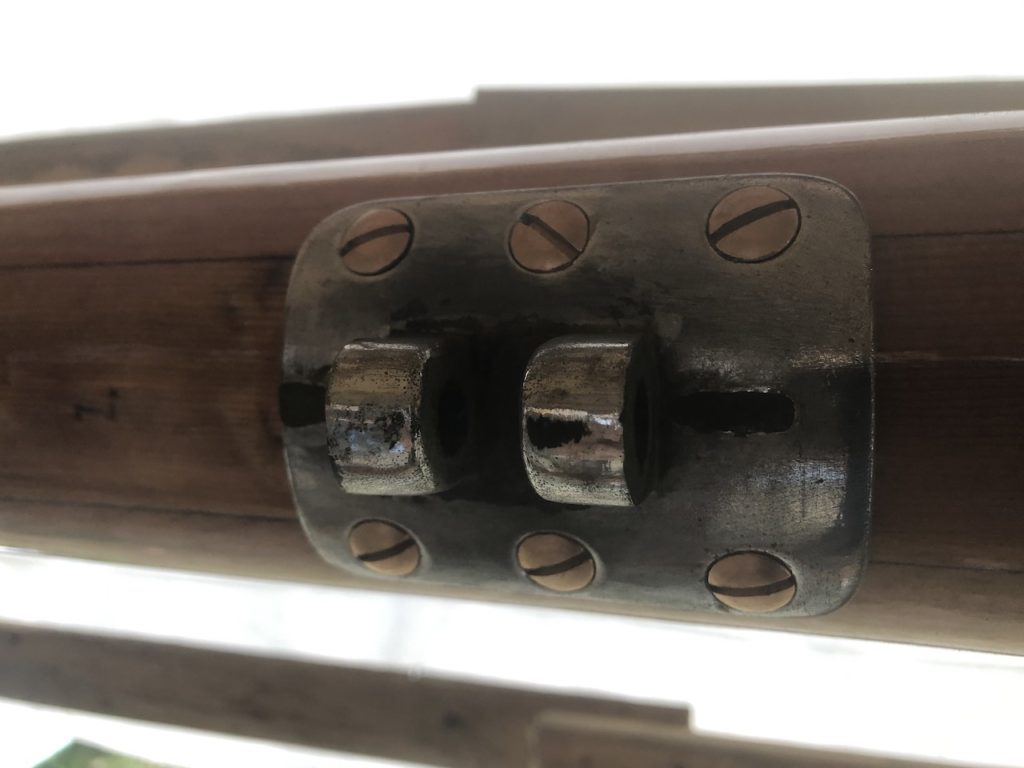
With the pieces separated, I was able to install the mast part to the mizzen mast.
Exactly two years ago I began making handrails (you can review that HERE and HERE and HERE. ) My original plan was to make matching sets, with one set on deck and the other in the cabin, with those in the cabin on the ceiling and attached to those on deck with long screws or bolts. I abandoned that idea in favor of those in the cabin being on the sides of the coachroof (and other places, as you will see in later posts). The screws had to come in from outside…
…which required countersunk holes.
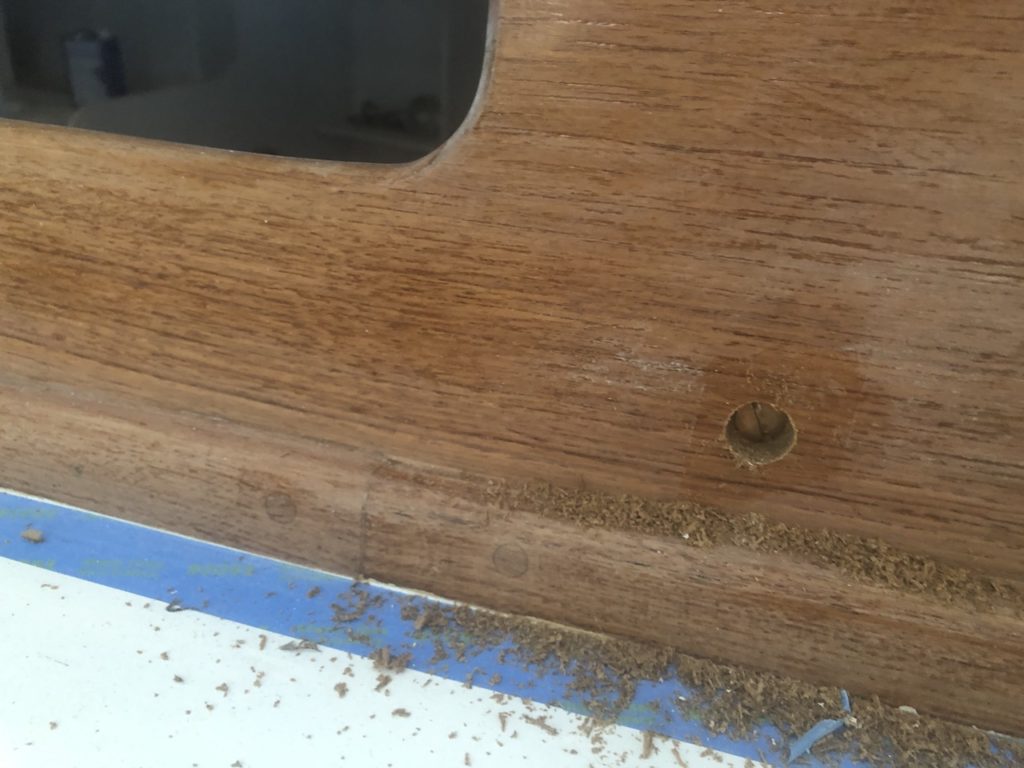
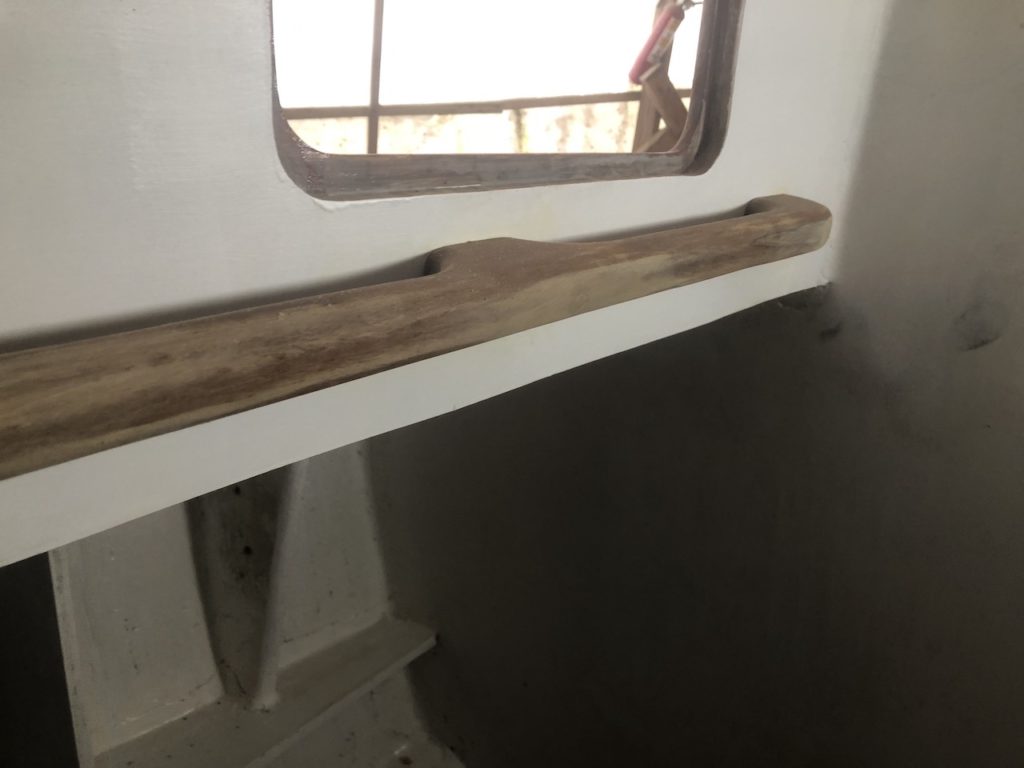
One advantage to having the handrails on the sides of the cabin is that the crew will have more balancing strength from that angle. Perhaps you’ve ridden a subway and have experienced the difference in having to balance yourself while grabbing a bar to the side versus overhead.
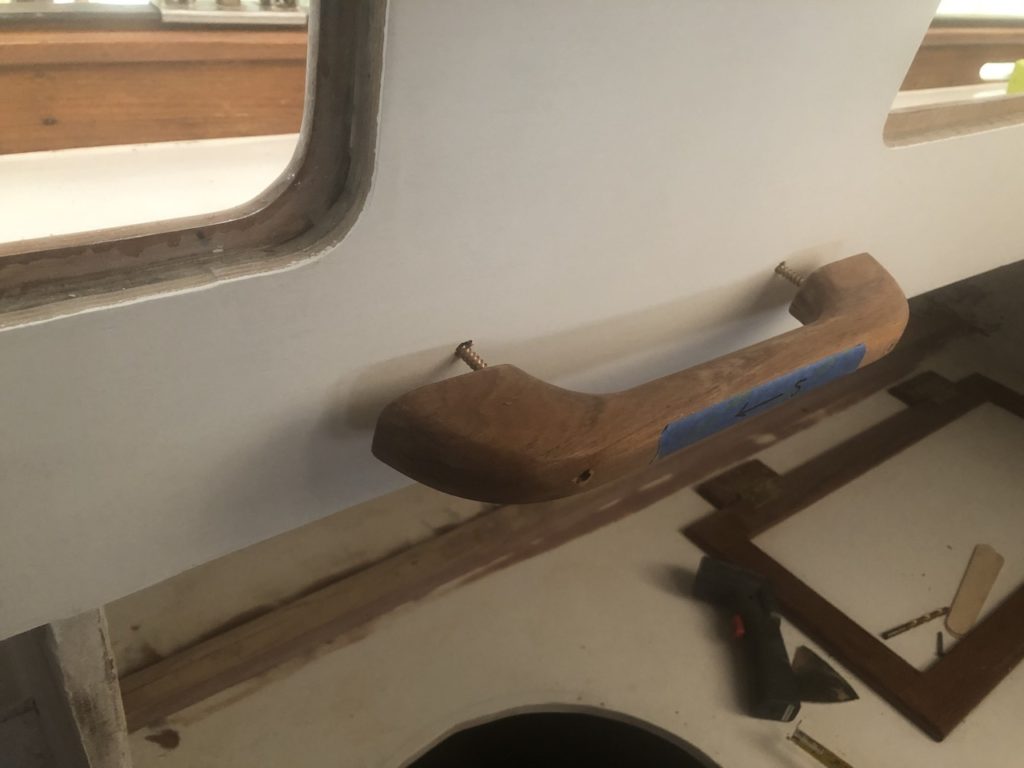
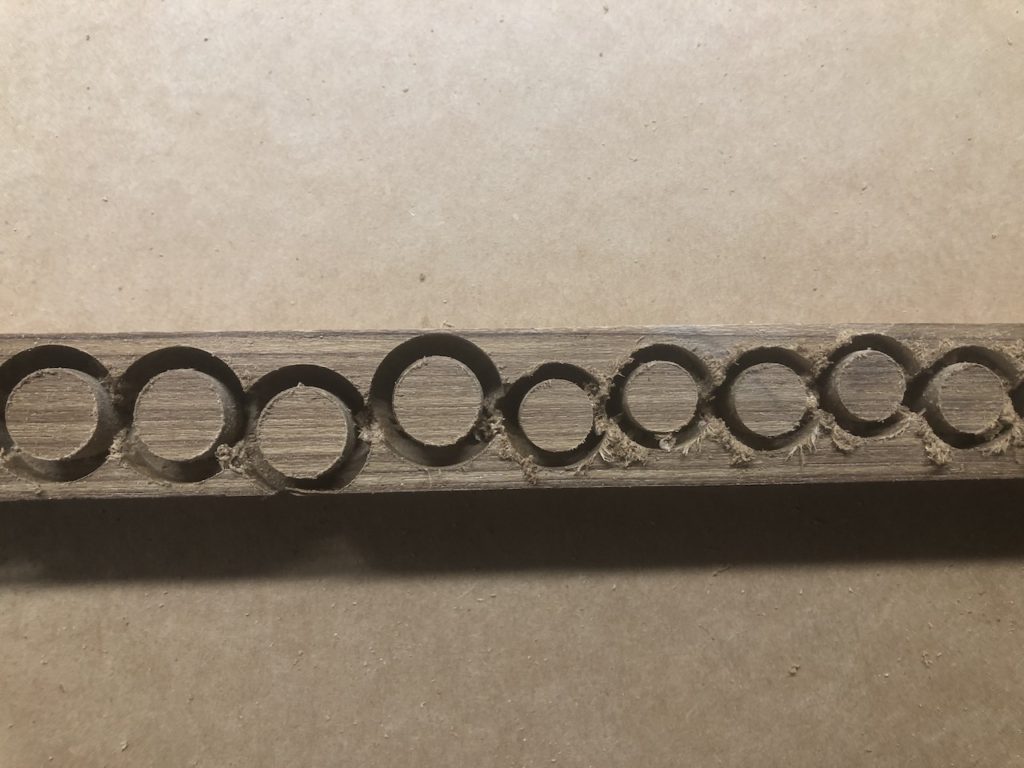
Note the small holes in the handrail below. It was necessary to drill from the inside to mark the cabin-side for holes. These small holes were opened up with a countersink bit (not shown).

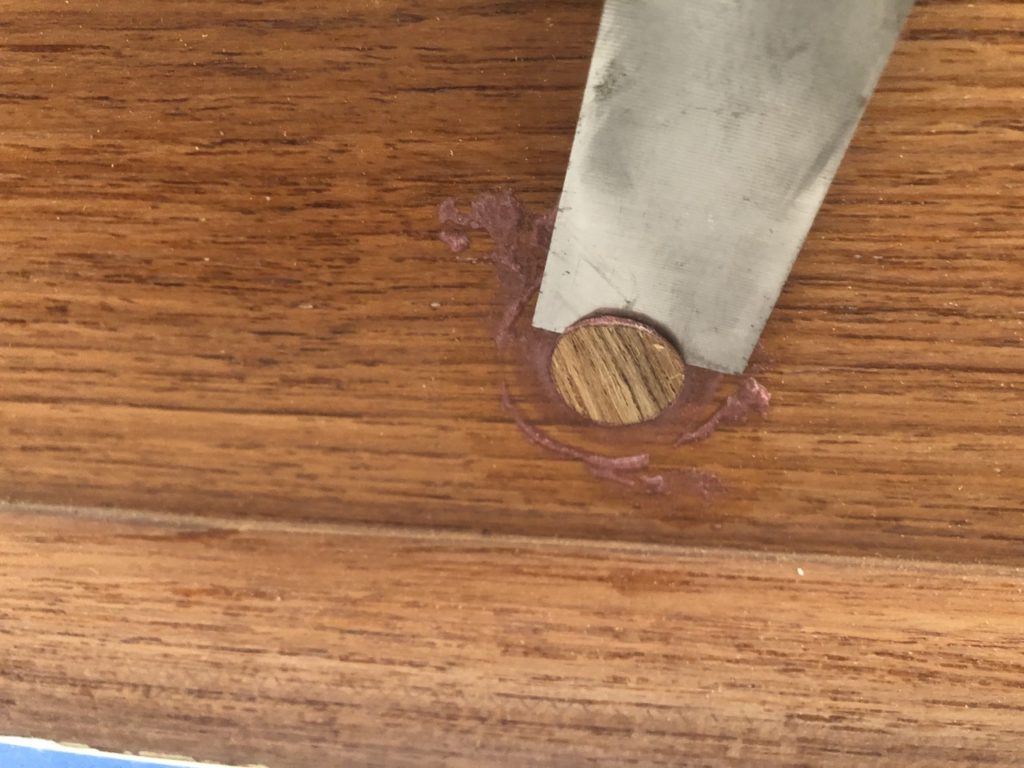
The big plugs are for the outside, and the smaller for the inside.
And the usual progression of steps in getting the plugs down.
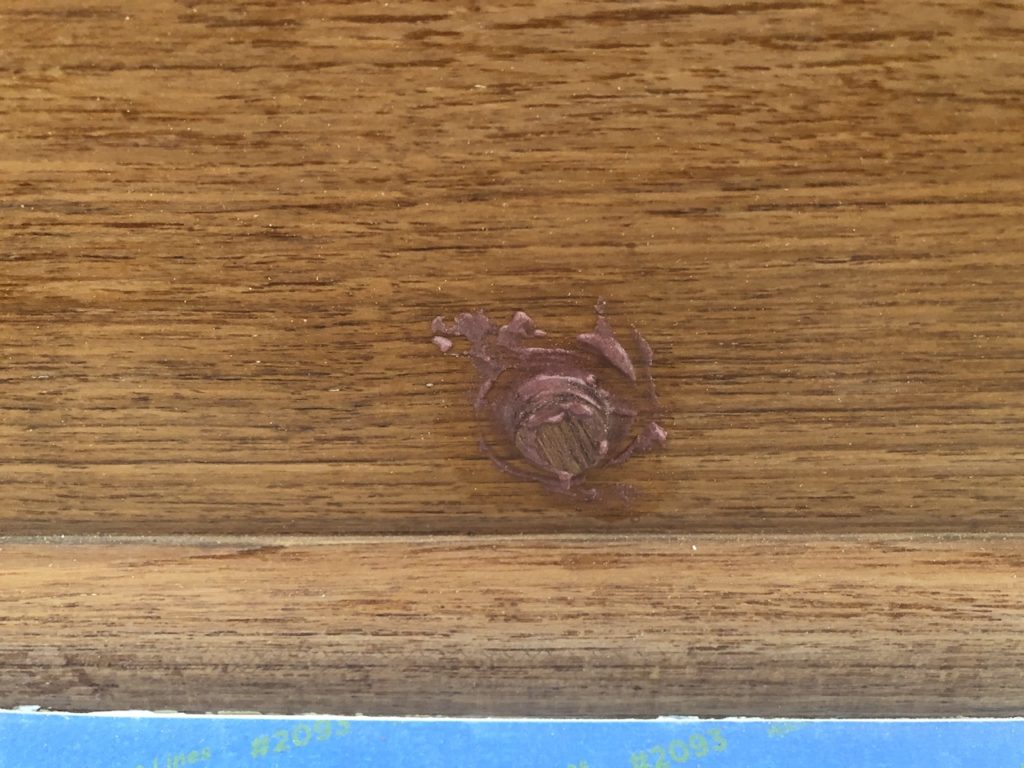
I’m down to bare wood around the plugs, so I’ve begun building up varnish in those areas…
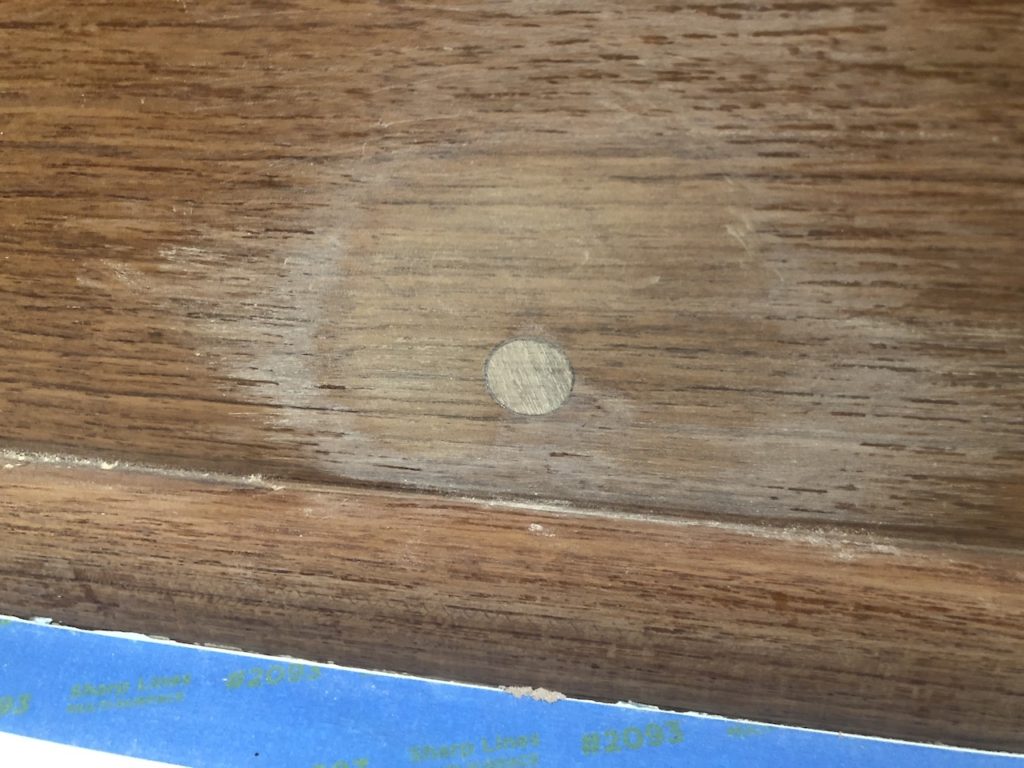
…both outside and inside.

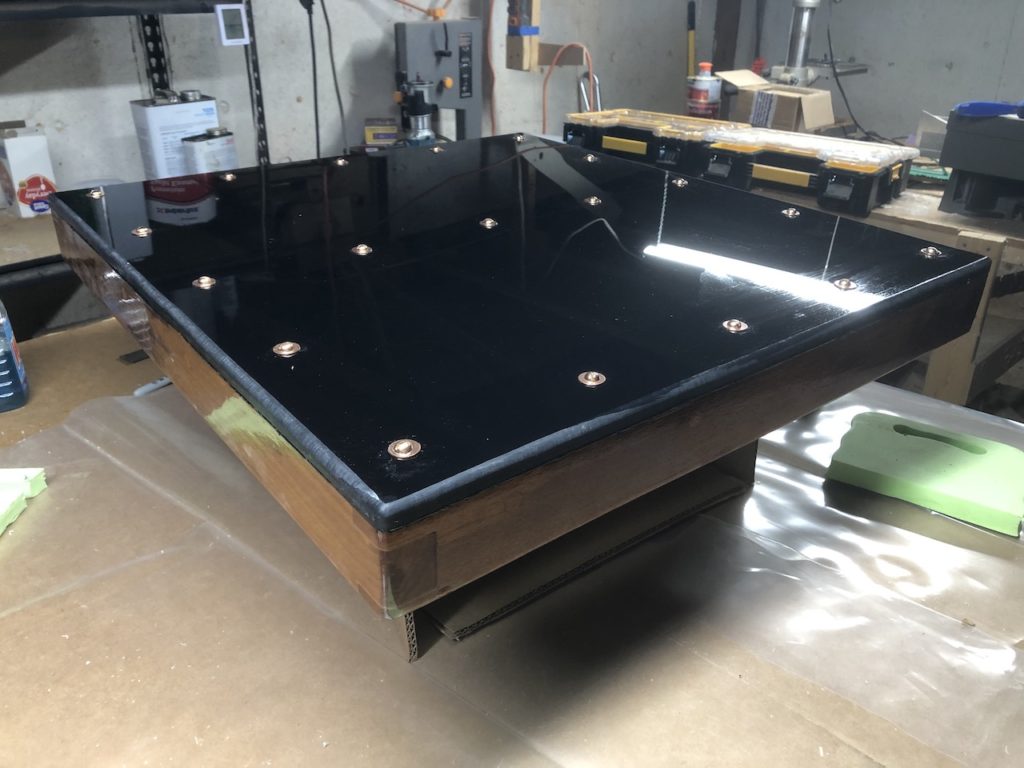
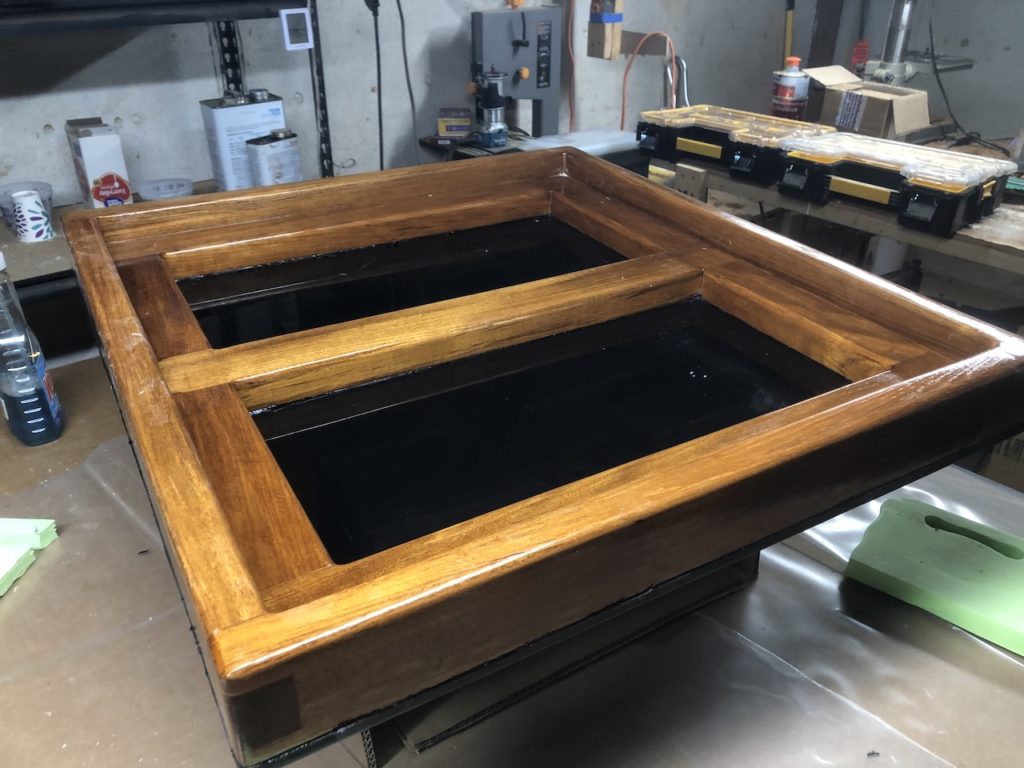
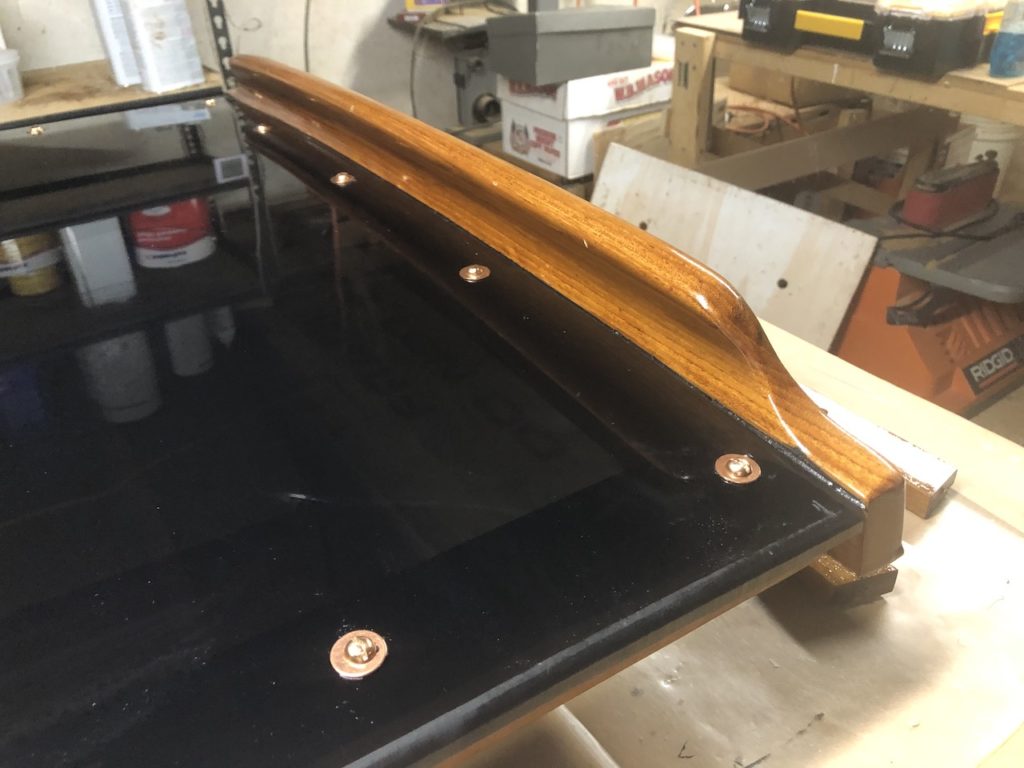
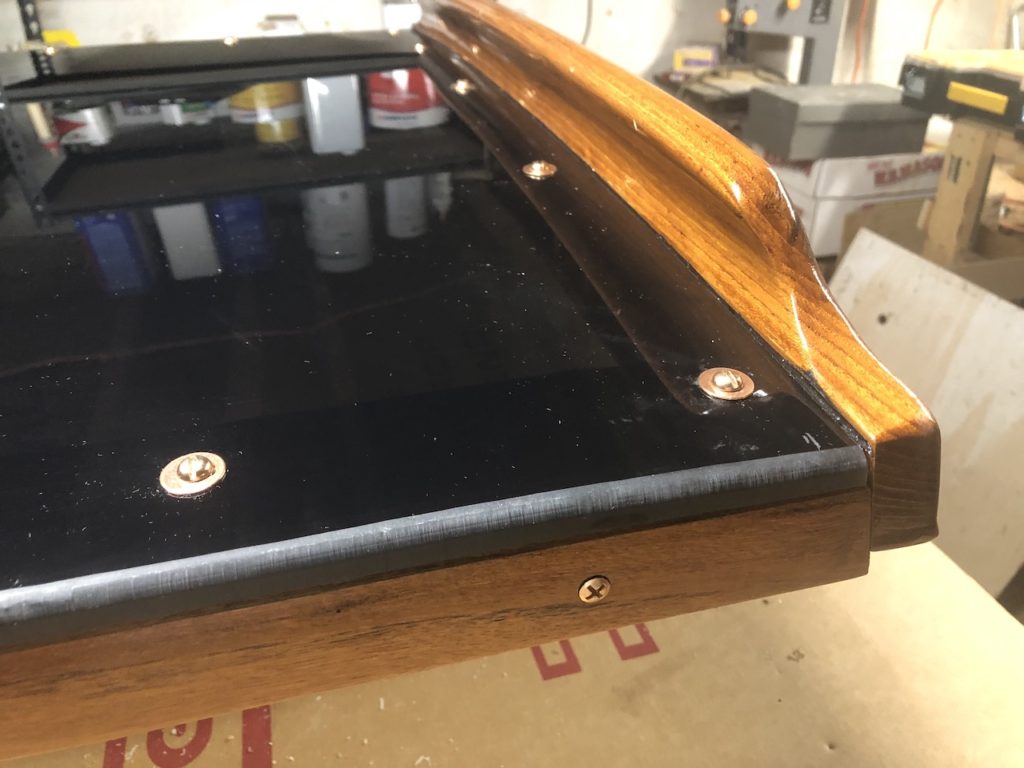
Meanwhile, hatches. After much deliberation, I decided to use sealant between the plexiglass and the teak part. (The other option was to try to find a suitable gasket material.) I bought some cheap toothed trowels to help miter the sealant.

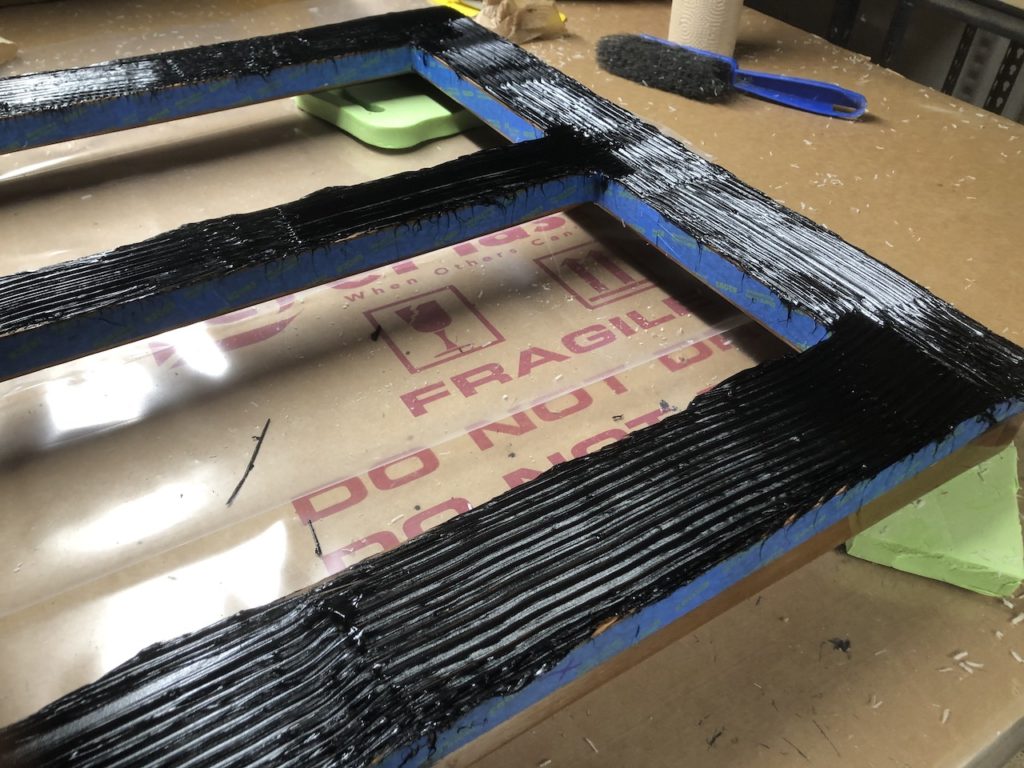
This was a messy job, with lots of taping off here and there. The final result looks good, with bronze screws and washers as fasteners. The holes in the plexiglass are slightly oversized to allow for thermal expansion and contraction. (The sealant, by the way, is Sikafllex 291. I chose black to make it invisible under the tinted plexiglass.)
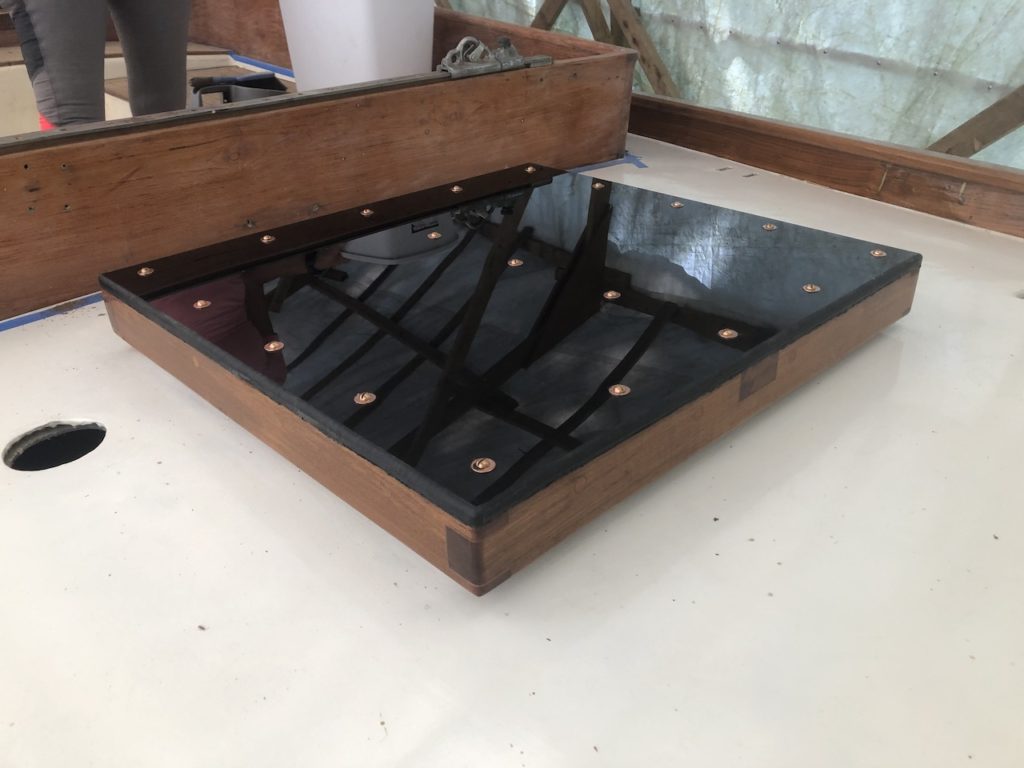
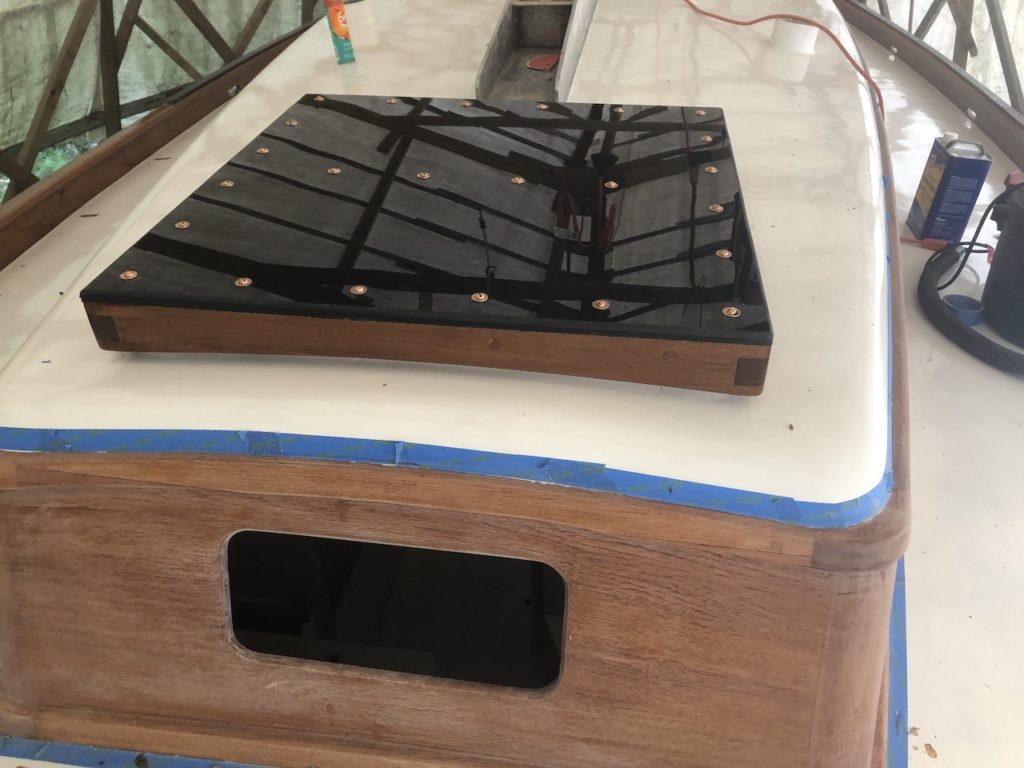
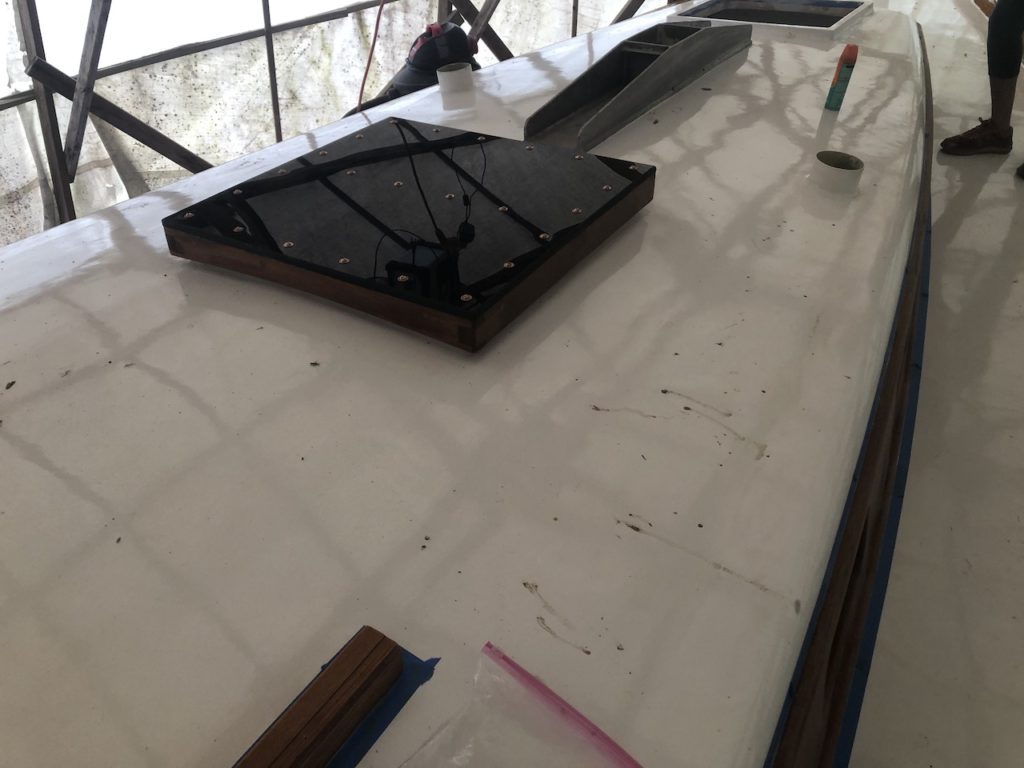
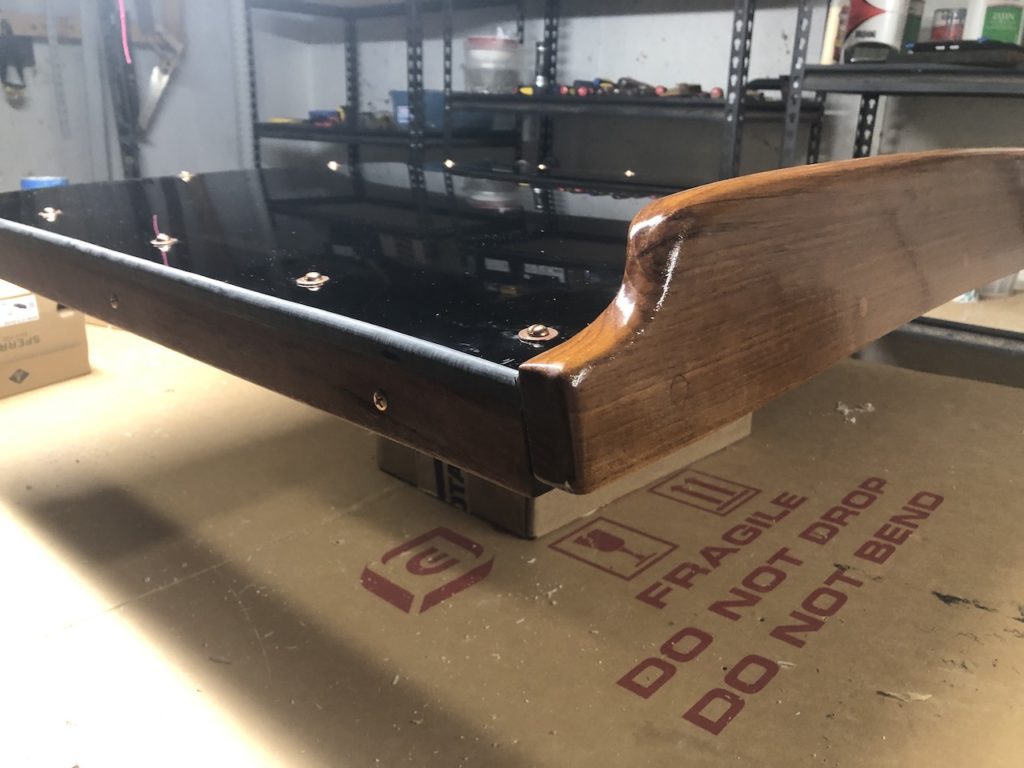
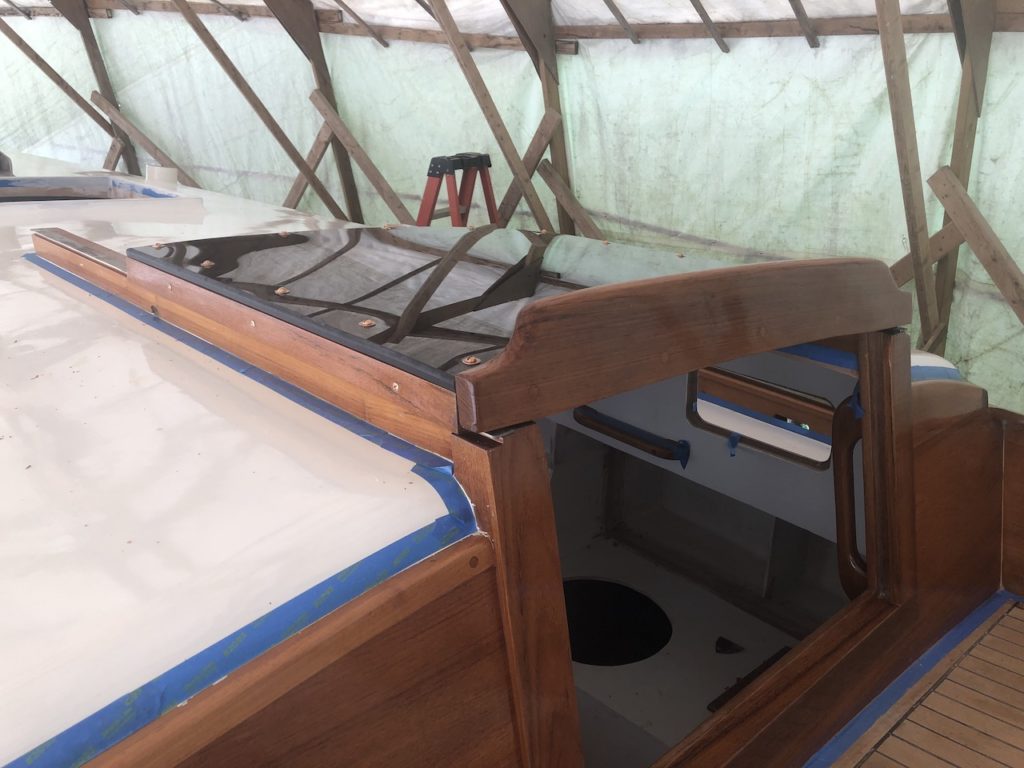
Below is the hatch above on its respective hatch coaming on the aft deck. The mizzen mast sits between the hatch and the cockpit coaming. I’m still thinking about hinges, and at this point I think I’ll have them custom made. More on that later.
There also two hatches on deck. One is over the aft end of the V-berth area…
…the other over the salon.
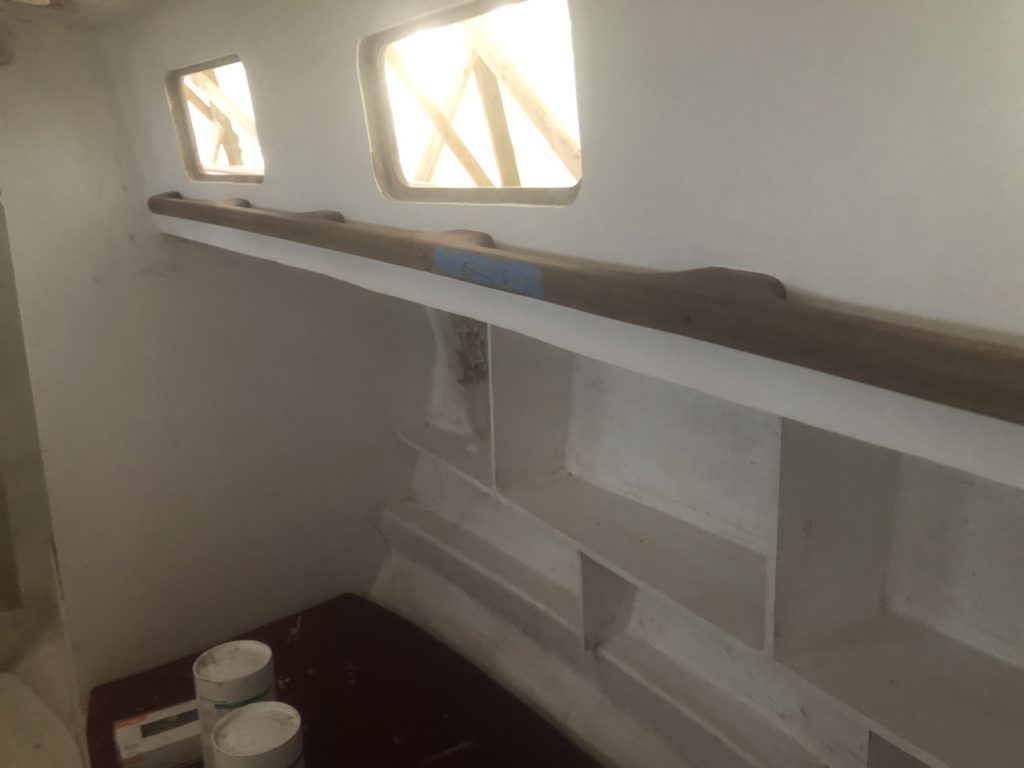
Here you can see that there is good visibility when looking out from inside. (If it were brighter inside the boat than out, then the reverse would be true.)

And there is a fourth hatch–the slider over the companionway.
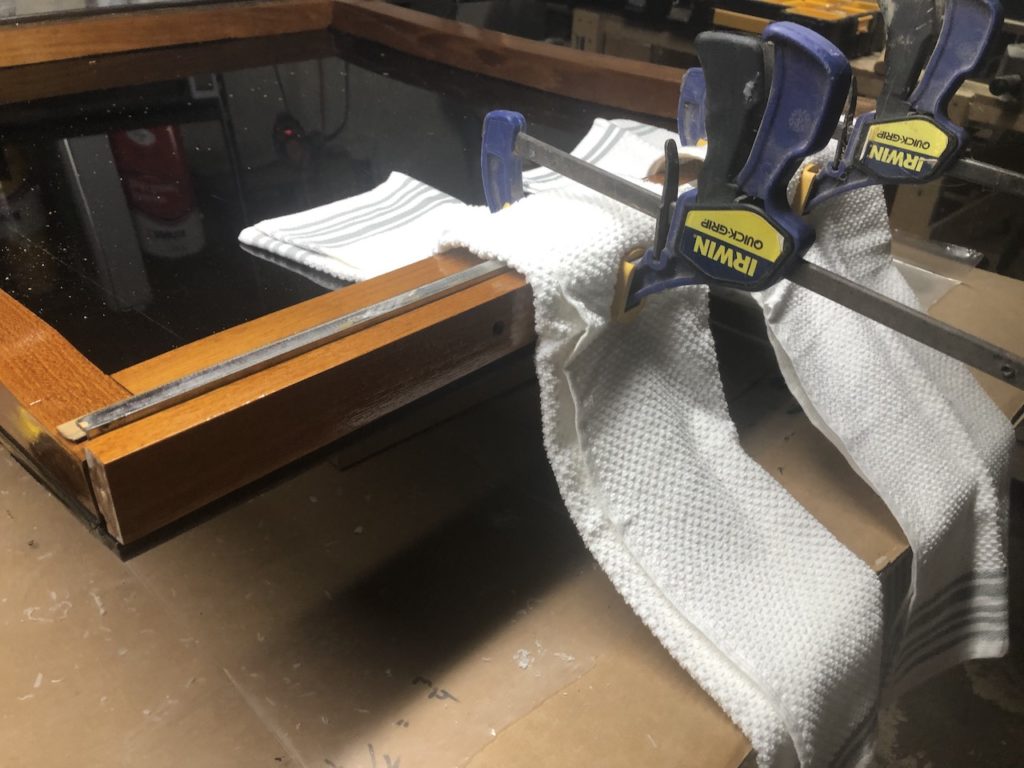
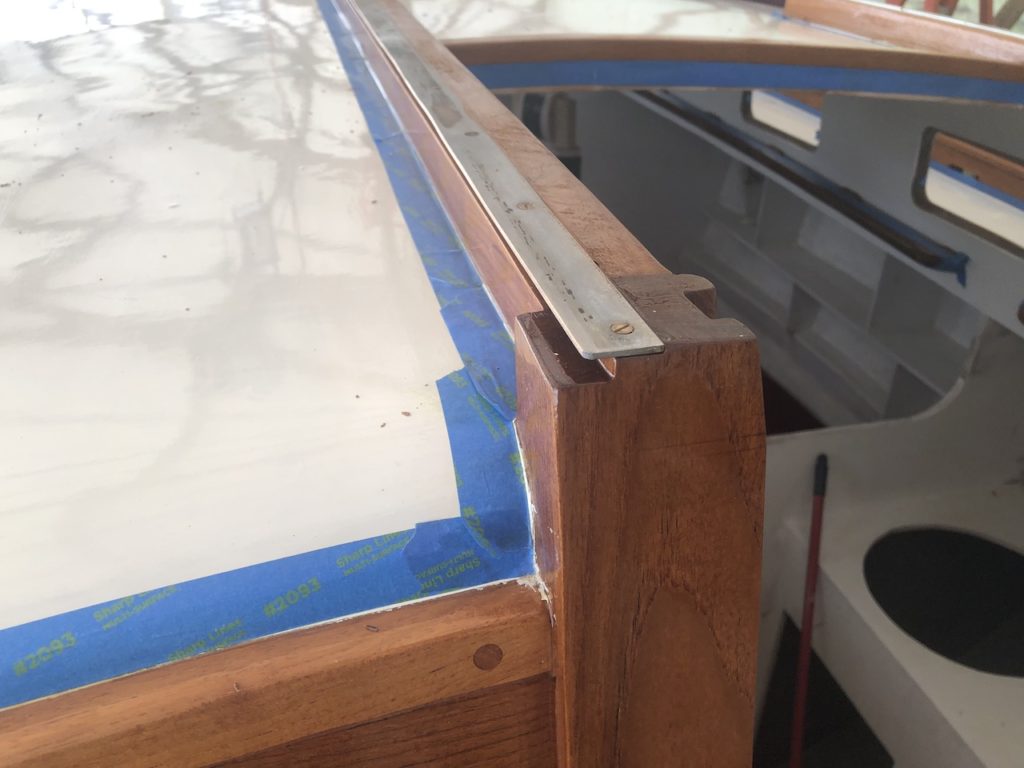
I installed the hardware. Here the hatch is upside down, and this strip of metal slides on a metal rail fixed to the teak hatch rails.
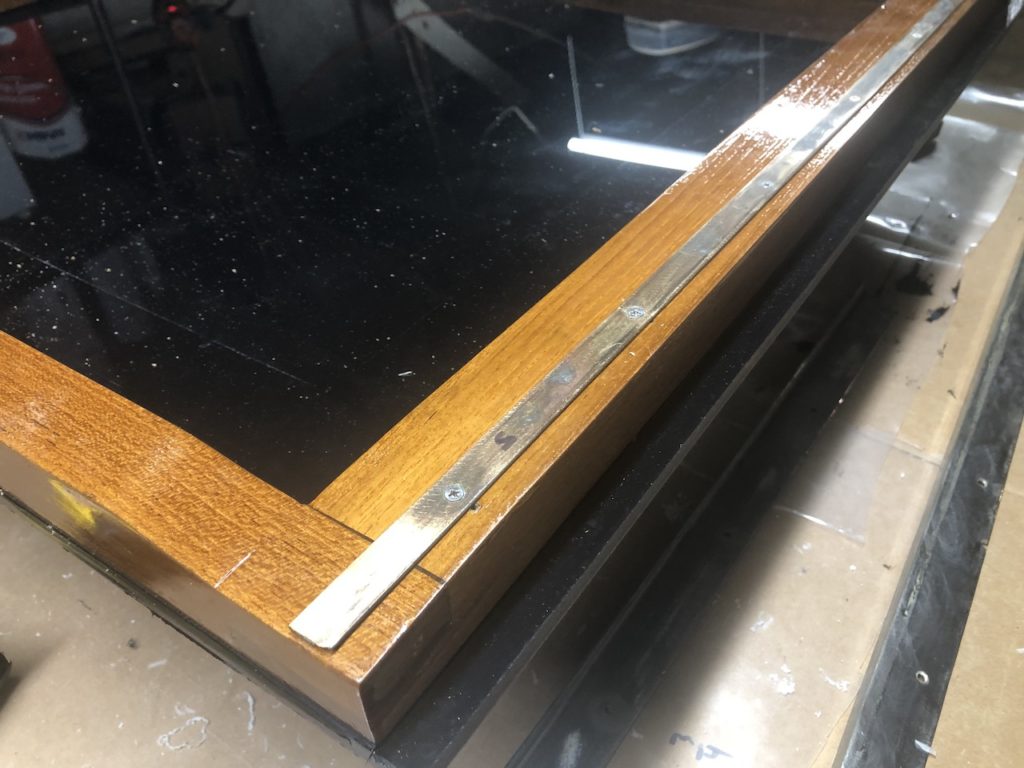
This piece “captures” the hatch. There is obviously matching hardware on the starboard side.
The teak covering board are decorative. Here I’m clamping them in place to locate holes to drill in the “capturing” rail.
Drilling the holes in the capturing rail:
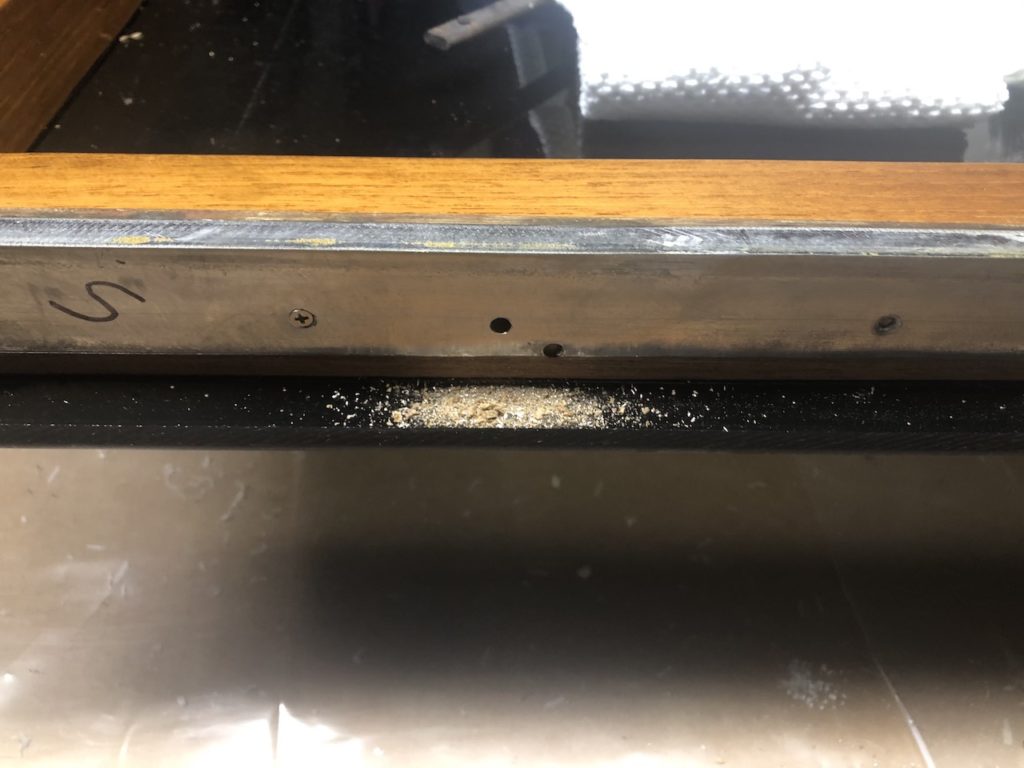
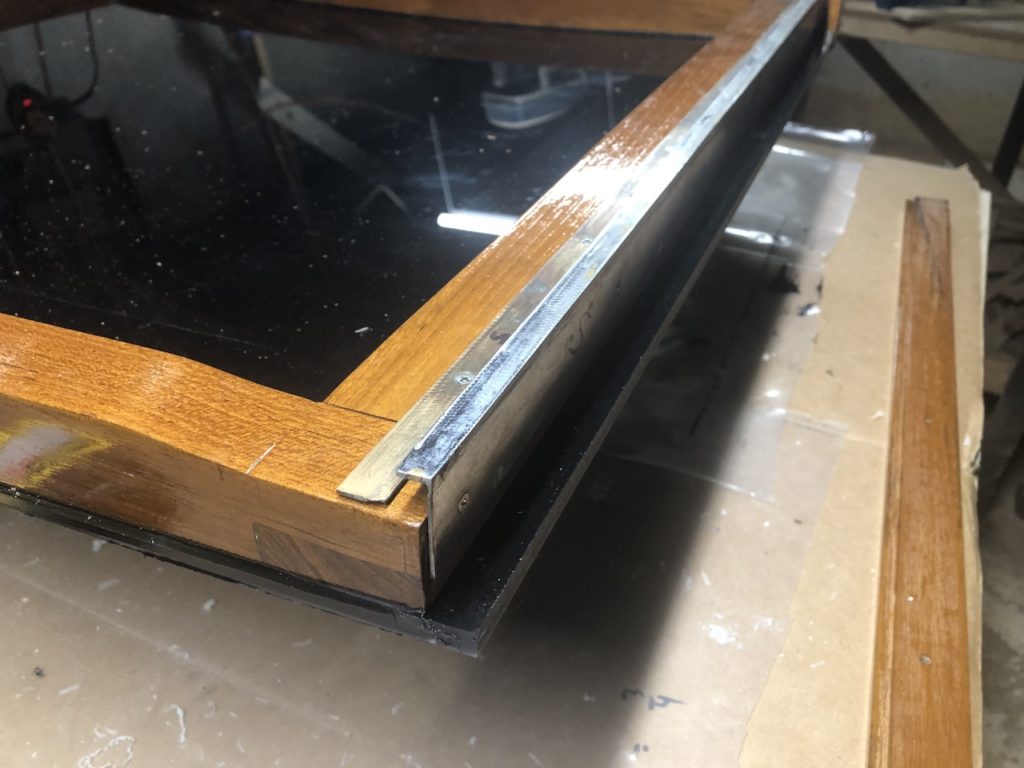
The covering piece installed with bronze screws.
The other metal slider rail:
The hatch is a little snug, so I’ll be taking it odd and making some minor adjustments. Namely, the capturing rails are creating the friction, and I simply have to move them outboard about 1/16 inch on each side. More on that later, and if not you can assume the it’s all set.
Remember that there is a “spray hood” which covers most of this hatch when it is fully open. That will be installed in the coming weeks.

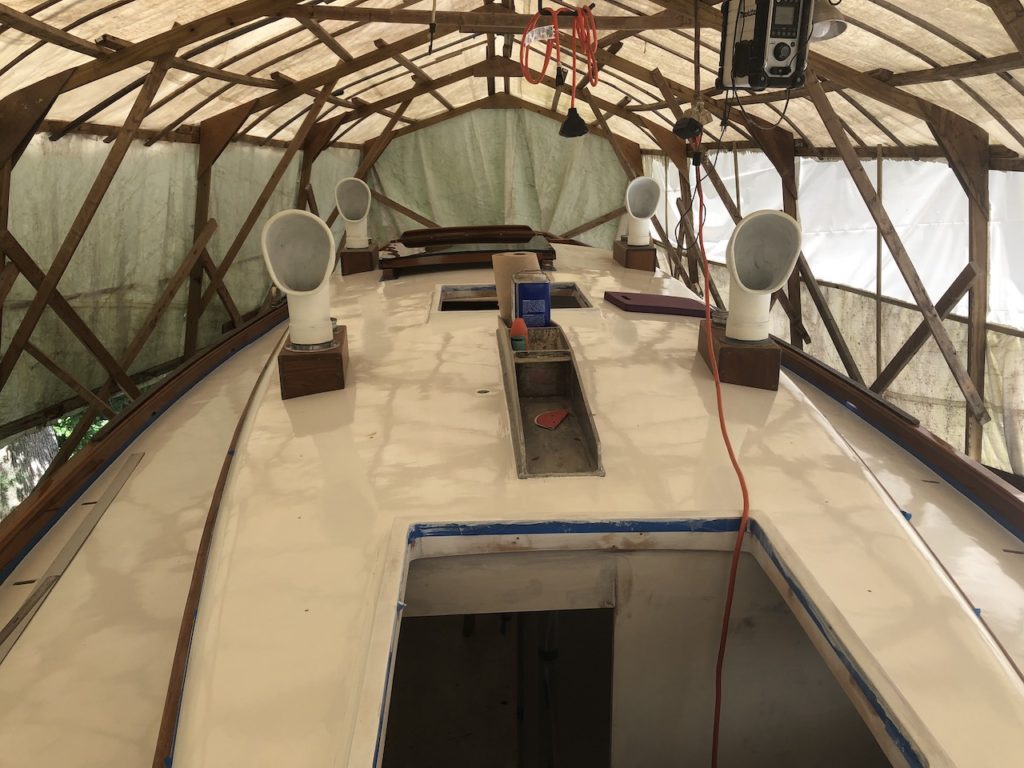
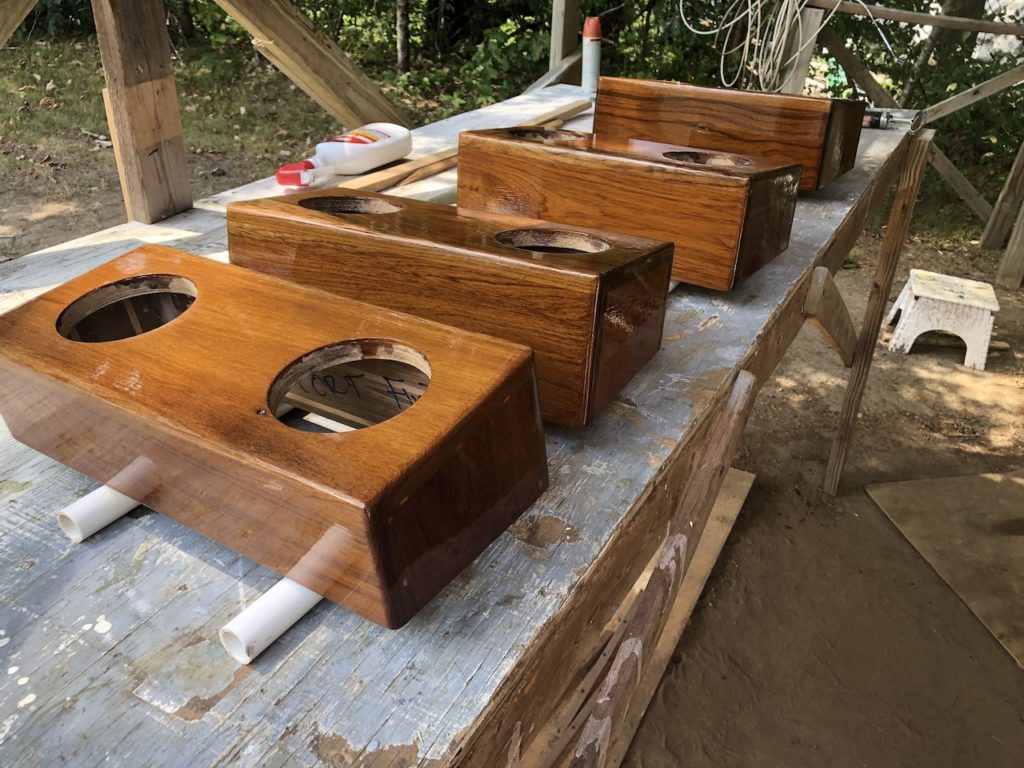
In the coming weeks I will also be putting a second (or third?) coat of paint on the decks and cabin top. This will open up a lot of job opportunities such as installing the other set of handrails, and dorade boxes. Below you can see one of four “deck cylinders” (for lack of knowing the correct term). The cowl vents are offset from these cylinders by the dorade box so that water entering the vents (be it rain, spray, or hosewater) does not enter the cabin.

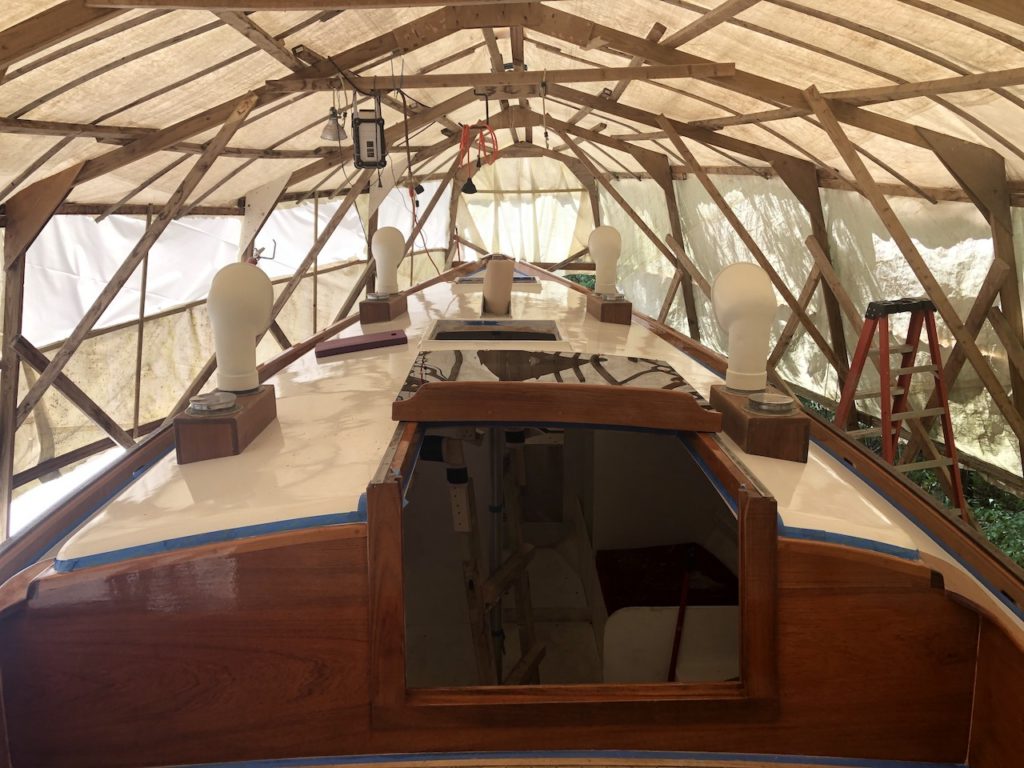
What I’m doing here is simply “dry fitting” everything once last time to check on alignment.
While I think it looks pretty good, I don’t think a proper check can be done without having a look from afar, which is obviously impossible to do until the boat is somewhere else.

In case you were about to complain that the dorade boxes look dull, they were sanded between coats in the above pictures, and here they have the next coat:
Jean Tammaro
08/23/2020 — 7:59 pm
Looking’ good, Mike!!