12/27/20: Cabinetry, Dorade Boxes
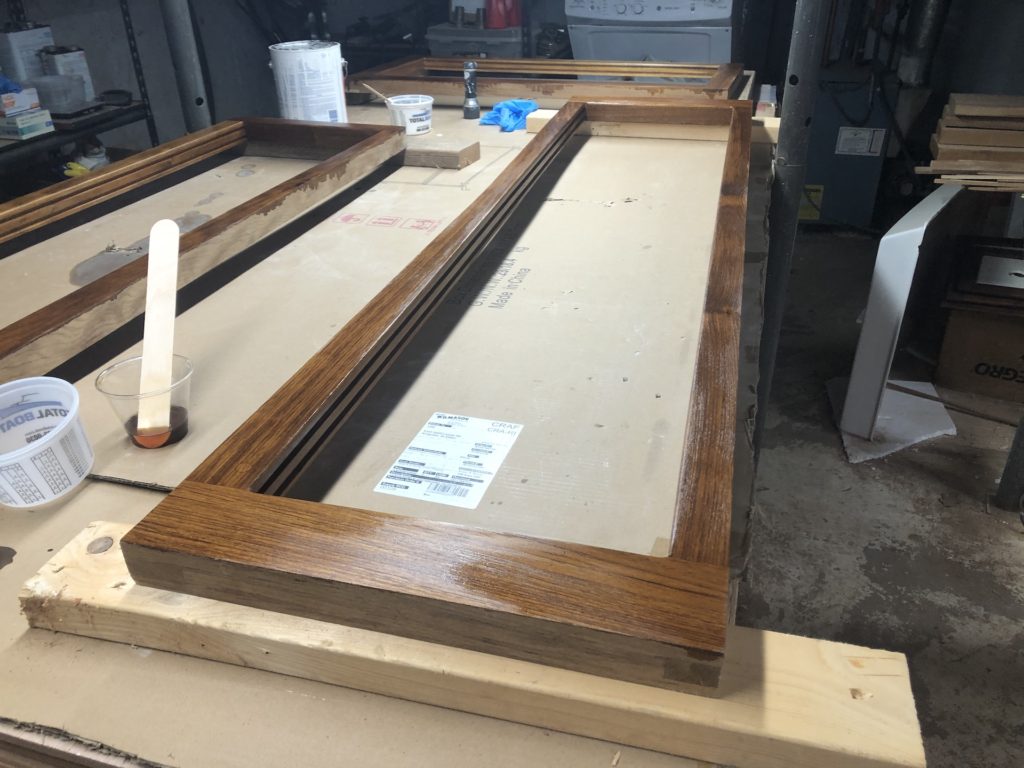
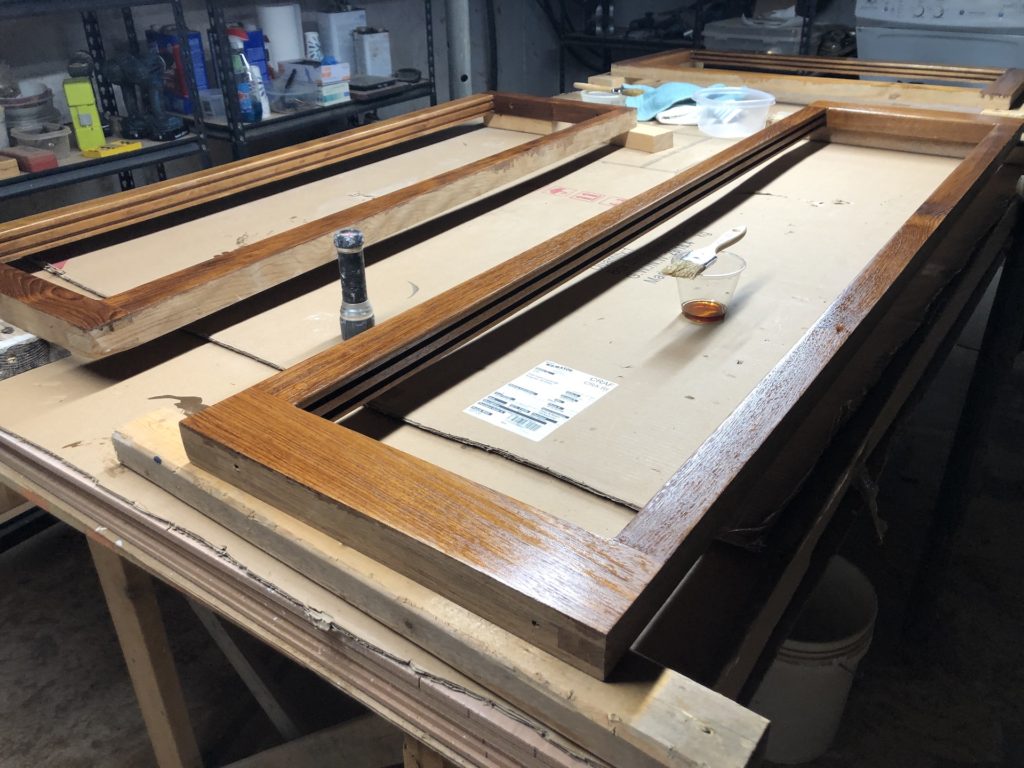
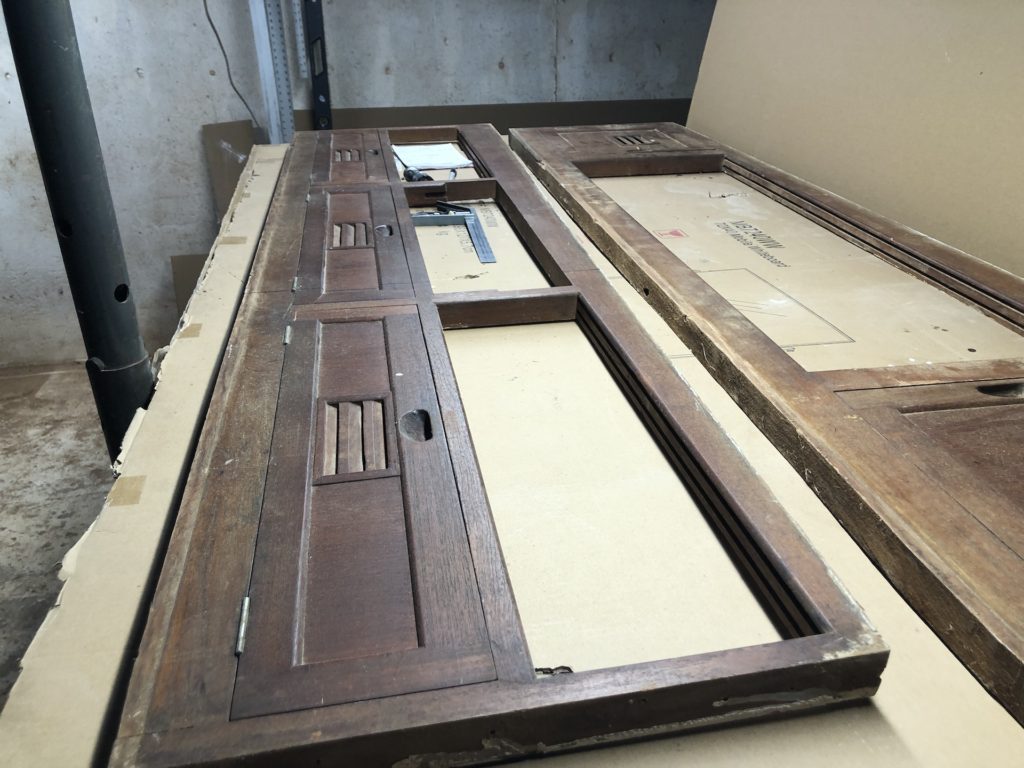
The sliding-door cabinetry in the galley and head areas consists of these three teak frames (here with one coat of varnish)…
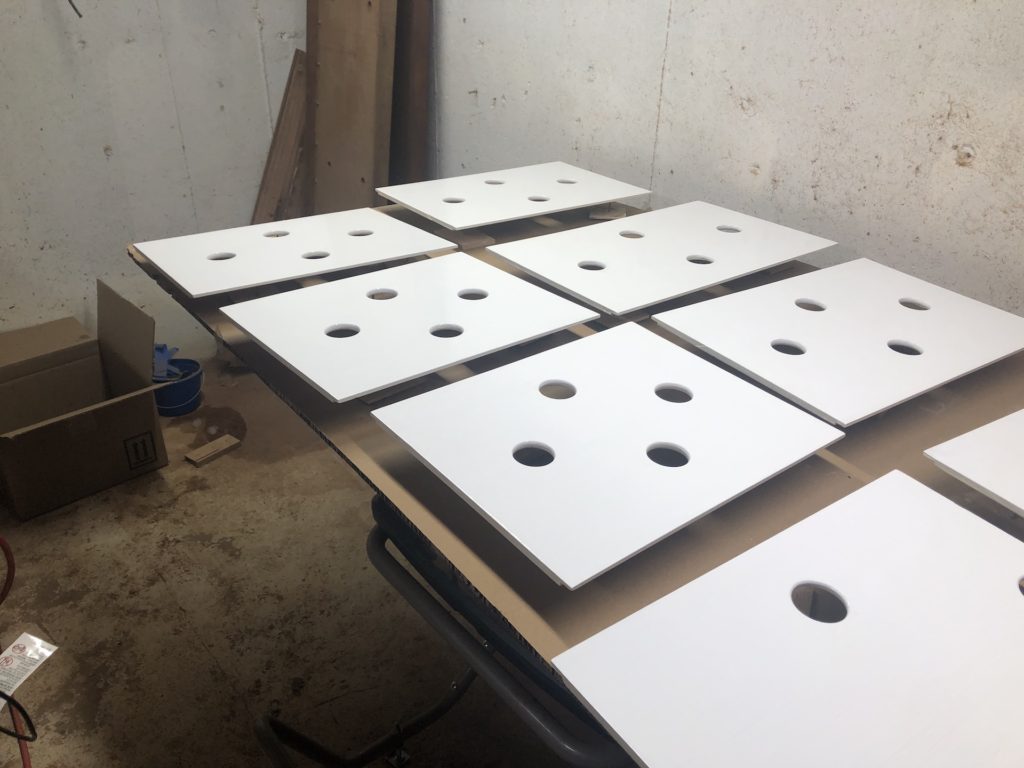
…and these eight sliding doors. (I built these several years ago, and you can review some of that work HERE and HERE.)
Here is a second coat of varnish on the frames.
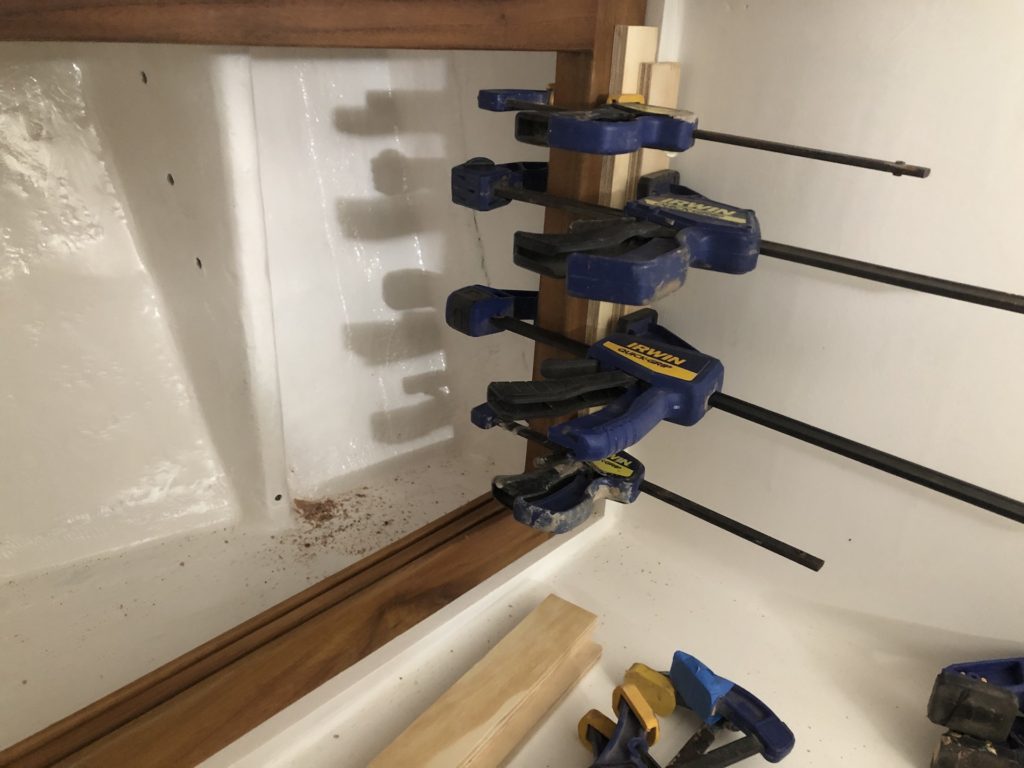
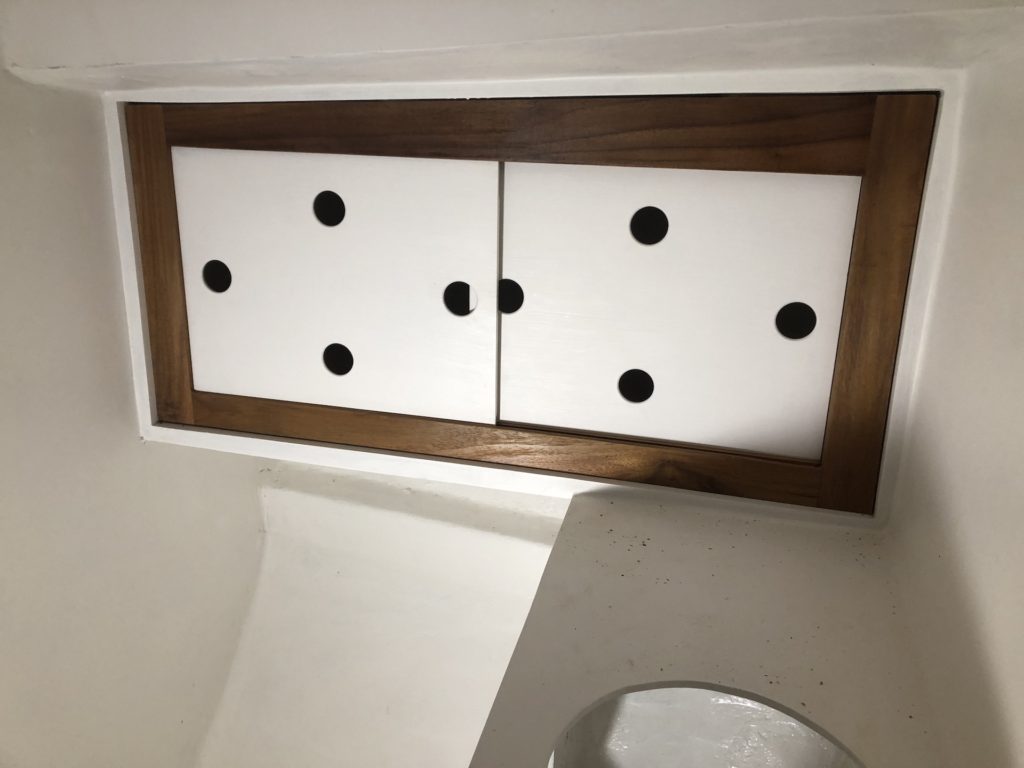
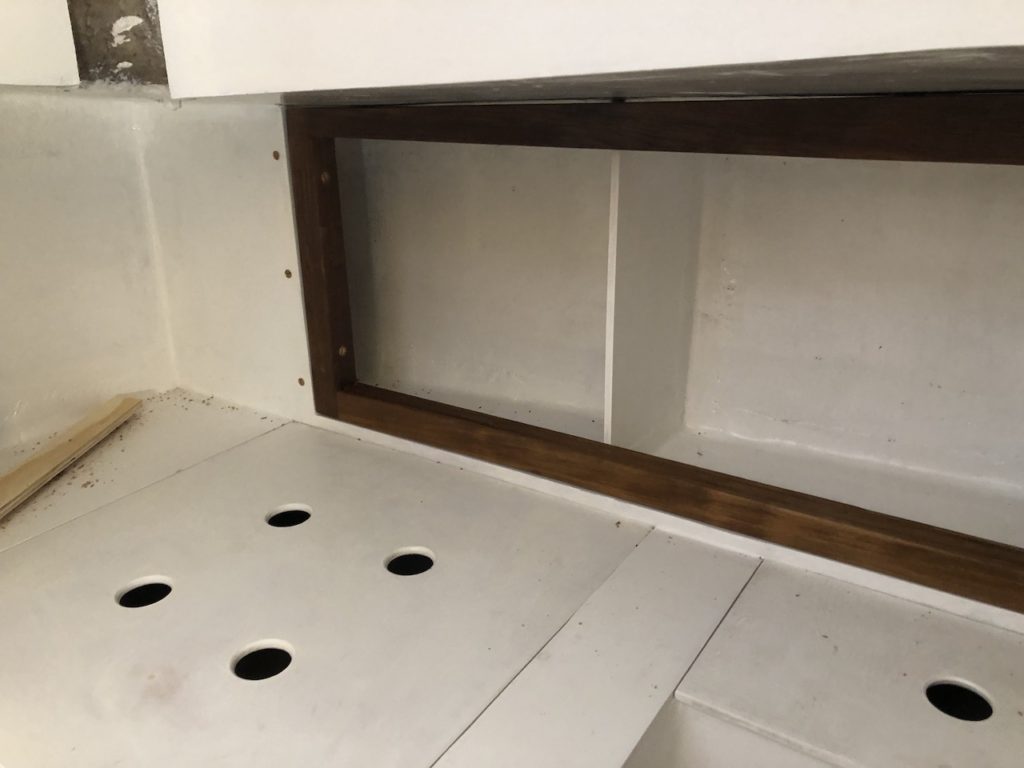
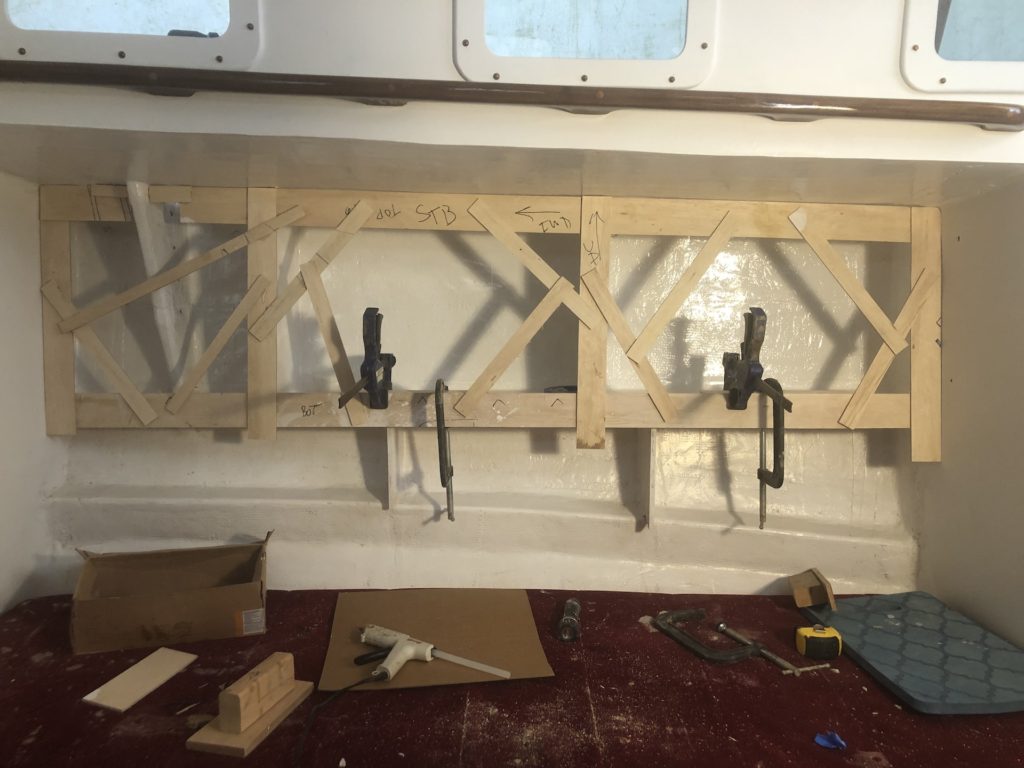
Below is the two-door unit for the head area. The frame sits within an outer plywood frame that is attached to the shelf, two bulkheads and deck. The clamps in the photo, in conjunction with those strips of wood, are setting the teak frame a given distance behind the front edge of the plywood frame.
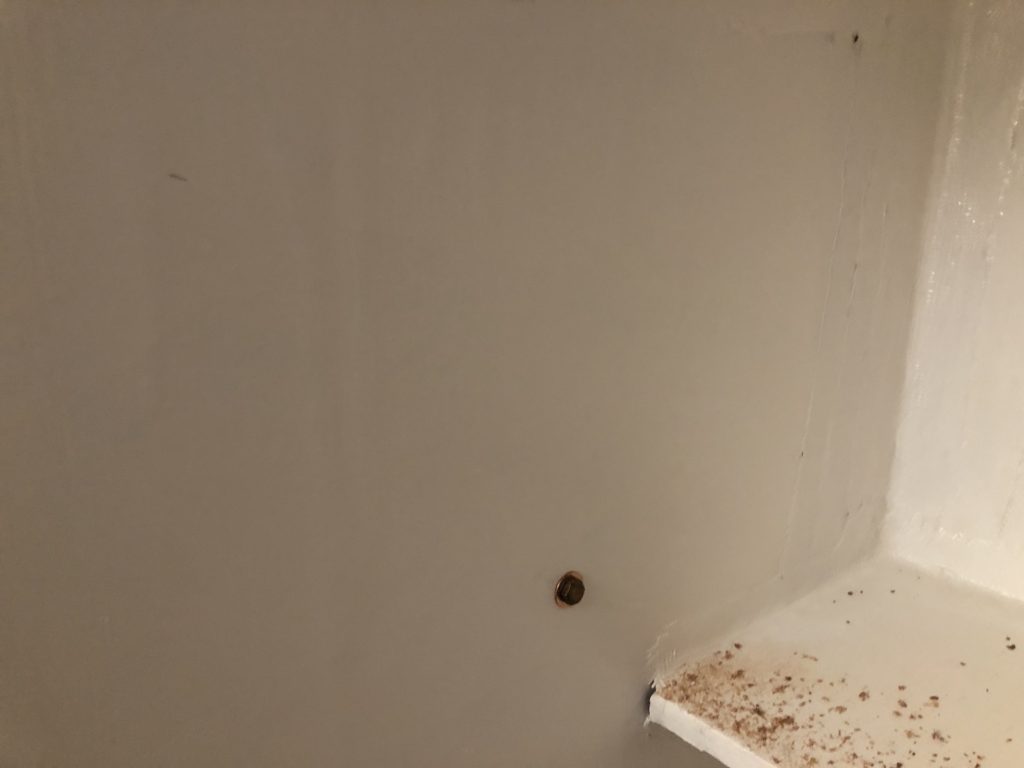
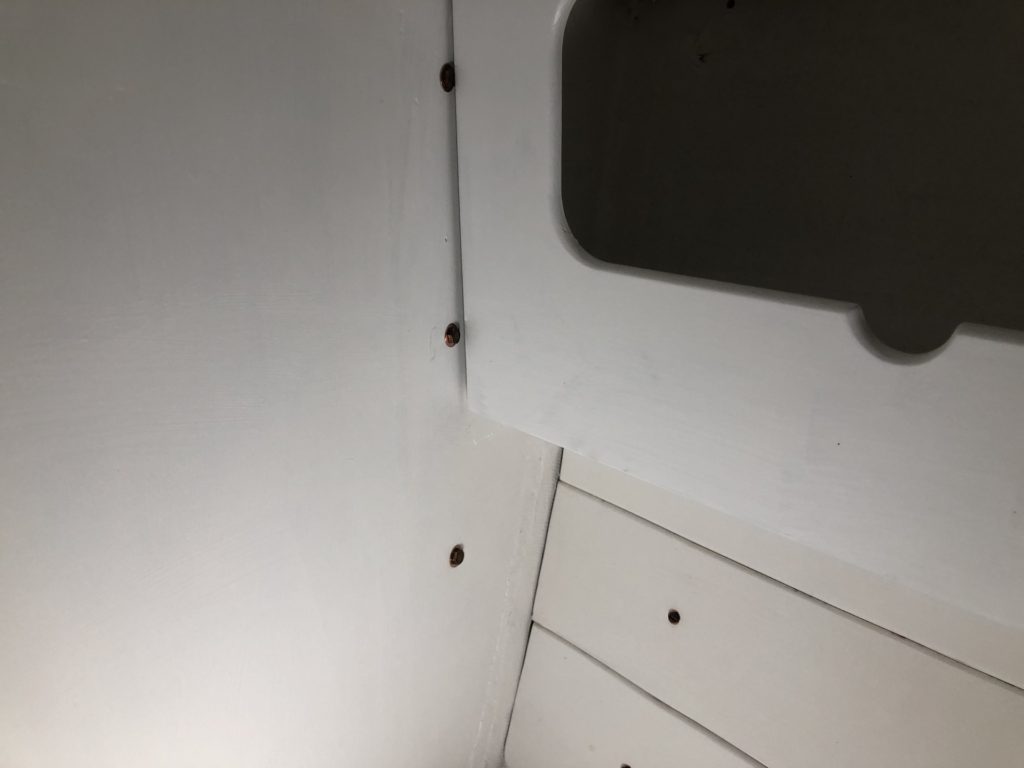
These frames will be secured with 3-inch bronze bolts that are screwed in from the other side of the bulkhead. Here is one in the forward cabin:
Two more makes three, and the shelf fronts were reinstalled on the port-side forward cabin. Being true to my mantra of accessibility and ease of maintenance, these frames can be easily removed and reinstalled in case, for example, I want to paint or clean the compartment behind the doors, or work on wiring or plumbing.
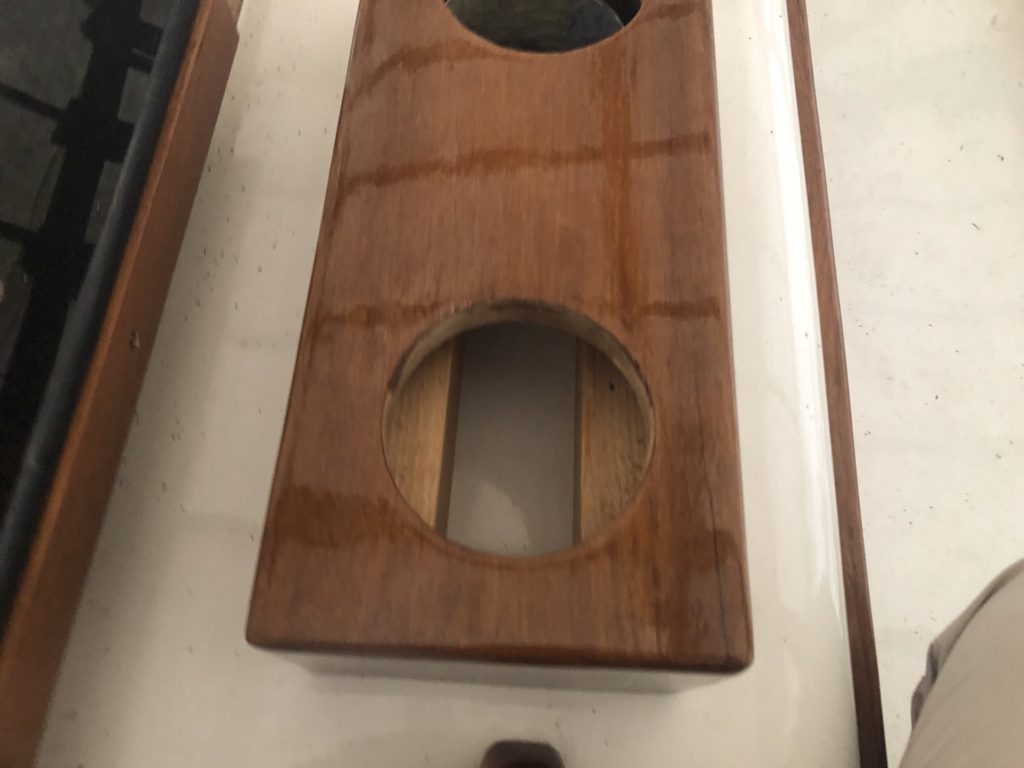
The holes in the doors serve the dual purpose of providing good ventilation to the compartment, and also providing finger-holes for sliding the doors one way or the other.
The space behind compartment itself will house the vented loop for the toilet plumbing, but will have plenty of extra room for who-knows-what. I may partition the space in the shelves and/or horizontal spaces. These decisions will be made at a much later date–likely after launch.
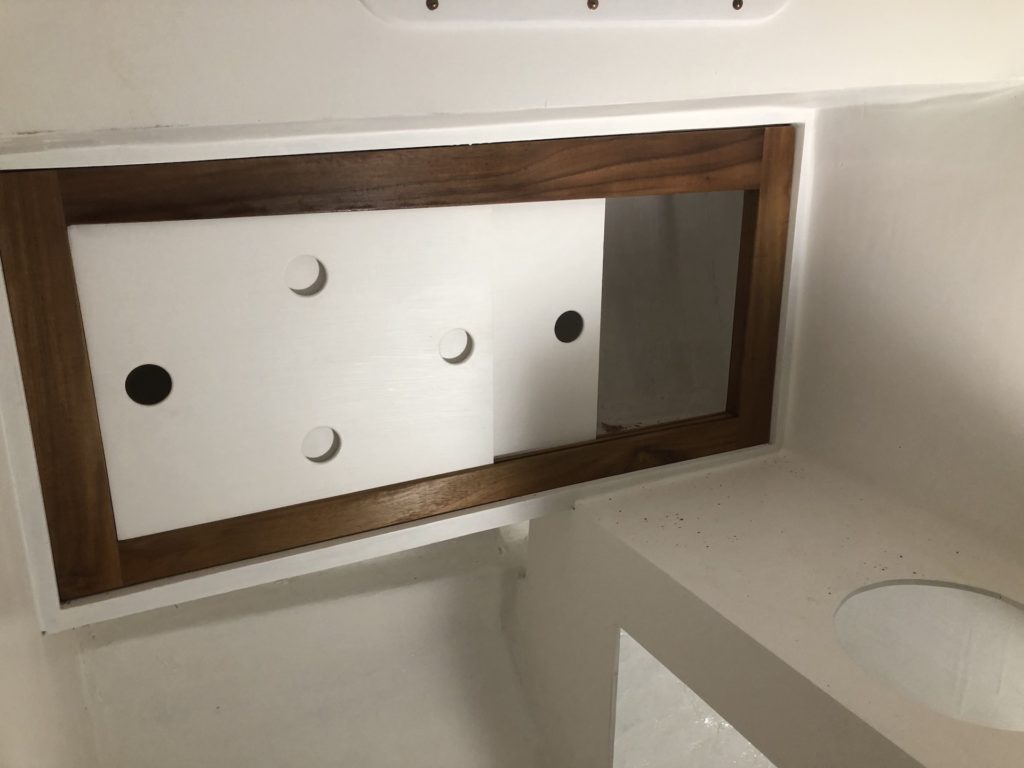
Here is the port-side galley area. The aft end of the frame does not terminate on a bulkhead, so I had to find a different solution for securing the aft end.
There are three sliding doors here on the port side of the galley.
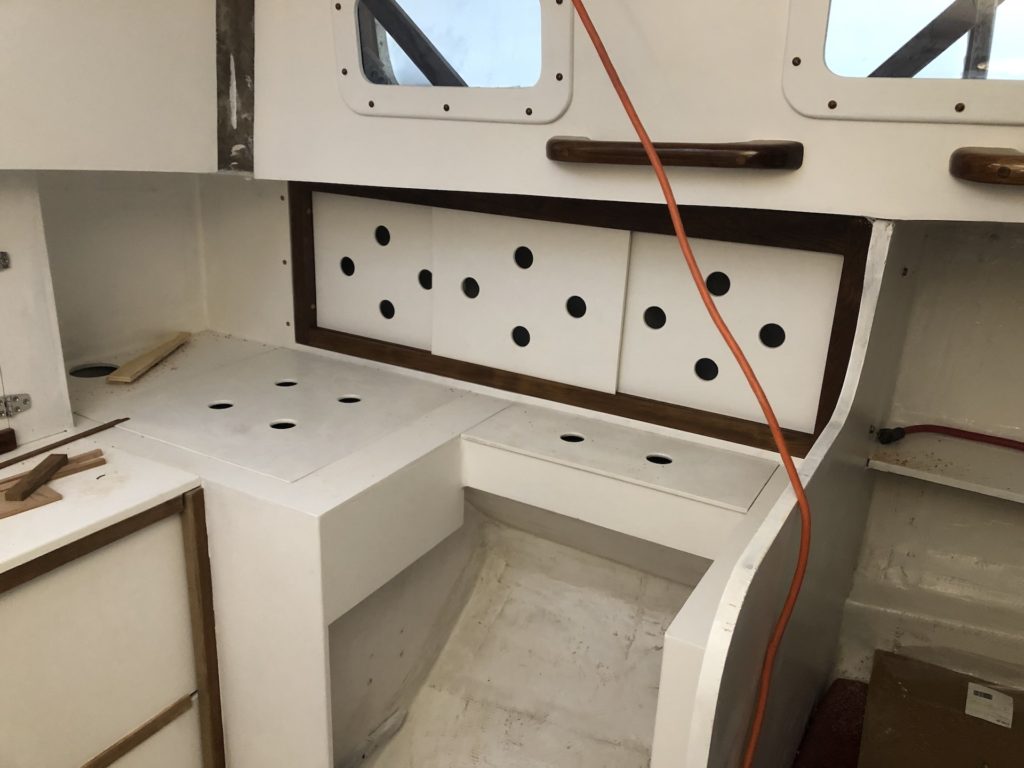
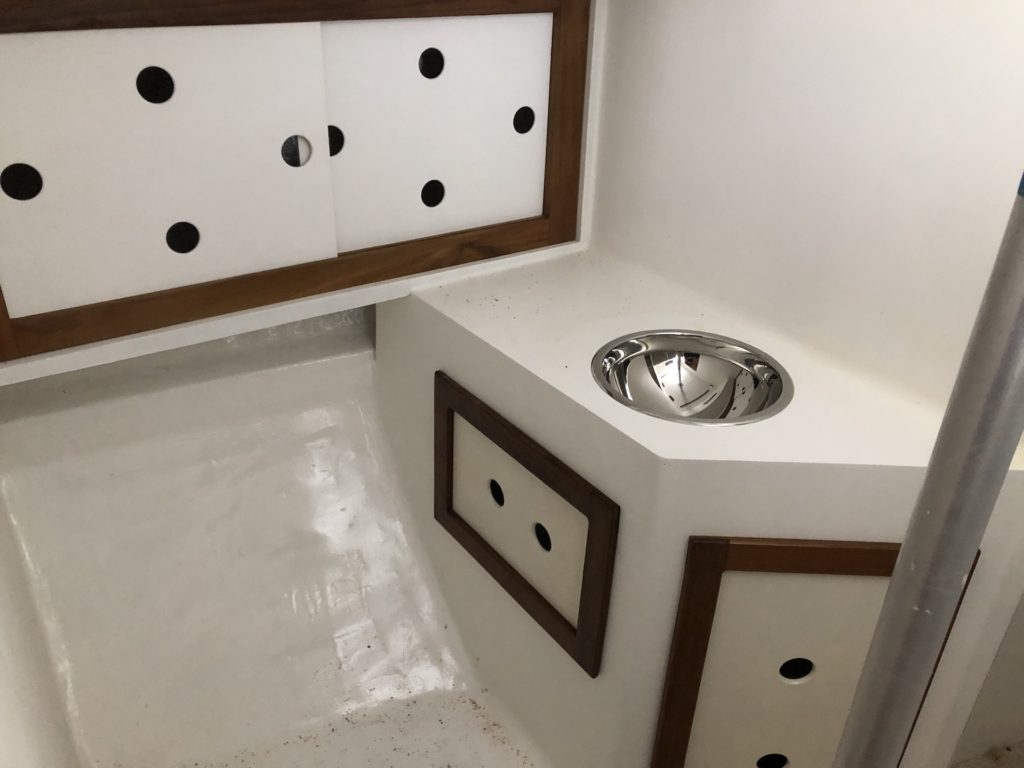
Similarly there are three sliding doors on the starboard-side galley. I set the galley sink into its cutout, and balanced the door in its opening below the sink area, just to see how it all looked. There will be more teak trim eventually: a “fiddle” along the inboard edge of the countertop that keeps things from sliding off when heeled to port, trim where the deck meets the house, and trim along the edge of the bulkhead.

Similarly, in the head there will be more teak trim.
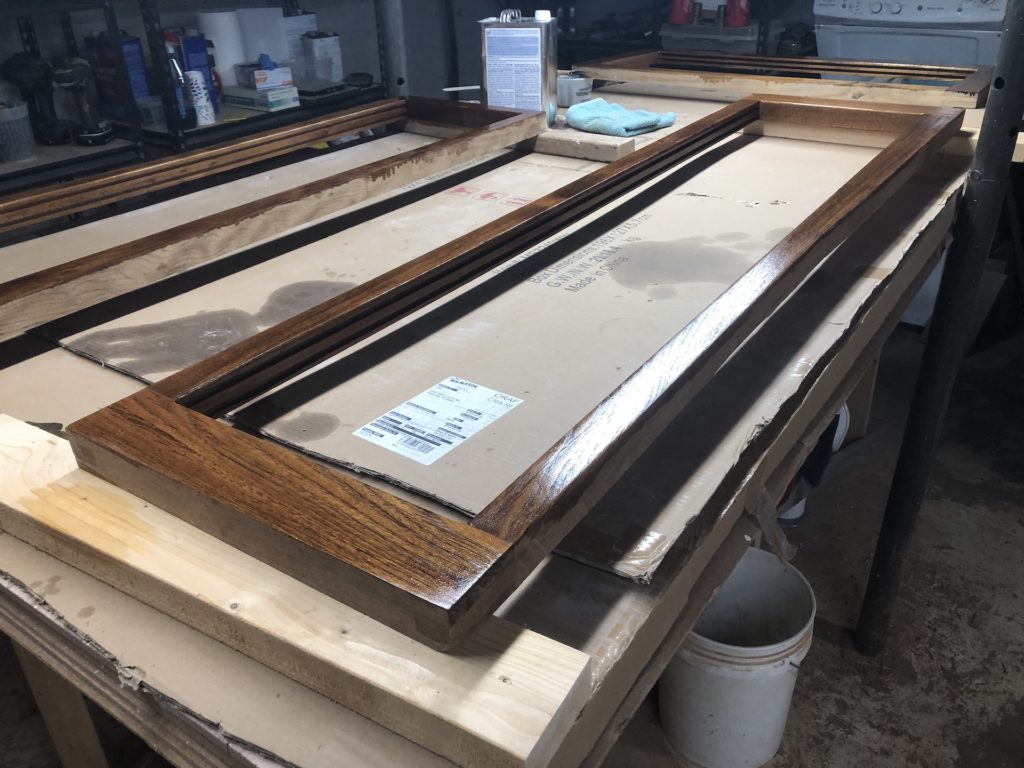
Everything came back down to the basement and here is the 3rd coat of varnish:
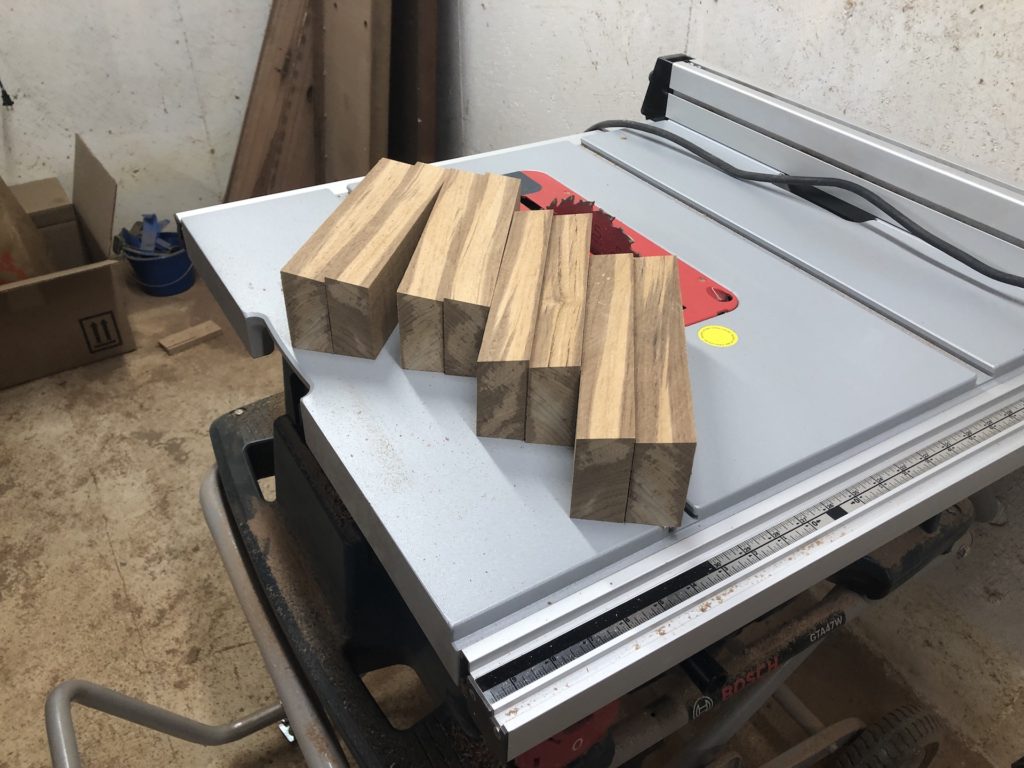
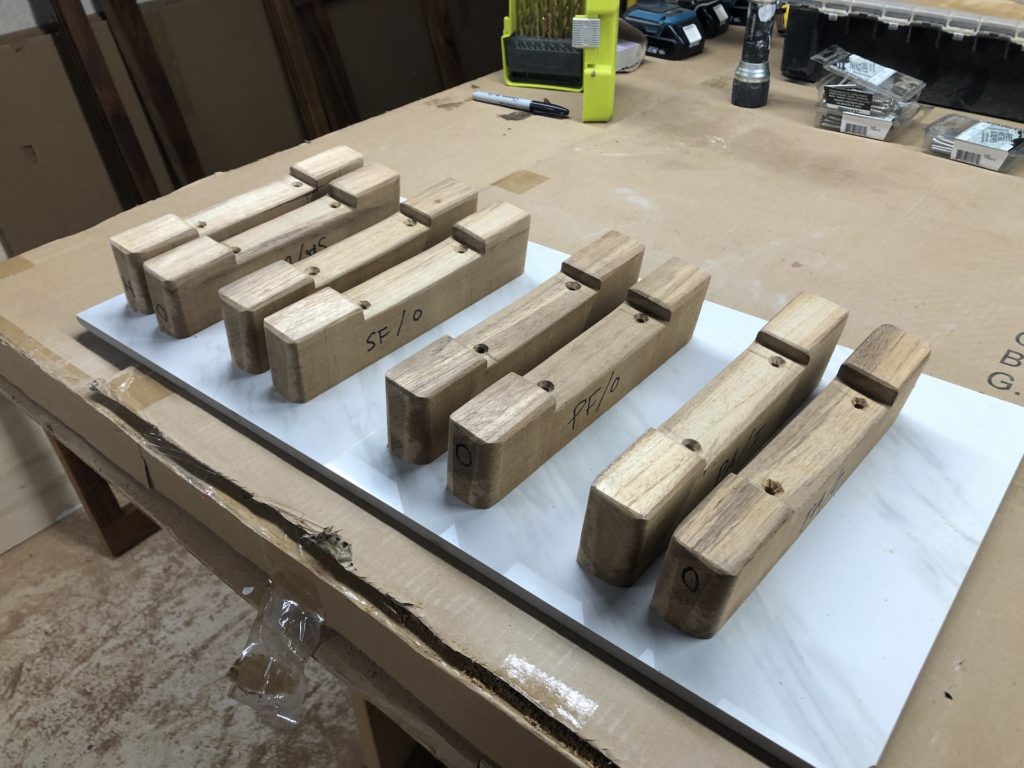
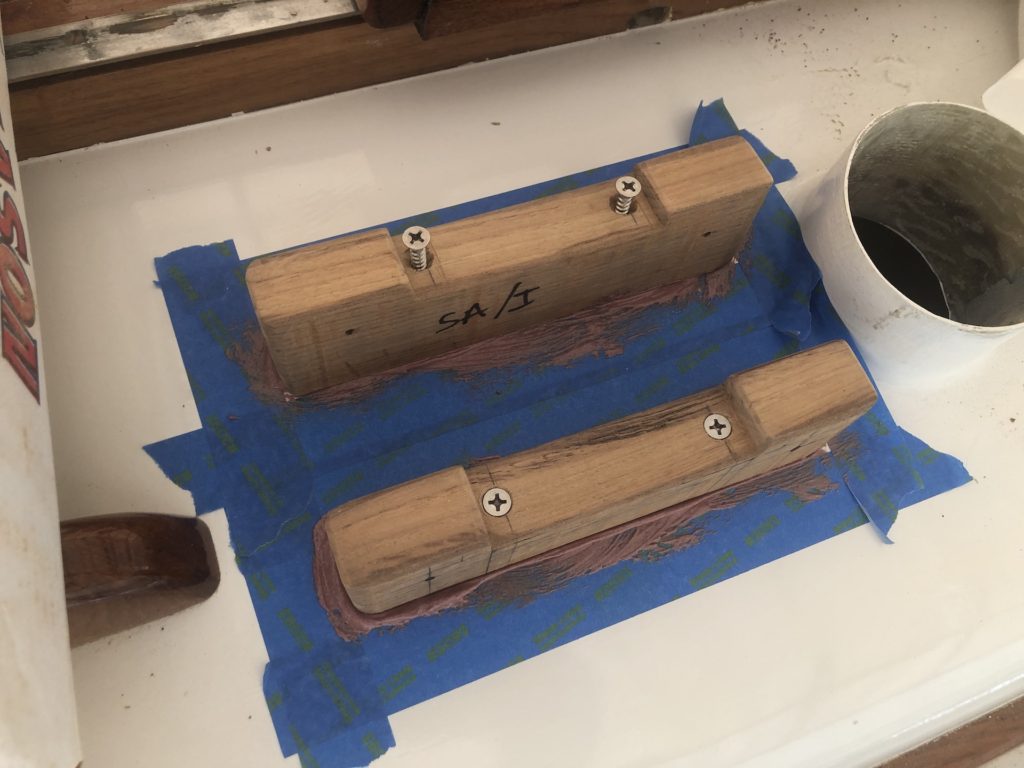
Meanwhile, on deck, I need a way to fasten the dorade boxes. I decided to use the same general idea as in the original build, where teak blocks were screwed into the house and the dorade boxes fastened to the blocks. The blocks below are mock-ups make from 2×4 lumber.

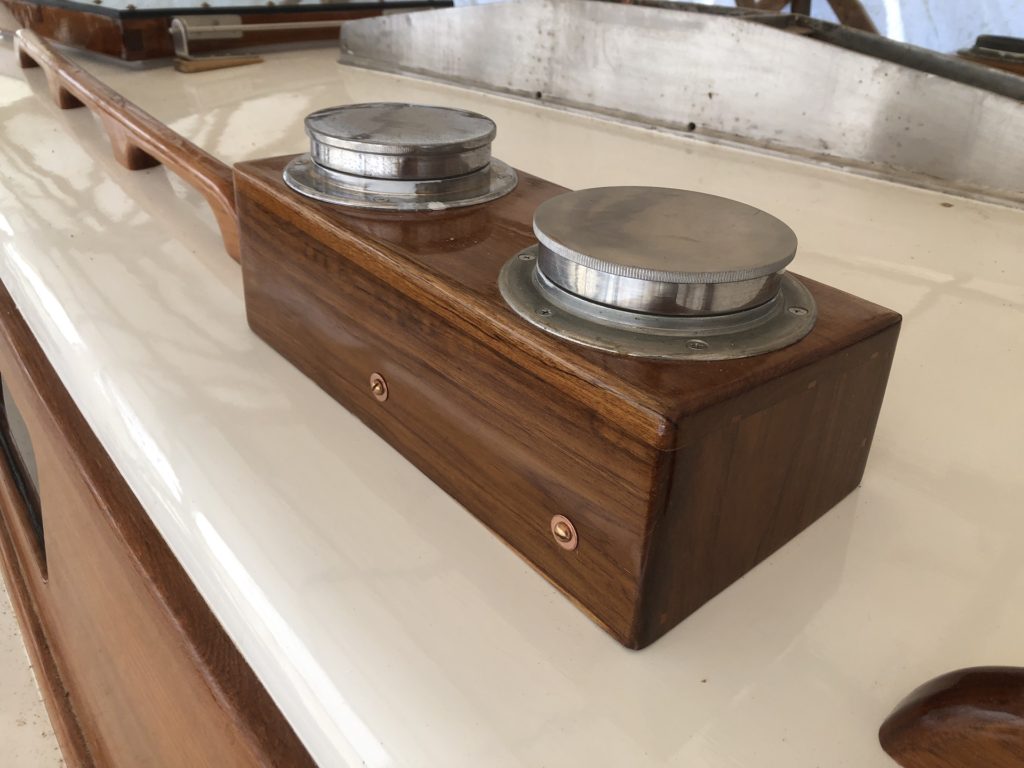
The blocks are invisible from outside the box.
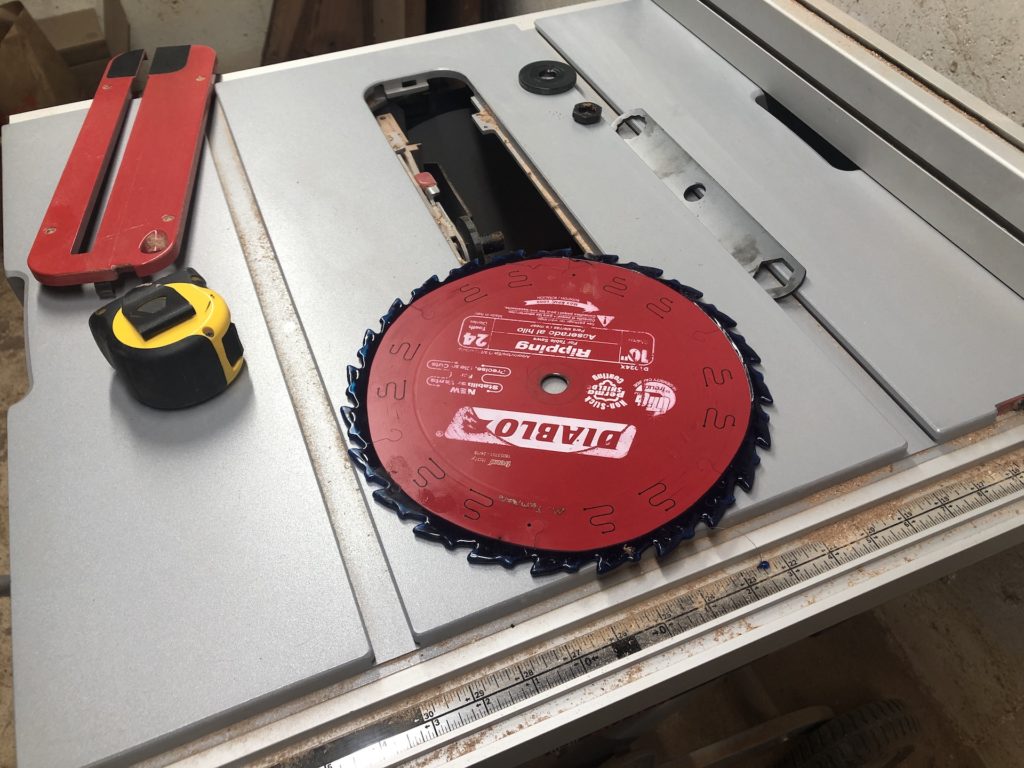
I might have mentioned that I bought a new table-saw about 6 months ago. Changing the blade in preparation for cutting the blocks.
Note they are beveled because there is a camber to the roof.
Here they are temporarily fastened.
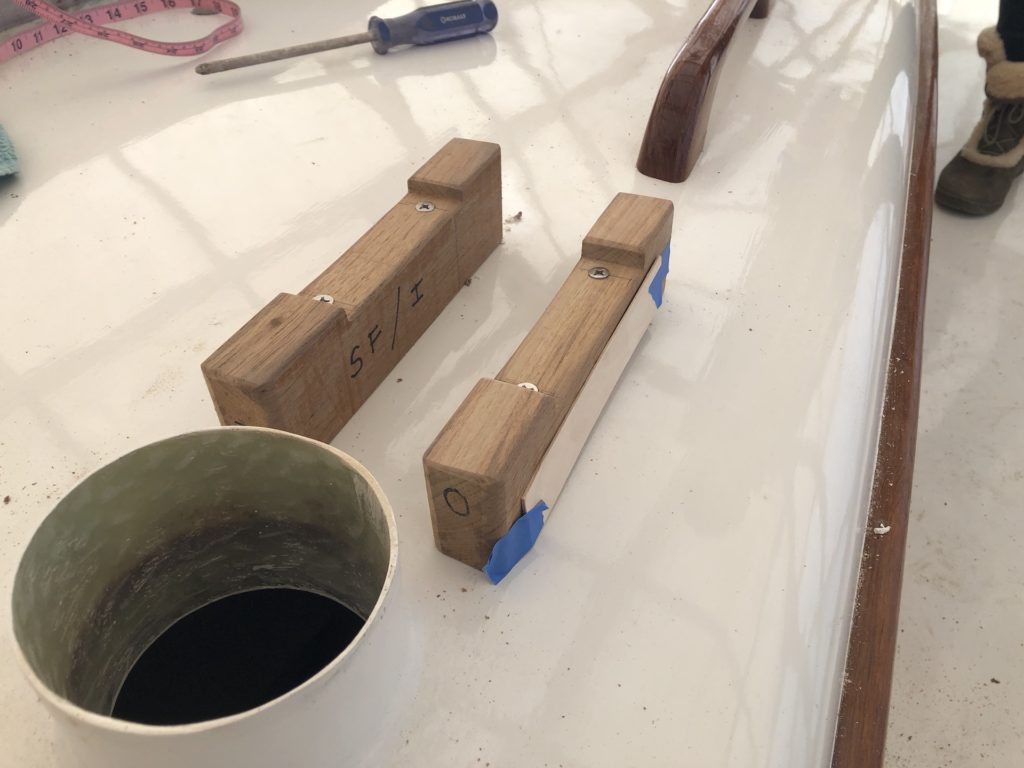
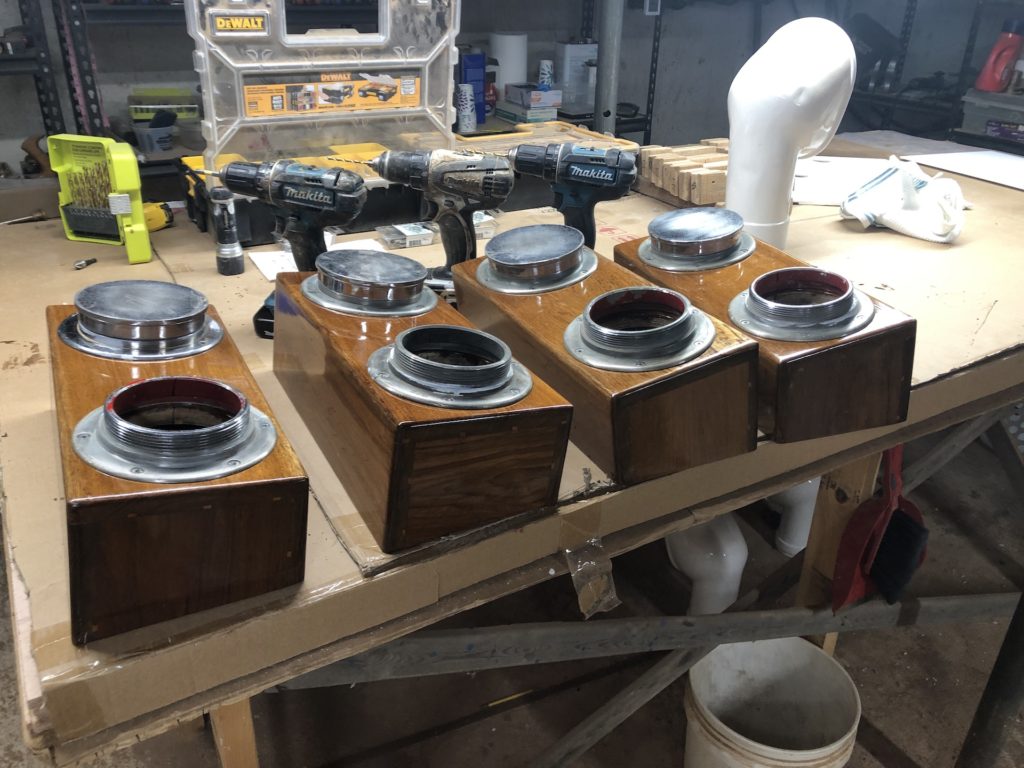
No two blocks are exactly the same, so each is labeled and has its own home (e.g., starboard, forward, inboard).
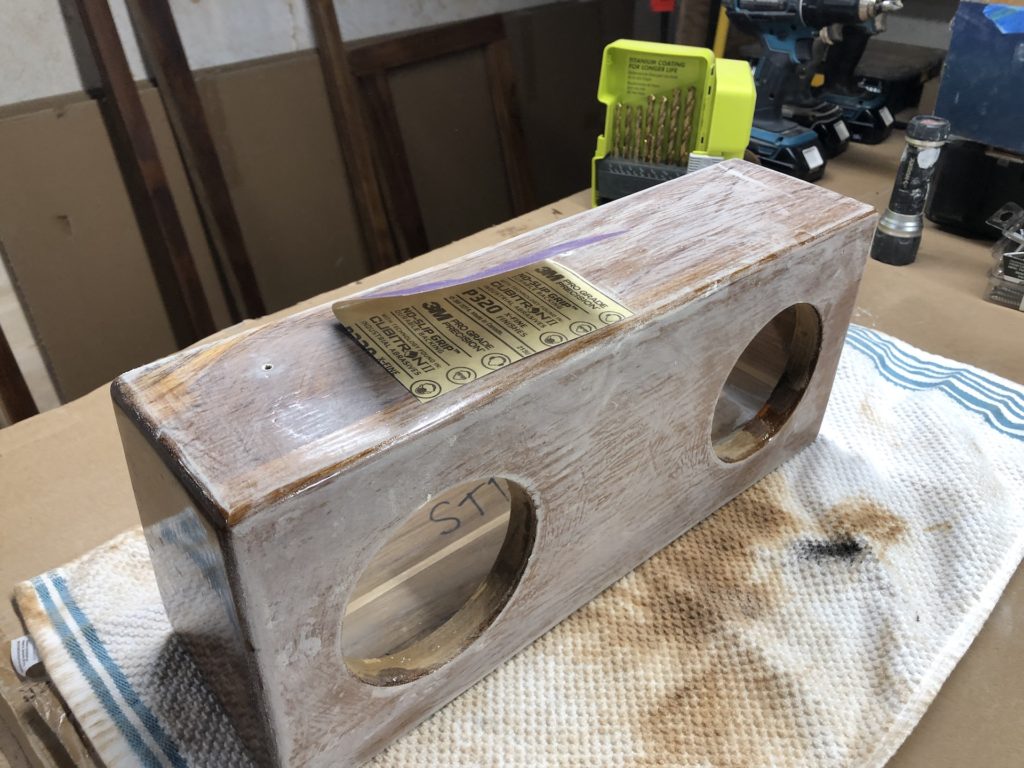
The dorade boxes had been varnished, but have been kicking around for years, so they deserved another coat.
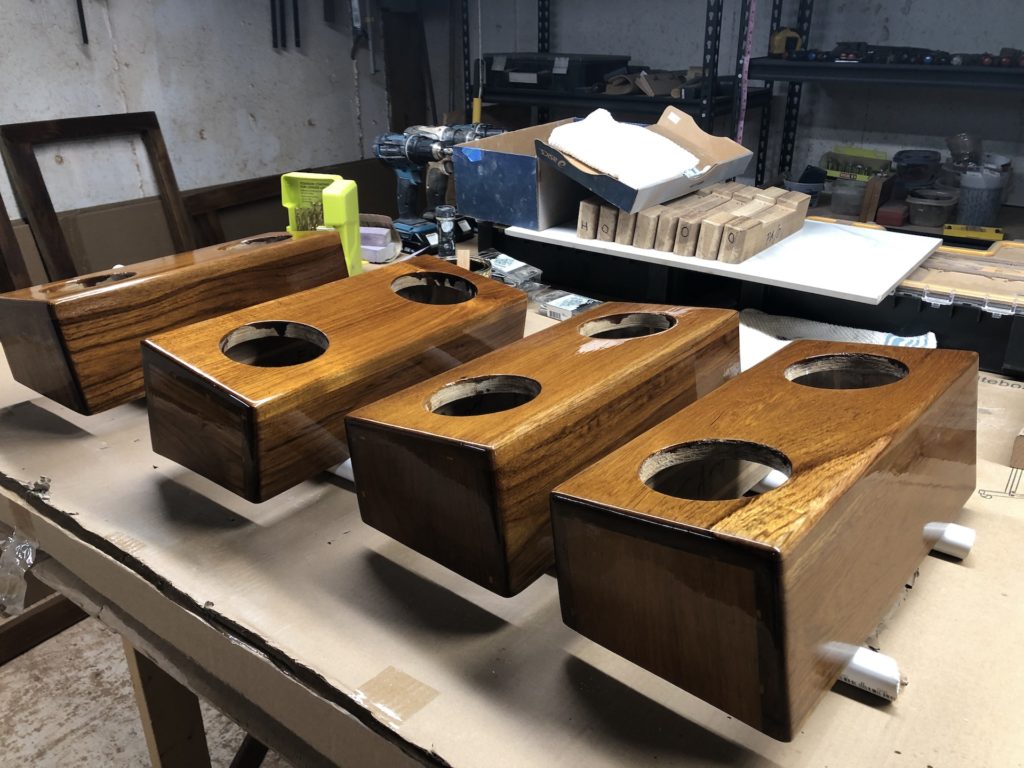
Finally, some hardware. Screws for the ones that get a cap, and bolts for those that get a cowl vent.
Final installation of the blocks. They were set in thickened epoxy and #14 stainless screws. I considered bolting them through the roof, but decided against.
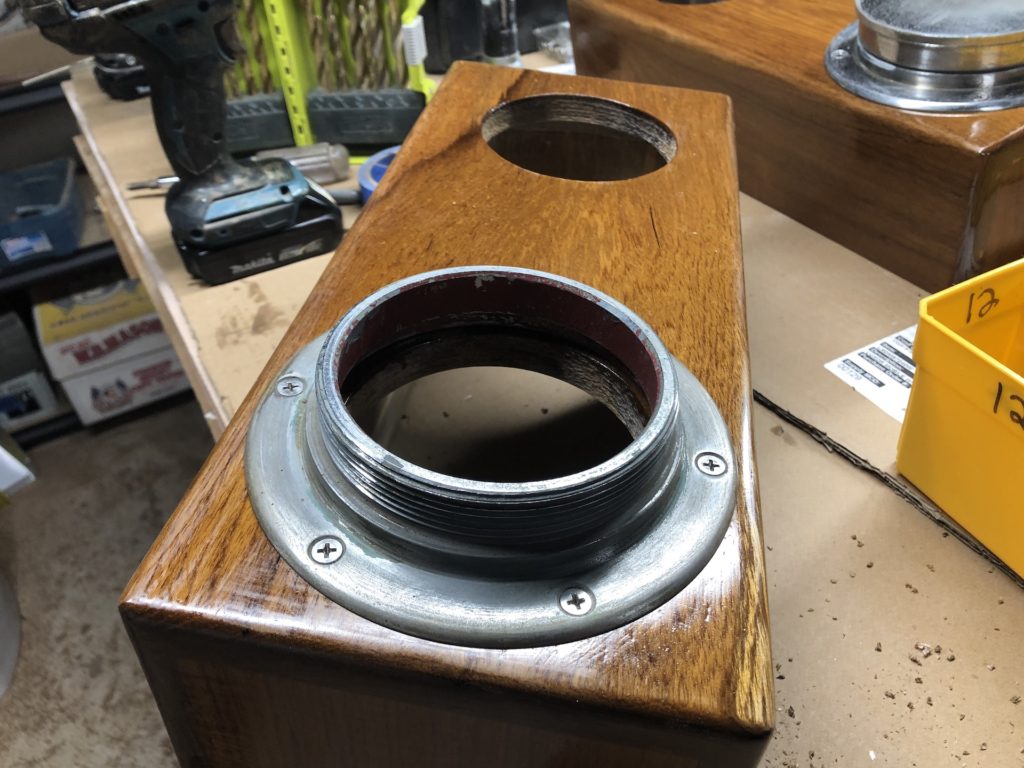
On to final installation, which consisted of drilling two holes in each side and securing the boxes to the blocks with bronze screws and washers. The cowl vents will stay off the boat until a later date. In the mean time, I have caps for the holes.
There’s just one more cabinetry project, but it’s the biggest and most complex. Below are the original cabinet fronts for the main salon. They will not be reused. The new ones will match the evolving style motif, and will have all the accessibility/removability features of the other cabinetry. Plus much better ventilation.
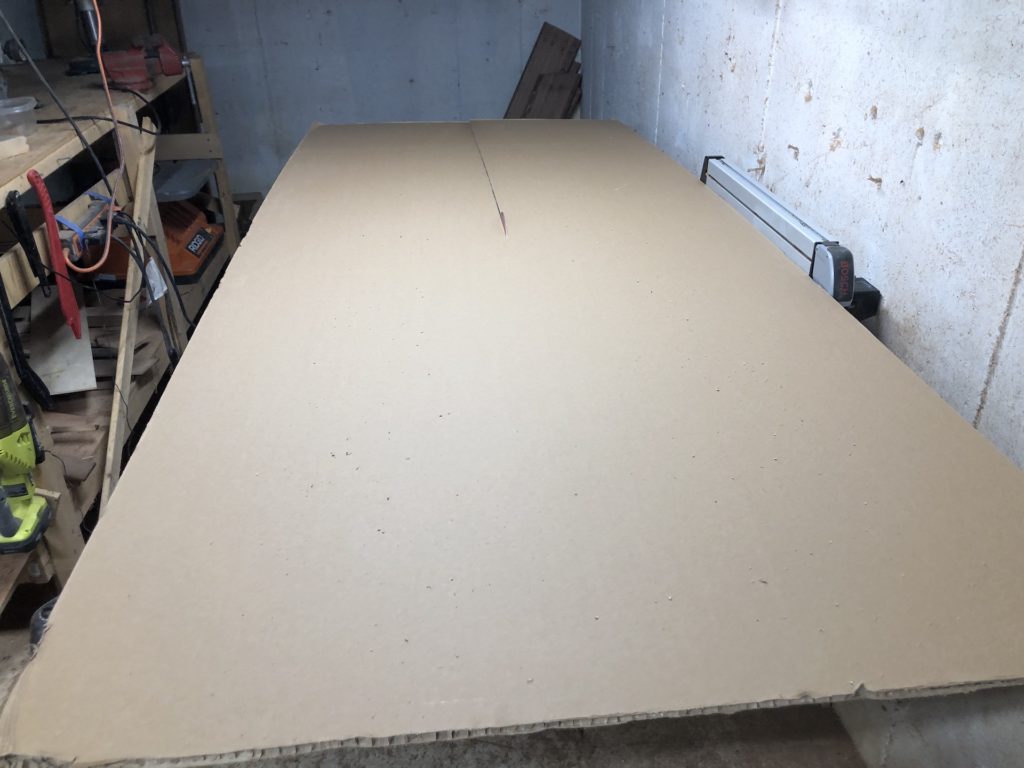
I collect big sheets of cardboard when I can because they have so many uses. Here I’m using the table-saw to rip off a pice I used to make a template.
You might recall that the original storage shelves in the main salon extended 5″ further inboard than my rebuild. The reason for the change is to make the settees wider and more comfortable, and make the area more spacious. One complication in extending this cabinetry outboard is that it can no longer completely enclose the aft chainplate knees, as you can see below. No problem.
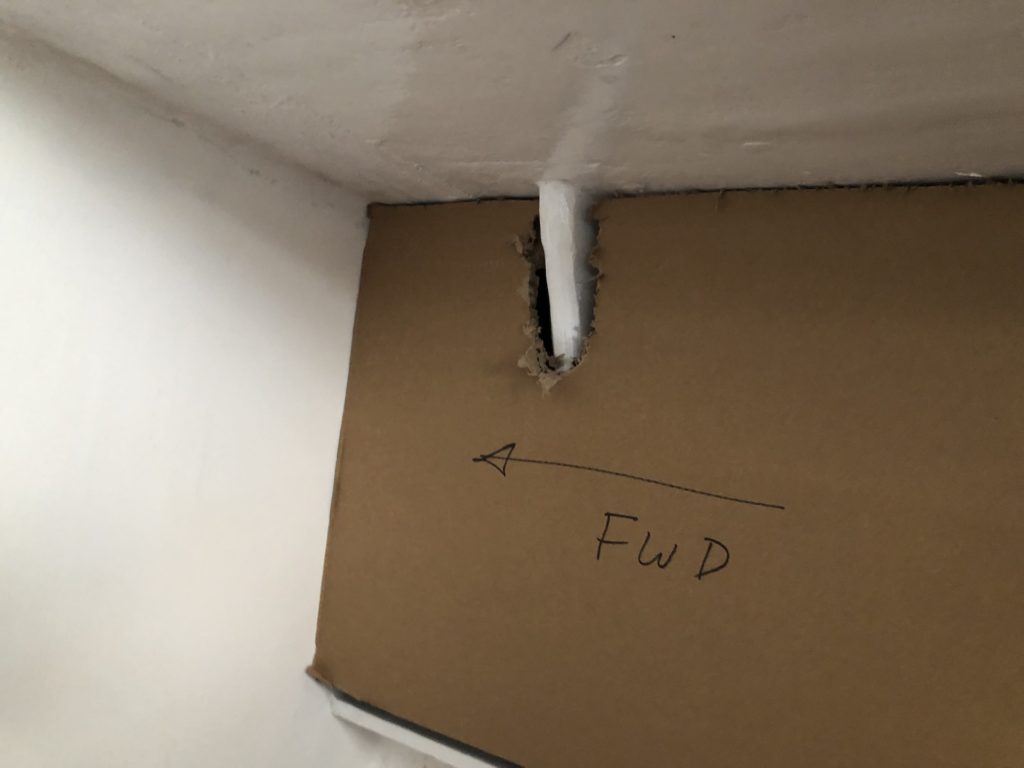
The cardboard pattern was a means to do some rough measurements and at the same time think about the layout of sliding doors and open compartments.
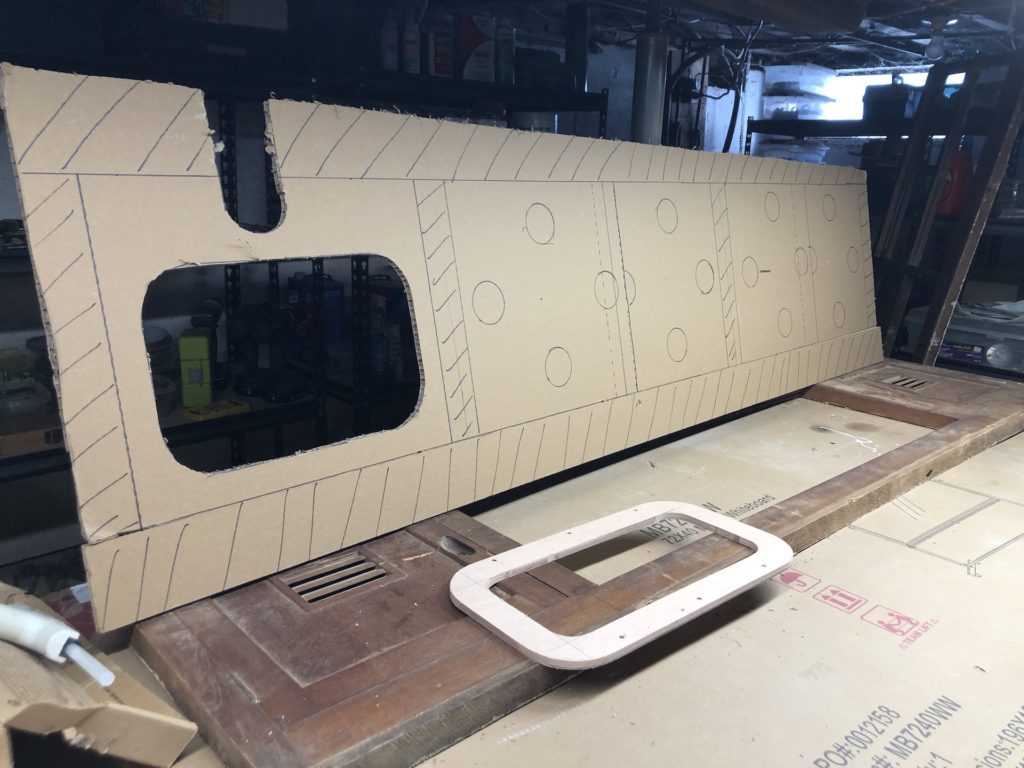
The final templates were made in the usual way, with strips of thin plywood and hot glue. This is the starboard side template, ready to be taken back down to the workshop.
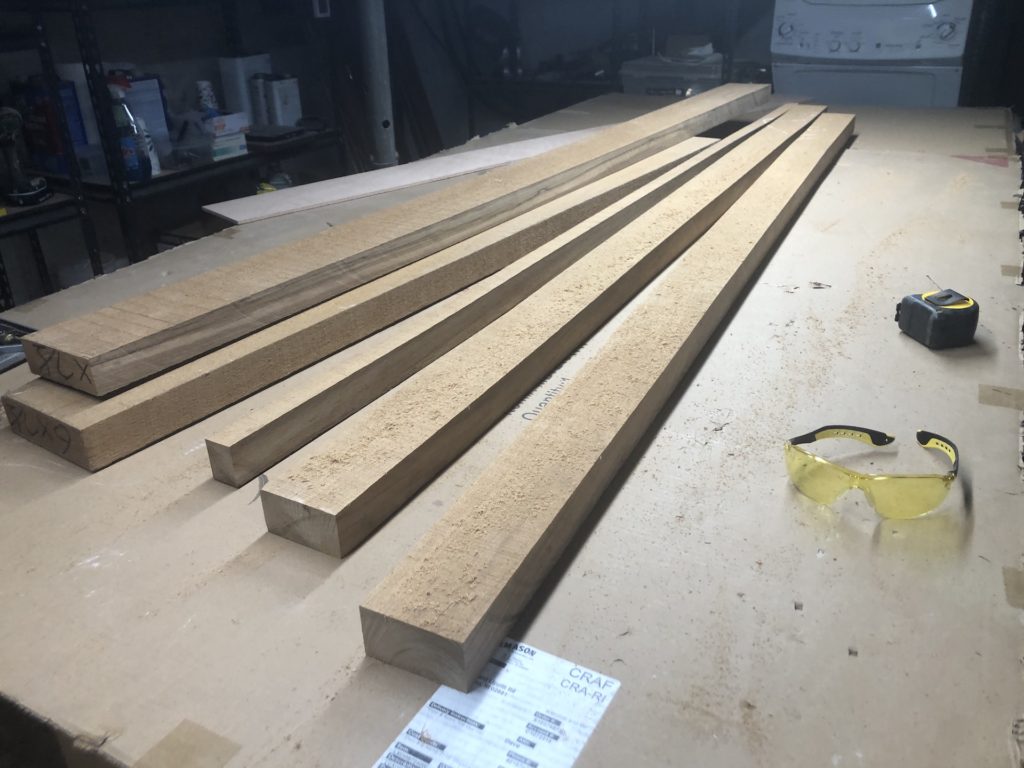
I have just enough teak to make both face frames, I think. As usual, the lumber is rough sawn, so the process begins with edge straightening, ripping to width, then planing to thickness.
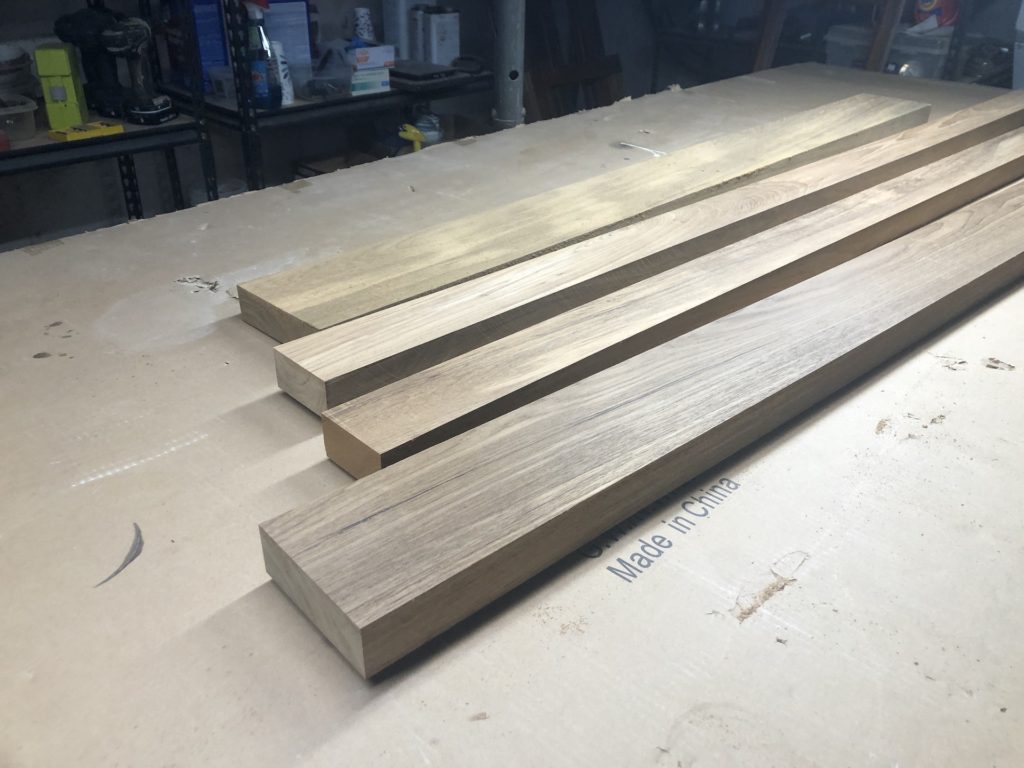
The wide board at the bottom of the image below will make the tops of both face frames.
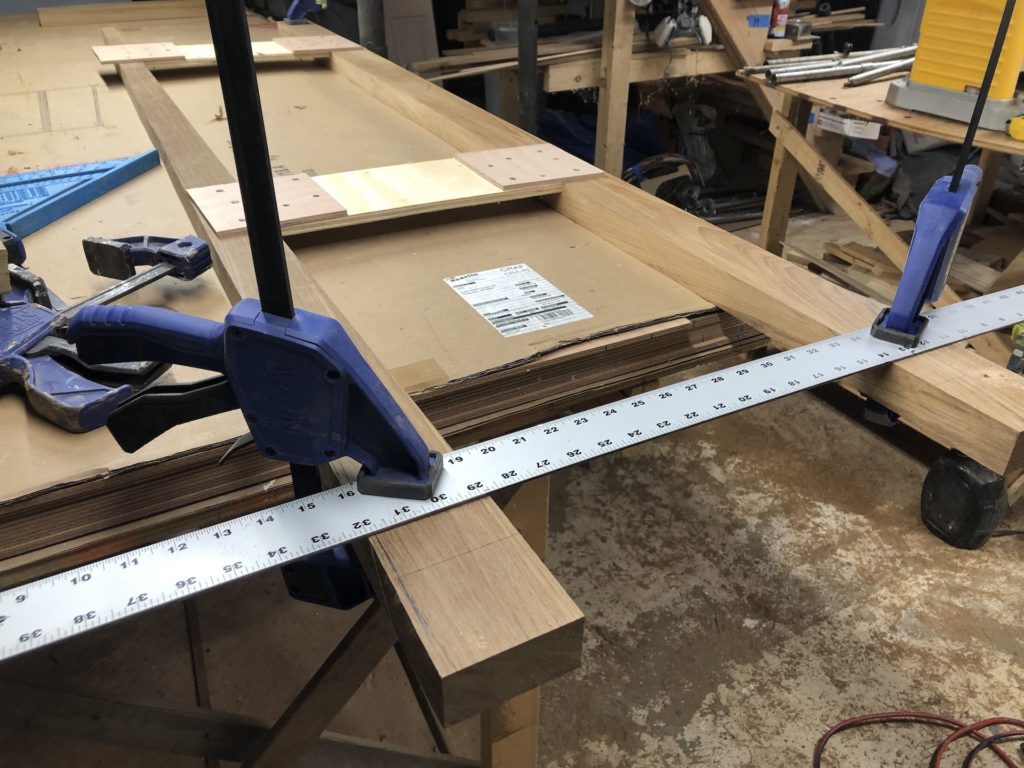
The deck slopes upward above the settees, so the top pieces must also slope.

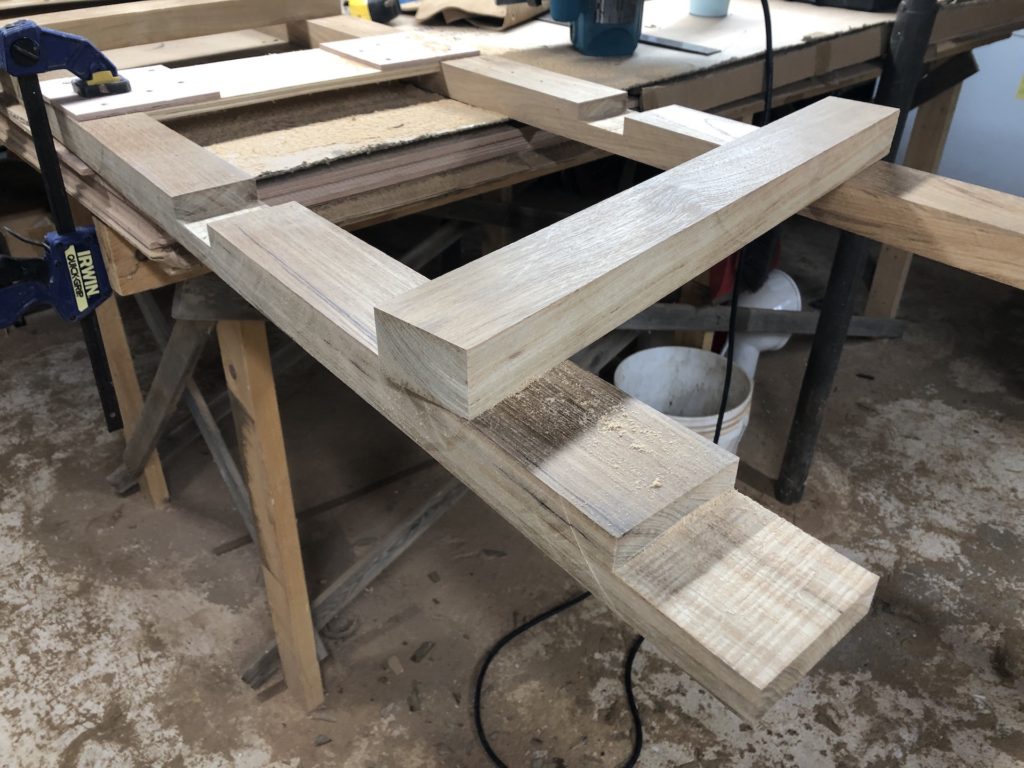
This is the back side of the starboard-side stuff and the upper and lower rails are being held in perfect parallel alignment by the spacer-jigs built earlier. Next up is cutting the lap joints.
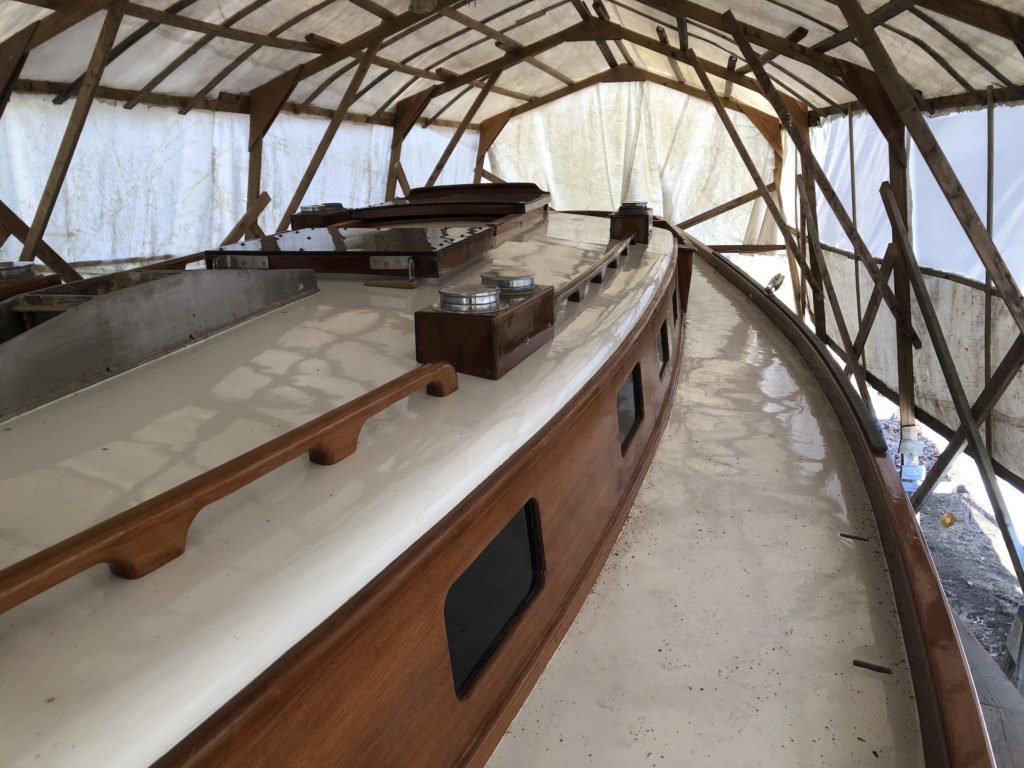
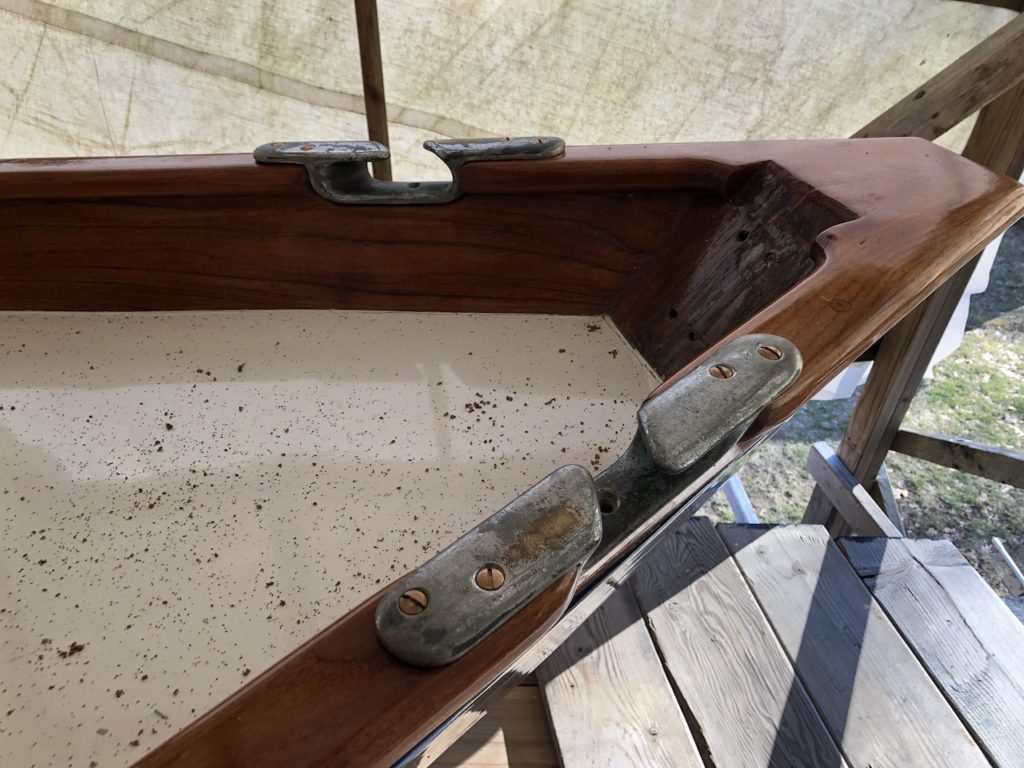
There will be plenty more to say about the cabinetry in the next post. Finally, I stumbled across the bow chocks and installed them:
Trish Martin
12/27/2020 — 8:44 pm
Finishing touches are looking great, Mike!
Mike
12/28/2020 — 10:02 pm
Thanks Trish!
Linda Tammaro
12/30/2020 — 6:24 pm
Mike, Beautiful work. On the home stretch. Must feel good. 😊. Linda