7/3/14: Tanks
The inspection ports for the integral tanks are unusually large. The advantage, of course, is that inspection, cleaning, maintenance, and repair will be much easier than on typical tanks, which have small inspection ports (and sometimes none at all). The disadvantage, on the other hand, is that the large openings require large gaskets and many fasteners.
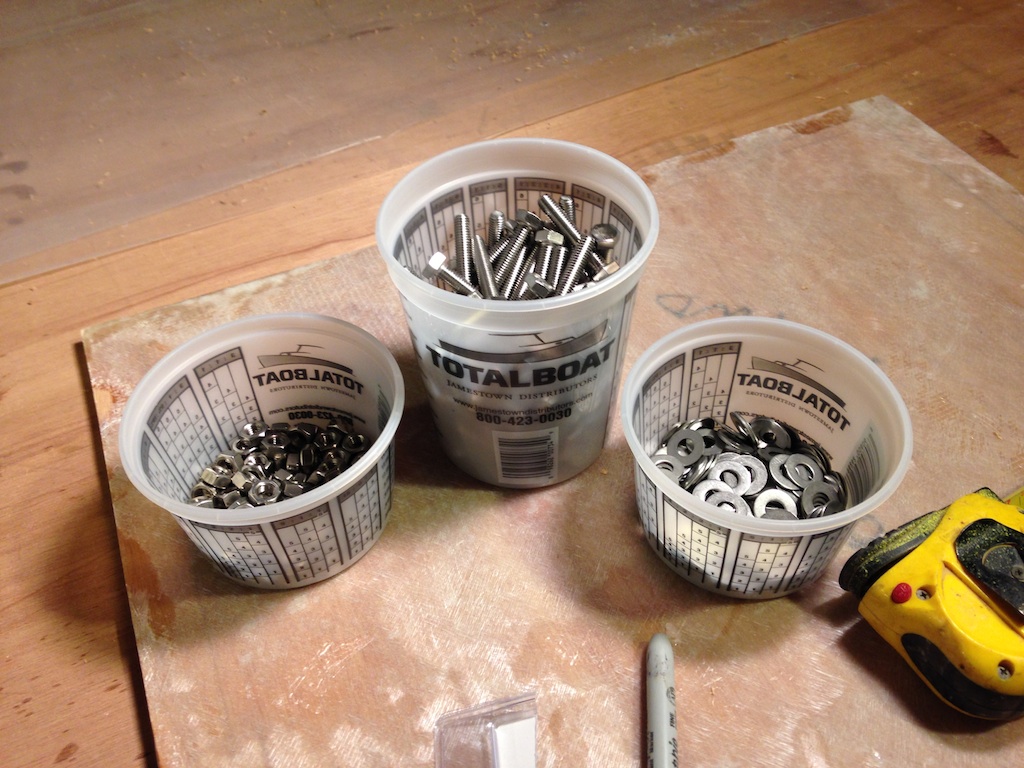
Many fasteners
The fasteners are 8-mm stainless steel hex caps (45 mm in length). The spacing between adjacent fasteners on the old tank lids is 2.0 in. The photo below shows a test, in which scrap plywood sandwiches a scrap of the new gasket material.
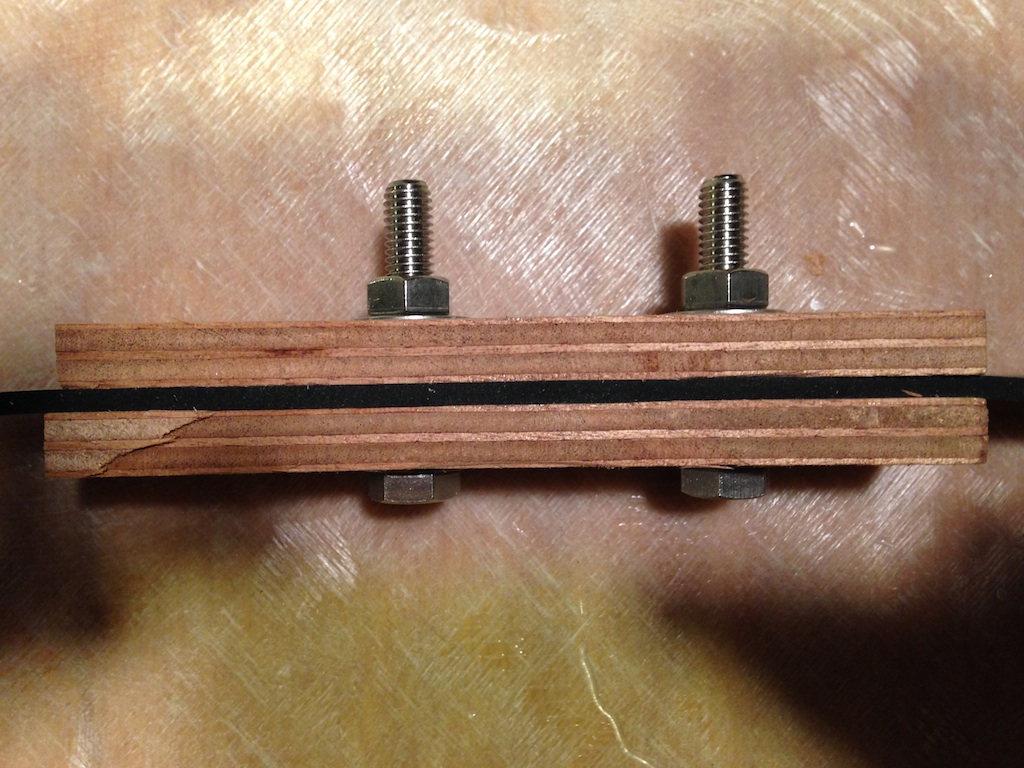
A test
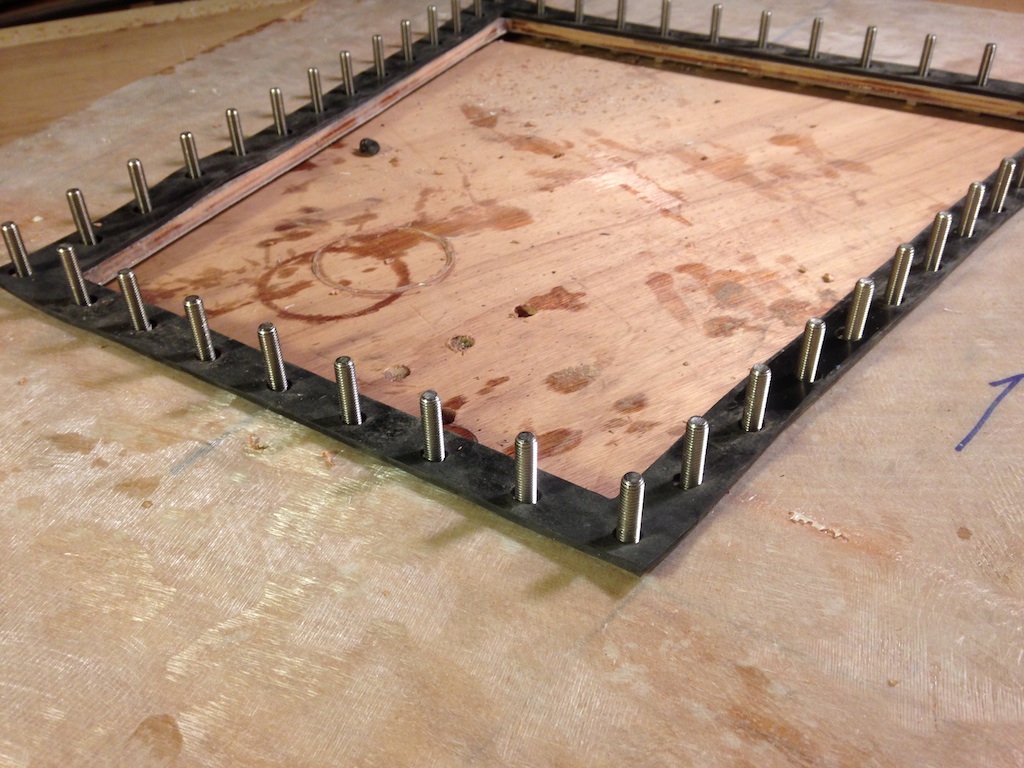
The bolts will come up through the tops of the tanks, from the inside. It is crucial that the bolts don’t turn when the nuts are tightened from above. To prevent this, and to ensure a tight fit, the bolt holes were tapped. First, though, pilot holes were created using the drill press.
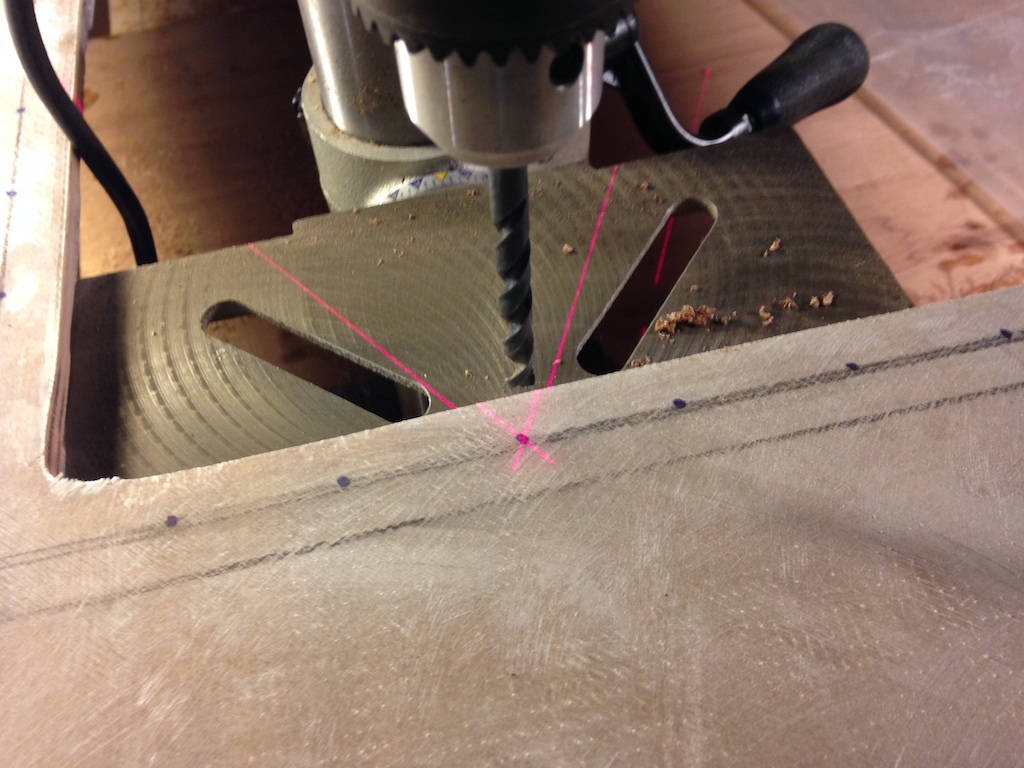
The drill press was used to drill pilot holes for the tap
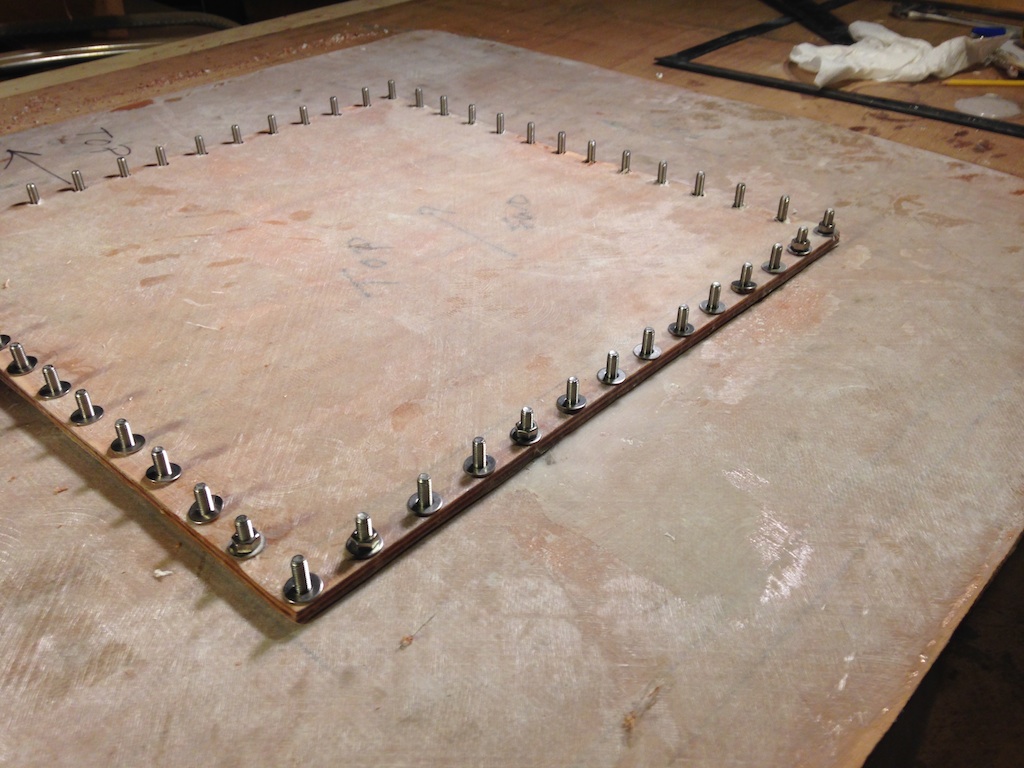
The following photo shows an 8-mm tap bit in the drill. There are 52 fasteners for the forward tank, and here the pilot holes have been tapped, and a few turns have been taken on each bolt.
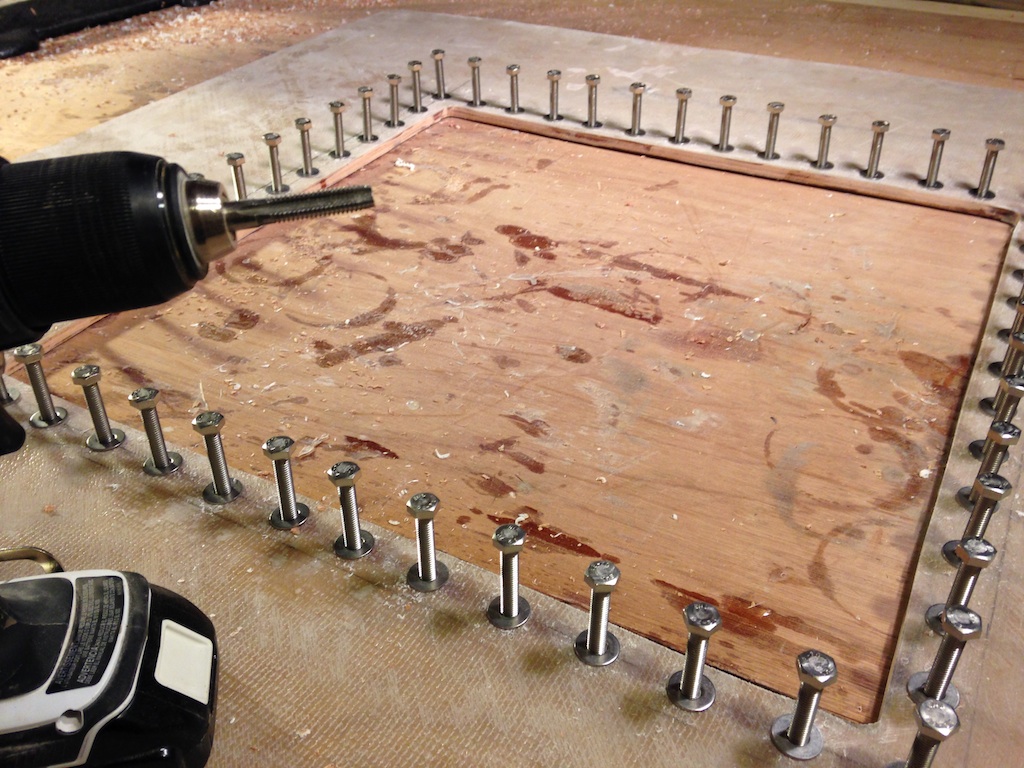
52 holes tapped and bolts inserted

Looking at the bottom of the tank top
The pilot holes in the tank tops were used as a template to mark the lids. The diameter of the holes in the lid were made about 40% larger than the bolt diameter. The following photo shows the forward lid test fitted on the top of the forward tank.
52 bolts, 52 holes
The lids were then used as templates to drill holes in the gaskets.
The gasket on the aft tank top
The aft tank top, with lid and gasket
The underside of the aft tank top
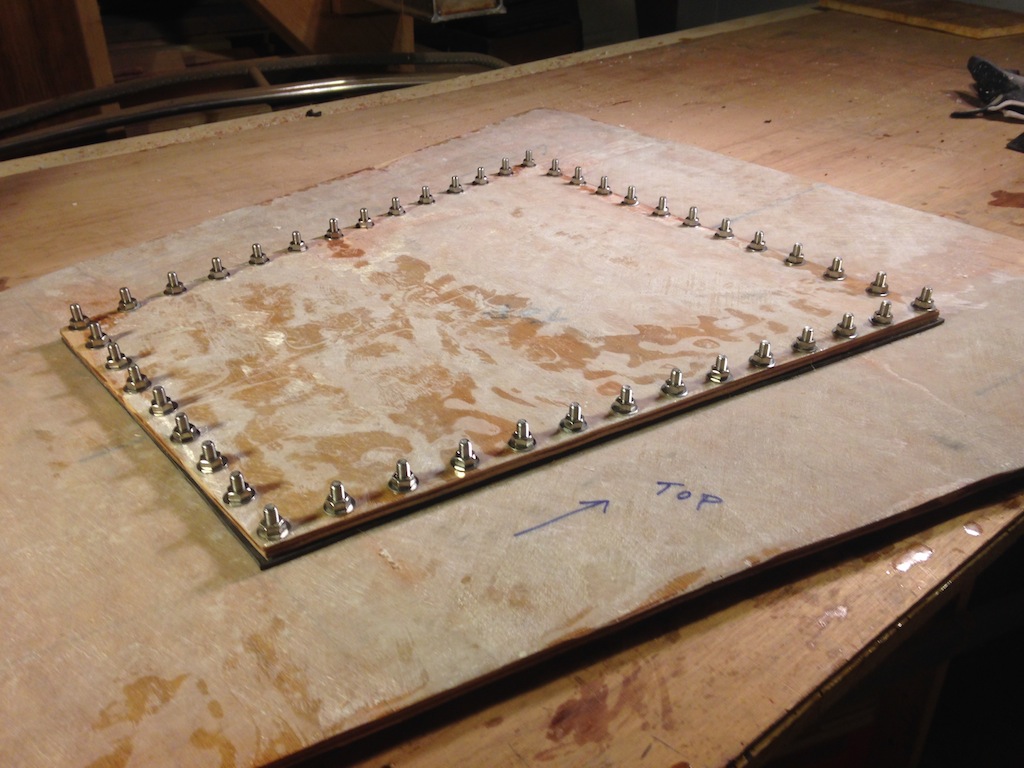
Next, each bolt was backed out about 1/2 inch, and thickened epoxy was applied before tightening the bolts a final time.
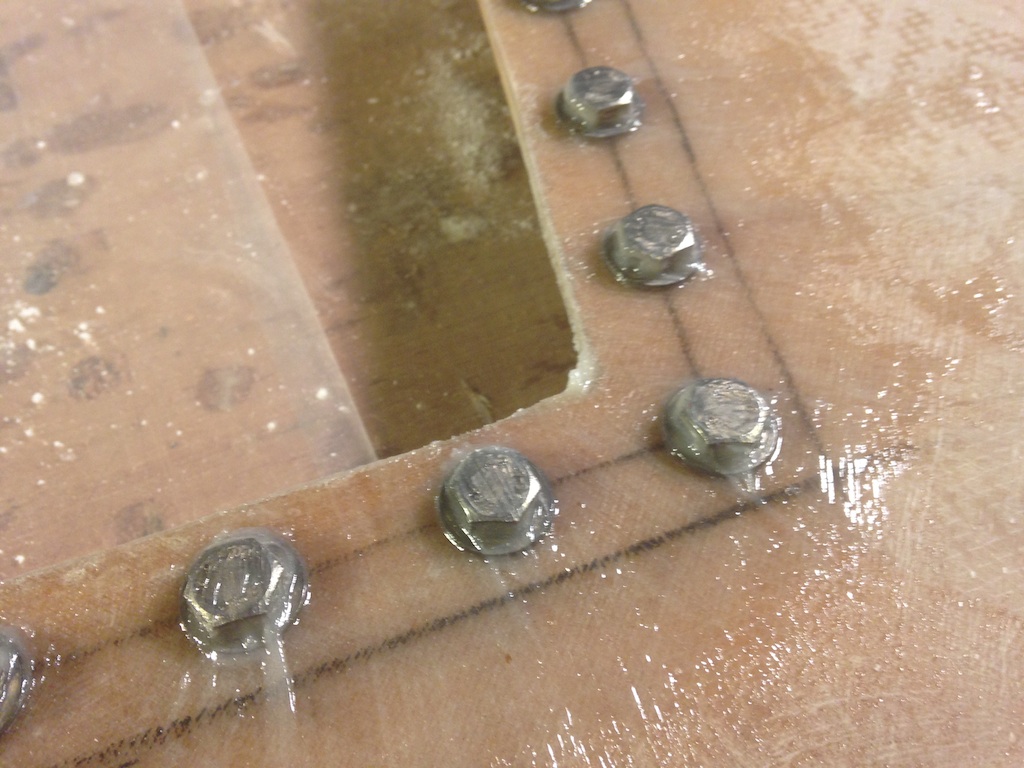
The bolts bedded in thickened epoxy
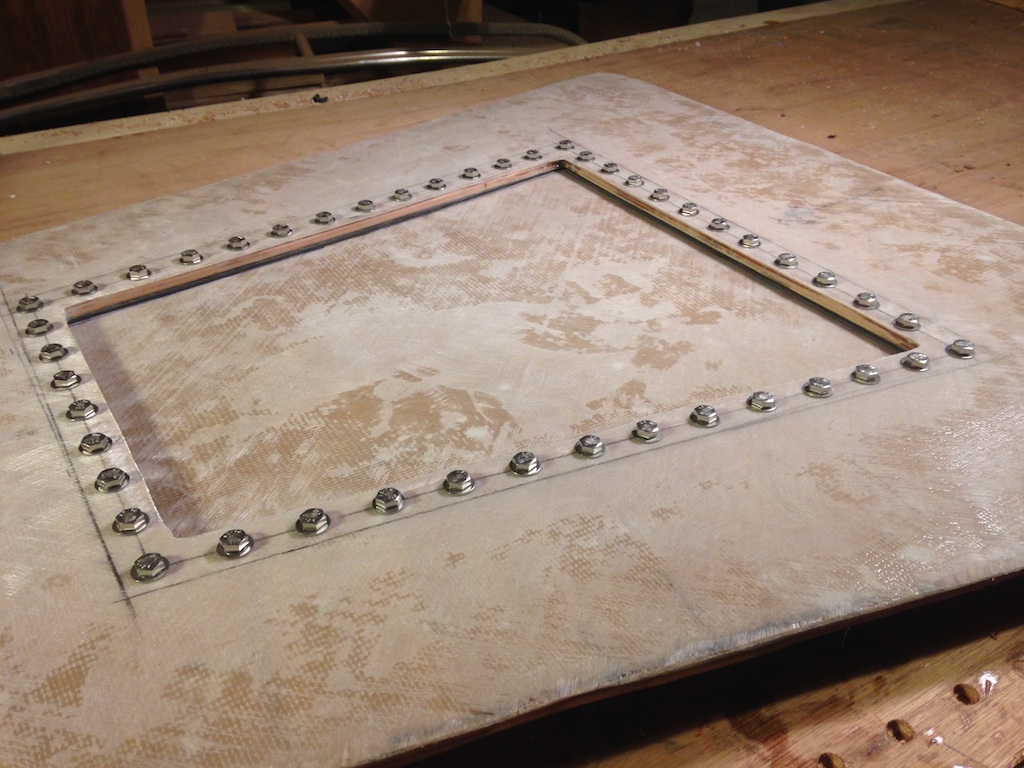
Next, the bottom sides of the tank tops and lids were coated with epoxy with white pigment.
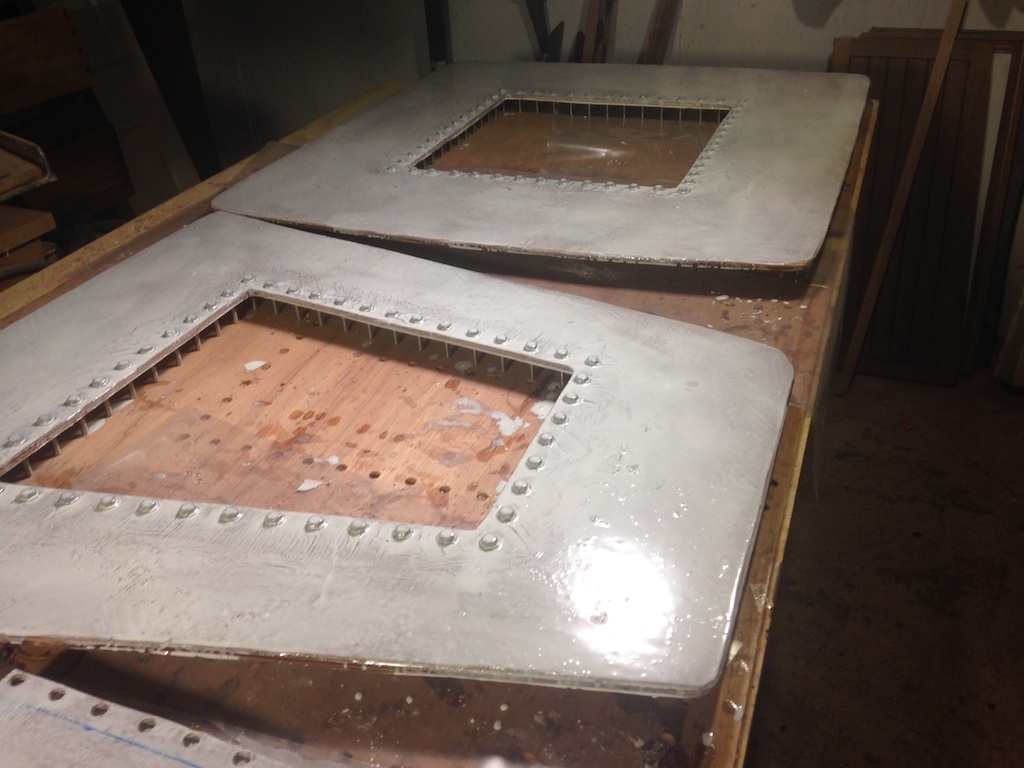
Coated with white epoxy
After this epoxy had dried, the tops were moved into the boat and put in place. The primary fastening of the tops will be fiberglass tabbing along the perimeter of the outside of the tops. There is a small gap, however, between the perimeter and the hull and bulkheads. Filling this gap will seal the perimeter of the top and will provide a foundation on which to build an epoxy fillet and then tabbing. The following diagram shows a cross section of the proposed layup.
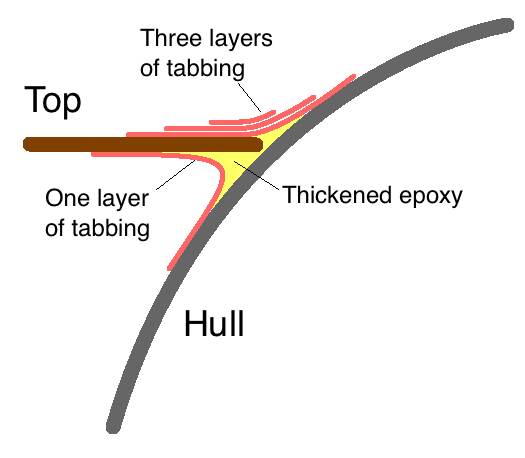
The proposed layup
A single layer of tabbing has been applied to the inside of the tank. The following photo shows the forward, starboard, top corner of the aft tank.
Taken from inside the aft tank
The following photo shows the tanks with the tops after tabbing had been applied to the inside.
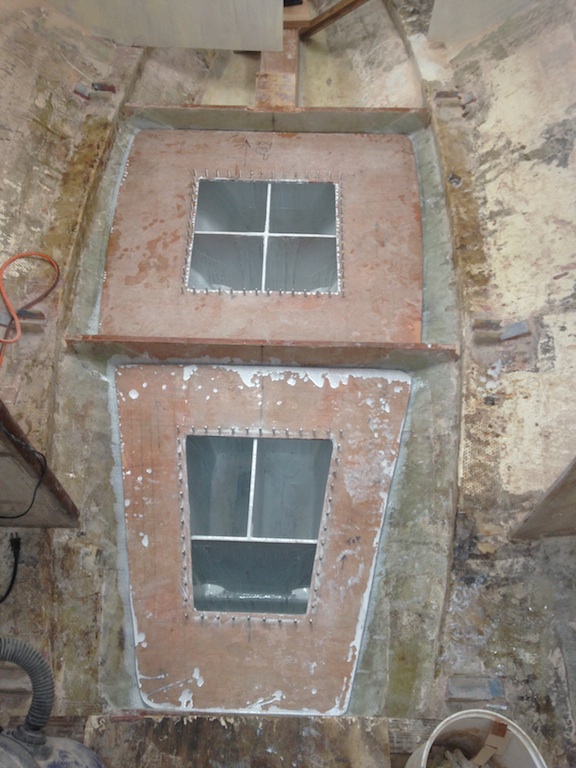
Tabbed from the inside and ready for next steps
The next steps are as follows:
- Fill the void created by the inner tabbing with thickened epoxy
- Create a fillet of thickened epoxy around the perimeter of each tank top
- Apply three layers of tabbing around the perimeter of each tank top
Eventually, a vent connection will be installed in each tank and then the tanks can be filled with water and pressure tested.