12/6/18: Odds And Ends, Head Cabinetry
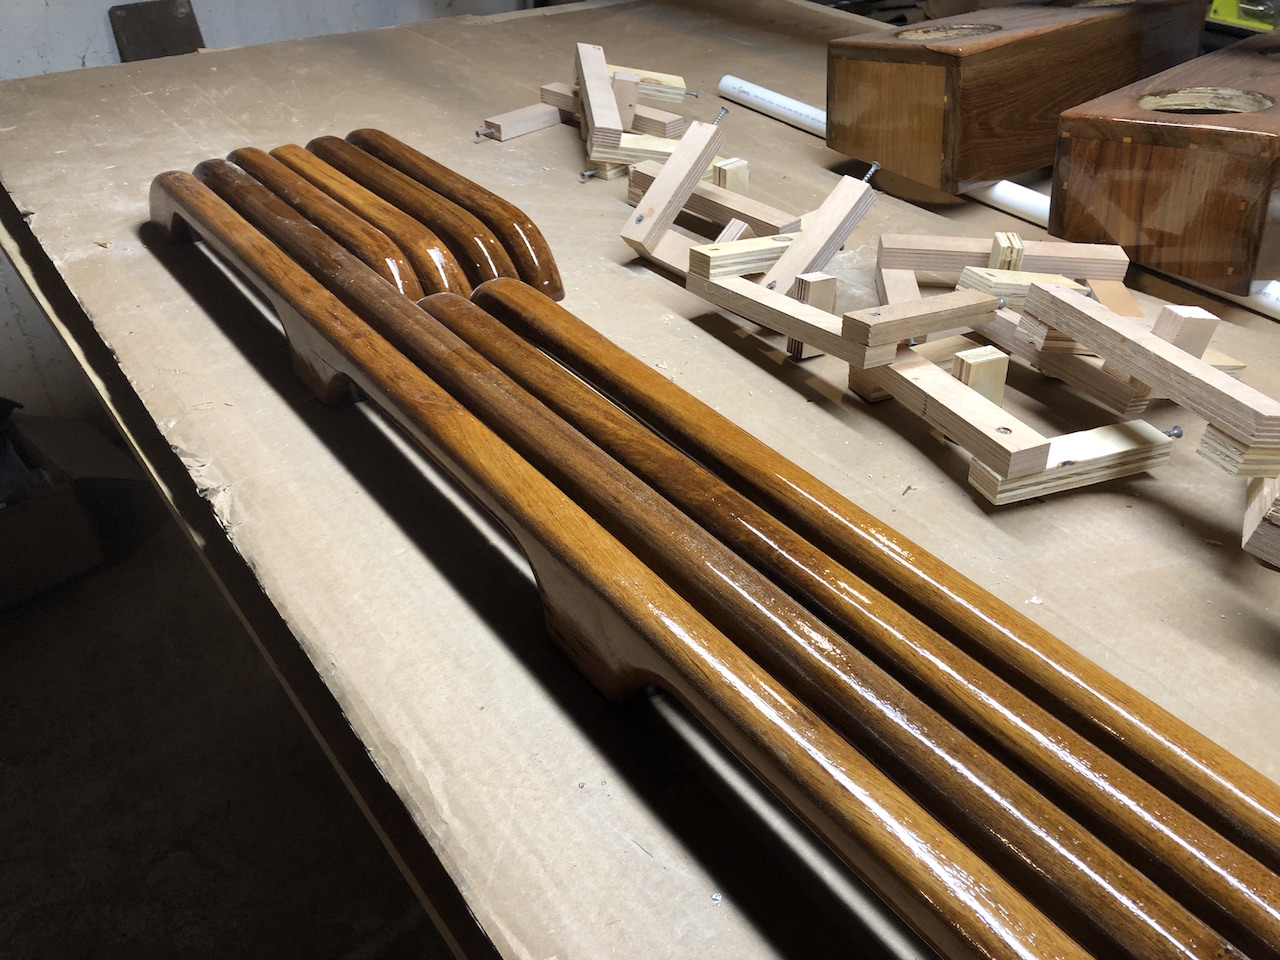
Further varnishing of handrails and dorade boxes is on hold until Spring. The final coats should be near-perfect, and the workshop is too dusty an environment. I’ll apply the finish coats outdoors.
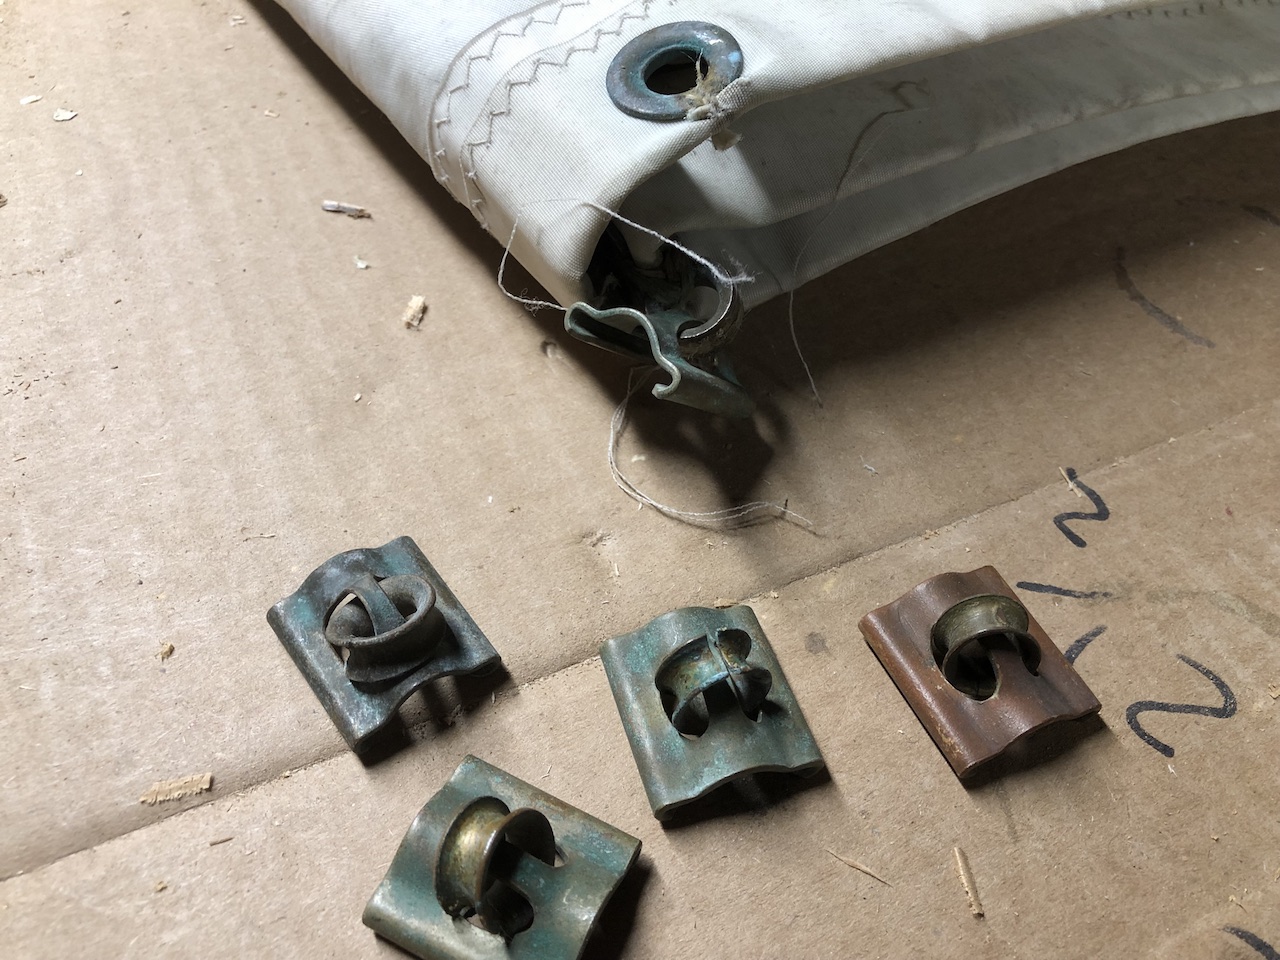
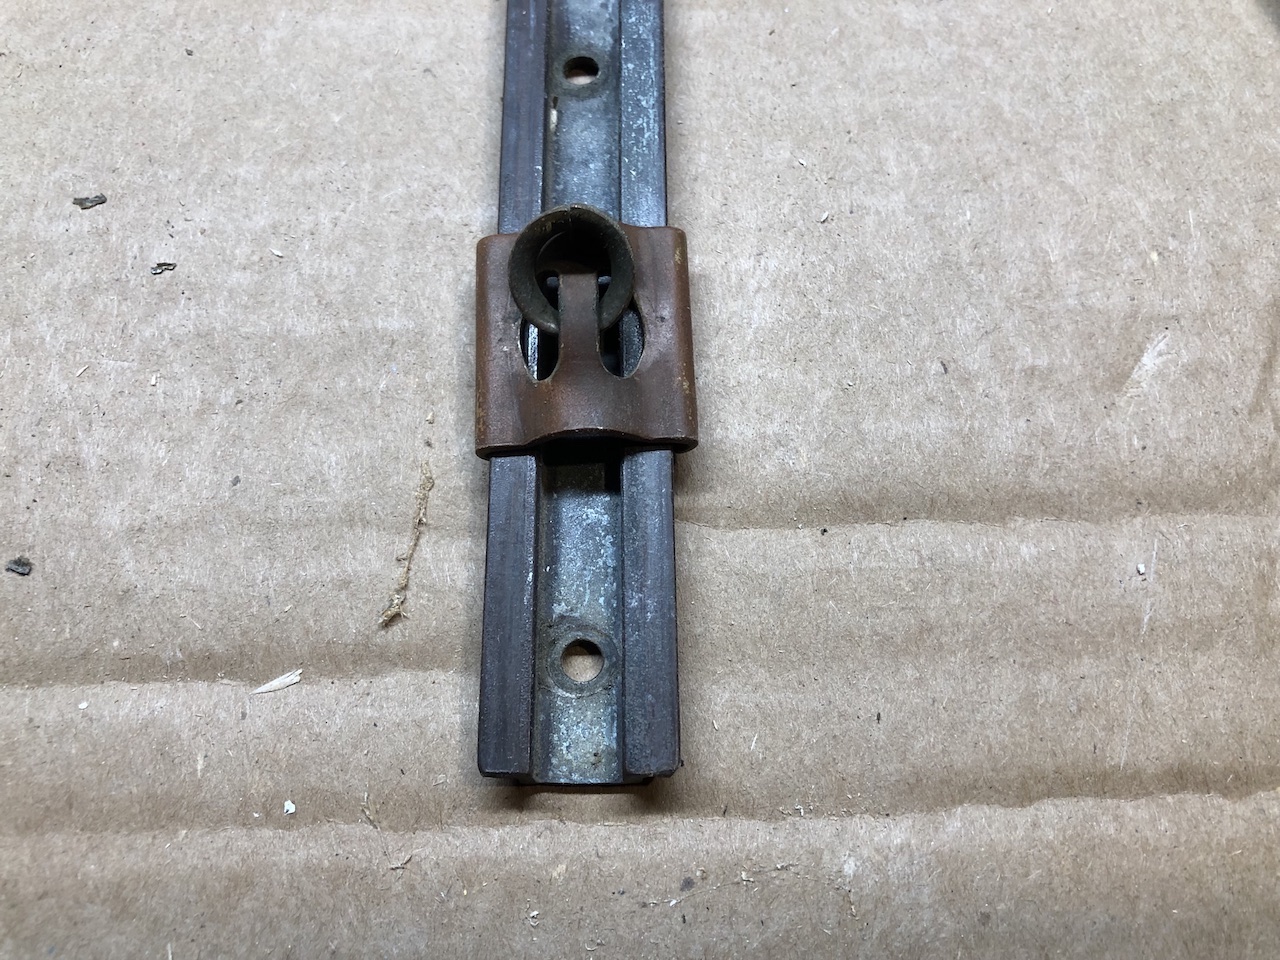
A clear workbench gave me room to take the bronze slides off of one of my old mainsails. I’ve order a new set of North sails, which will consist of a mizzen main, a mainsail, and a hank-on 130% genoa. One day I might convert to a roller-furling genoa system. Because I have double headstays, however, doing so will require making adjustments to the mast-hear fitting, which I’d rather not get into now.

With winter nearby, I need to focus on work that can be done in the basement workshop. With the workbench clear again, I looked over a piece of the original cabinetry. The piece show below was (I think) from the forward cabin, starboard side. Like much of the cabinetry, this face-frame consists of a series of horizontal and vertical teak rails, in which the horizontal rails contain grooves to accept sliding doors.

In the image below is one of the original sliding doors (this one does not go with the frame above). The trim is solid teak, and the panel is teak-faced plywood. The louvers provide ventilation, but less than I would like.
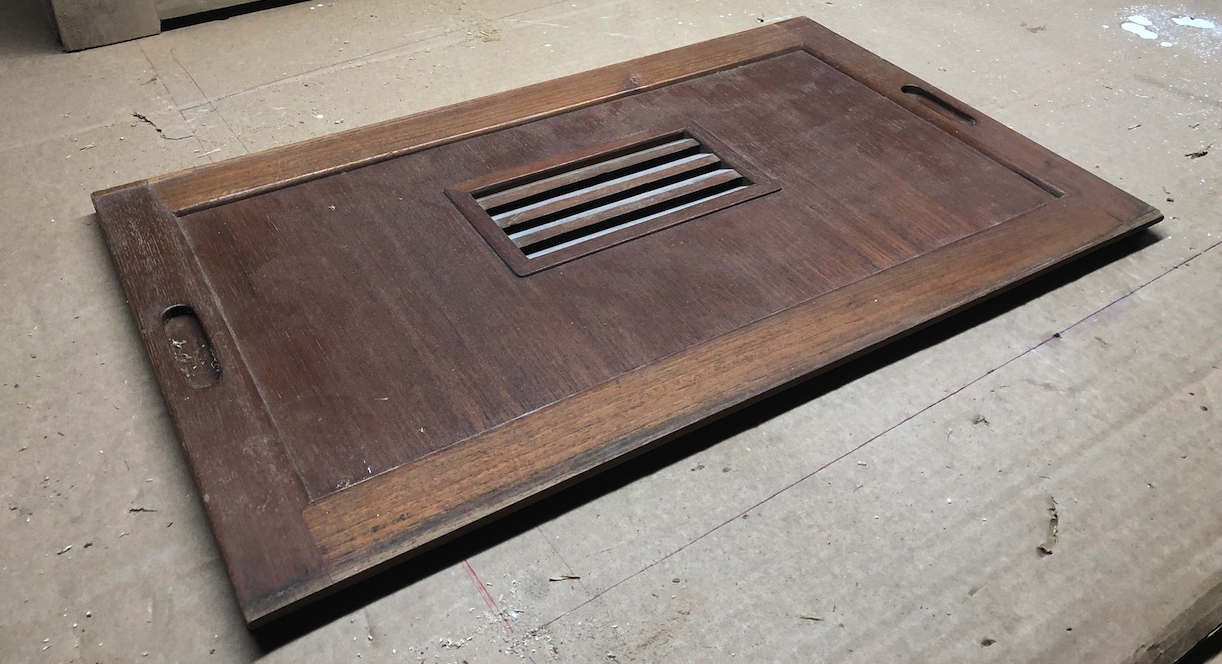
Adequate ventilation is very is a deterrent to many bad things. Good Old Boat author Don Casey wrote THE FOLLOWING:
When I walk the docks on a weekday, I see far too many closed-up boats without any signs of ventilation. If yours is one of them, you should know that stagnant air in the cabin is not doing your boat any good. Because hotter air can hold more moisture, the air inside a sealed boat on a summer day will be about three times as wet as the air outside–air that in the summertime at the shoreline is likely plenty humid to begin with. This steamy air permeates everything inside the cabin, fostering rot, corrosion, and mildew that are damaging to boat, gear, and locker contents. Moisture trapped inside the boat even contributes to saturation of the fiberglass–the cause of hull blisters.
Needless to say, I am interested in better ventilation than that provided by the original dainty louvers.
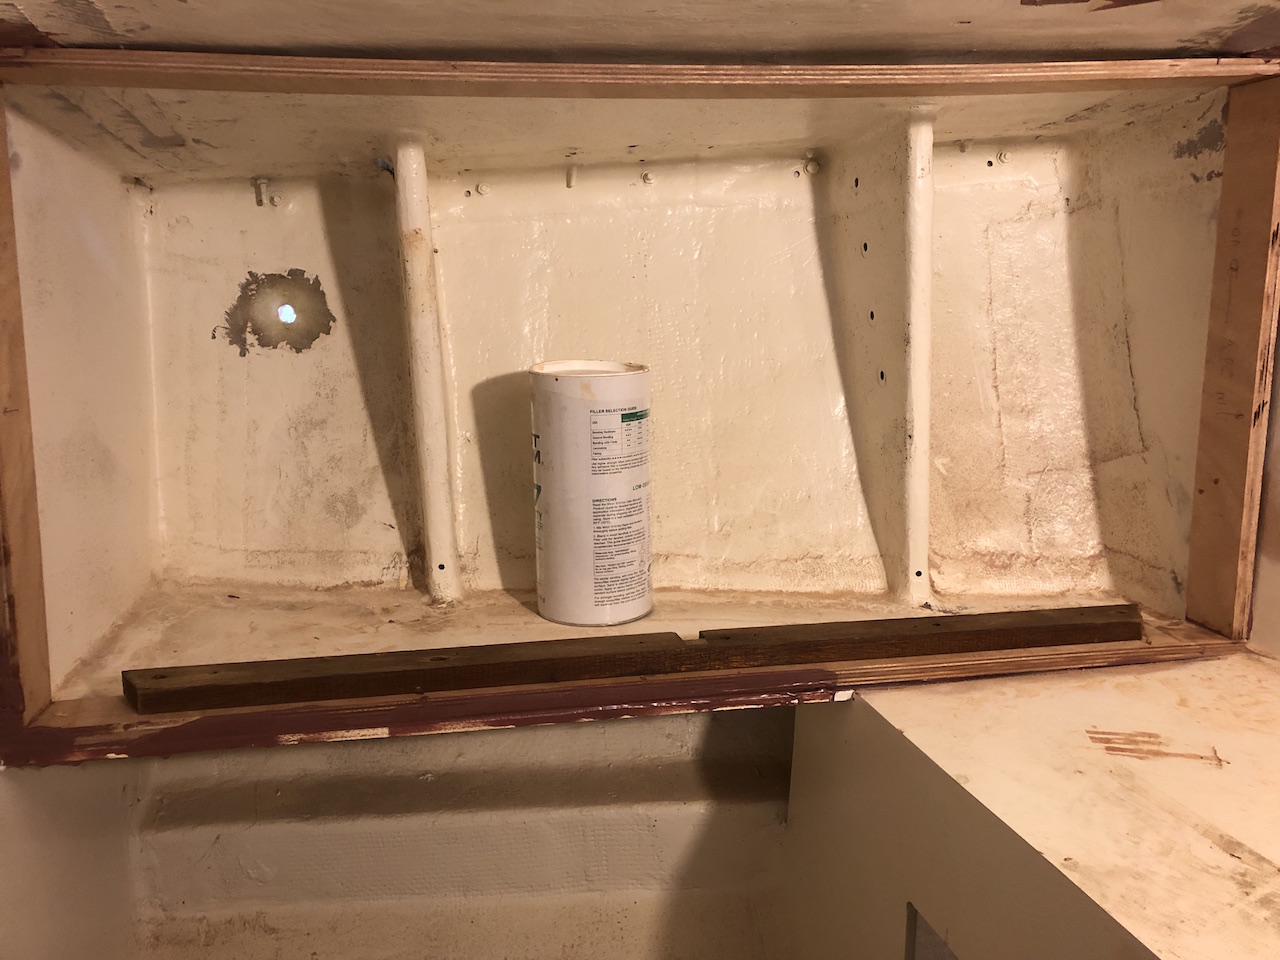
My cabinetry work begins in the head compartment, where on the port side I will have sliding doors that will open to storage shelves In this case I decided to frame the area in 3-inch wide stripes of 1/2-inch marine plywood (eventually cleaned up, and painted white). The bottom piece will provide a barrier to water that might spill onto the counter. The side pieces are helpful because the bulkheads are not flat up high, where the tabbing to the hull extends down. The top piece is least important, but in this case the deck was a bit uneven. Stay tuned for more details on this.
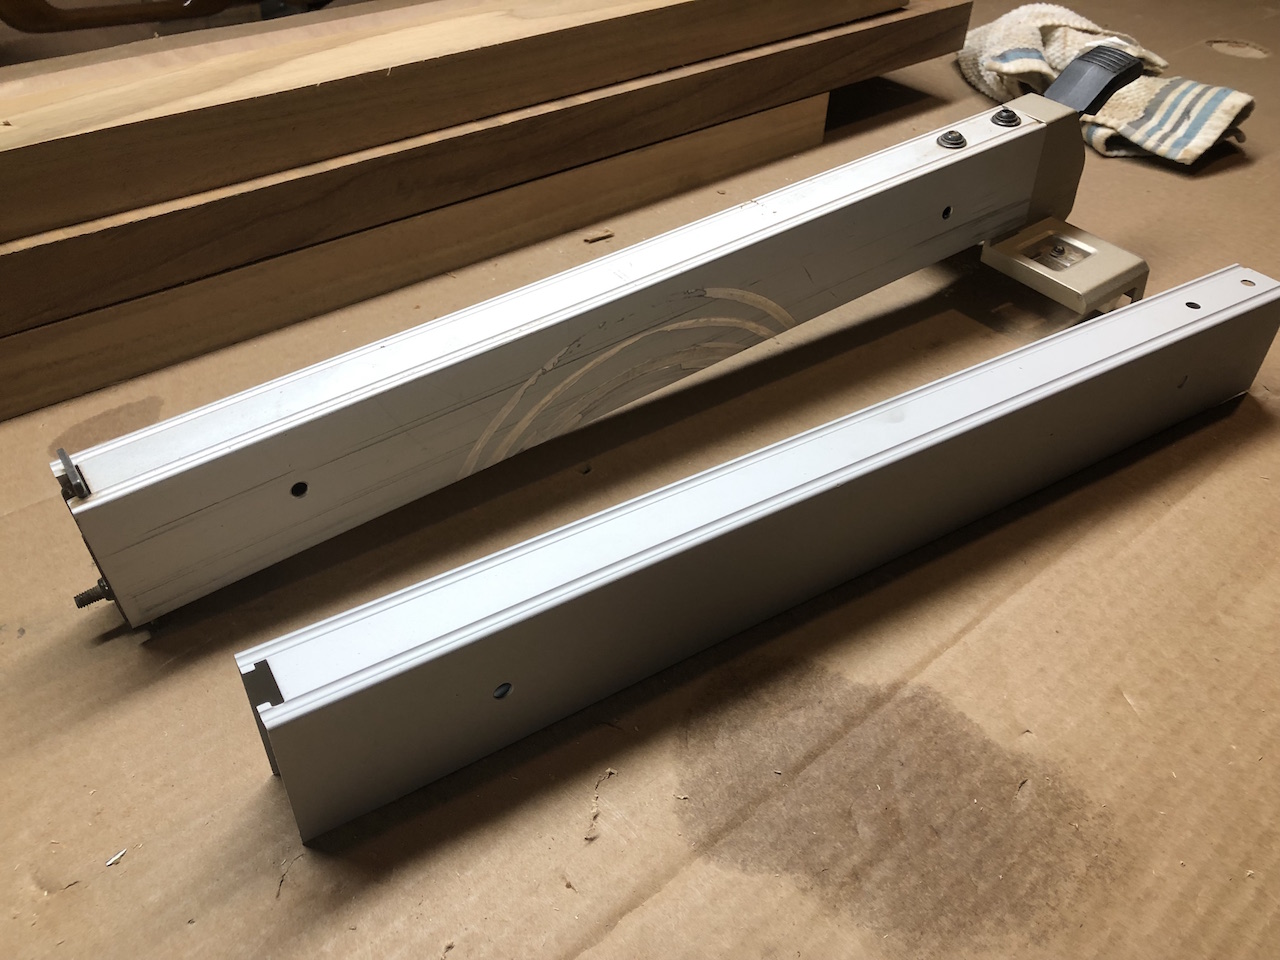
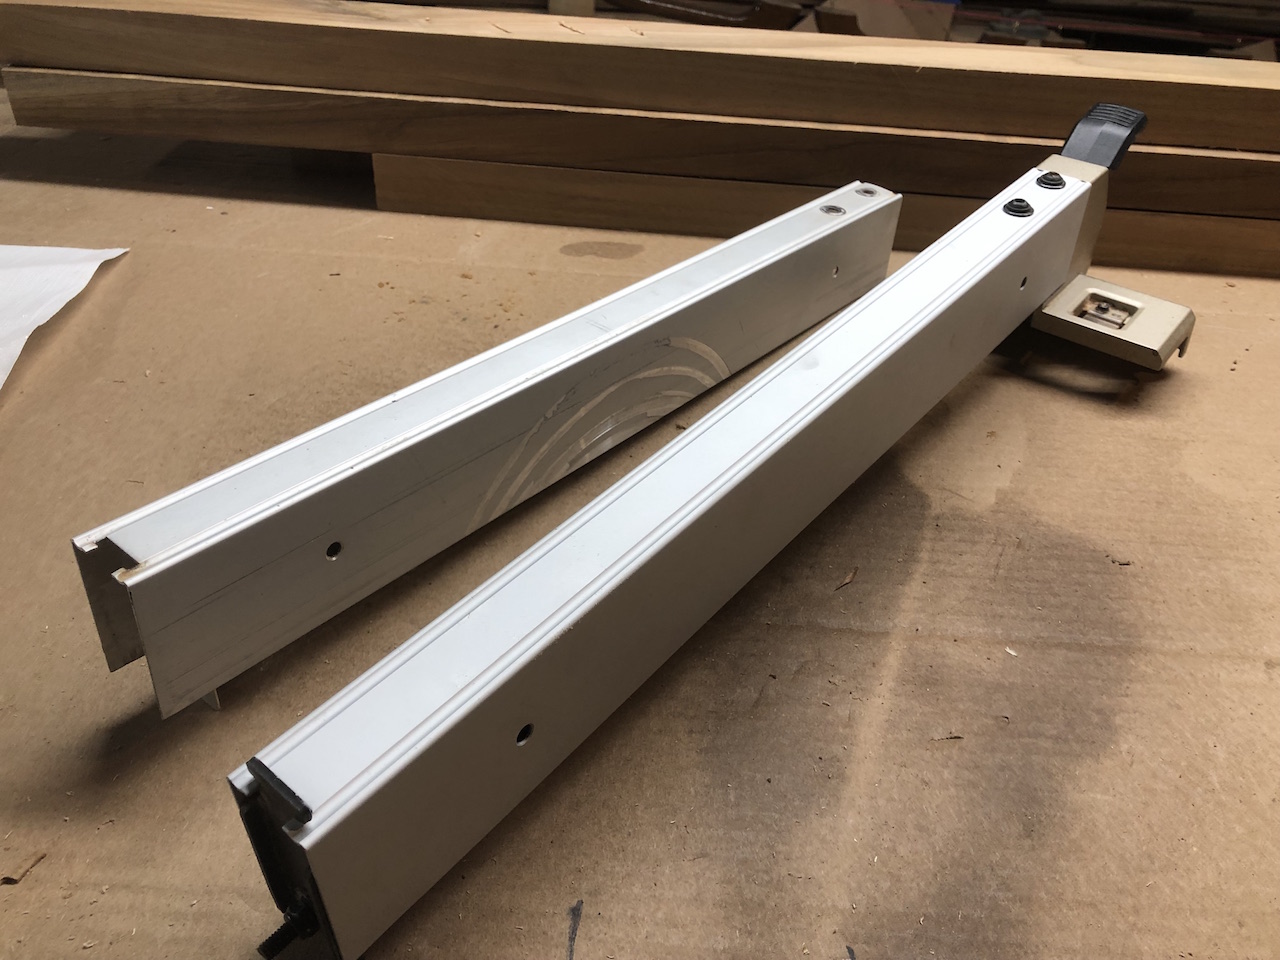
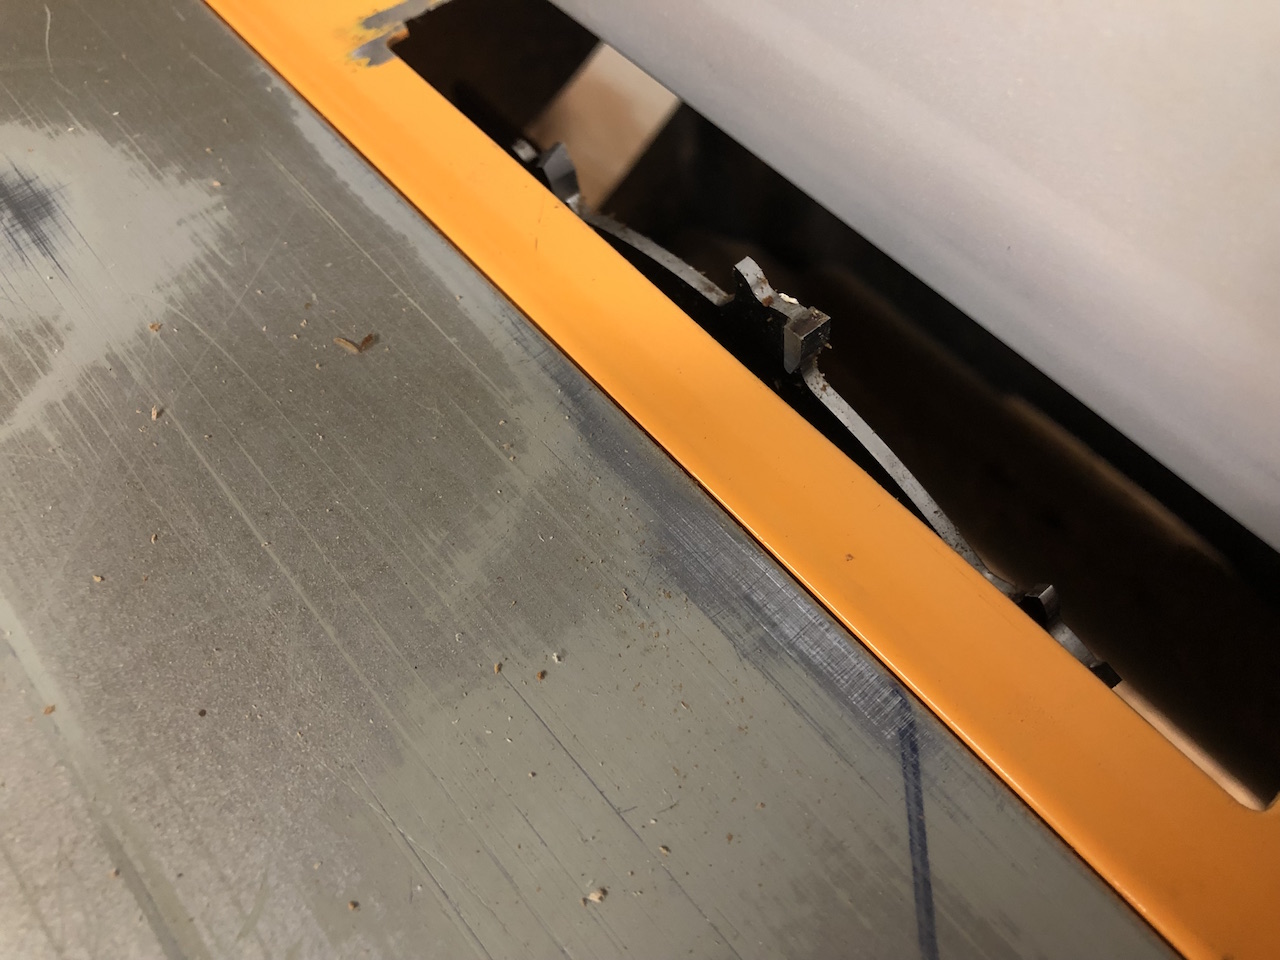
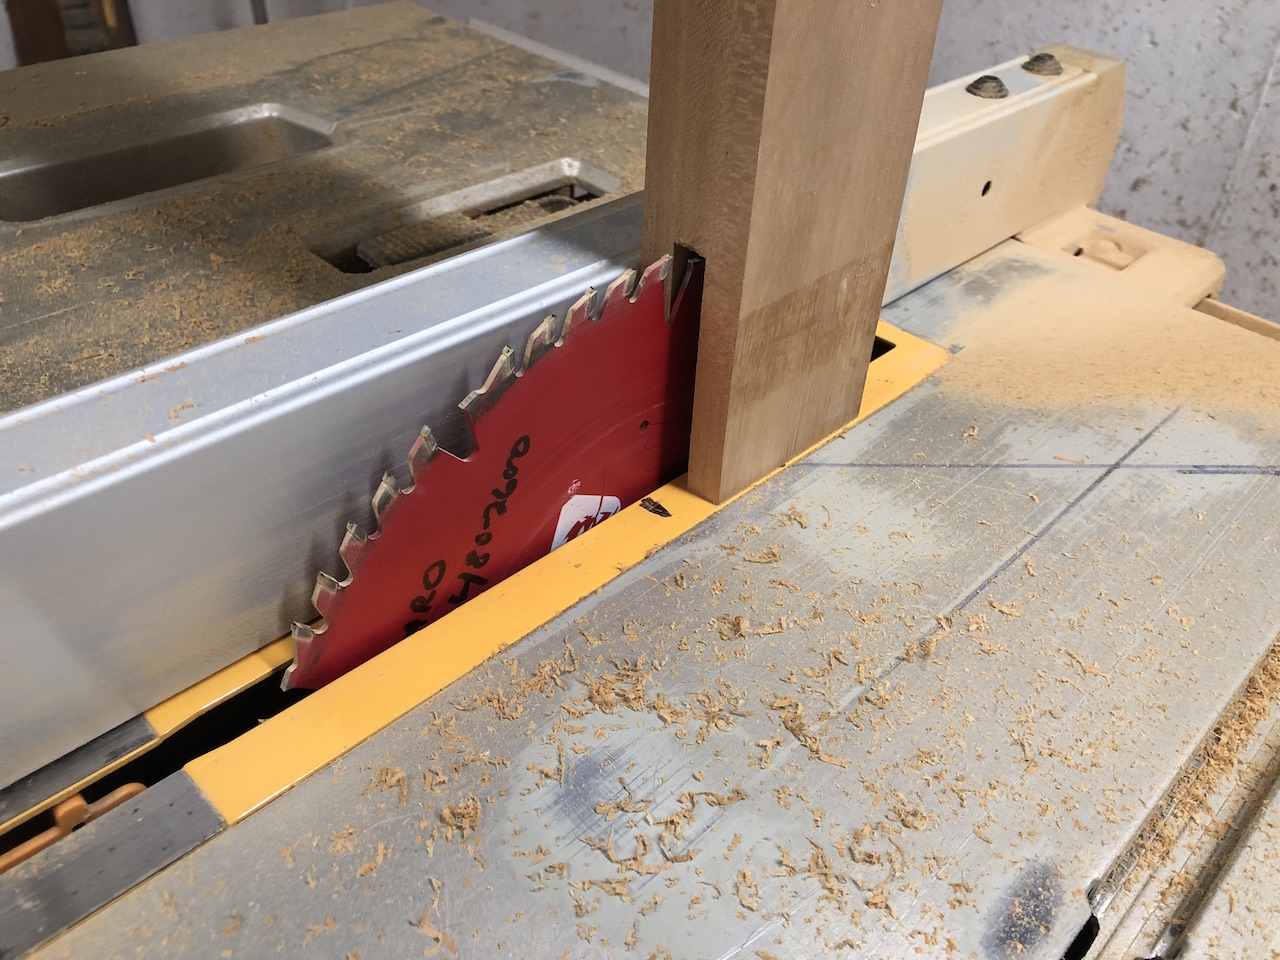
Meanwhile, after taking some careful measurements, I began making the parts of the face frame. I began by replacing the aluminum rail on the table saw fence. You can see in the photo below that I’ve let blades gouge the aluminum. With the cabinetry work, I’ll want sharp blades and an even fence.

Next, I cleaned up the dado set with WD-40. (The following day I purchased a second dado set so I could have one set sharpened while retaining use of the other.)

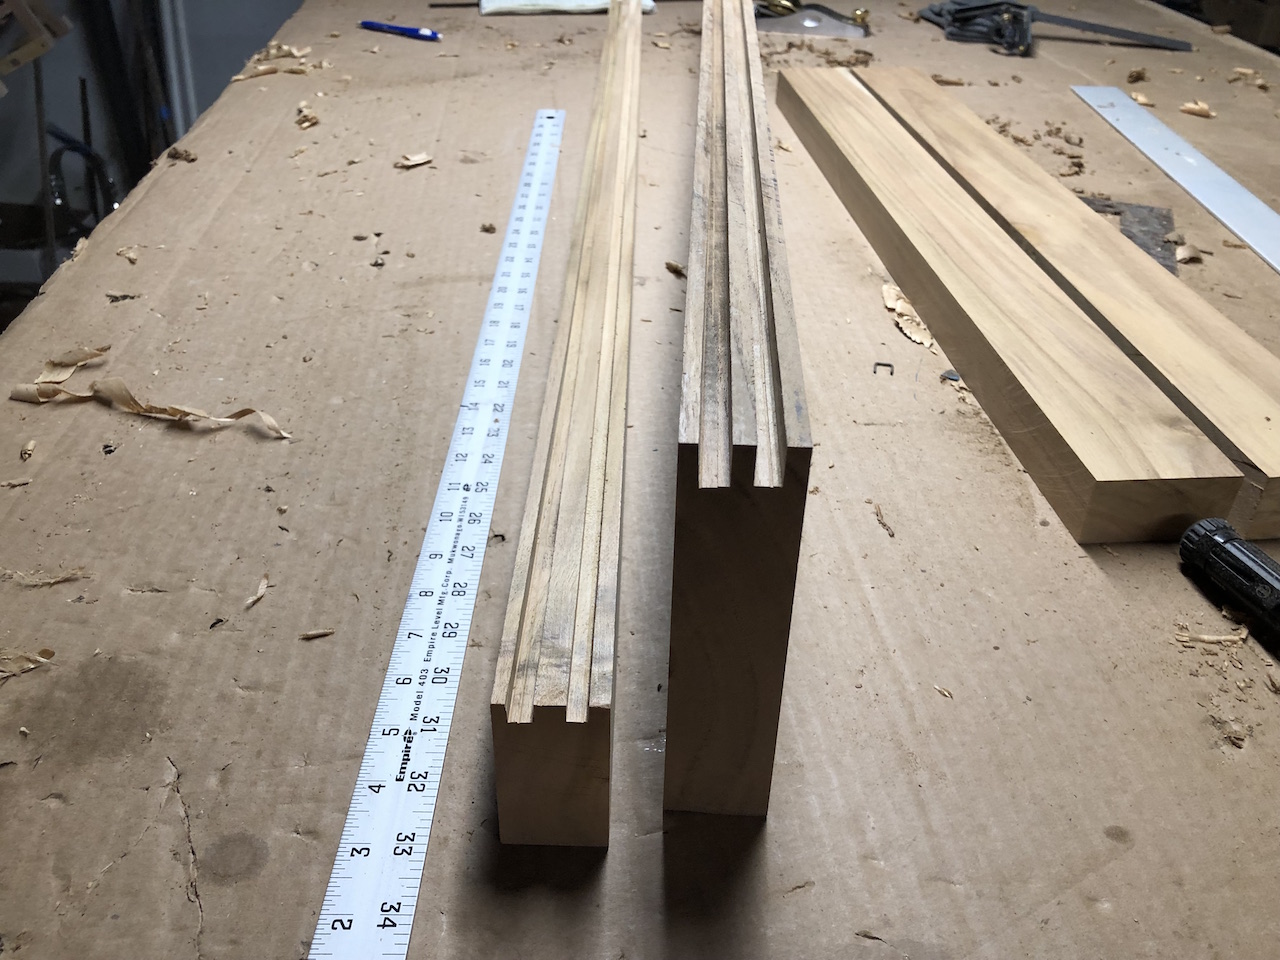
Even a single dado blade is much thicker than a standard saw blade, and I used one to cut the grooves in the horizontal pieces. This required many small adjustments to the fence position and the blade height–such “sneaking up on it” is standard procedure in so many tasks.
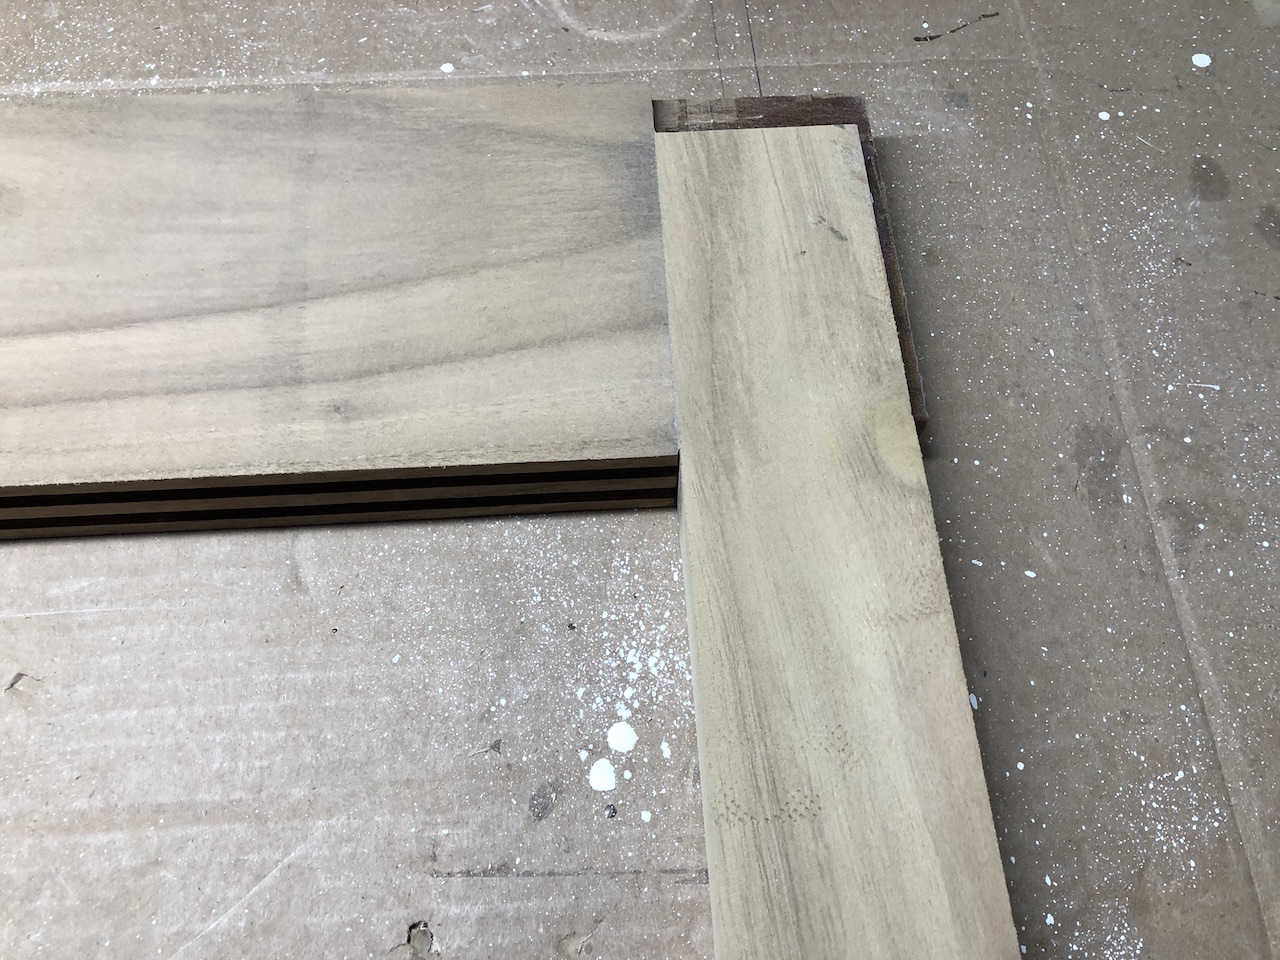
In the photo below, the upper rail is on the right. Note the grooves are deeper, which is necessary. The sliding doors will be able to be removed by lifting them up, so that the bottom side lifts out of the groove in the bottom rail.
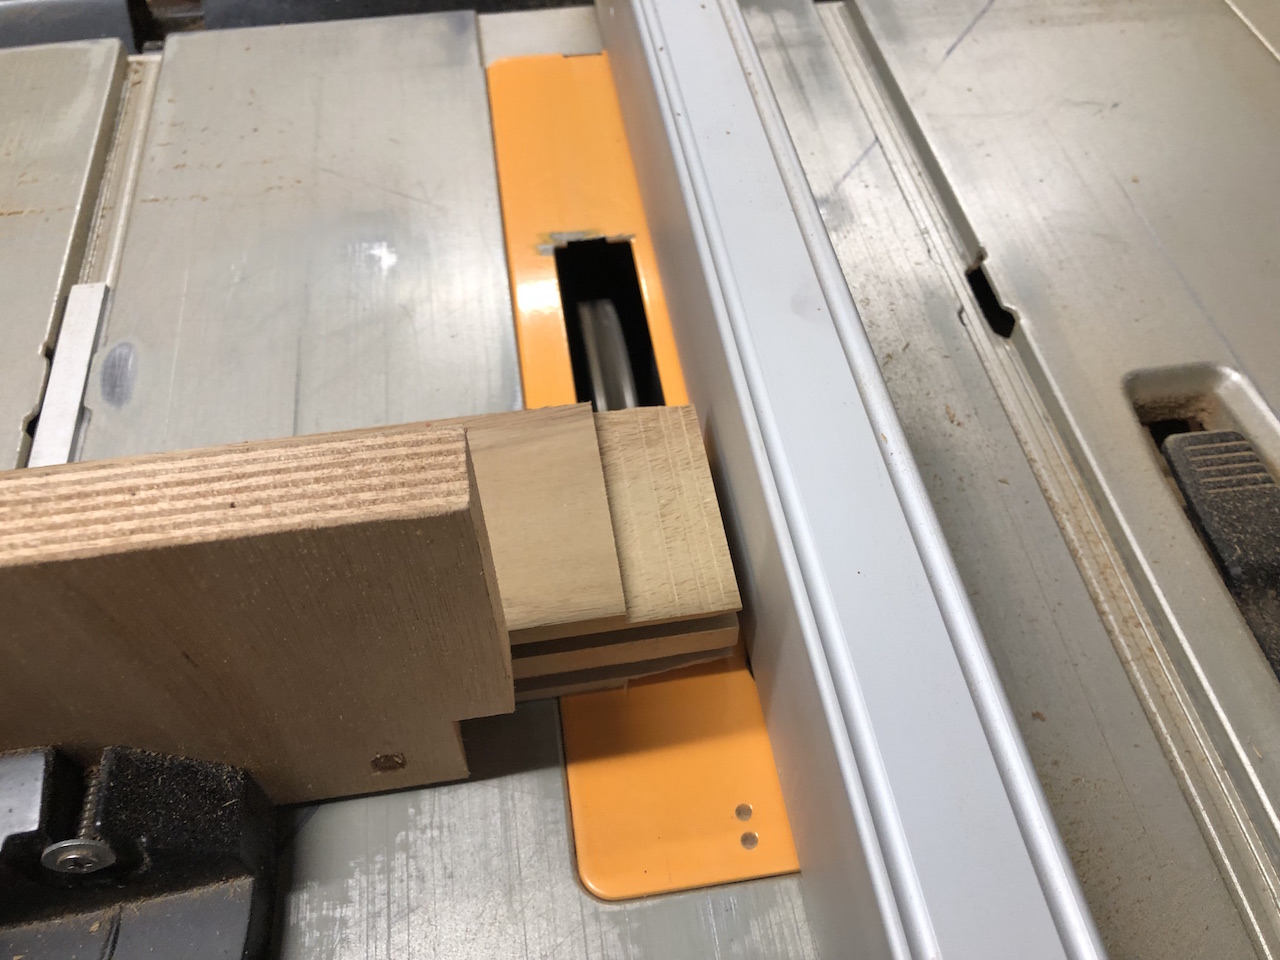
Normally I would consider half-lap joints to join the horizontal and vertical pieces, but the grooves complicate that consideration. So-called bridle joints (also known as slot mortise and tenon joints) will be a better solution. I cut the tenons at the ends of the horizontal pieces using the dado set (this time with a few more stacked blades).
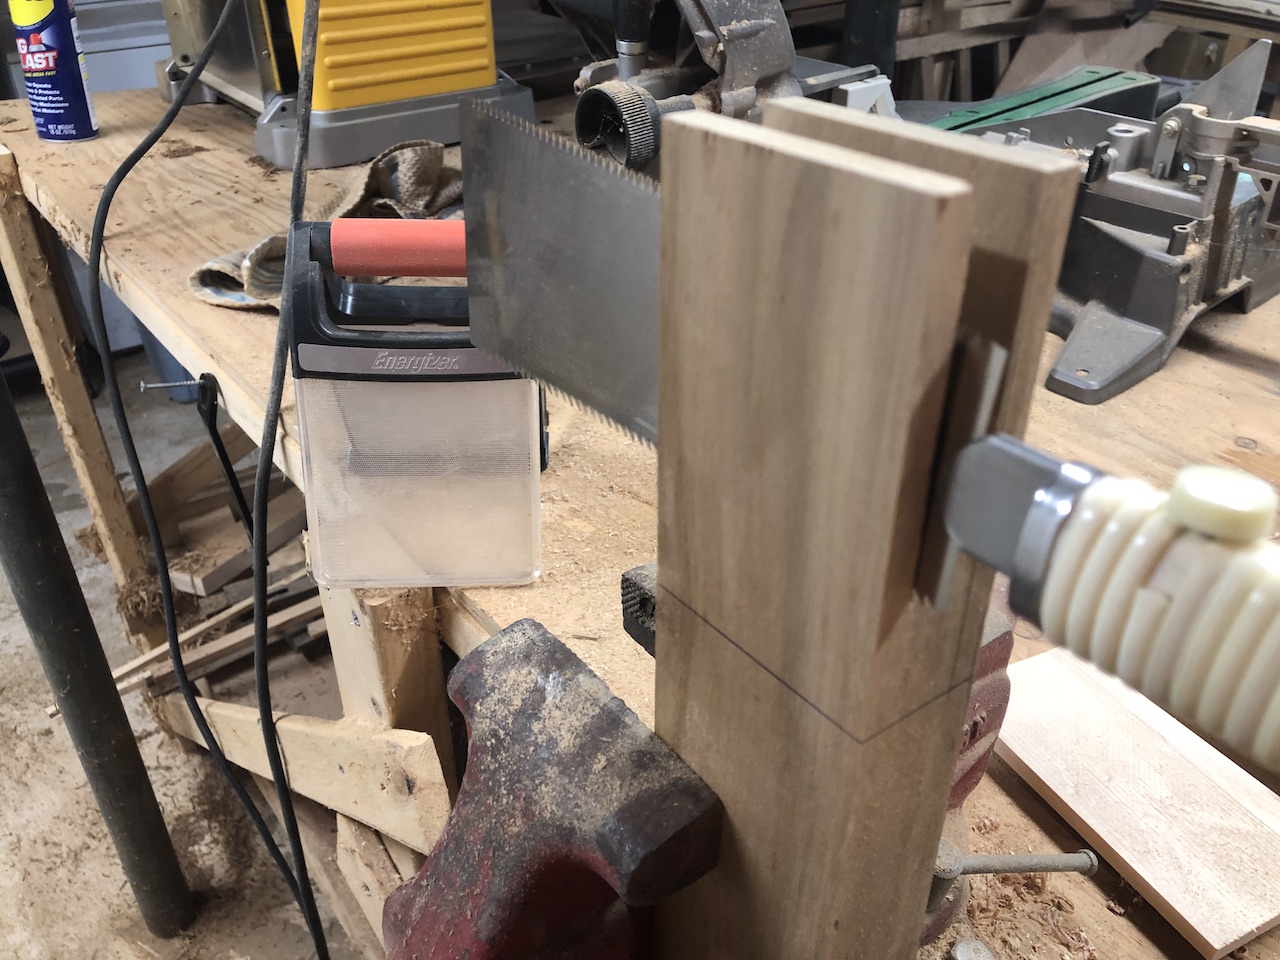
I cut the mortises at the ends of the vertical pieces. Here I am aligning to mark the boundary of the mortise on a vertical piece. The pieces are laying on a 1×2 ft piece of granite tile. I learned that these tiles, which cost just a few dollars, have an extremely flat, smooth surface. In this application, I’m able to use the tile to ensure the rails are in the same plane, both here for marking, and later for gluing up.
The dado set are 8-inch blades, and I switched to a standard 10-inch blade for the additional height.
The upper side of the top rail has to slope to match the curvature of the deck, so the joints on either end have different depths. The deeper joint was too deep for the saw blade, so I used my Japanese saw to cut the rest of the way, then additional sawing and chiseling was required to clean out the waste.
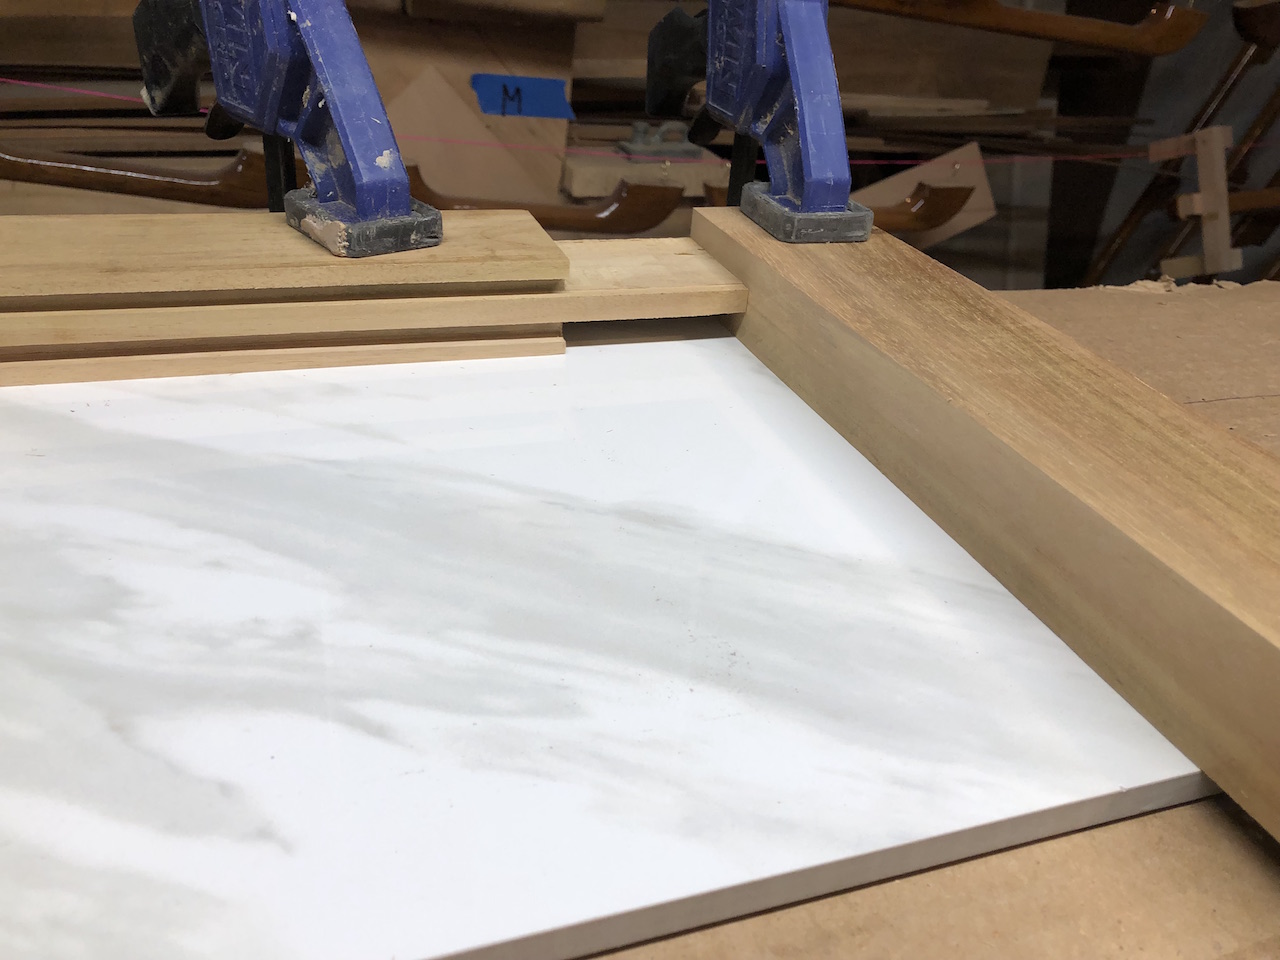
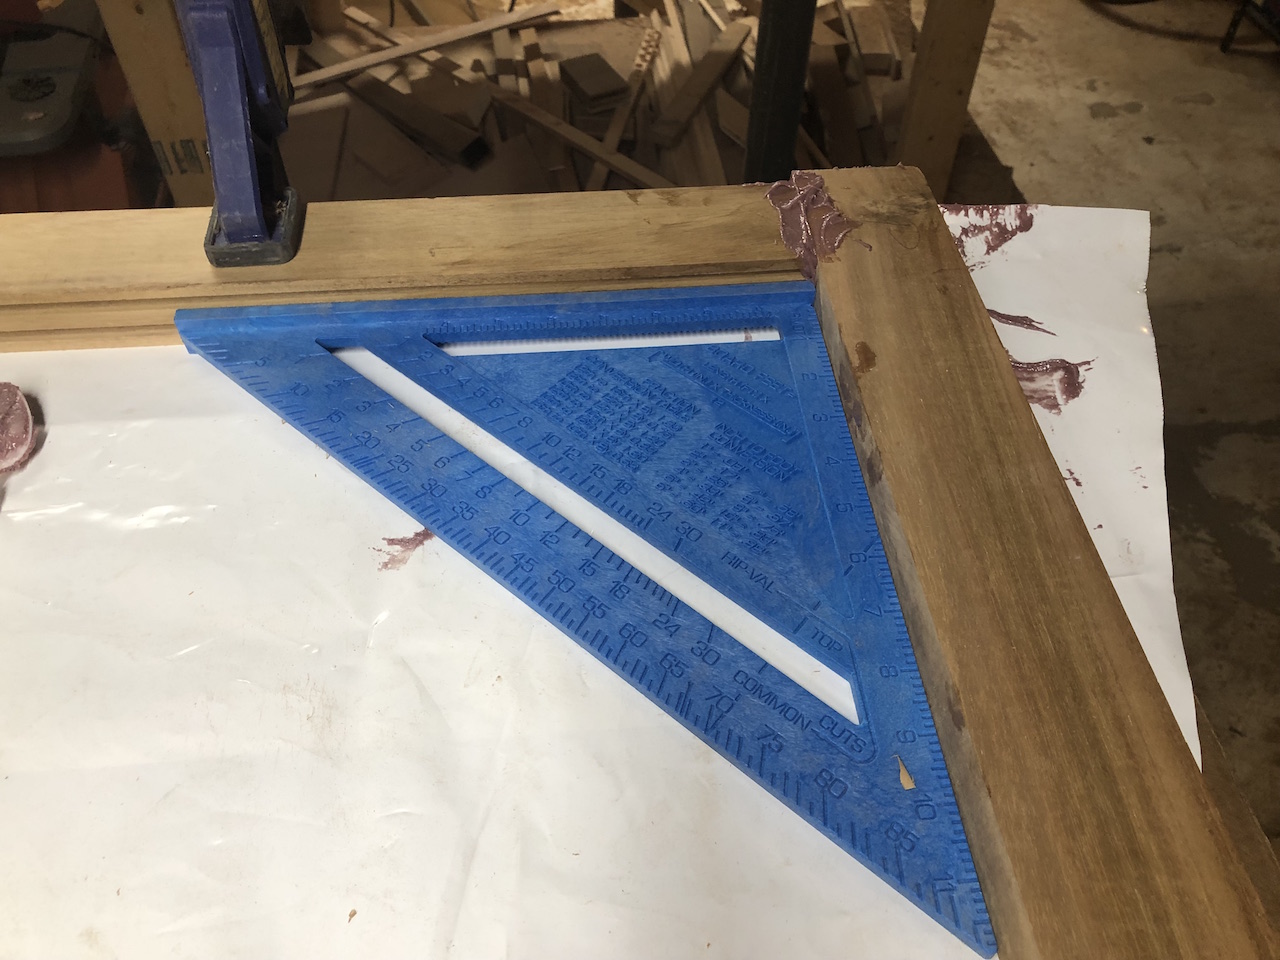
Here I’m gluing up the bottom rail with one of the vertical rails, making sure they are perfectly square. Once clamped, I cleaned up the square, but also the grooves. Dried epoxy in the grooves would be a job to remove.
In two sessions I was able to glue up the bottom rail to the vertical rails. Now there is no need for the granite tile, and I glued up the top rail all at once.
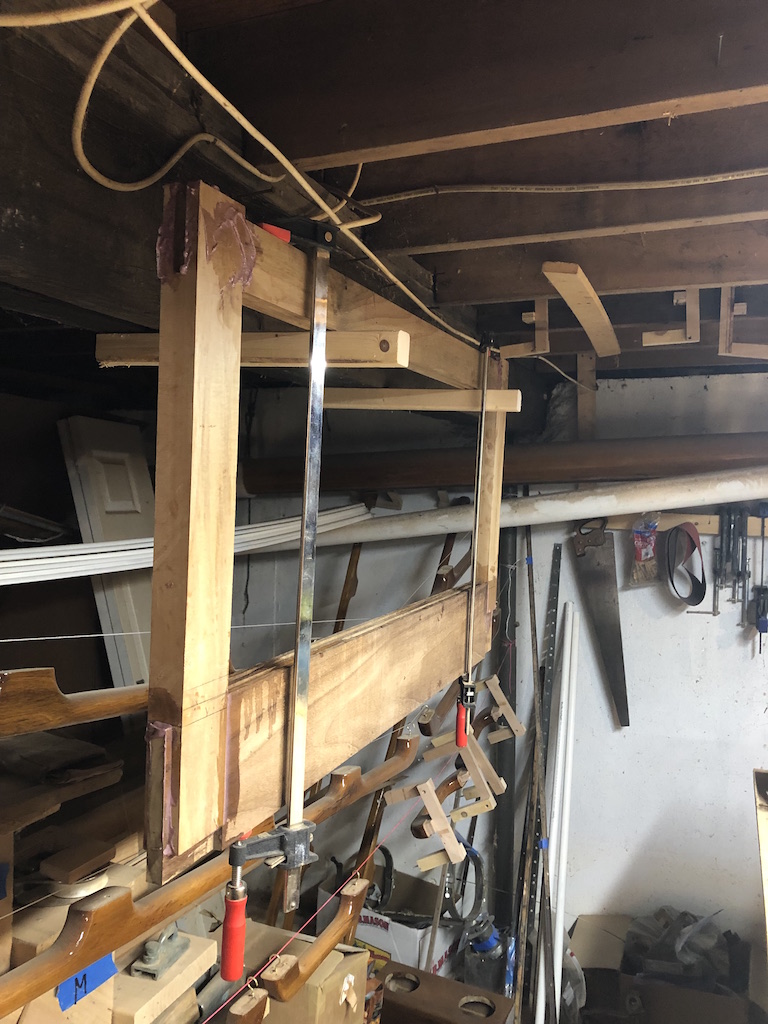
After 24 hours, I removed the clamps, and some sanding revealed good tight joints.
I considered my first try at the sliding doors as a possible experiment. I started with 3/8-inch marine ply. In this case, the piece had no straight edges. (I’ve shown previously methods for getting straight edges where there are none.)

I cut two identical rectangular pieces, and cut rabbets so the doors will be accepted by the grooves.

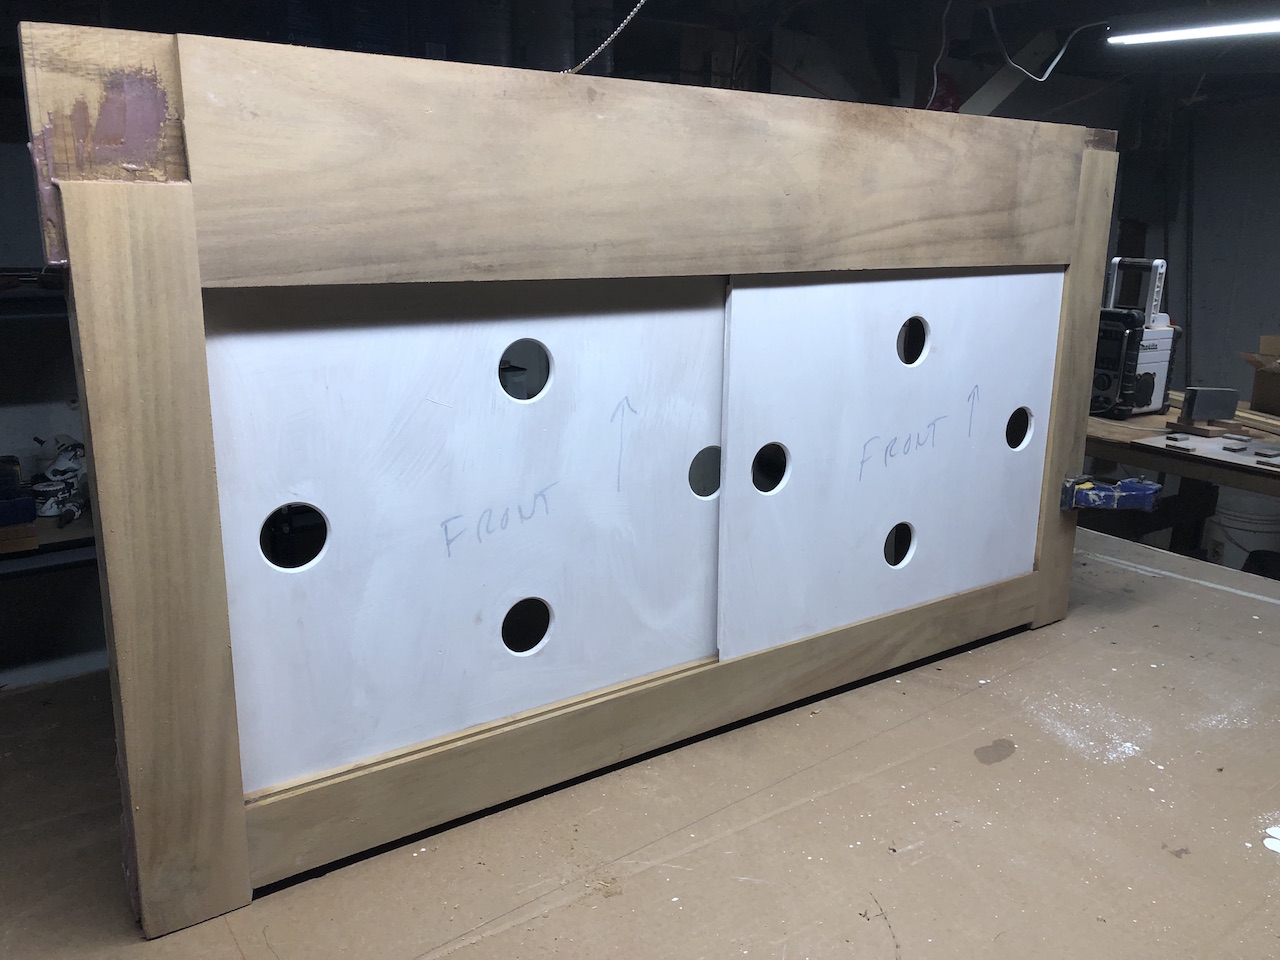
Eventually I cut four holes in each door, and rounded over the edges with my trim router The holes are placed symmetrically and the doors are identical. The doors can be opened or closed by simply inserting a finger into a hole and applying some force one way or another. The holes provide plenty of ventilation–in particular the over-under arrangement of the middle holes will take good advantage the convection cause by hot air rising. As far as appearance goes, I don’t think it looks bad at all, and so far the doors have just one coat of primer and the wood is unfinished. There’s plenty more work to do on this face frame, and there are 8 more face fames to go, and eventually doors to the head and hanging lockers.