5/14/23: Nav Lights, Chain Locker Door, Other Door
NAV LIGHTS
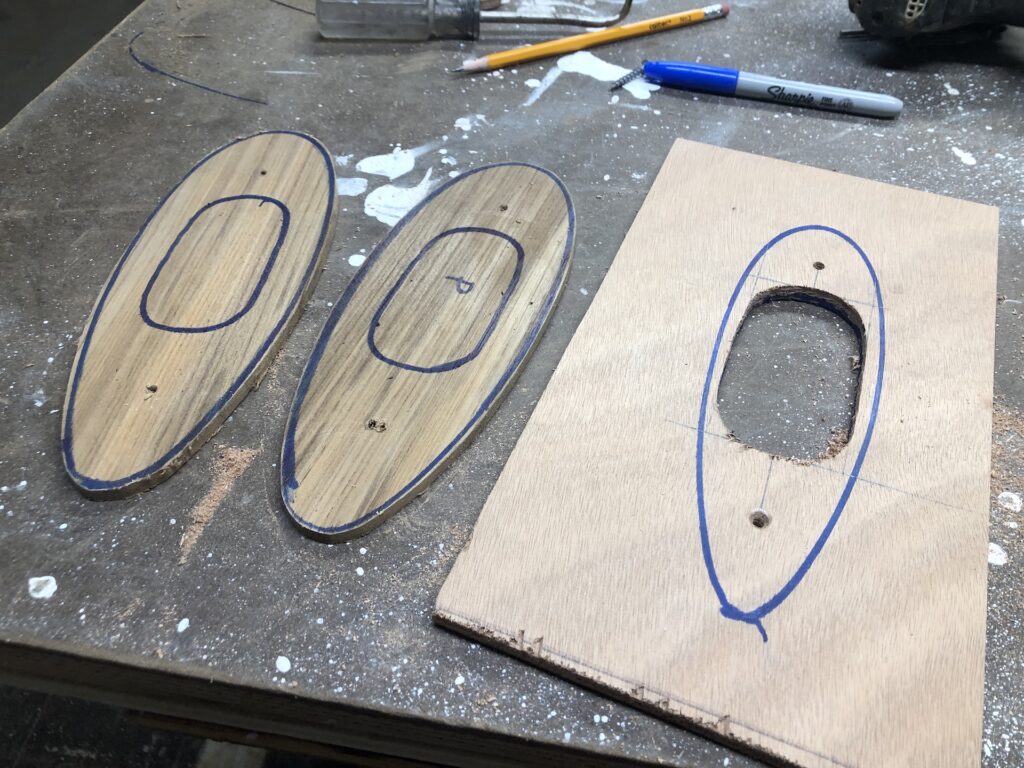
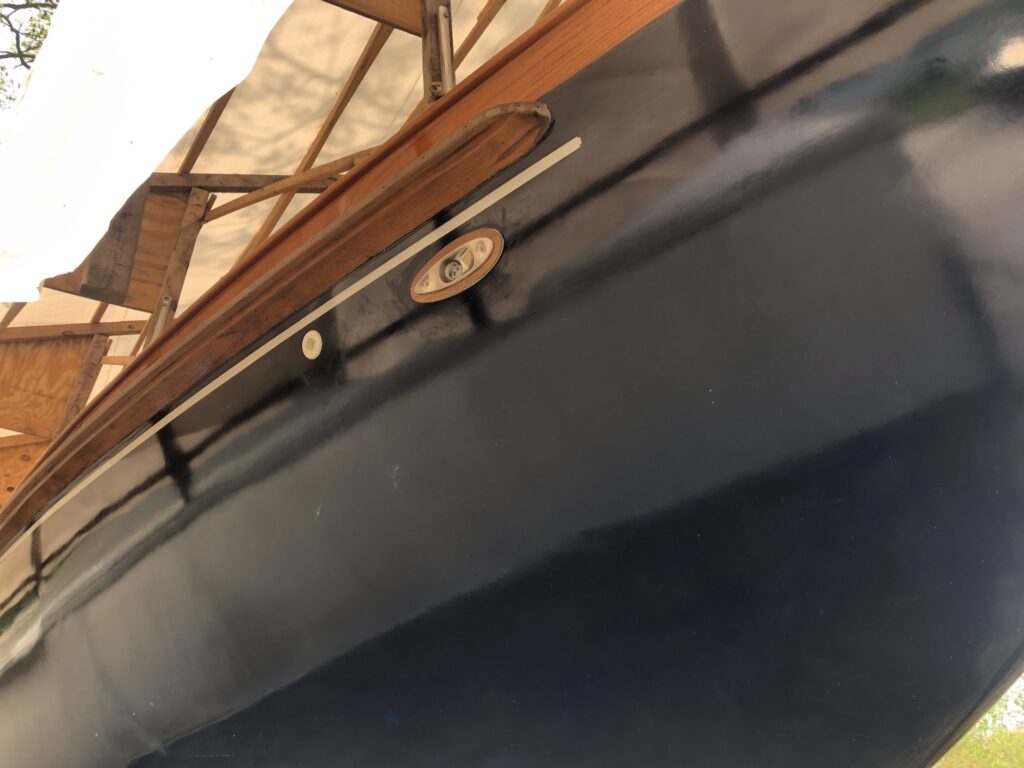
In the background are the original port-and-starboard, flush-mount navigation lights. I’d love to reuse these, but I haven’t been able to source the required parts (most significantly, the red hemispherical glass for the port-side light). As a result, I bought new replacements. The problem, however, is that I could not find replacements of the same size. The replacements are slightly smaller.

The holes in the topsides are correspondingly a little too large, so I made teak pads into which the lights would be mounted.

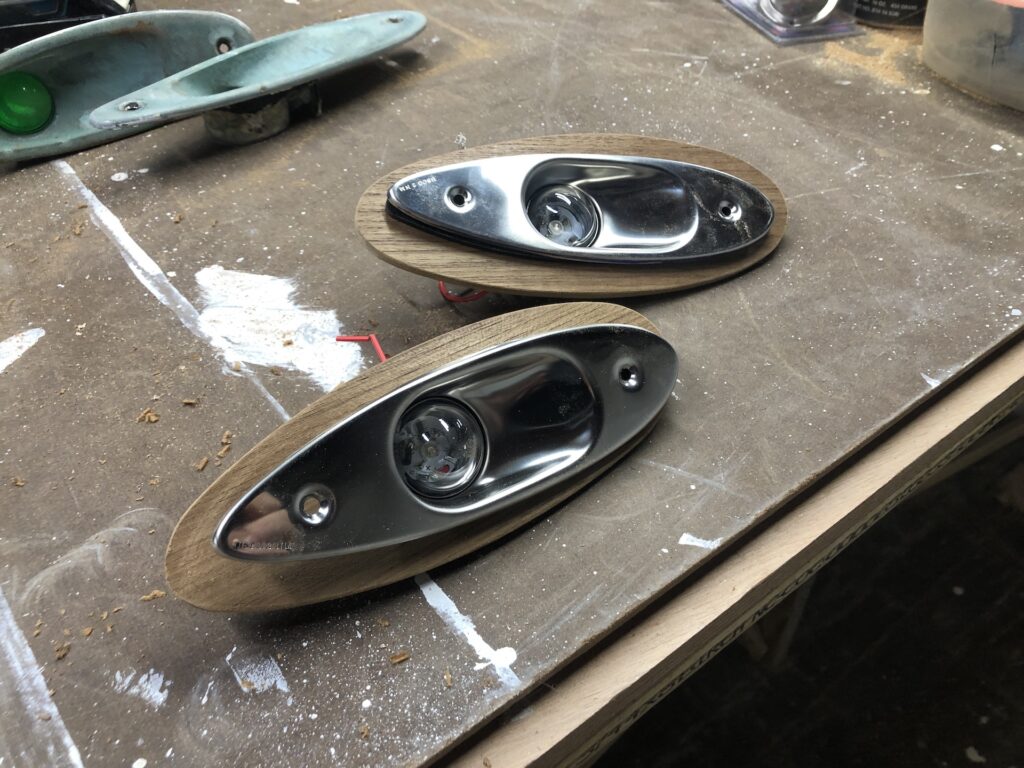
The lights mount on a rubber gasket and the teak is bedded in sealant.
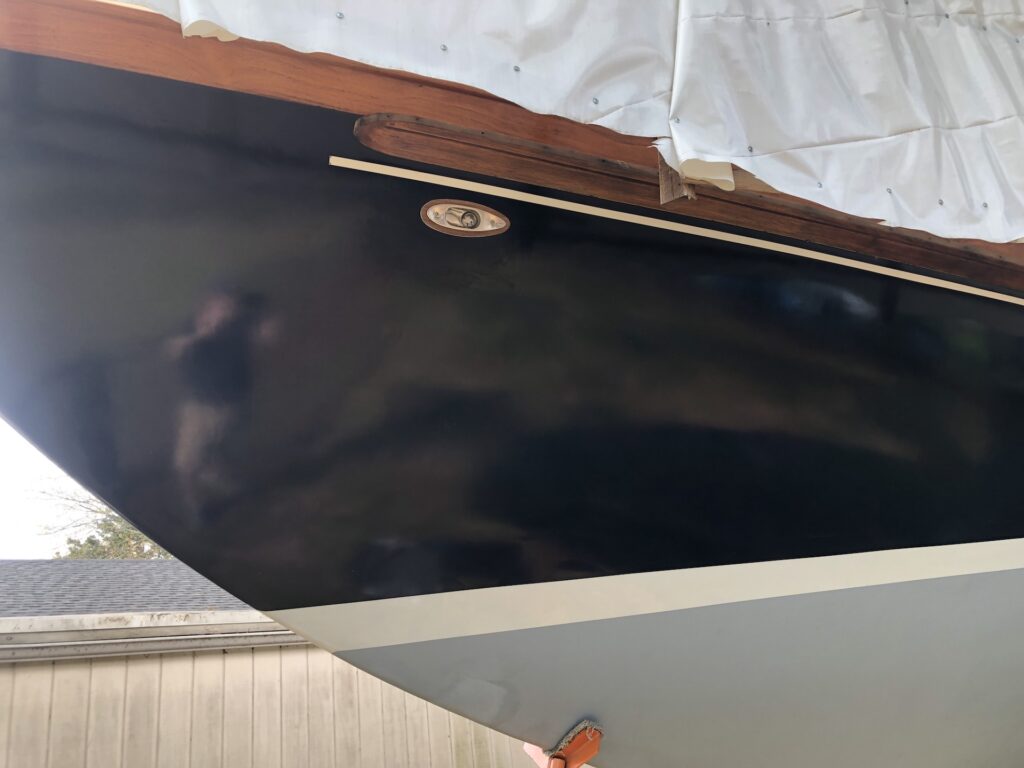
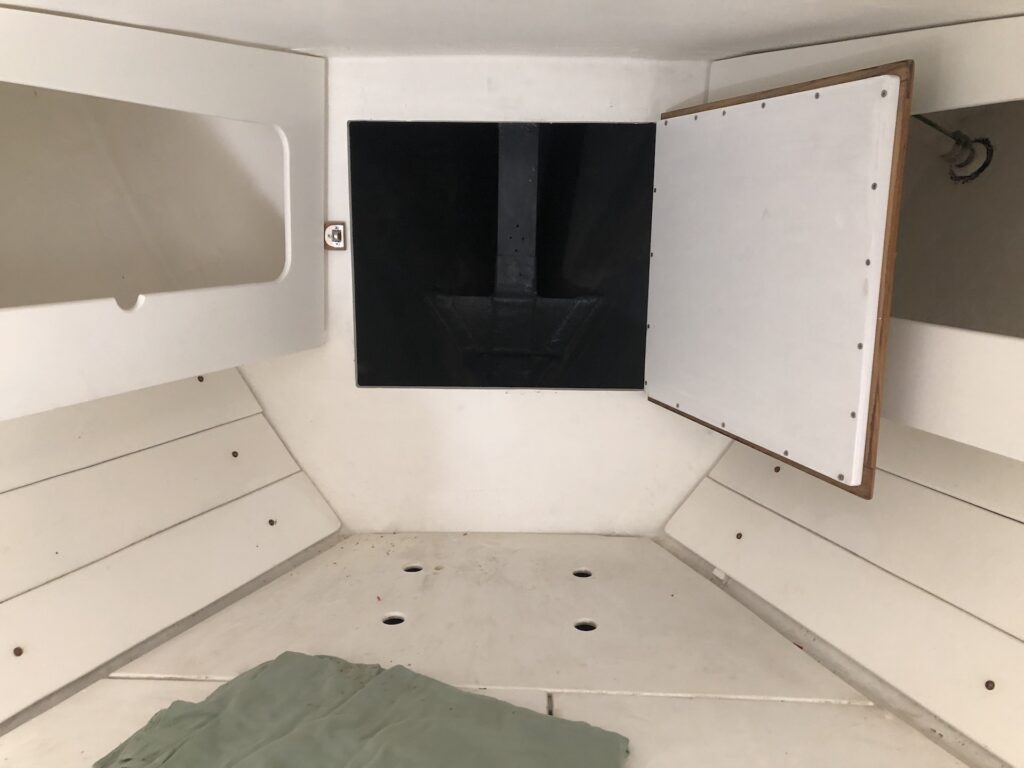
Installation required my leaning into the chain locker while an assistant held a screwdriver on the outside of the boat.
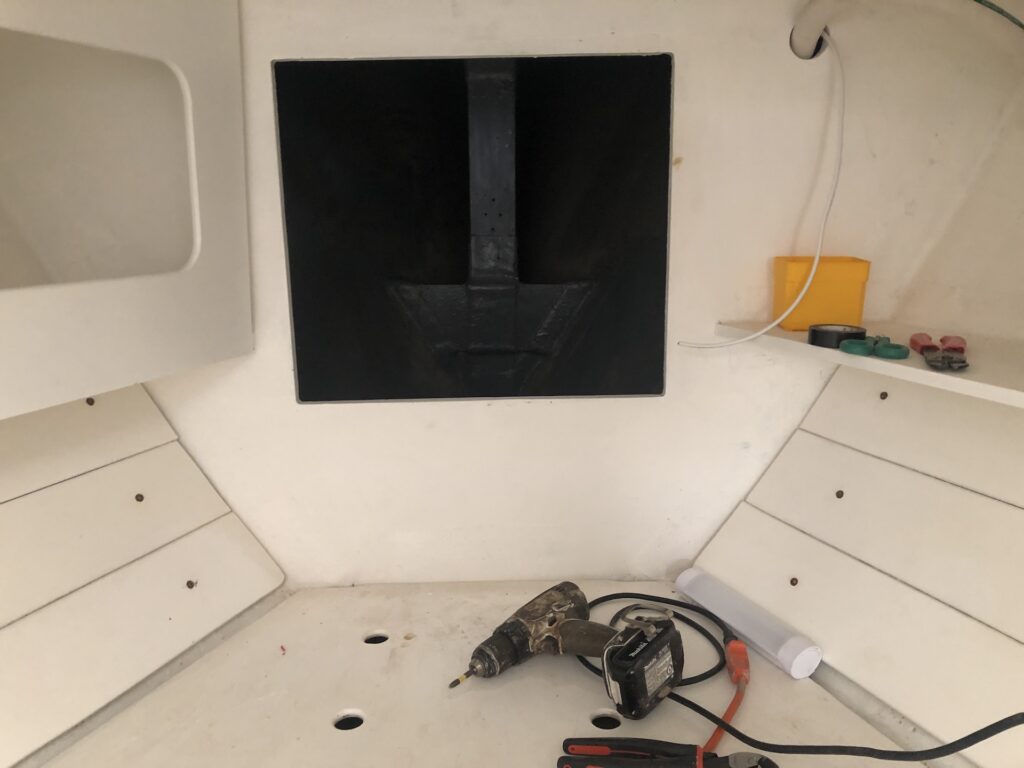
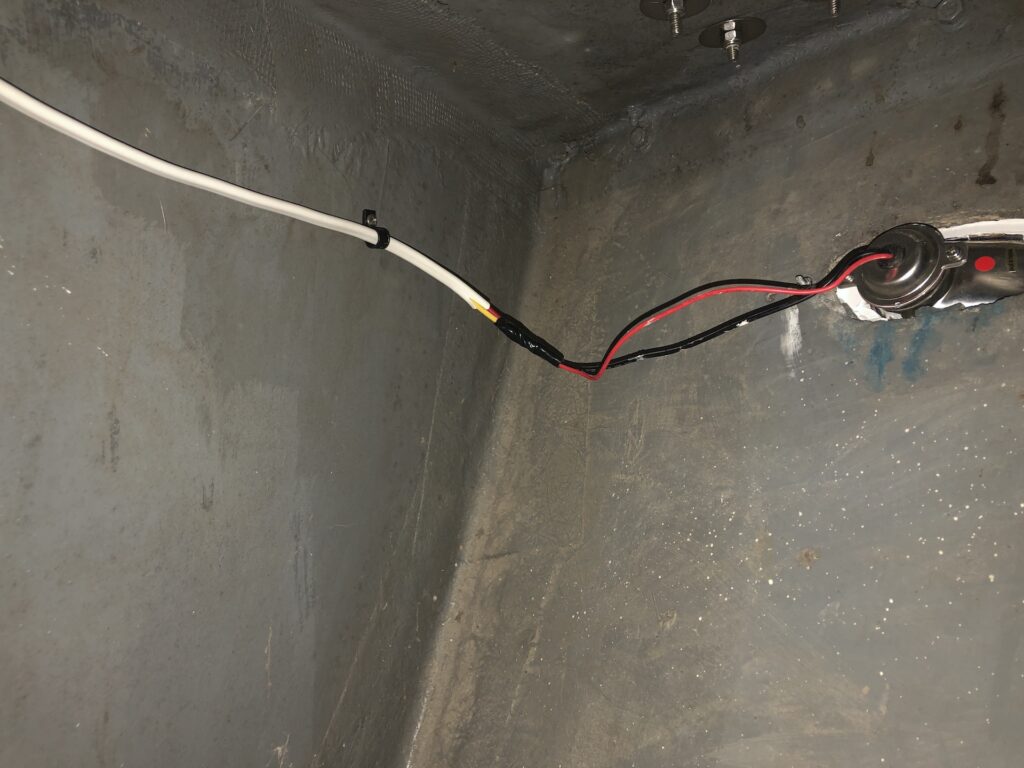
Less fun than leaning into the chain locker is climbing into the chain locker, which was required for the electrical connections and wire routing.
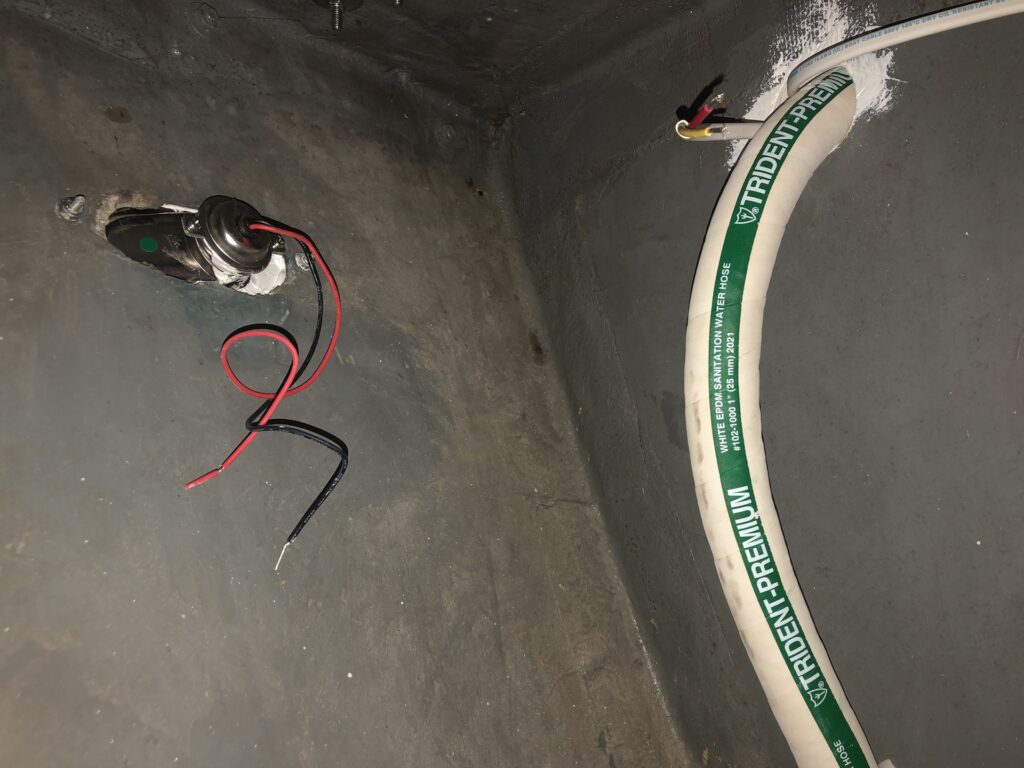
The view from my perch:
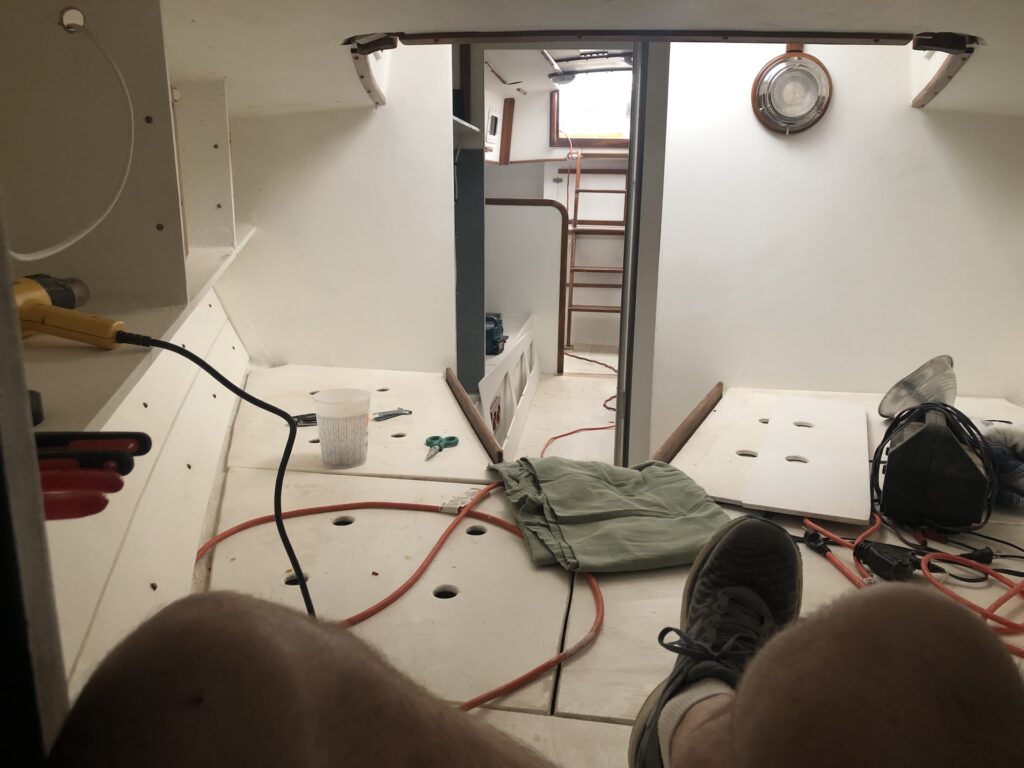
The wiring run leads aft to the electrical panel in the aft hanging locker.
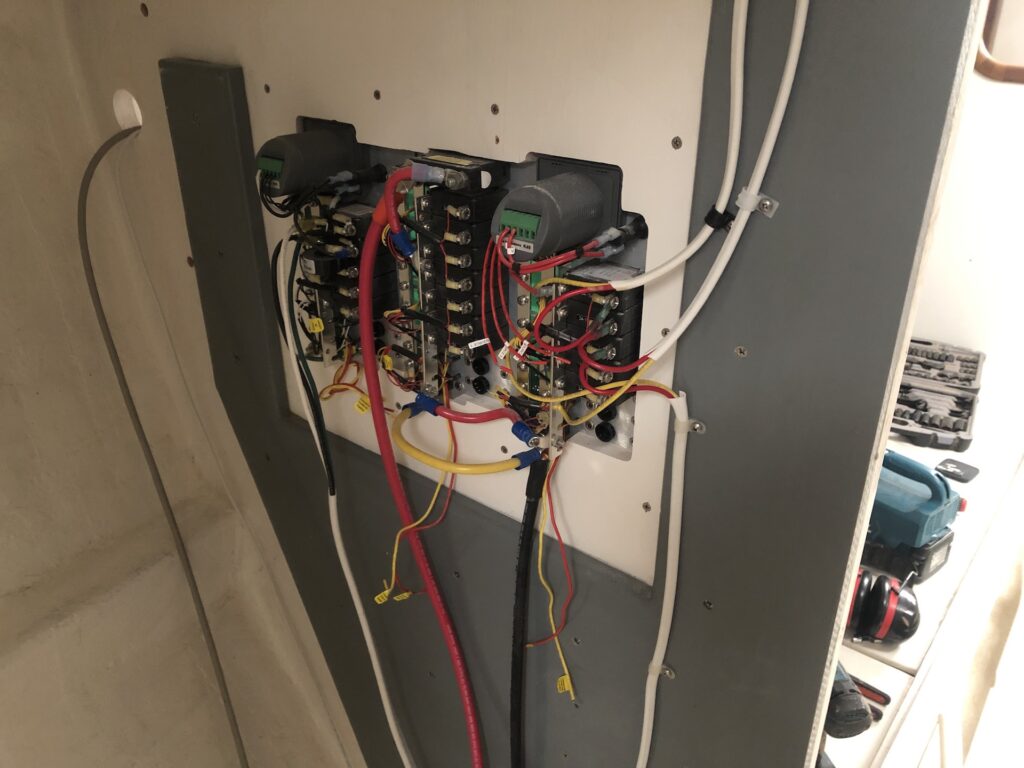
On the front of the panel, the top-left switch energizes the dome lighting, next one down is nav lights, next one down is water pressure.

The panel has 18 DC breakers, and so far I’ve used just three. Others will be used for VHF radio, instruments, mast lighting, and so on.
The nav-light circuit will also connect to a stern light, but more on that in next week’s post.
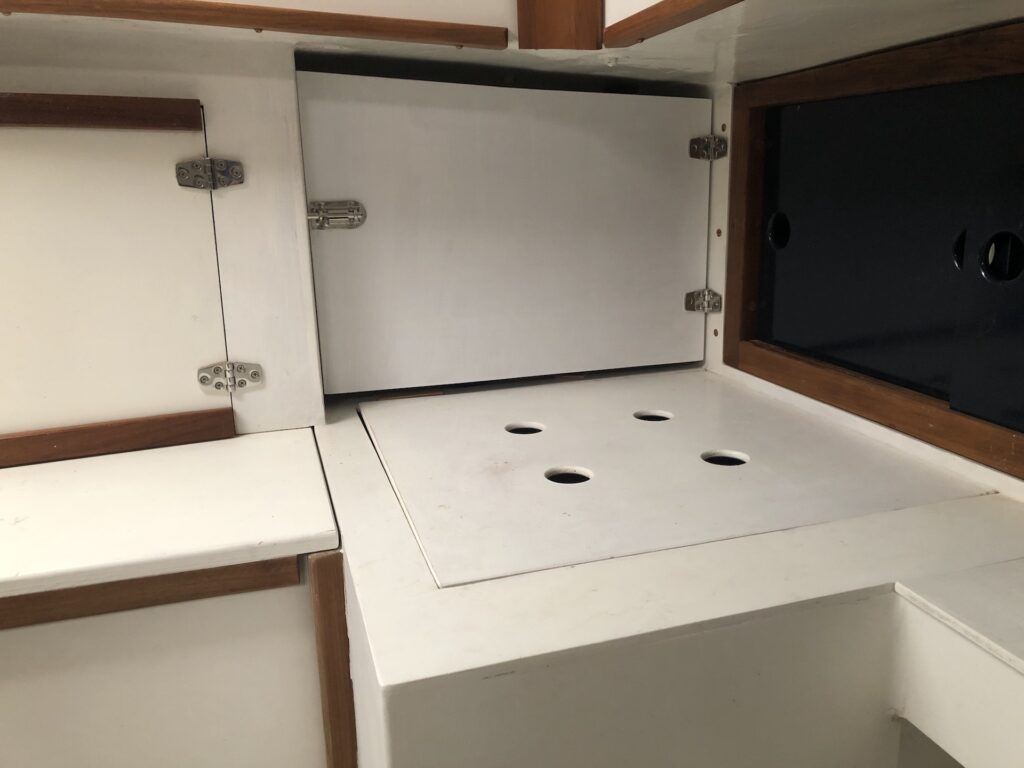
CHAIN LOCKER DOOR
The chain locker is forward of the V-berth in the forward cabin. It needs a door. I have plenty of scrap teak and was able to use some for the trim.
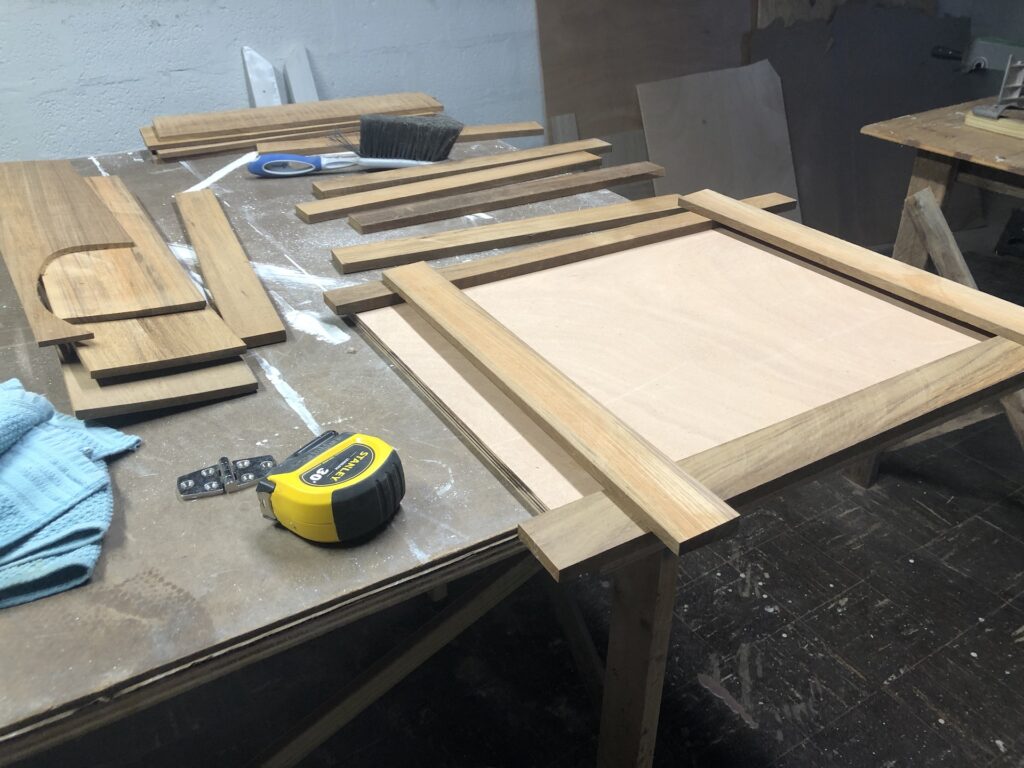
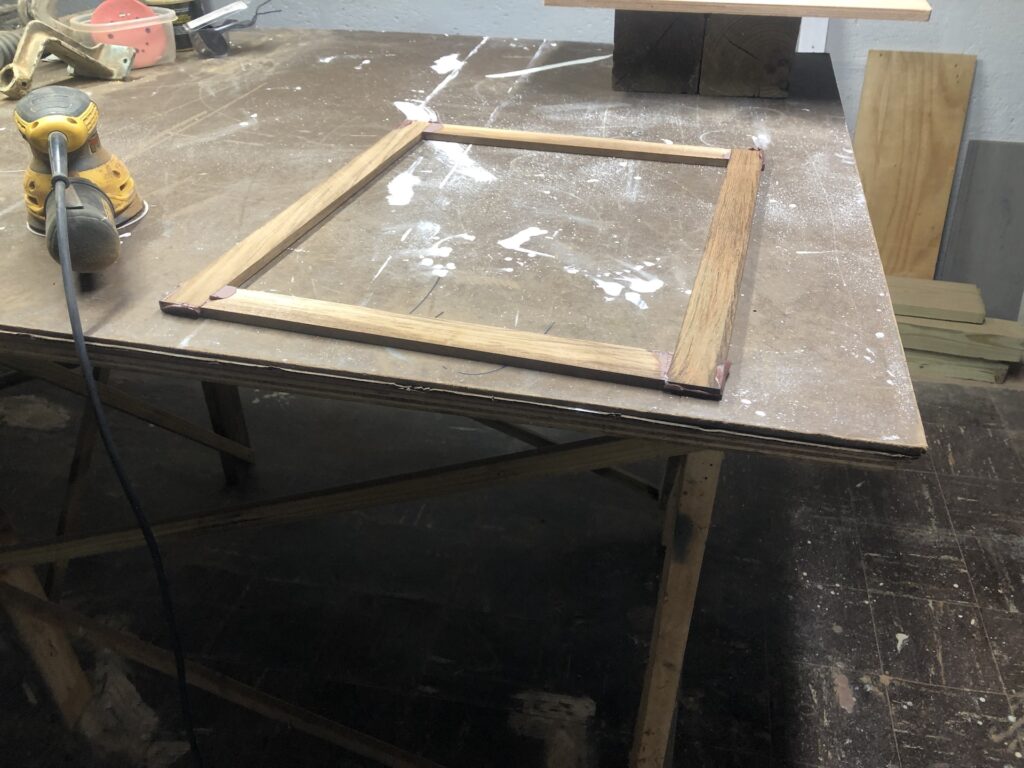
The first dry fit:
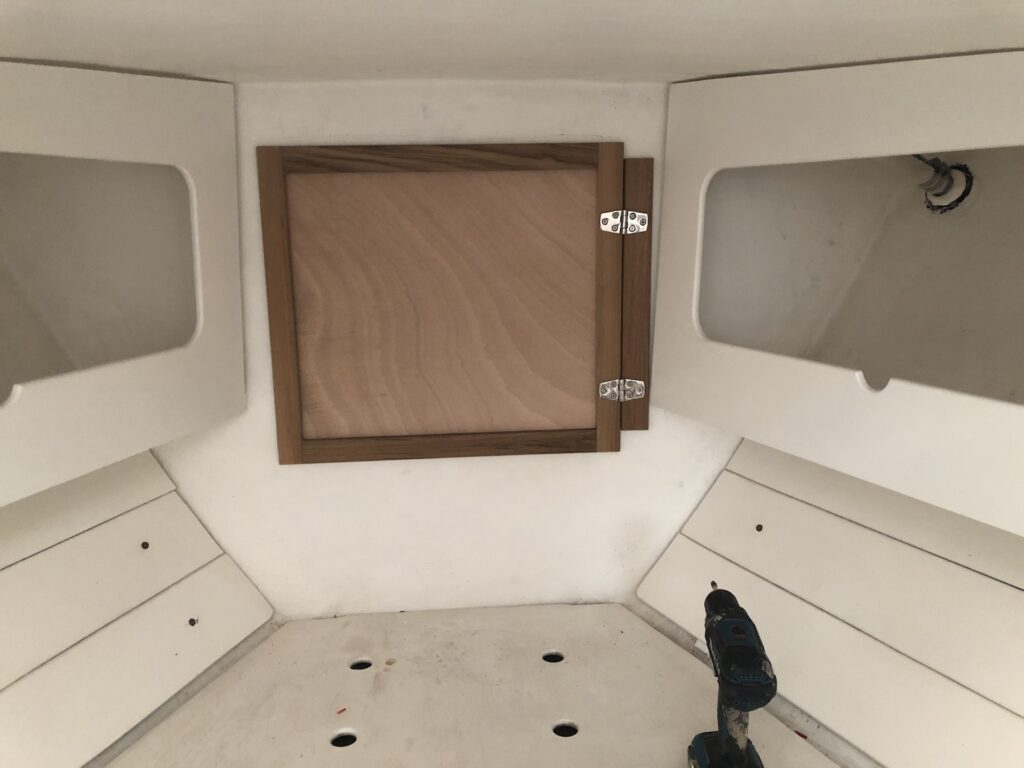
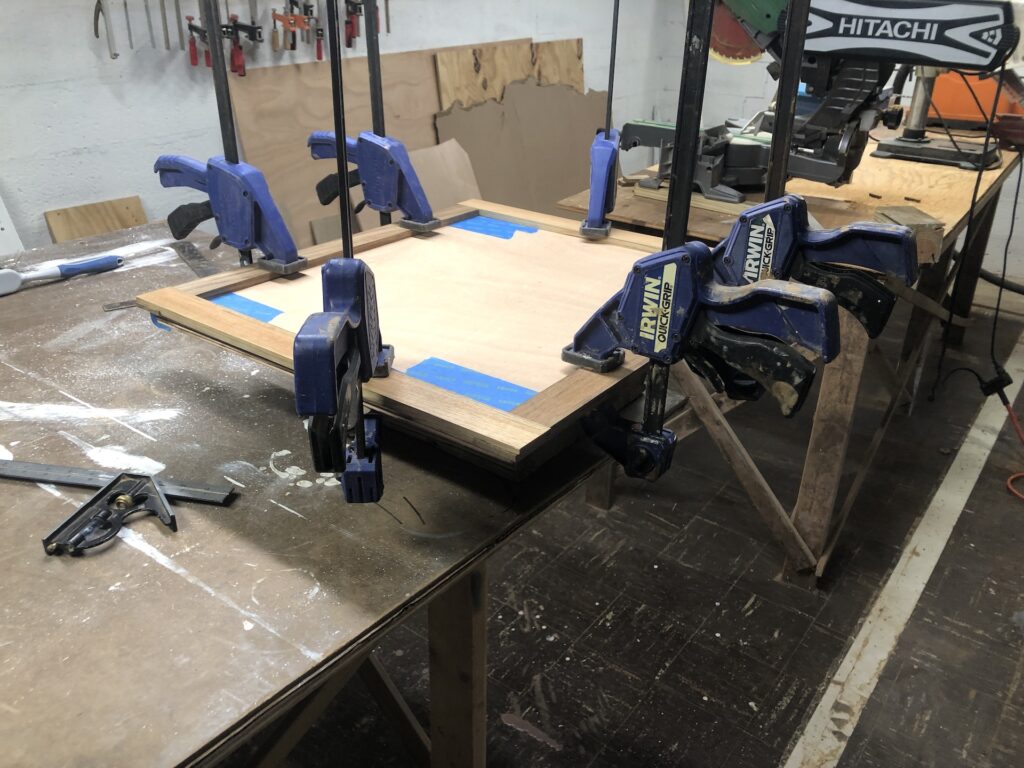
The plywood panel needed painting and priming and the trim needed a coat of varnish.
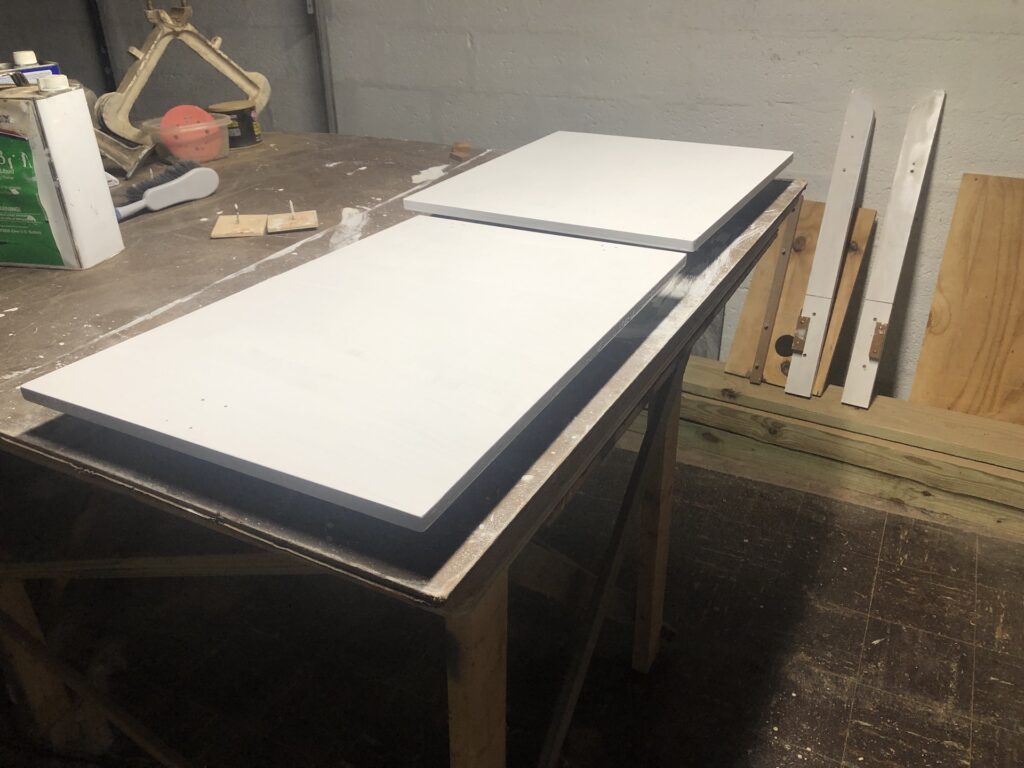
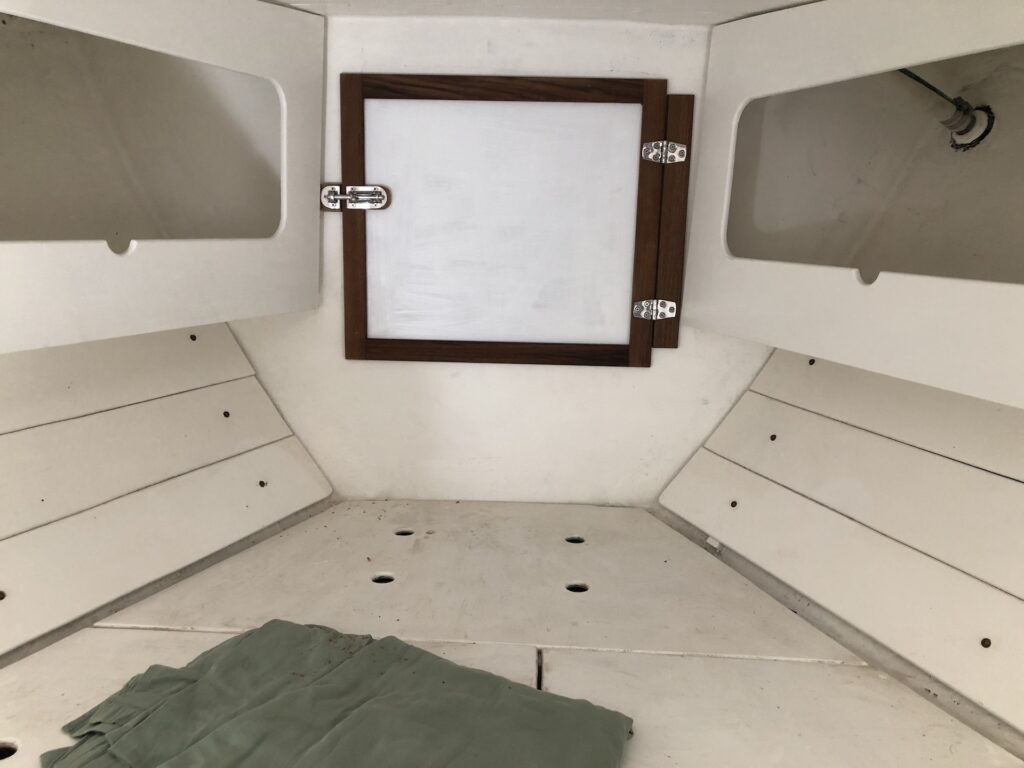
The second plywood panel in the image above deals with the next topic in this post. Fast forward a few steps and here is the final installation:
DOOR TO HIDE PLUMBING
The second painted panel mentioned above is now a door that hides the diesel-tank plumbing, shore-power breaker, and eventually the propane line.

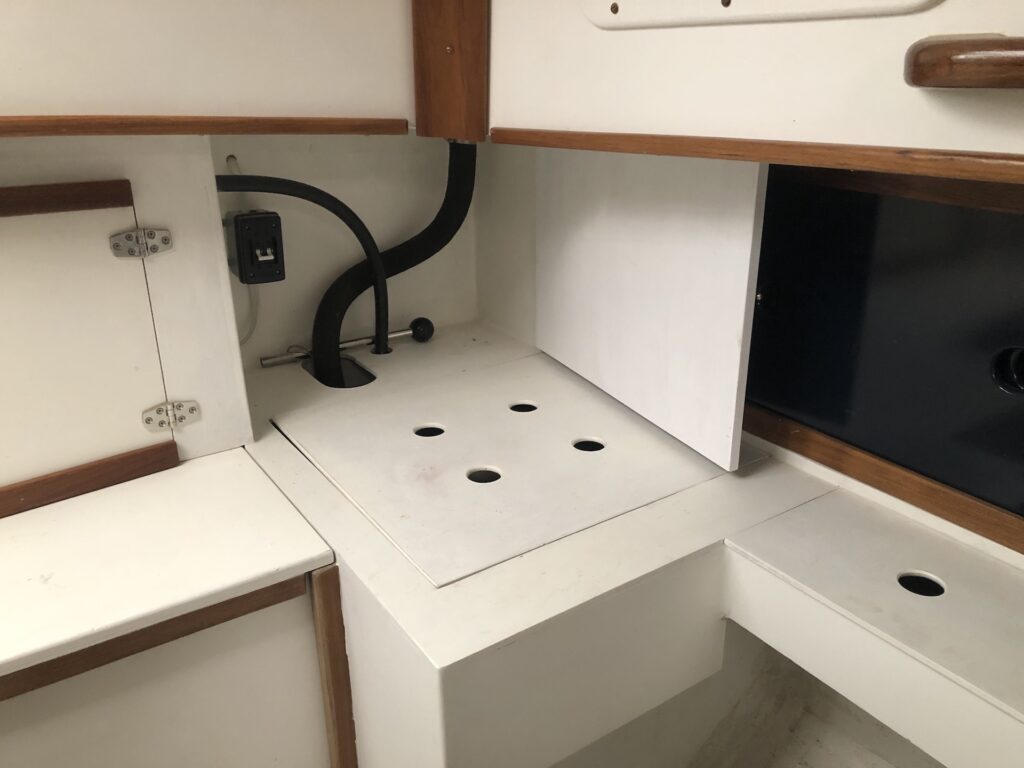
The gap above the door is required so the panel clears the trim and corner pieces as it open. The gap at the bottom is because there will eventually be an electrical outlet behind the door and cords can run under the closed door. The space in front of the door will be a convenient spot for charging devices.