7/17/16: Misc., Icebox, Holding Tank
MISCELLANEOUS
- The forepeak bulkhead is installed, including the tabbing on the forward side, and the unpainted areas in the forepeak have now been primed and painted.
- I finally got around to tabbing in the starboard-side bulkhead that separates the forward cabin with the head area.
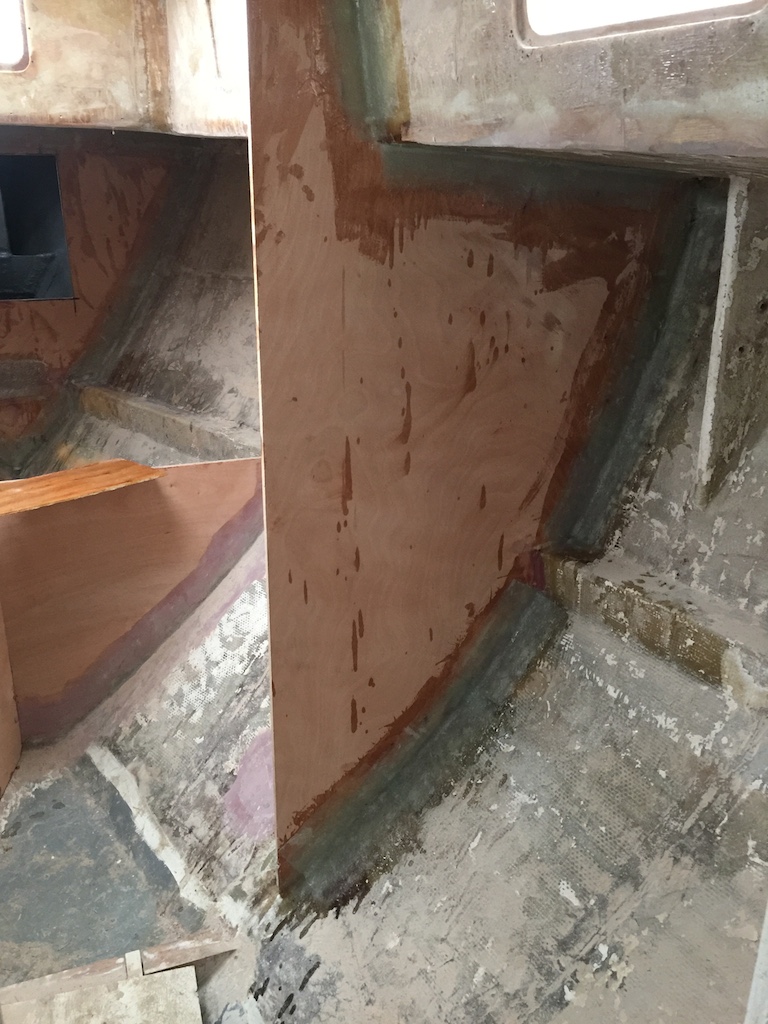
- The corresponding port-side bulkhead needed a few more strips of tabbing on the aft side.
- The port-side galley bulkheads needed to be tabbed to the hull and to each other.

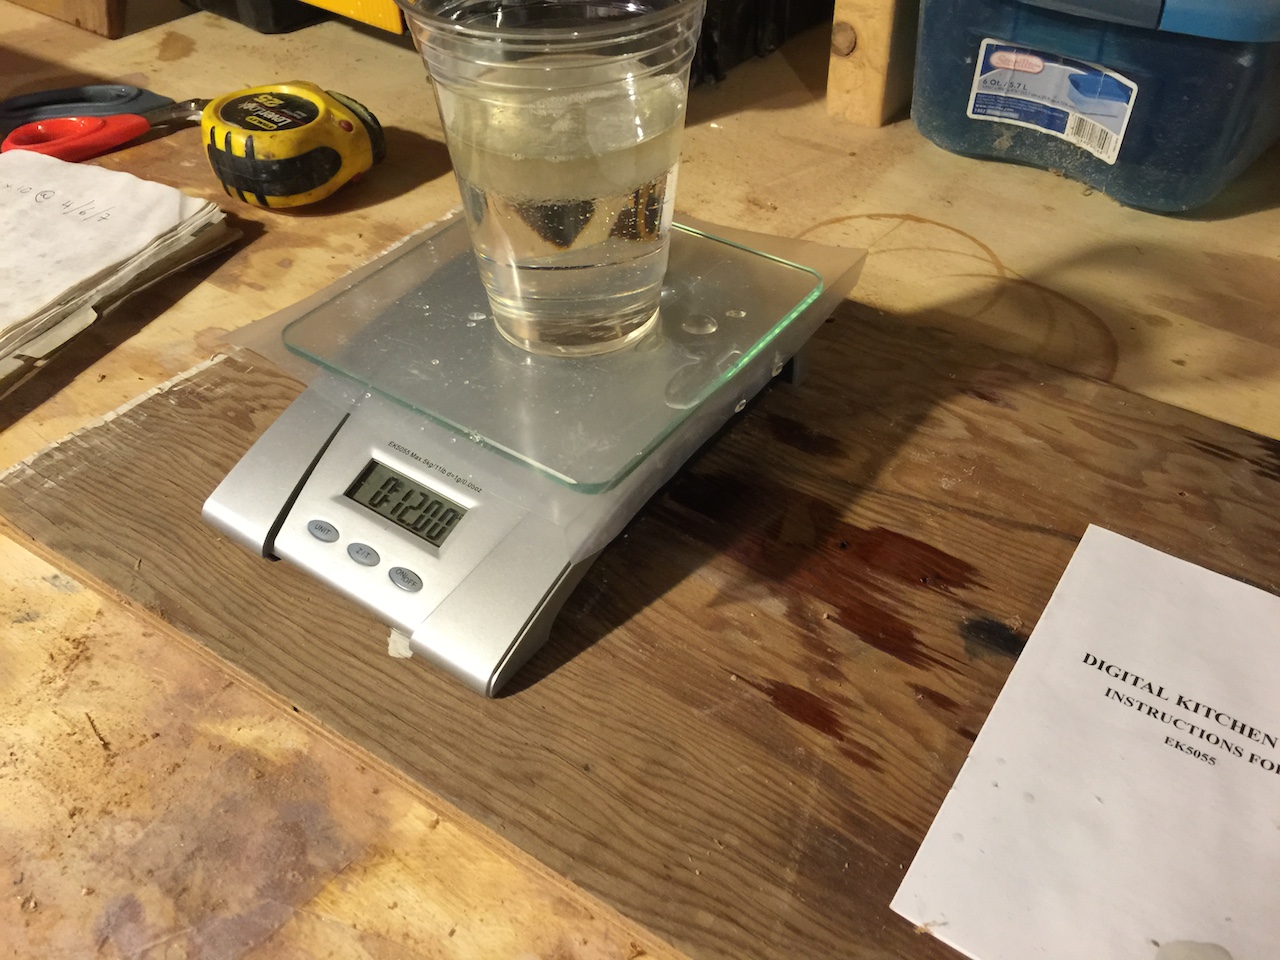
- I purchased a digital food scale ($20) for measuring epoxy resin and hardener. The West System is mixed in a 5:1 ratio (by weight or volume). According to the West System data sheet, however, the acceptable range is from 4.84:1 to 6.19:1. The scale is accurate to 1/20th of an ounce, however, and a quick calculation shows that I should probably not use the scale to mix batches less than about 2 ounces. My batches typically range from about 6 to 24 ounces. For smaller batches I would use the West System metering pumps, for which one pump gives a batch of about 0.8 ounce. The main advantage of using the scale is that I don’t have to use graduated mixing cups (about $1 each) for measuring. Instead, I can use much cheaper plastic drinking cups (about $0.05 each). I’ve had the digital scale for only a week, but it’s paid for itself about two times over already.
ICEBOX AREA
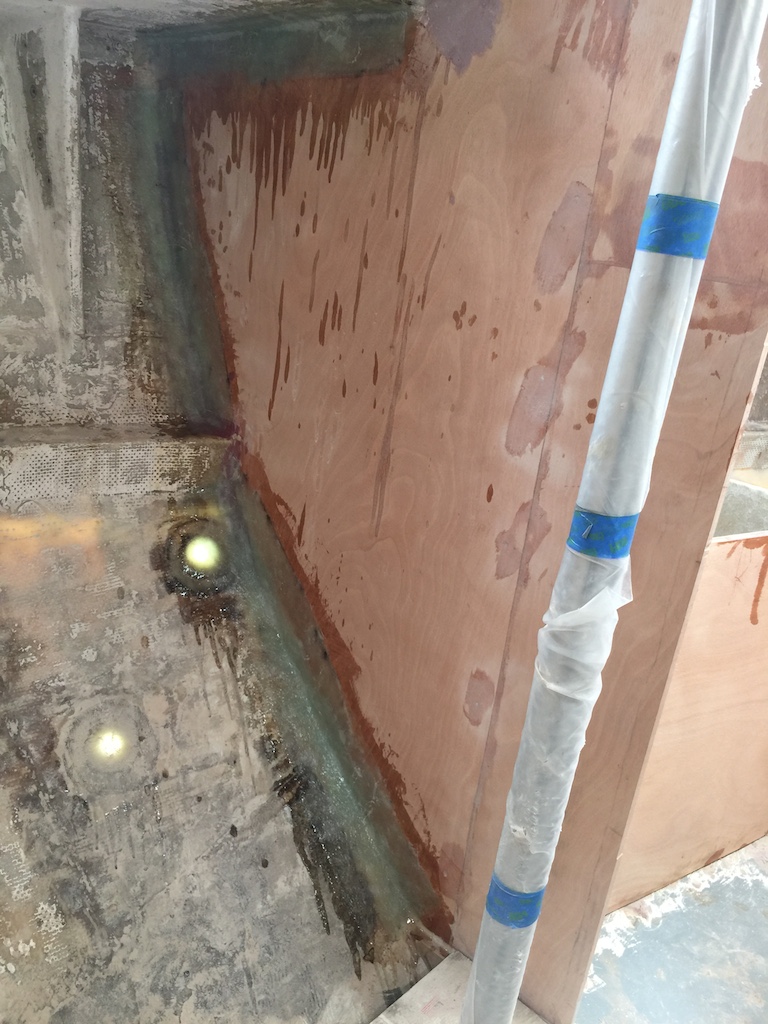
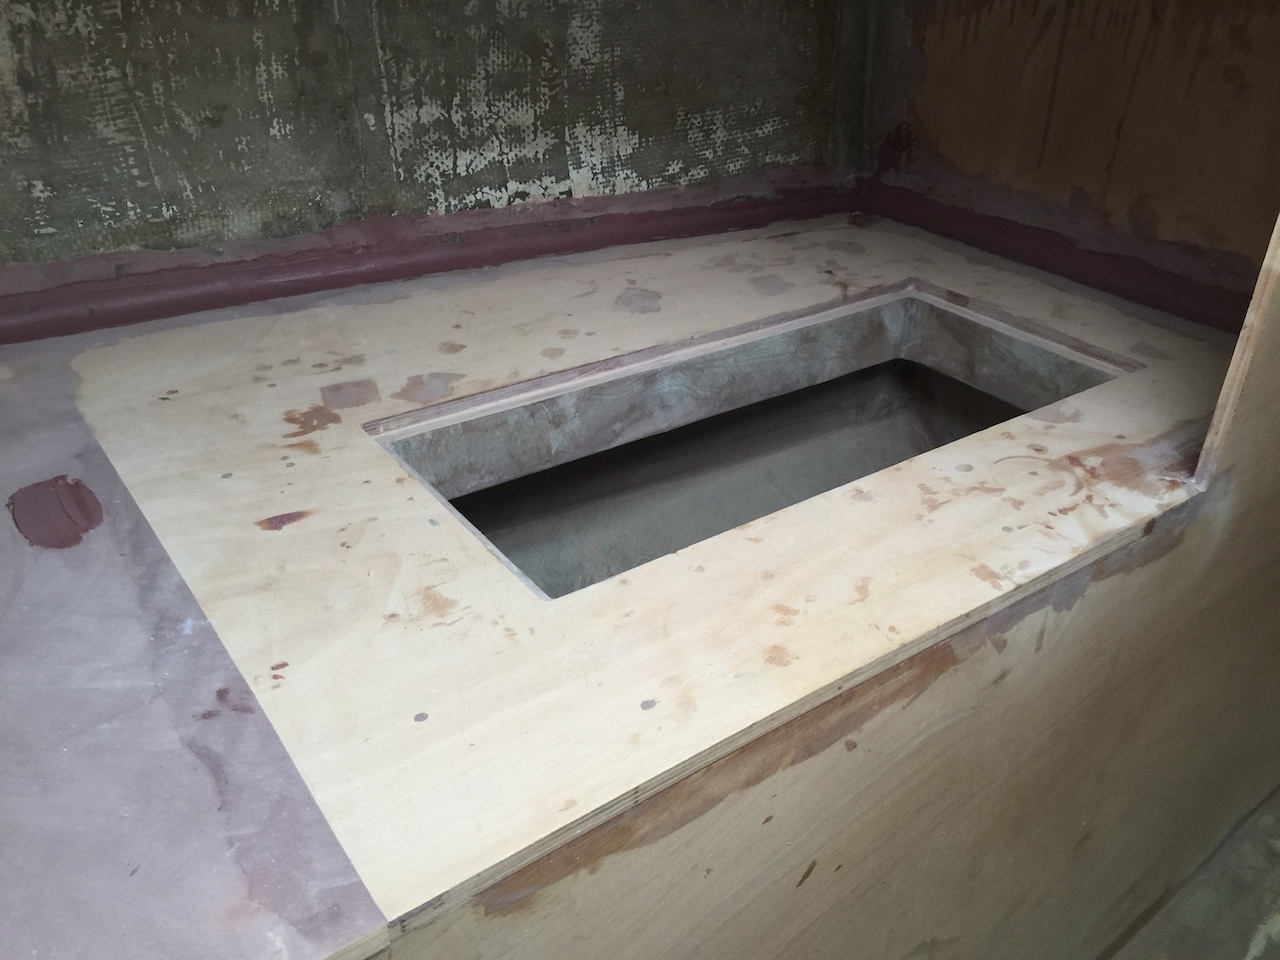
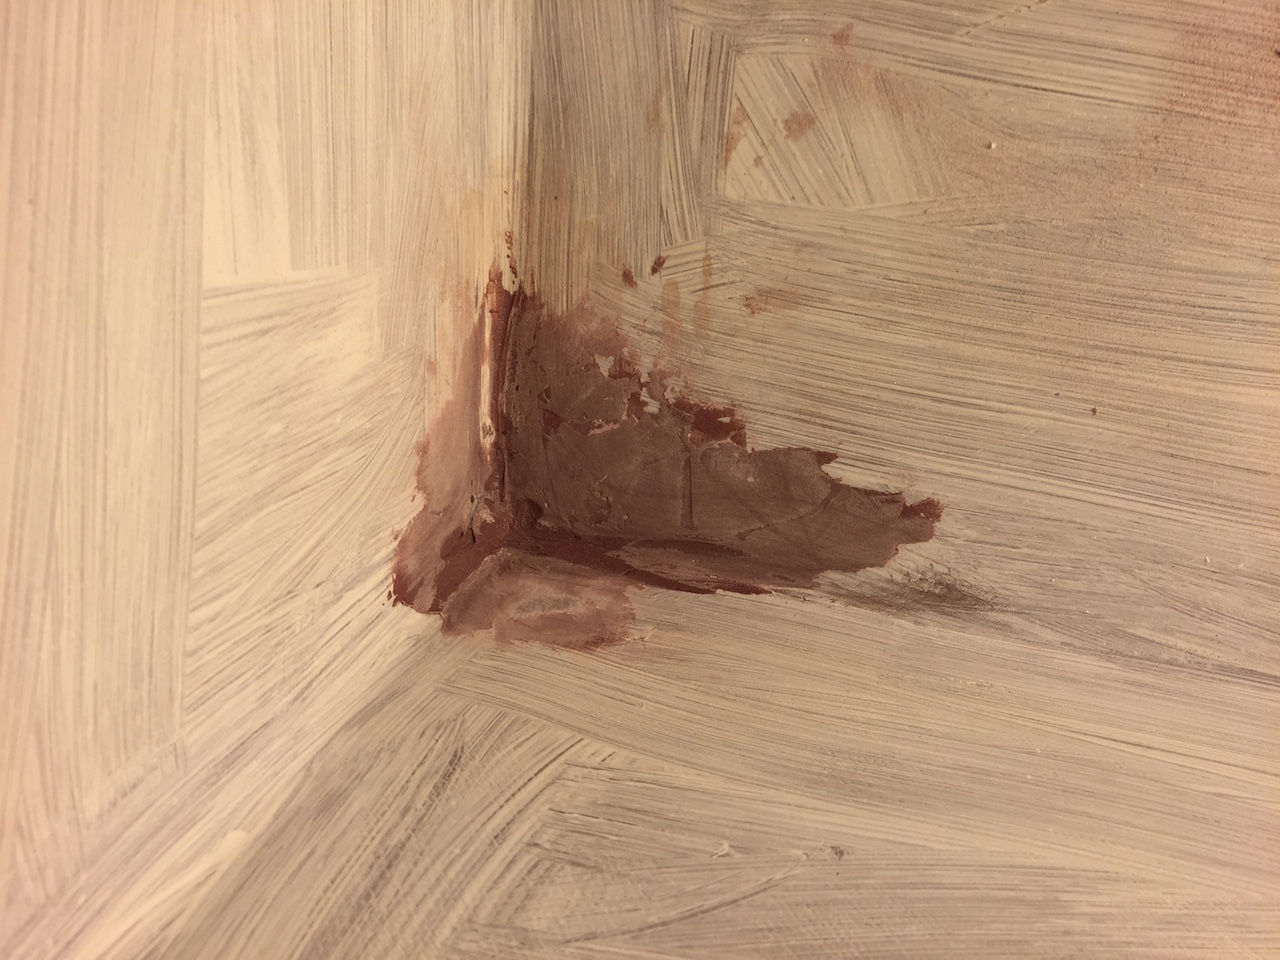
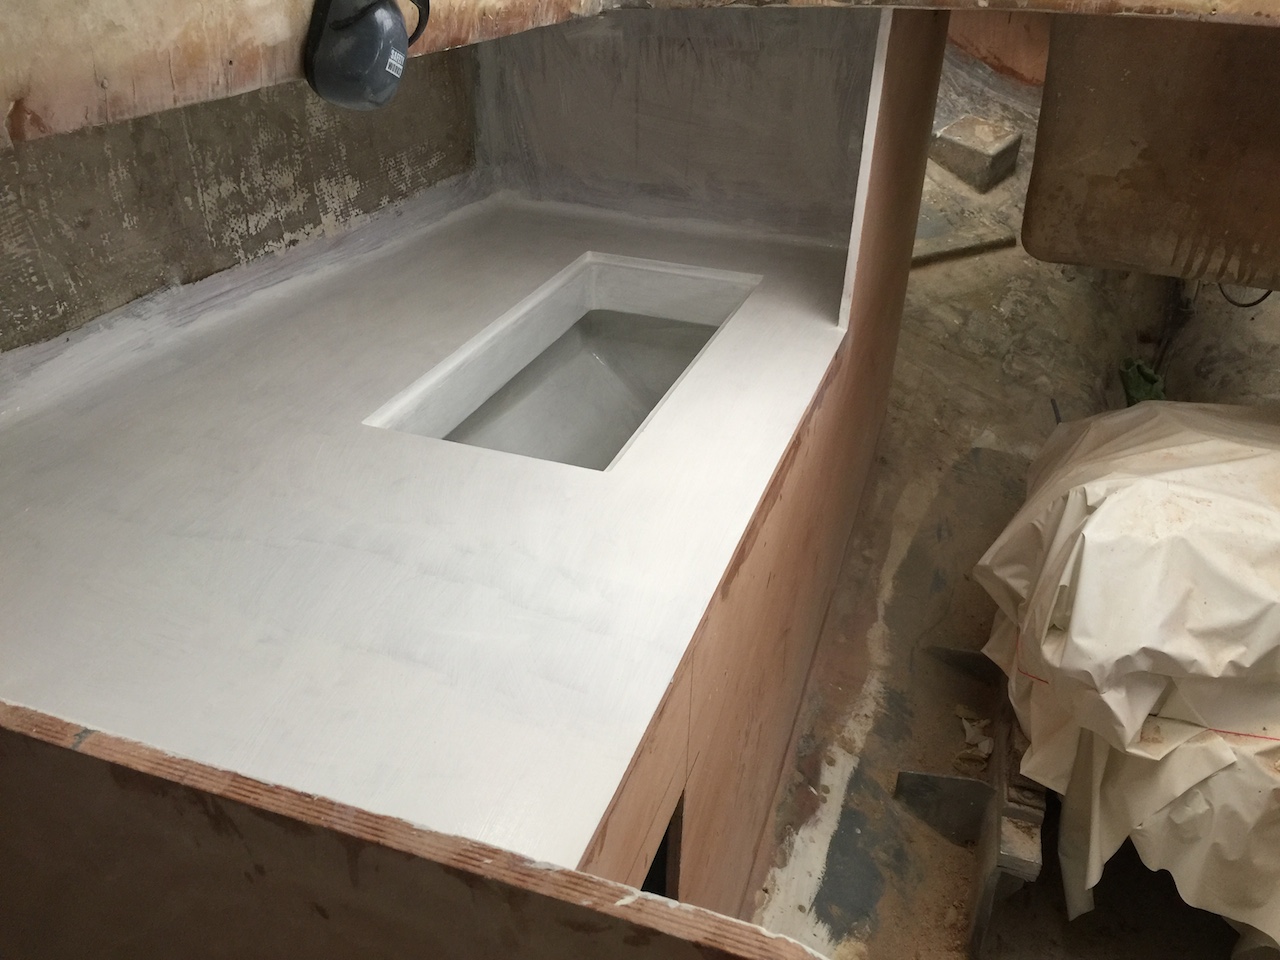
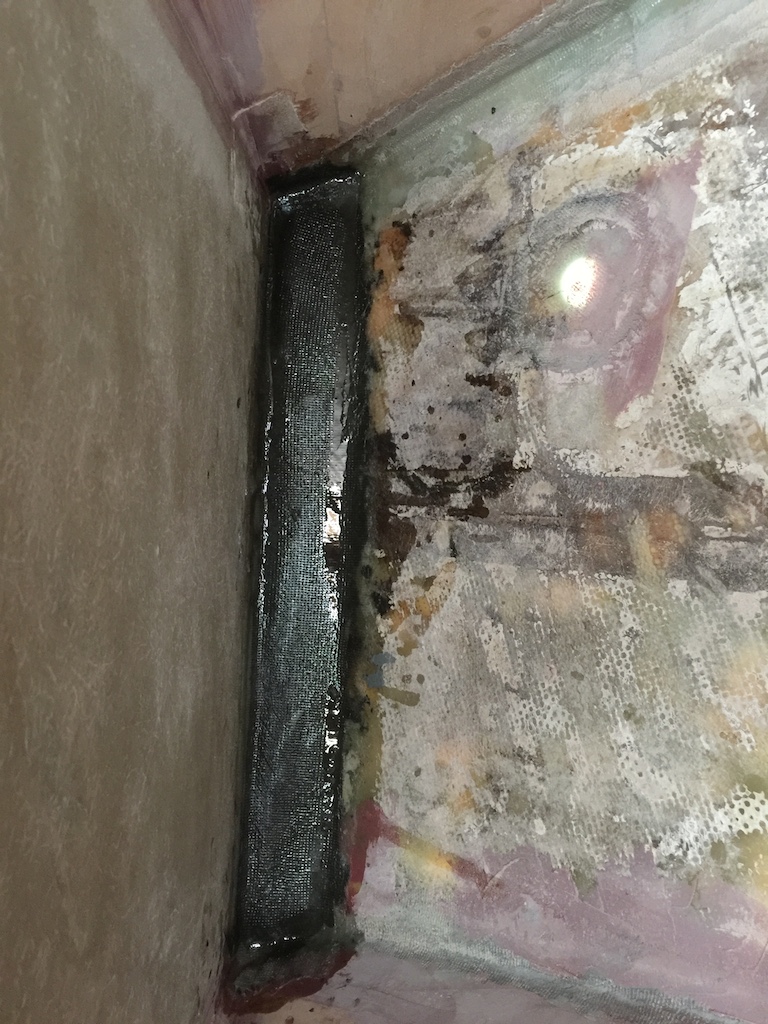
The following photo shows that I clamped the sink-area countertop in place and filled the gap between the “sink-area” and “icebox-area” countertops with thickened epoxy. I also ran a fillet of thickened epoxy where the countertop meets the hull and bulkhead.
I ran a 3-inch-wide strip of glass where the countertop met the hull or a bulkhead, and after a few rounds of filling and fairing, I finished with a wide fillet that will make a smooth transition between countertop and the hull or a bulkhead.
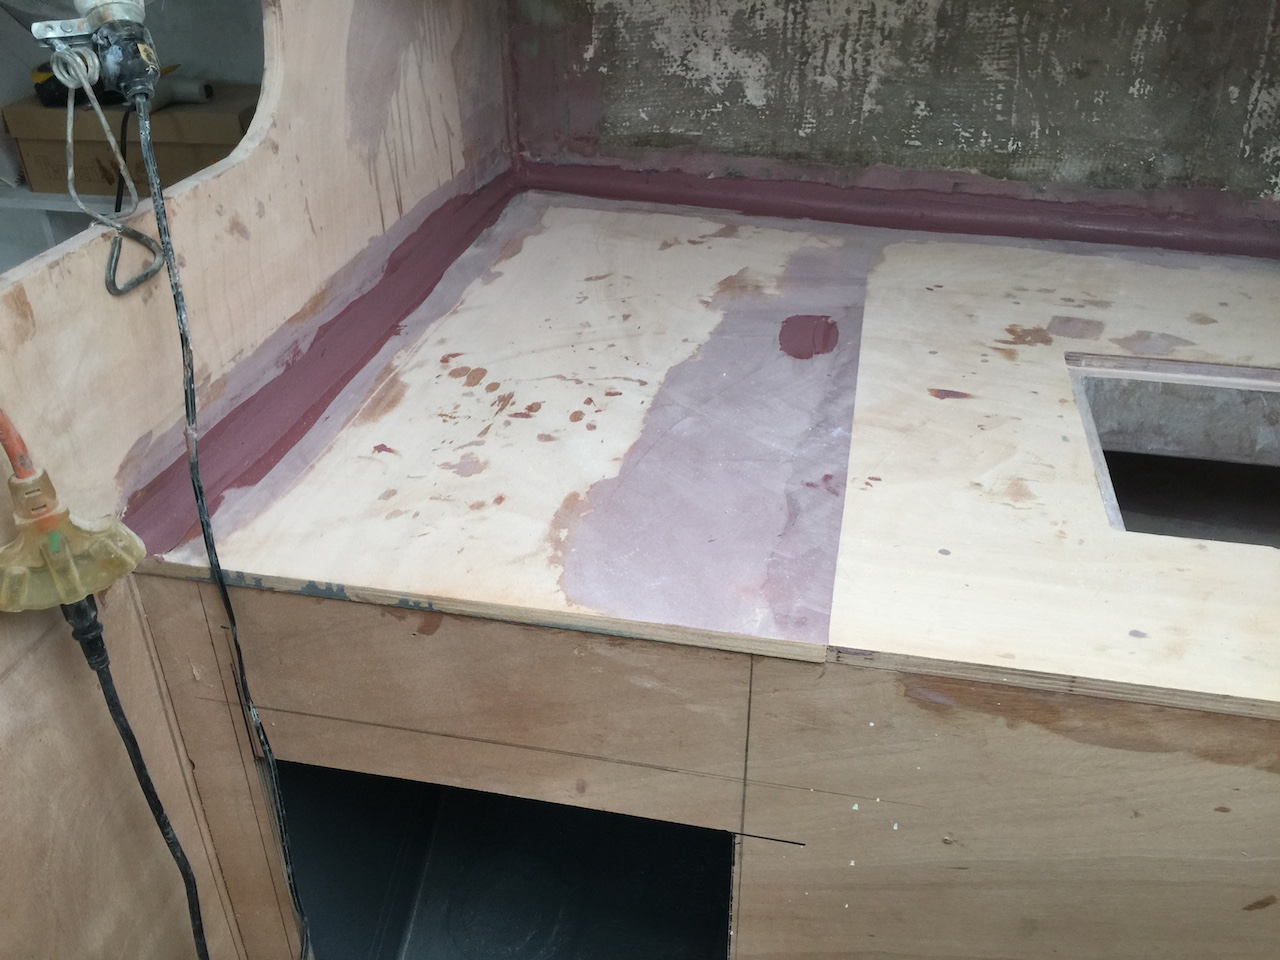
Next, I washed and sanded the fillet and applied a first coat of two-part epoxy primer. (Two-part paints are normally reserved for exterior applications, where their durability is required. In the galley, however, I wanted the durability provided by the two-part system.)

I ventilated the area using two fans–one blowing down and into the companionway, and one blowing up and out of the salon hatch. Nevertheless, I was very careful not to inhale strong vapors, so most of this job was done while holding my breath when painting, and breathing only when standing away and in front of the companionway fan. The icebox lid also received a coat of primer.
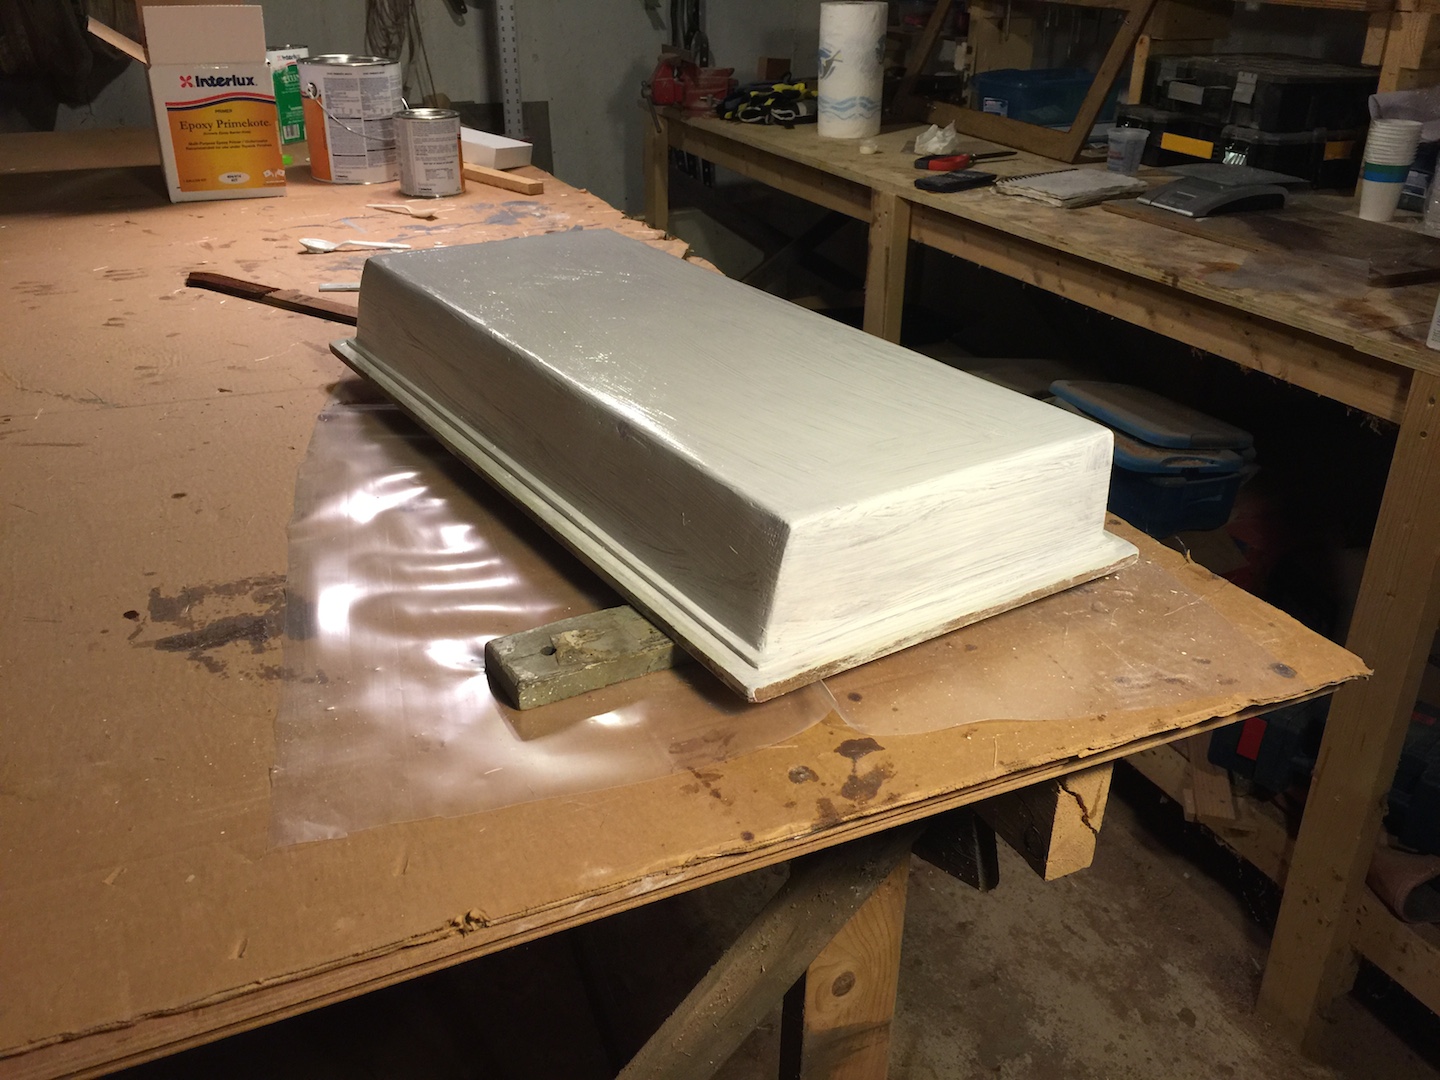
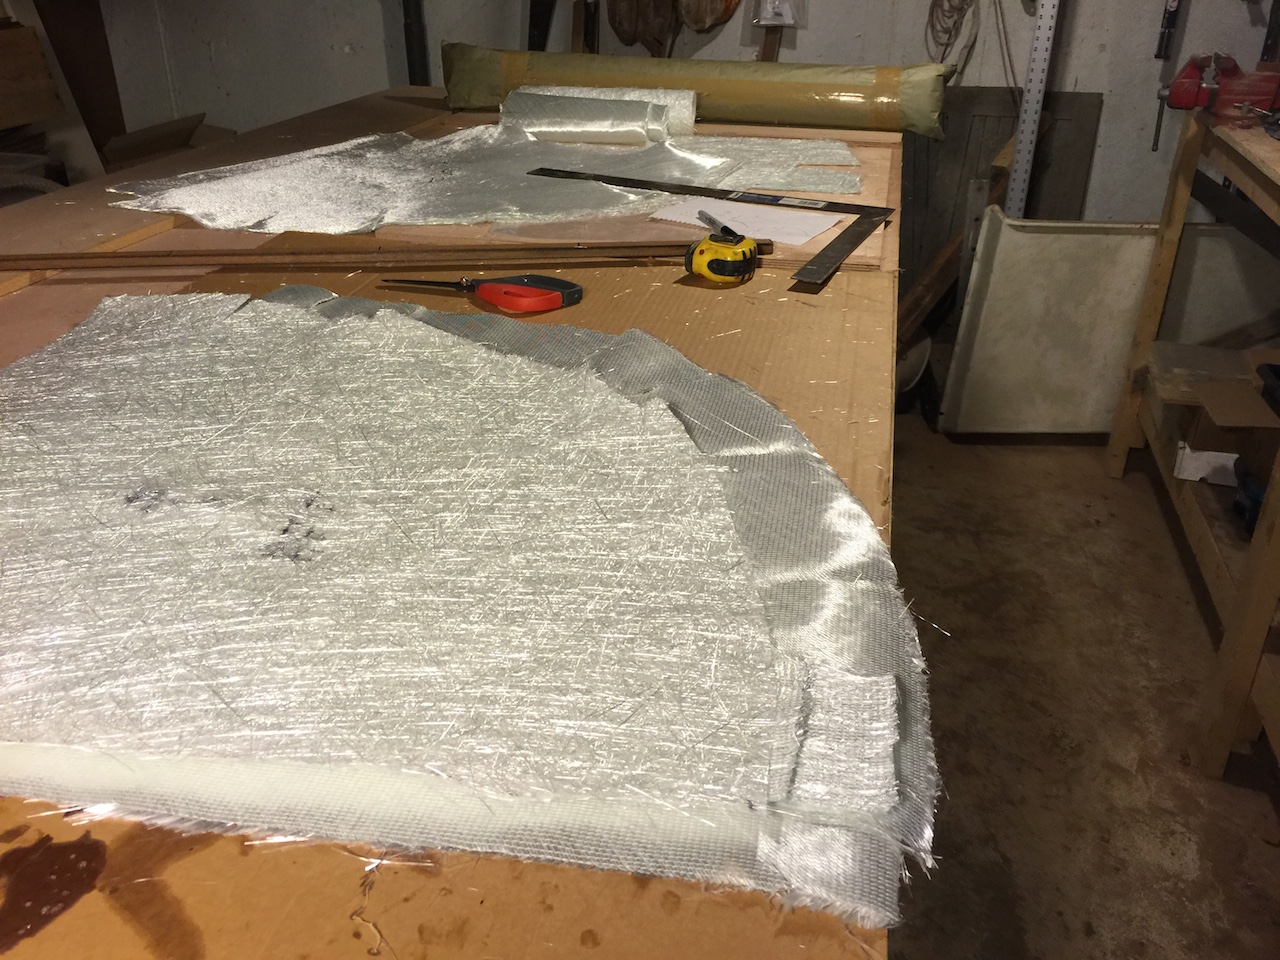
Next, I addressed the question of the icebox drain. I wanted to run a straight fiberglass tube from the icebox to the under-sink area. Such a drain would be easy to unclog by poking through it with a stick or screwdriver. A curved or bent tube would not be so easy to unclog. The following photos show how I fabricated the tube using a wooden dowel and fiberglass. The wooden dowel was wrapped with cellophane so that the dowel might removed from the dried epoxy.
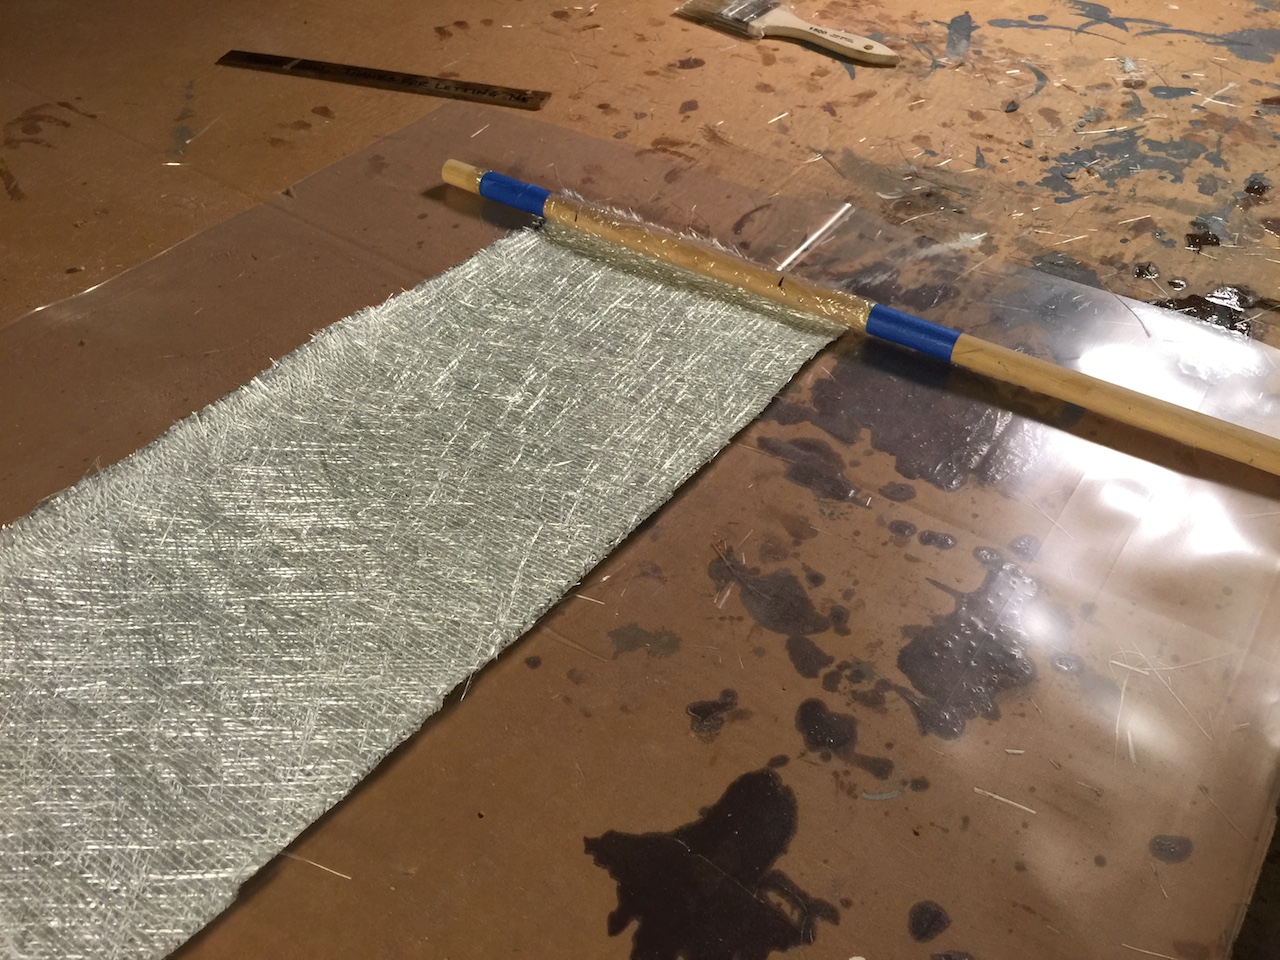
I wet out the glass and rolled until I had about a 1-inch outside diameter.
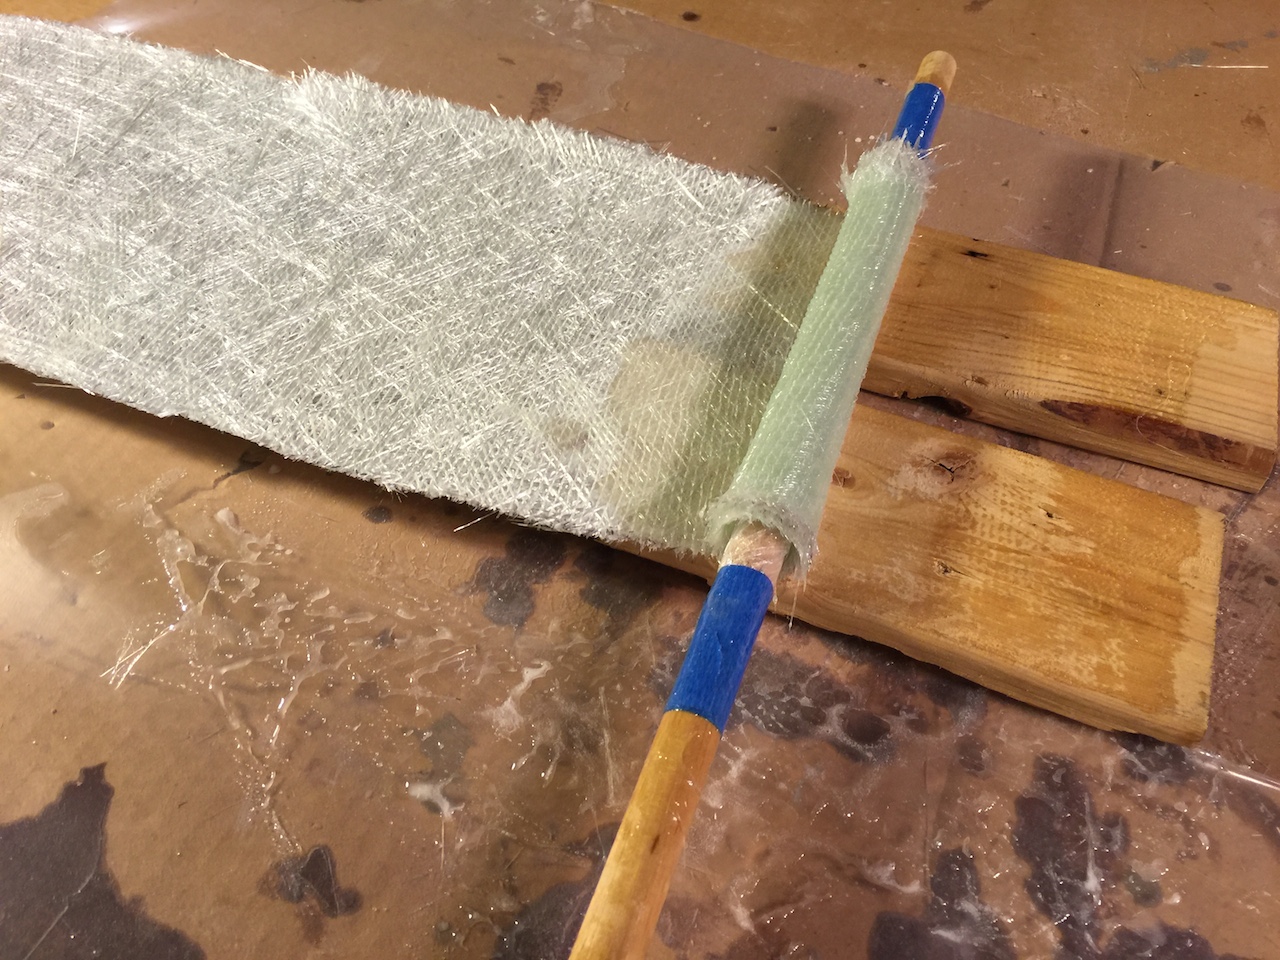
Using more cellophane and tape, I wrapped the outside tight and hung vertically to dry.
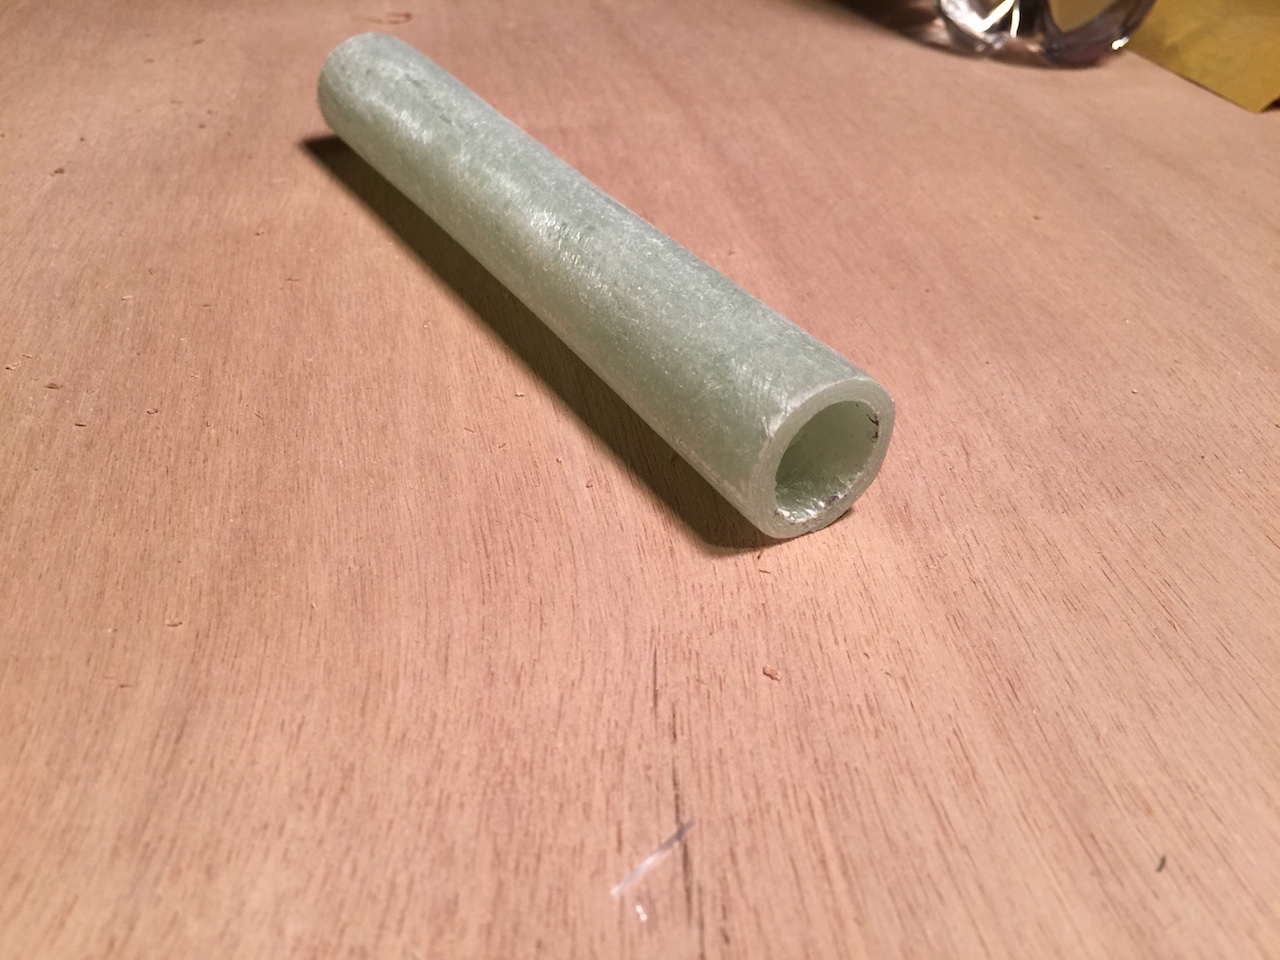
After the epoxy cured, I removed the tape, dowel, and cellophane, then used various sanders to get a roughly circular exterior profile.
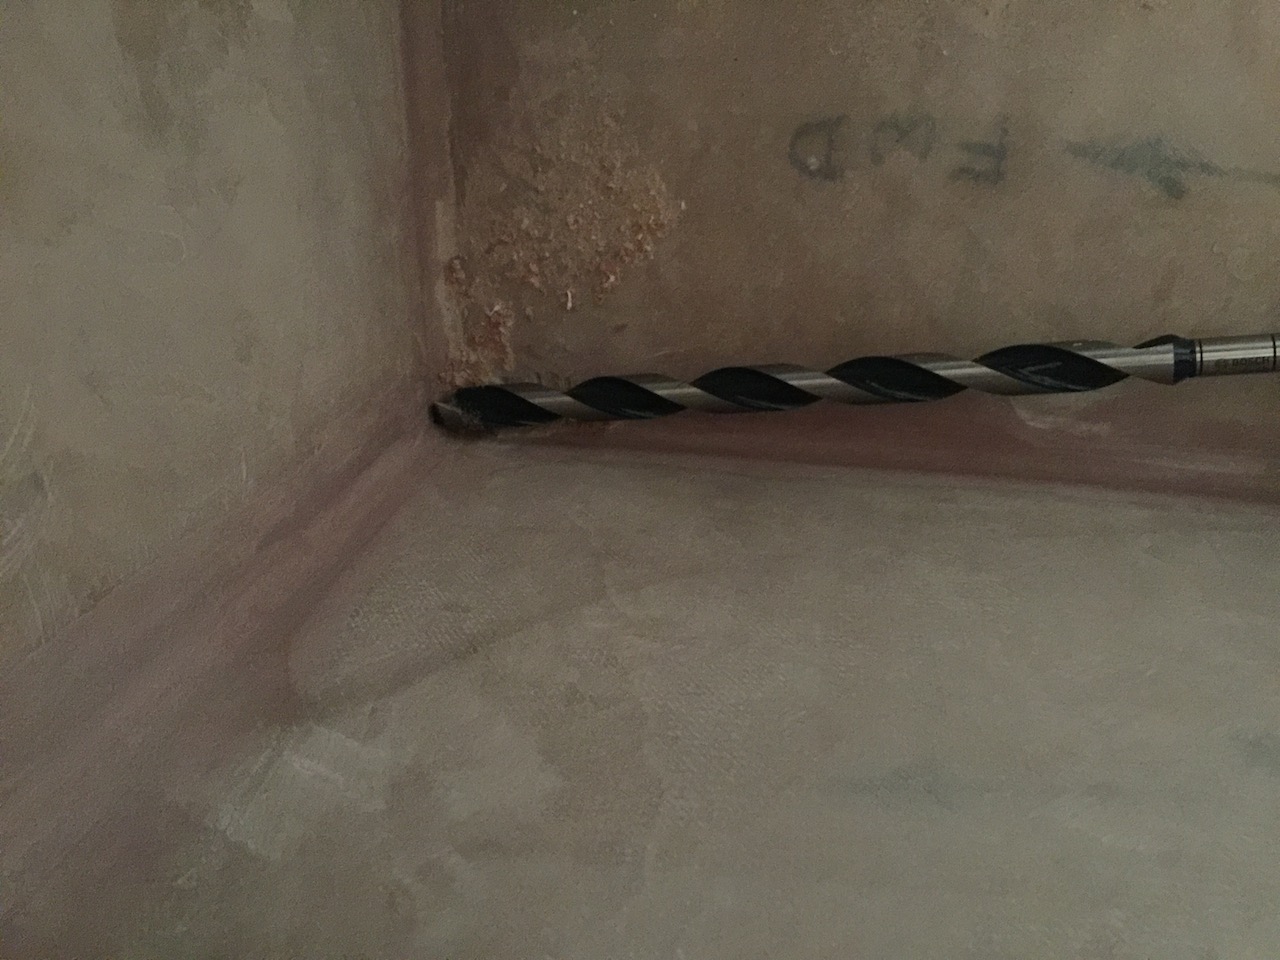
I purchased a 1-inch-diameter auger bit to bore through the icebox walls and insulation. This bit will also be used to cut various limber holes in structural bulkheads as well as holes for wiring and small plumbing. More on that later.
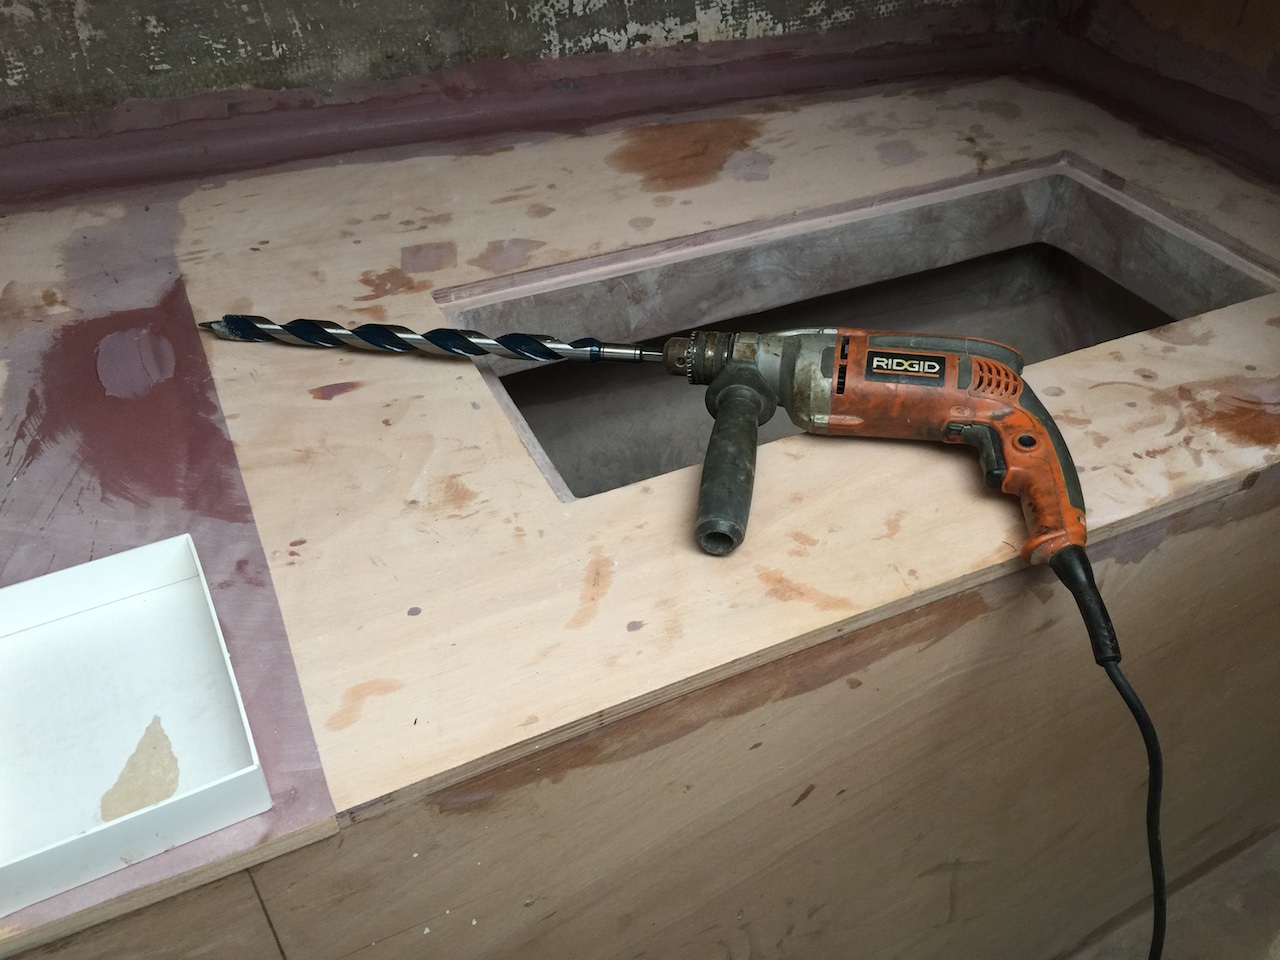
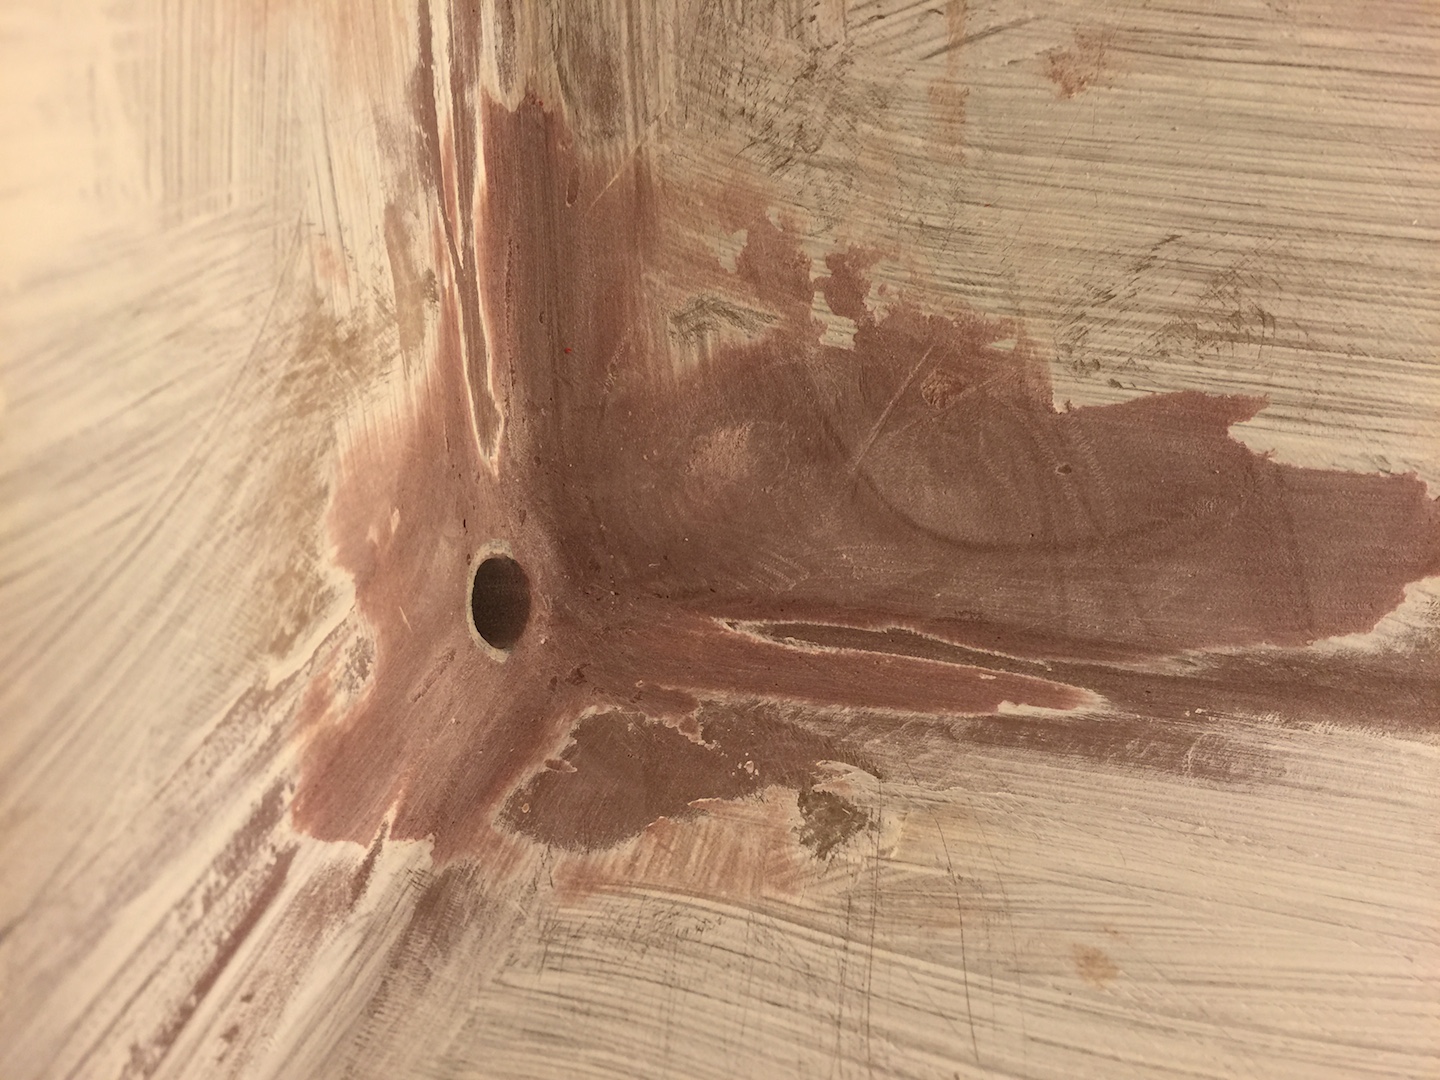
The lowest part of the icebox, by design, is the inboard/forward corner, and that is where I drilled the hole.
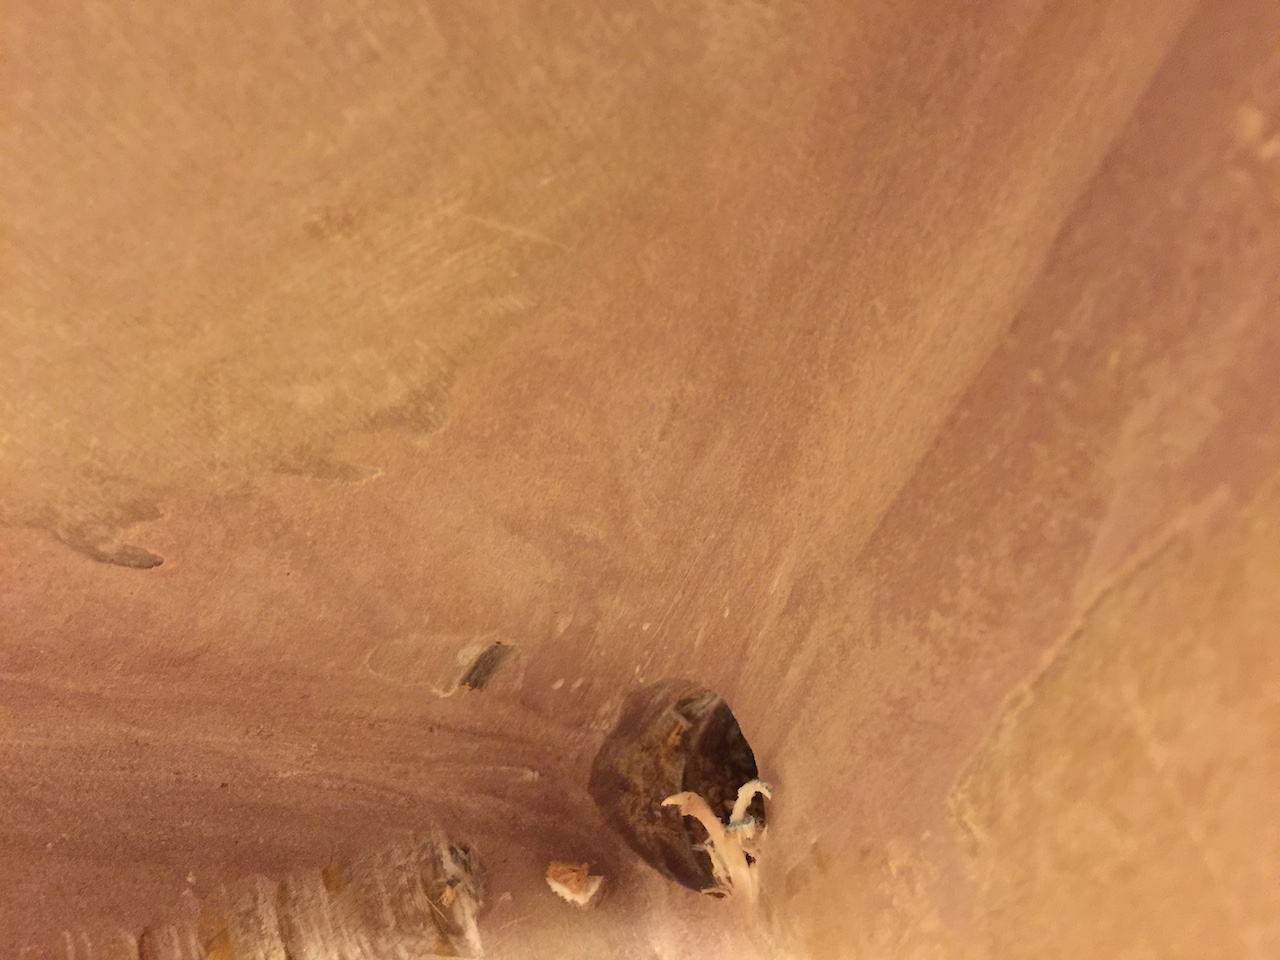
Here is the hole on the icebox side:
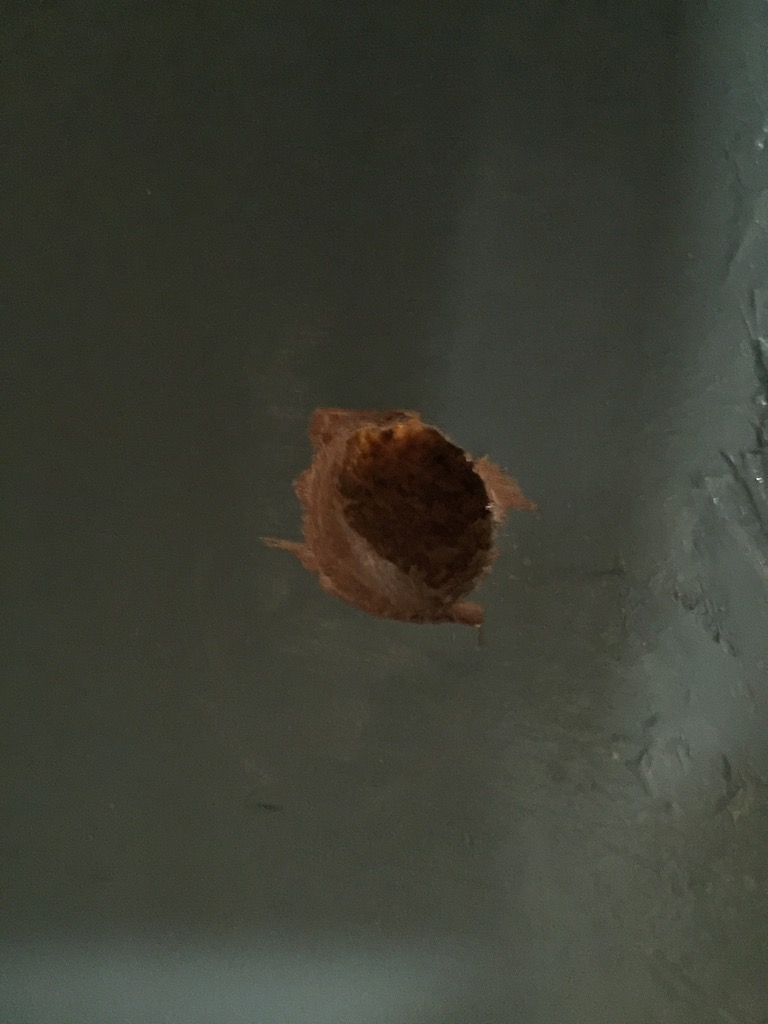
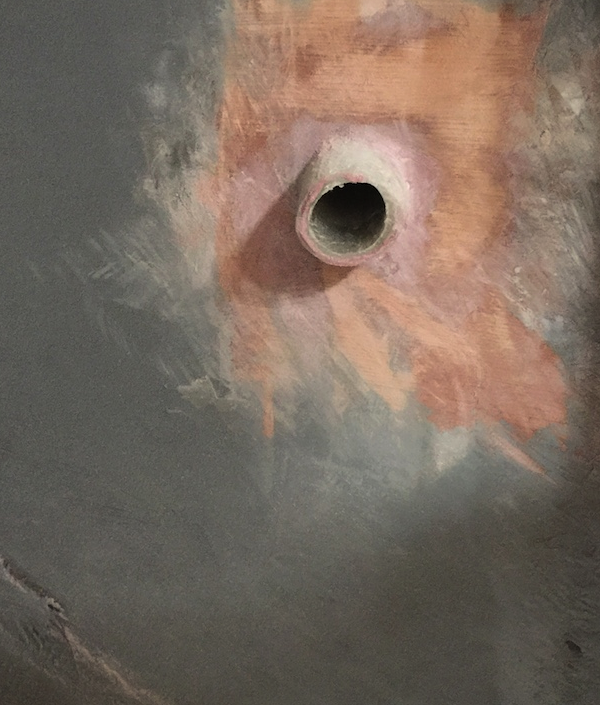
Here it is again on the under-sink side:
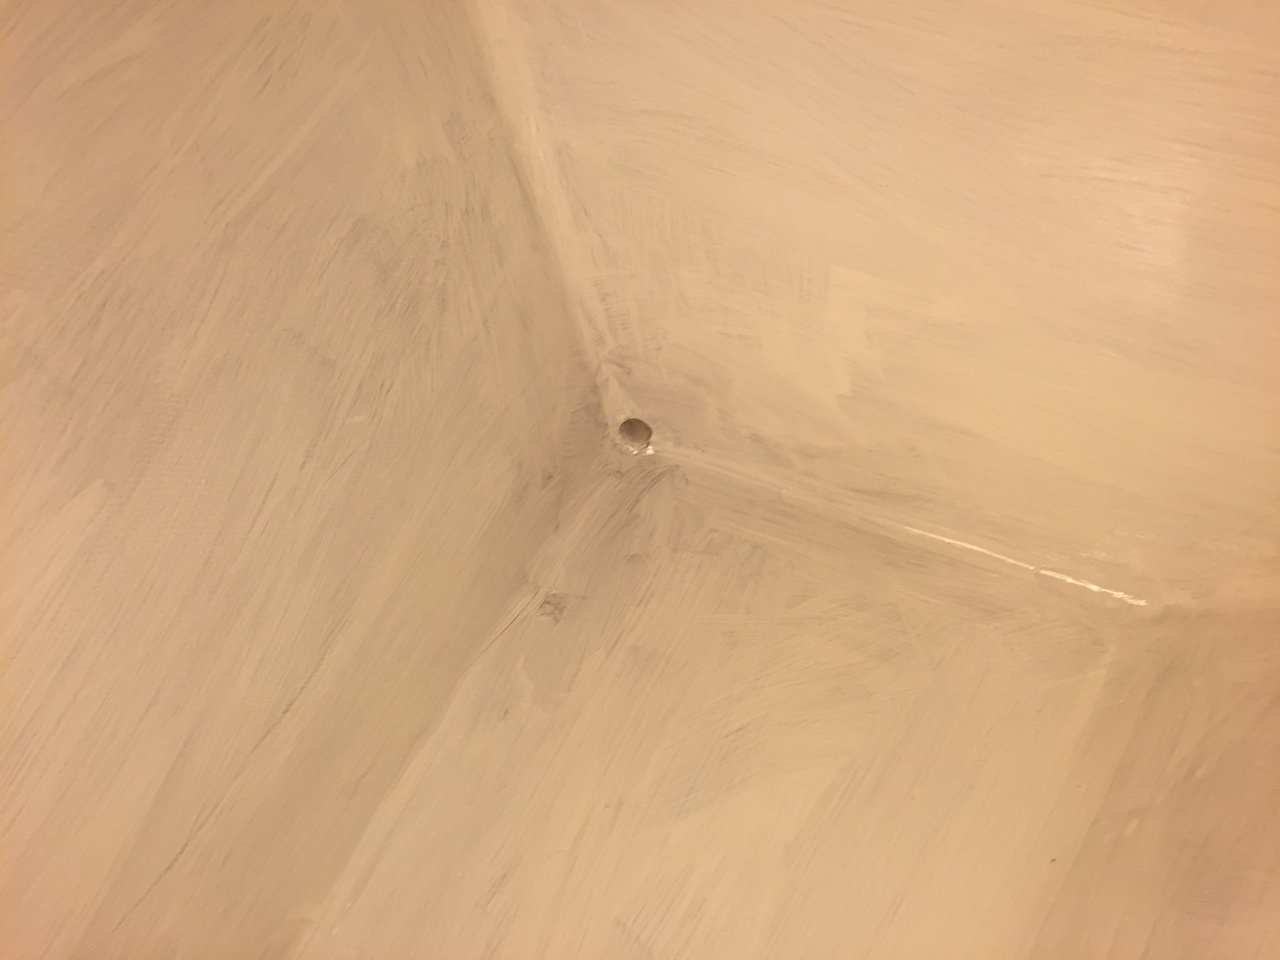
The tube required a little more sanding before it would fit through the holes, but after a dry fit, I epoxied it into place, actually closing off the hole with thickened epoxy on the icebox side.
Some sanding and drilling revealed the hole again, and everything was sanded and cleaned up to make ready for paint.
Here is the under-icebox side of the tube. The tube protrudes about 1 inch so that I might get a hose and hose clamp over it. I might, on the other hand, simply sand it flush with the bulkhead and find another solution. In any case, the drain will be led, via hose, to a gray water tank.
Finally, I applied a second coat of primer.
HOLDING TANK
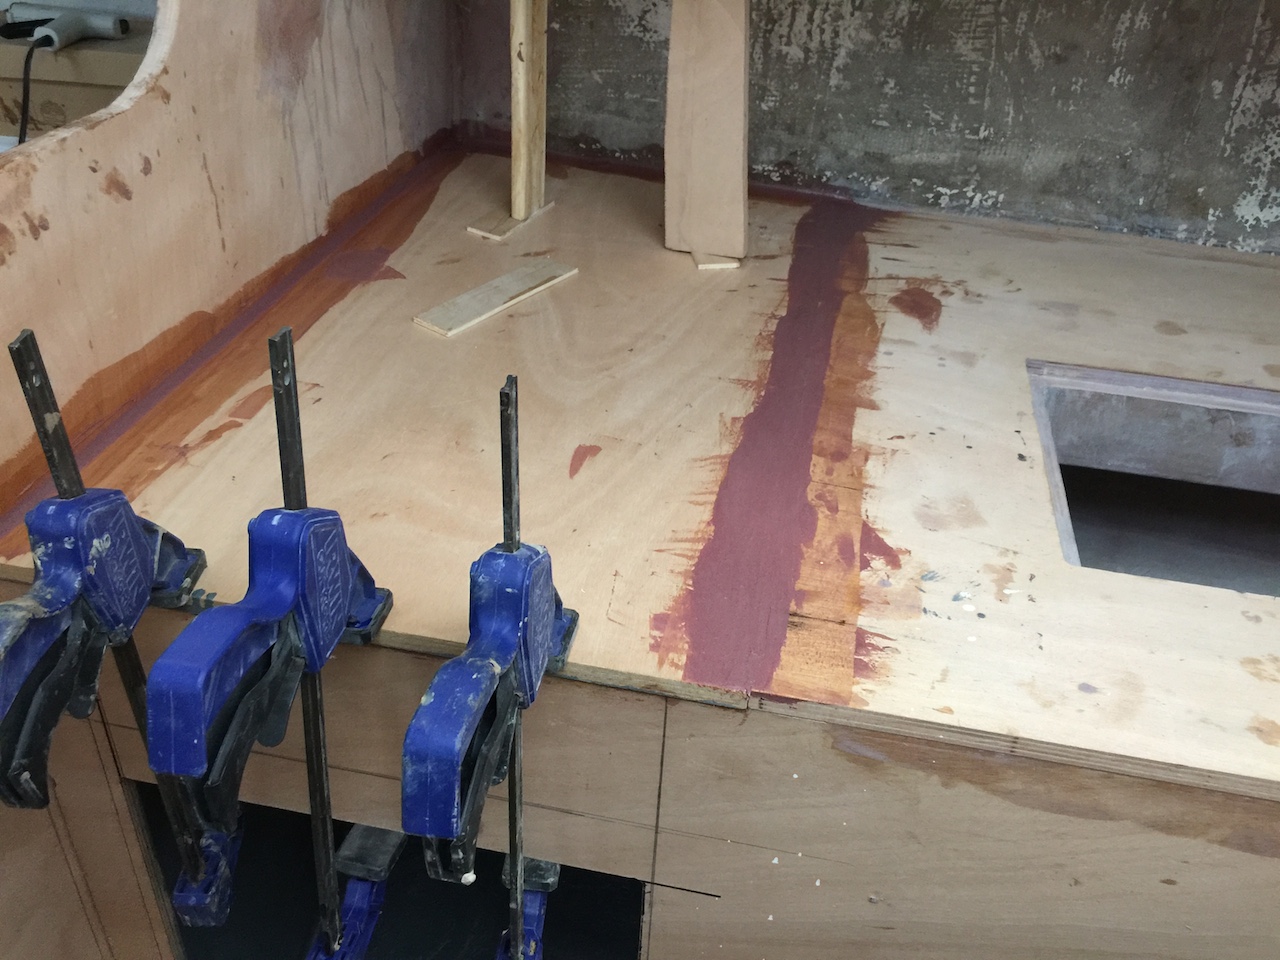
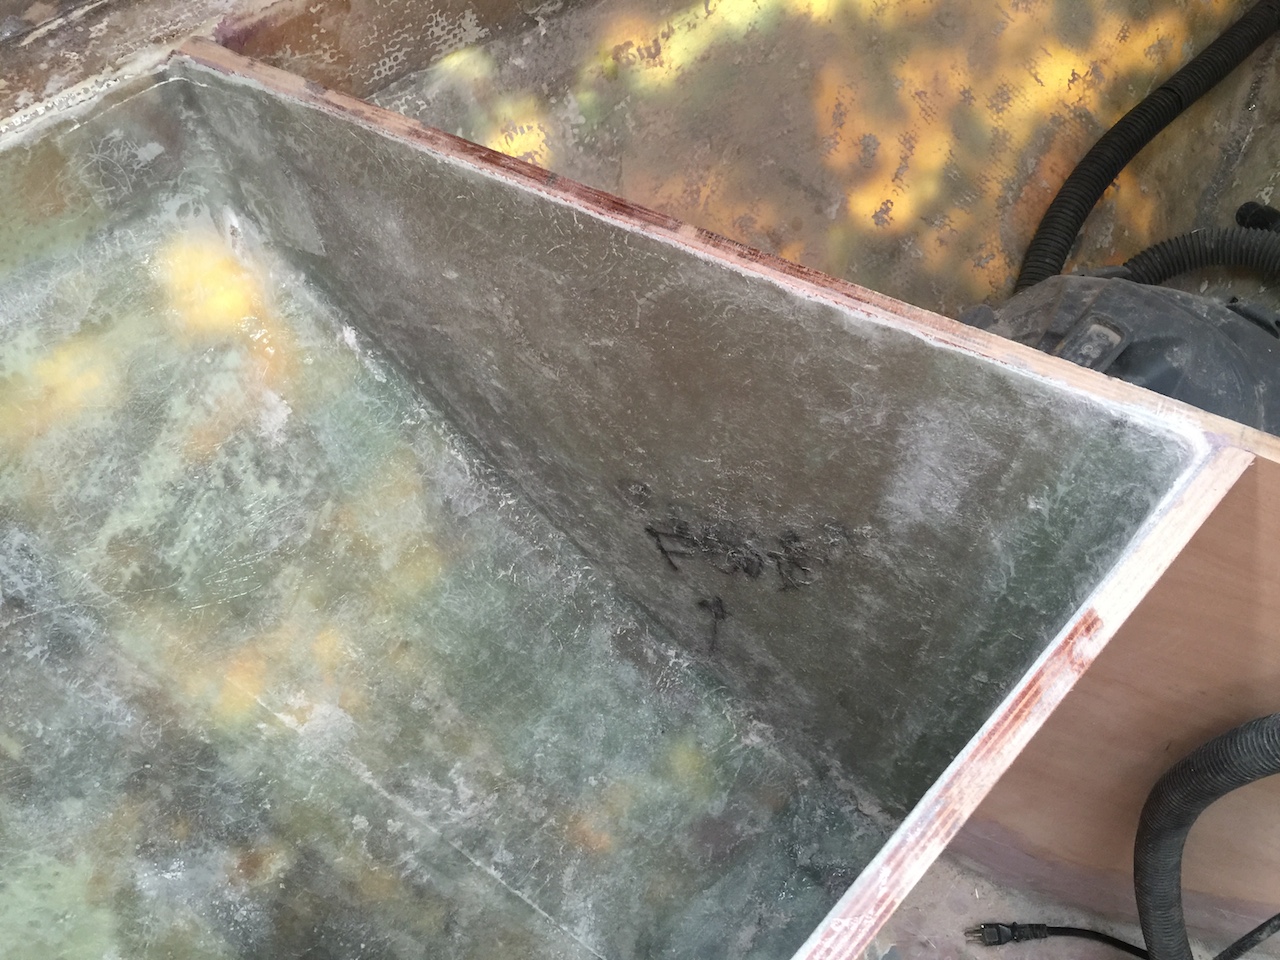
The holding tank will be plumbed straight through a bulkhead, but the bottom of the holding tank area is a V shape. So that the empty-tank fitting will be as low as possible, I built up this area so the bottom of the tank will be about 5 inches wide and flat. I used concrete sand mixed into epoxy and covered it all with a piece of fiberglass cloth.
Next, I cut the fiberglass for the forward, aft, and hull sides of the tank. The forward and aft sides are bulkheads, and they received 2 layers of biaxial cloth followed by one layer of chopped-strand mat. The hull side of the tank received one layer of biaxial cloth followed by one layer of chopped-strand mat. All surfaces will eventually receive several more layers of “straight” epoxy. These pieces are large, so they were wet out and rolled in place, not in the workshop.
After many batches of epoxy, and then curing, washing, and sanding, the inside of the tank looks as follows.
The next steps here are to pattern and make a baffle that will divide the tank into two sections–foe and aft, then start thinking about the lid.