9/7/20: Painting, Misc
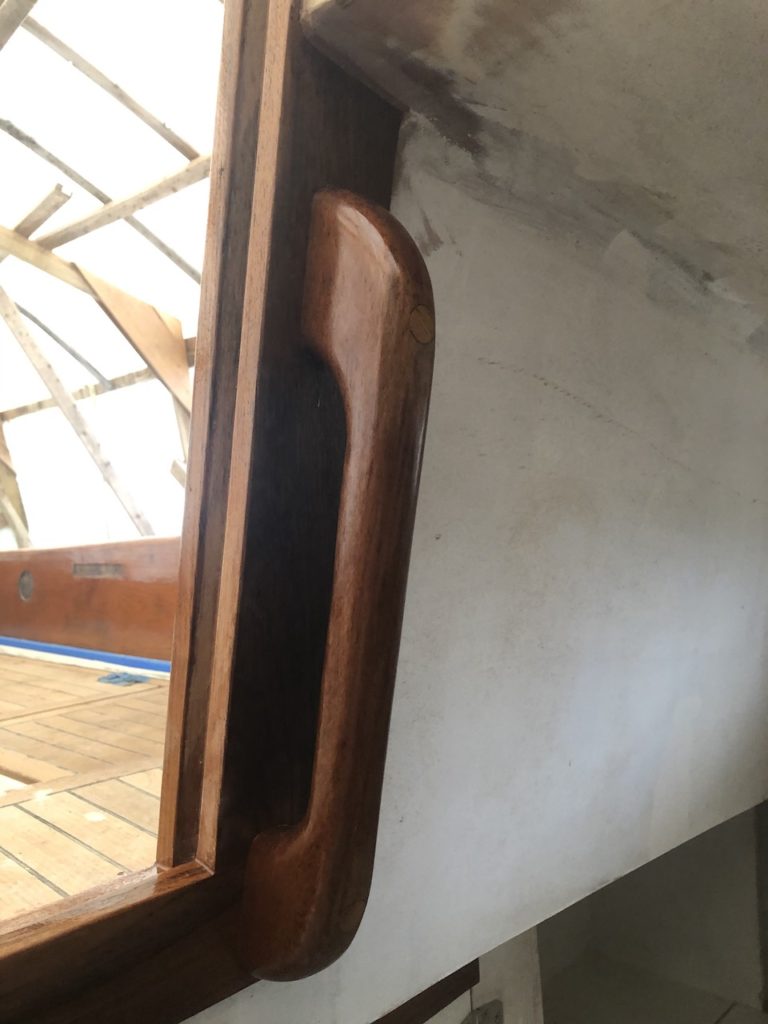
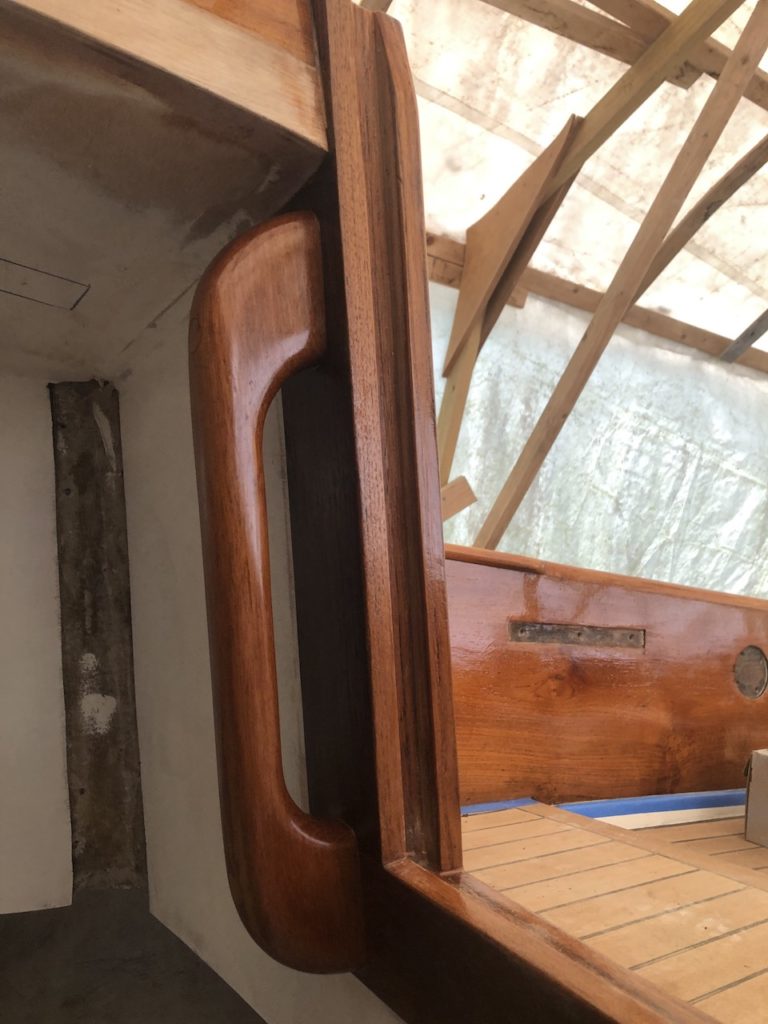
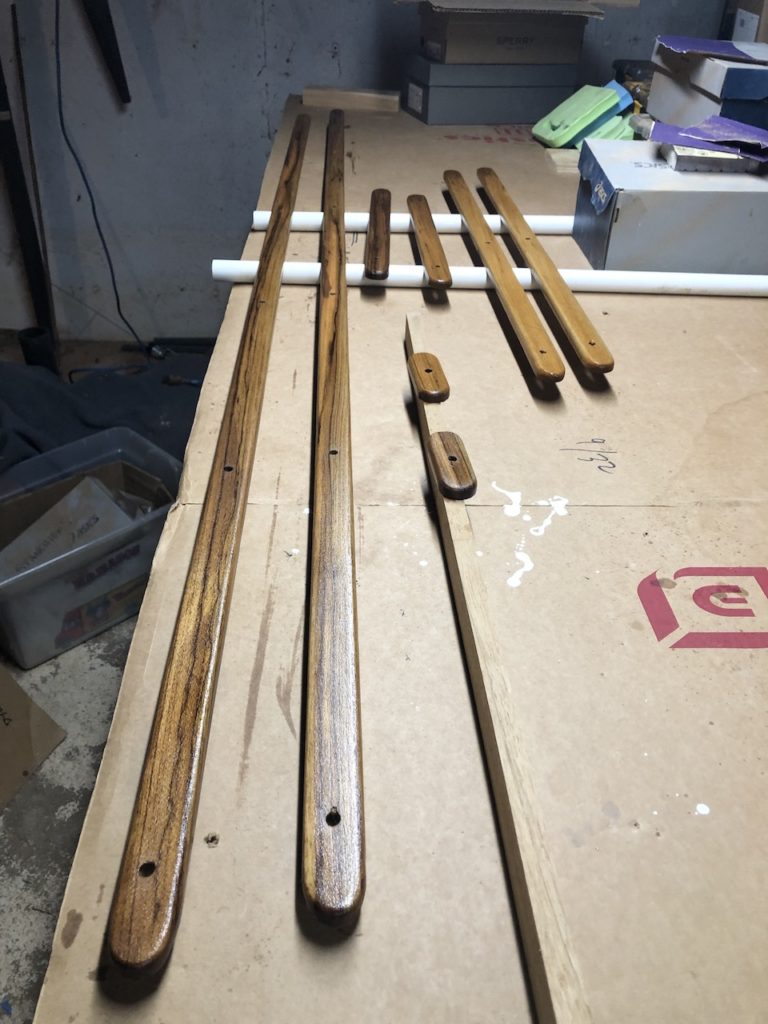
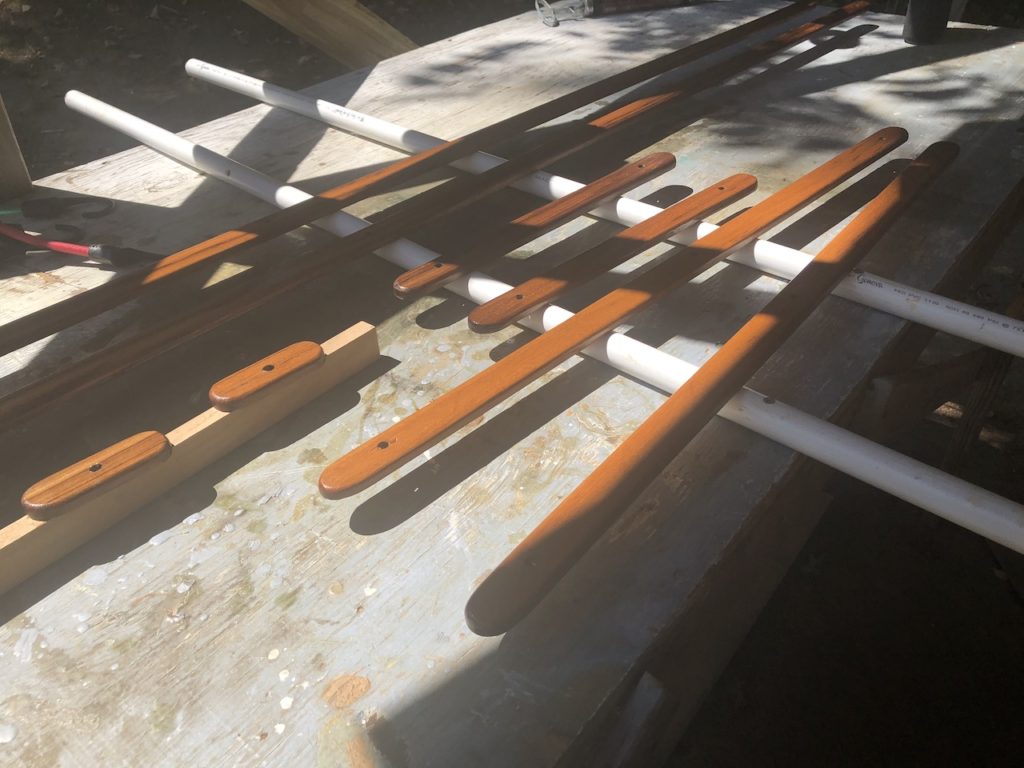
I explained in my last post the change to the handrail strategy, whereby those that were to be on the ceiling will be mounted elsewhere–namely on the sides of the cabin house, just below the windows in the main salon. This change in strategy created four unused rails: two one-loopers and two three-loopers. The two one loopers you see in the photos below were initially going to be on the ceiling in the forward cabin. The forward cabin is small enough, however, that handrails there are not necessary. Even short arms can put a palm out to leeward and balance a body using the leeward house side. The purpose of those in the photos below is self-explanatory. More later on the unused three-loopers.
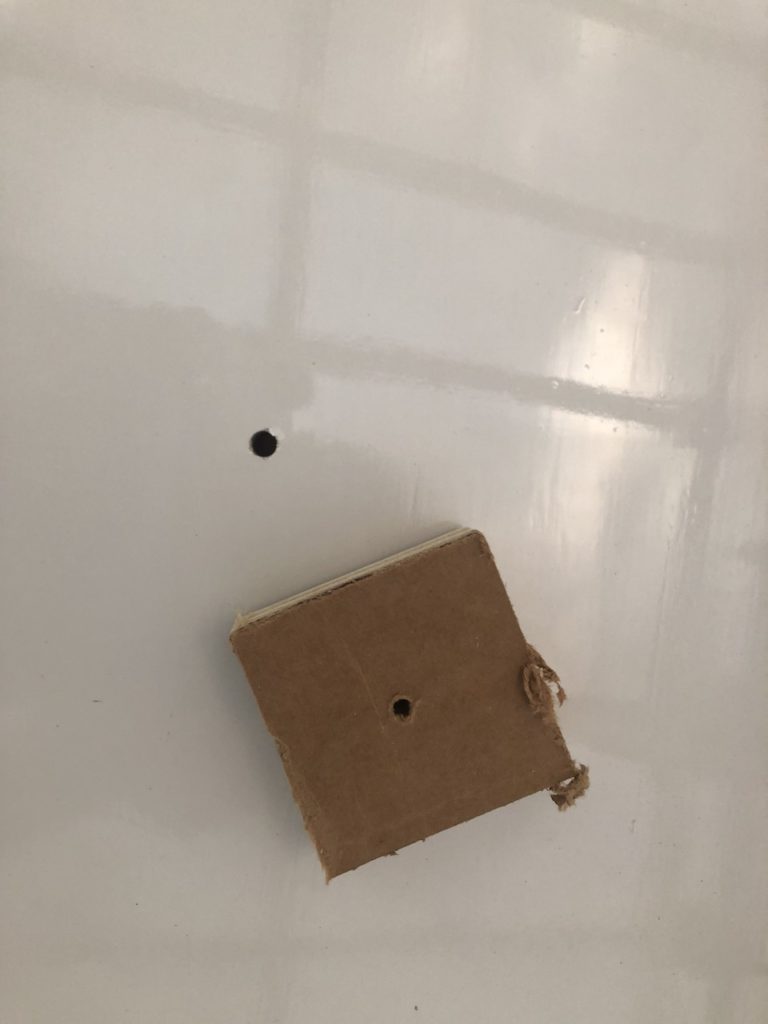
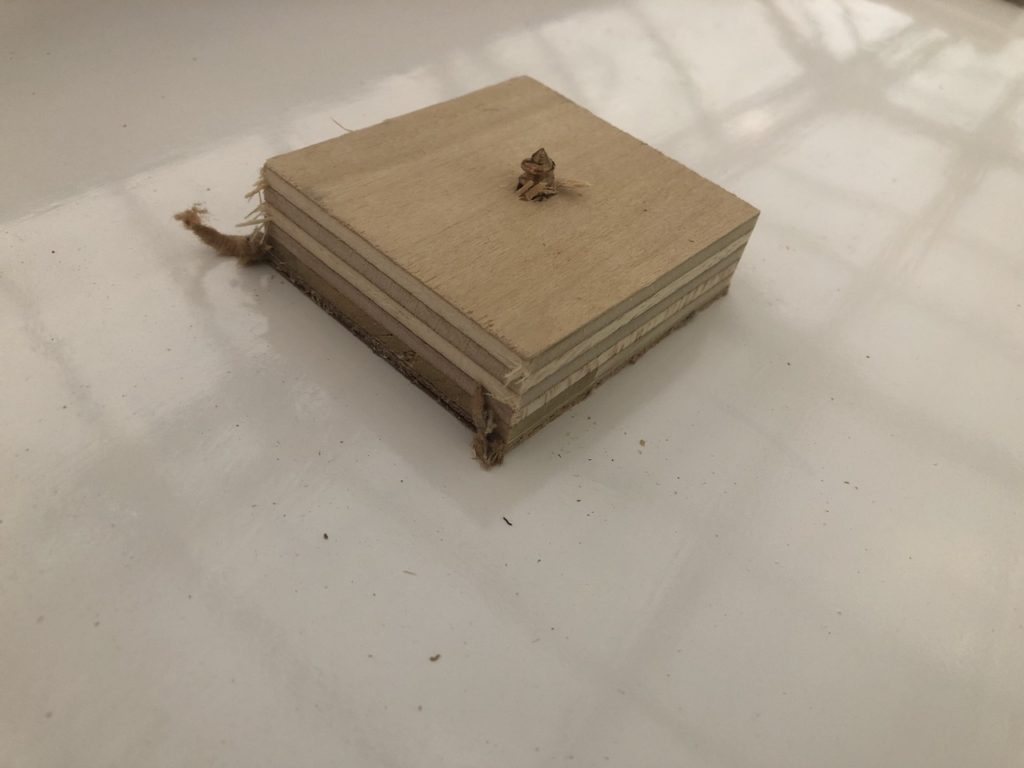
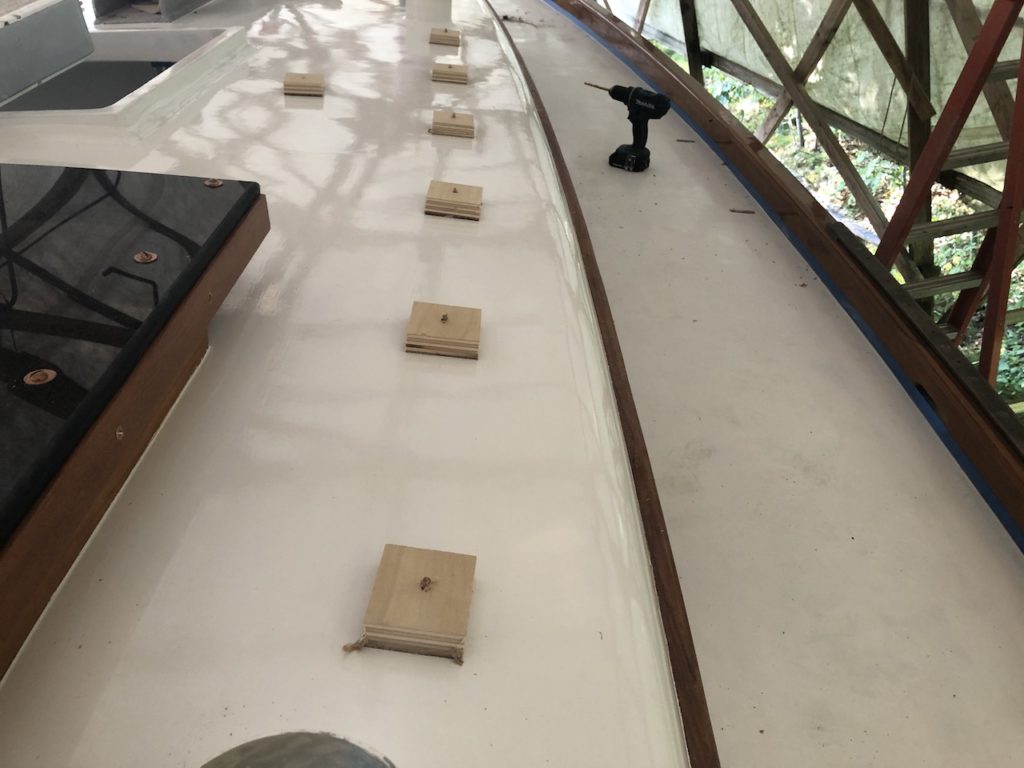
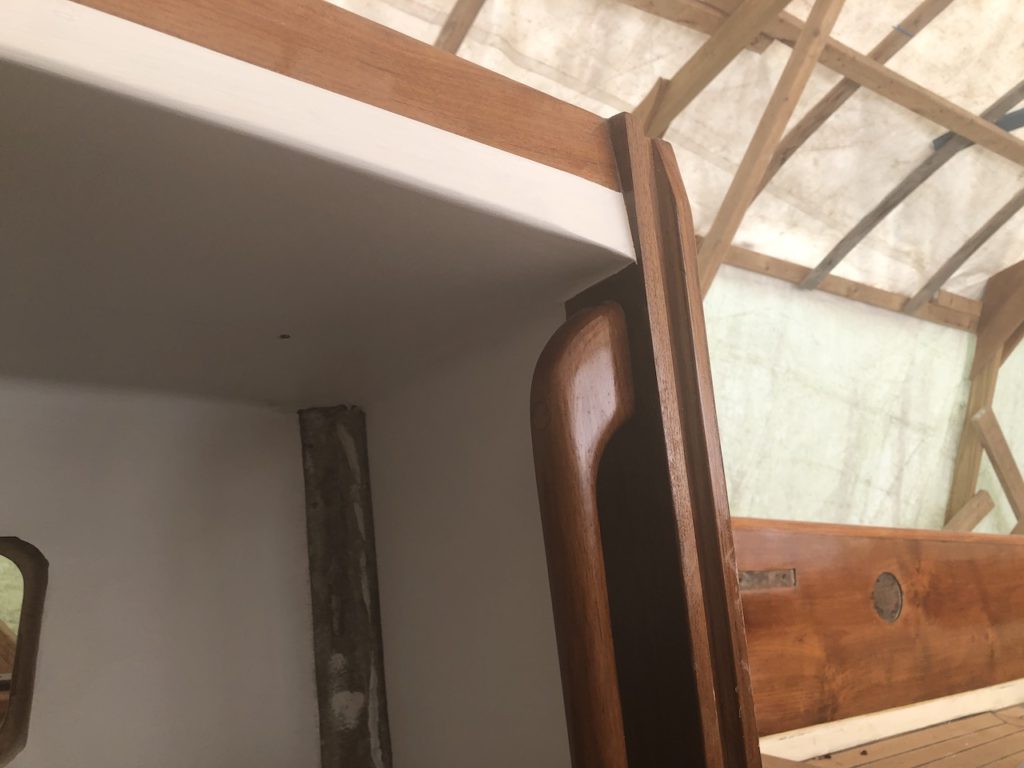
Before installing the handrails on the top of the house, I needed to do a final coat of paint on the house (done…work not shown here). I also need to finish painting the ceiling, and you’ll see that evolution (the results, not the process) in the photos in this post. The handrails on the house will be fastened with bolts and washers, with the bolts coming up through the ceiling. Instead of the washers lying on the ceiling, I decided to have them lay on teak strips. This will both look nice and also facilitate certain maintenance tasks, like painting the ceiling again someday. I cut the strips to be 3/8″ thick and 1.25″ wide. I glued, with spray adhesive, some clean cardboard to some scrap plywood and made some small pads to accept the bolts in the dry fit. The purpose of the cardboard, of course, is to protect the paint.
Here are the pads acting as the five-looper on the starboard side.
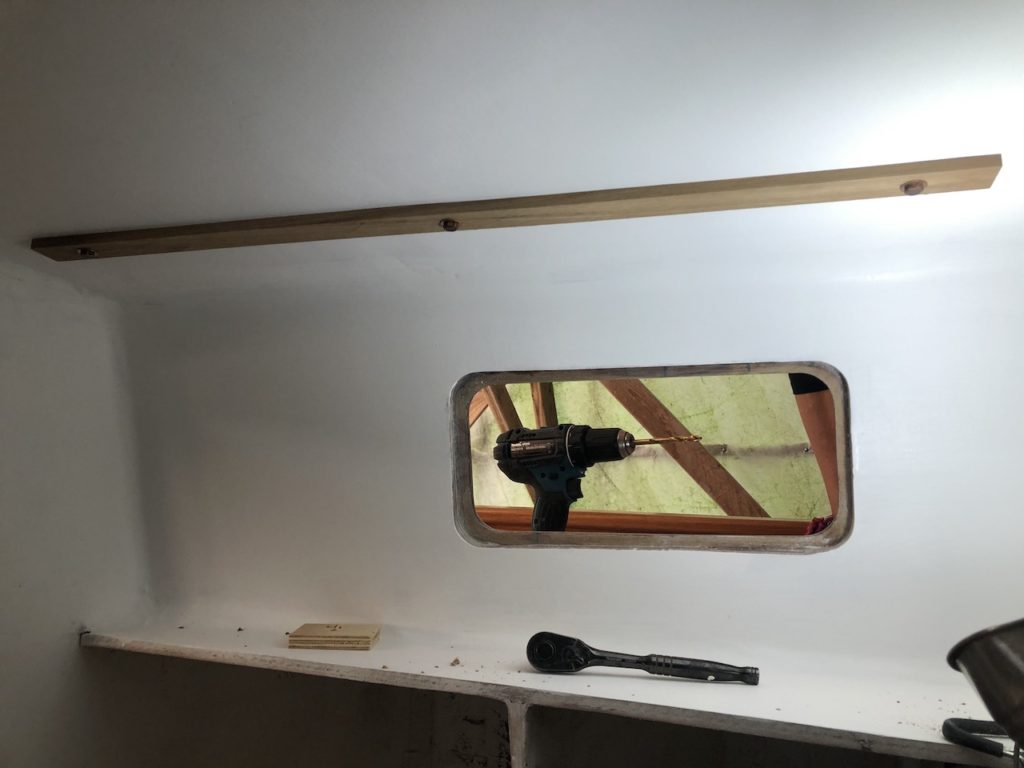
Here is the teak strip on the starboard-side head area. (Here the ceiling has been primed and painted with one coat of paint, down to the level of the deck.)
The purpose of the dry fit was to drill the holes in the strips in just the right places. Determining the alignment of the strips in the cabin simply required a strategically placed pencil mark near each hole.
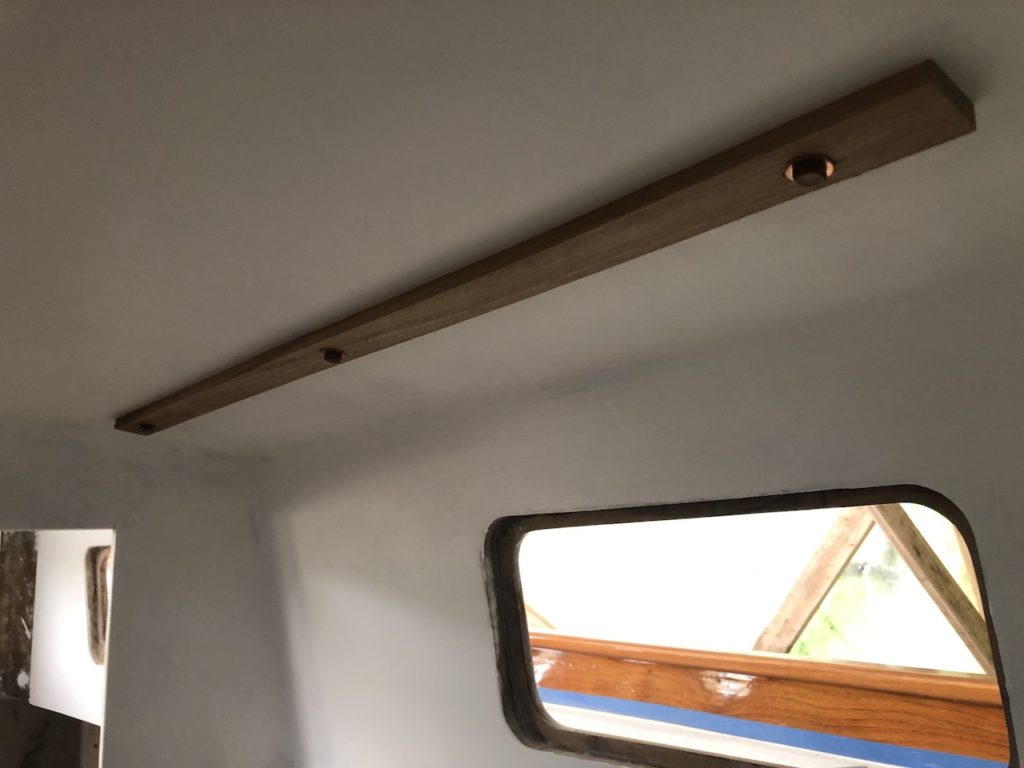
I rounded off the ends and rounded over the lower edges and applied a coat of varnish.
And then a second coat a few days later.
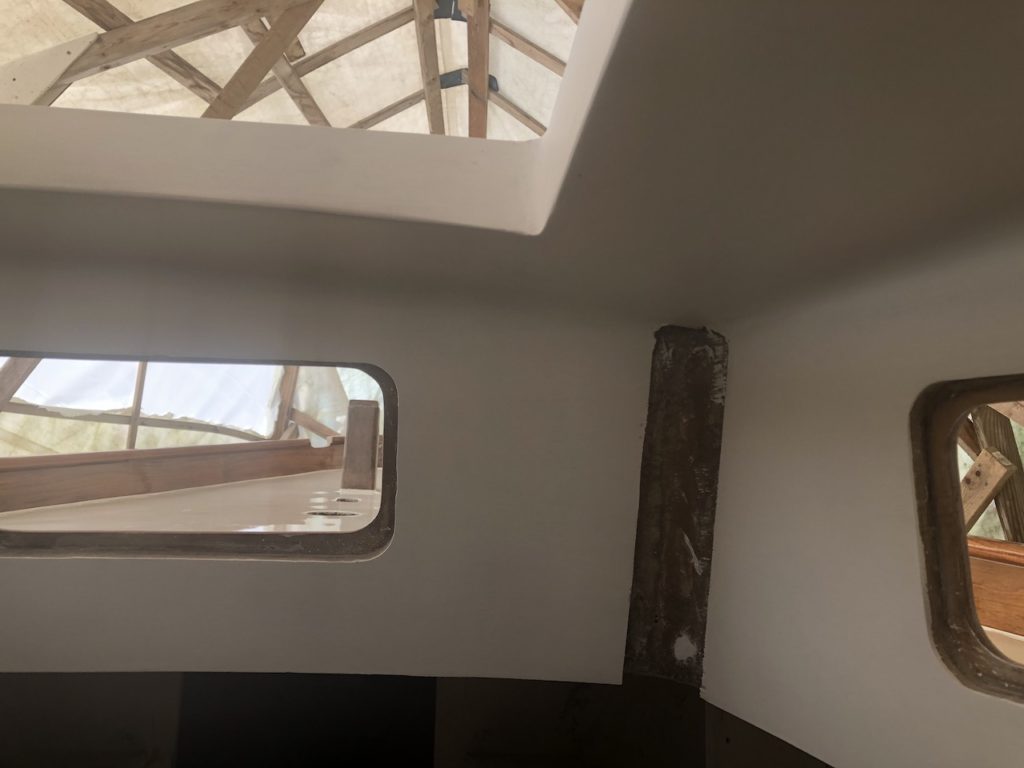
With the dry fit of the strips done, I was able to put a final coat of paint on the ceiling and sides. This is the starboard side of the companionway:
This is looking forward from the forward cabin.
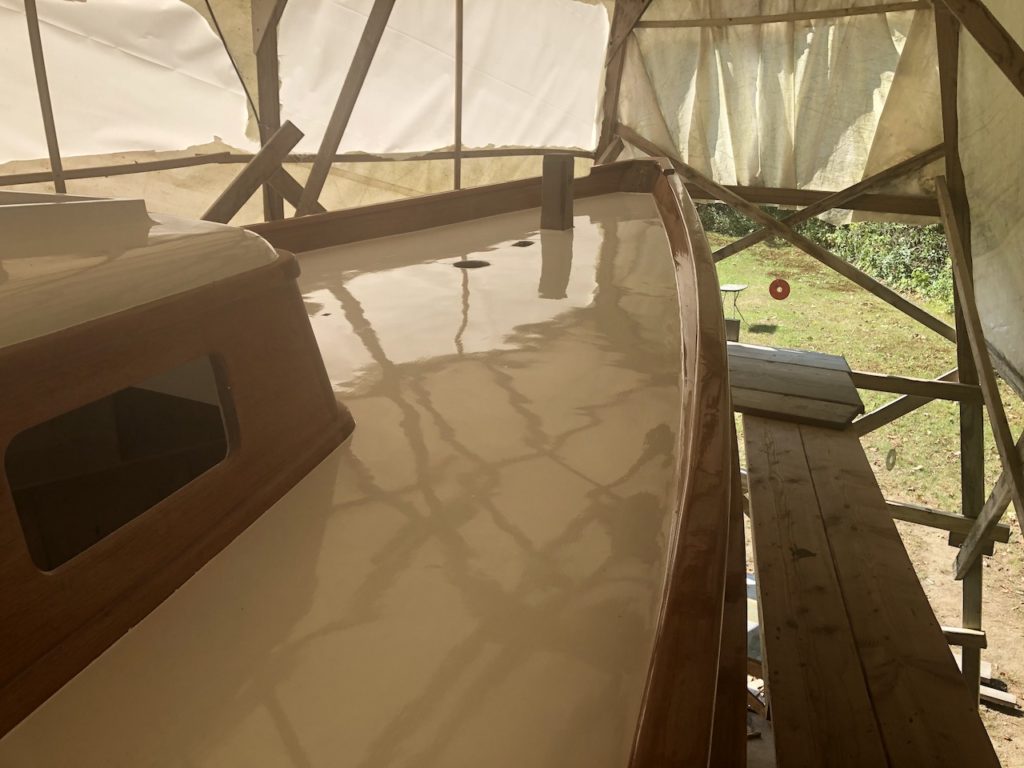
The bolts I need of for installing the handrails are on backorder, so now I wait and turn to other tasks. One more coat of paint on the deck, and now I can begin installing deck hardware.

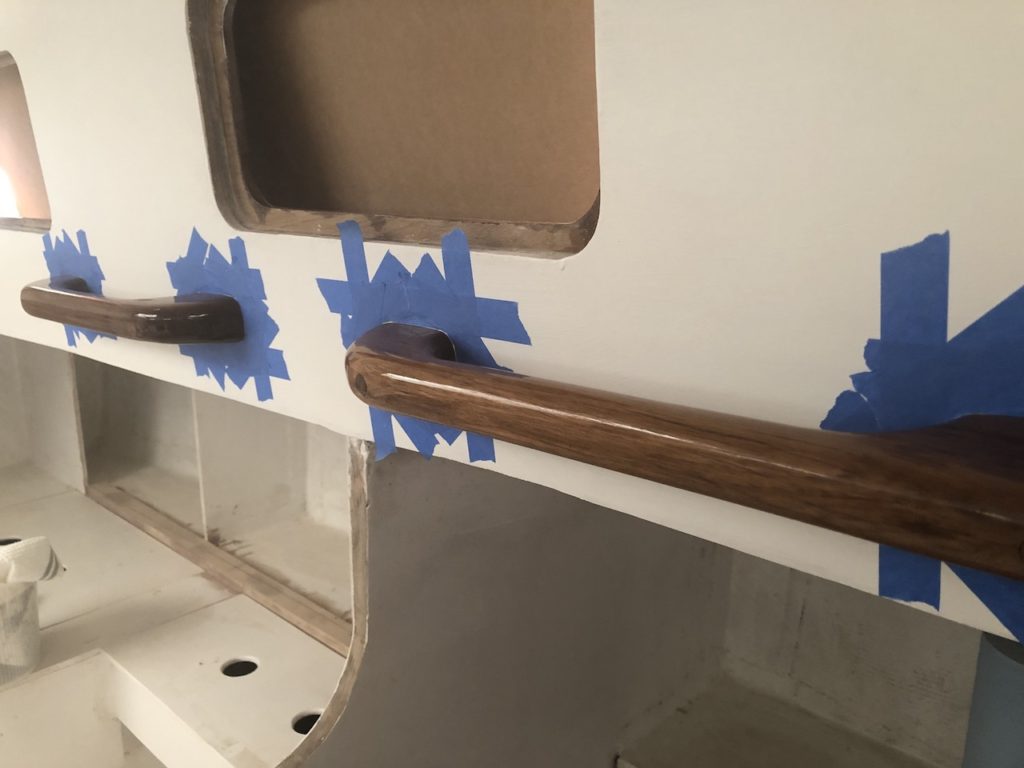
The handrails on the house side needed one more coat of varnish. Taping around sharp curves cannot be accomplished neatly by bending the tape. My preference is to us a number of straight pieces and cut off the corners until you reach the desired fit. In this case, I started with a rectangular pattern, then cut off corners just twice:
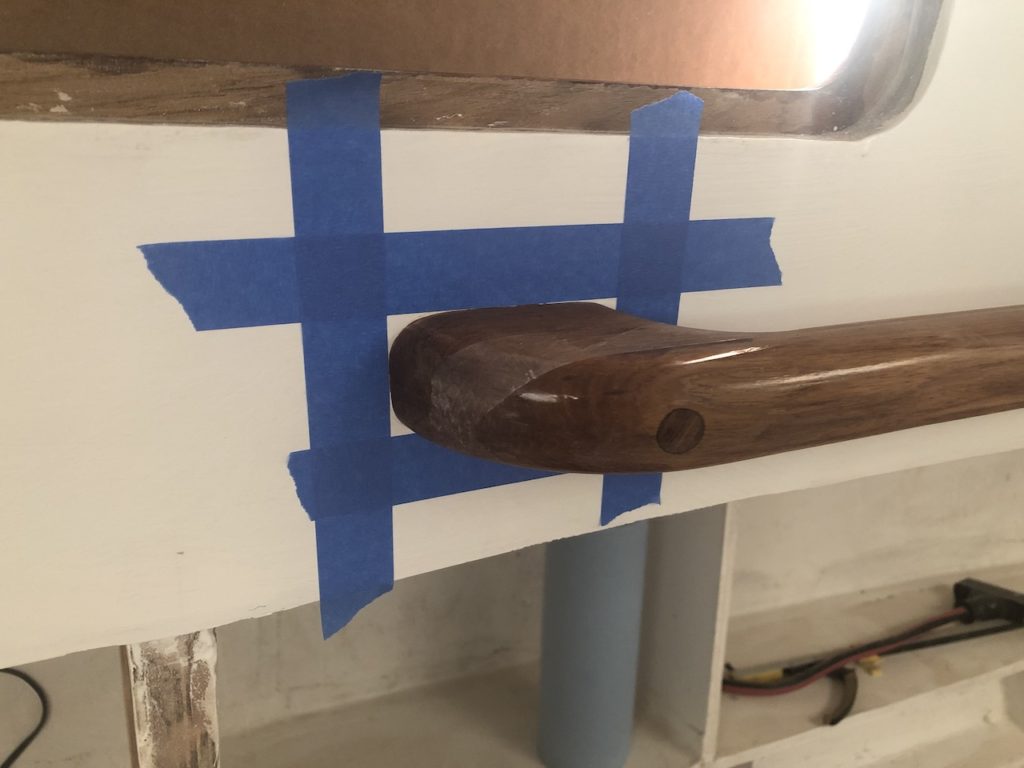
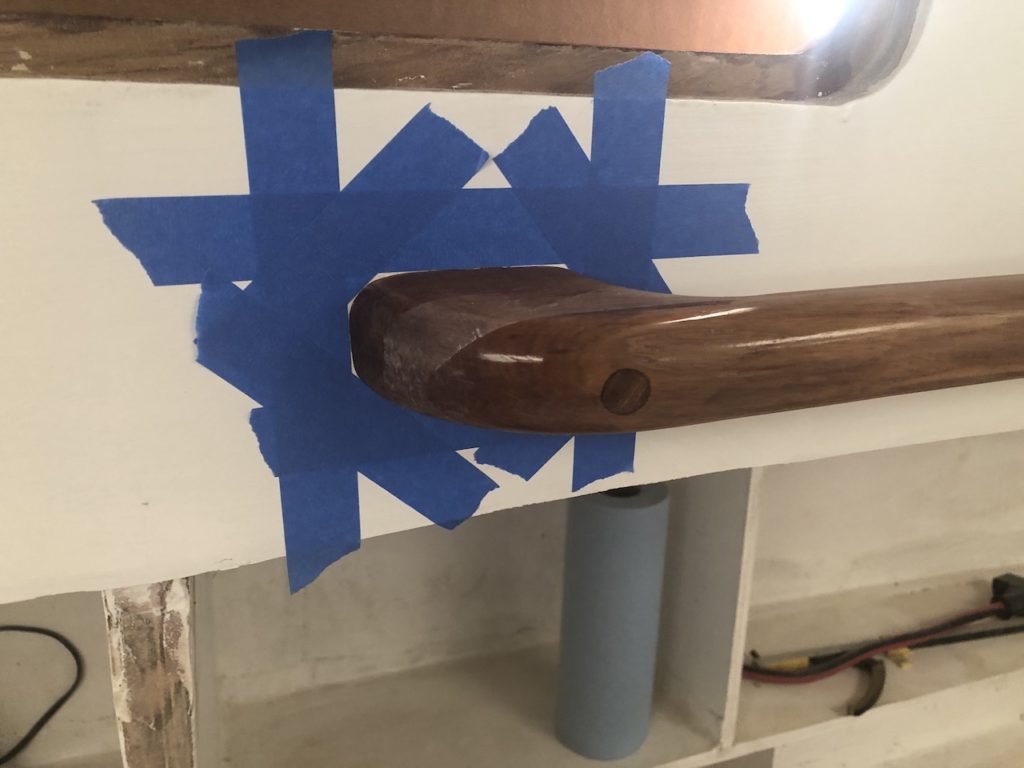
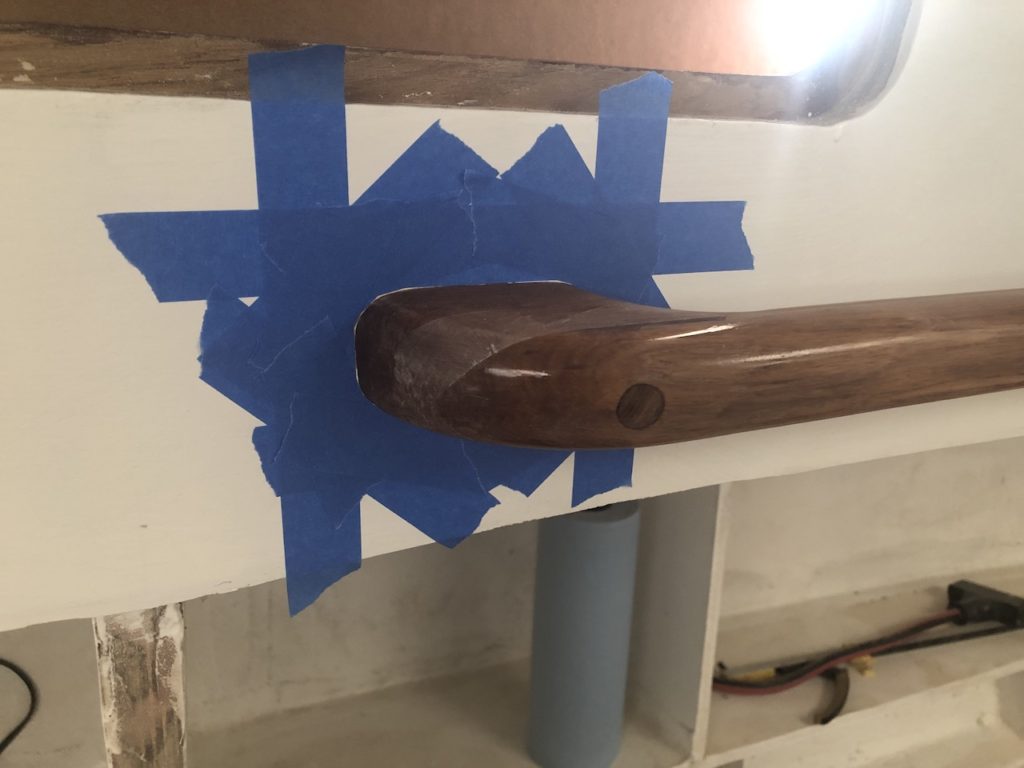
Then I sanded and varnished:
Mom
09/07/2020 — 8:55 pm
Looks beautiful, Mike!!
Mike
09/07/2020 — 9:16 pm
Thanks Mom!
Bill
09/07/2020 — 9:30 pm
Hi Mike,
Nice job.
That boat was never built that well initially!
Ruckle will stand tall and SHINE !!!!!!
Bill
Mike
09/08/2020 — 9:29 pm
Thanks Bill!
Tom
09/07/2020 — 11:22 pm
Mike I like the strips. Will make it easy to refinish /seal handrail by removal.
Mike
09/08/2020 — 9:29 pm
That’s right, Tom. Thanks.
Jimmy
09/08/2020 — 1:01 am
That white paint job tho :)
Jimmy
Mike
09/08/2020 — 9:29 pm
Off-white! Looks good, thanks.