6/25/23: Floorboards, Upholstery, Emergency Tiller, Cover, Stanchions, Lifelines, Hanging Lockers
EMERGENCY TILLER
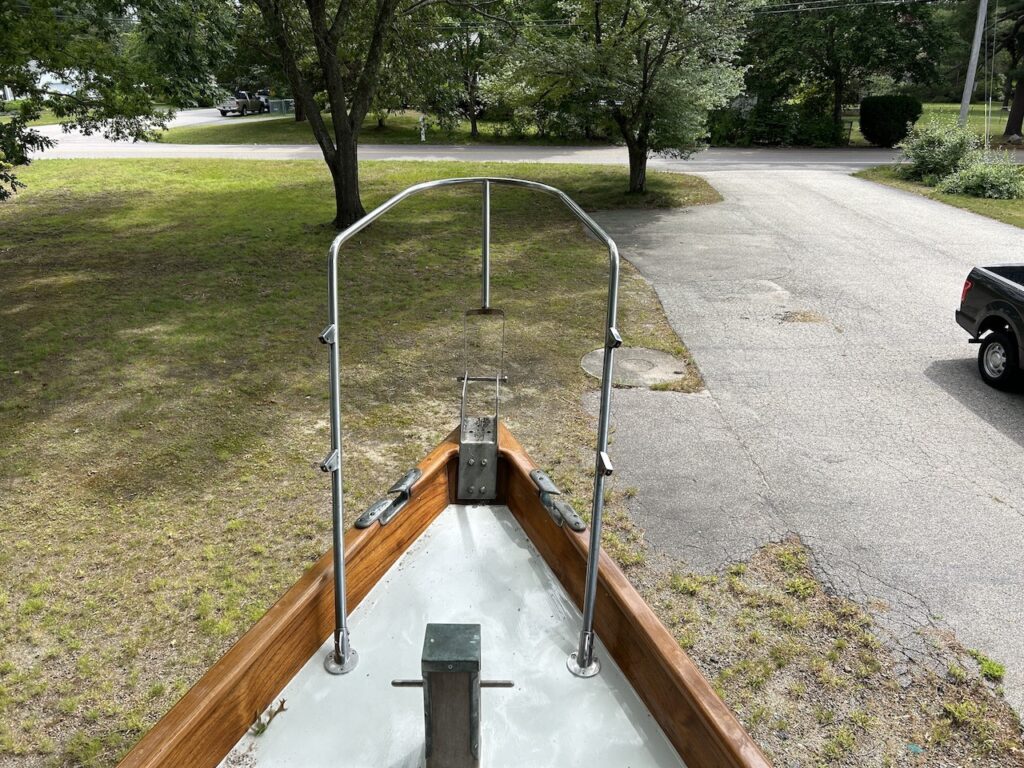
The rudder posts extends up through the cockpit sole:

There is a bushing through which it passes, leaving only the very end exposed. The very end has a square cross section, not round like the rest of the post:
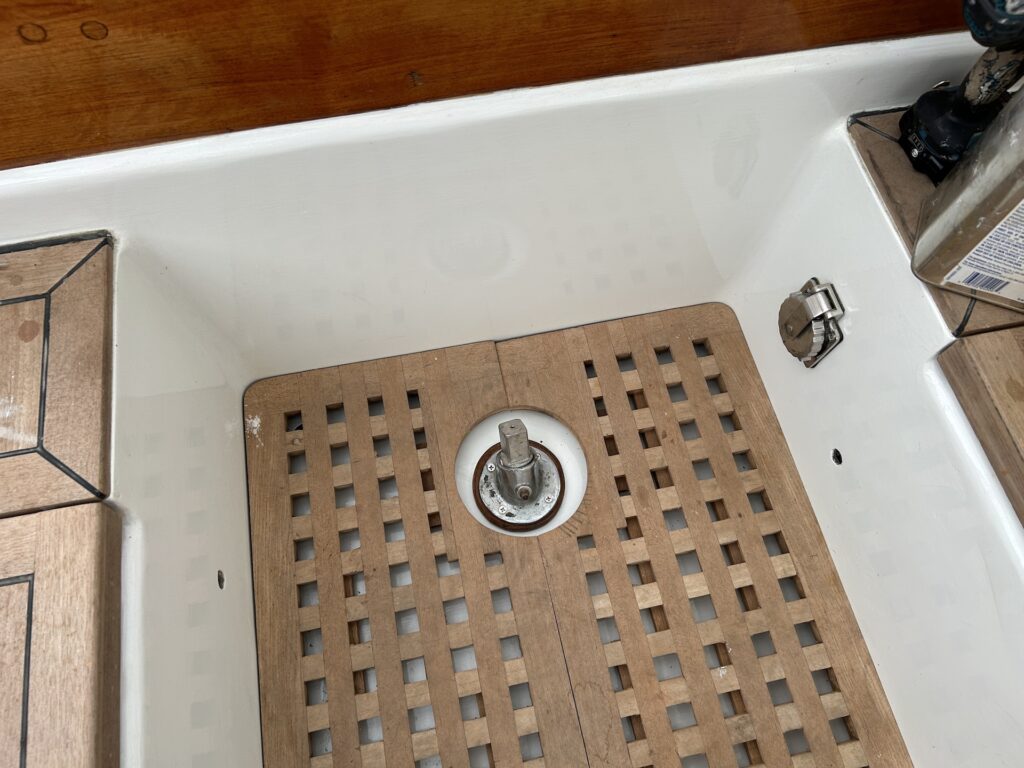
The emergency tiller fits on the square end and. In the event that the steering fails, the emergency tiller could be used to steer the boat. Here (below) I’ve tried to fit the emergency tiller onto the top of the rudder post, but it’s too tight a fit. I’ll have to file some material out of the hole in the emergency tiller.
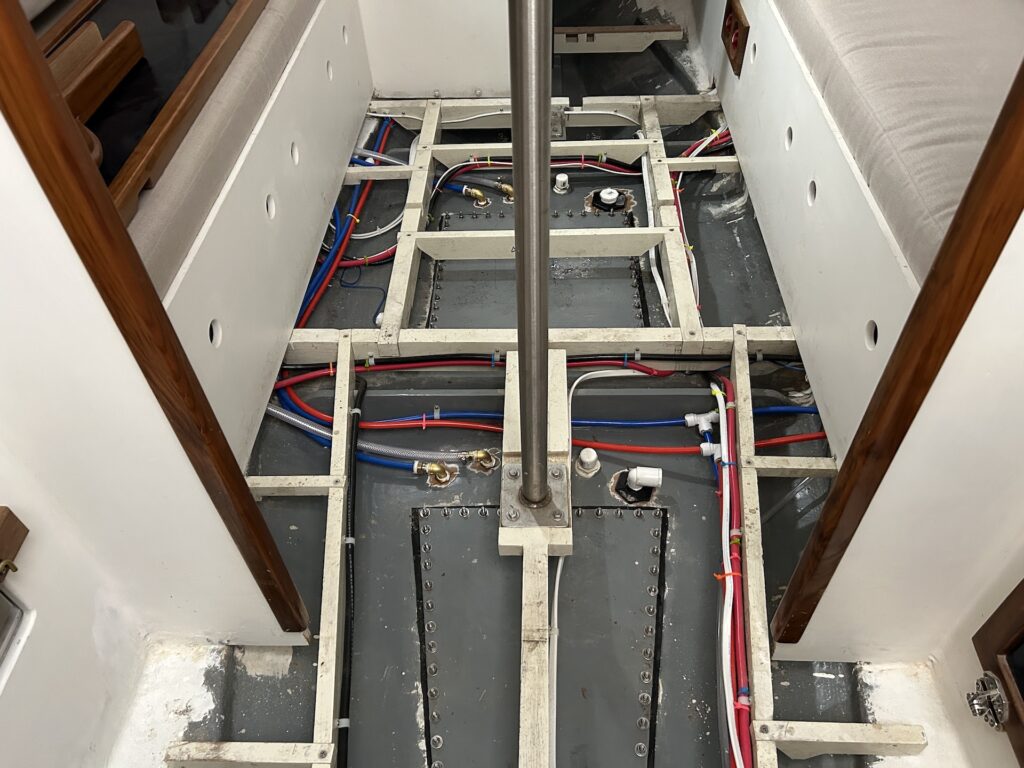
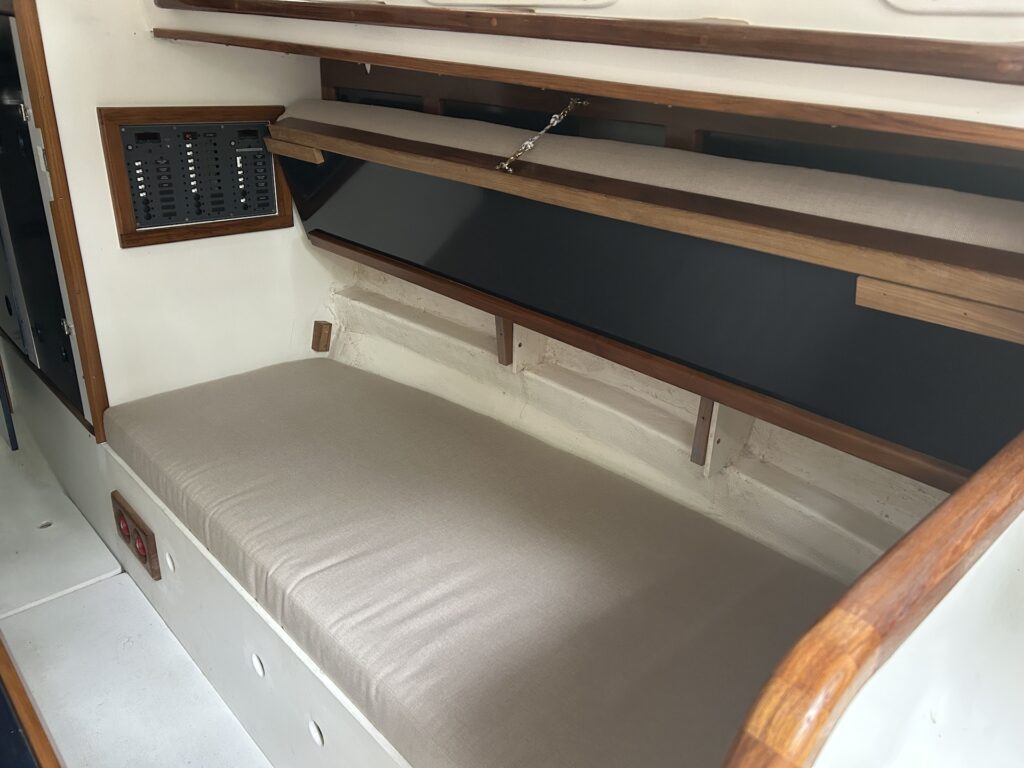
FLOORBOARDS, UPHOLSTERY
I removed the floorboards, sanded them, and applied a coat of off-white paint mixed with a gritty nonskid additive:
While the floorboards were up, I took the opportunity to snug the bolts on the water-tank lids:
The floorboards are back in, and now I’ve secured them here and there with countersunk screws. These screws can be quickly and easily removed to lift the floorboards. The cabin looks different with the upholstery in place:
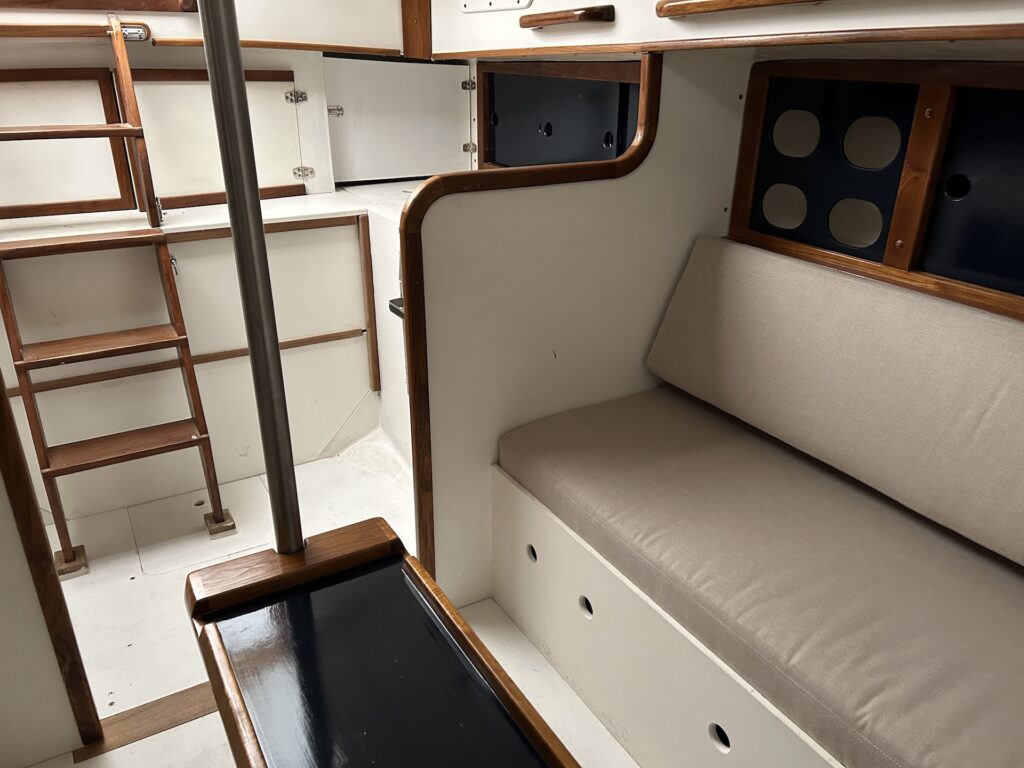
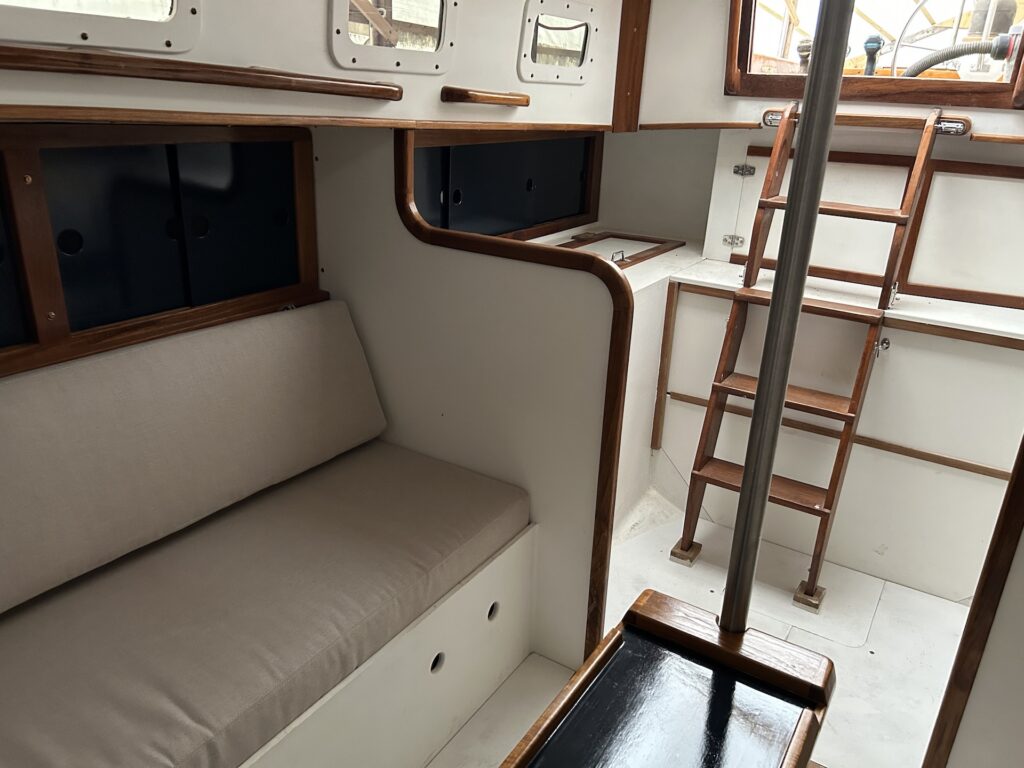
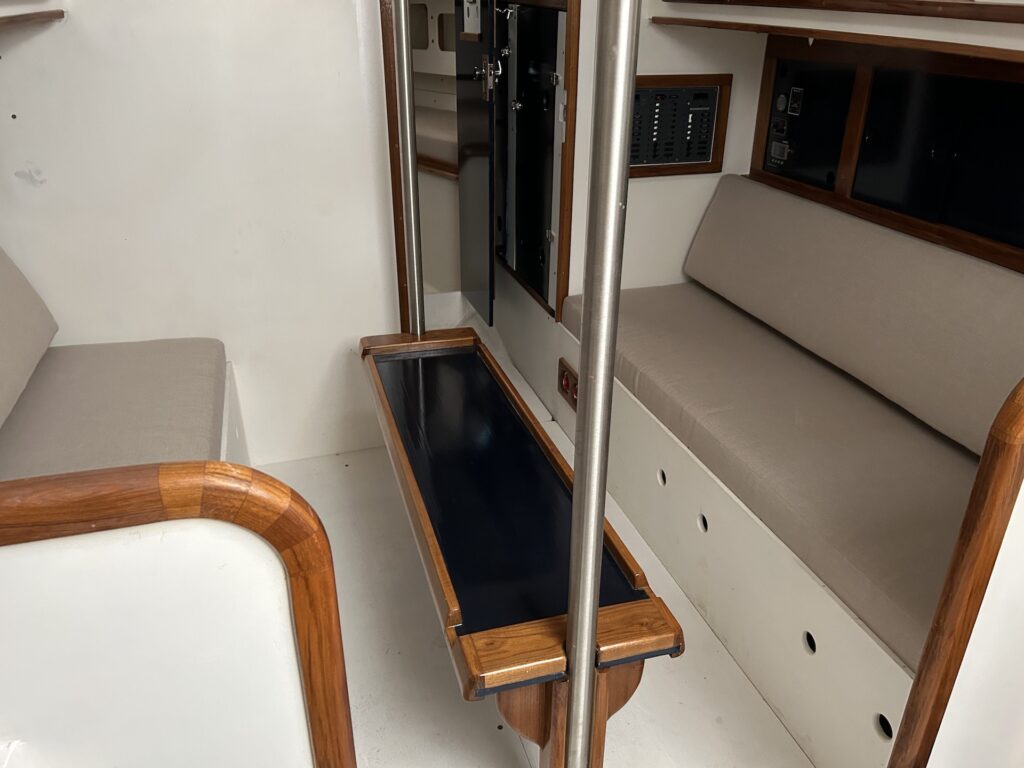
The salon backrests are blocked from behind to maintain a comfortable angle for sitting.
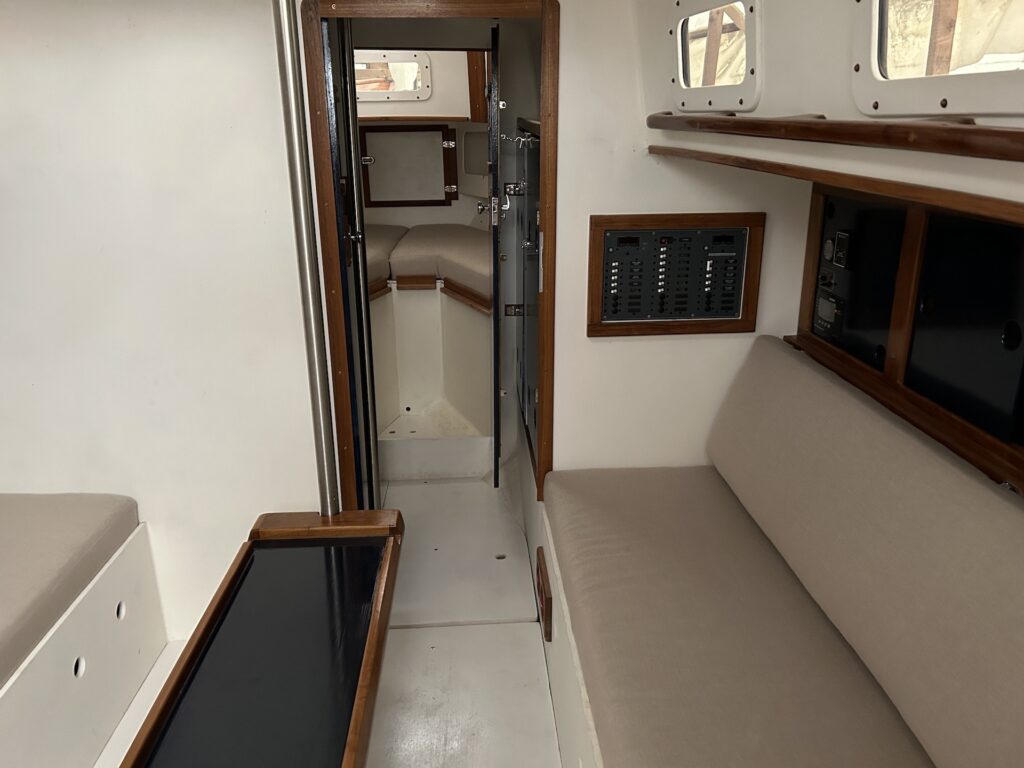
You can see one such block in the image below (below and to slightly outboard of the starboard side of the electrical panel). The backrests swing up and can be secured, which turns a couch into a wide, comfortable berth:
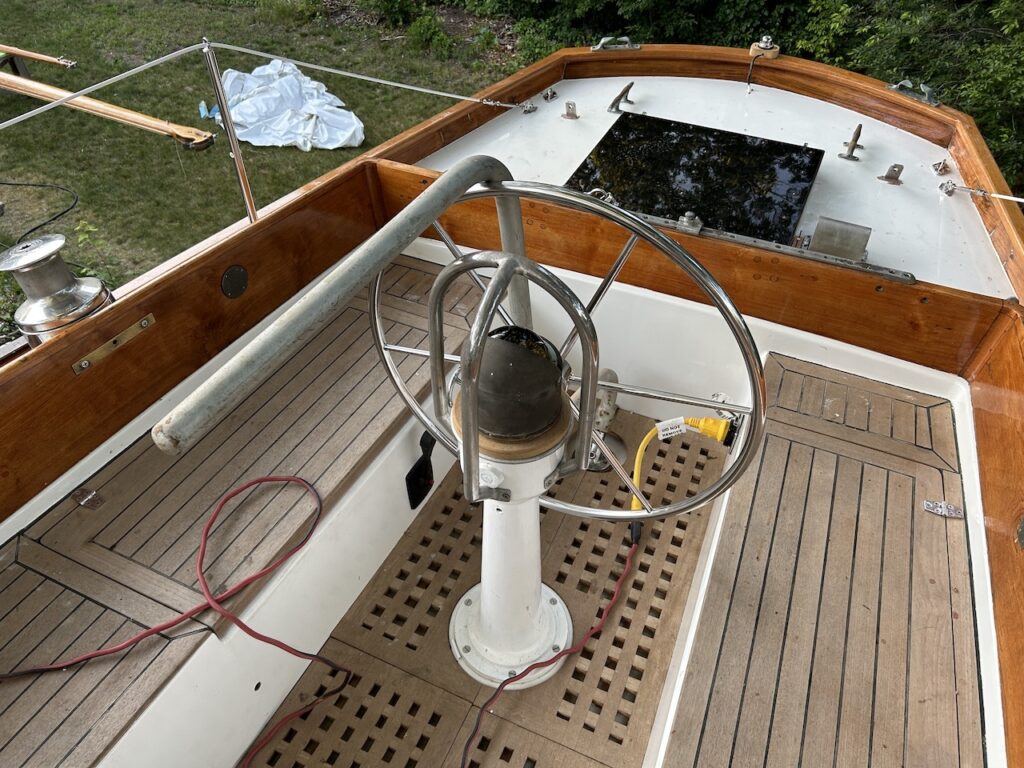
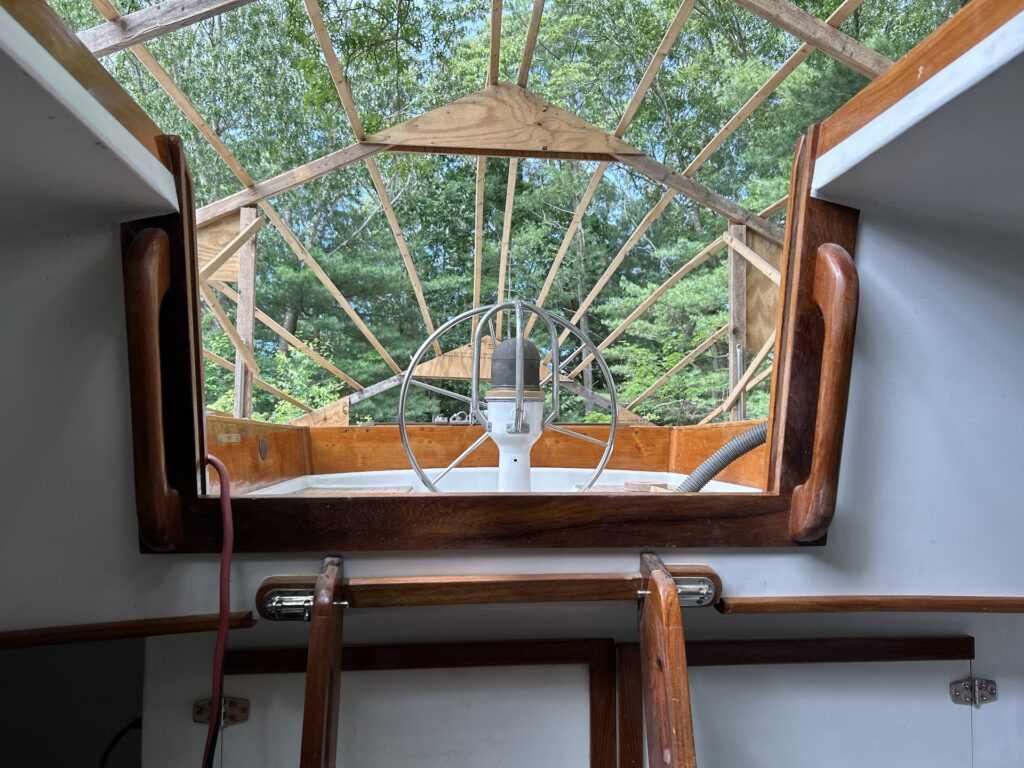
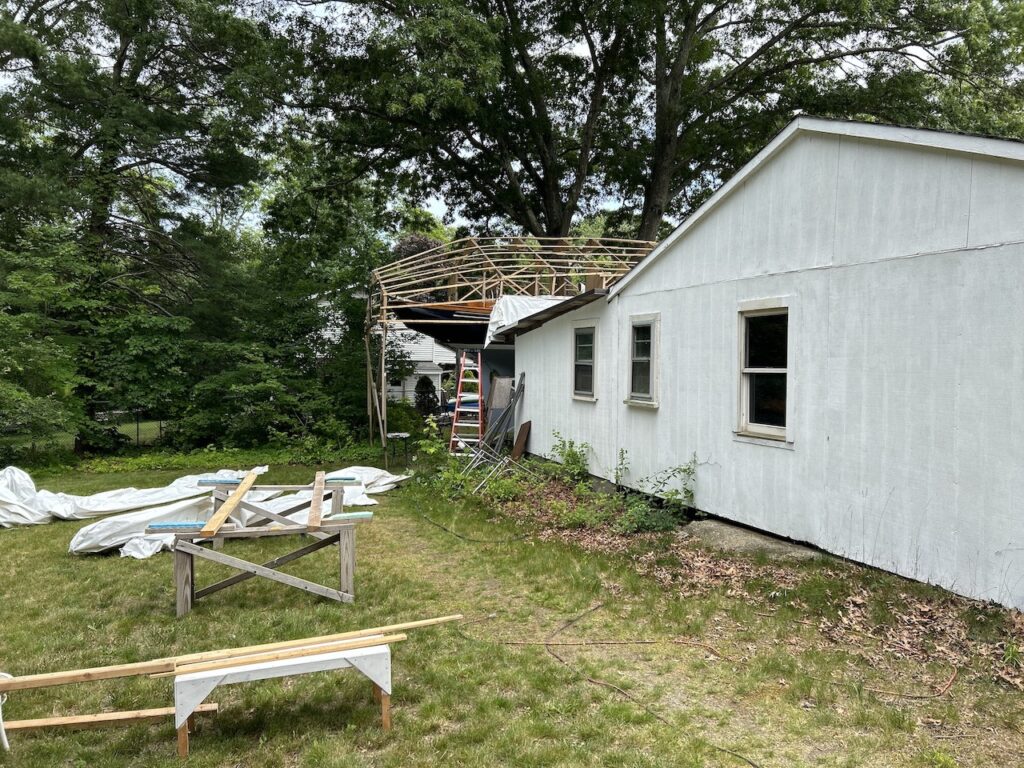
COVER
With the cockpit drains completed it was safe to remove the cover and dismantle the frame:
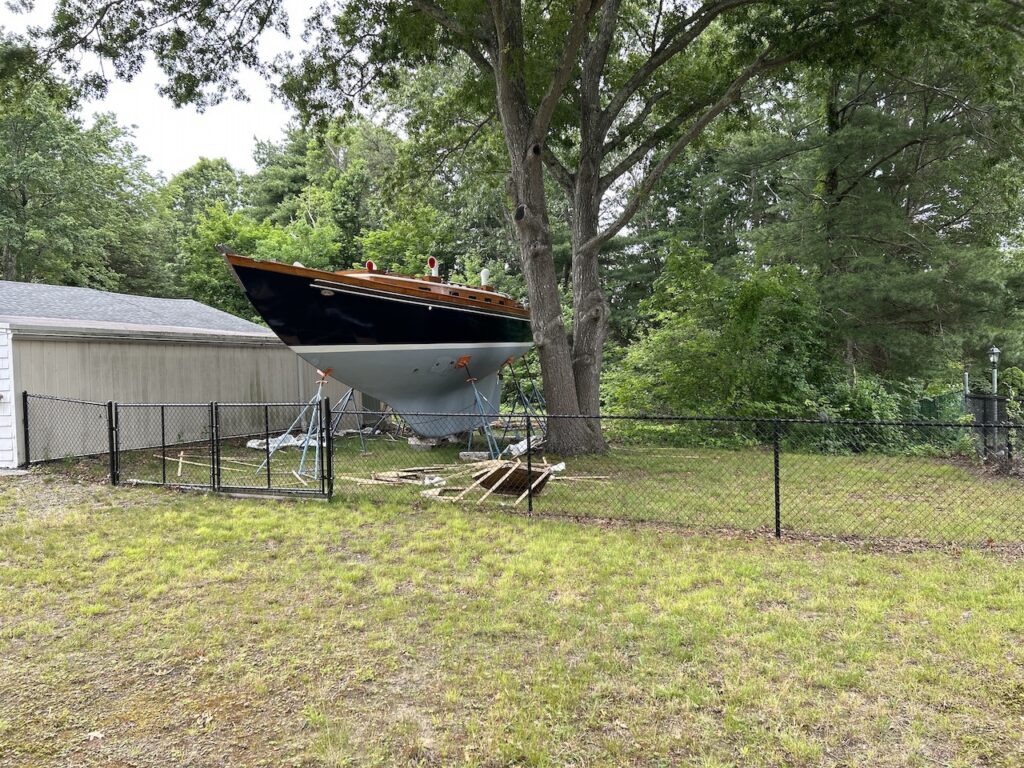
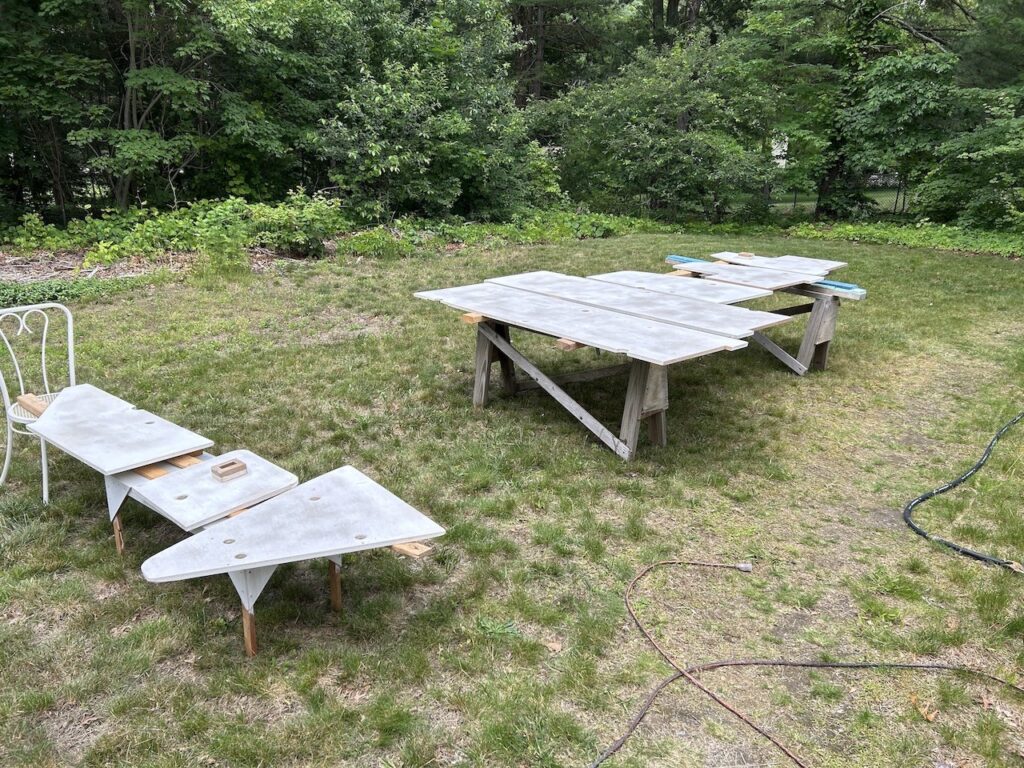
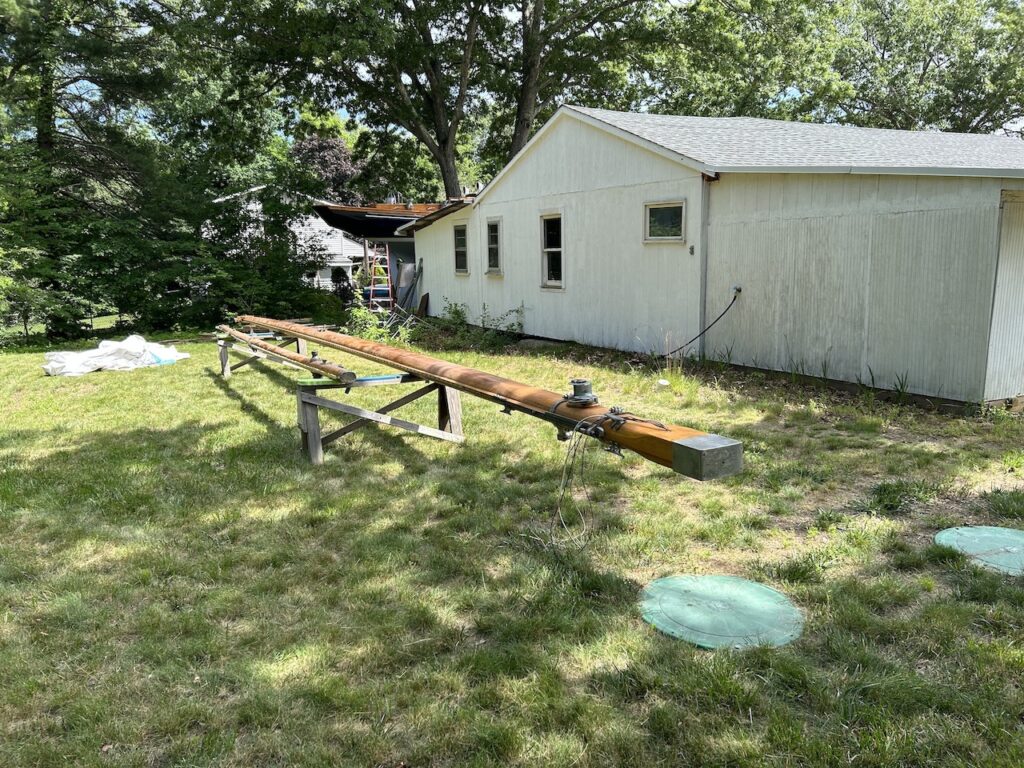
MAST MOVE
The masts were moved outside:
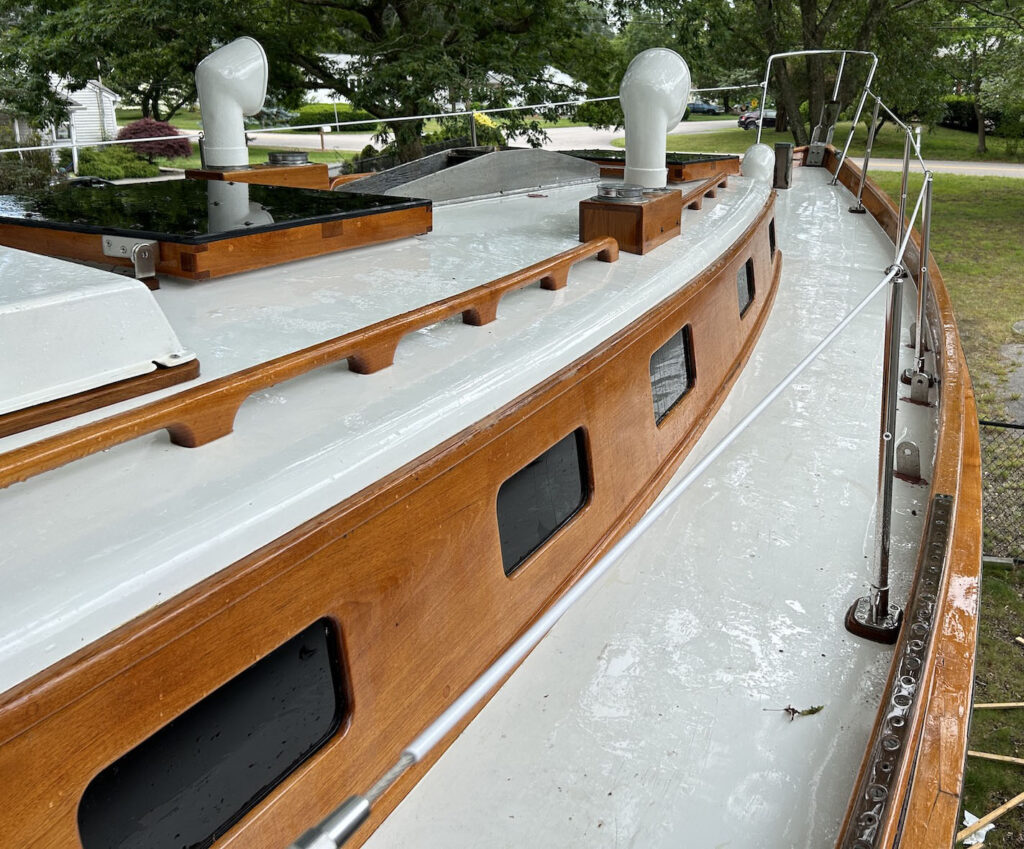
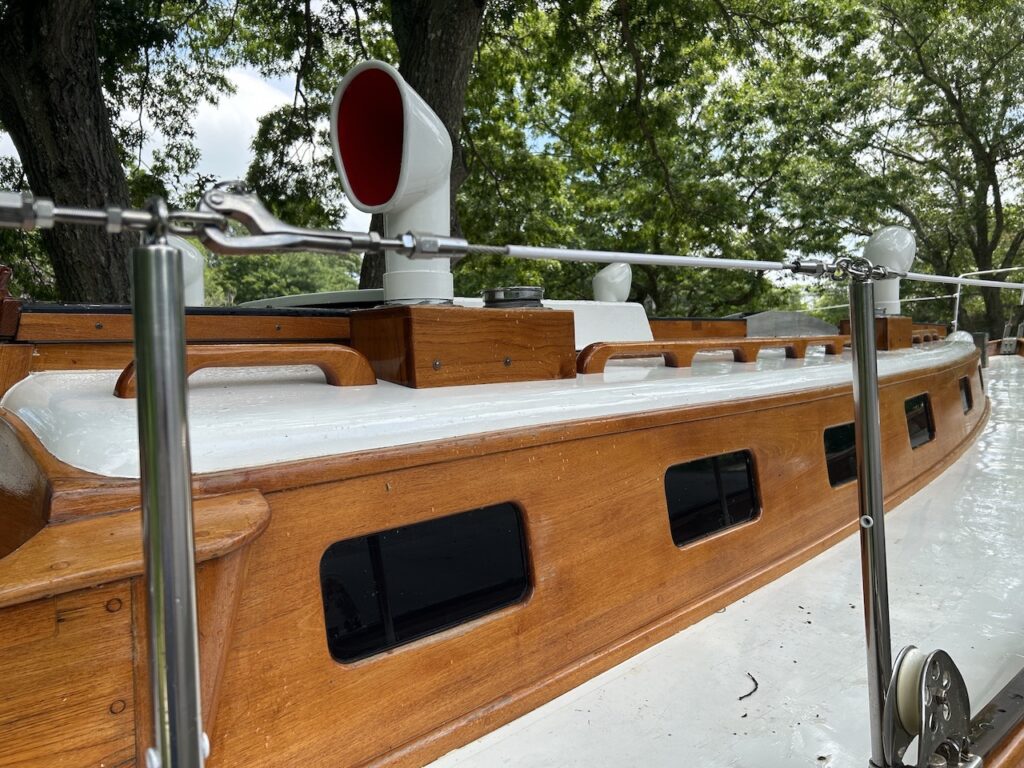
BOW PULPIT, STANCIONS, LIFELINES
I installed the bow pulpit:
The old stanchions and bases were in tough shape and I purchased new stuff a few years ago. Click HERE to see work on installing the new stanchion bases.
I installed the new stanchions simply by inserting them into the bases and tightening two set screws in each with an allen wrench. I purchased lifelines and quick-connect hardware from Defender, and installed the system. (I read that the quick-connect fitting are as secure as swaged fittings, which was good enough for me. Product information HERE.)
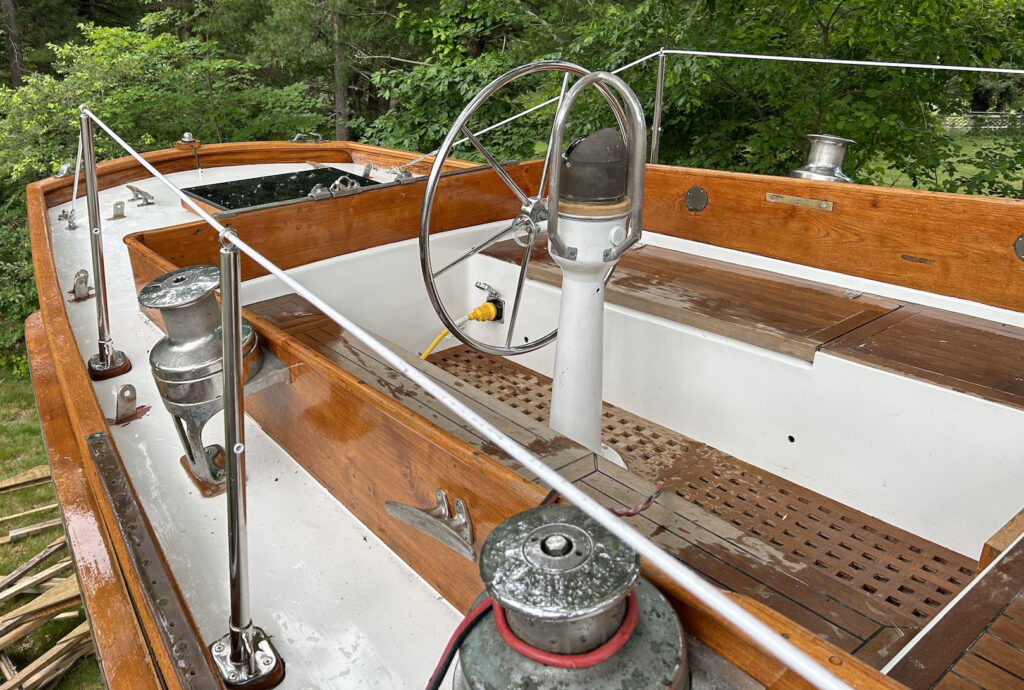
The starboard- and port-side gates are in their original locations:
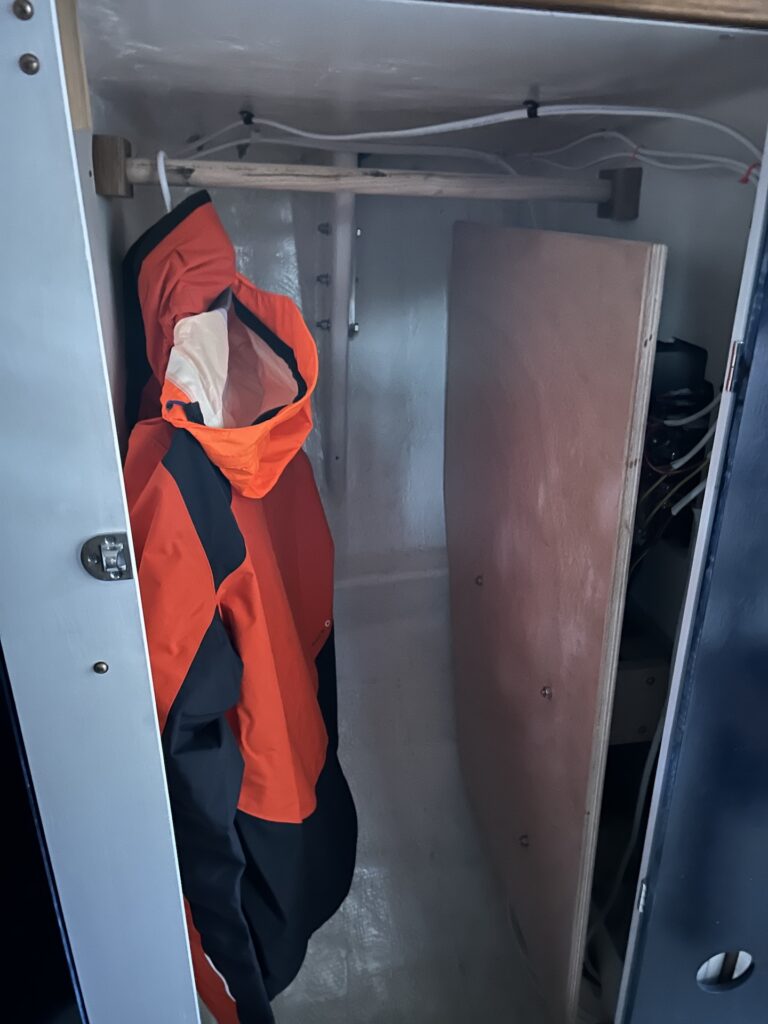
HANGING LOCKERS
The aft hanging locker contains the back end of the electrical panel and, thus, a lot of wires:
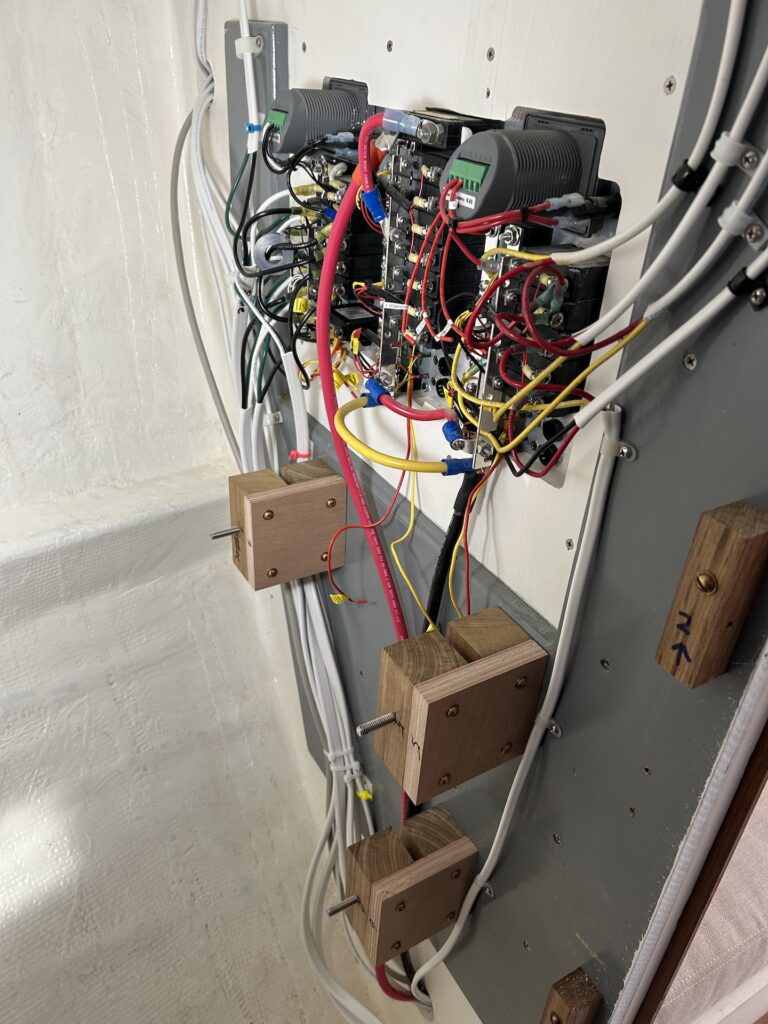
I want to prevent the wires from mingling with everything else in the locker, so I build a plywood panel to keep things separated. Above you can see three “blocks” with three hangar bolts over which the panel fits:
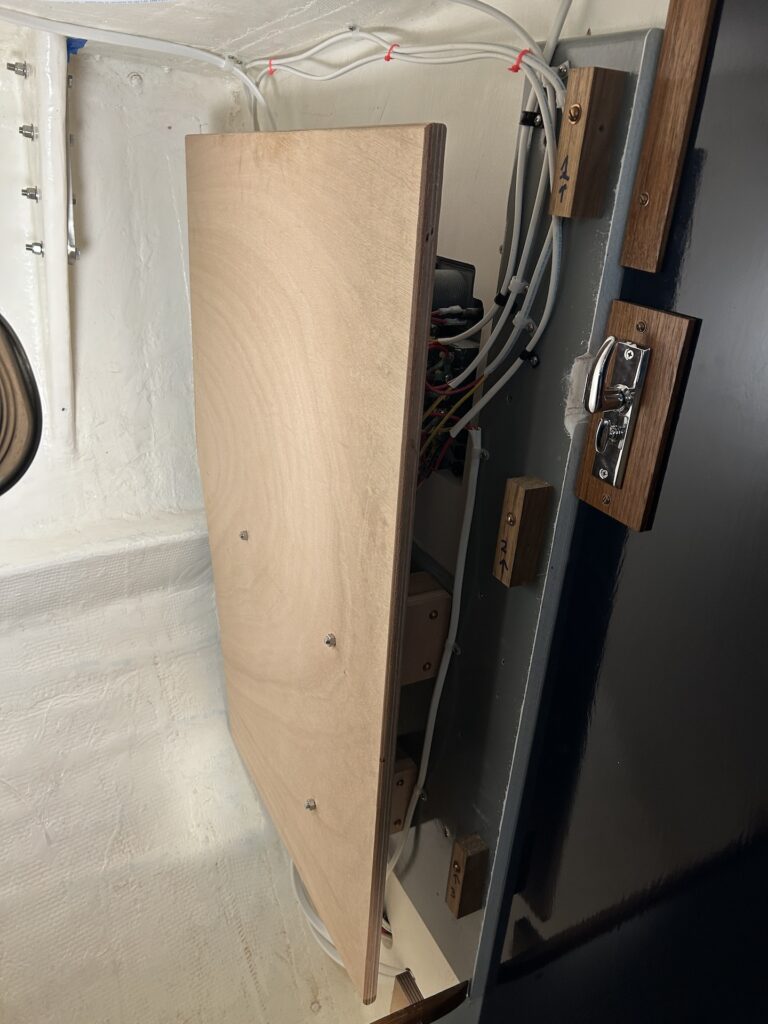
I’ll replace the three nuts with wing-nuts to facilitate removing the panel without tools. The panel will be painted.
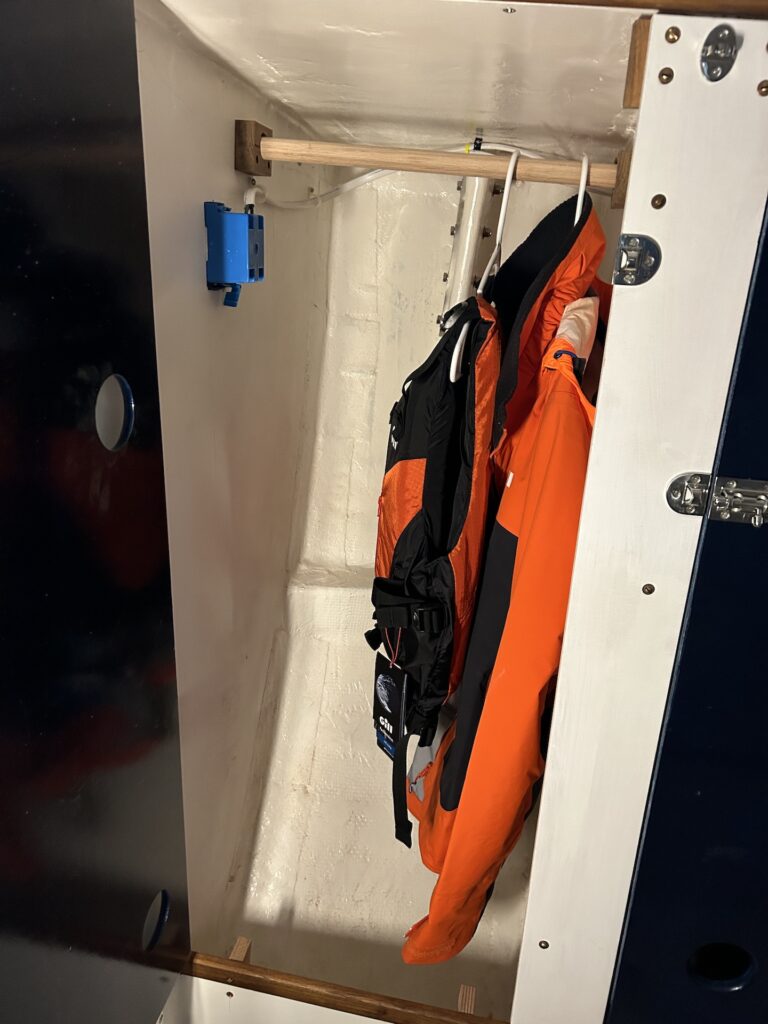
My final task of the week was to install hanging rods in the forward and aft hanging lockers:
VARNISHING
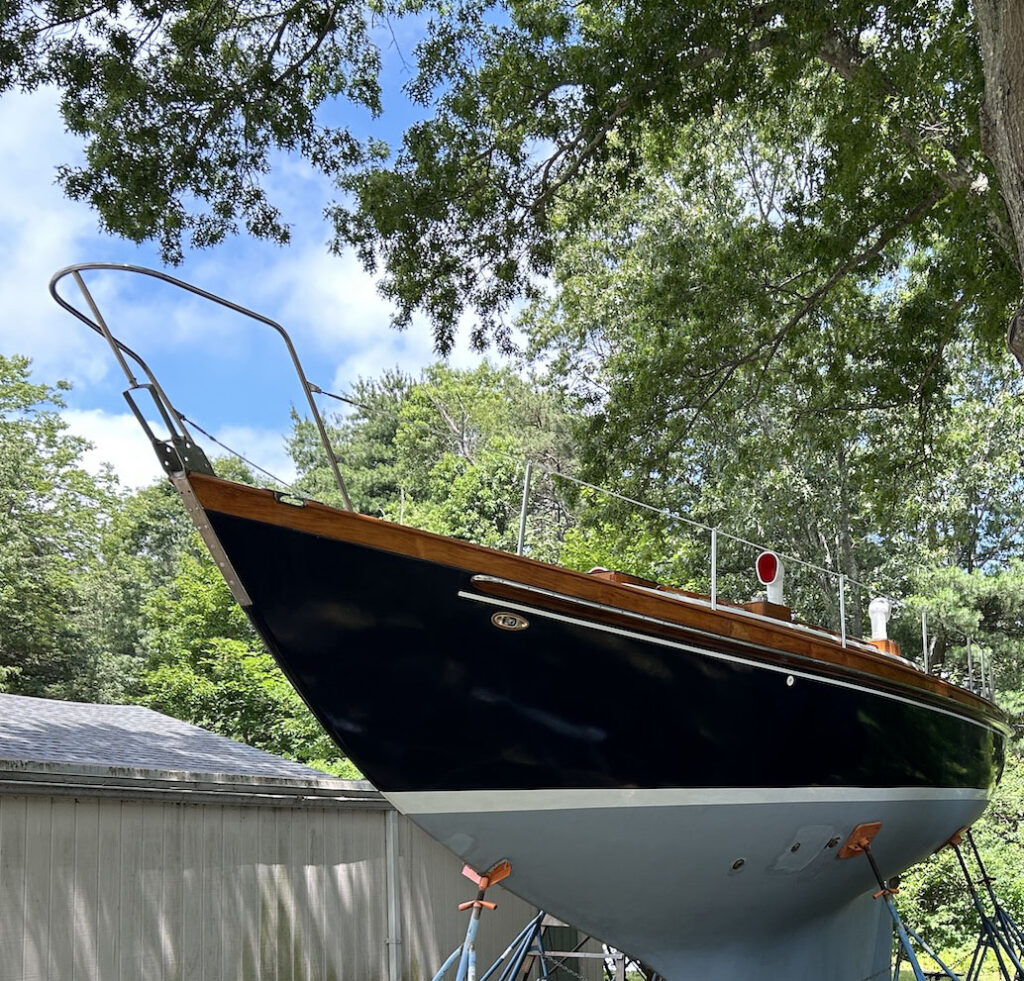
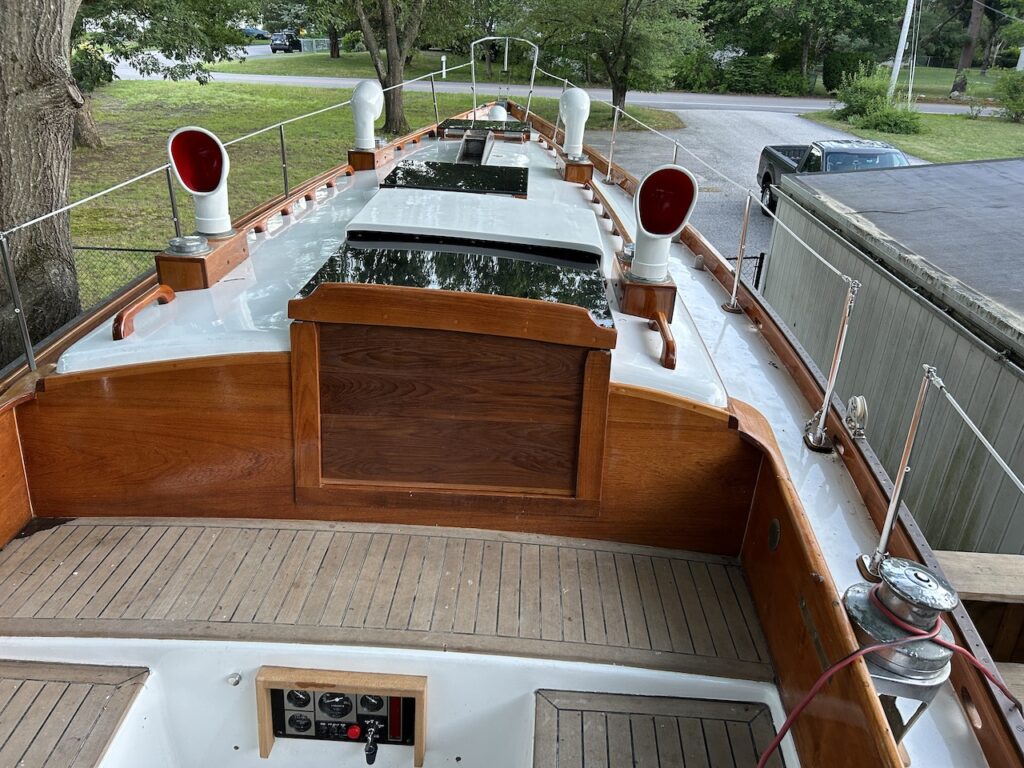
The brightwork looks nice looking forward from the cockpit. Upon close inspection, however, I need to get more varnish on ASAP. There are spots where there is almost none left (from UV degradation, despite being covered), and it’s important to not let things get out of hand or the job becomes much bigger than it needs to be.
This post would have been the “one week to go” post, but two weeks is looking more realistic. I have my survey tomorrow and there may be things I need to address that I haven’t thought of. The big jobs remaining on my personal to-do-before-launch list includes some varnishing, sanding bottom and two coats of bottom paint, and rigging the masts and booms.