5/7/23: Spray Hood, Drop Boards
HATCH STOP AND SPRAY HOOD
The companionway hatch was one of the most challenging builds. You can review elements of that build HERE (scroll way to the bottom), HERE, and HERE. It’s all done, except for two things. One, I need a stopper that will prevent the hatch from closing beyond the desired closed position. In fact, without the stopper the hatch can be completely removed. This was by design, as I will want the option to remove the hatch occasionally for cleaning, varnishing, maintenance, etc. Thus, the stopper must also be removable. The gadget below is two small teak blocks and some rubber gasket material that became a hatch stopper.
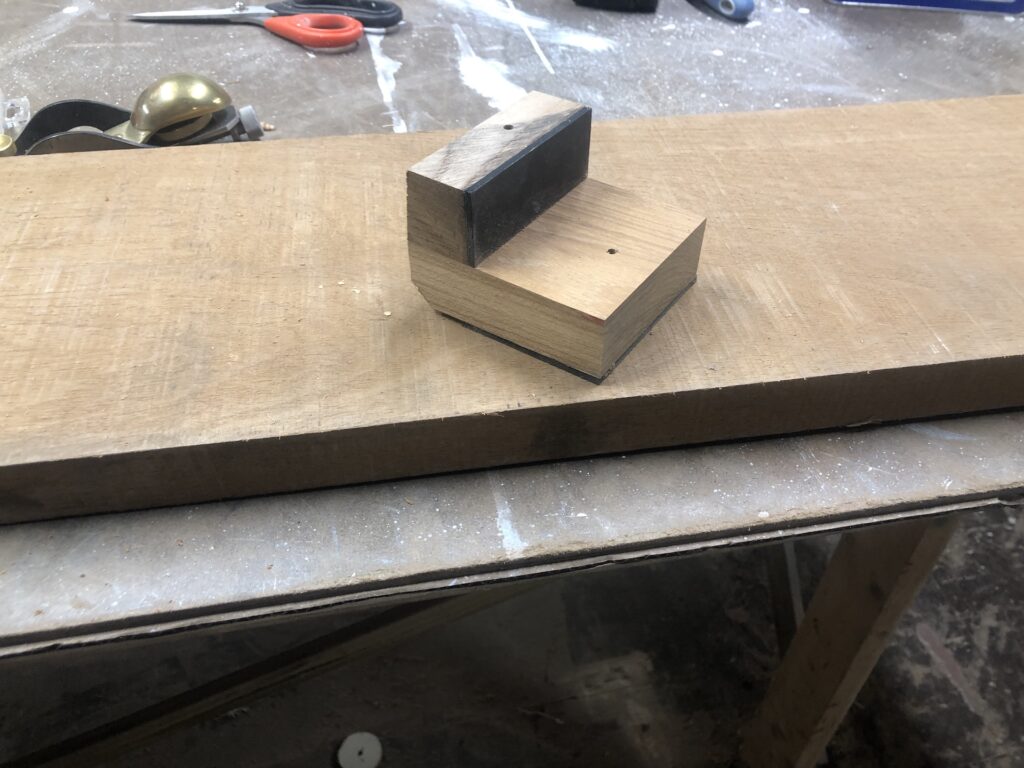
Below the stopper is in its desired position (but note that the hatch is opened beyond its desired most-open position).
Here it is doing its job:
It turns out that this stopper also prevents the hatch from closing beyond its desired most-closed position. I’ll glue some gasket material to the face that you see above, which will soften the thud of opening the hatch all the way.
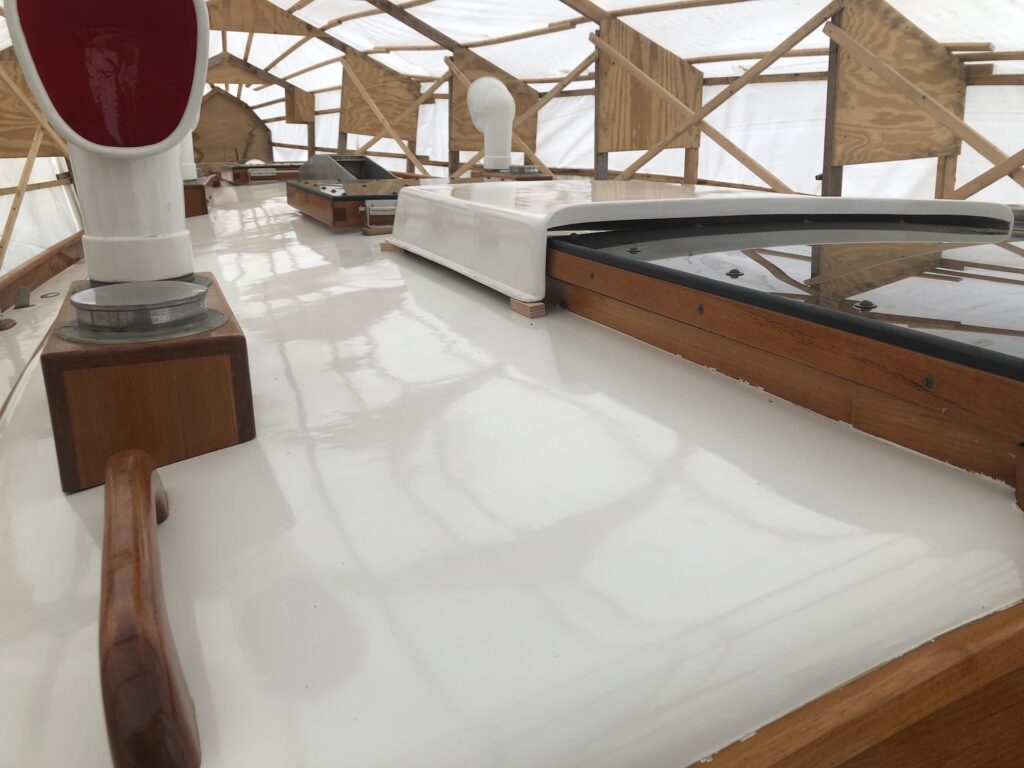
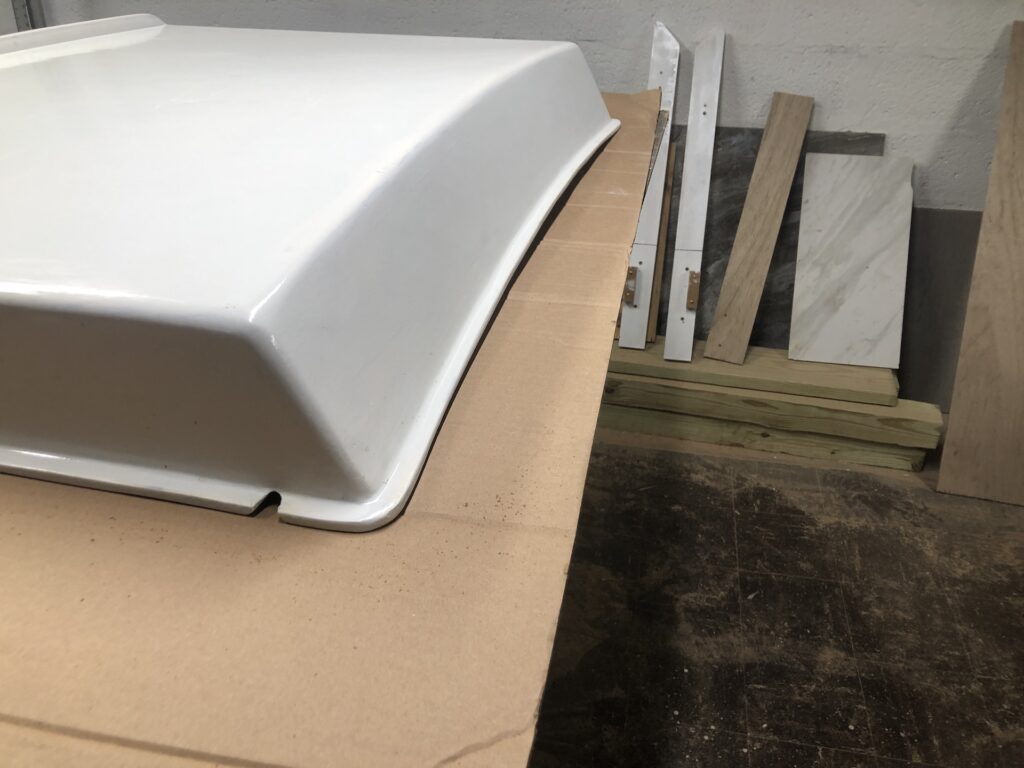
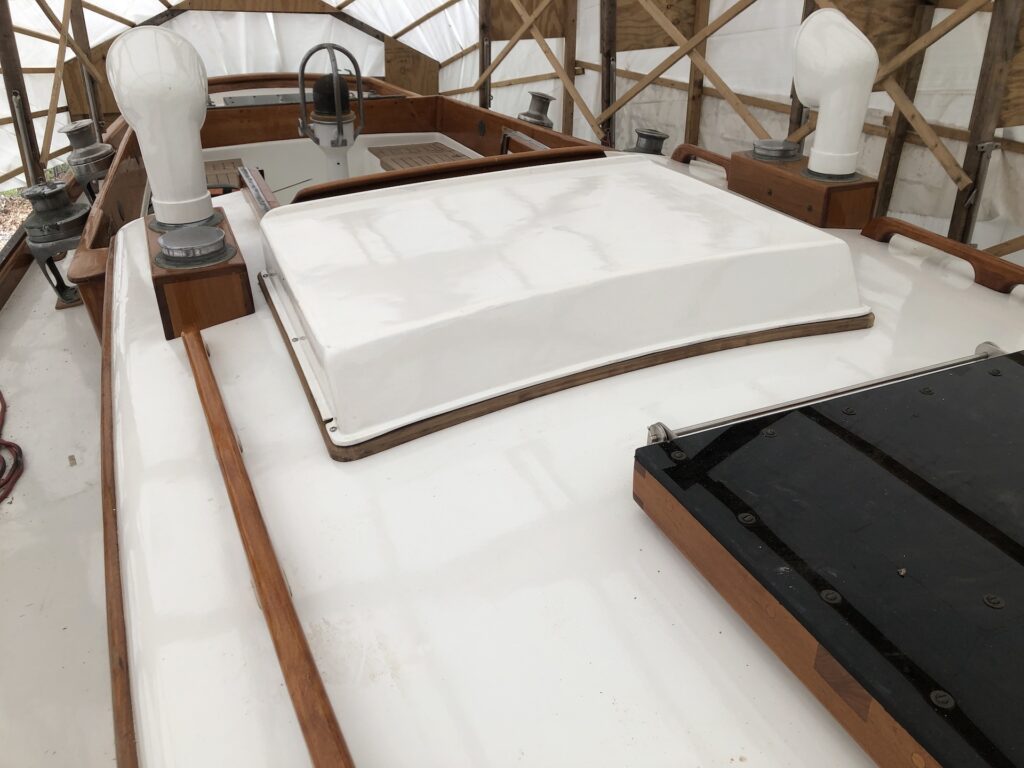
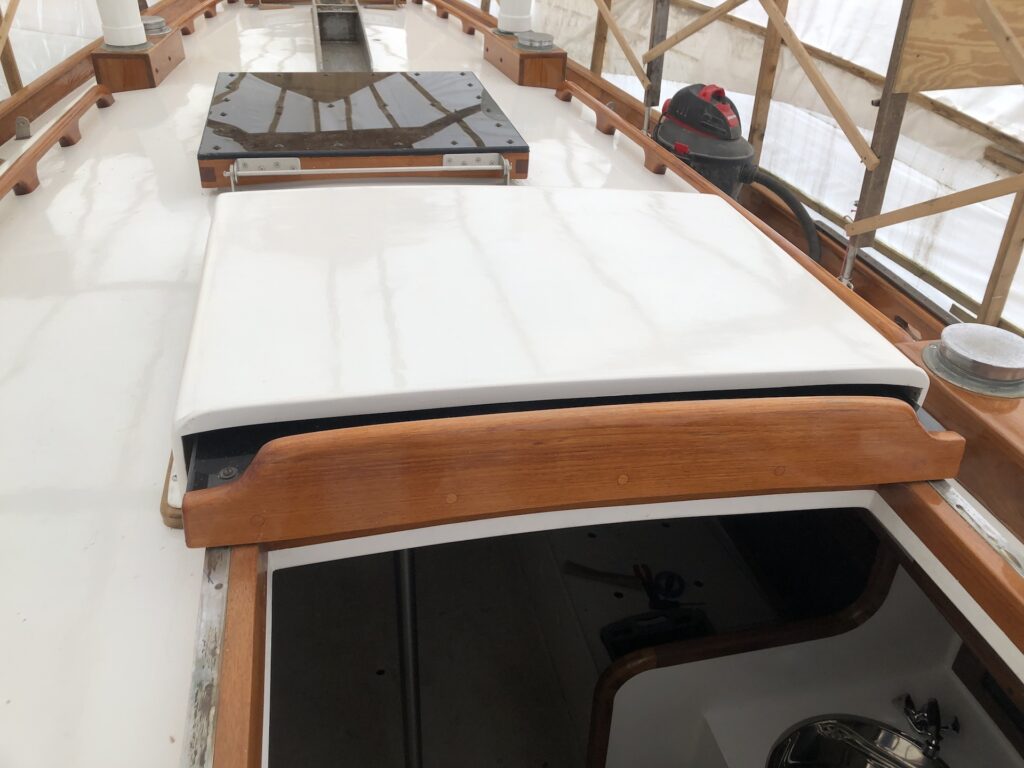
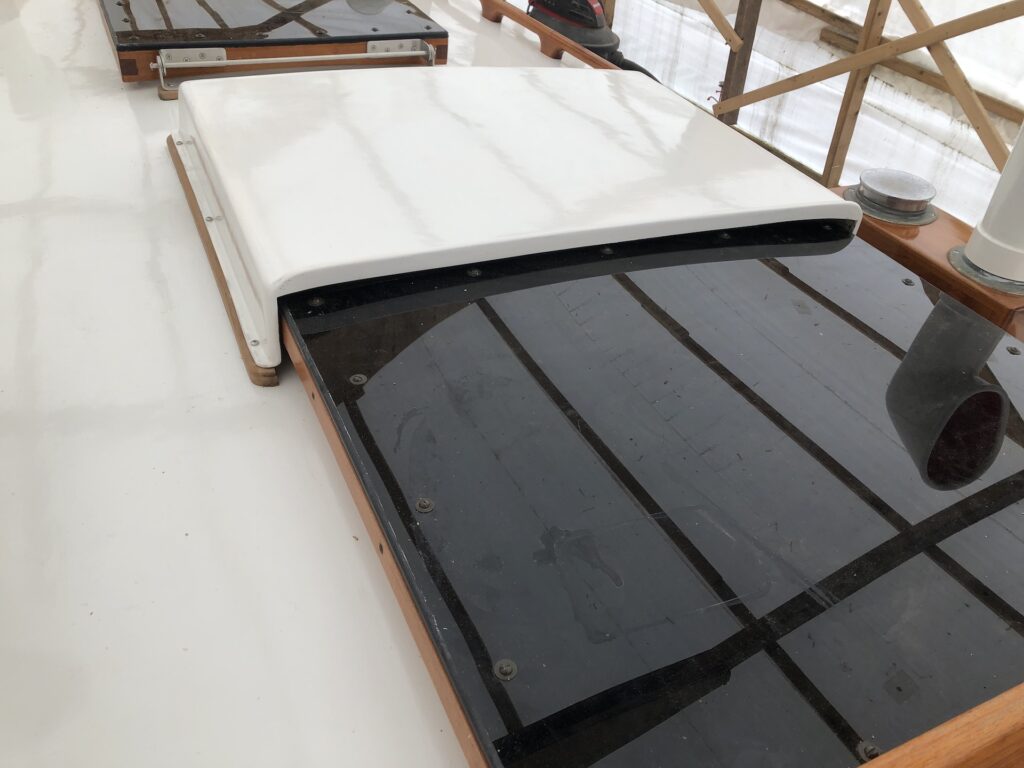
You won’t see the bright light you see in the above photo once I’ve installed the spray hood, which is pictured below.
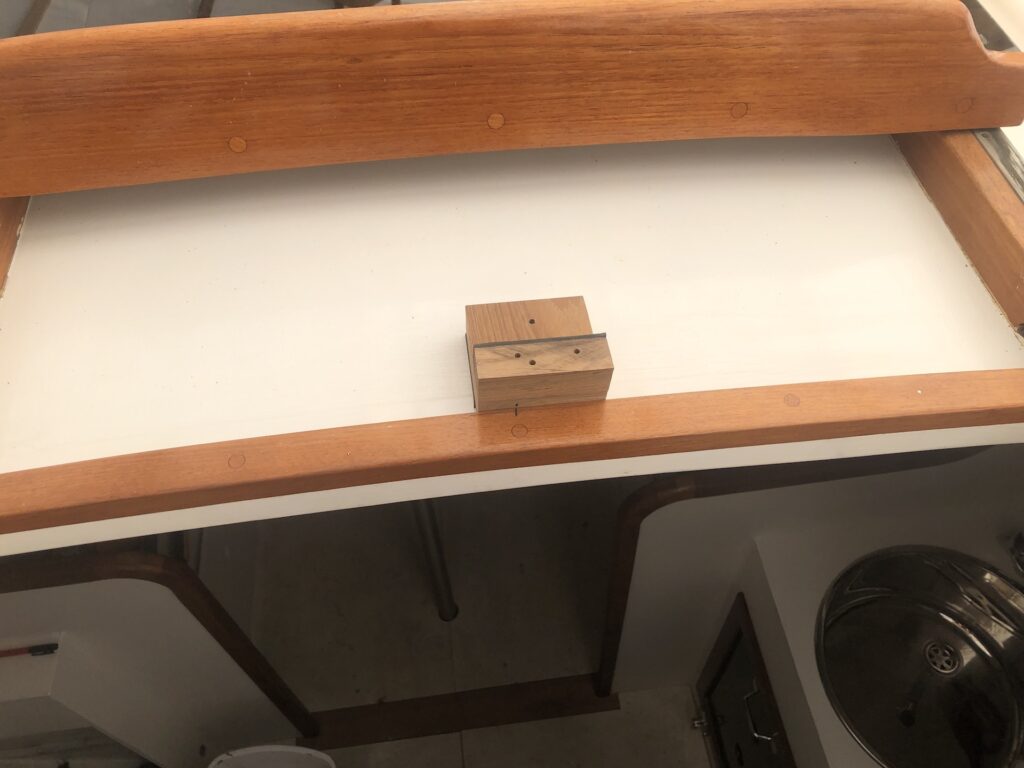
Unfortunately, there is an issue that you can’t see in the image above. When I rebuilt the hatch, I more or less duplicated the original. However, my plexiglass sits on top of the frame, rather than nestled in a rabbeted groove. My way is better, for a few reasons, but it makes the overall height of the hatch about 1.0 cm higher than the original, which is just enough to prevent it from sliding freely under the spray hood. This was not a happy discovery.
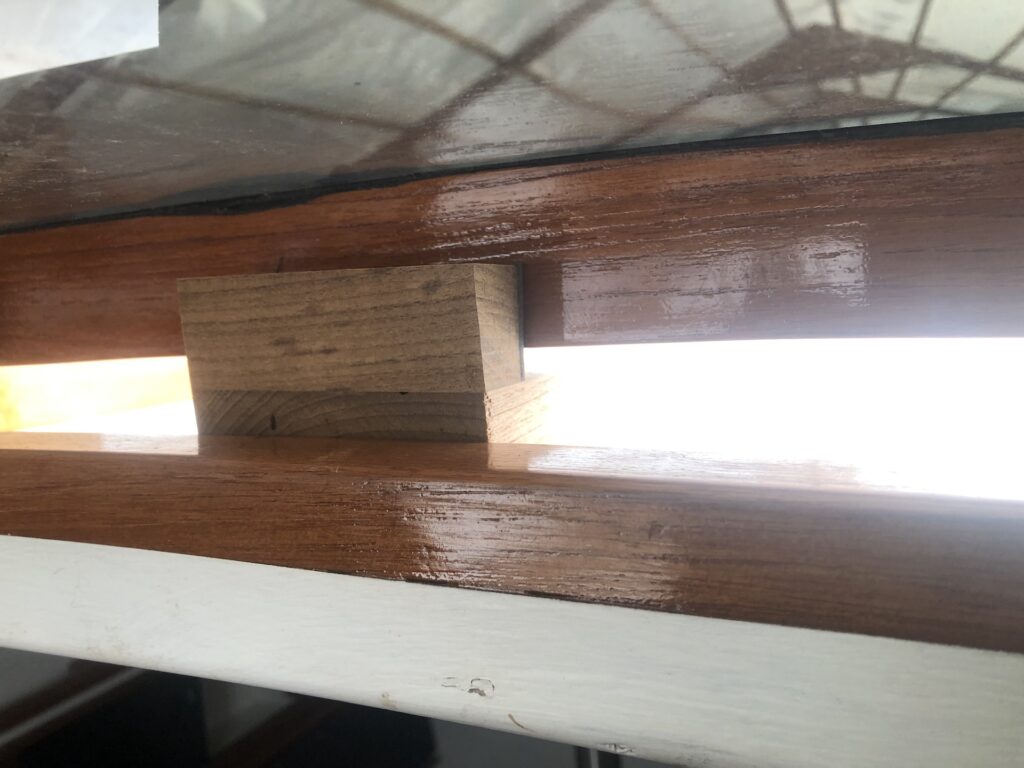
I used some small blocks of plywood to raise the spray hood to an acceptable height…
…, then resigned myself to making a U-shaped teak riser on which the spray hood will live.
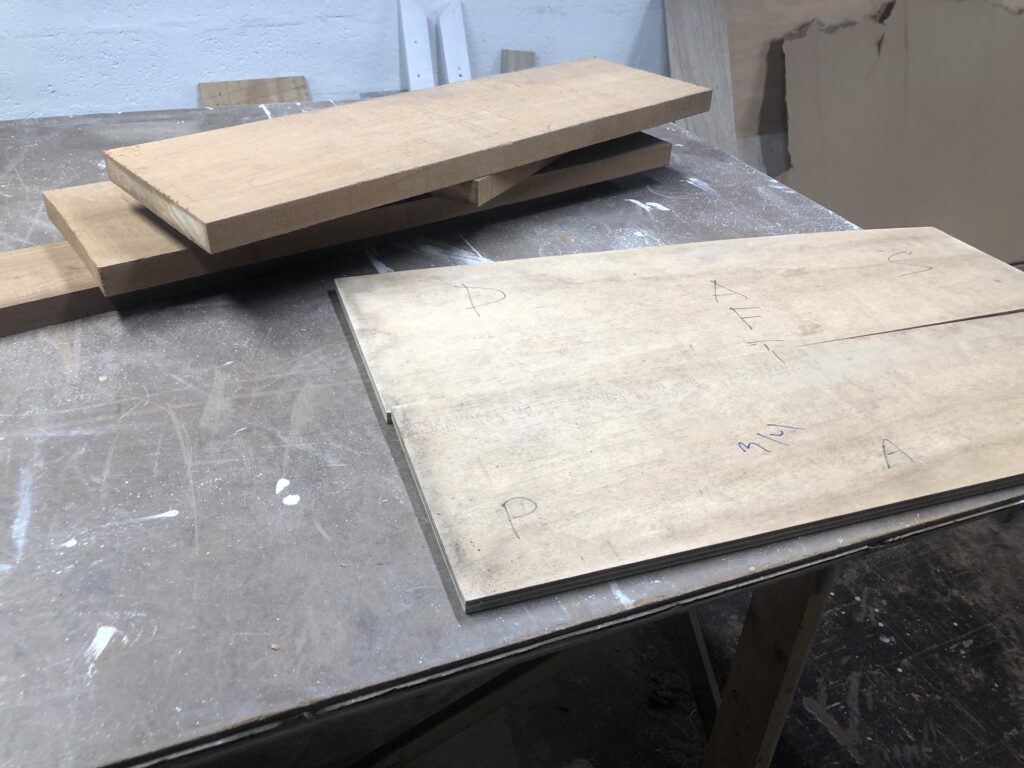
Luckily I had some teak I had recently purchased for making drop boards and fiddles.
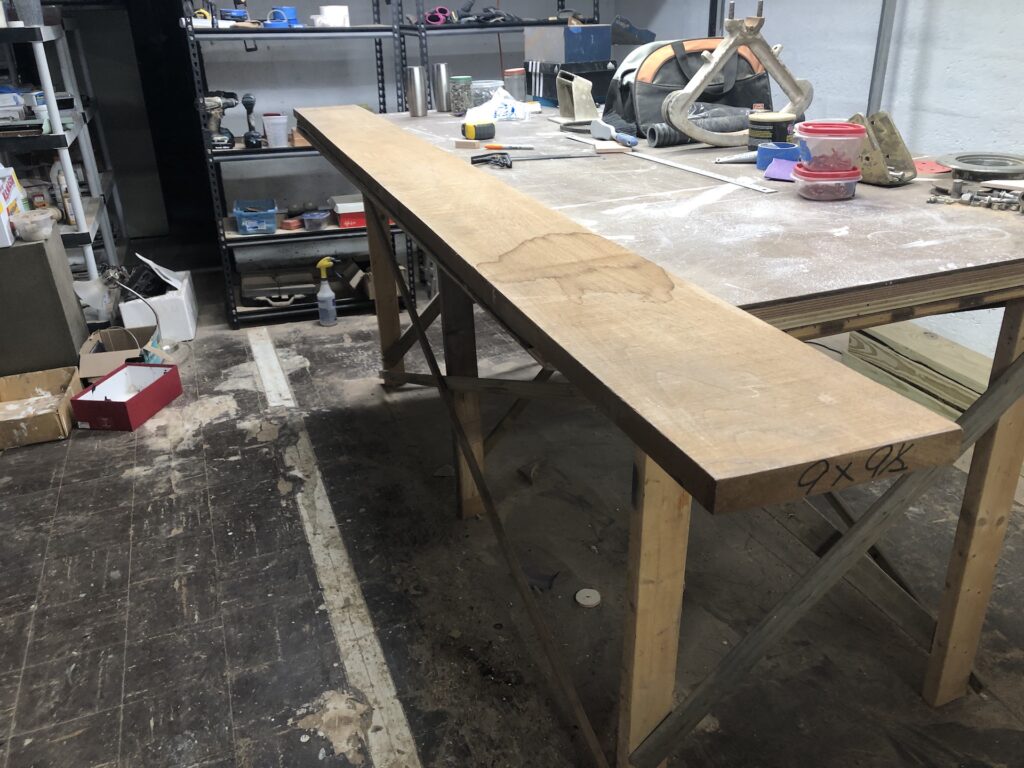
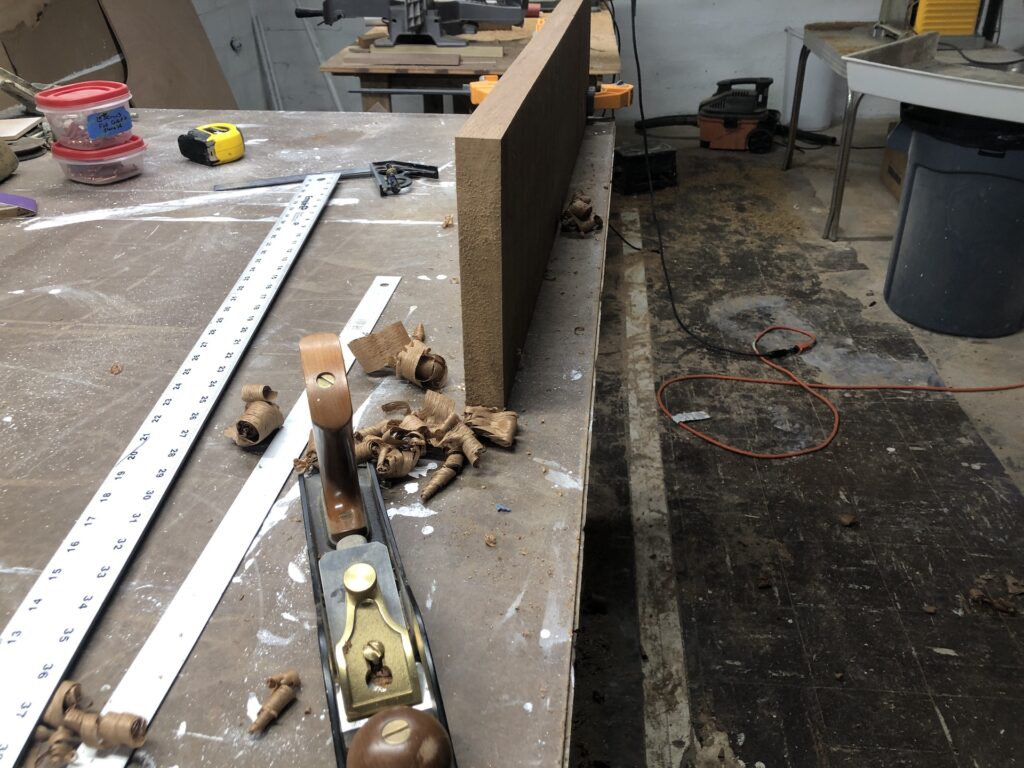
I cut a 42-inch length then straightened and edge with a hand plane so I had a straight edge to run across the table saw fence.
Two of the three pieces for the “U” are shown below.
The two pieces above run fore and aft, and are straight cuts. The third piece was challenging because the front end of the spray hood not only has to match the camber of the deck, but also has a curve in the horizontal plane too. Compound bending of the wood was out of the question, and the most straightforward path was cut the curve in the horizontal plane and bend to match the camber in the deck.
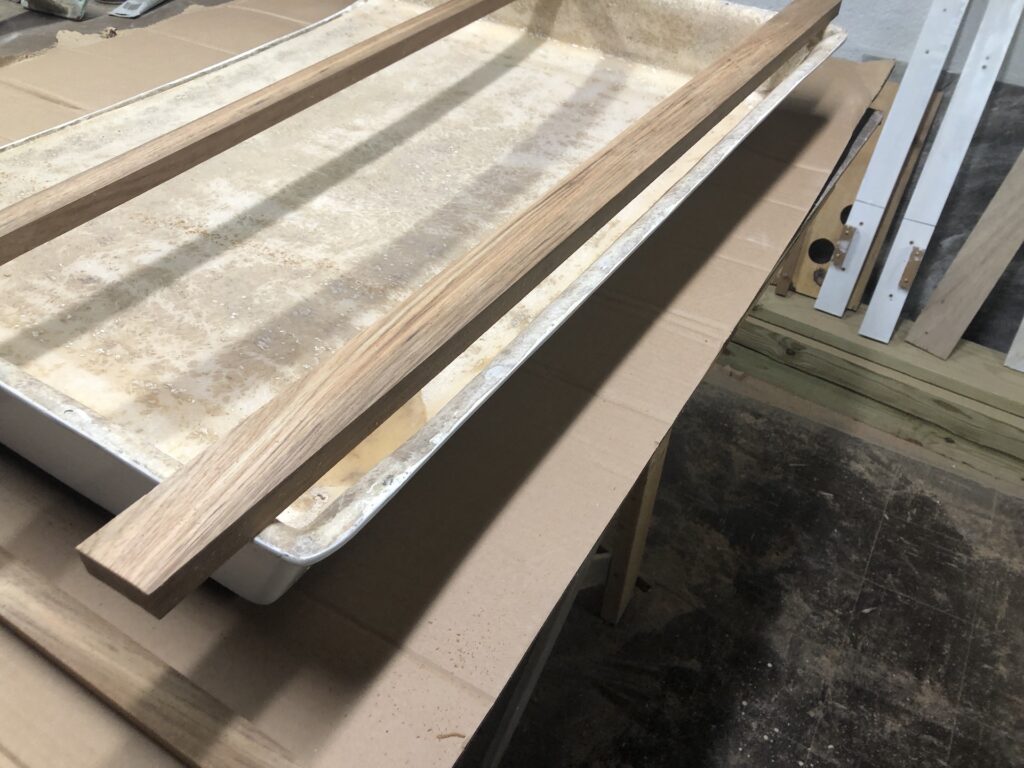
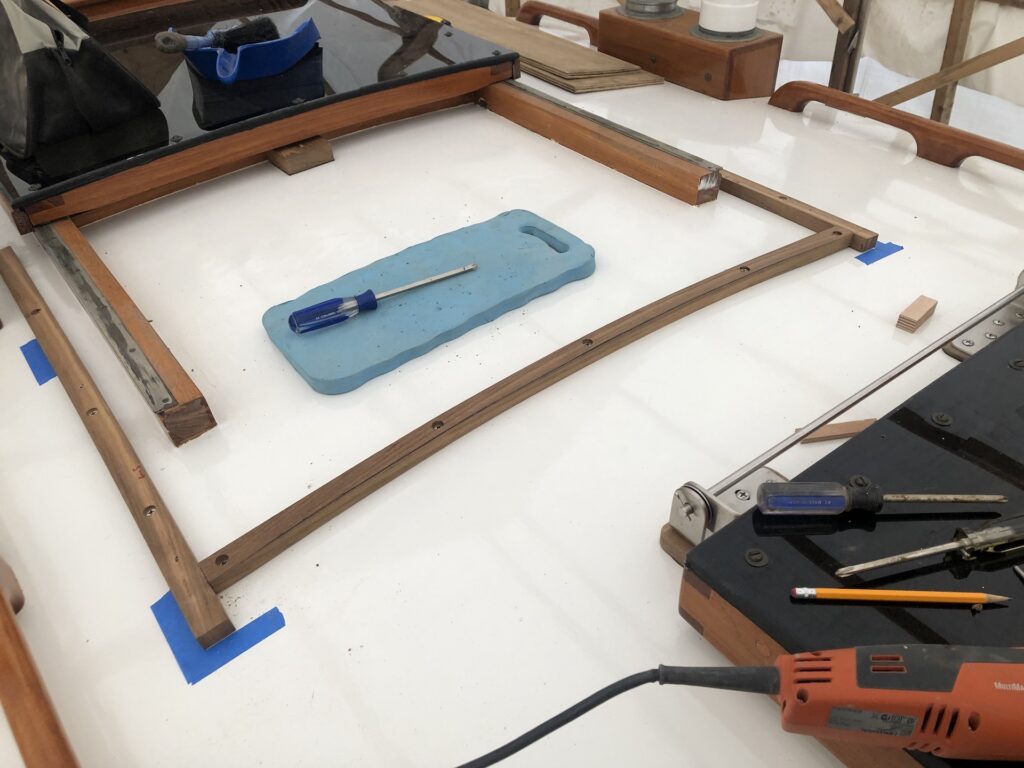
Fast forward some, and here is one of a series of dry fits, in which the pieces were trimmed and sanded to final shape.
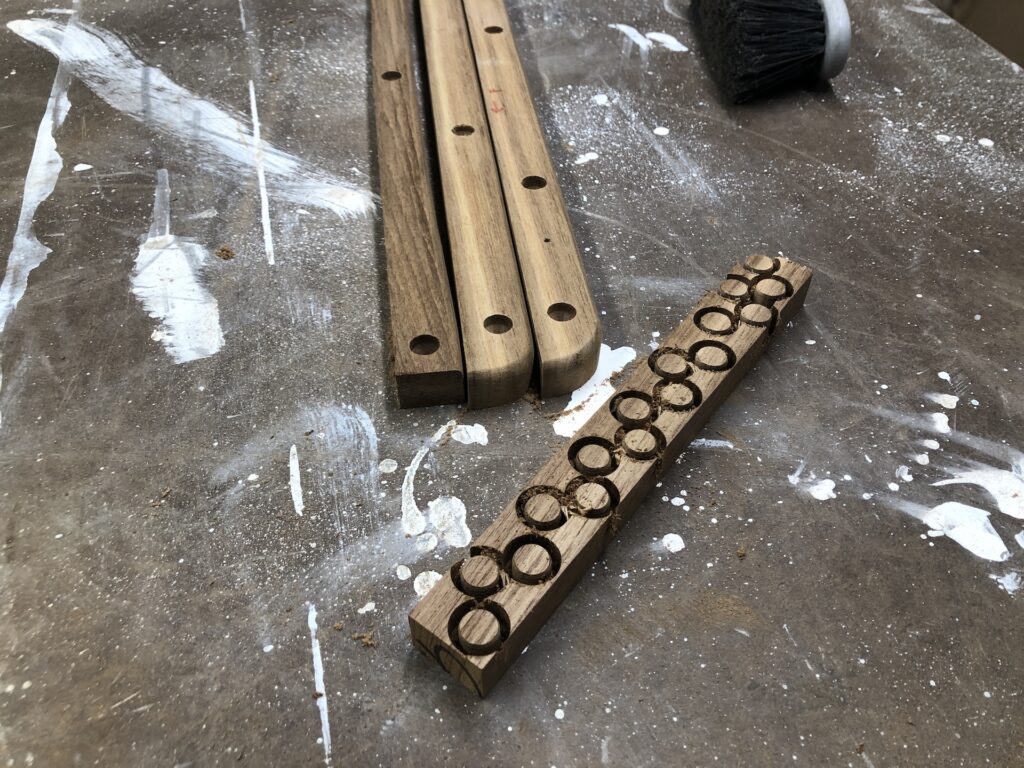
More shaping, cutting, and plug making:
Installed and ready to trim the plug and sand:
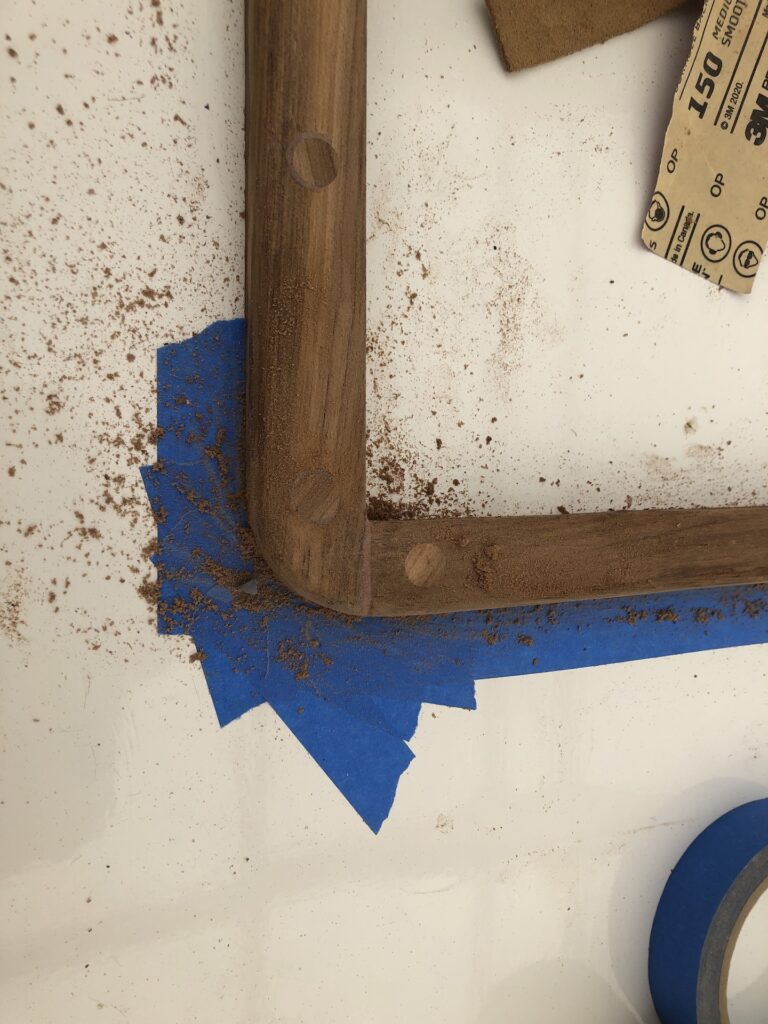
I taped off the deck so sanding wouldn’t mar its finish:

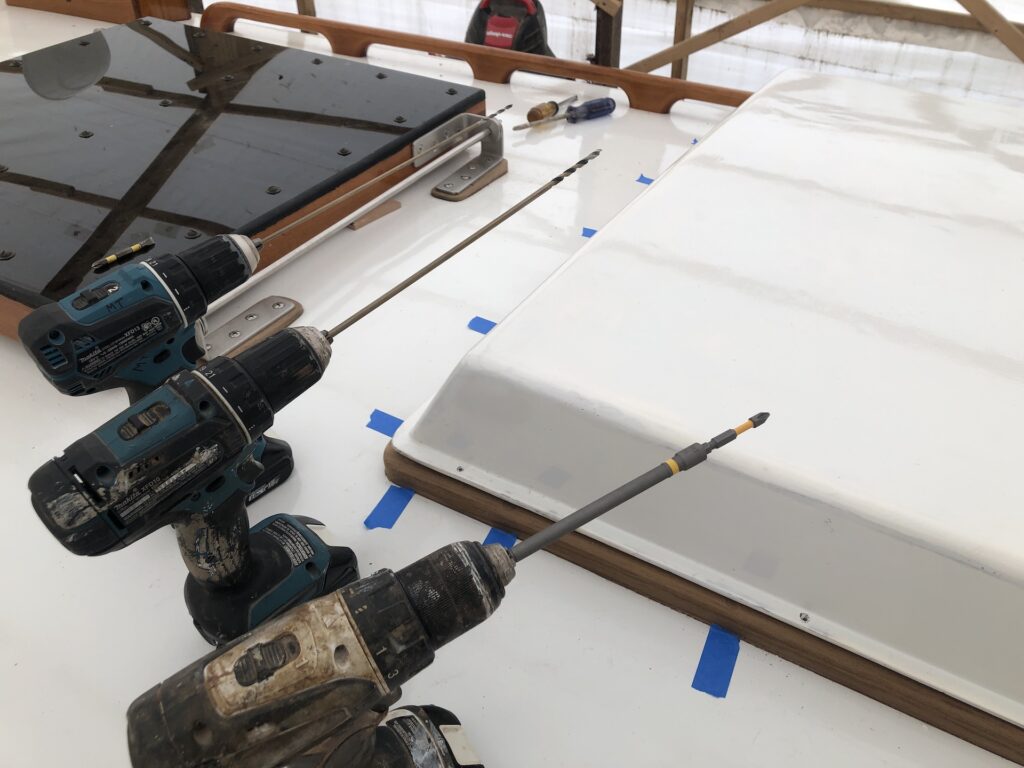
Ready for screws:
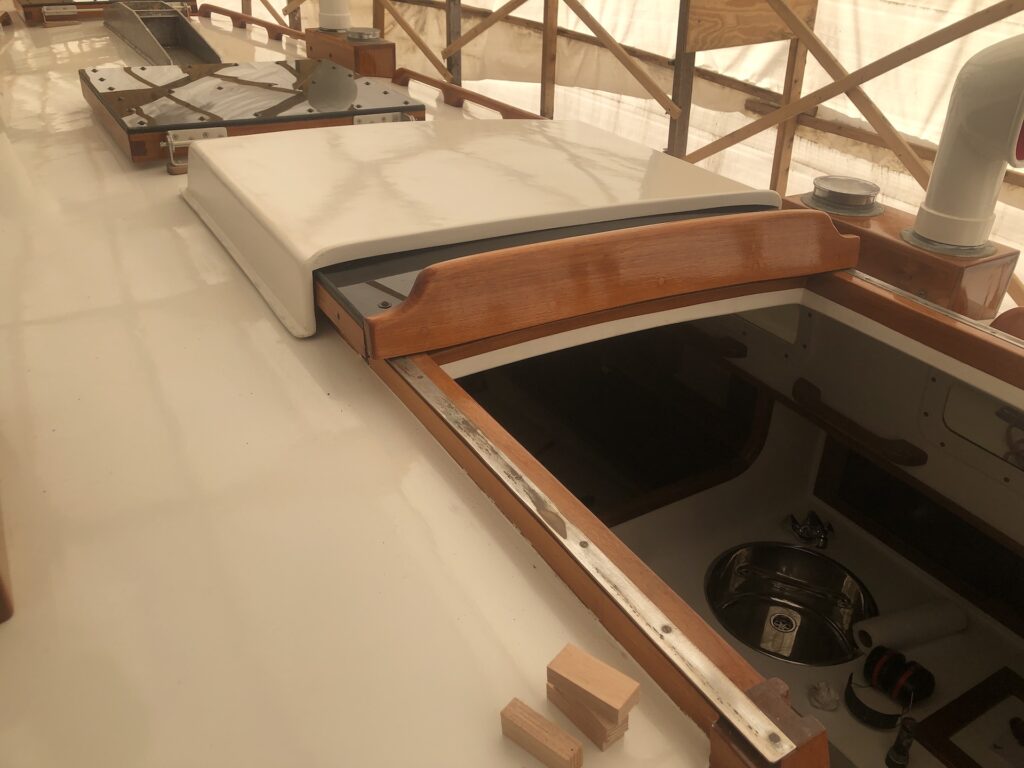
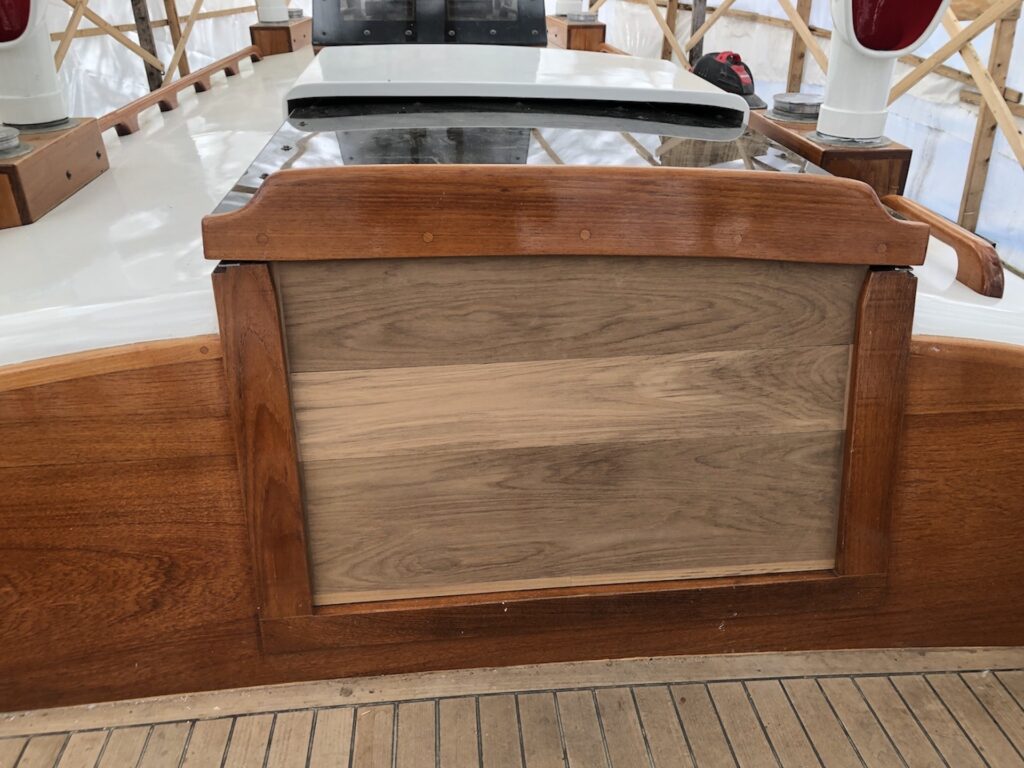
It’s not a perfect fit all around, but doesn’t have to be. I don’t recall, but I expect that the spray hood was bedded in sealant. One advantage of this arrangement is that I’ll use no sealant and I can simply remove six screws to access the area underneath the spray hood.
DROP BOARDS
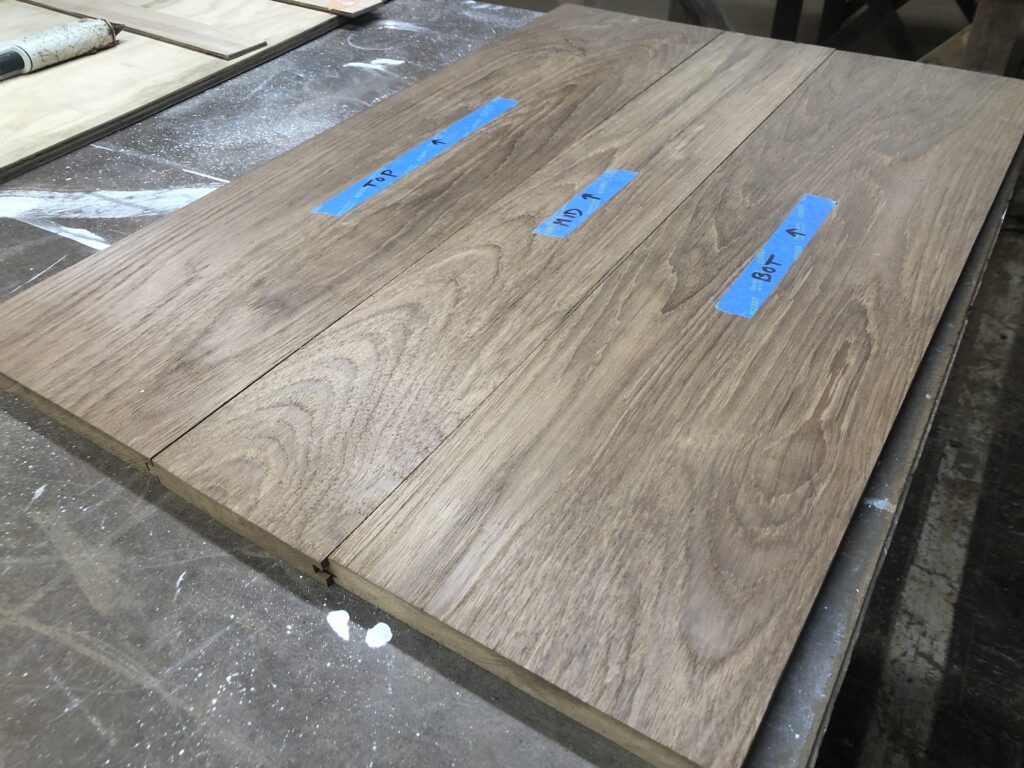
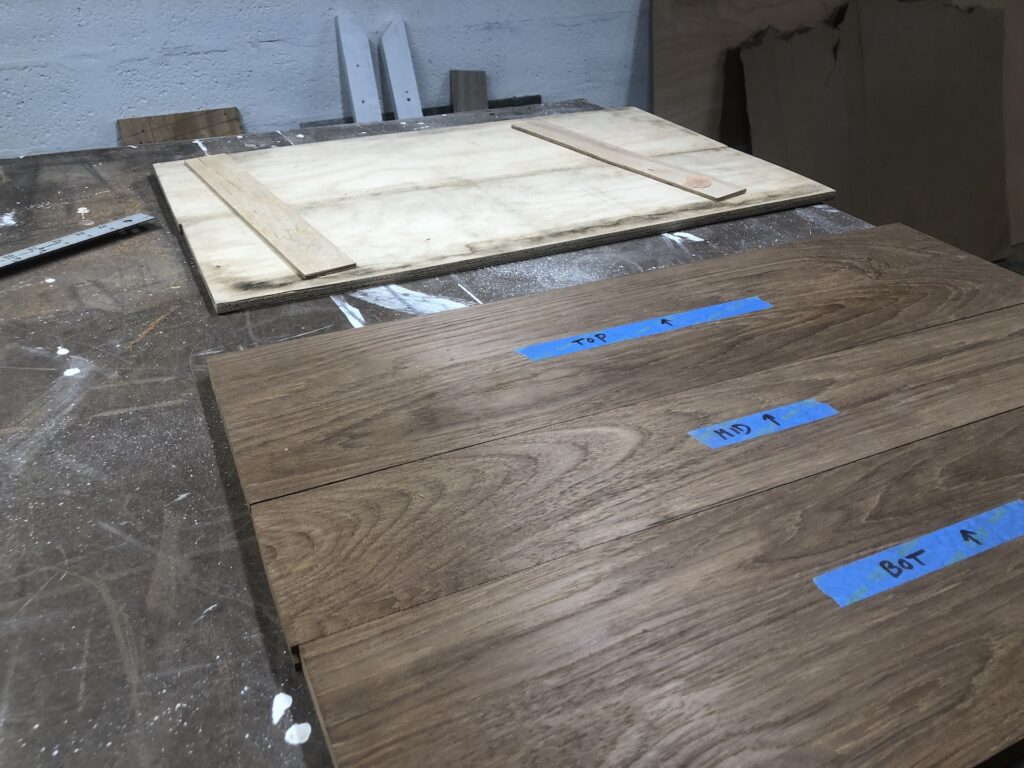
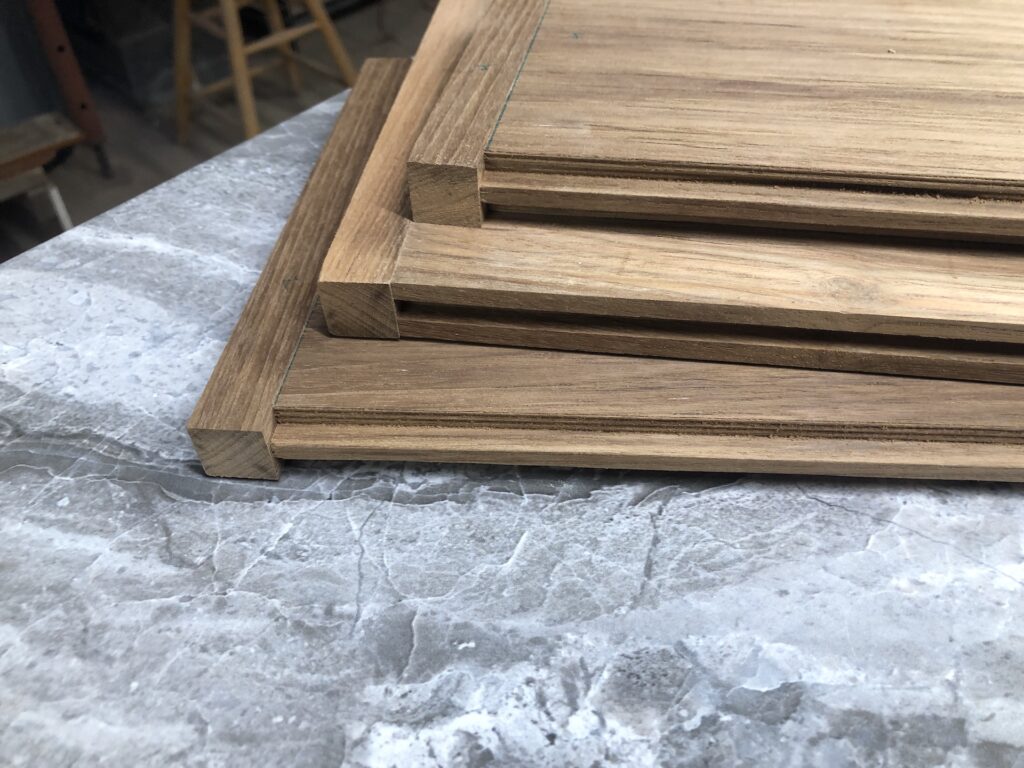
In the foreground are the two temporary companionway drop boards, and in the background is the teak lumber I’ll use to make a proper set.
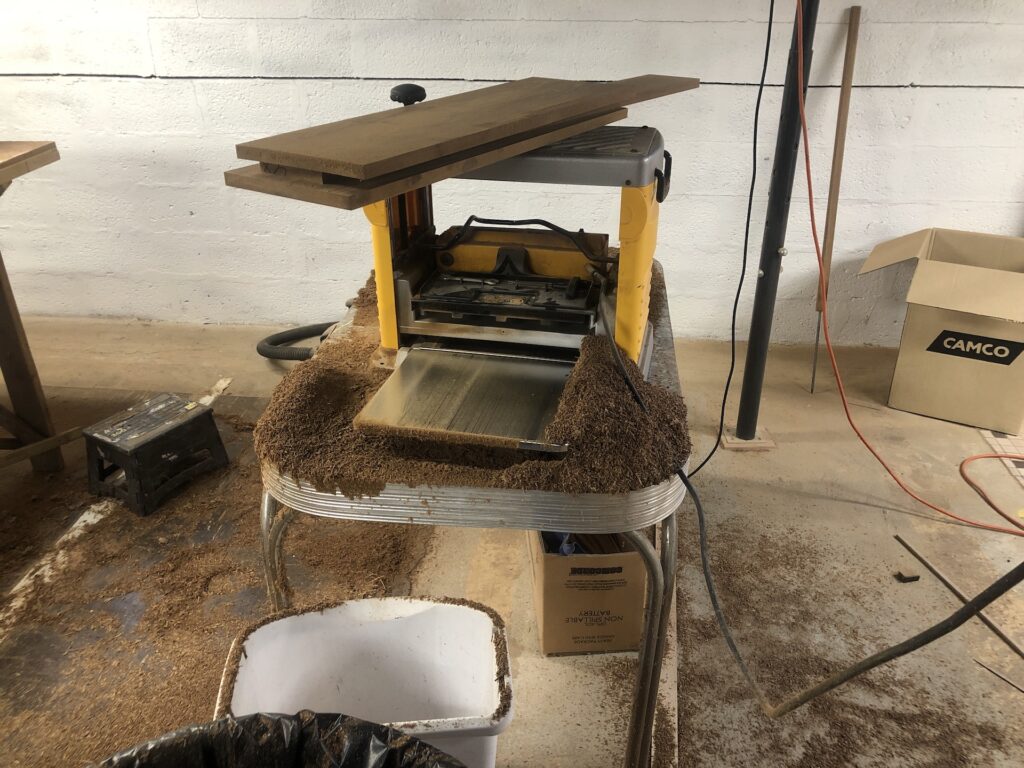
The original drop boards was a set of two, and based on the lumber I had on hand, the new will be a set of three. The first task was to plane the boards to the desired thickness:
Next, I used the table saw to make the required tongue-and-grooves (blurry image below).
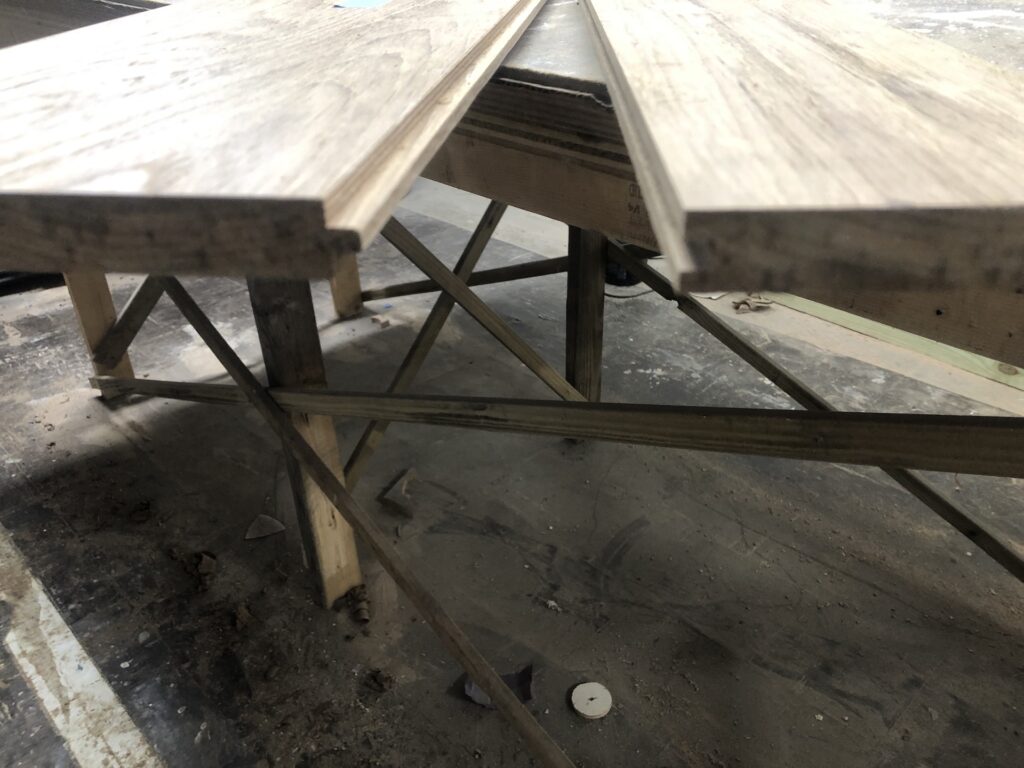
The purpose of the tongue-and-grooves is to keep water out (tongues up, grooves down).
I used hot glue and strips of wood to make the temporary board into one, which served as a rough template.
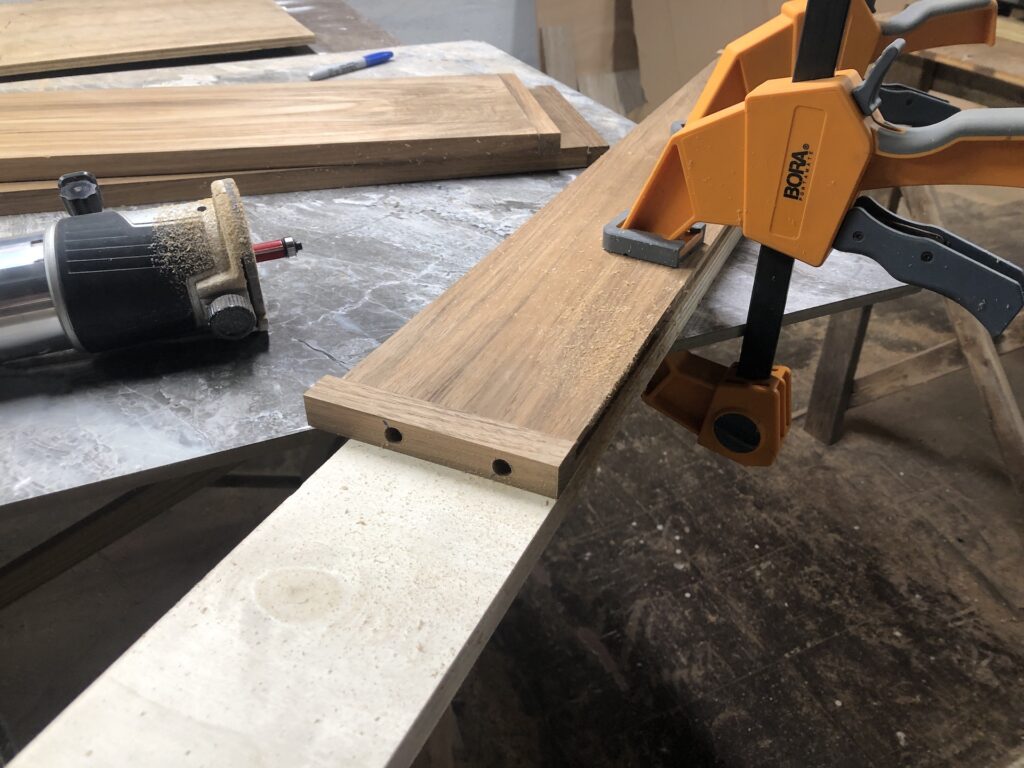
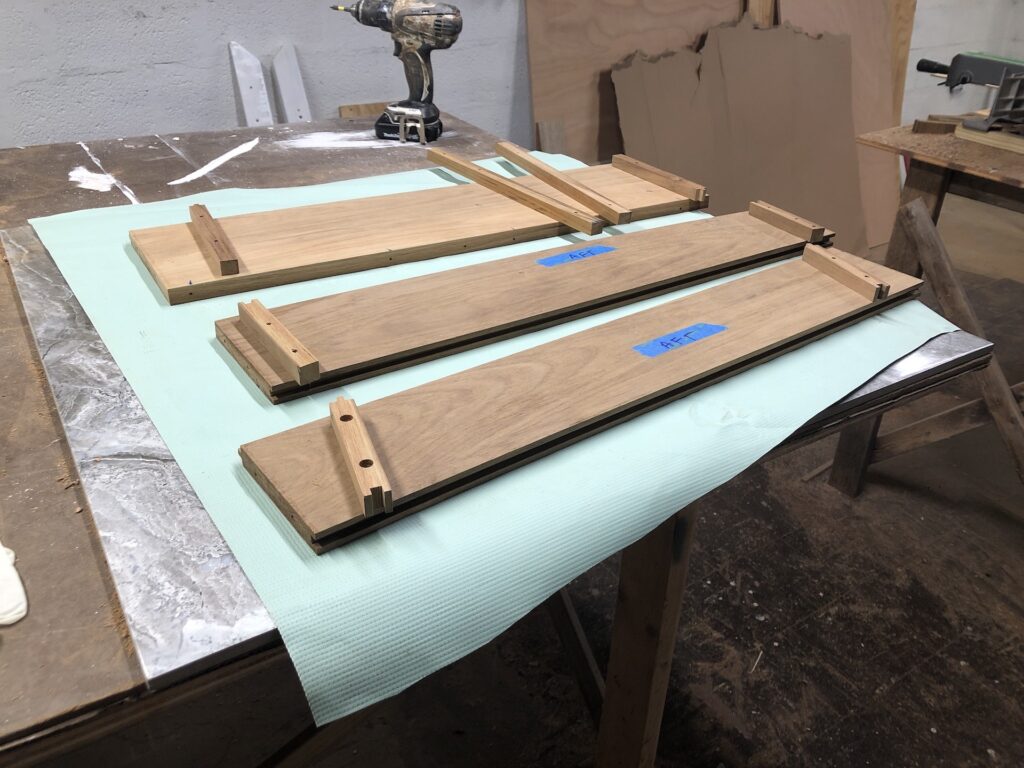
Years ago I read in a book that a project like this requires no fewer than two cordless drills. I sometimes employ four at a time:
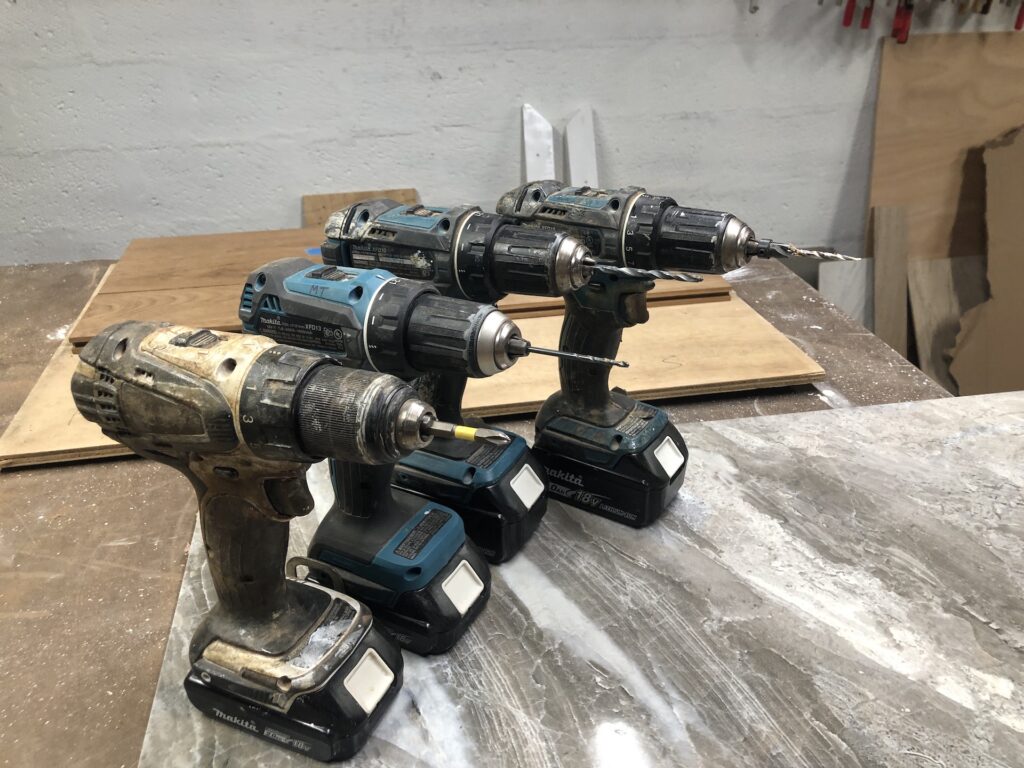
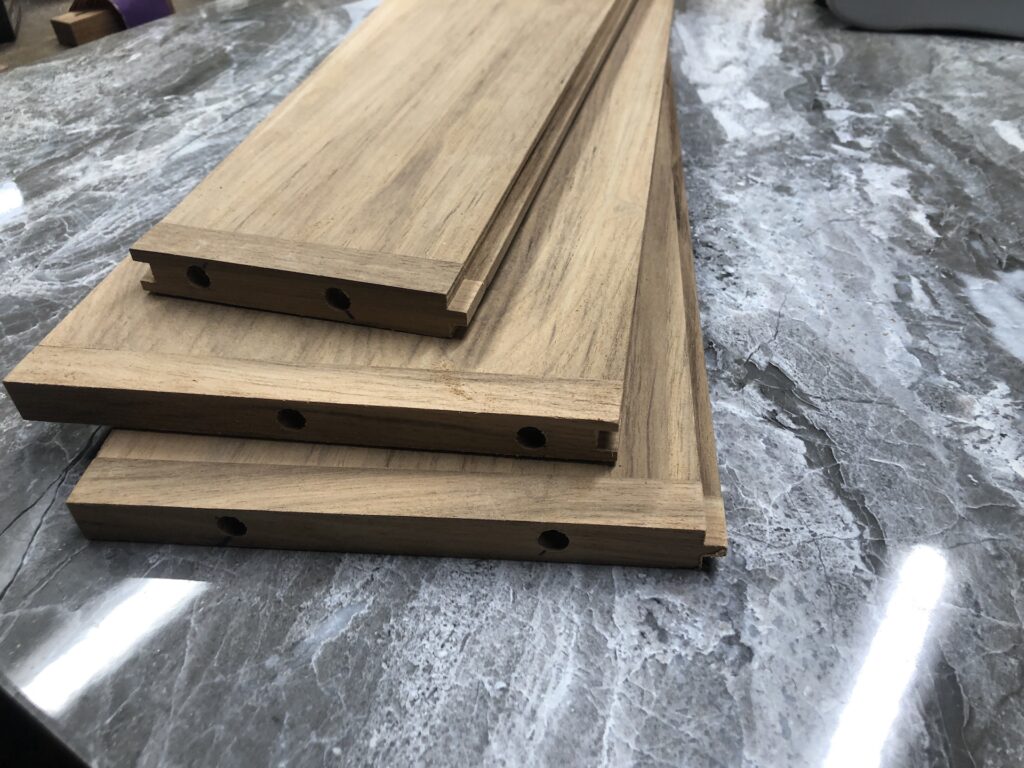
The drills were used in making pilot holes, countersunk holes, widening the countersunk holes, and screws. All this activity was for vertical strips that run along the sides of the boards:
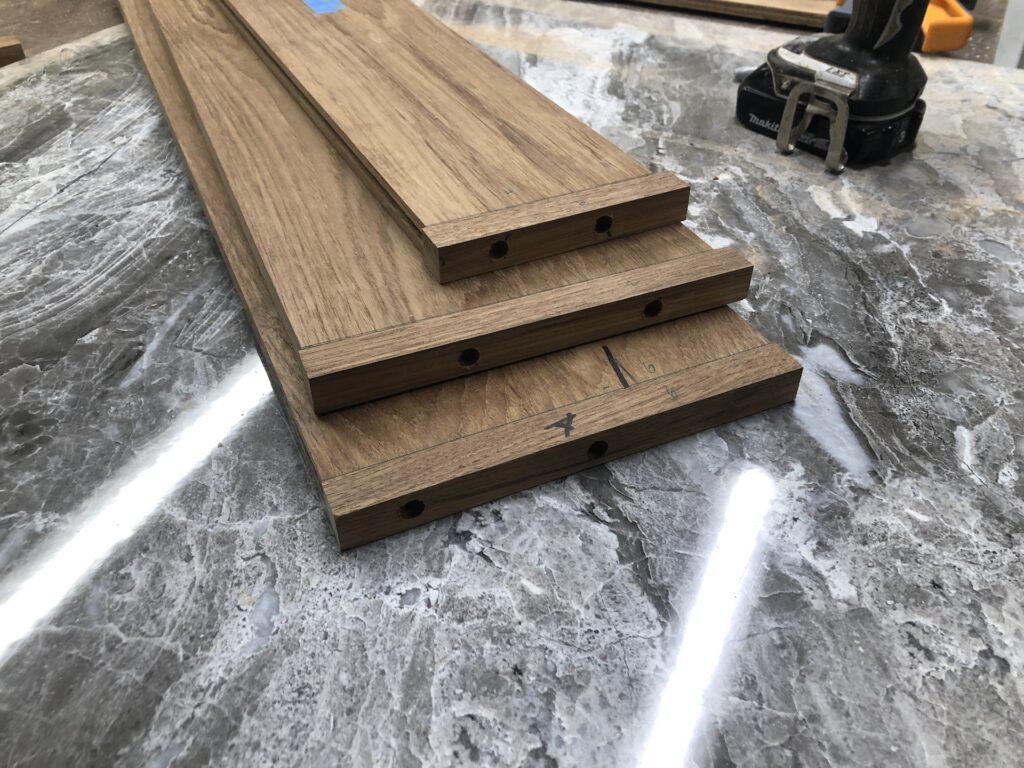
The purpose of the vertical strips is to hide what would be a lot of end grain in the larger boards. More importantly, however, the boards will often “grab” in the process of inserting and removing, and end grain is weak to such sheer impulses, and eventually there would be chip-out.
More milling required now to shape the new pieces:
Finally ready for about 15 iterations of dry fitting and adjustments to the overall width and shape.
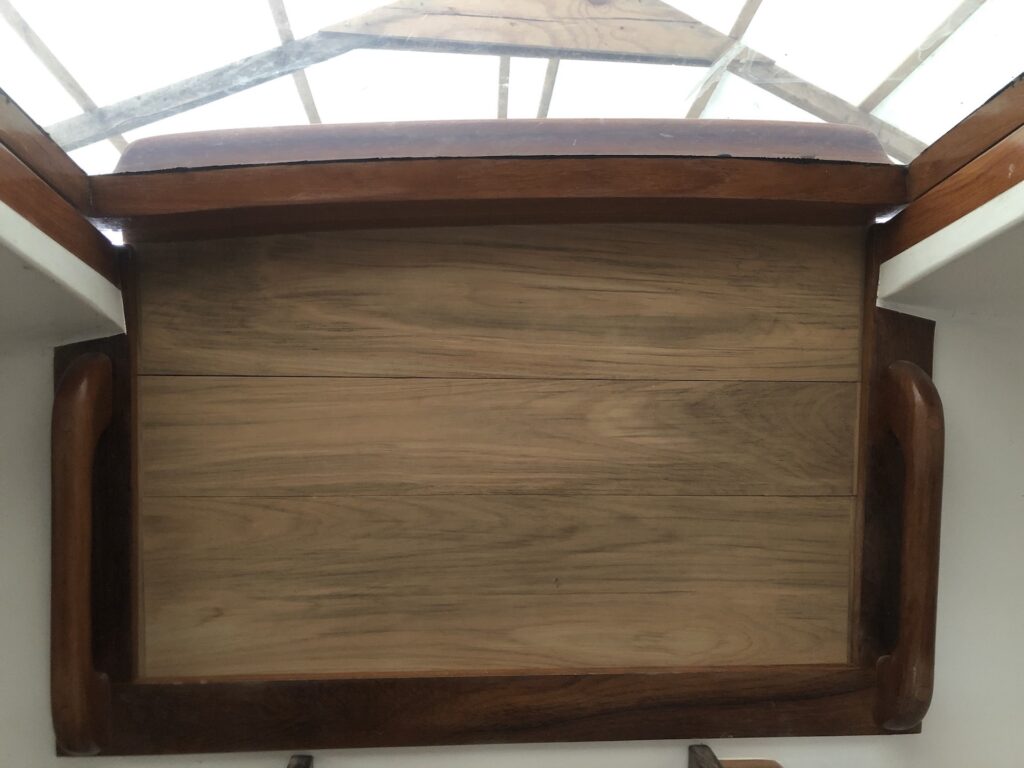
Eventually I had a good fit:
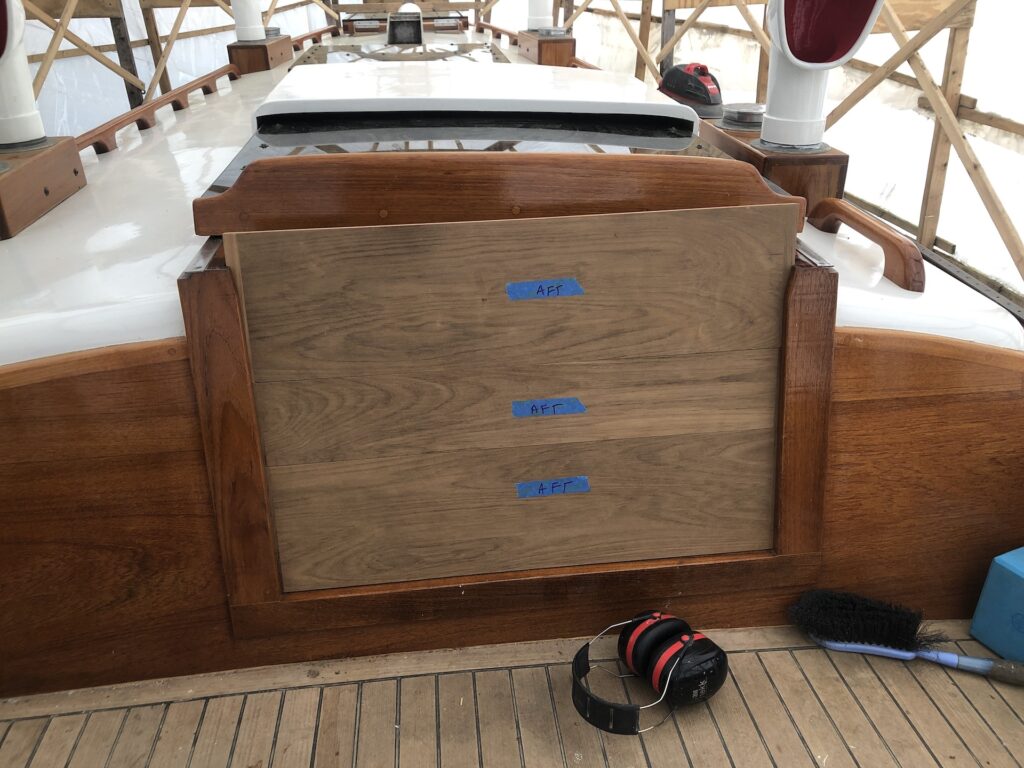
Clearly not quite done yet. From inside the boat I traced the shape of the hatch to the top board:
After some shaping (not show) finally ready for glue up:
A good fit:
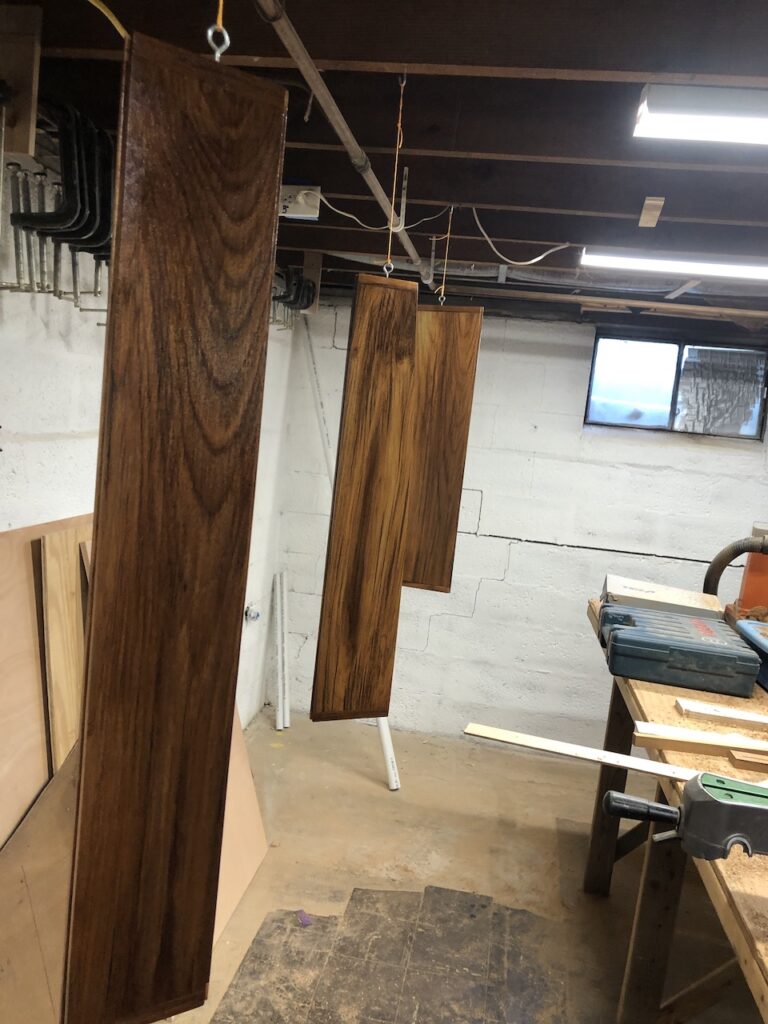
The first coat of varnish:
Trish
05/07/2023 — 9:07 pm
Wow. Mike! Huge huge job. Also, didn’t know you were making fiddles in your spare time! (What is a fiddle?!)
Mike
05/07/2023 — 9:45 pm
Trish, fiddles are raised rails installed along the edges of countertops and tables. Their purpose is to prevent items from sliding off when the boat is heeled. They are much easier to make than violins. :)
Kathleen
05/08/2023 — 5:41 pm
Amazing work, Mike! I’m so excited for you! Home stretch!