5/14/21: Molding, Trim
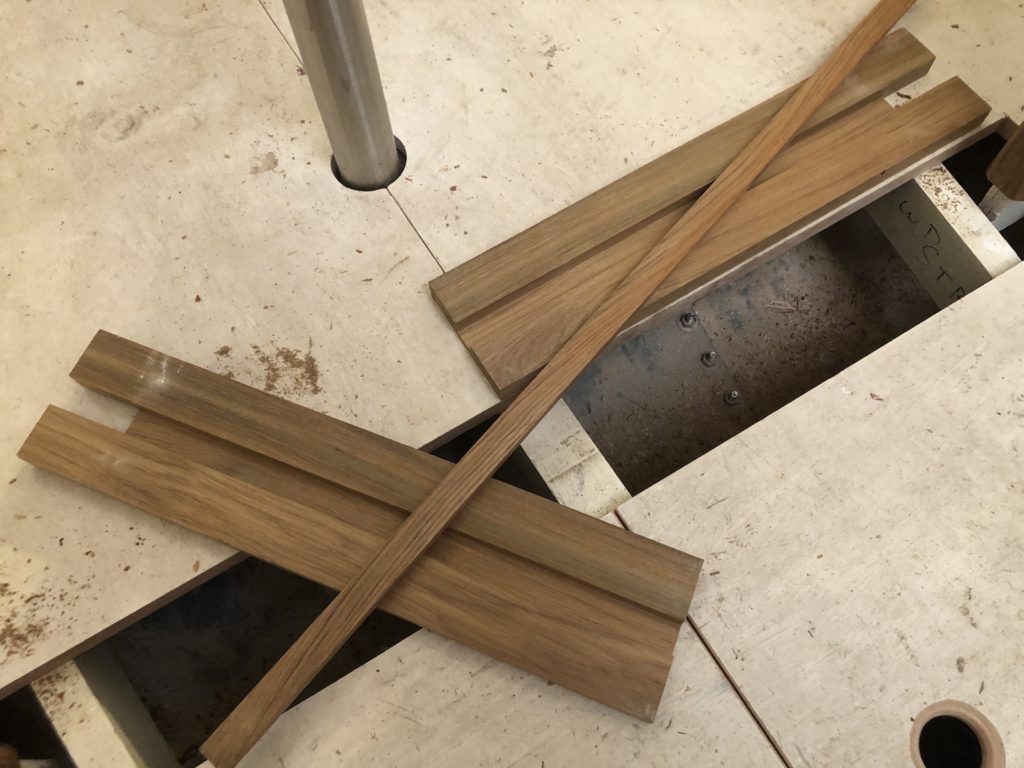
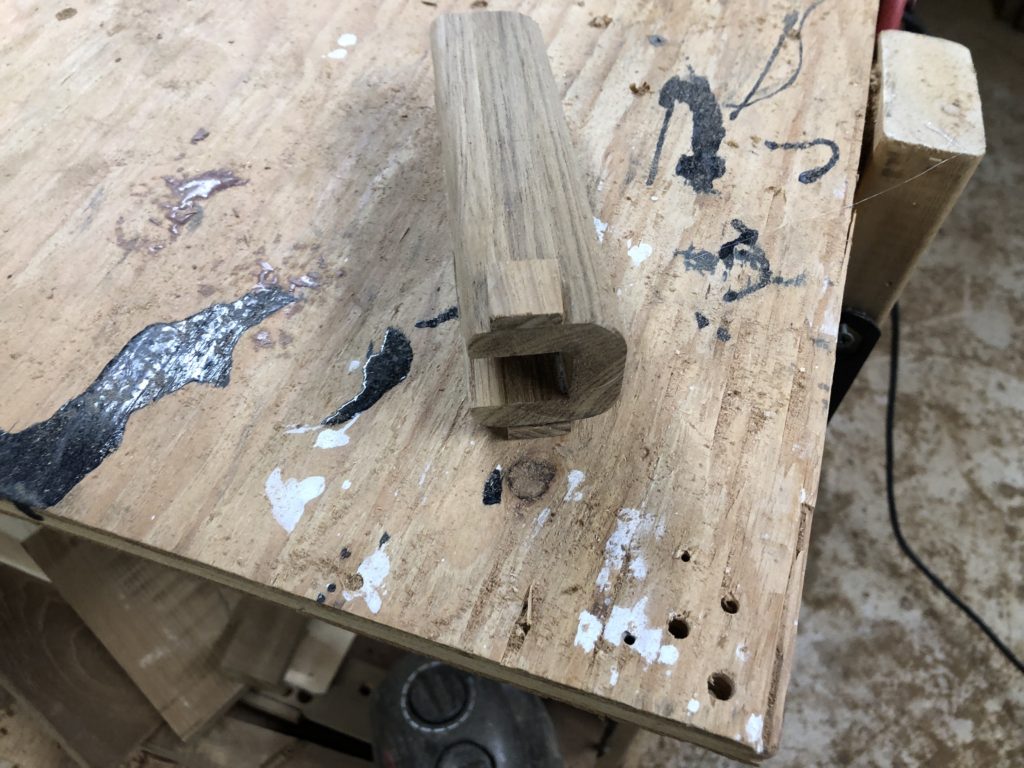
The various teak trim pieces in the cabin will include edge molding that covers the house-deck joint, so-called “fiddles” that prevent items from sliding off horizontal surfaces, and bulkhead molding. The bulkhead molding started with dadoing grooves in long strips of teak. The width of the groove, of course, matches the thickness of the bulkhead.
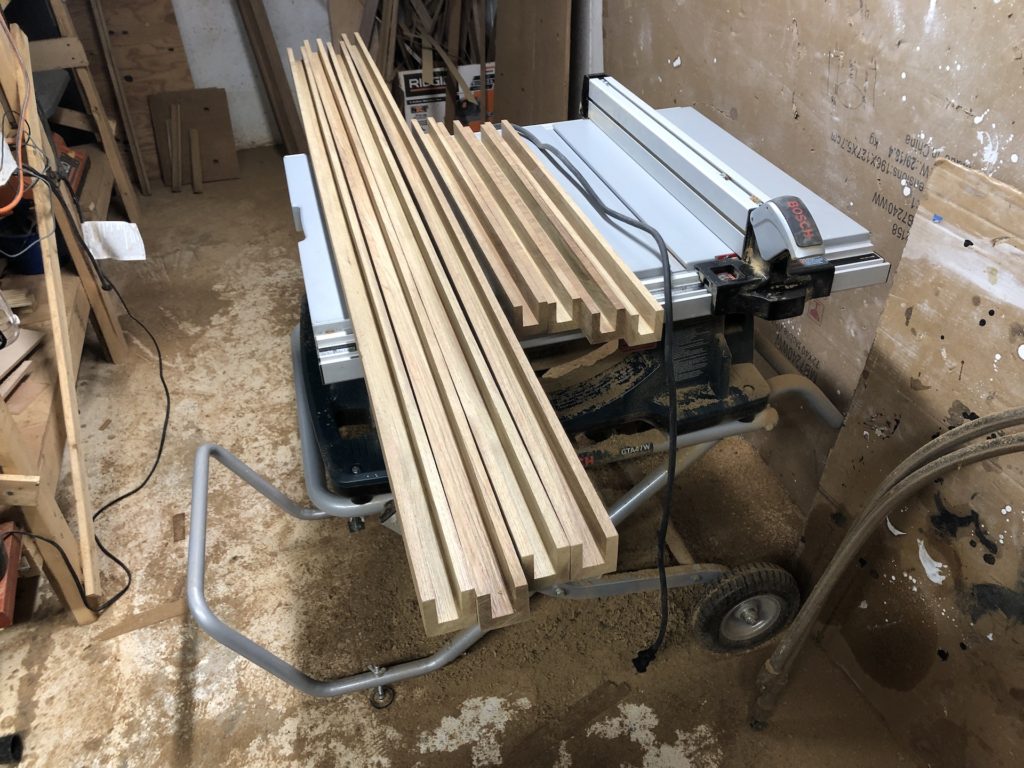
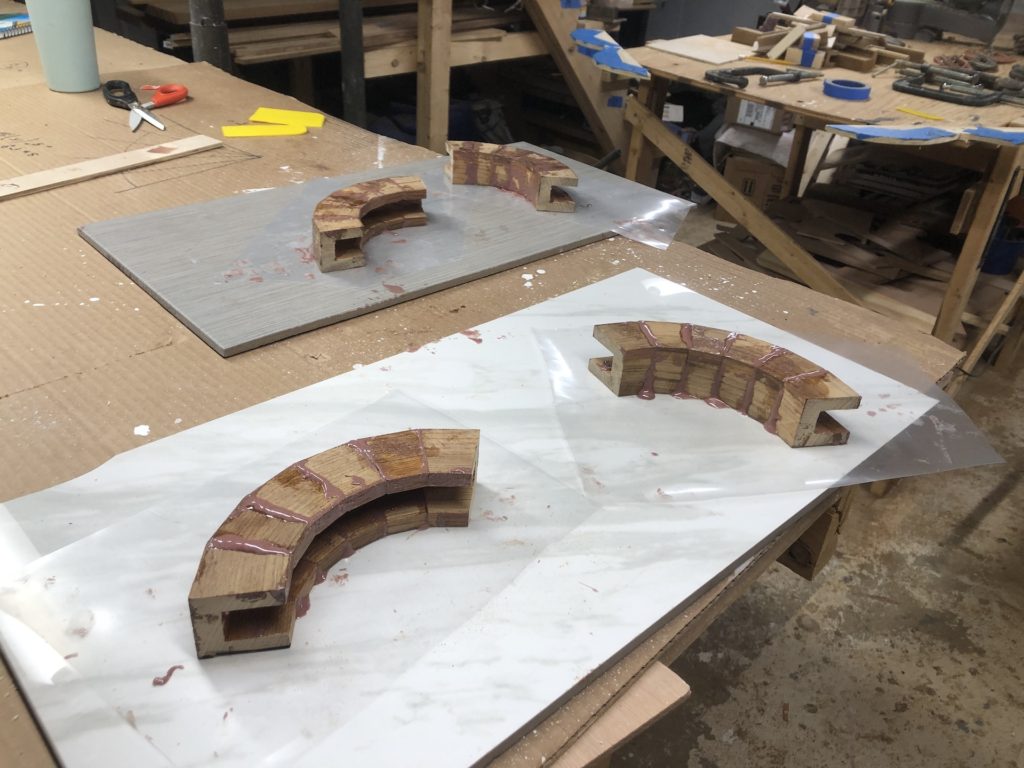
This type of molding can be purchased, but the groove depths are only about 1/4″, and I want something more substantial. There are just two bulkheads that will receive molding, and each will need one inside and one outside corner piece to follow the curves. I cut 24 identical wedge-shaped pieces from the long stock and they were carefully glued up with no clamping:
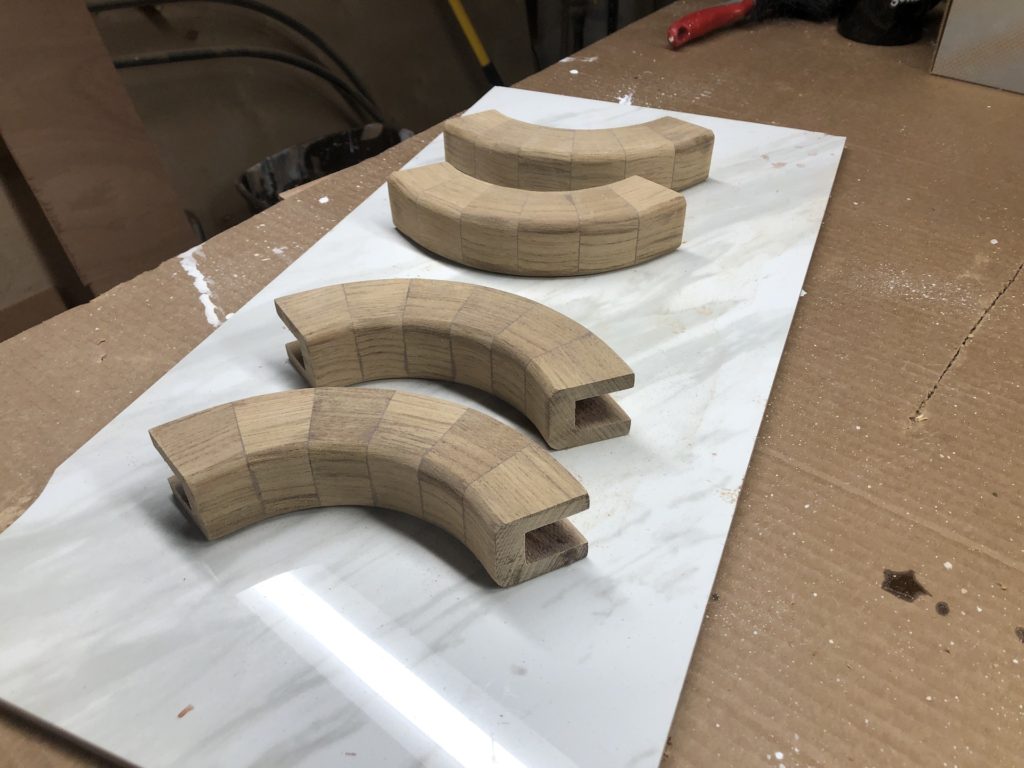
Here they’ve received a preliminary sanding:
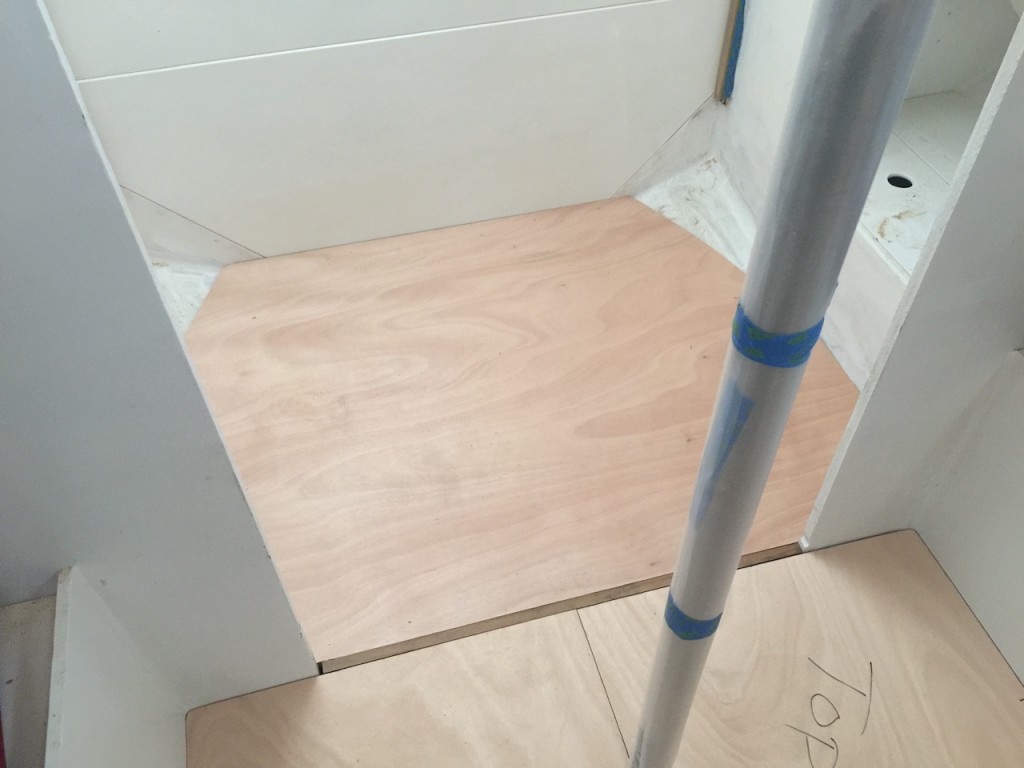
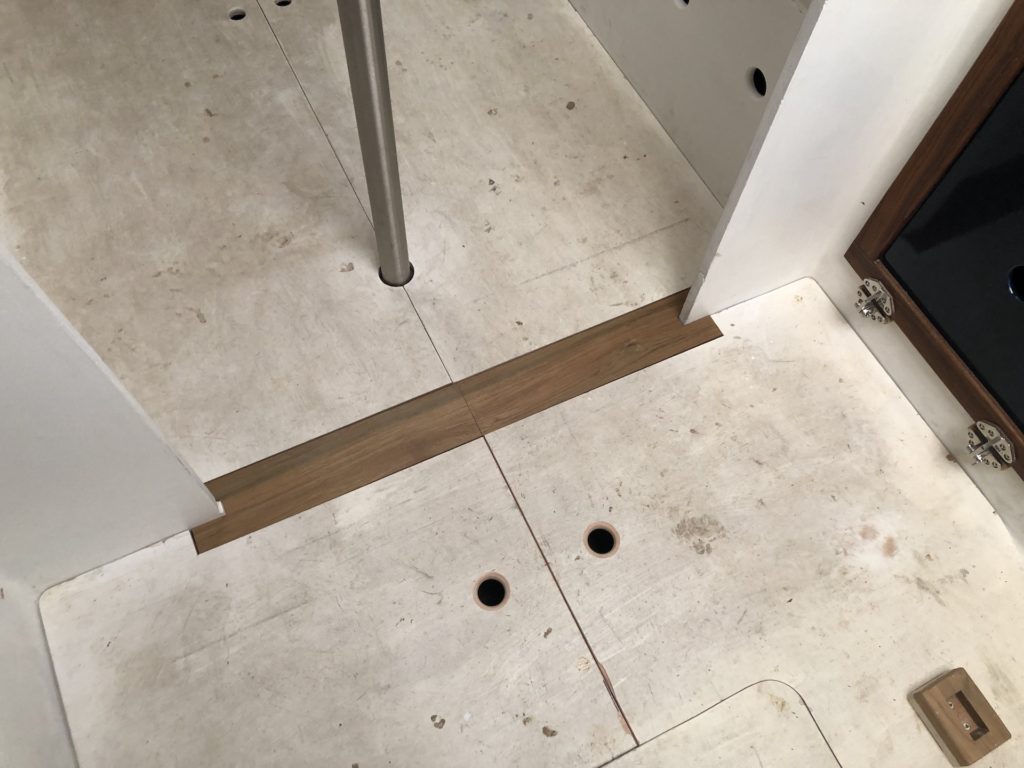
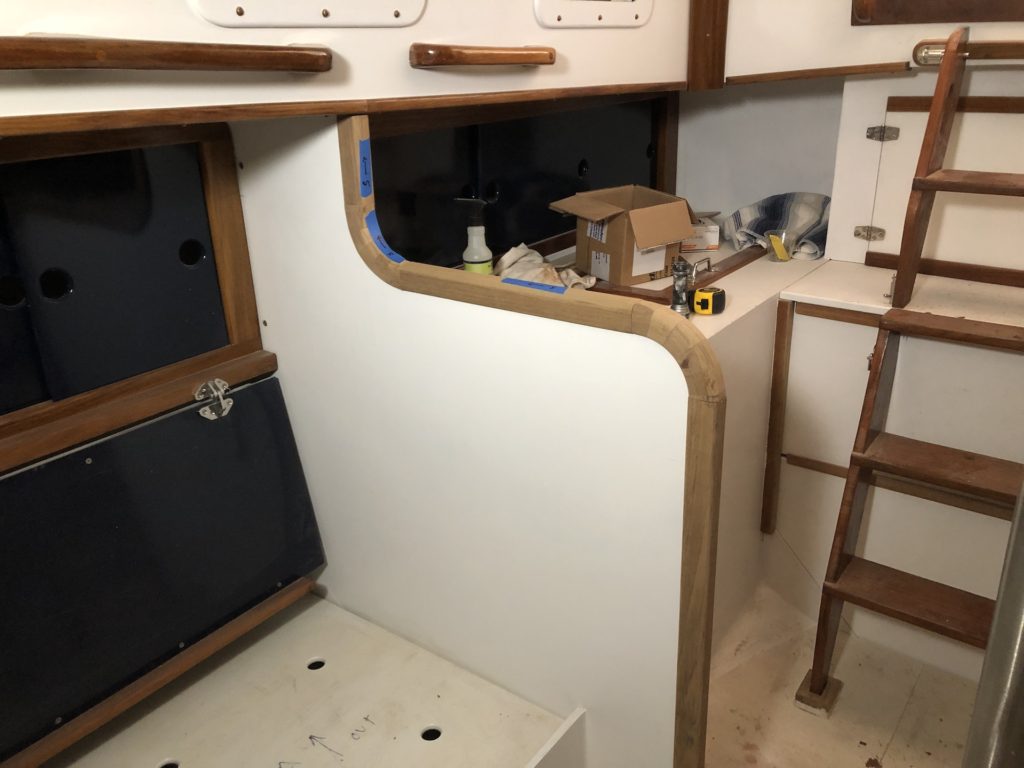
Before going too far, a minor issue had to be dealt with. The following image is old, and was taken while designing and building the cabin sole. The vertical bulkhead edges you see to the right and left of the compression post will be receiving molding mounted vertically. Note, however, that the edges of the cabin sole panels terminate on the bulkheads. If bulkhead trim were to extend down to the cabin sole, as it should, then the cabin sole panels would not clear the molding when the panels are lifted.
The following image shows the solution. I trimmed the panels and fabricated two wider teak boards that straddle the bulkheads. The groove down the middle accepts the thin strip, which stabilizes the arrangement and aligns the boards.
Of course the groove and strip face downward, and here it all is in place:
On to the molding…first, the “outside” corner pieces were glued up, and they served as the reference from which everything else would build.
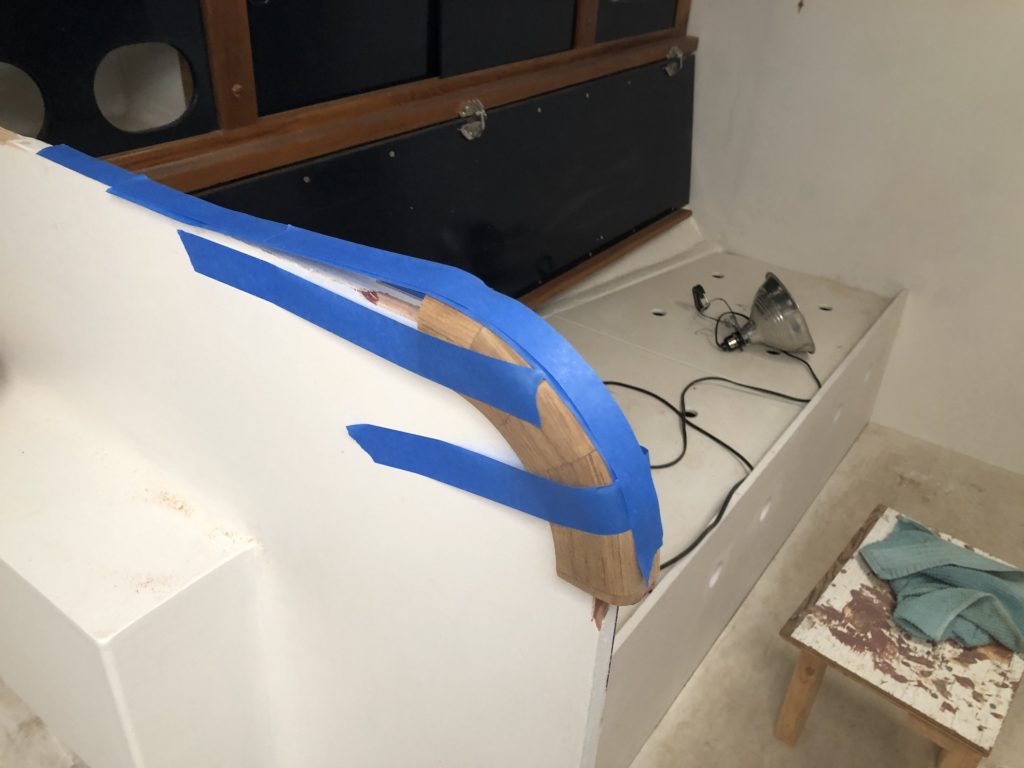
Wet epoxy, even thickened, can make even the tightest dry fit slip. In this case, the port-side corner piece didn’t stay put, so some tape was used to keep it still.
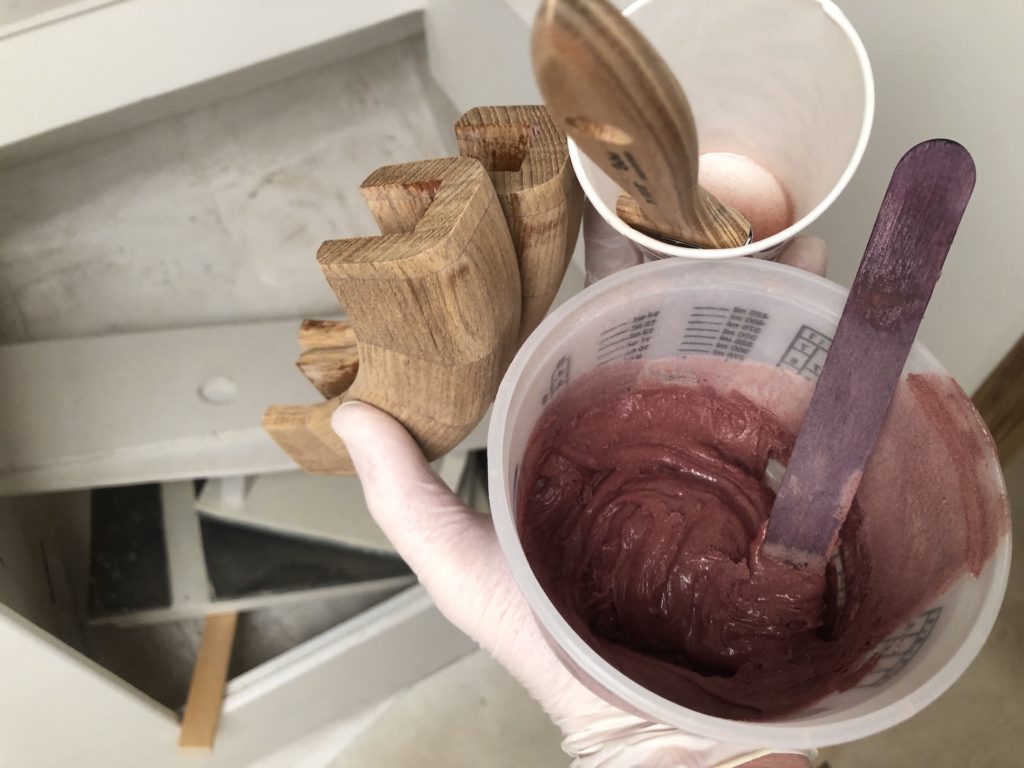
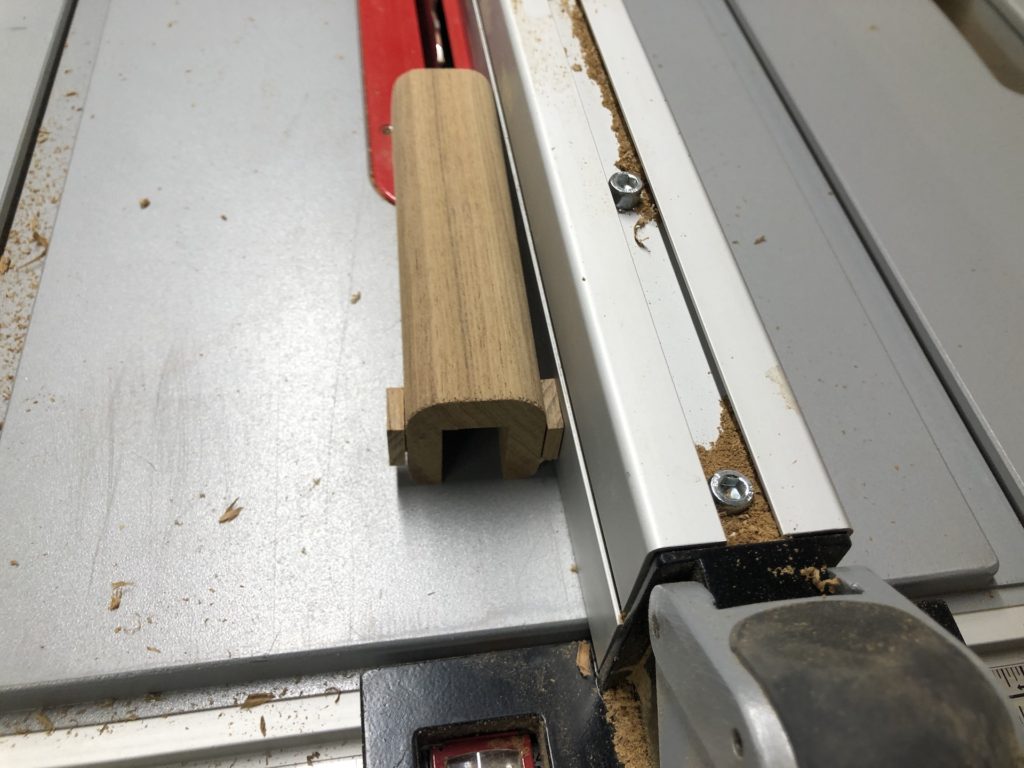
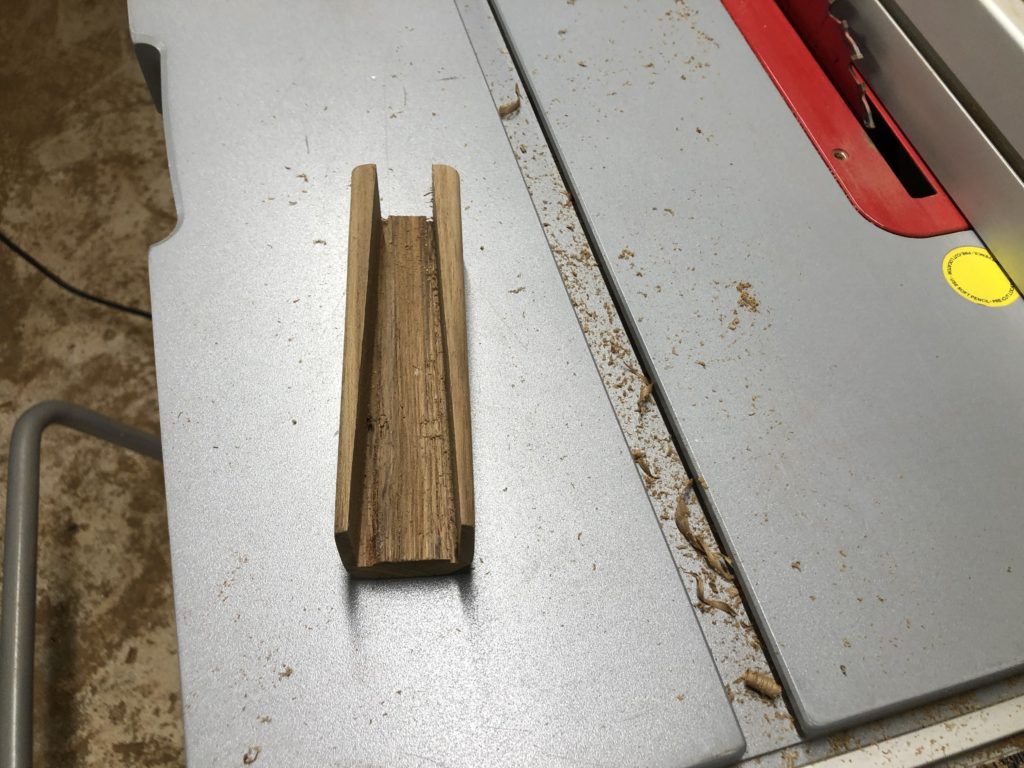
The groove in the molding is a good fit everywhere except where the bulkhead is tabbed to the deck. The choices were to adjust the bulkhead or adjust the molding. I adjusted the molding. First small 3/16 inch thick squares of wood were glued to the ends of each piece:
By registering against the table saw fence, as shown below, I was able to make a gradually-widening groove. (Obviously I had to tack the fence over to the left side of the blade to make a second cut.)
And now the dry fit of the remaining pieces, after some careful trimming:
The glue-up with thickened epoxy was straightforward.
After some initial sanding:
Careful sanding was required at a joint between two members:
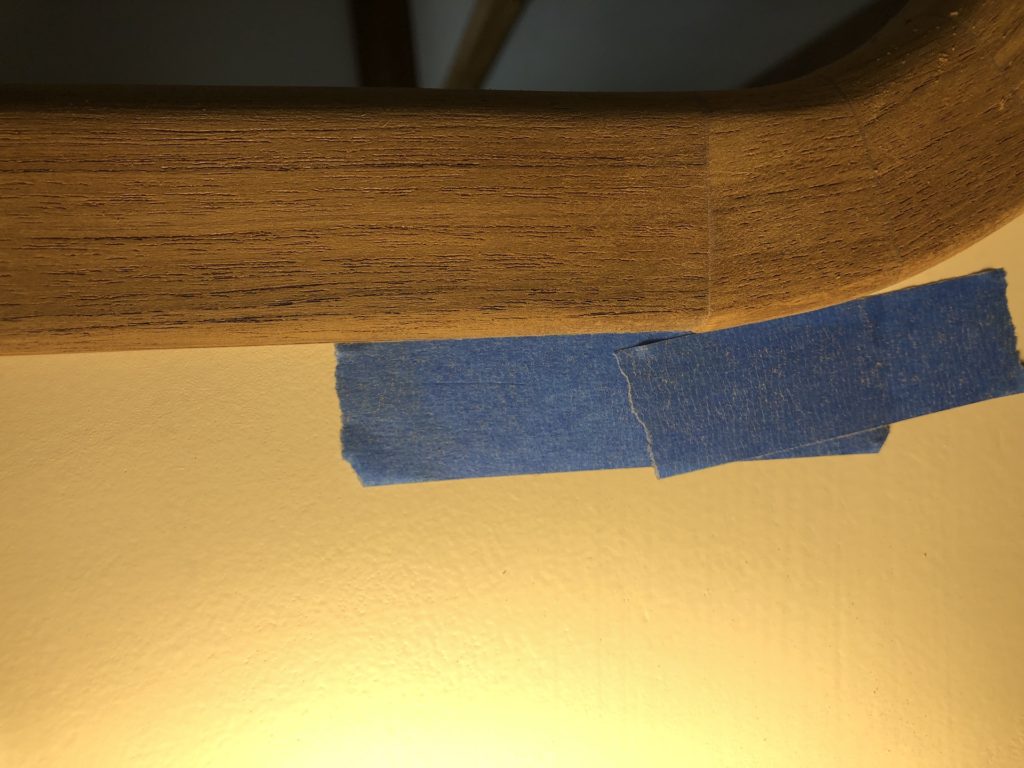
Finally, taping off everything…
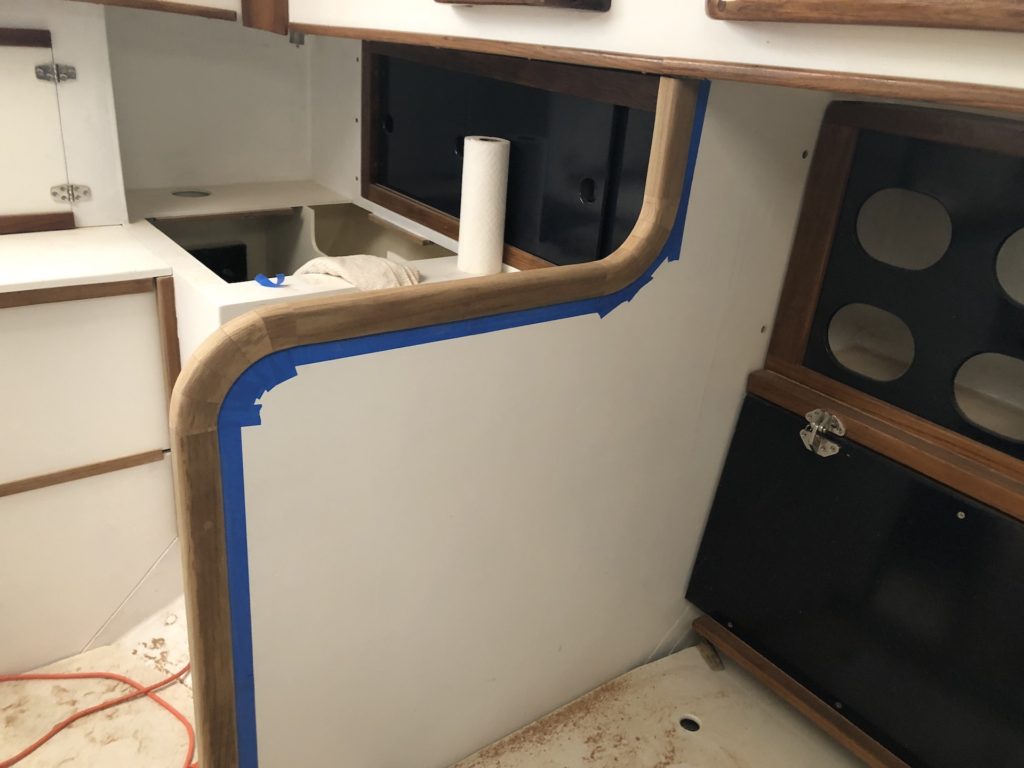
…for a first coat of varnish:
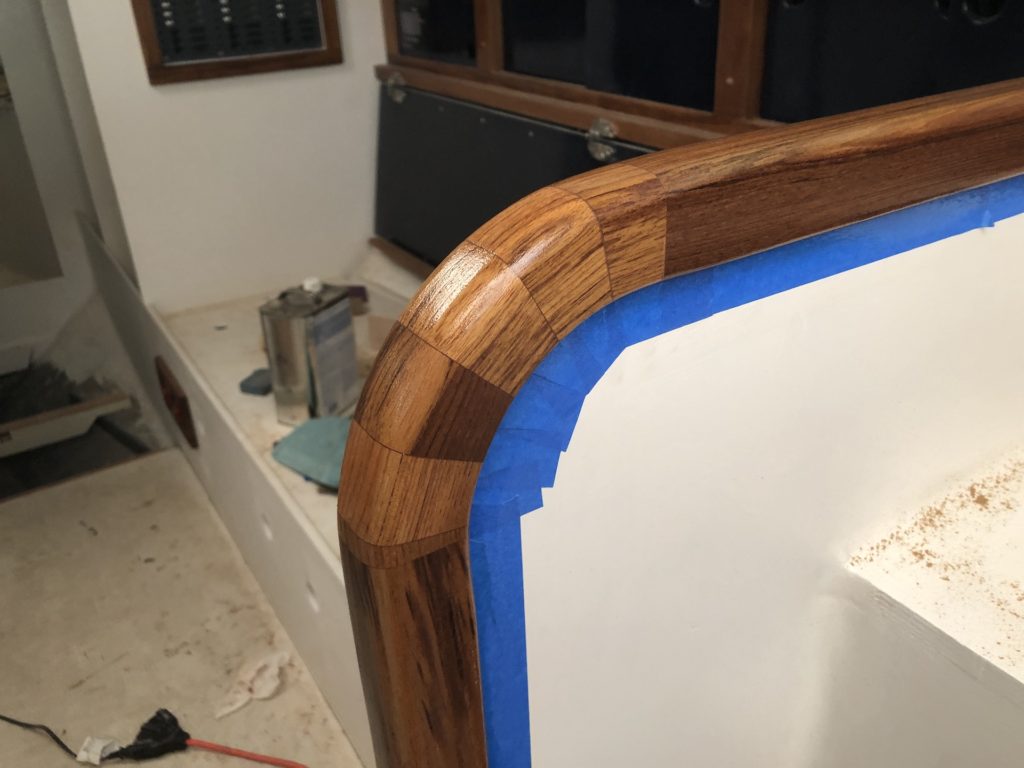
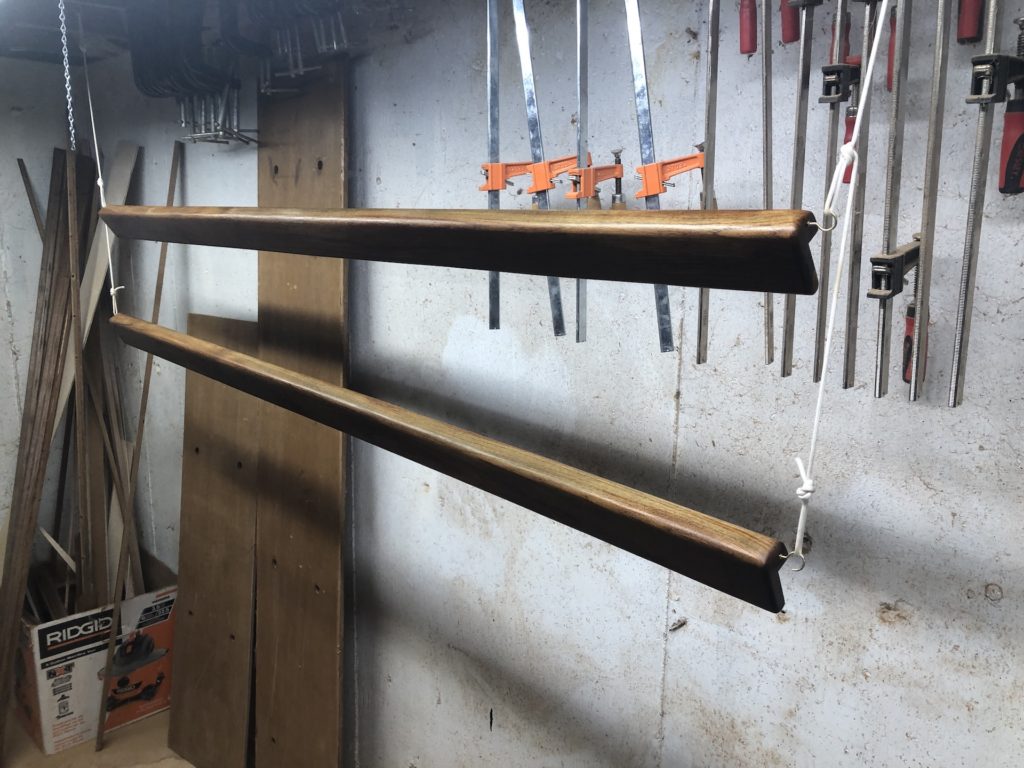
The edge trim was made back in February, and here is a picture from a previous post, where the trim is hanging from hooks for varnishing:
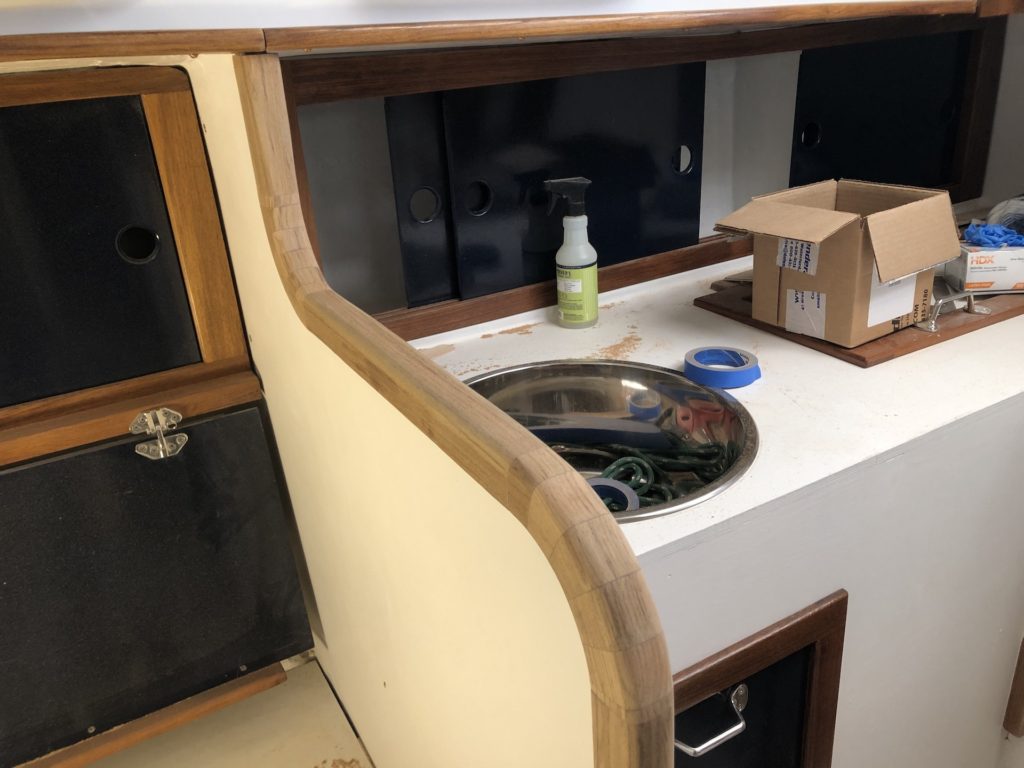
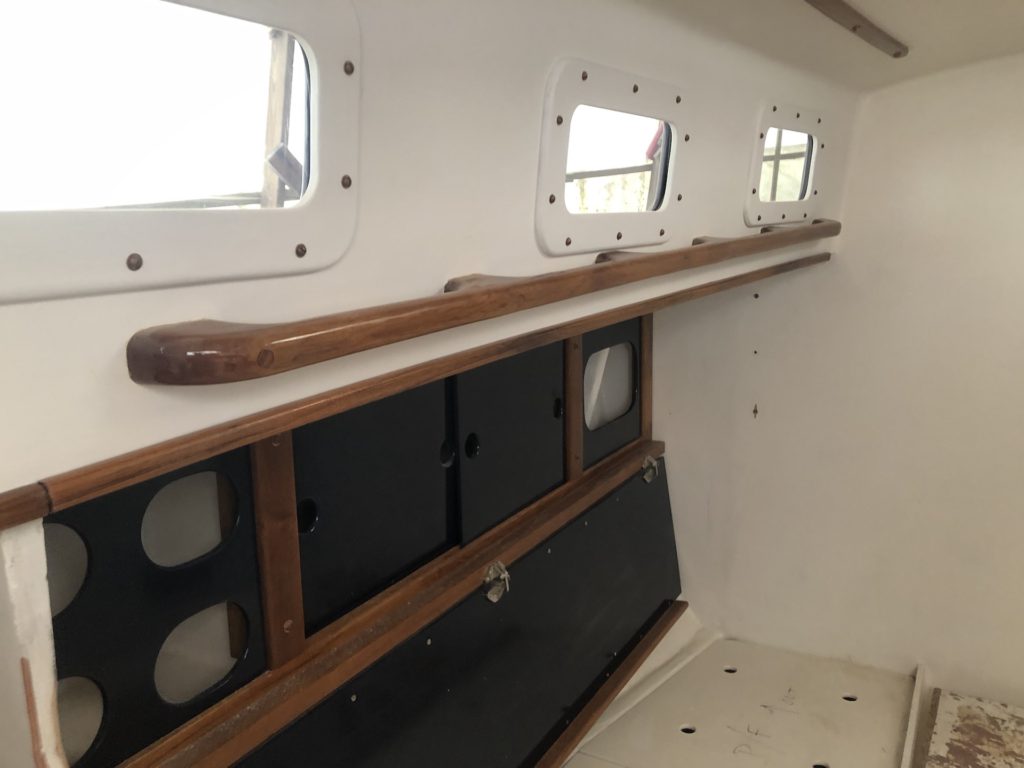
Months later, it is now installed. Below is the port-side salon, and the edge trim can be seen under the grab rail. It is fastened with bronze screws and washers from underneath.
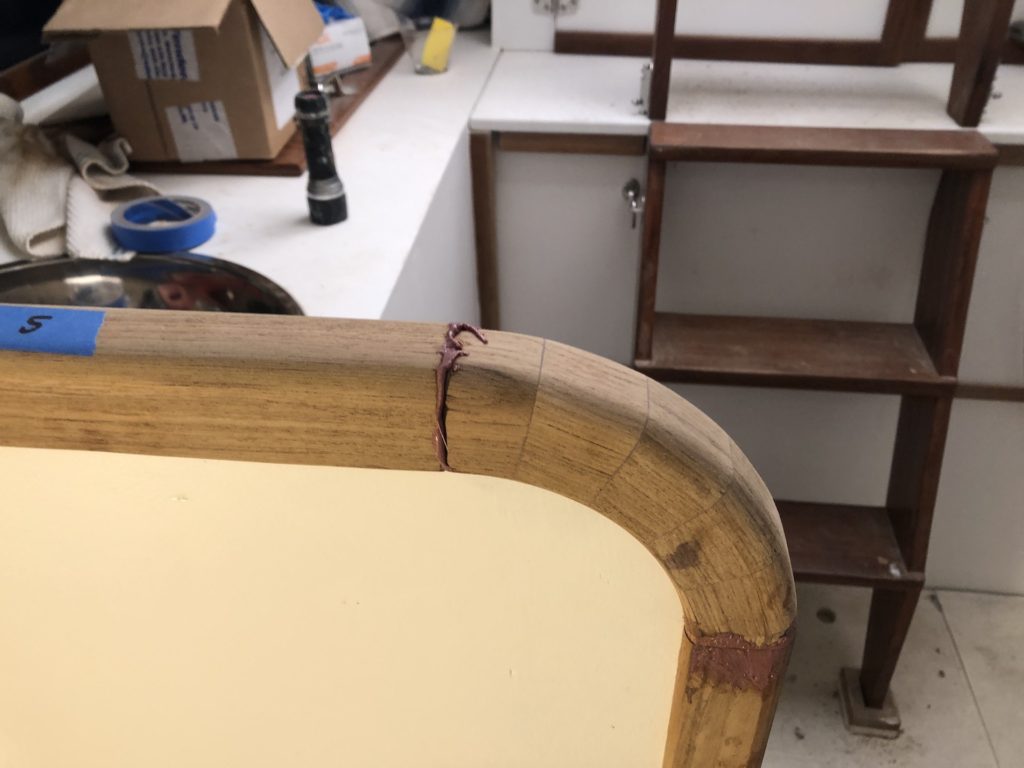
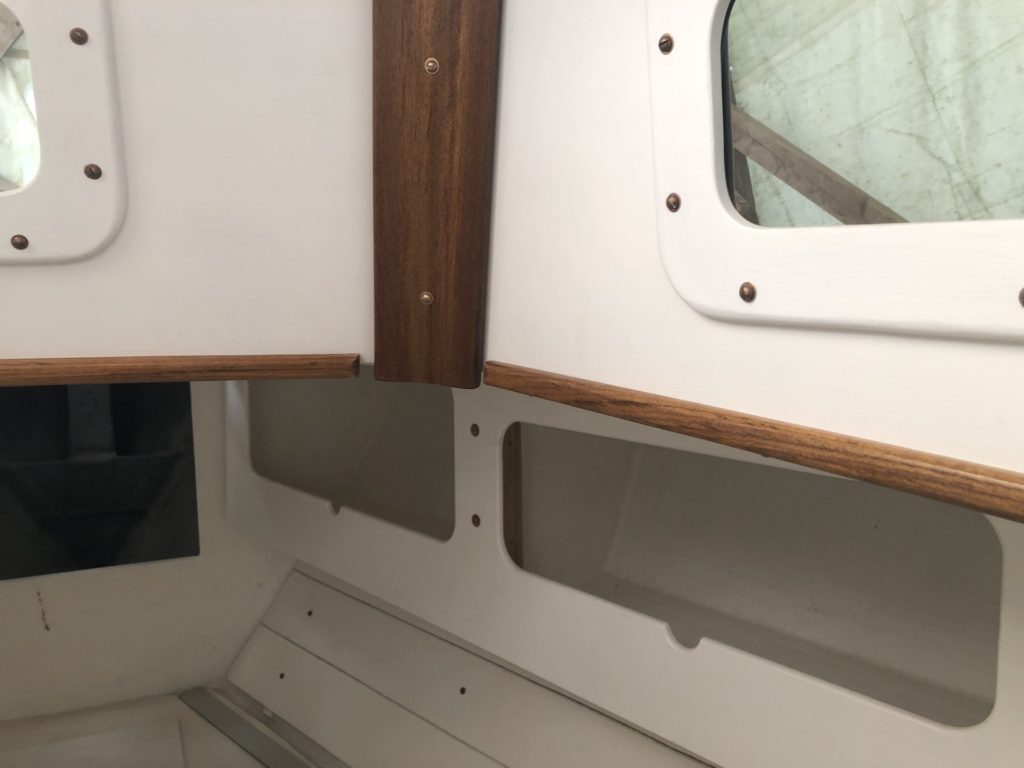
Here we are in the forward cabin and looking at the corner piece, with edge molding terminating near it.
Jean Tammaro
05/14/2021 — 5:38 pm
Looks beautiful!
Mike
05/14/2021 — 7:02 pm
Thanks Mom!