4/18/21: Battery Boxes, Trim
The next step in creating an electrical system is finalizing the location of the batteries, so switches, busbars, fuses, and cable runs can be planned out. On a boat, of course, the batteries must be very well secured. The old batteries were installed under the cockpit, but I’ve decided to mount them under the settees. This creates better accessibility, and moves weight forward and down. Back in 2017, “under the settees” looked like this:
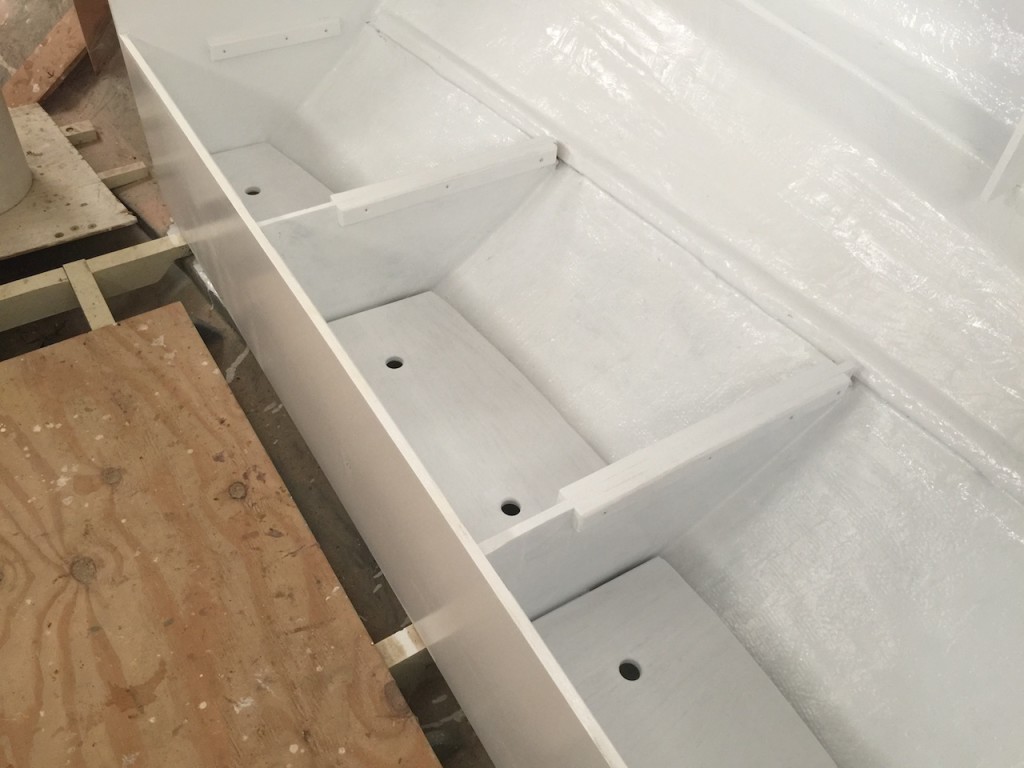
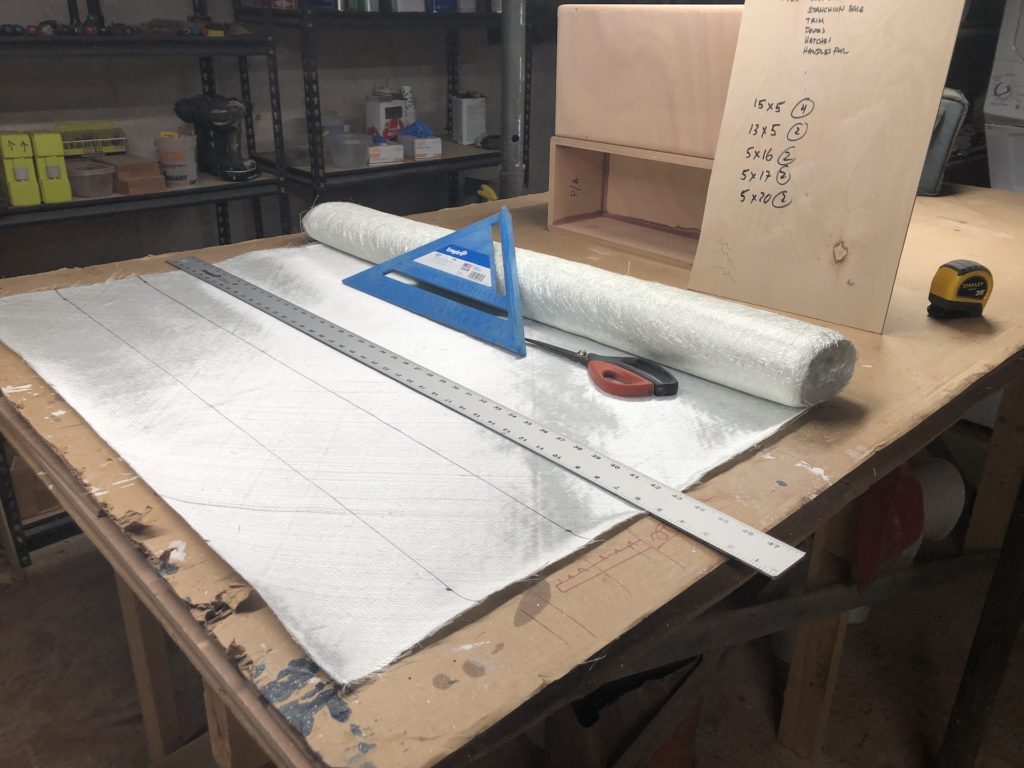
The bottoms of these compartments are too high, unfortunately, and the terminal posts would just barely have clearance under the seats. Thus, I needed another solution. I started by building three strong boxes. There are three batteries. The two “house” batteries are 130 lb each, and the dedicated engine-starting battery is 70 lb. Here I’ve put together a box and fastened it together with temporary screws.
Obviously screws-in-plywood will not be nearly strong enough, so with a small epoxy fillet on the inside holding everything together, I glassed the outer seams.
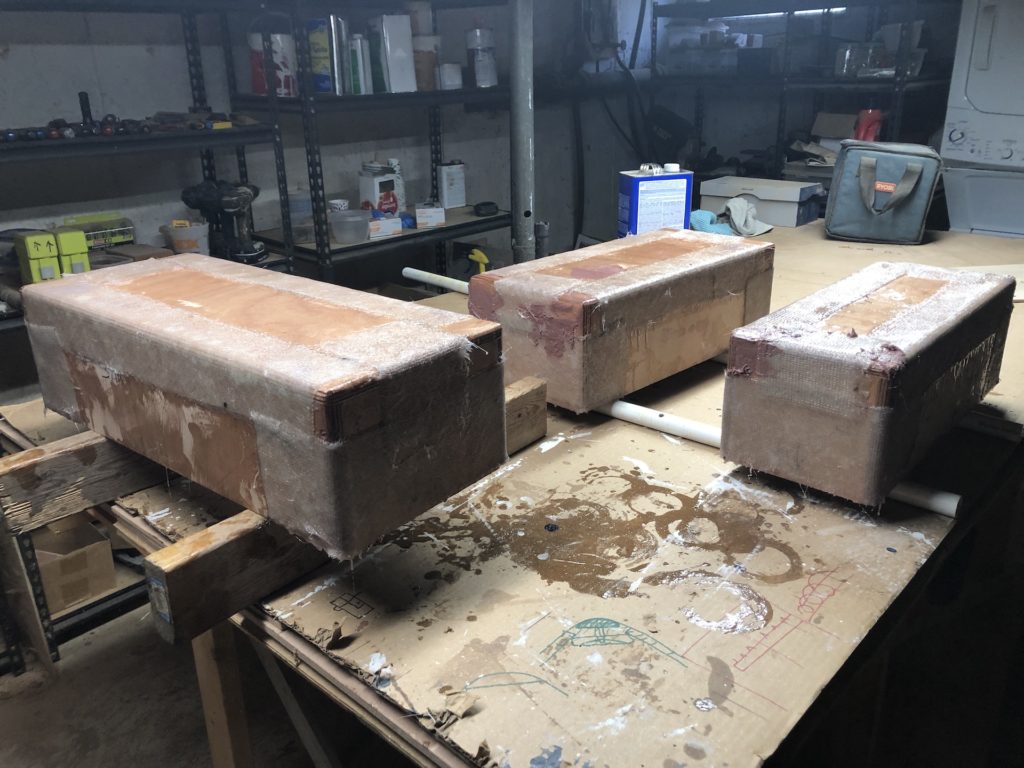
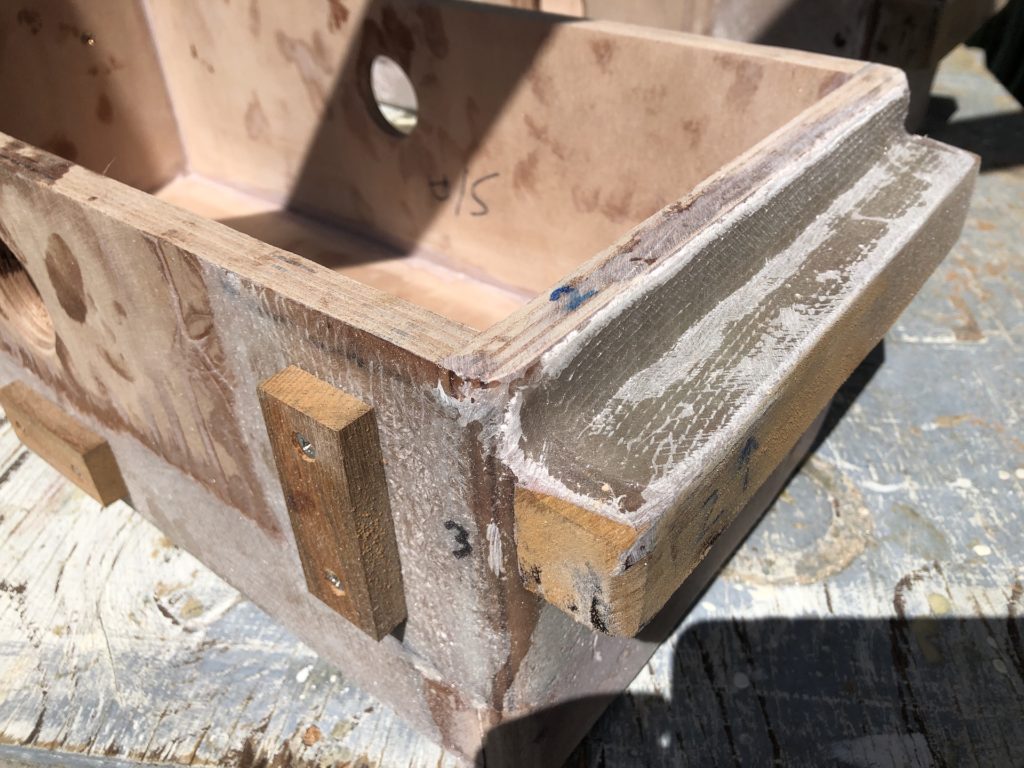
I also screwed, epoxied, and glassed in teak blocks at the ends of each box. I glassed only the tops, leaving the lower side smooth for mating with the blocks that will be attached to the boat.
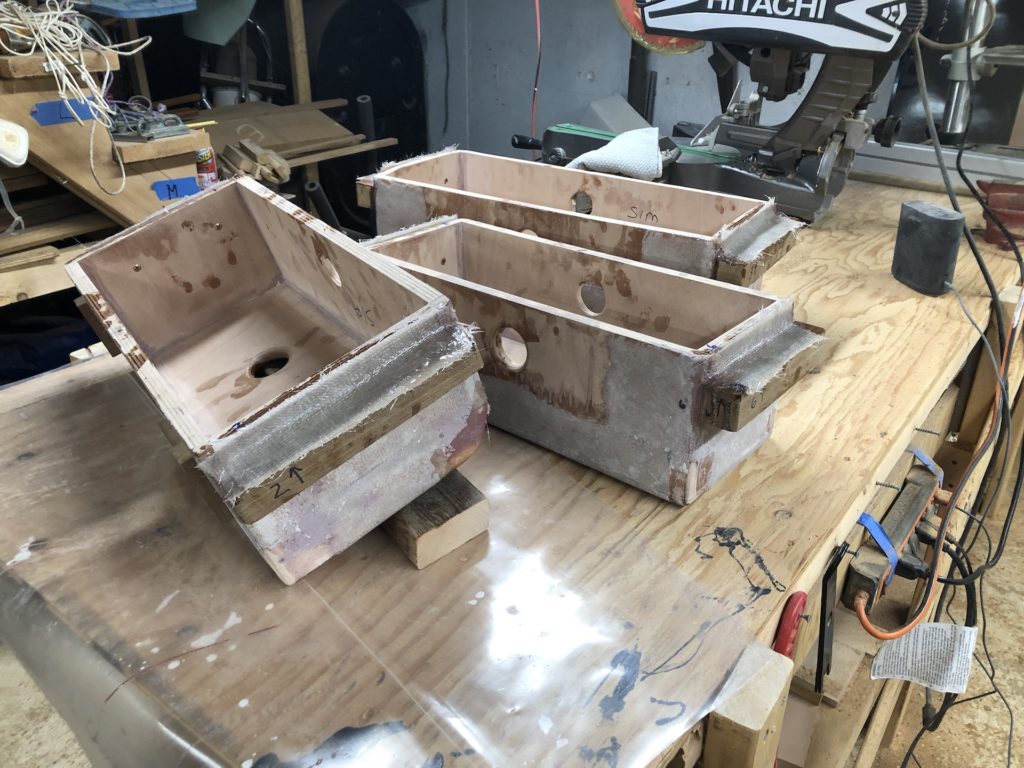
The small pieces of teak here are spacers for the purpose of encouraging ventilation.
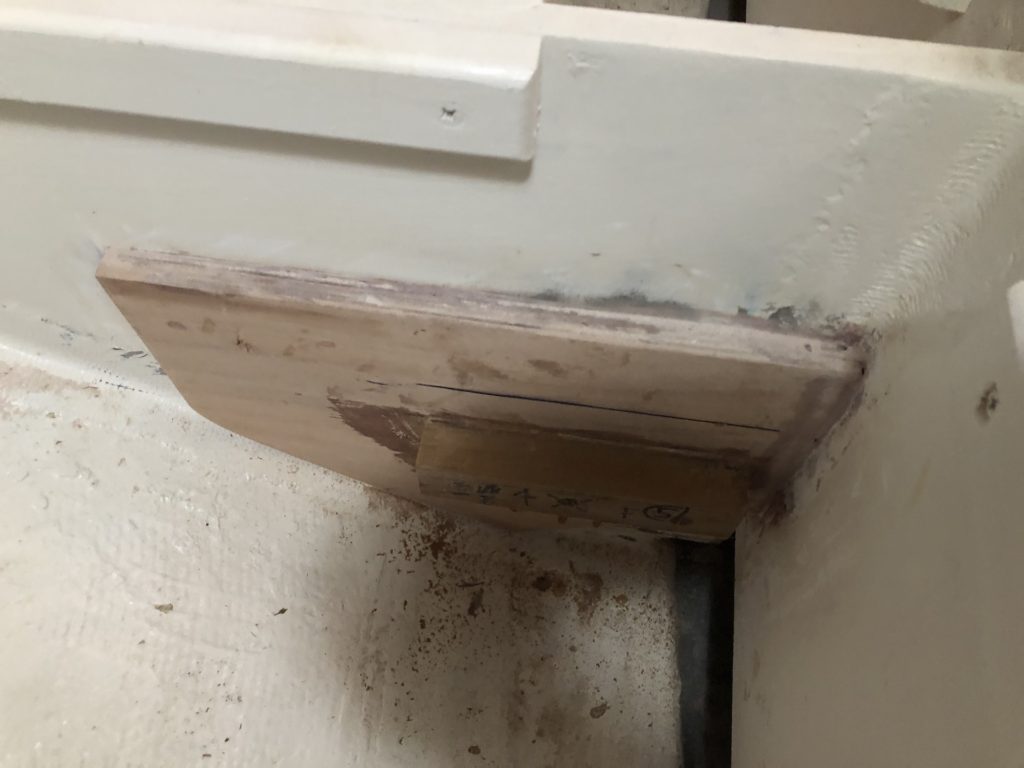
Everything was reinforced heavily and matching blocks were attached to the boat. The bottom sides of these were glassed, leaving the top side smooth for mating with the blocks on the boxes. Working out the alignment of the blocks was tricky, but I won’t get into that here.
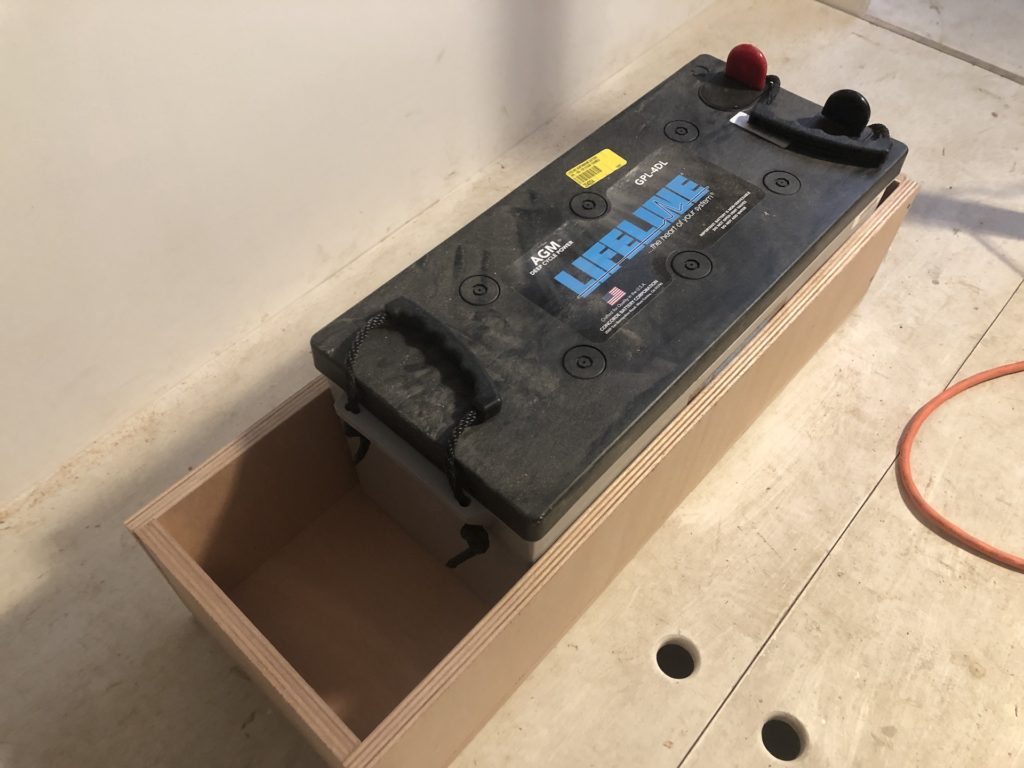
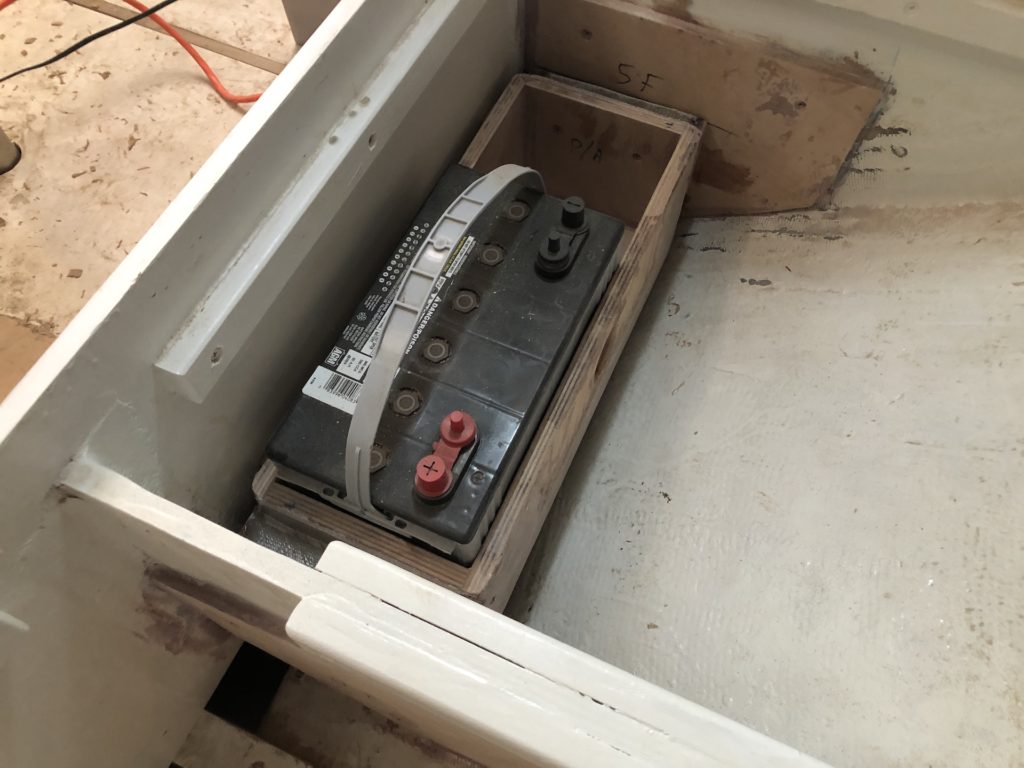
Here is the box for the starting battery in its place on the port side.
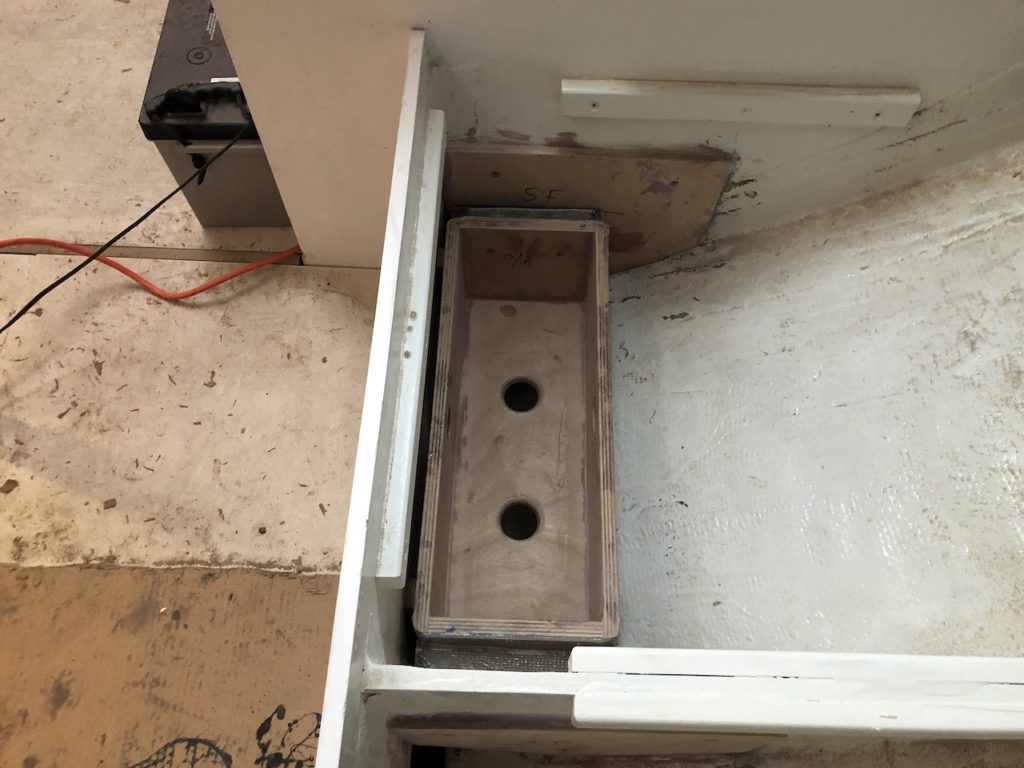
The battery fits in the box perfectly, except for the length. Why? It was easiest to build the lengths of the boxes to fit the compartment rather than the battery. The battery will be blocked in so it doesn’t move fore and aft, of course, and also secured down so they cannot come loose even in a complete capsizing.
Here are the boxes for the house batteries, on the starboard side.
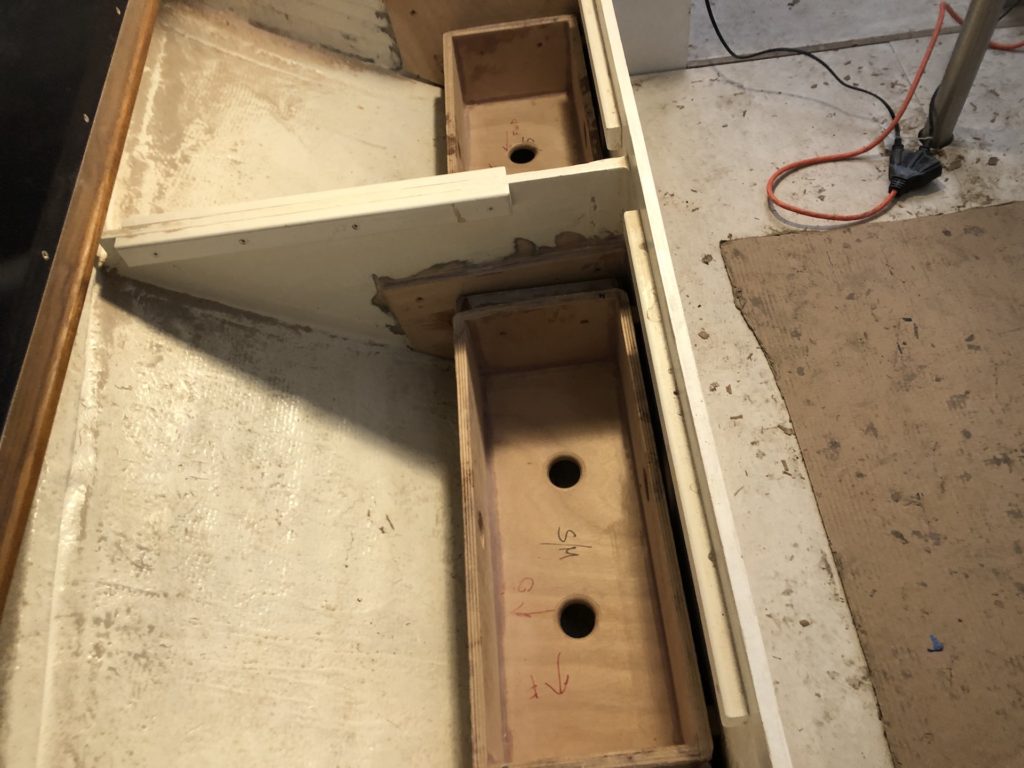
It may not be obvious from the picture, but the terminal posts sit well below the level of the seats.

There’s quite a but more to do here: cleaning painting, screwing or bolting the boxes in place, etc. I hope to have these batteries finally installed in about a week.
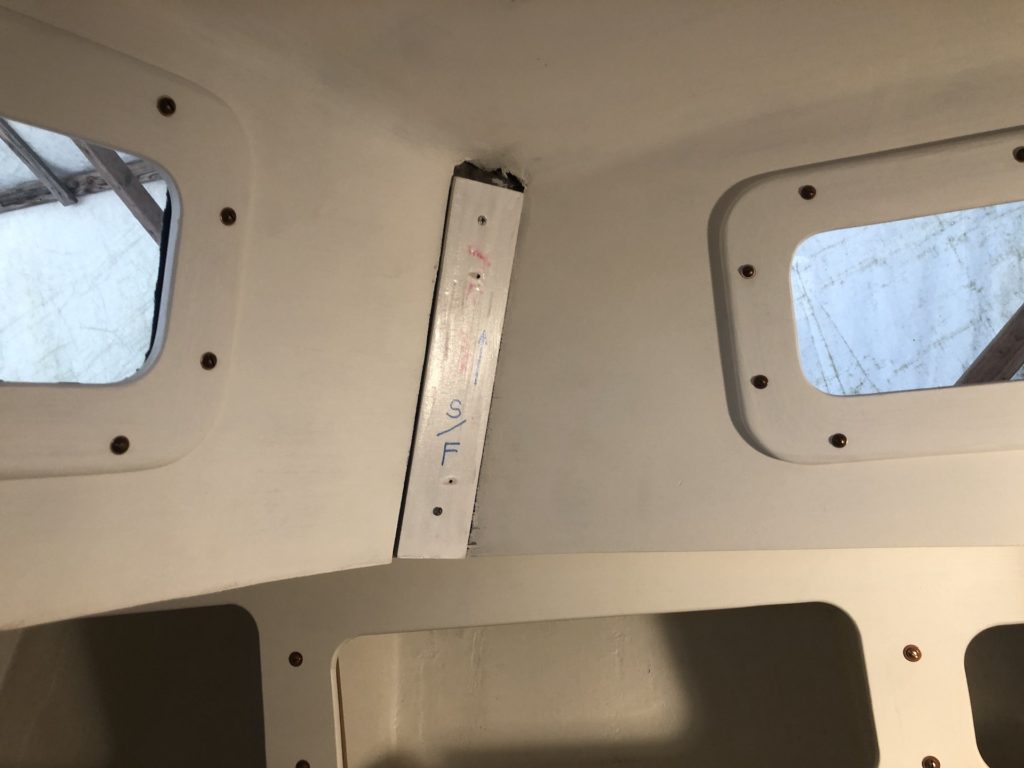
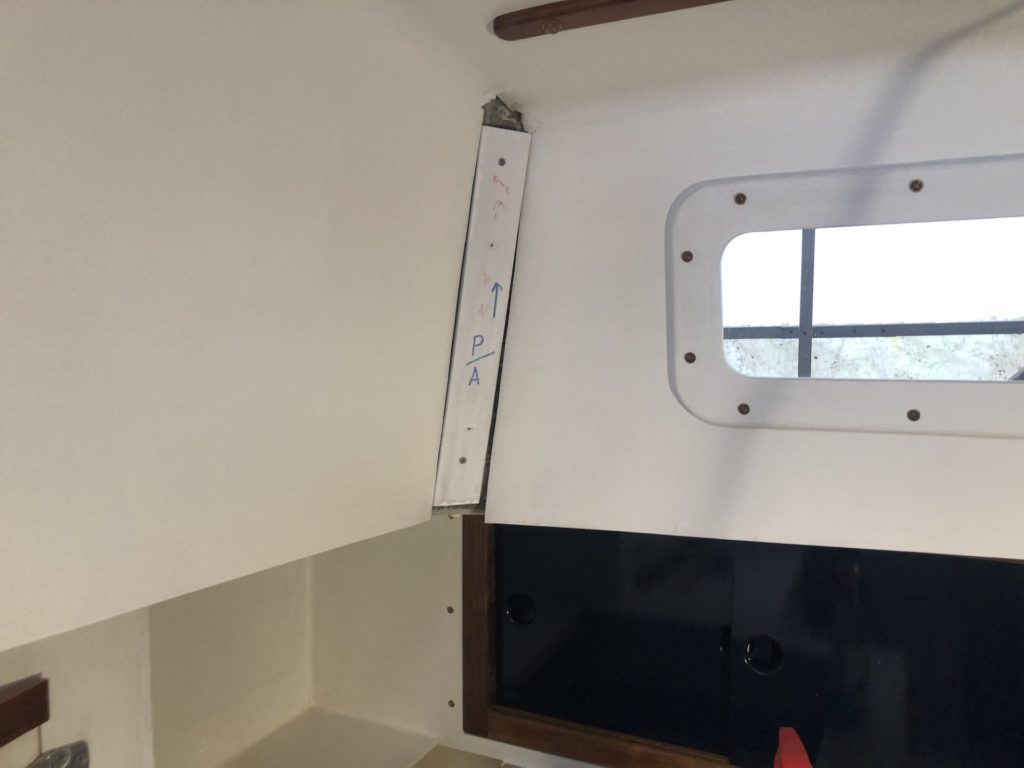
Meanwhile, work on trim in the cabin has been ongoing. There are four “corners” to the house that need to be covered up for cosmetic purposes. Here is the starboard-forward corner…
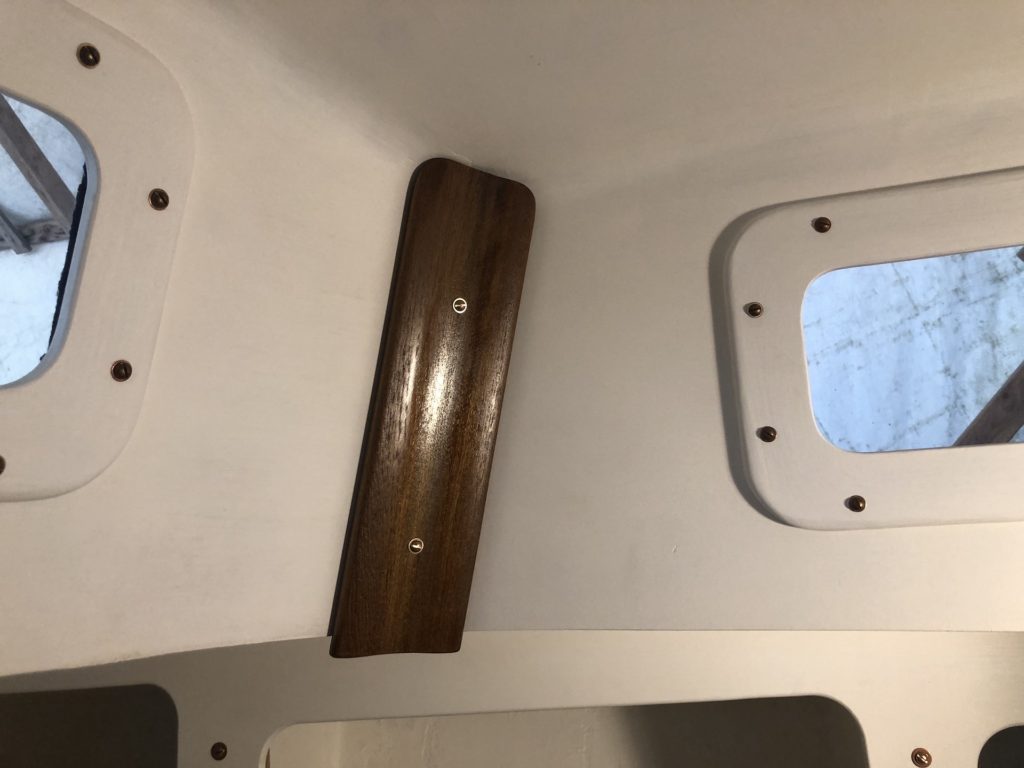
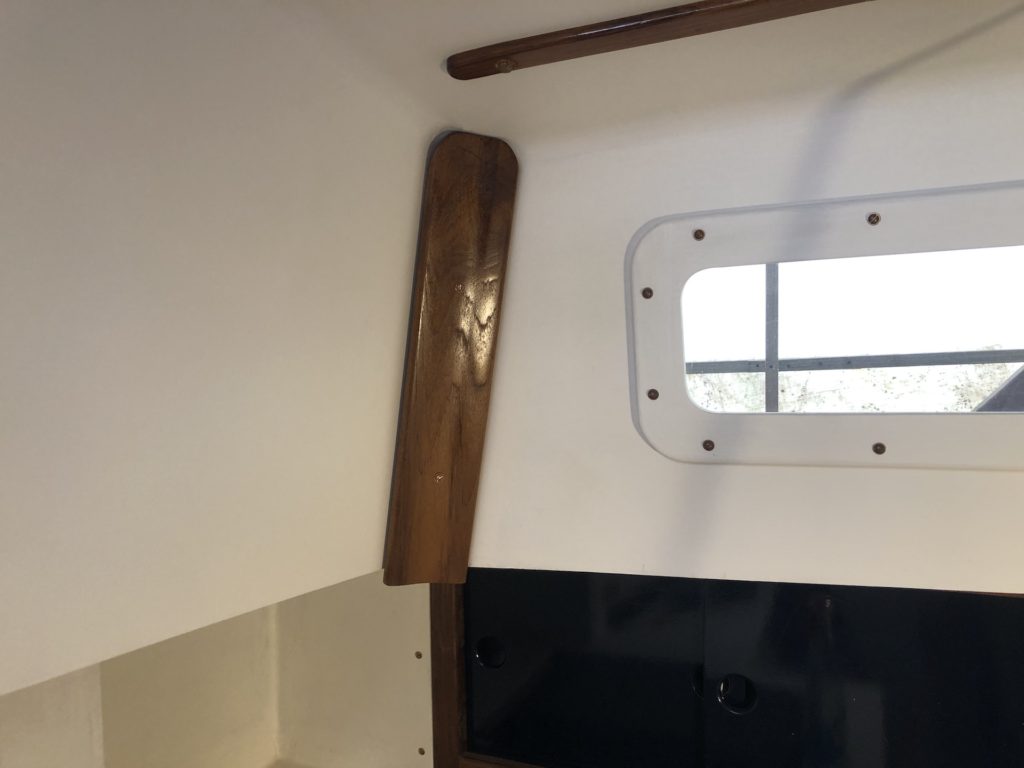
And here is the port-aft corner:
All four corners are done, and I have trim ready for installation. There will be more on the trim next time. Now for two odds and ends:
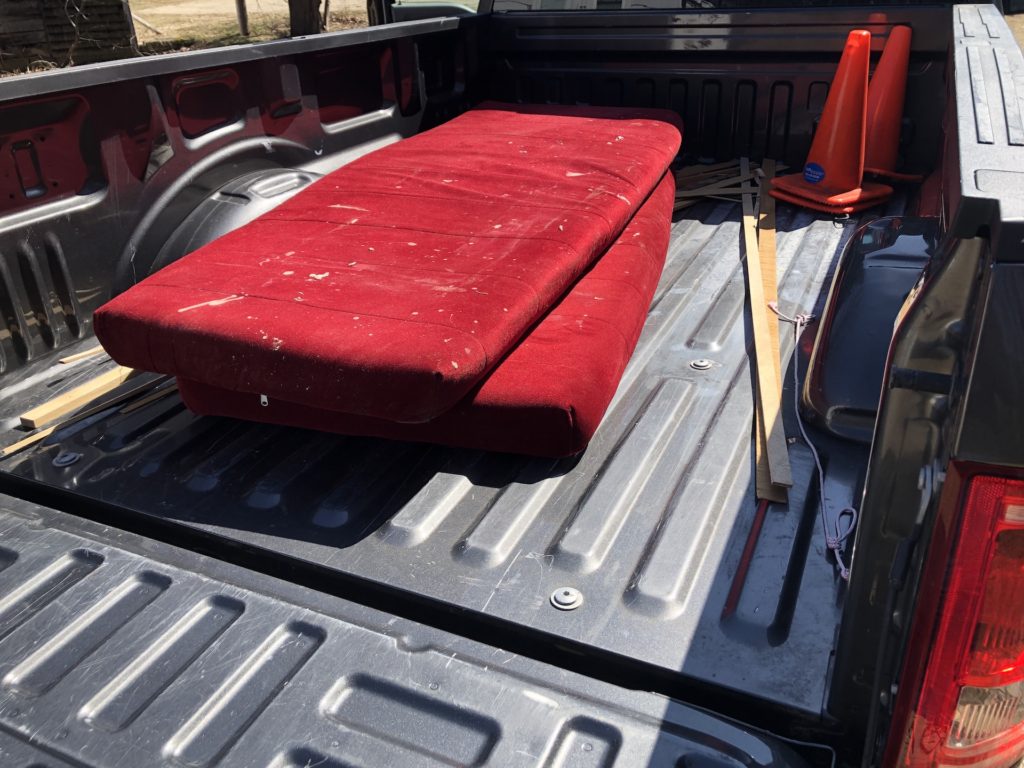
The last of my old upholstery went to the dump.
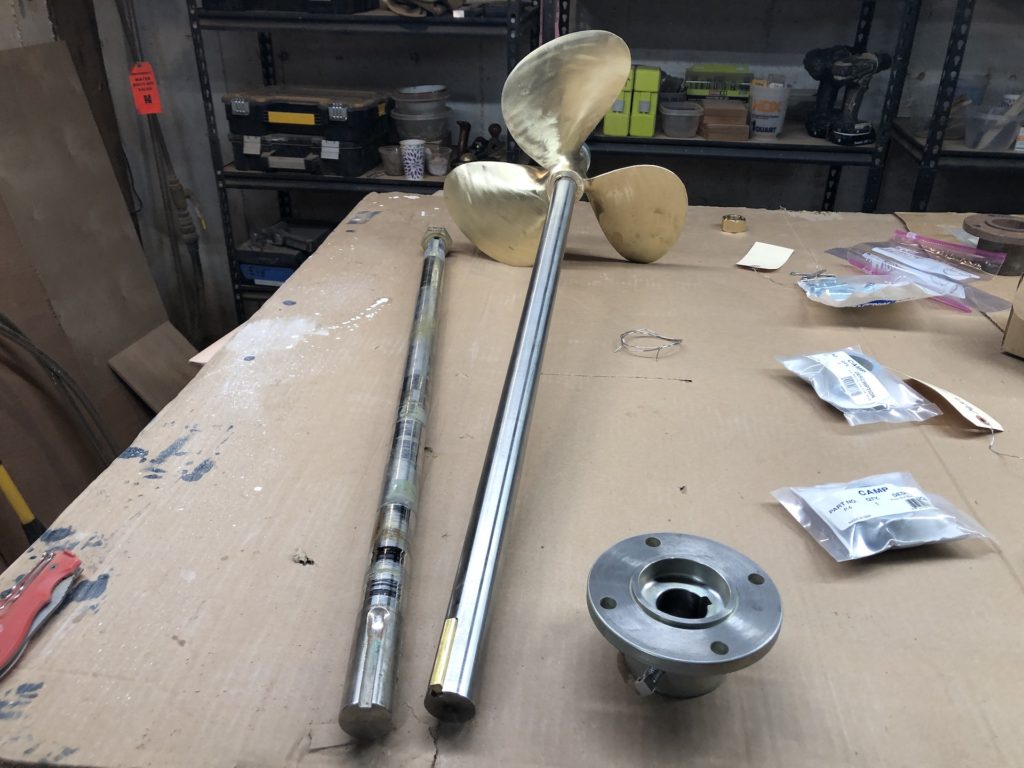
My new propellor shaft, shaft coupling, and refurbished propellor were retrieved from New England Propellor, in Plymouth MA.
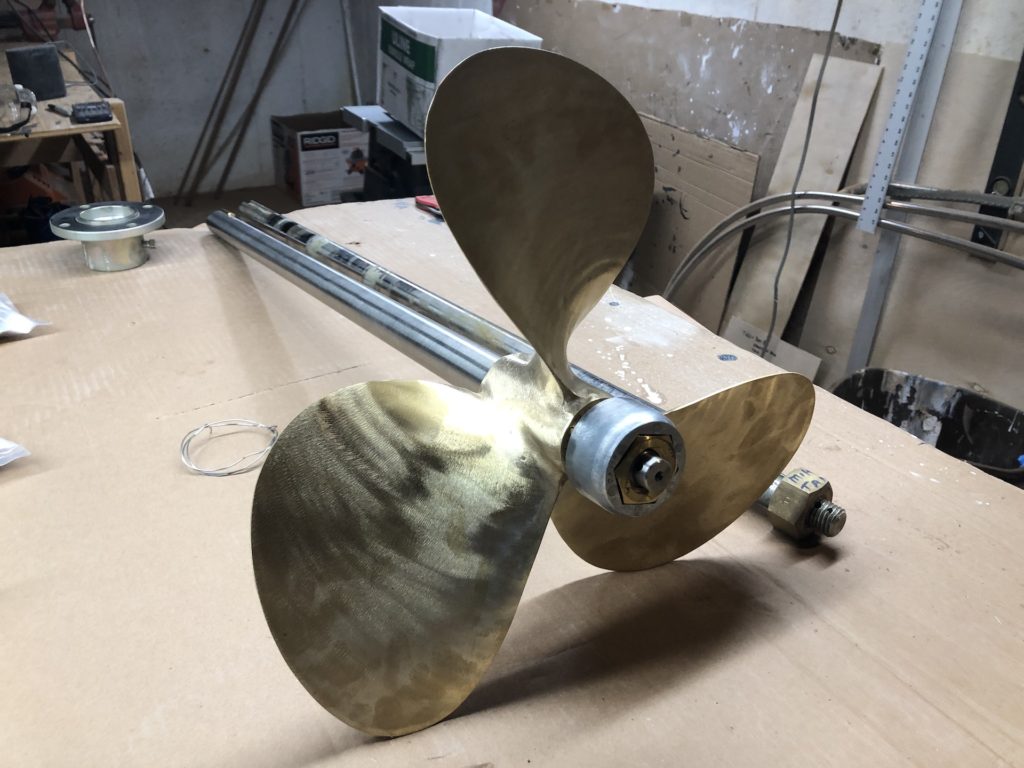
The old shaft, on the left below, had quite a bit of wear where it spun under flax packing, which was probably left too dry at times. The new packing box is a dripless style that does not require packing. More on that later.
Jean Tammaro
04/19/2021 — 8:58 pm
Progress!!