6/11/23: Outlets, Rubrail Guard, Doors, Stern Tube
OUTLETS
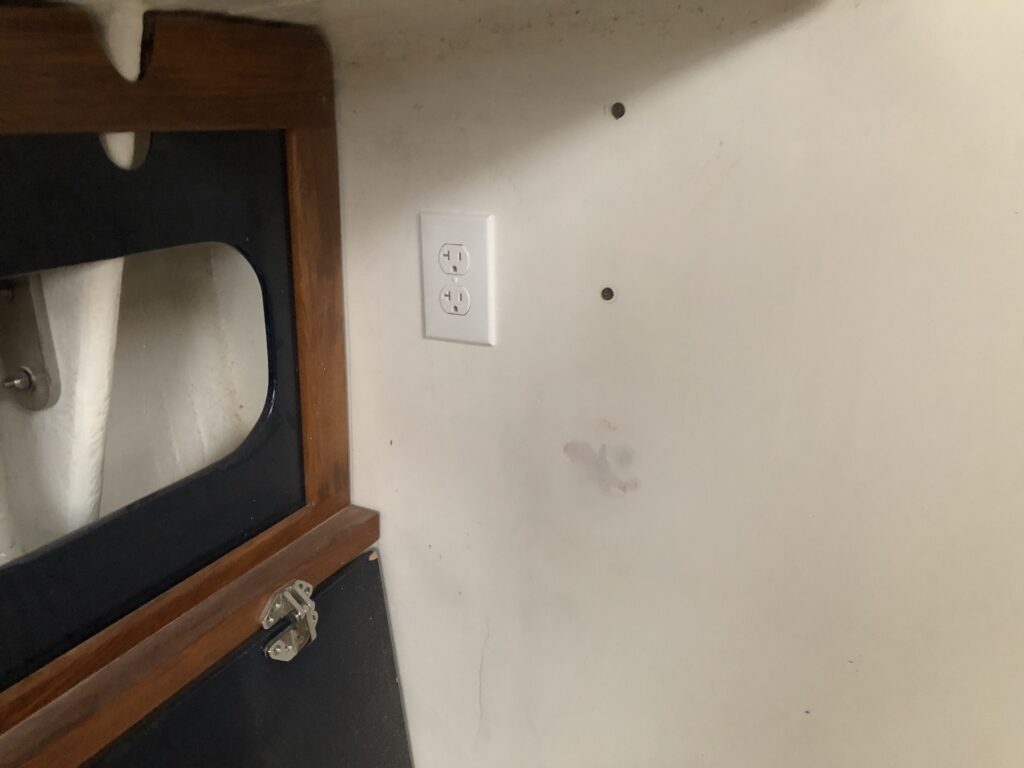
Initially there will be four electrical outlets. These AC outlets function as typical outlets in a home do, and can be used to power any typical plugged-in device. On the boat their primary use will be for television and charging mobile devices. I installed one in the forward cabin (backside in the forward hanging locker)…
…one in the main salon on the port-side bulkhead (backside in the head-area cabinet)…
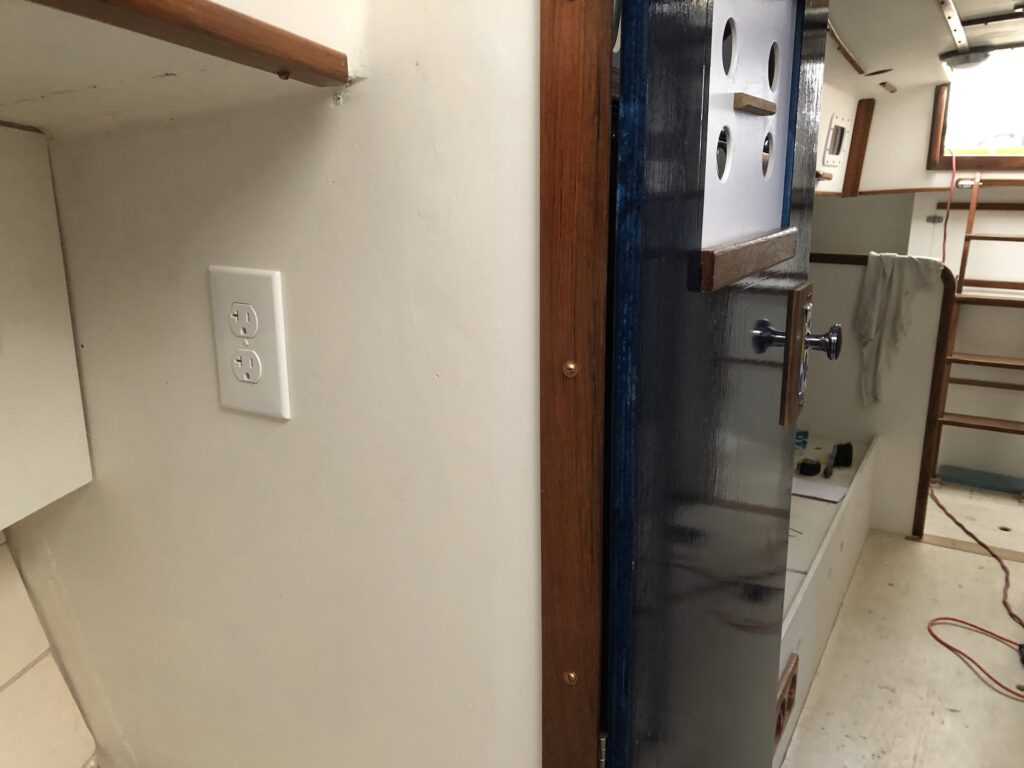
…one in starboard-side galley, adjacent to the ice chest:
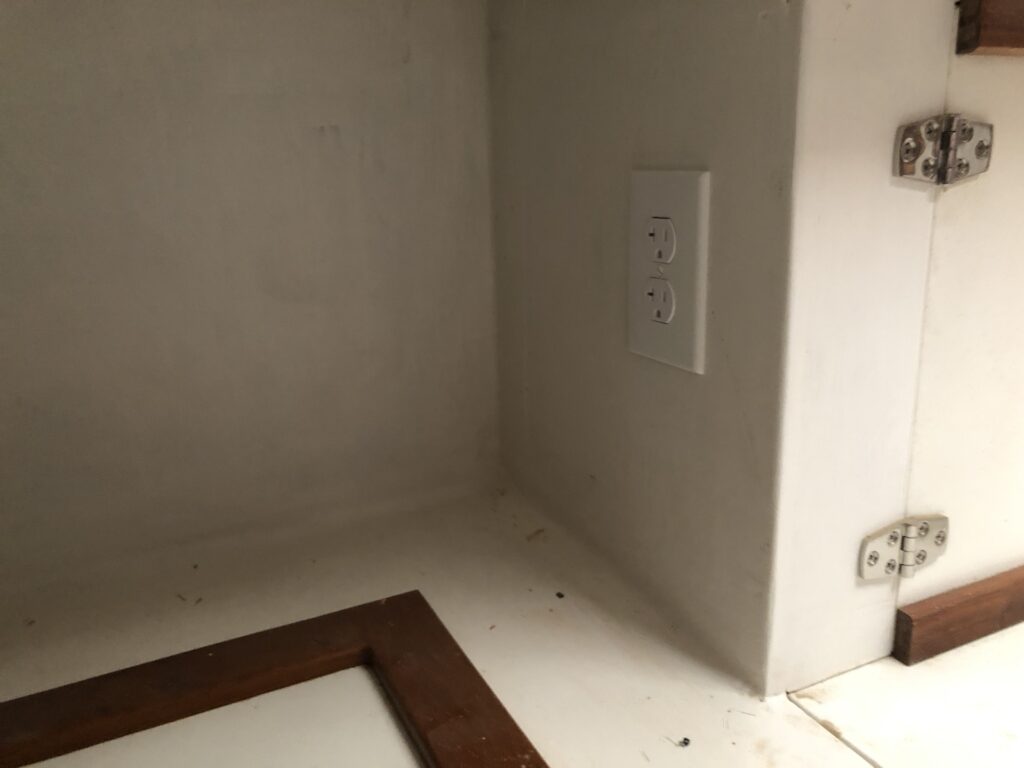
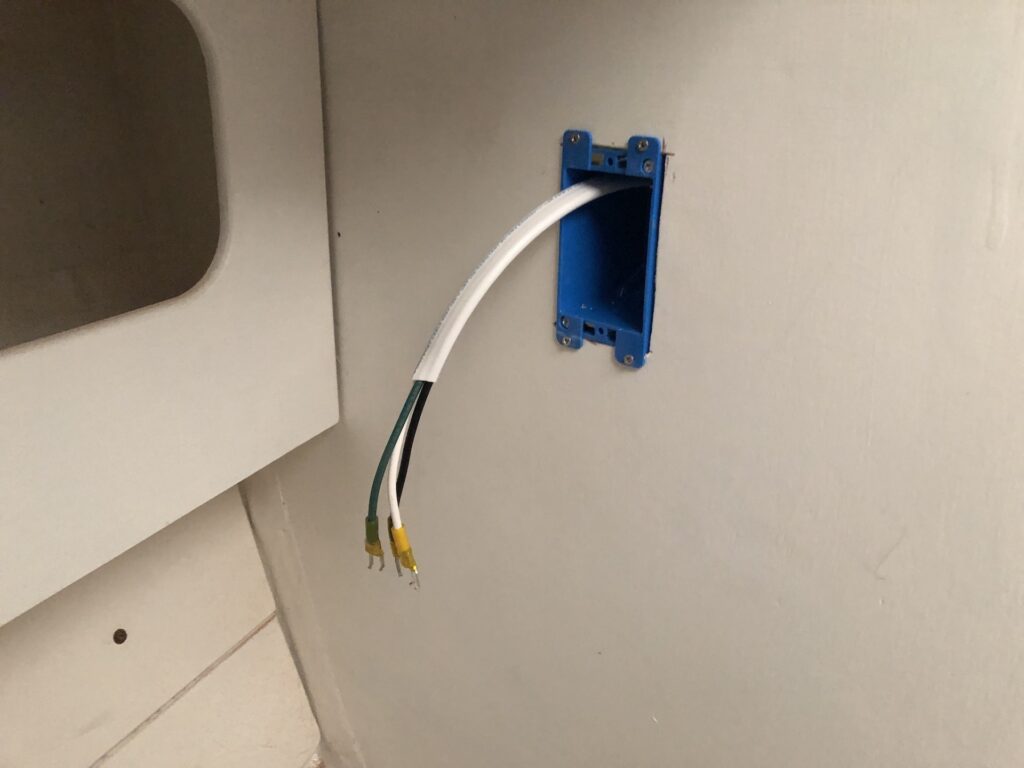
Backside in engine compartment:

This one is pig-tailed to the fourth outlet, which is on the port-side galley, behind the door that conceals the fuel-tank plumbing:

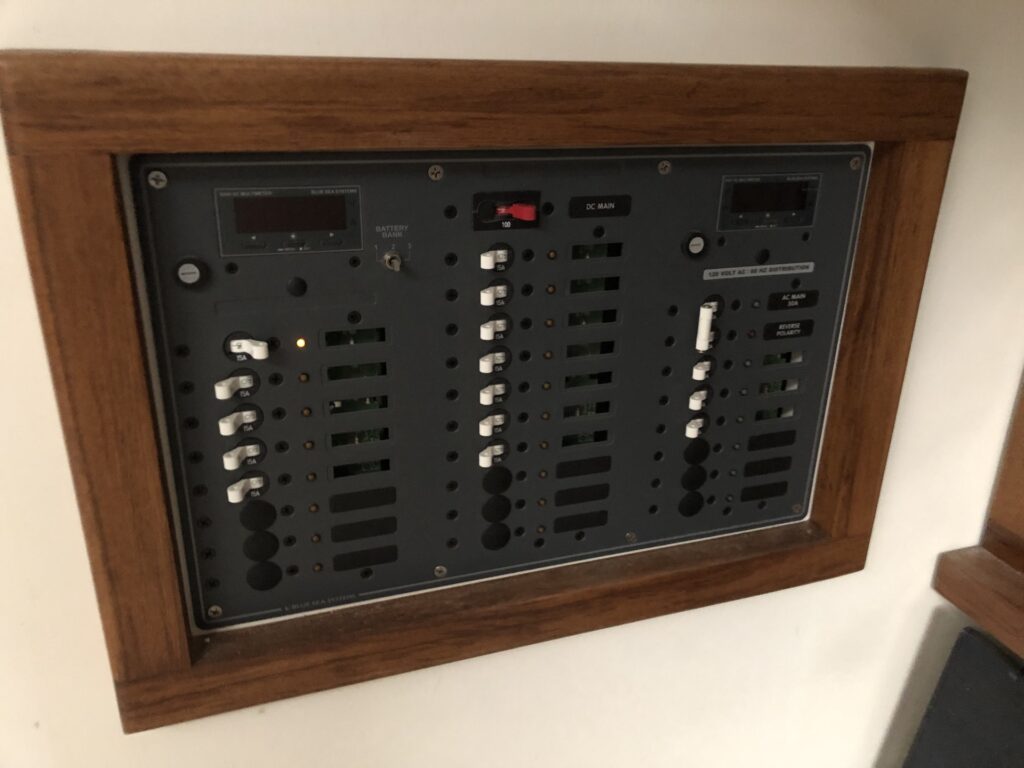
The outlets can be energized either by shore power or by the DC batteries via inverter.
The panel contains three AC breakers (more can be installed), and one each energizes the forward-cabin outlet, the salon outlet, and the galley outlets. It’s possible to run all outlets on a single line, thus requiring just one breaker, but my solution made for the simplest wire runs.
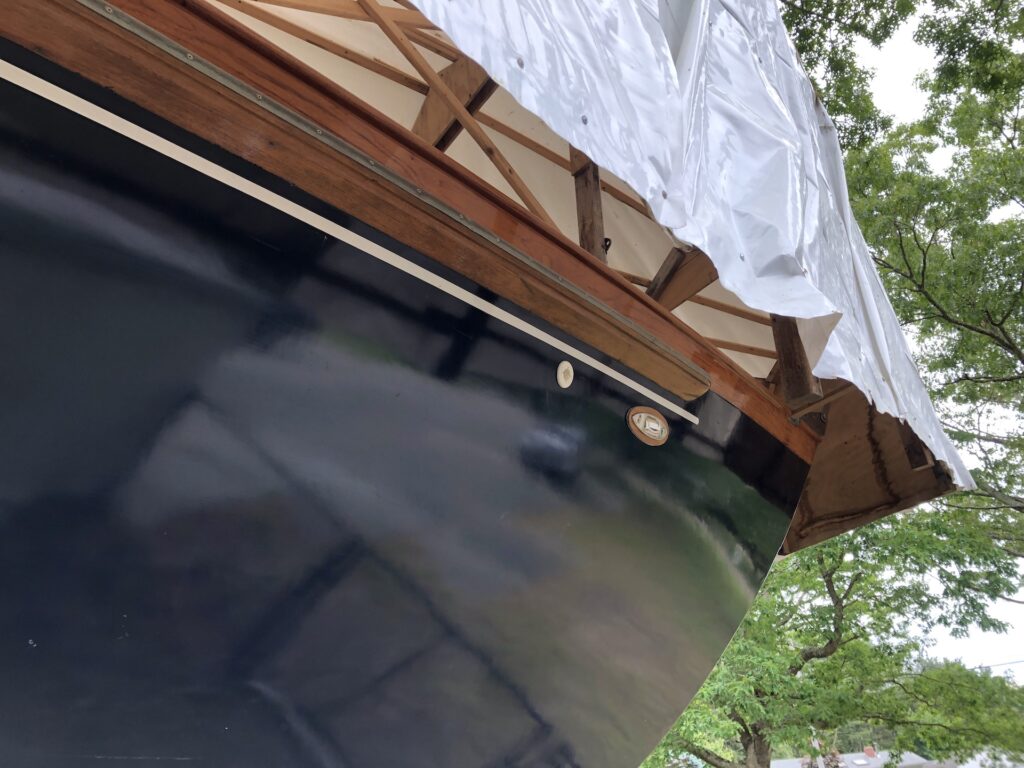
RUBRAIL GUARDS
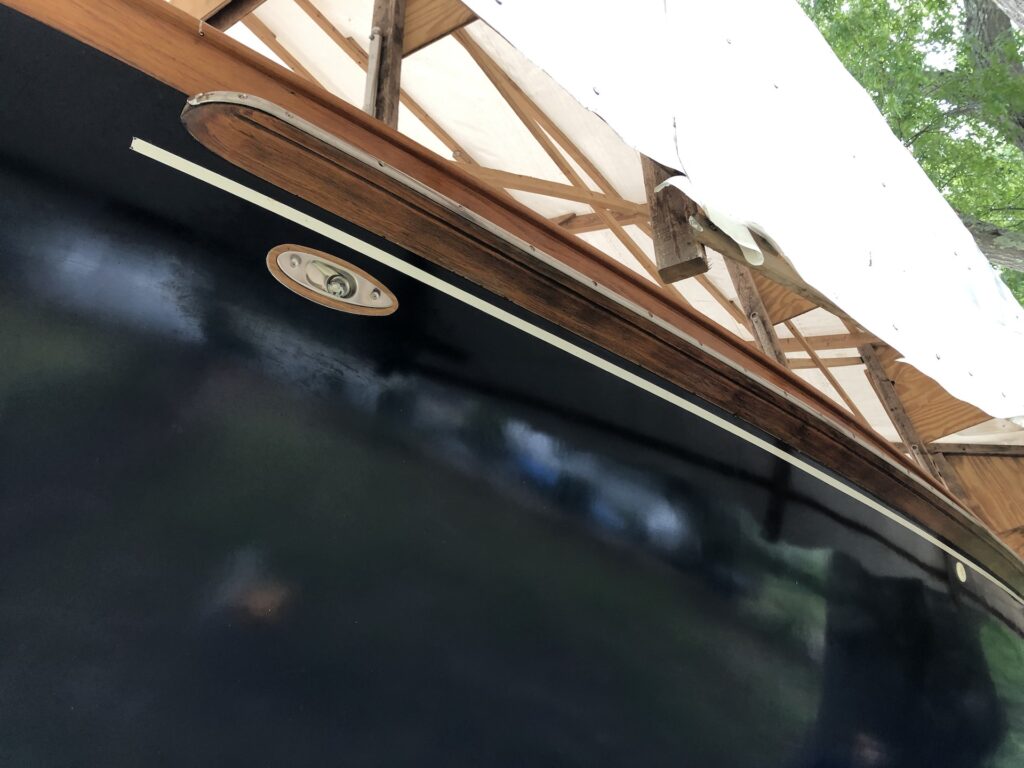
The hefty teak rubrails are protected by metal “rub strakes” that extend the full length of the rails. The port-side strakes are bronze, while the starboard-side are stainless steel. I expect the stainless strakes are replacements, with the bronze being original.

I reinstalled them:
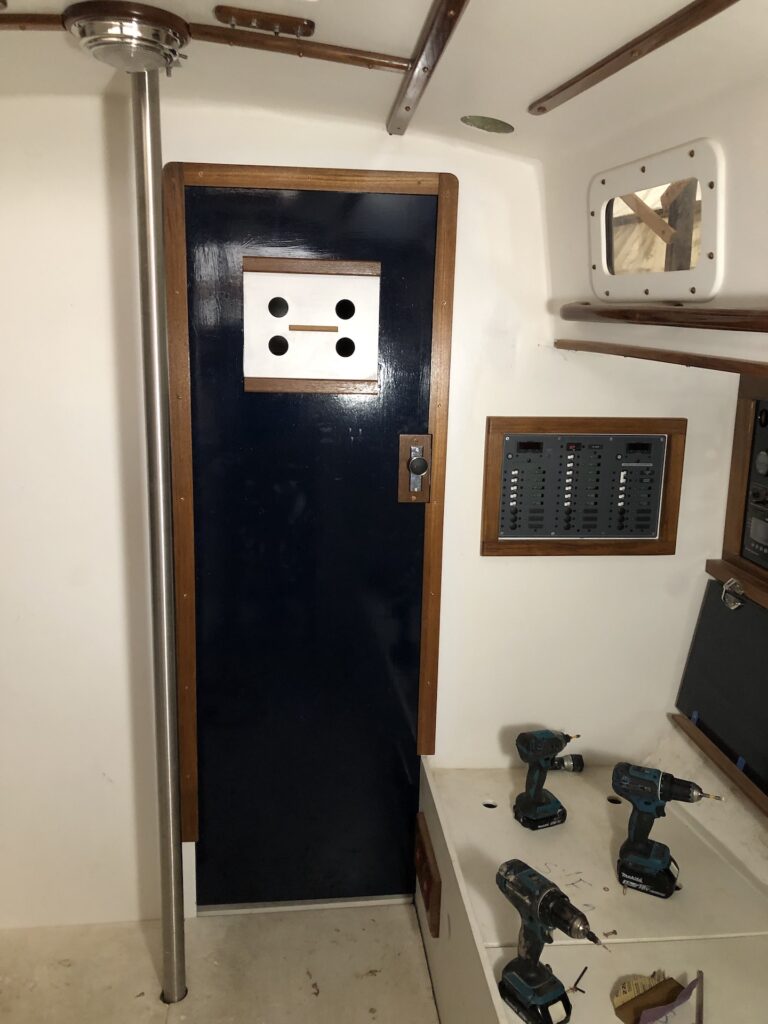
DOORS
I removed the doors to the head, took off all the trim and hardware, then painted them the same “flag blue” as every other door.
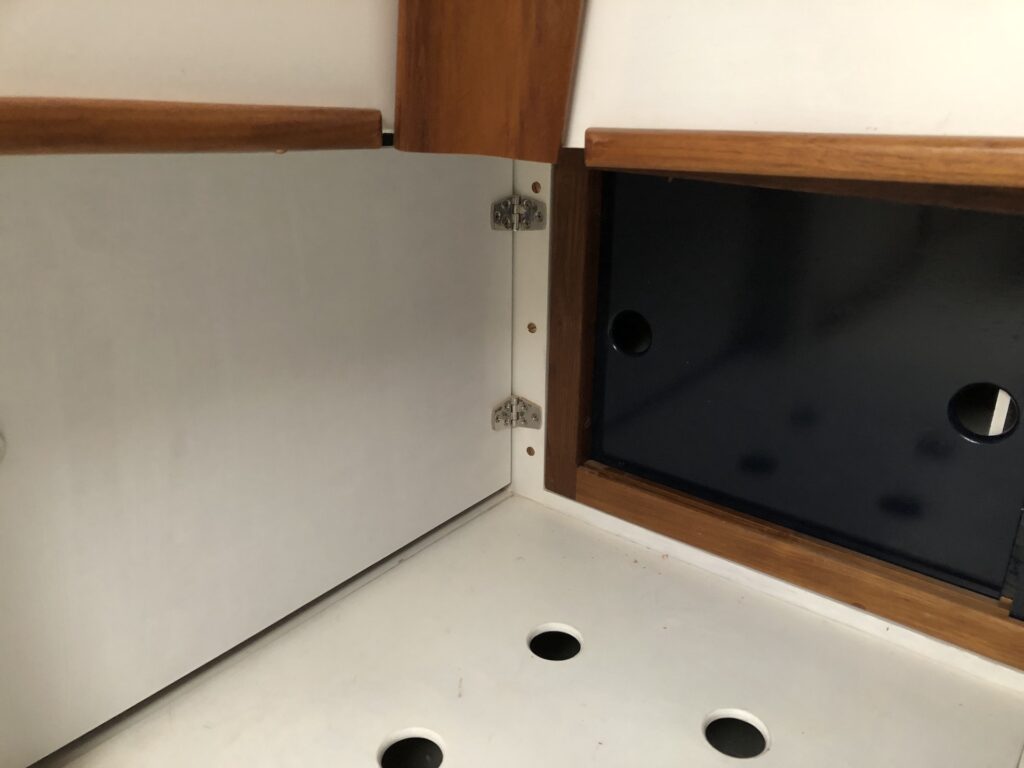
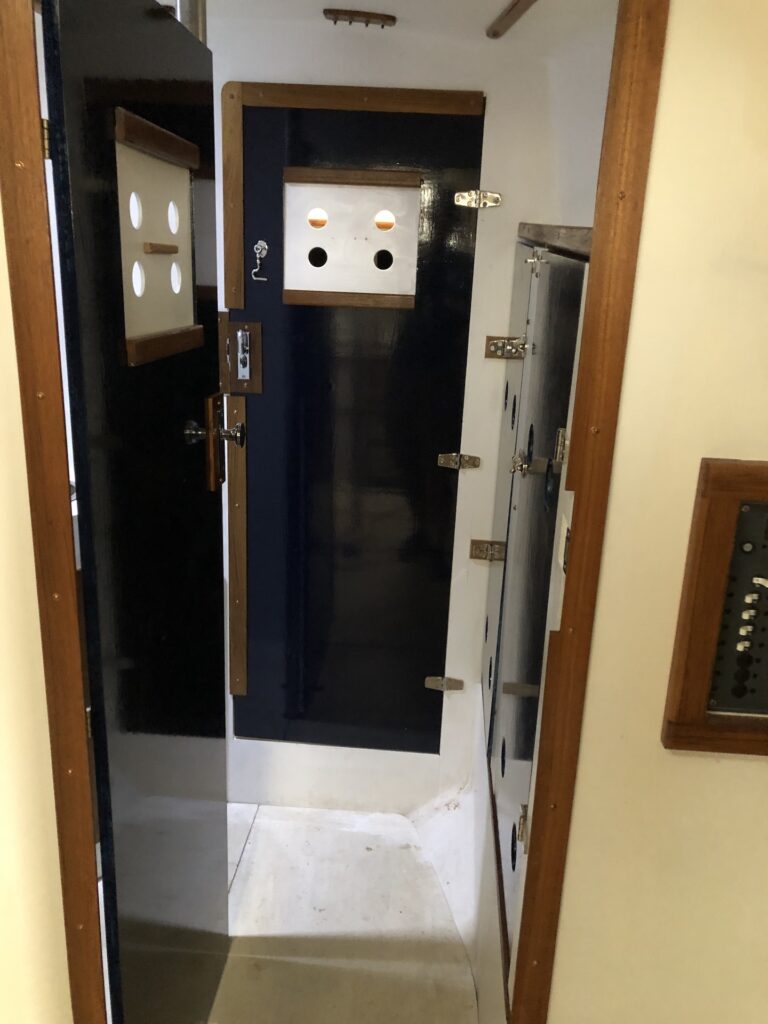
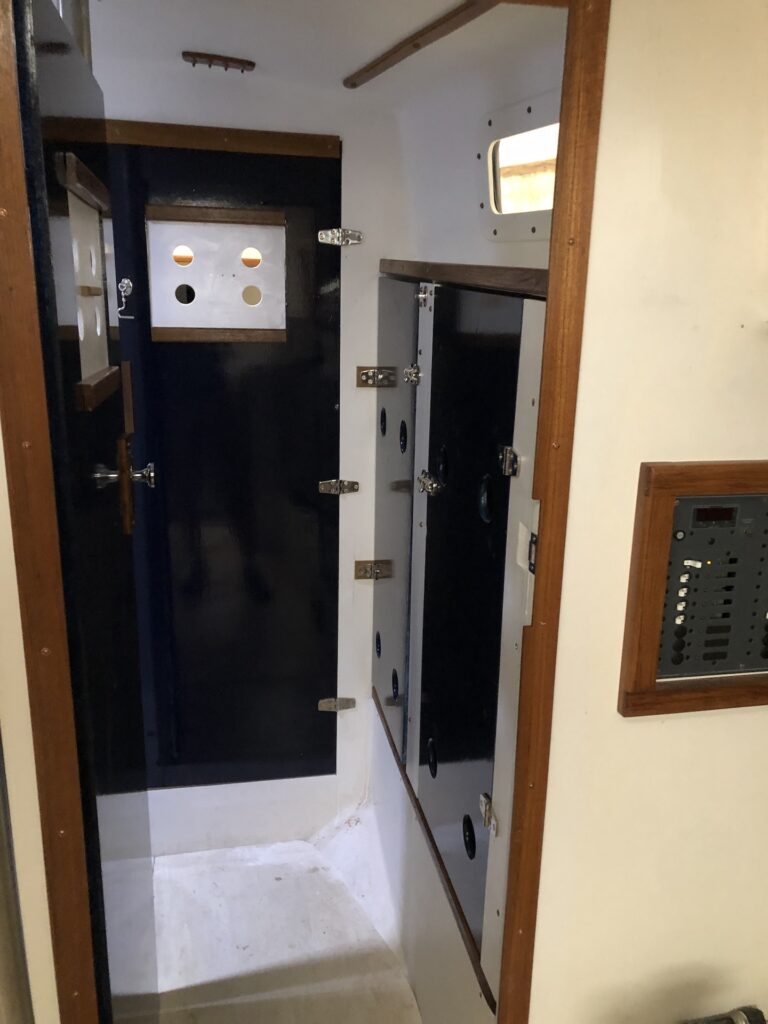
I also built and installed doors to the hanging lockers. You can seem them on the right in the image below, which is looking forward from the salon into the head.
The table (see HERE and HERE for the build) is back on the boat:

STERN TUBE
Work will resume on the engine and drivetrain this week. This is the stern tube:
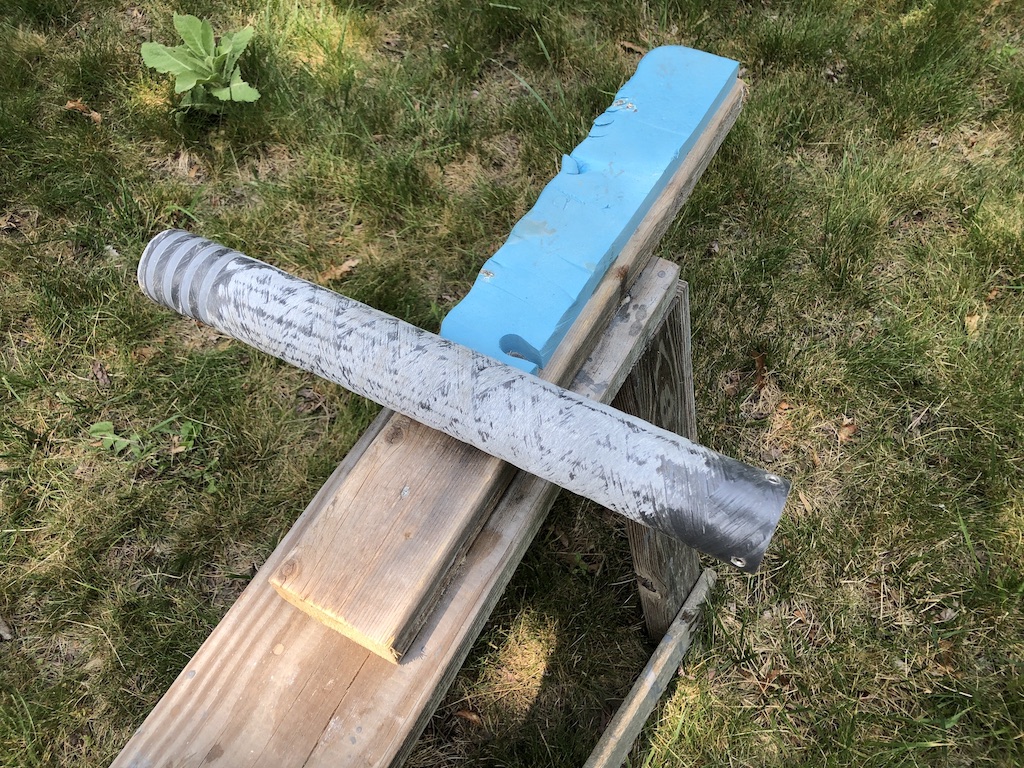
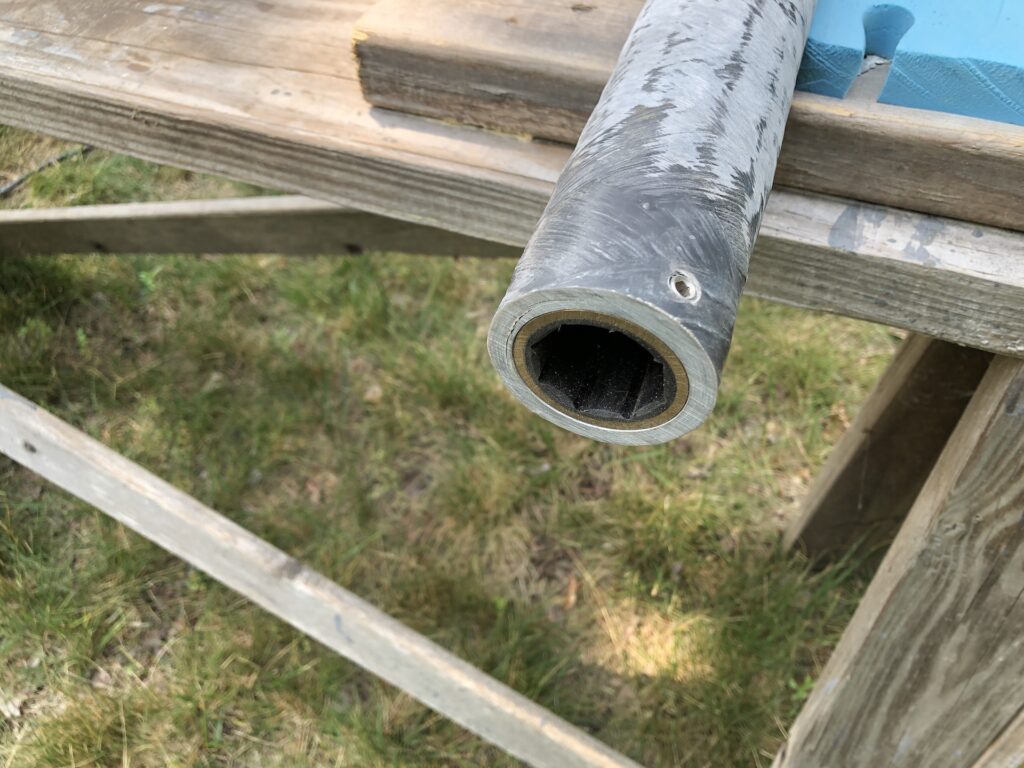
I had this make a few years ago, but I don’t recall posting about it. It’s made of carbon fiber, I believe, and is about 20 inches in length. In one end is the cutlass bearing, which is secured by two set screws:
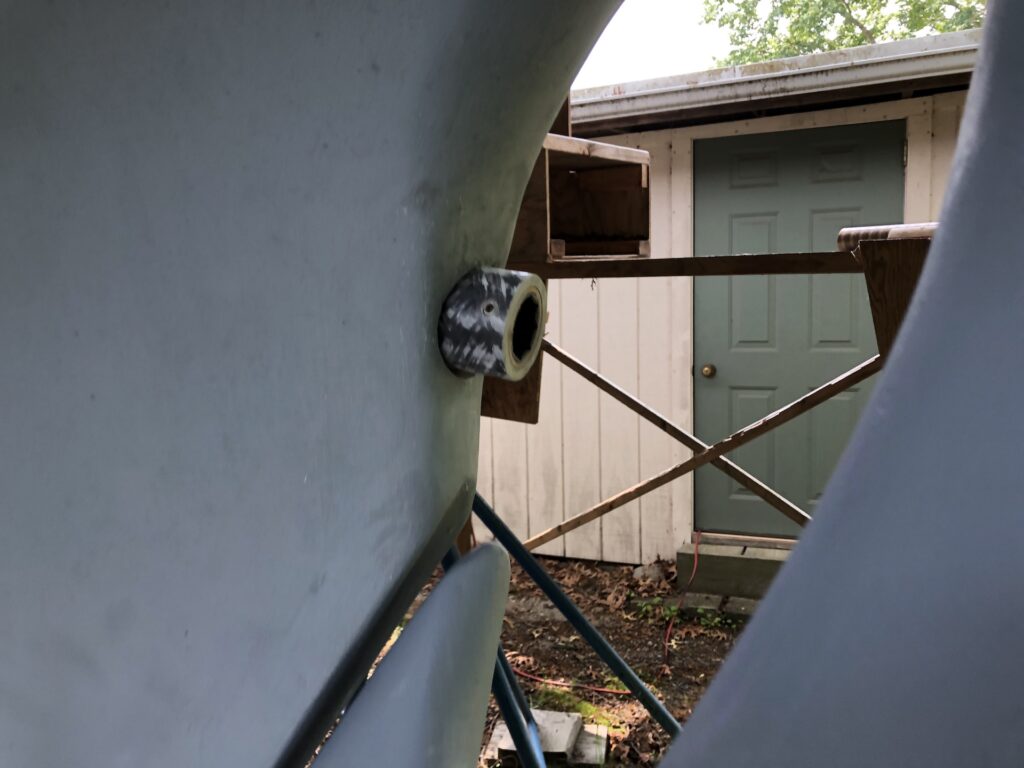
Soon I’ll epoxy the stern tube where it belongs (dry fit below).
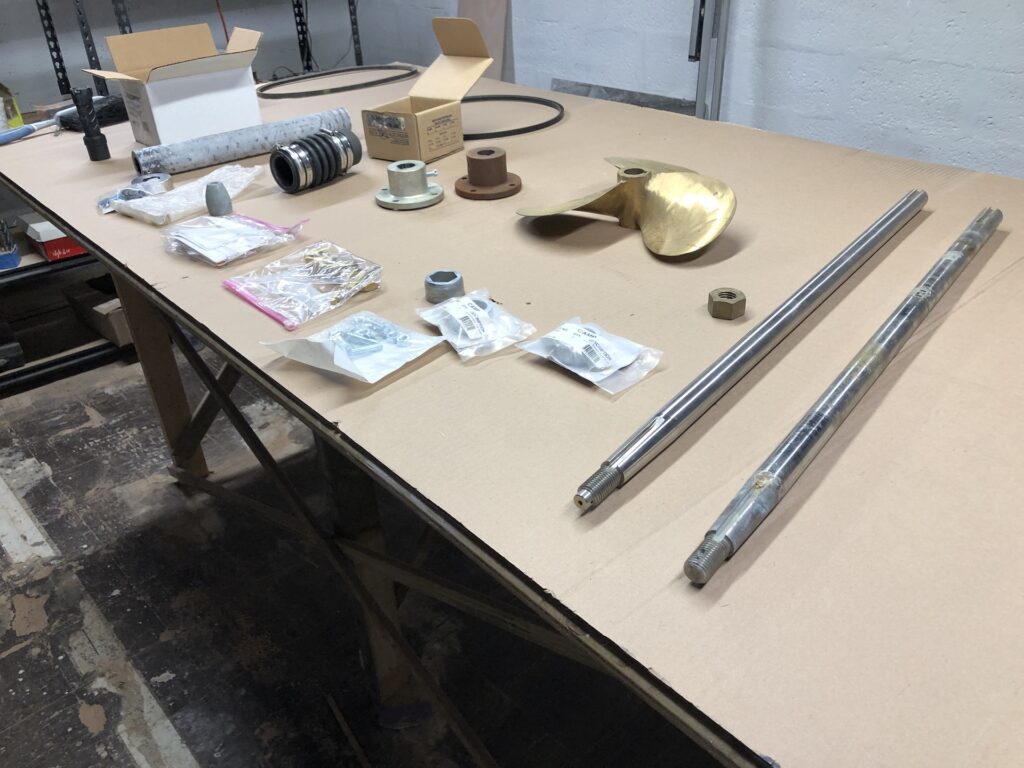
My last task of the week was to gather all drive-train related equipment in preparation for a few upcoming visit from my mechanic. Pictured below are the propellor shaft (old and new), coupling (old and new), refurbished propellor, dripless shaft seal, and miscellaneous nuts, bolts, keys and zincs.