8/15/18: Exterior Woodwork IV
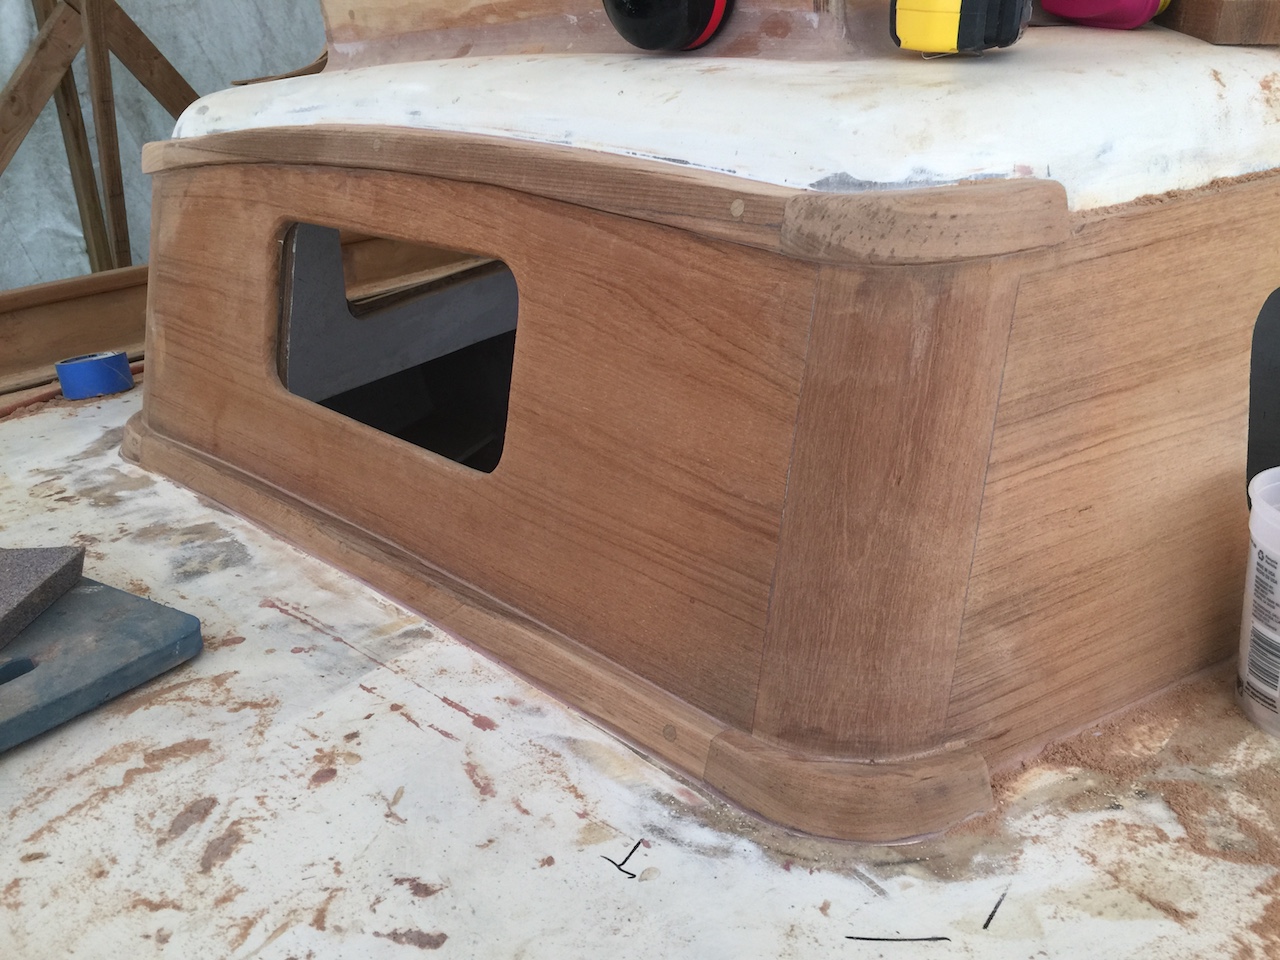
Work on the molding continued by finishing the aft corners that join the molding in the cockpit with the drip molding along the sides.
 x
x

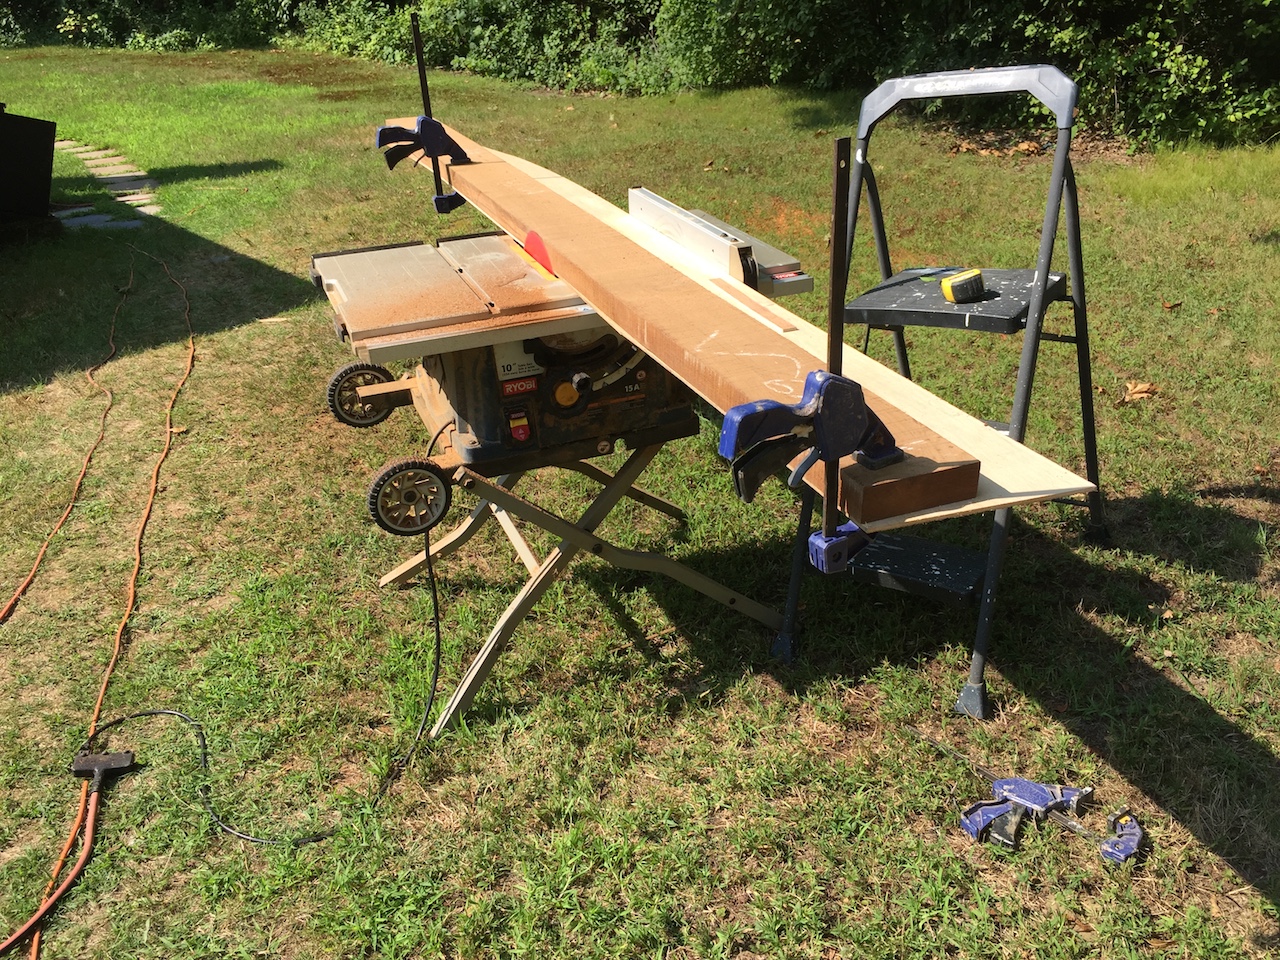
The curve along the forward end is severe enough that I opted for cutting the curves rather than bending straight pieces. This required patterns. (The bottom curve, as it turns out, is fairly gentle, so I was able to bend a straight piece into that curve.)
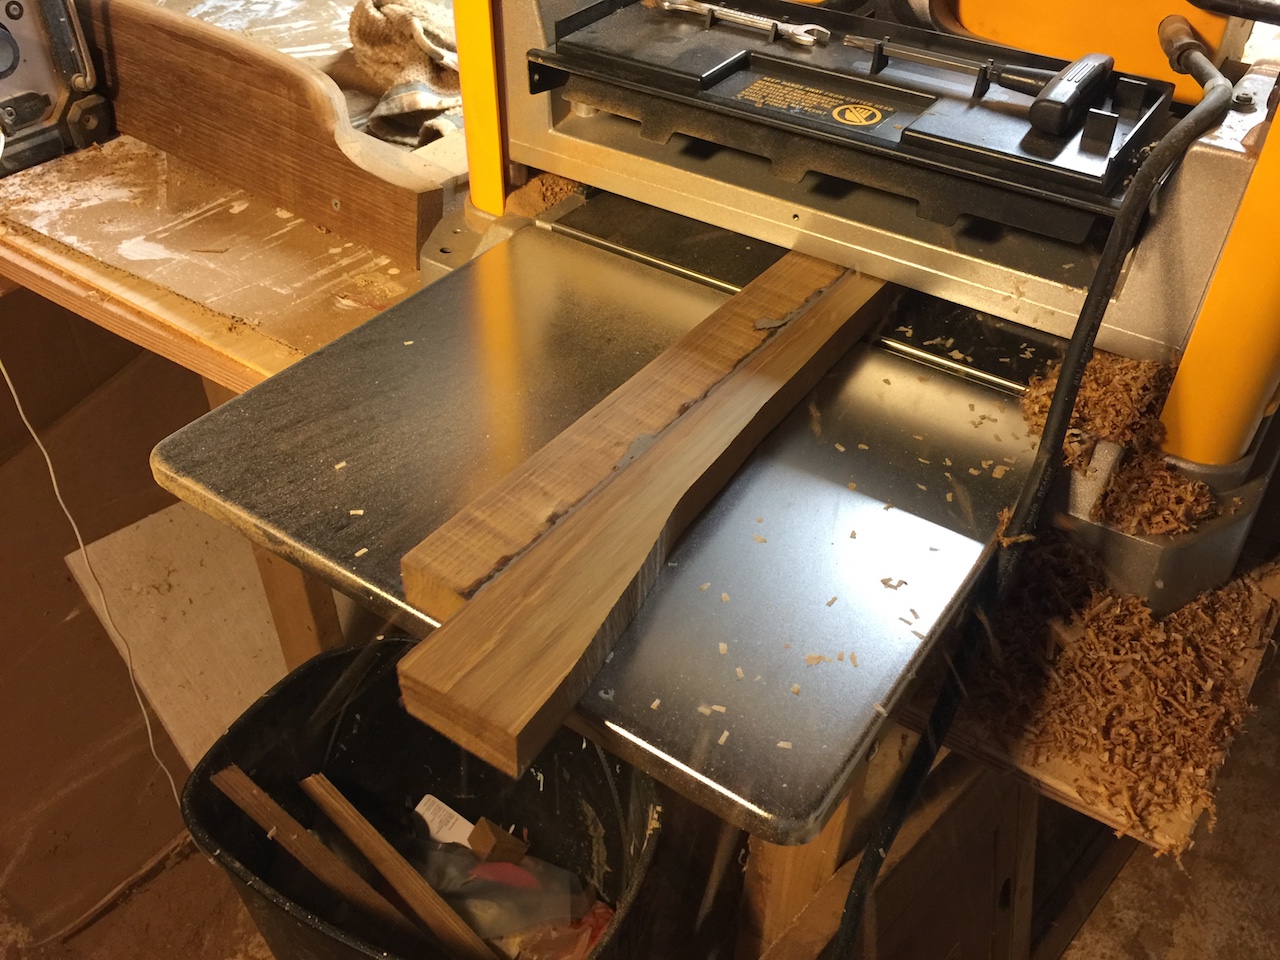
Cutting curved pieces, rather than straight, creates additional waste. Here I’ve glued up two small pieces to make the drip (top) molding along the forward end.
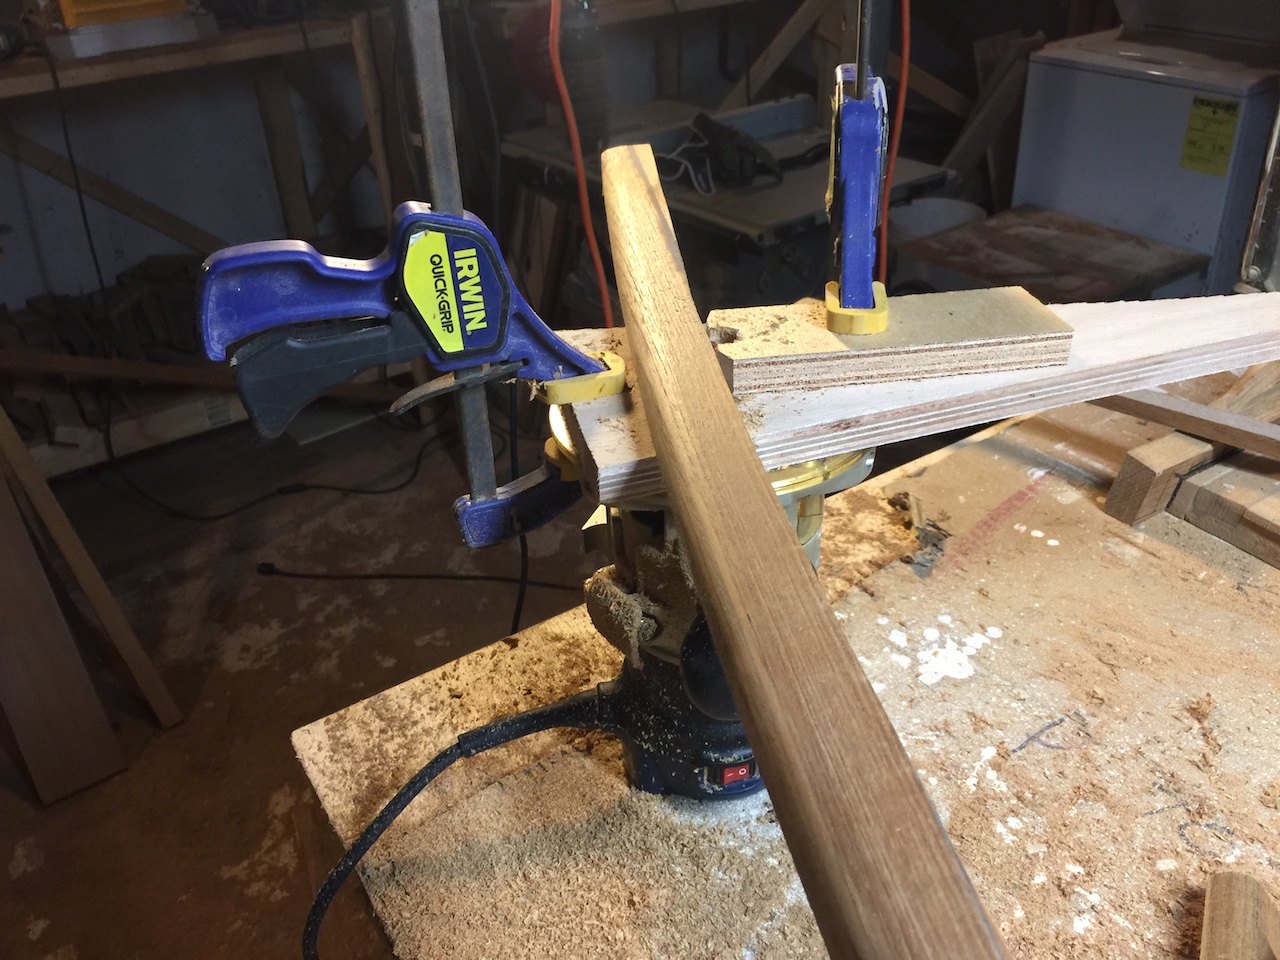
The drip molding requires a lip that overhangs the tops of the side boards. For straight pieces, I simply used the table saw, but the curved piece required a different approach. I created a makeshift router table by turning my router upside down and using some scrap wood and clamps.
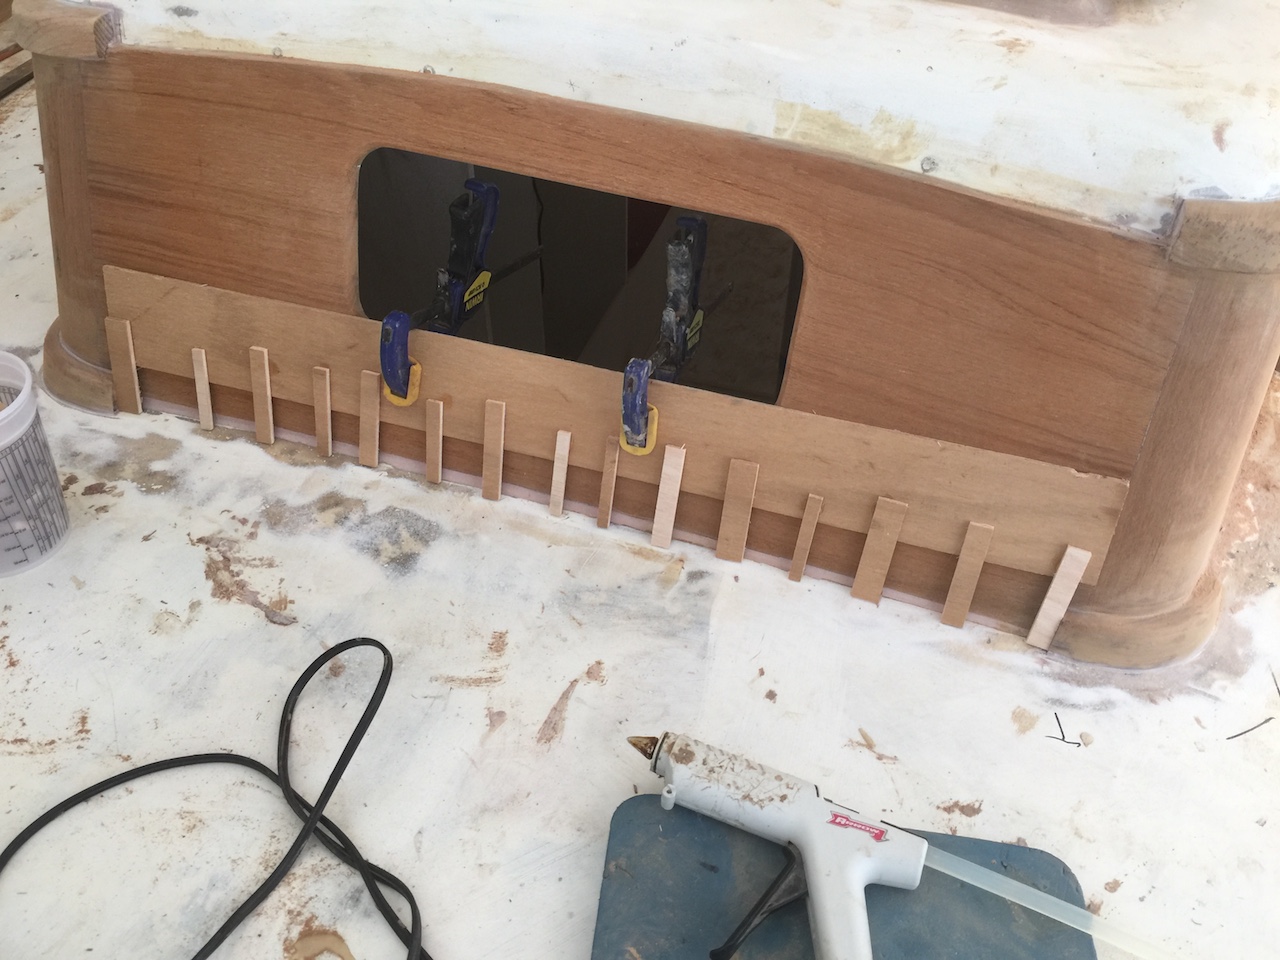
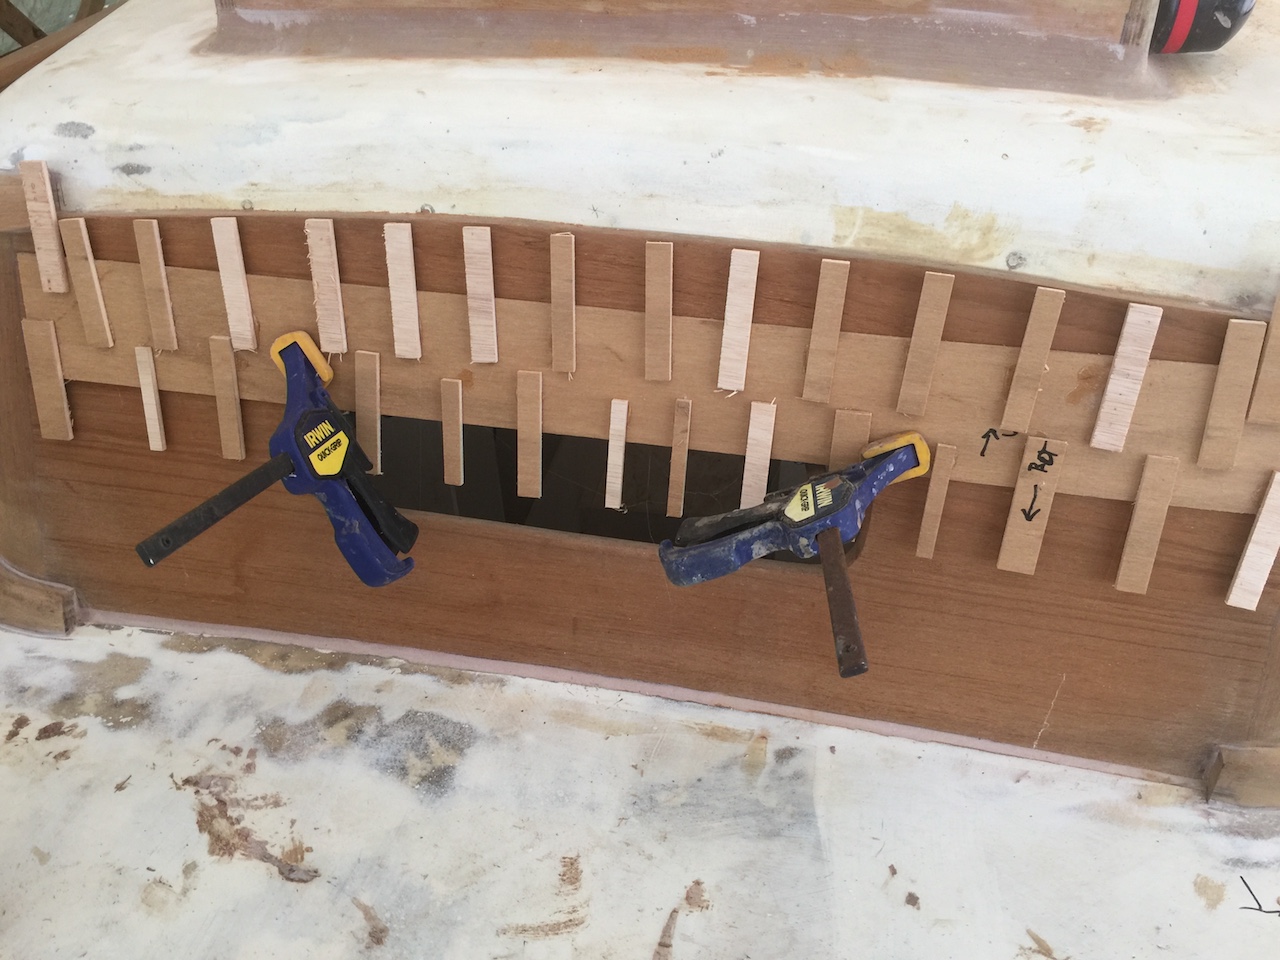
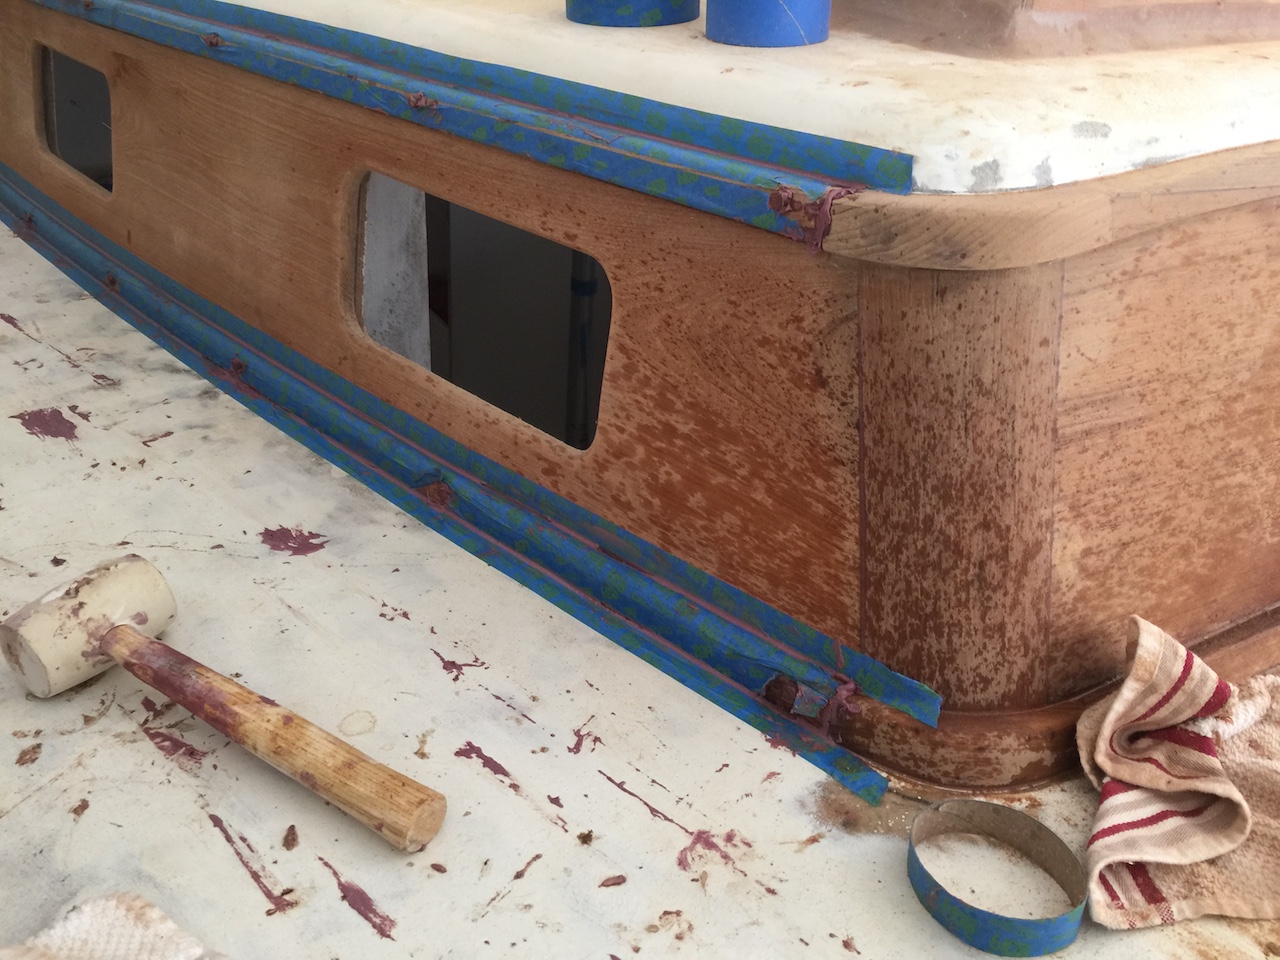
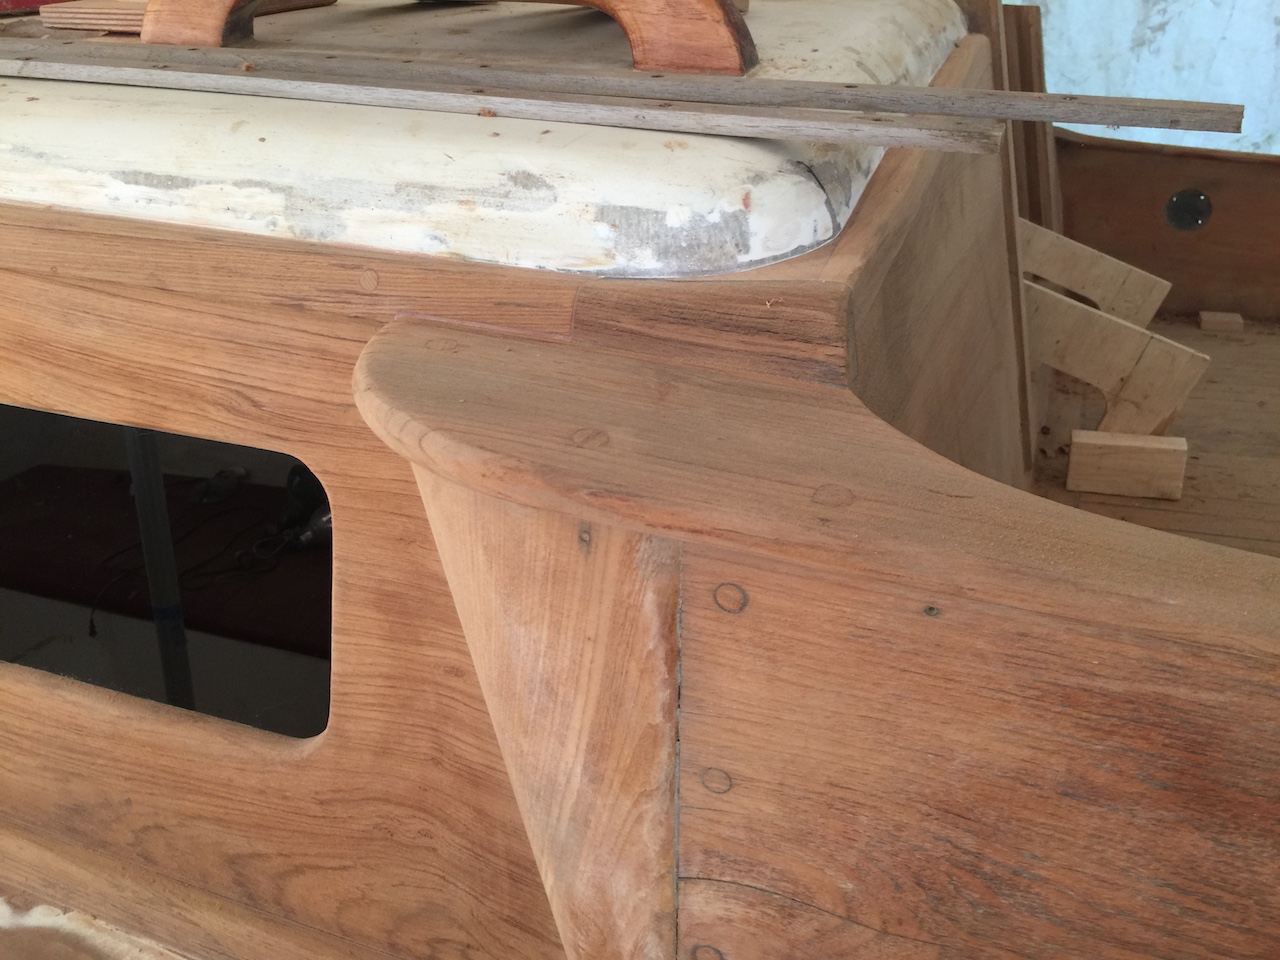
Clamping the moldings would have been challenging, so I used screws and plugs. Here is the forward end:
The side moldings were created by cutting straight pieces and then milling them into the correct shape.
One concern is that the top of the moldings are angled downward enough so that water does not collect along the tops. I planned the cuts to account for this, but I will do some testing to be. First I dry-fitted the pieces.
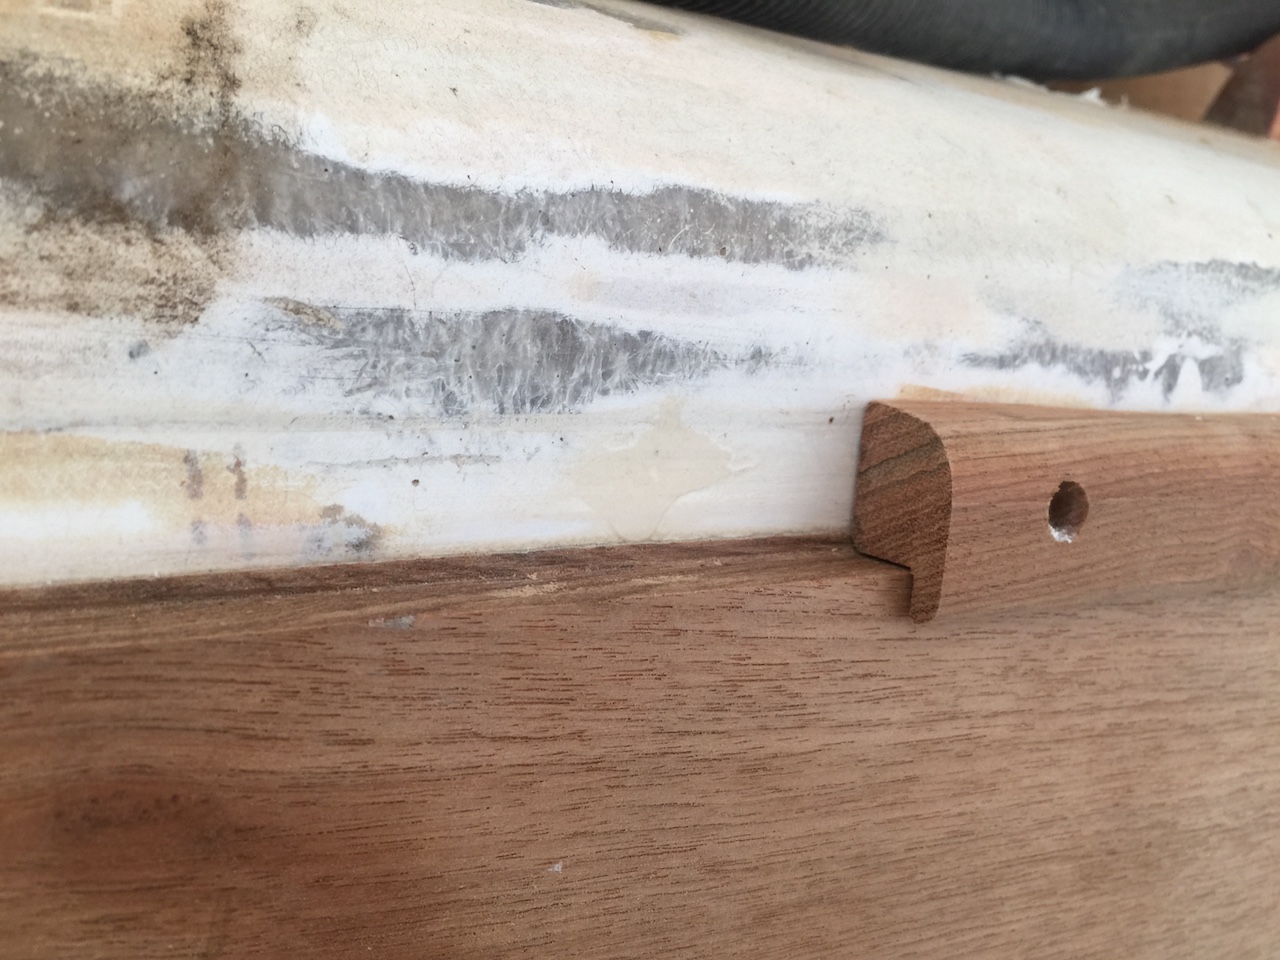
Here is a section of the bottom molding.
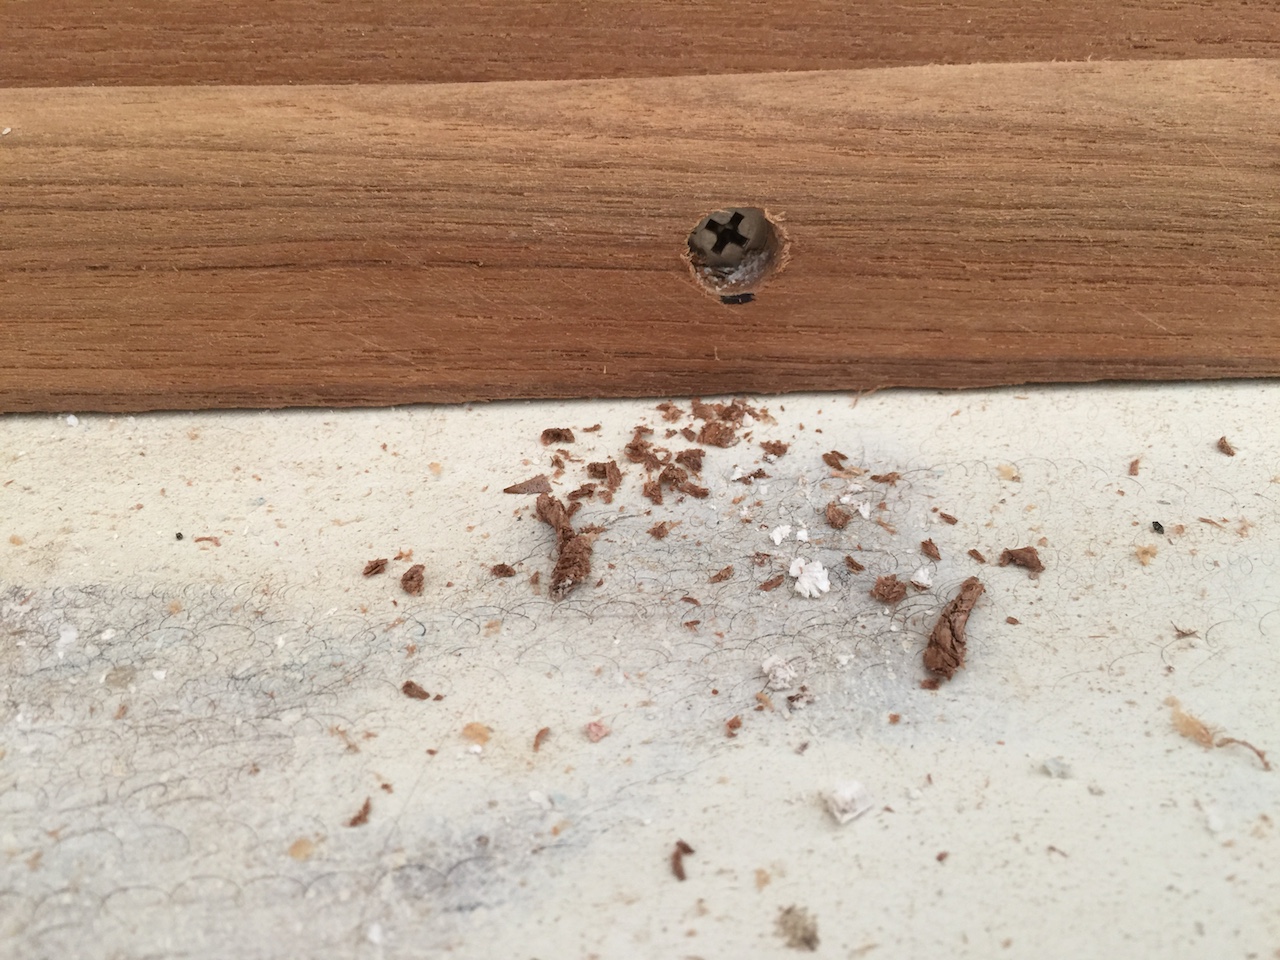
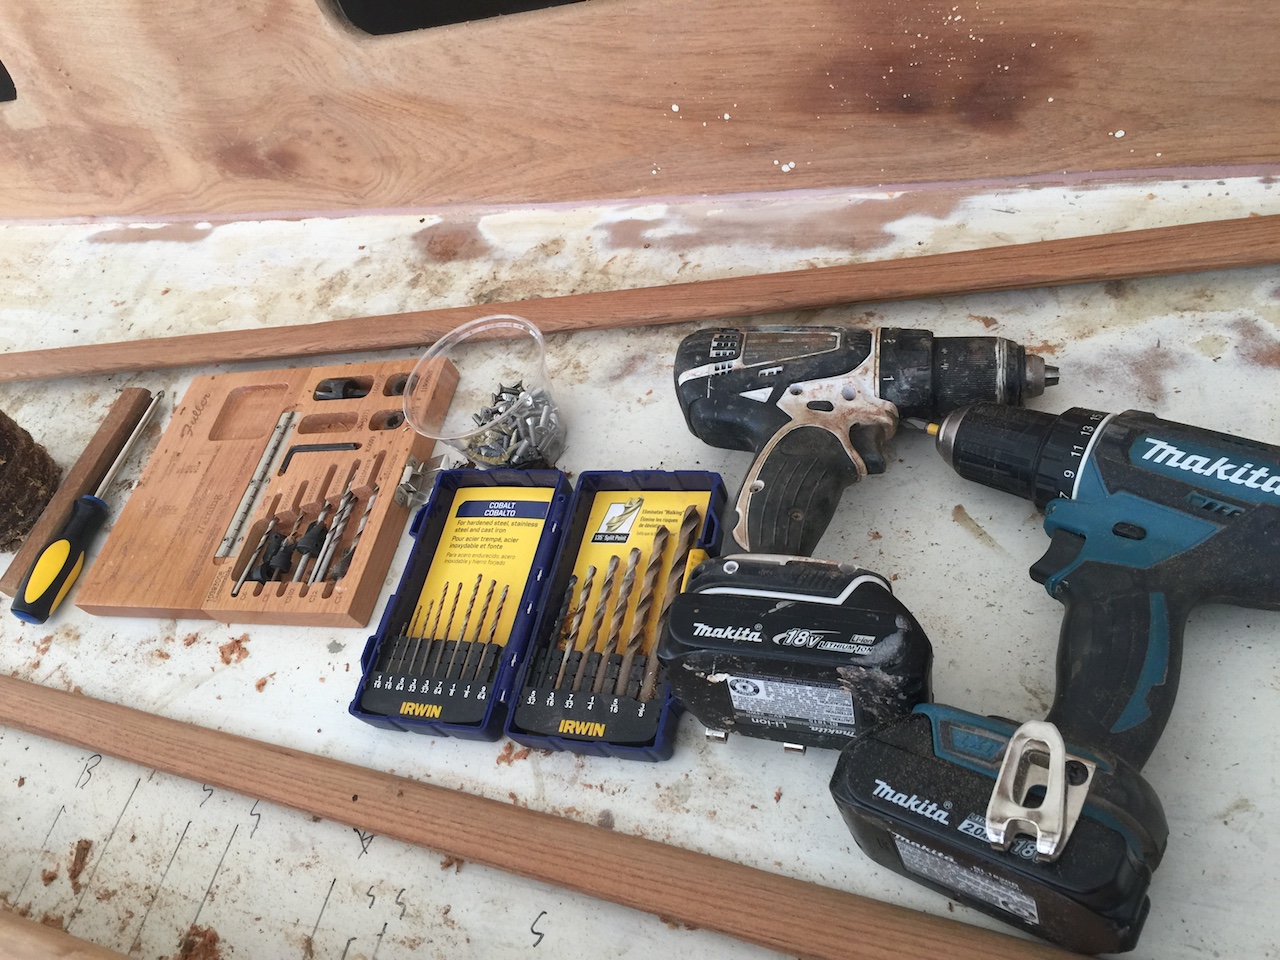
The tools for this part are shown below. There are three drilling operations. (1) Drill the countersink. (2) Enlarge the inner hole so that its diameter is the same as that of the machine screw. (3) Drill the pilot hold in the cabin side with a diameter slightly less than that of the machine screw.
Everything is set in thickened epoxy, and taping things off greatly reduces the amount of sanding required. In the photo below, the water drops you see are coming from above. More on this soon.
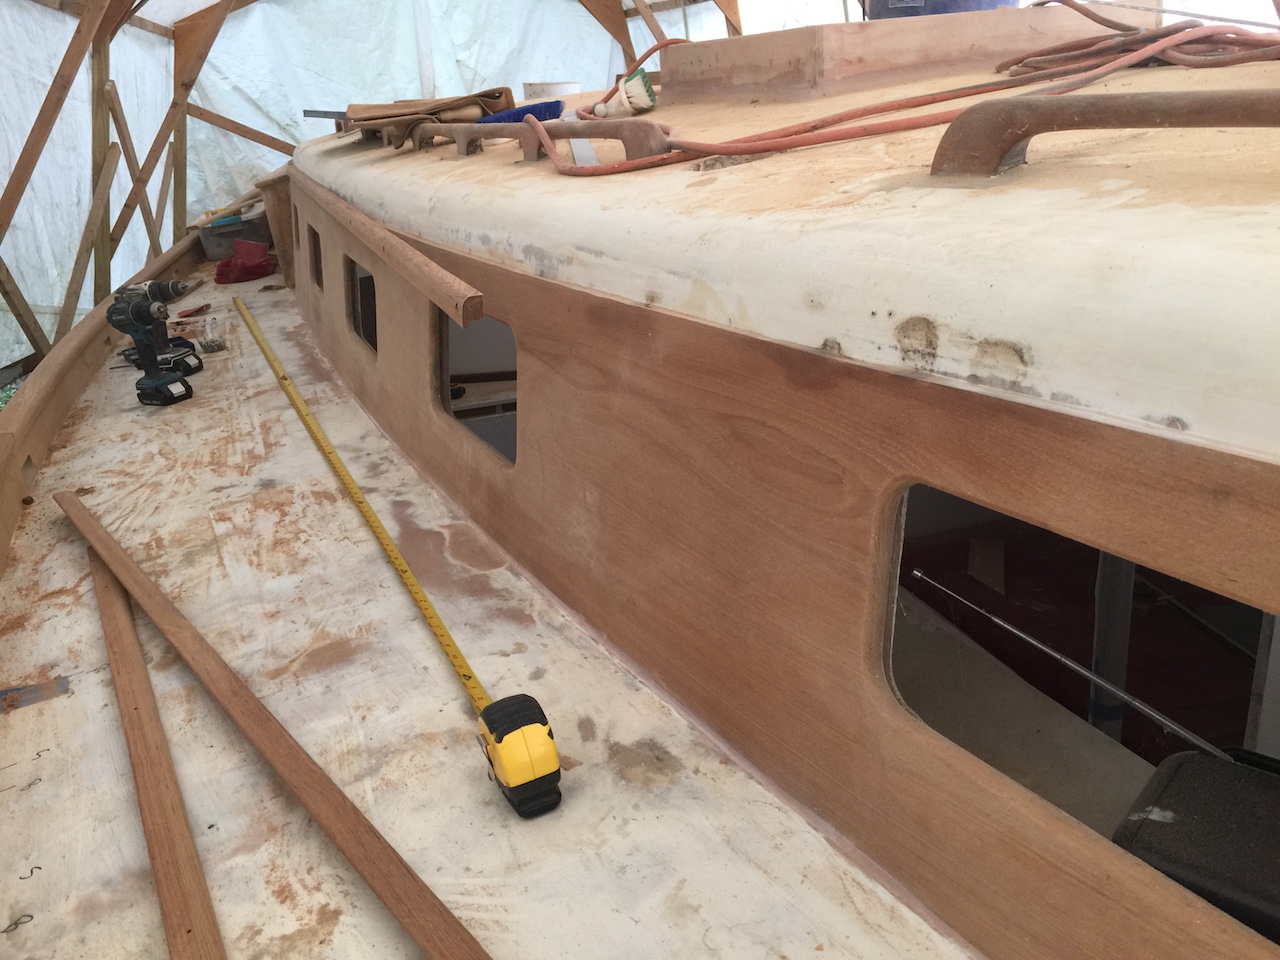
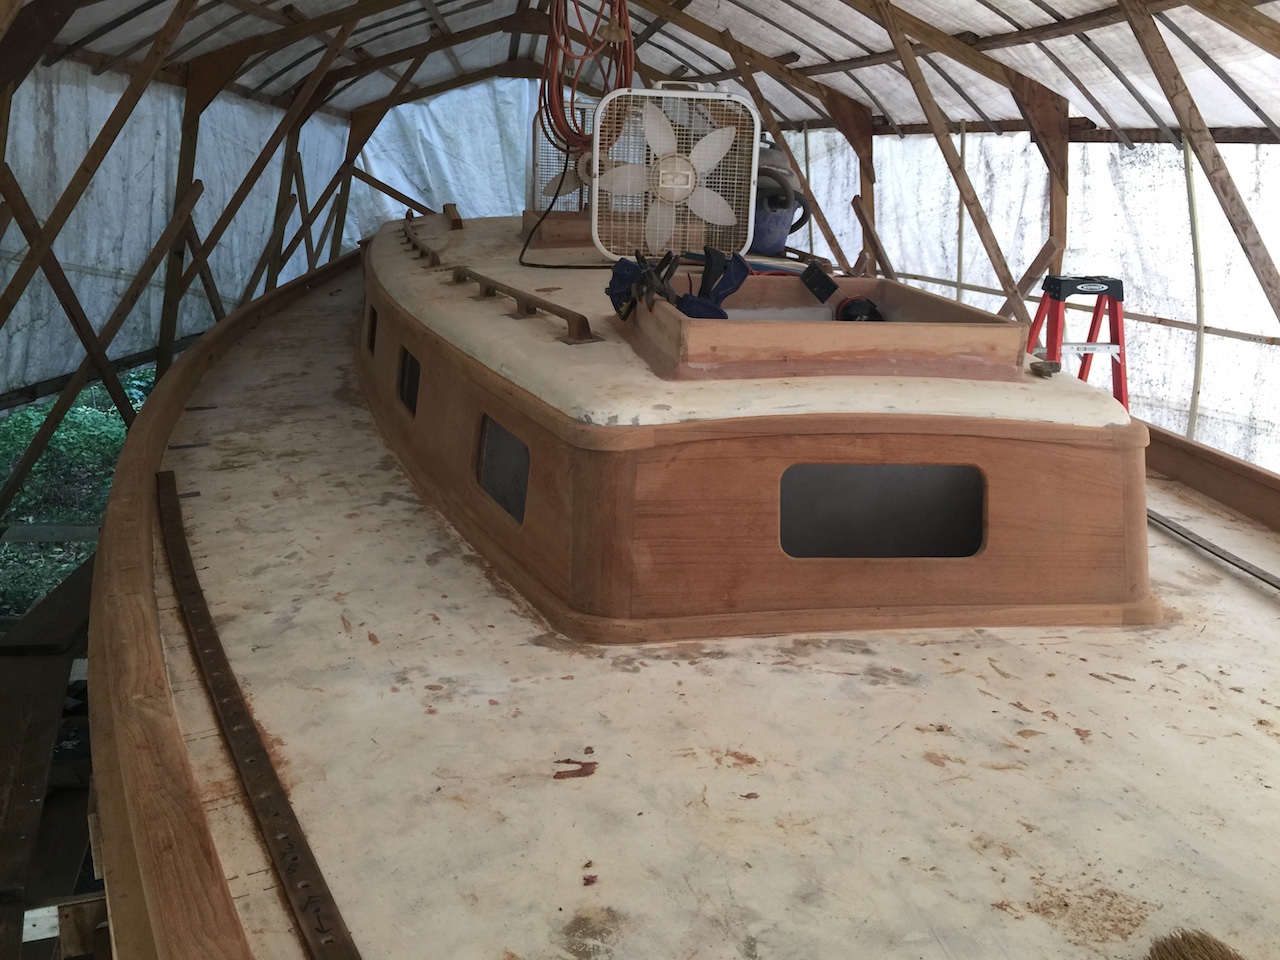
The following photos show the current situation. There’s still plenty to do before varnishing, but the teak boards were installed to the cabin top sides back in about 2014, so finally finishing the molding is a significant milestone.

Here’s a brief history of the boat-cover situation for the time the boat has been in its current location. Back in 2012, there was a frame attached to the rub rail, with a dark-colored tarp covering only the top.
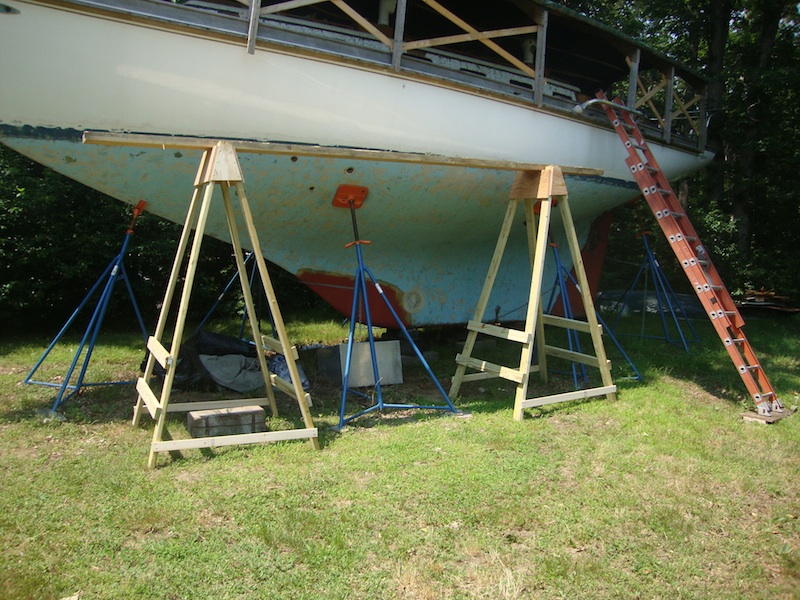
In the back yard. Note the scaffolding, from which work on the deck may be done.
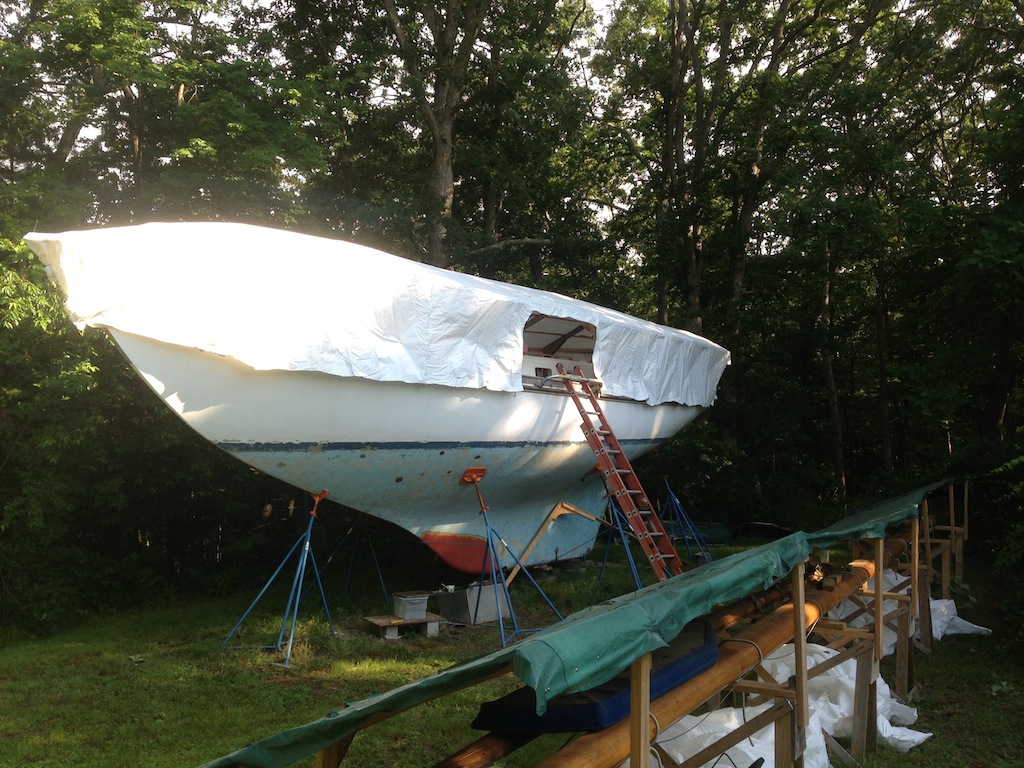
By 2014, I had upgraded to a white tarp that covered the boat completely. (Note there there is still no teak covering the cabin-top sides.)
A new white tarp replaced the green tarp that covered only the top of the frame.
In May 2015, I built the larger frame and cover. (Note here that there is not yet scaffolding.)

Trimmed
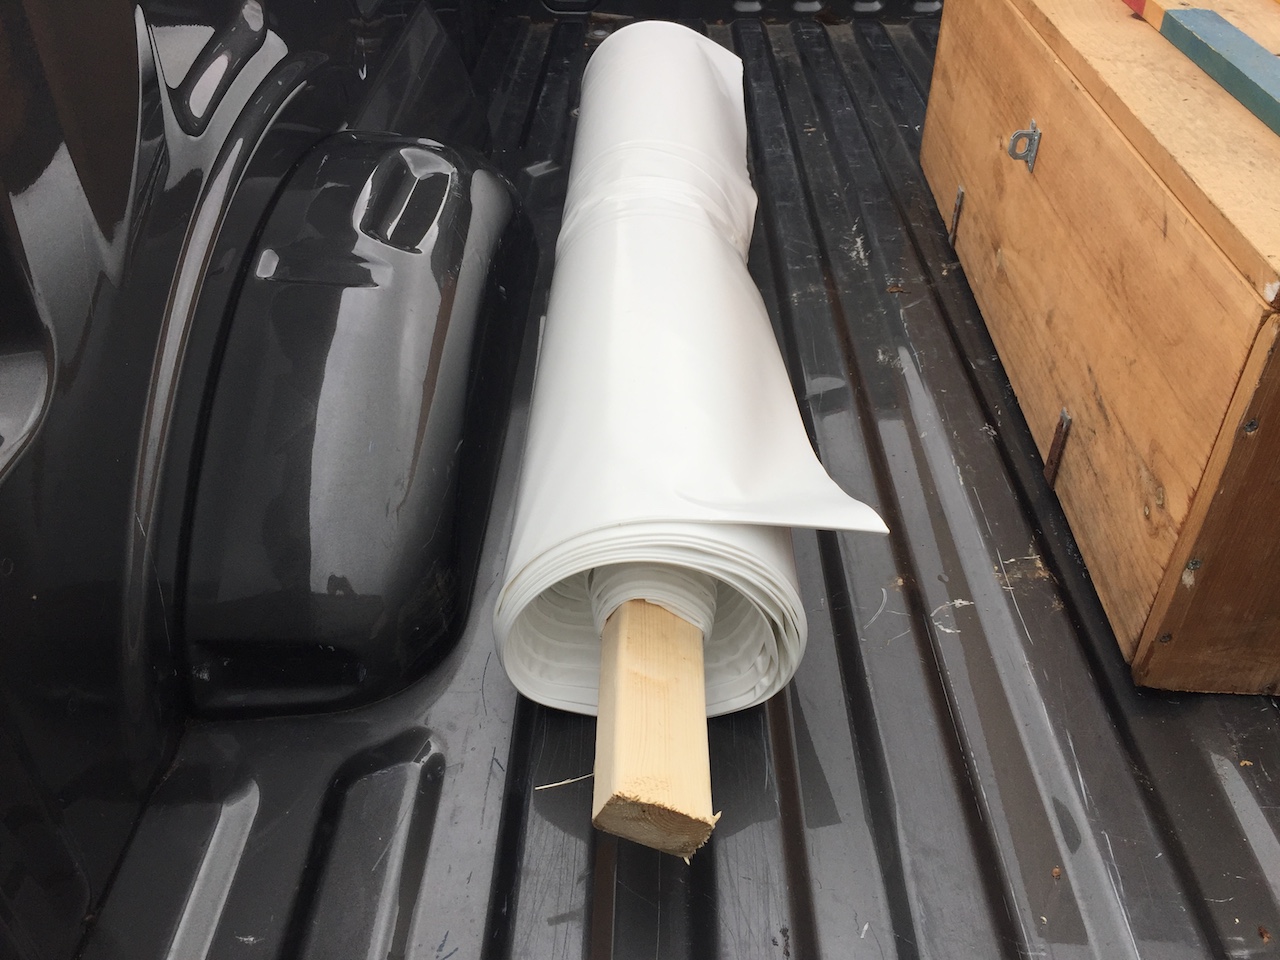
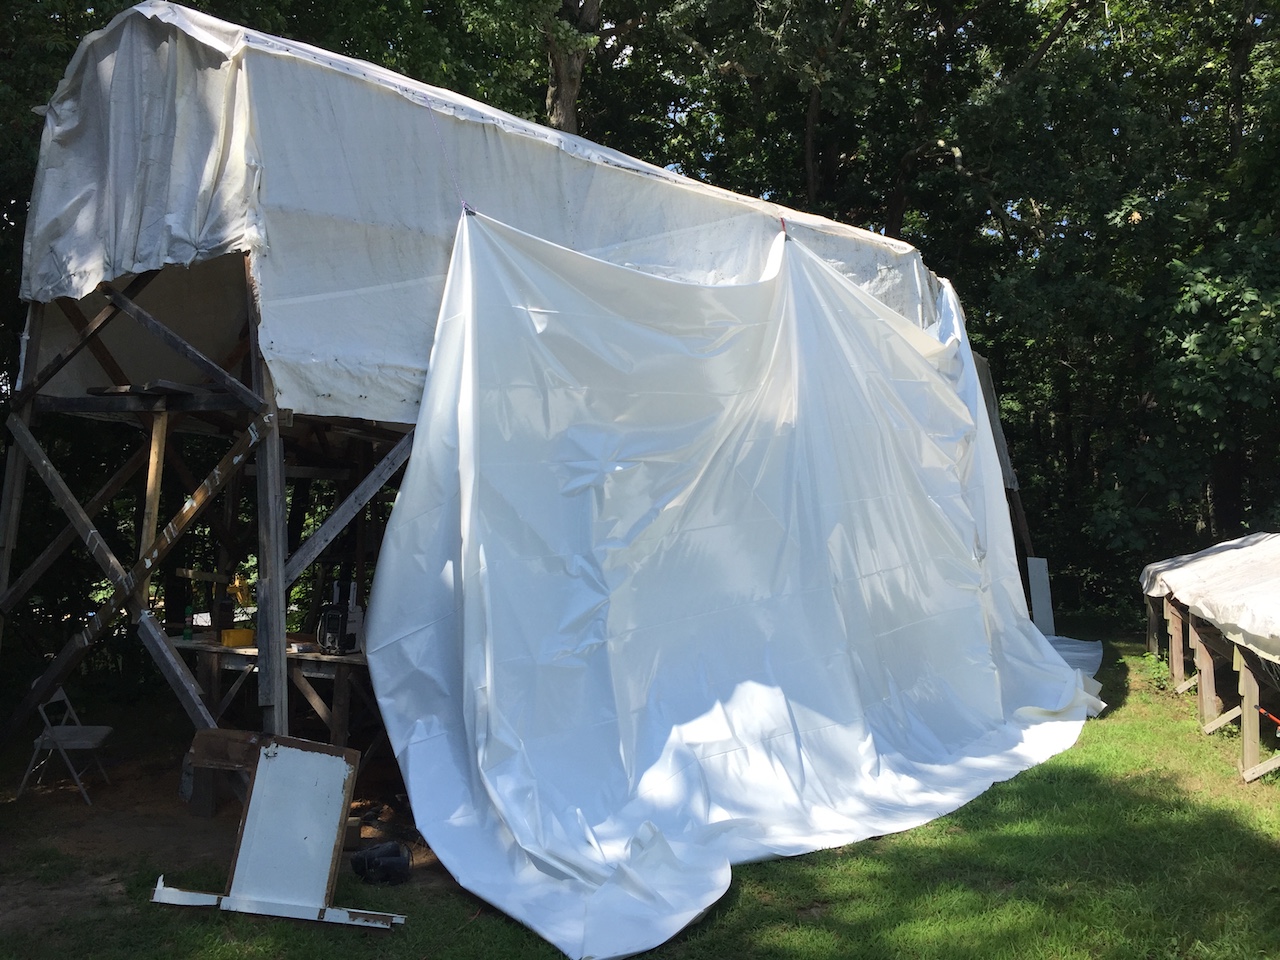
These white tarps are good for about 12-18 months, but eventually suffer enough degradation that they allow water to seep through the weave. Eventually, I added another white tarp only to the very top of the cover, but now I have leaks again. This time, however, I’ve decided to use shrink-wrap material. The following photo shows a roll of such material that is 28 feet wide and 50 feet long. One advantage of shrink-wrap material might be that it is not woven, so it might be less likely to develop leaks. A disadvantage might be that it is not as strong as new tarp material, so there might be issues with detachment from the frame. Time will tell.
I got the material pulled over the frame using four ropes.
Once the material was in a good position, I screwed it into the frame (as I have done previously with the tarps) and trimmed the excess.
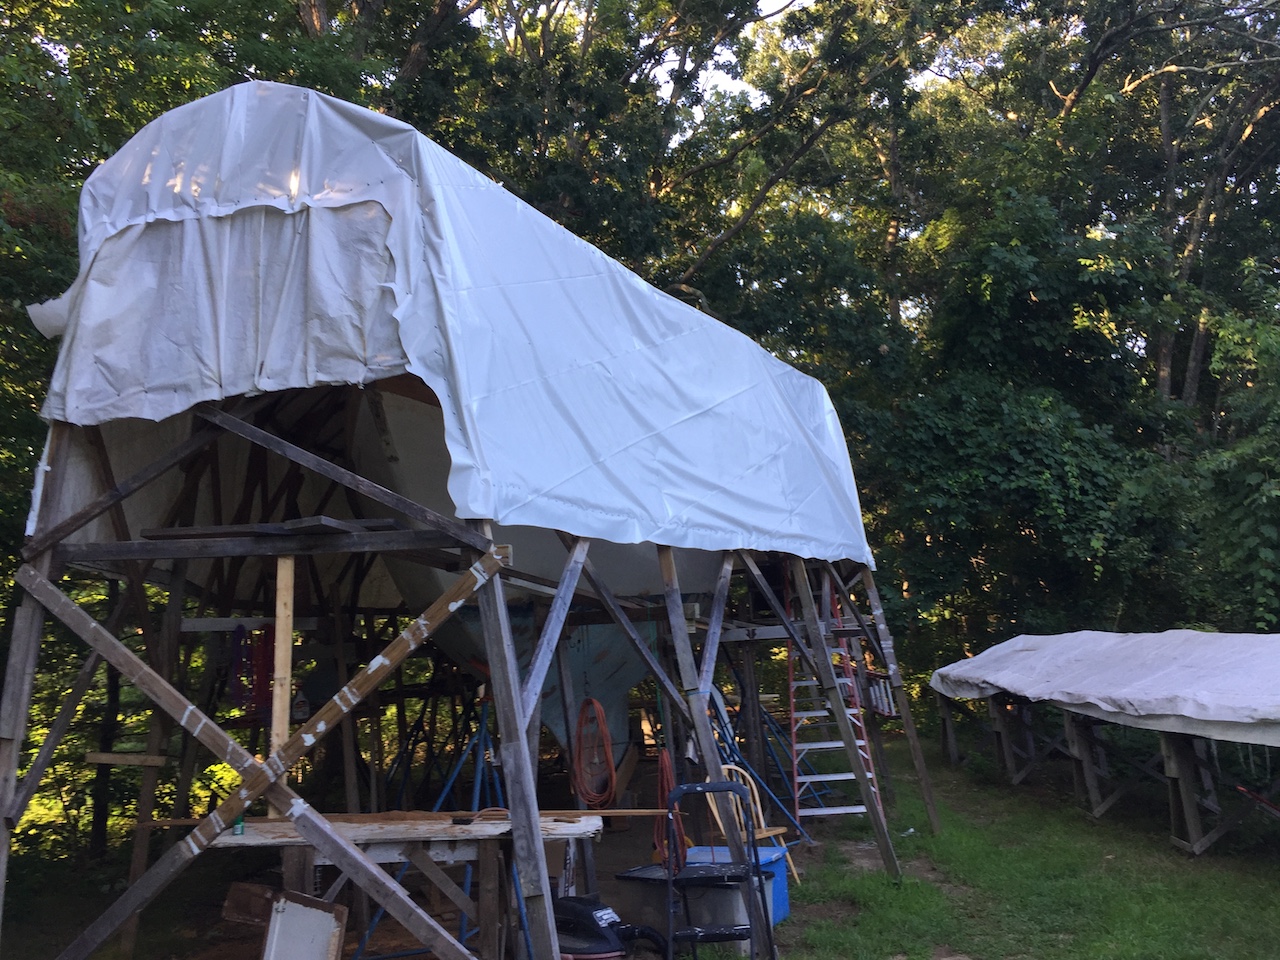
This time I had enough material to cover the top and the port side. The port side is the side that is exposed to both the Sun and the weather. Hopefully the next time I have to deal with the covers is while removing them.