Phase 1
This page shows Thalassa’s condition in Spring 2007 and some of the steps taken to transform her into a serviceable yacht. Most of the work done during this phase has now been redone or demolished in preparation for a proper restoration. Nevertheless, this work was not wasted, as it served as the experiential foundation for future work and allowed some sailing in the mean time.
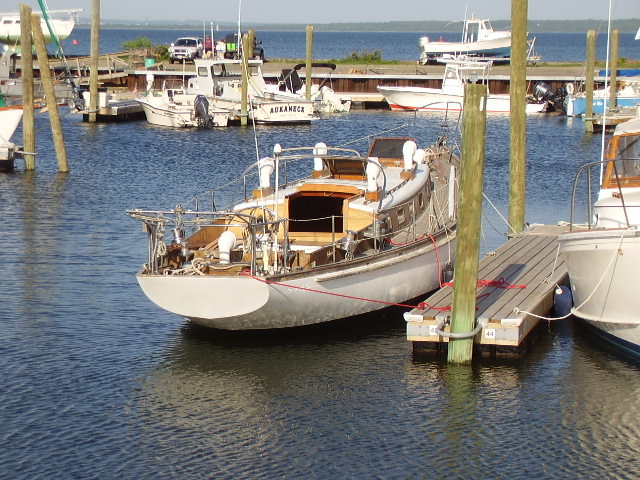
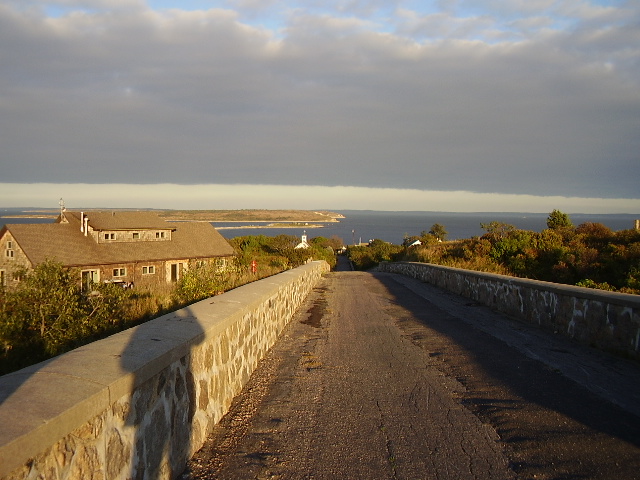
The photo shows the first haul-out in Wickford. Thalassa was placed next to one of her sisters, Maverick (a 1966 Rhodes Reliant).
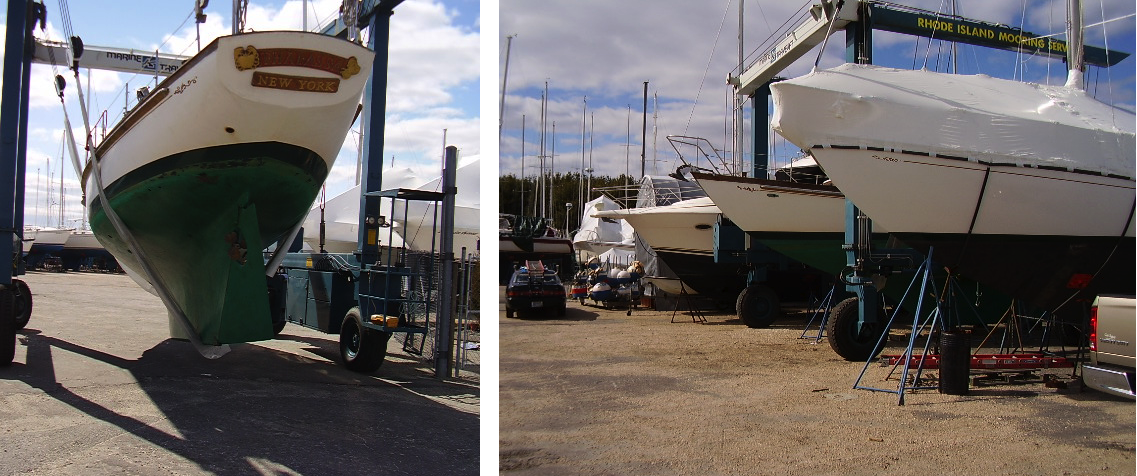
The first haul out. Thalassa (in the slings) was placed near one of her sisterships, Maverick (under wraps).
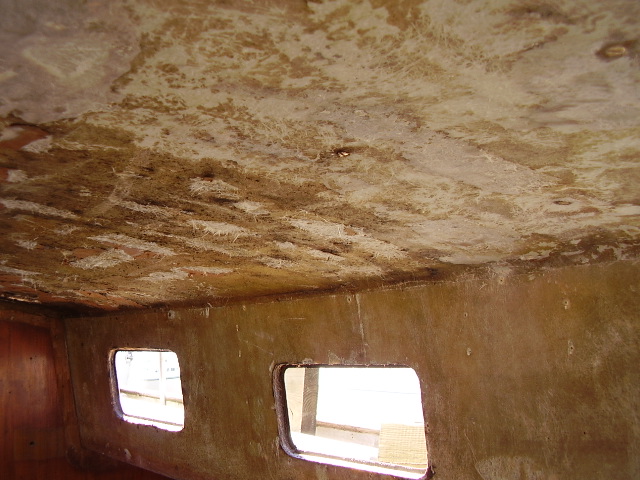
Thalassa has a fiberglass hull, core-sandwich fiberglass decks, and a core-sandwich cabin-top roof, with non-cored cabin-top sides. The outside of the cabin top was covered with 3/8-inch teak and the inside with a 1/4-inch ply. Here we are looking at the inside of the cabin-top sides, where the ply has delaminated due to leaks in the cabin top and windows.

Delaminiation on the cabin-top sides.
The photo below shows where a rotted bulkhead has been removed. The shelves and storage beneath also suffered from rot and had to be partially removed.
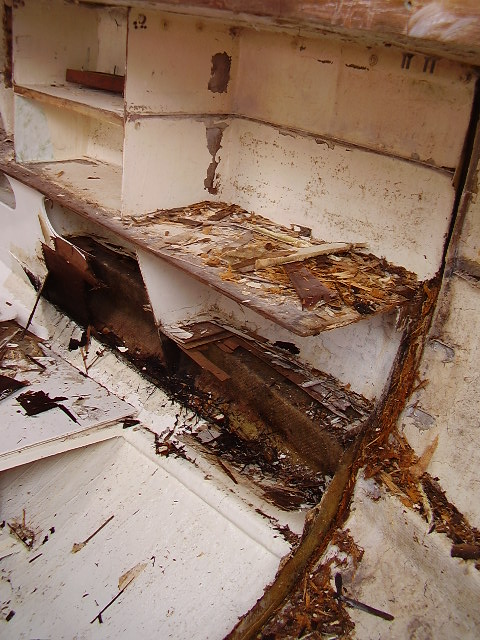
Untended leaks will eventually destroy bulkheads and other wood.
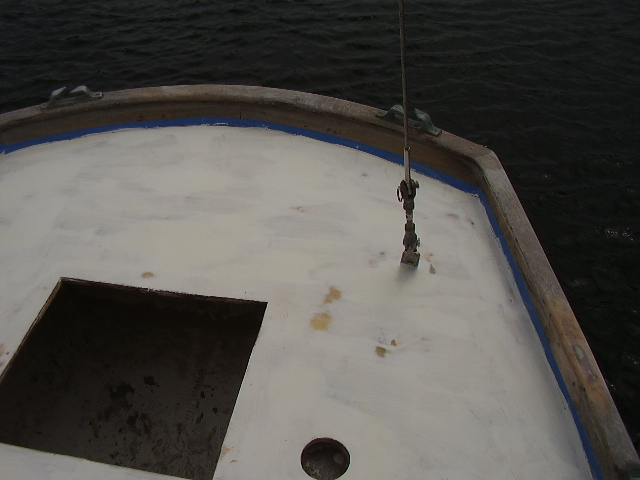
The ceiling and inside was stripped down to the fiberglass. You can also see that the windows have been removed.
Ceiling and cabin-top sides down to the bare glass.
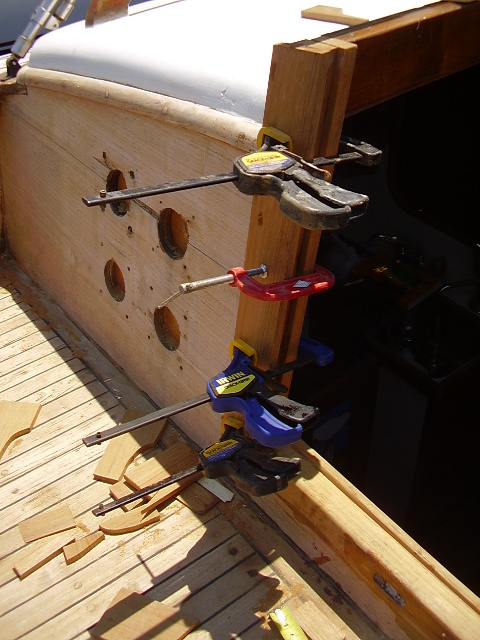
There is a rule in woodworking and construction: measure twice, cut only once. An extension of that rule is that complex shapes (like bulkheads) should be cut only after making a good-fitting pattern.
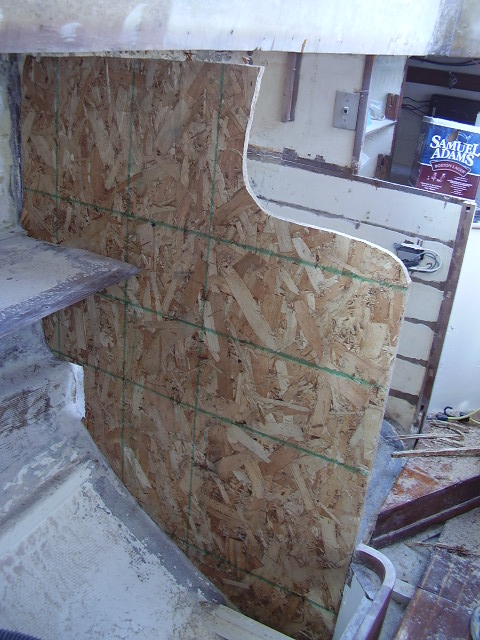
A pattern made of cheap particle board was used to trace out the cut lines on the marine plywood used for the bulkhead.
A carpenter helped me make a storage bin that would replace the chart table and drawers that were aft of the rotten bulkhead. (Note that the new bulkhead is in place.)
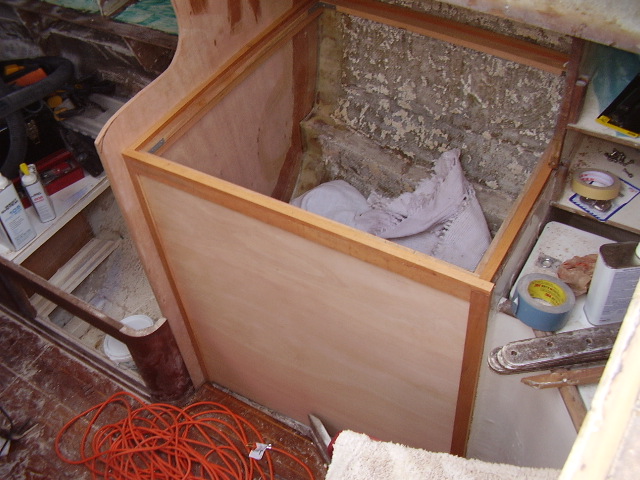
The storage area that replaced the chart table and chart drawers. Here it is under construction.
The original ceiling was a white fiberboard that was adhered directly to the fiberglass roof. Where do you run wires? What if there are leaks? The replacement celling, while not a professional job, looked OK and was functional. Formica panels sat on plywood strips, then held in place by mahogany strips. The joinery wasn’t great, but it was a big improvement to the old ceiling.
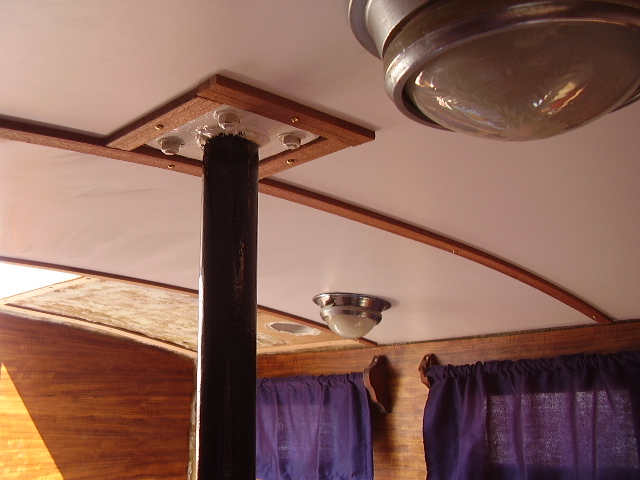
New ceiling being installed.
One of the goals before the first launch was to completely strip the old bottom paint and start fresh. In the end, only about one-quarter of the bottom was stripped. In the photo you can see the many colors of many layers. The boot-stripe was raised at least two times in Thalassa’s life. The waterline rises as extra weight is added to the boat. In Thalassa’s case, much of this weight was added to the space under the cockpit: a new (and bigger) motor, a larger fuel tank, auto pilot, refrigeration, hot water heater, inverter, and three massive batteries. The original waterline will hopefully be restored by putting batteries at midships, fuel tanks beside the motor (not behind it). Refrigeration and hot water will be installed somewhere forward of the engine.

Many layers of bottom paint.
The companionway molding had to be destroyed to make way for the new ply layer inside the cabin-top sides. You can see where the outdated instruments have been removed, leaving ugly holes.
New companionway molding.
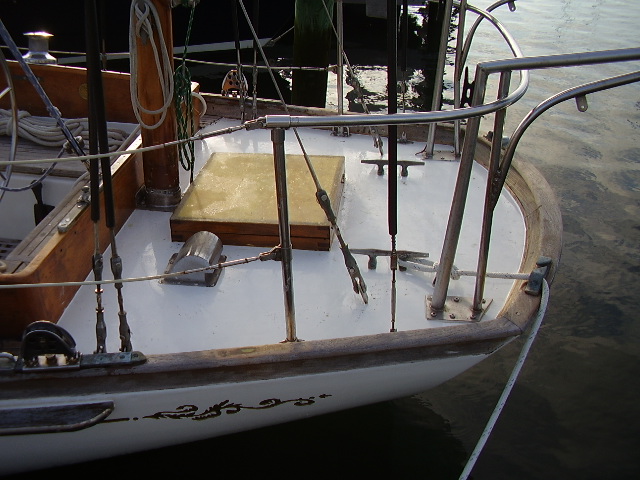
The ability to lock the cabin again was a welcome development.
All of the work shown so far occurred over a period of only a few months.
The first launch. The masts will have to wait.
The condition of the masts was a concern from the beginning. New England Shipyard (and its owner Tom Potter) were on site. The first step was removing the white epoxy so that the masts could be inspected properly.

The main mast, looking from top toward bottom.
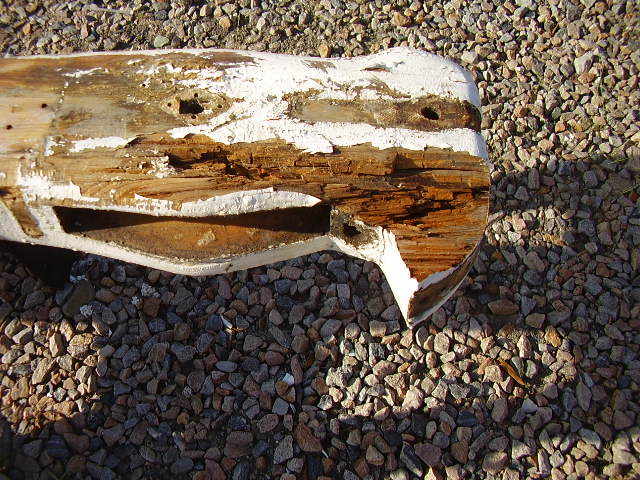
The top of the mast had issues.
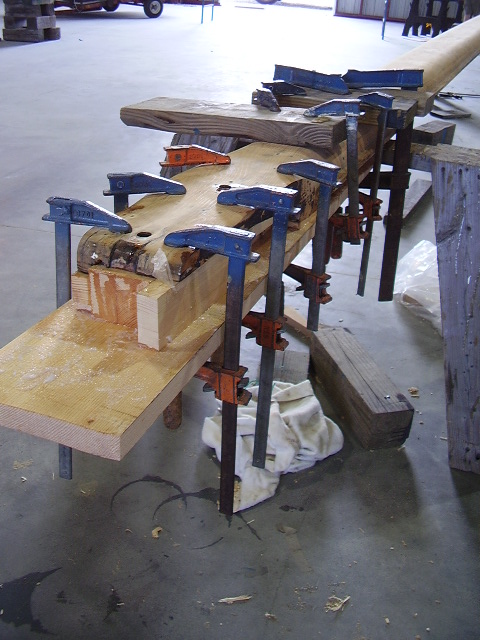
There was rot at the top and the bottom and at one place in the middle. New England Shipyard did the repair work. In the photo below, pieces are sawed off of the port side of the bottom of the mast–one inch at a time, waiting to get a clean, rot-free cut. In the end, the bottom six feet of the mast was replaced.
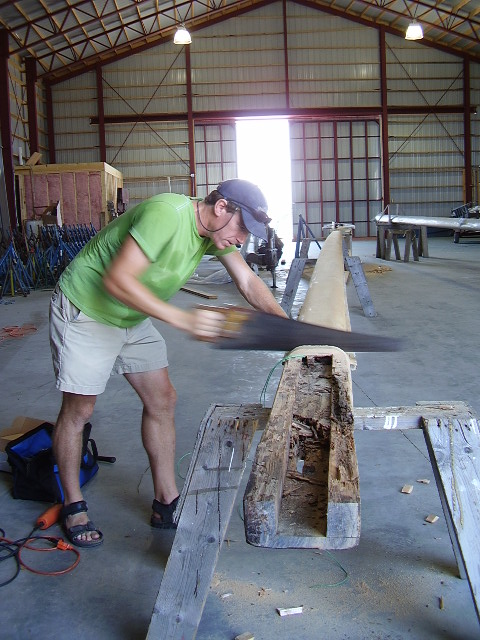
Sawing pieces from the bottom of the mast.
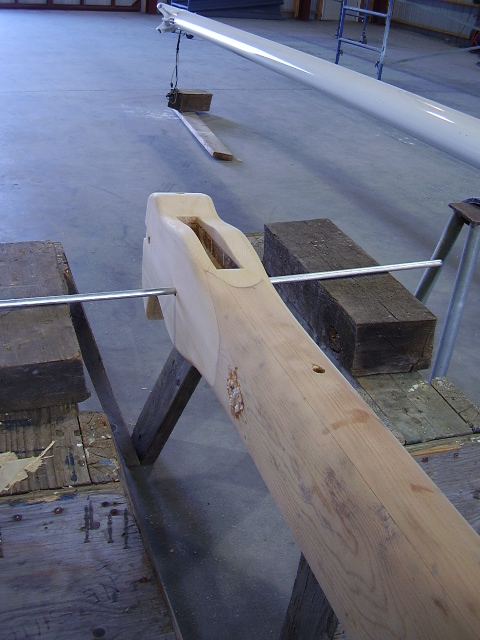
The top of the mast was shaved back until it was rot-free, then rebuilt.
The top of the mast.
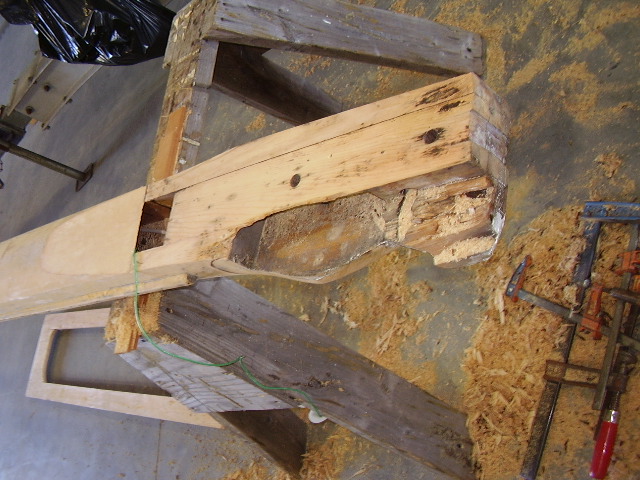
There was bit of rot in one of the scarf joints near the middle of the mast.

Preparing for new wood near the middle of the mast.
Gluing up the new wood at the bottom of the mast.

Six feet of new mast.
Preparing for varnish.
There was a stark contrast between the new wood and the old. After a year in the sun, however, the new wood blended in well with the old.

Contrast between new wood and old.
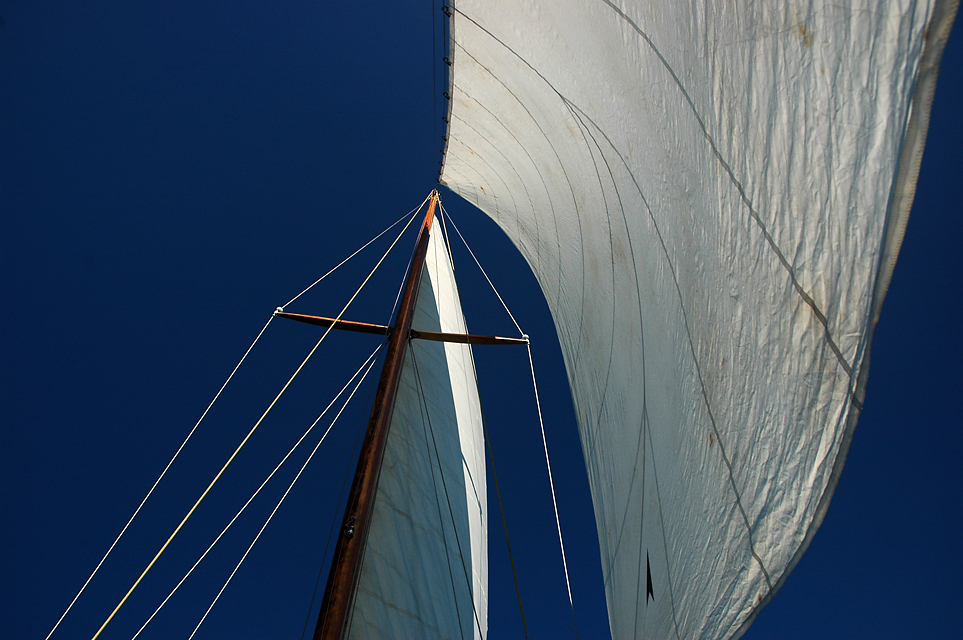
The masts were stepped and it was time to go sailing.
Repaired masts are stepped.
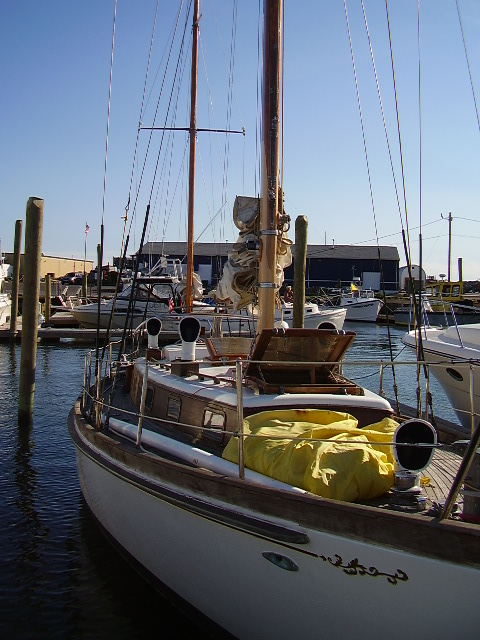
Sailing: Summer 2007
Cuttyhunk: Summer 2007
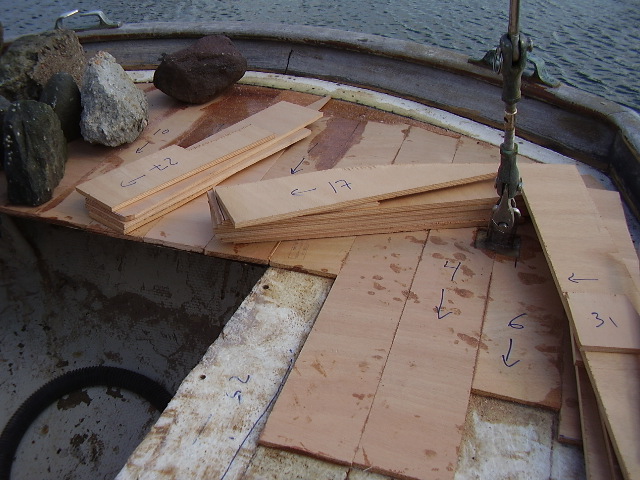
By the end of Summer 2007, it was clear that the teak decks needed to be removed and the core of the core-sandwich deck replaced. Work began in Summer 2008. The following photos show some of that work.
Removing the teak.
Removing the black goo (called Thiokol) required much scraping…
…and then sanding.
The core is wet from years of water sloshing around the deck and then finding its way through screw holes. Here the top skin is cut off, the old core cleaned out, and pieces of the new core are dry fitted.
Dry fitting the new core.
The new core was first bonded to the bottom skin.
Bonding the new core to the bottom skin.
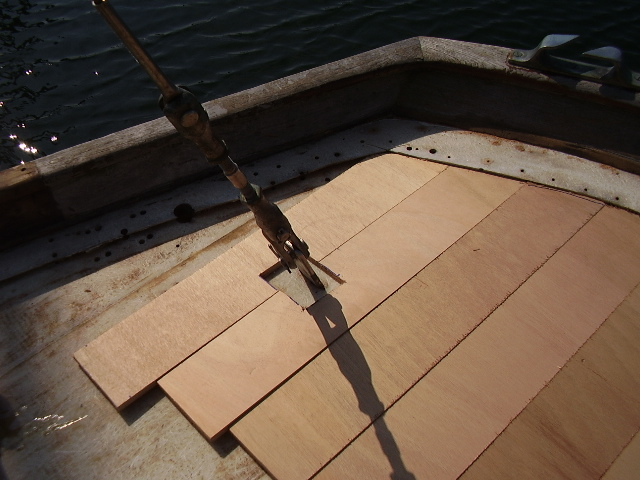
Next, the top skin is glued back down.
Gluing down the top skin.
In the photo below, the new core is in place, and glued securely to the top and bottom fiberglass skins. Note the beveling of the edges. The fiberglass pieces are bonded together with fiberglass strips, which fill the bevel.
Ready for fiberglass layup.
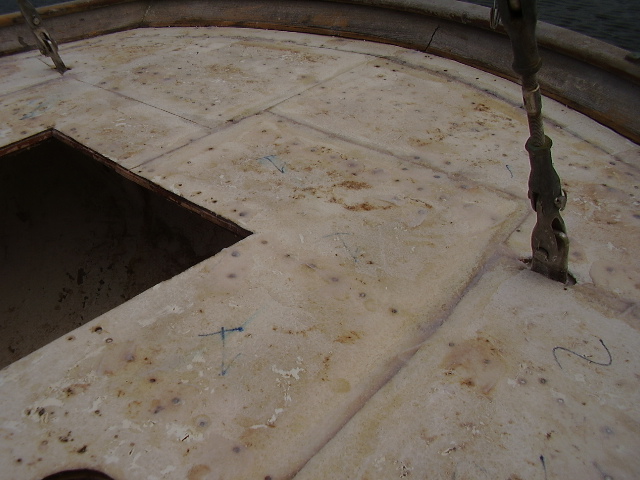
The deck is glassed and faired and there is one layer of primer.
Only the aft deck was repaired and the finished product is shown below. This work won’t have to be repeated.
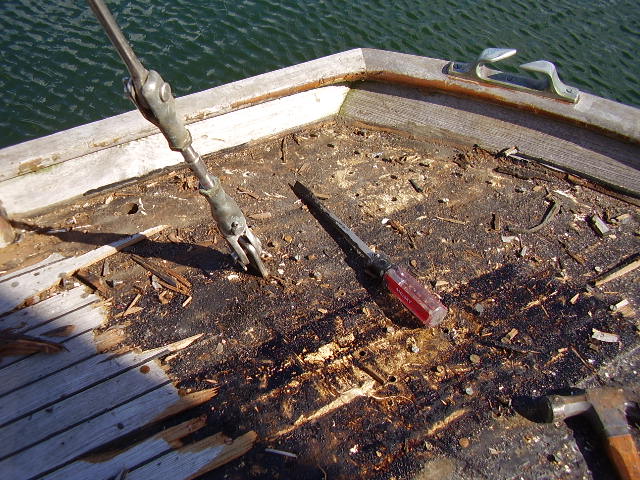
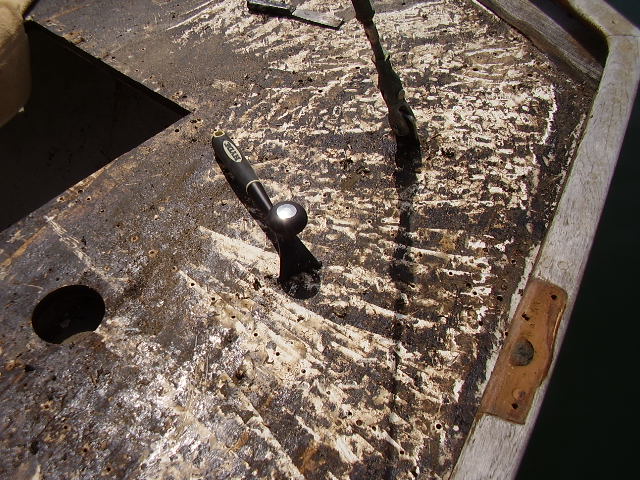
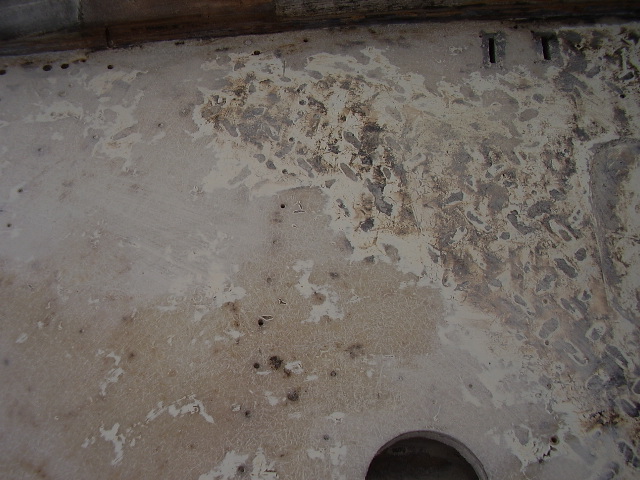
A lot of work was done in the cockpit during this phase. The photo below shows the pedestal and cockpit prepared for primer. You can also see the poor condition of the teak in the cockpit.

Kath
03/23/2016 — 6:35 pm
Love the photo of Cuttyhunk 2007! It will be amazing to see her on the water again and off to the islands when you are finished. Great job!
Kristina La Bonte
03/24/2023 — 1:25 am
As one of her previous owners, I’m am totally blown away by the level of commitment, hard work and dedication that’s gone into her restoration!