8/13/17: Galley
I continued work on the port side of the galley with more priming and painting.
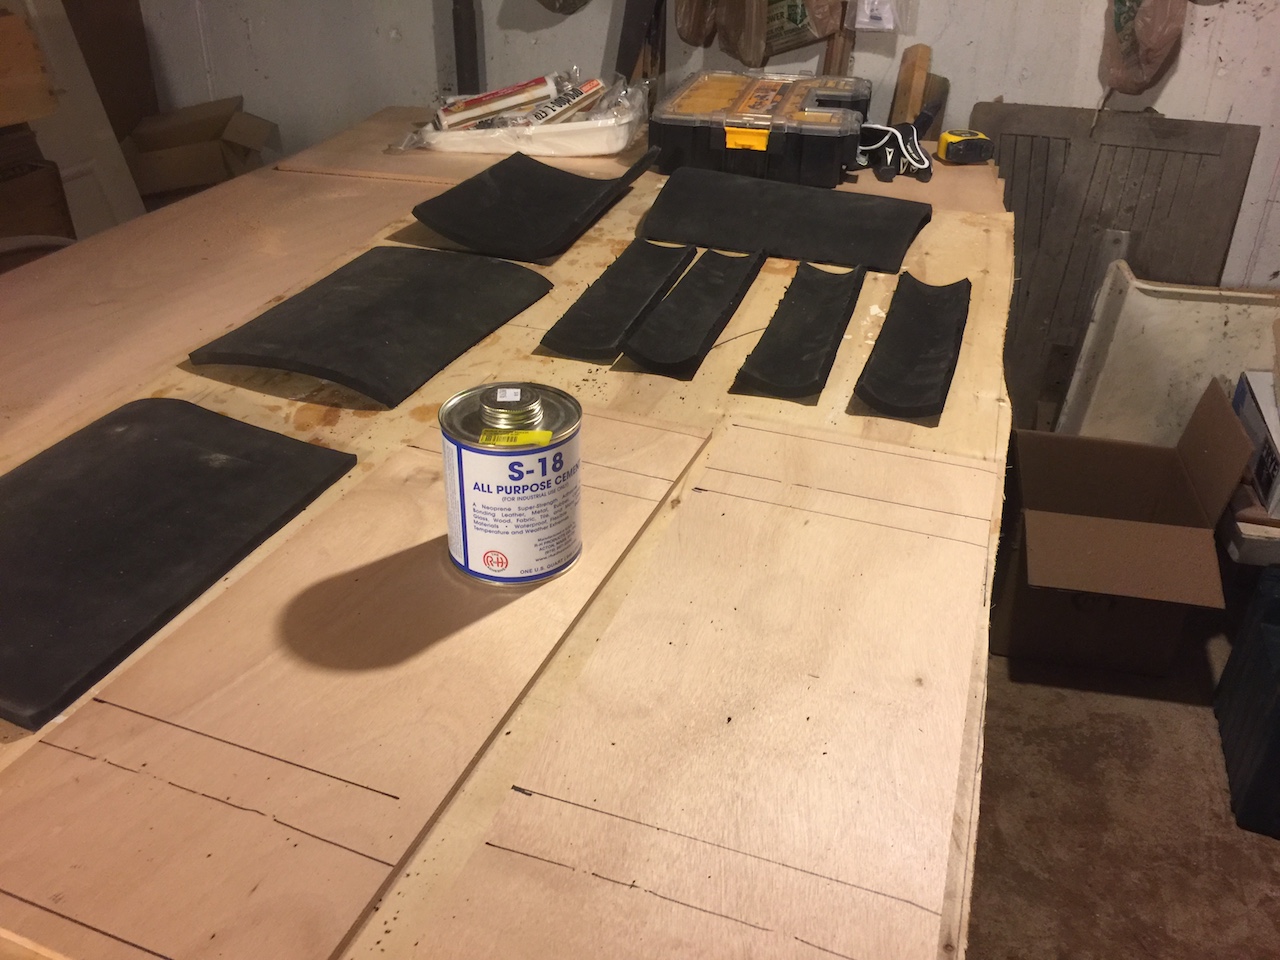
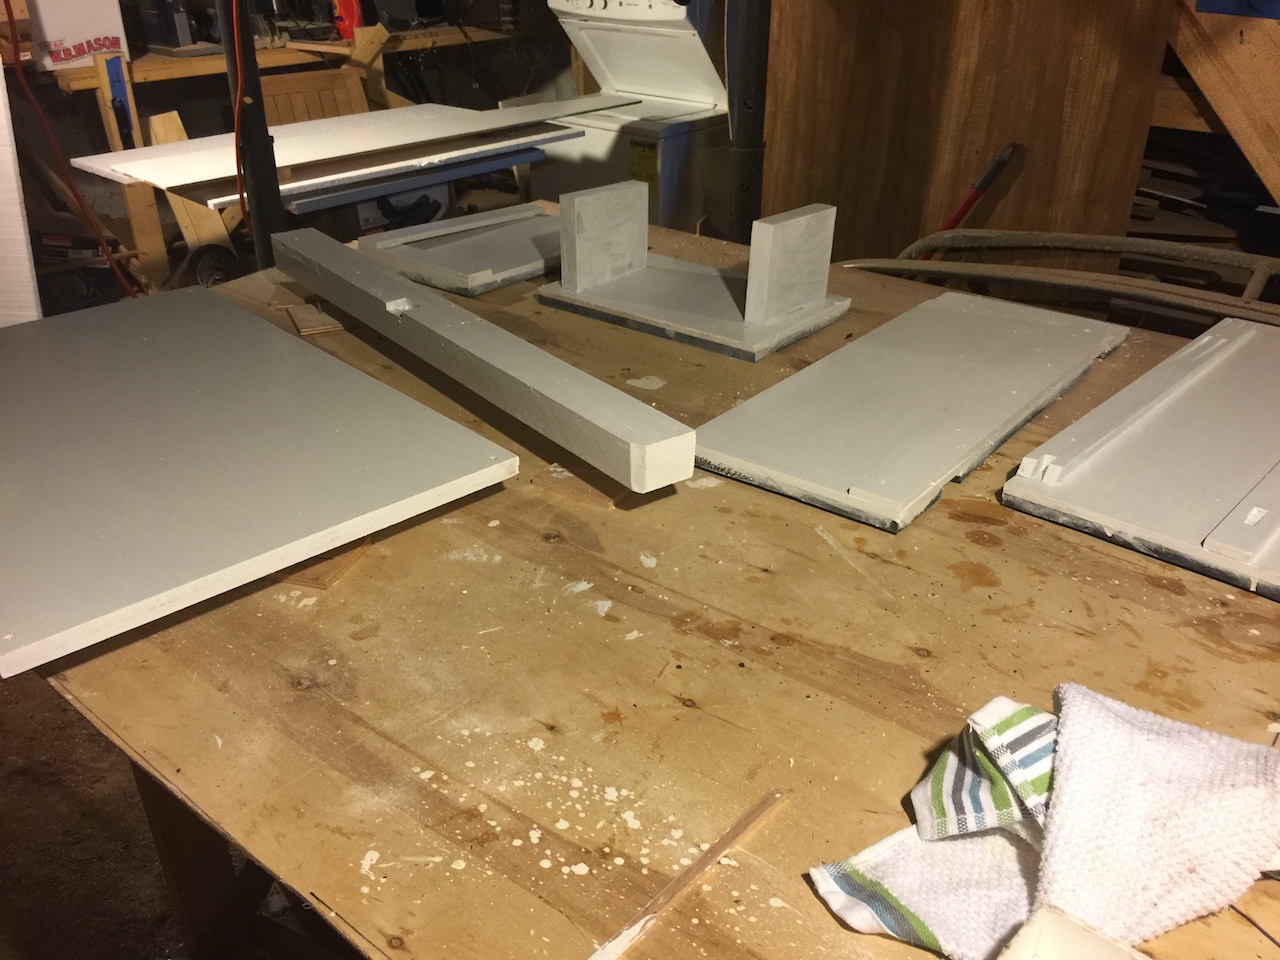
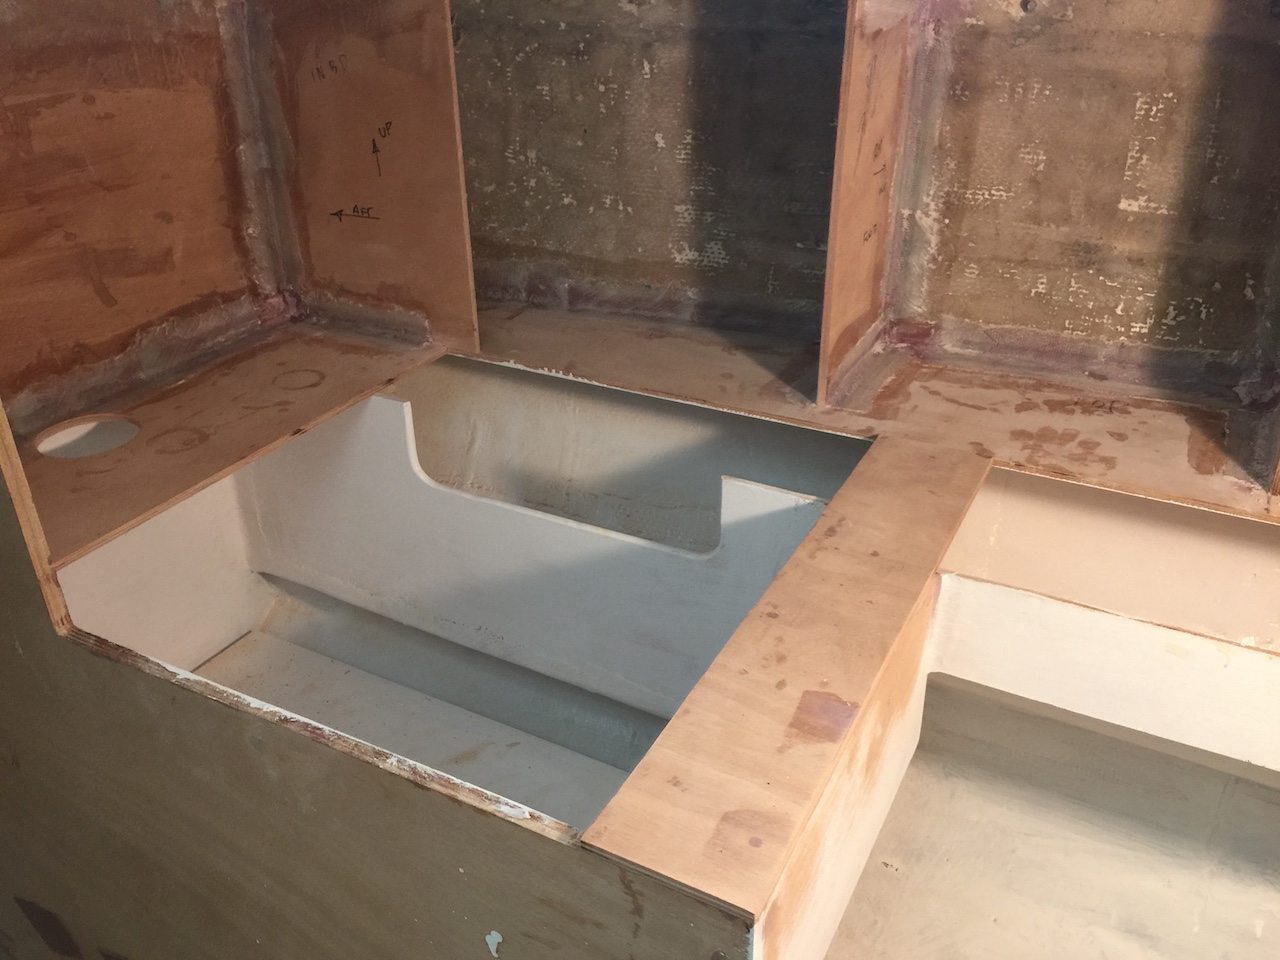
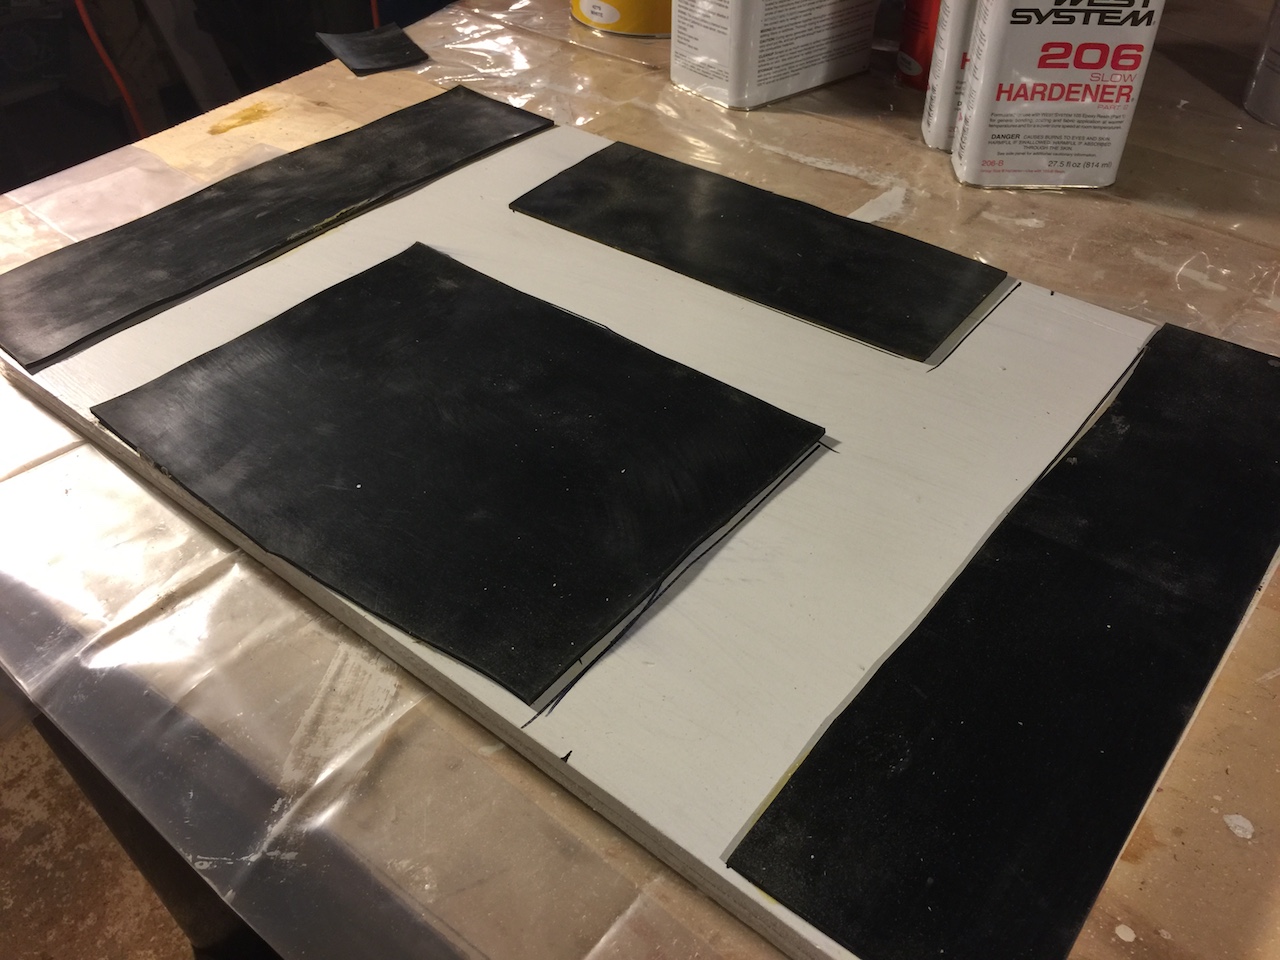
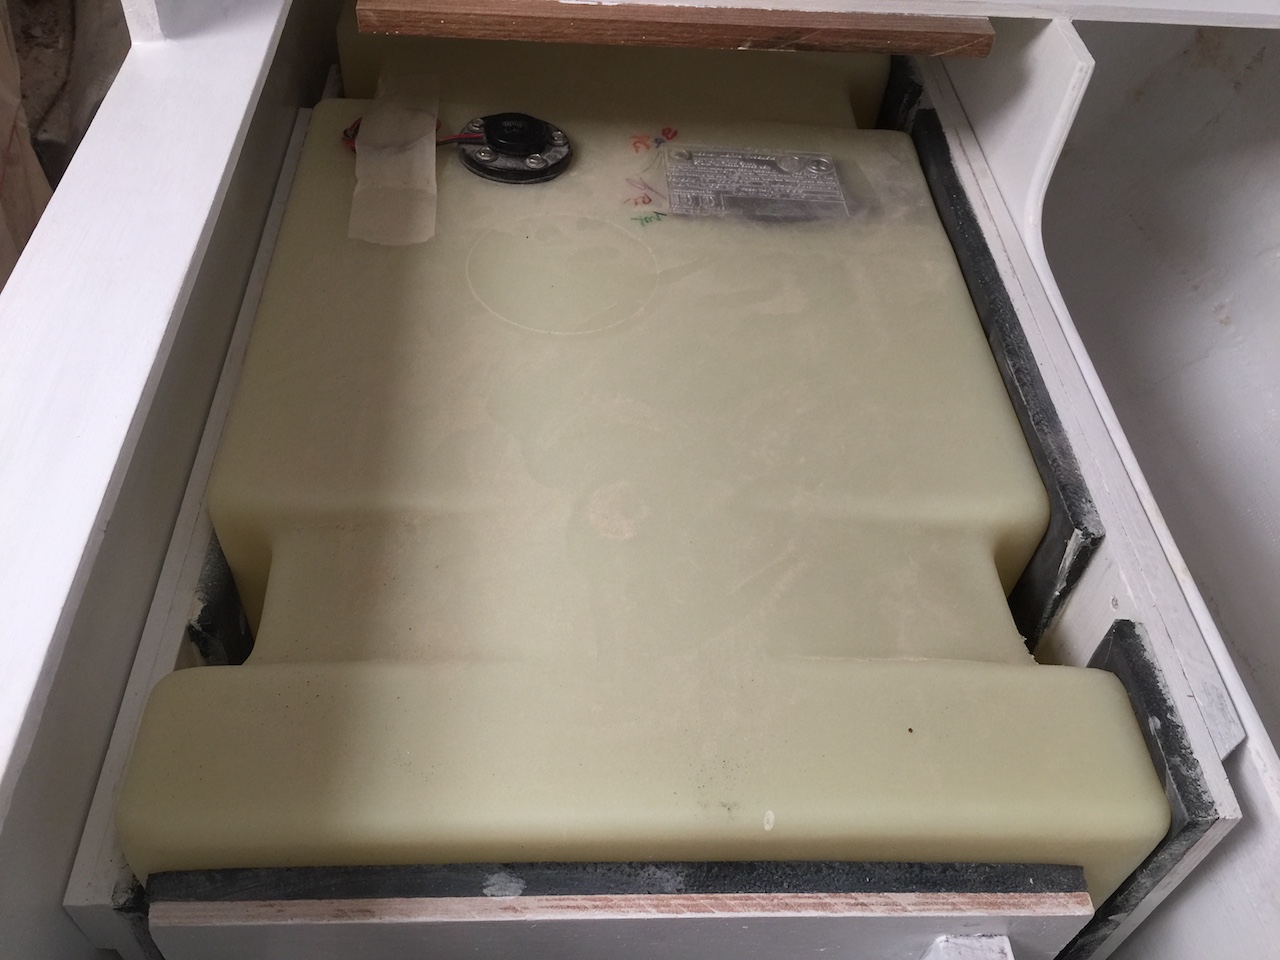
The fuel tank must have a snug fit, but also some room to expand. I used 1/2-inch neoprene and 3/8-inch plywood to make supports for the fuel tank.
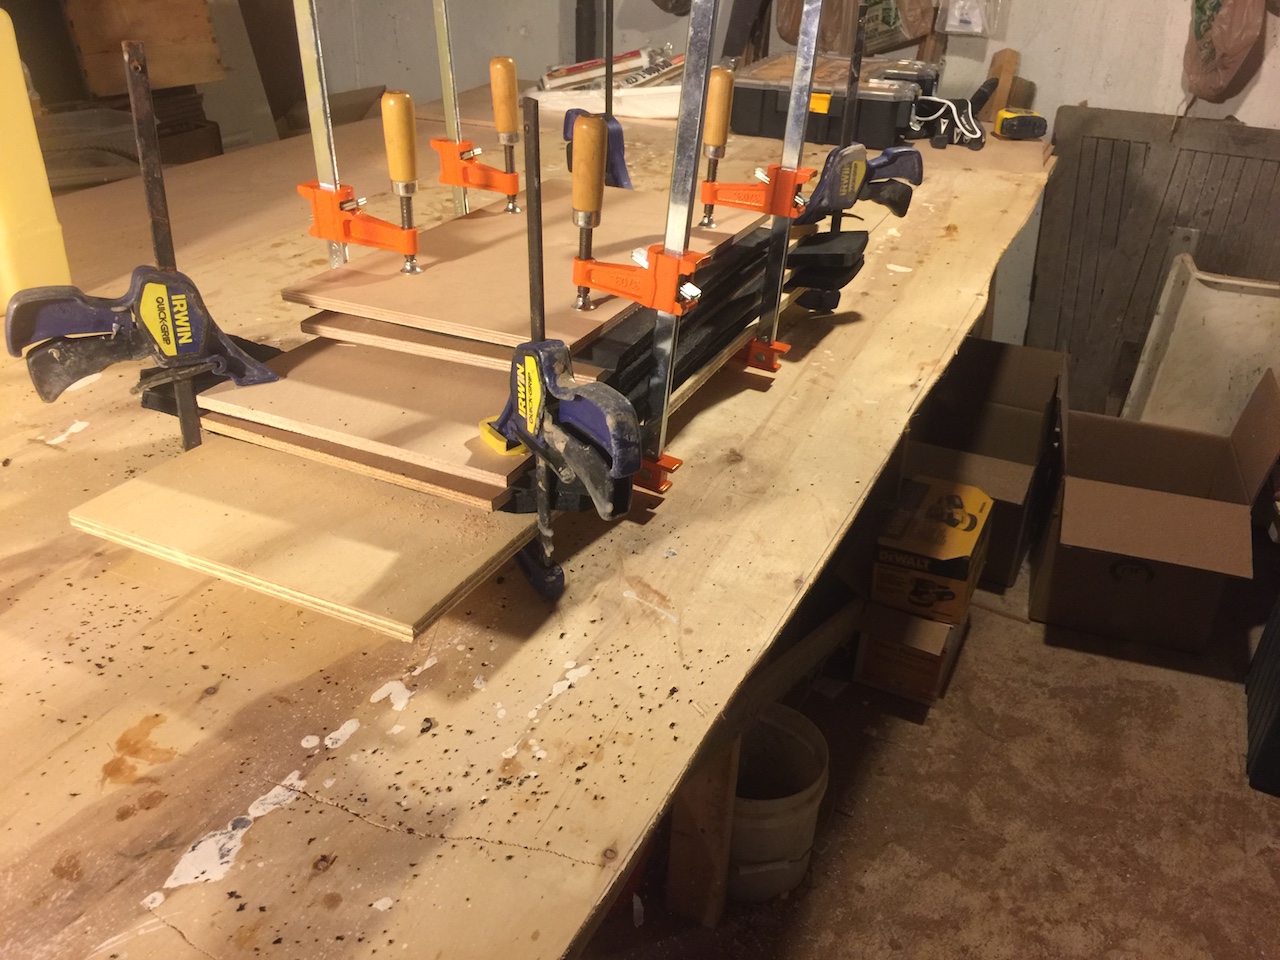
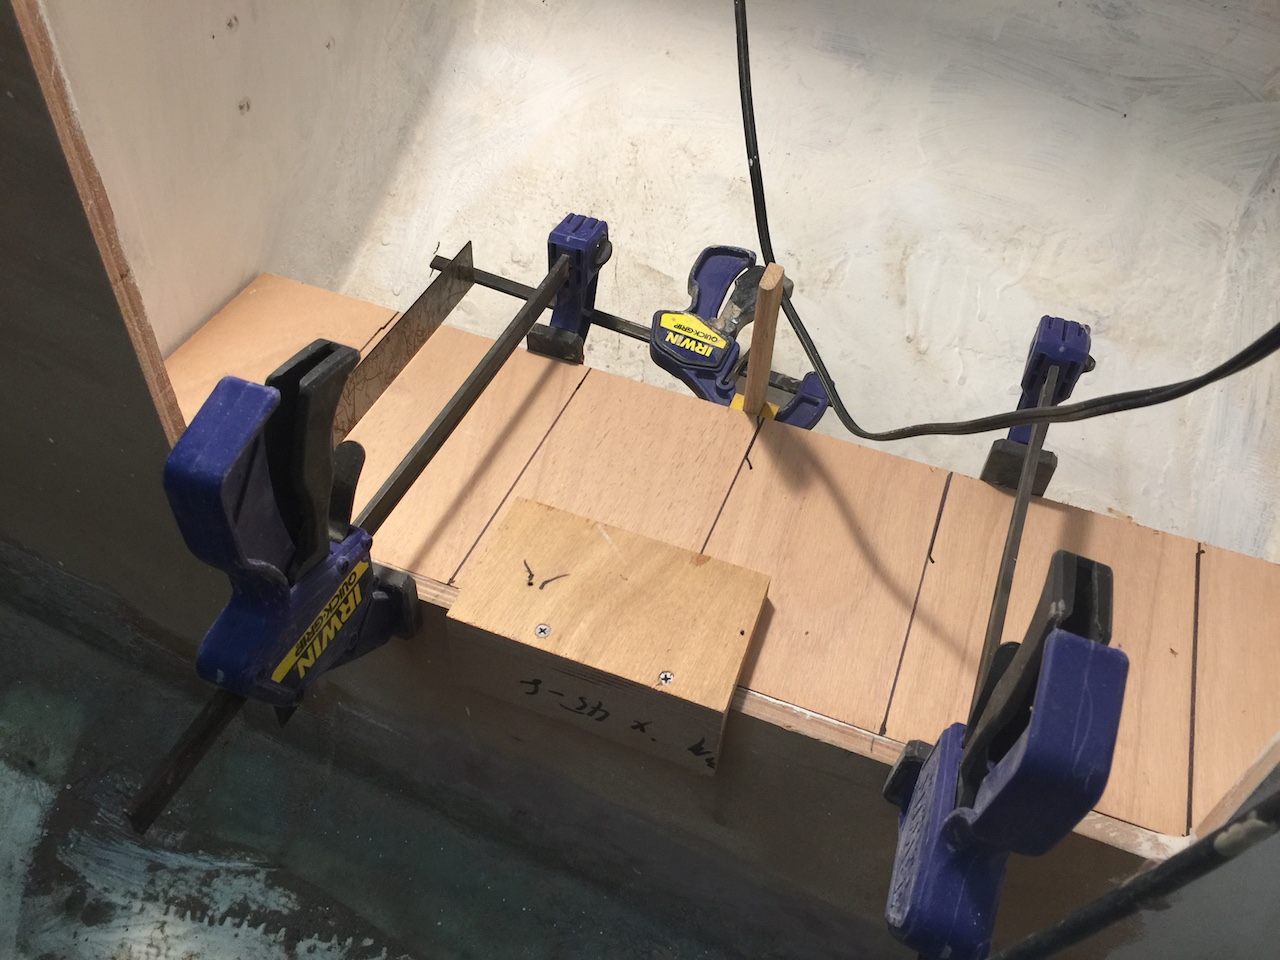
The contact cement sets under pressure, and in the photo below I’ve clamped everything up to apply pressure.
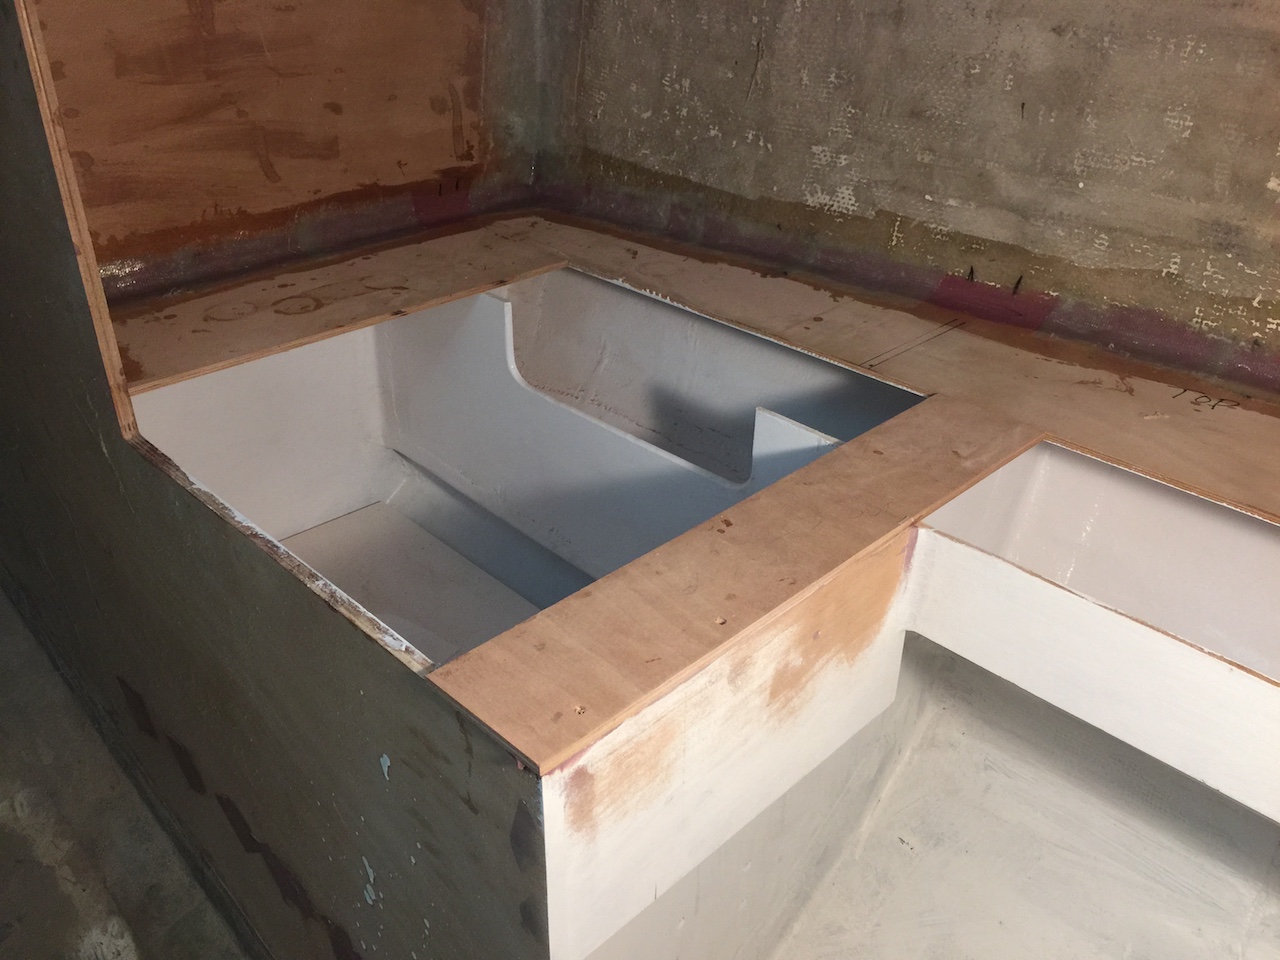
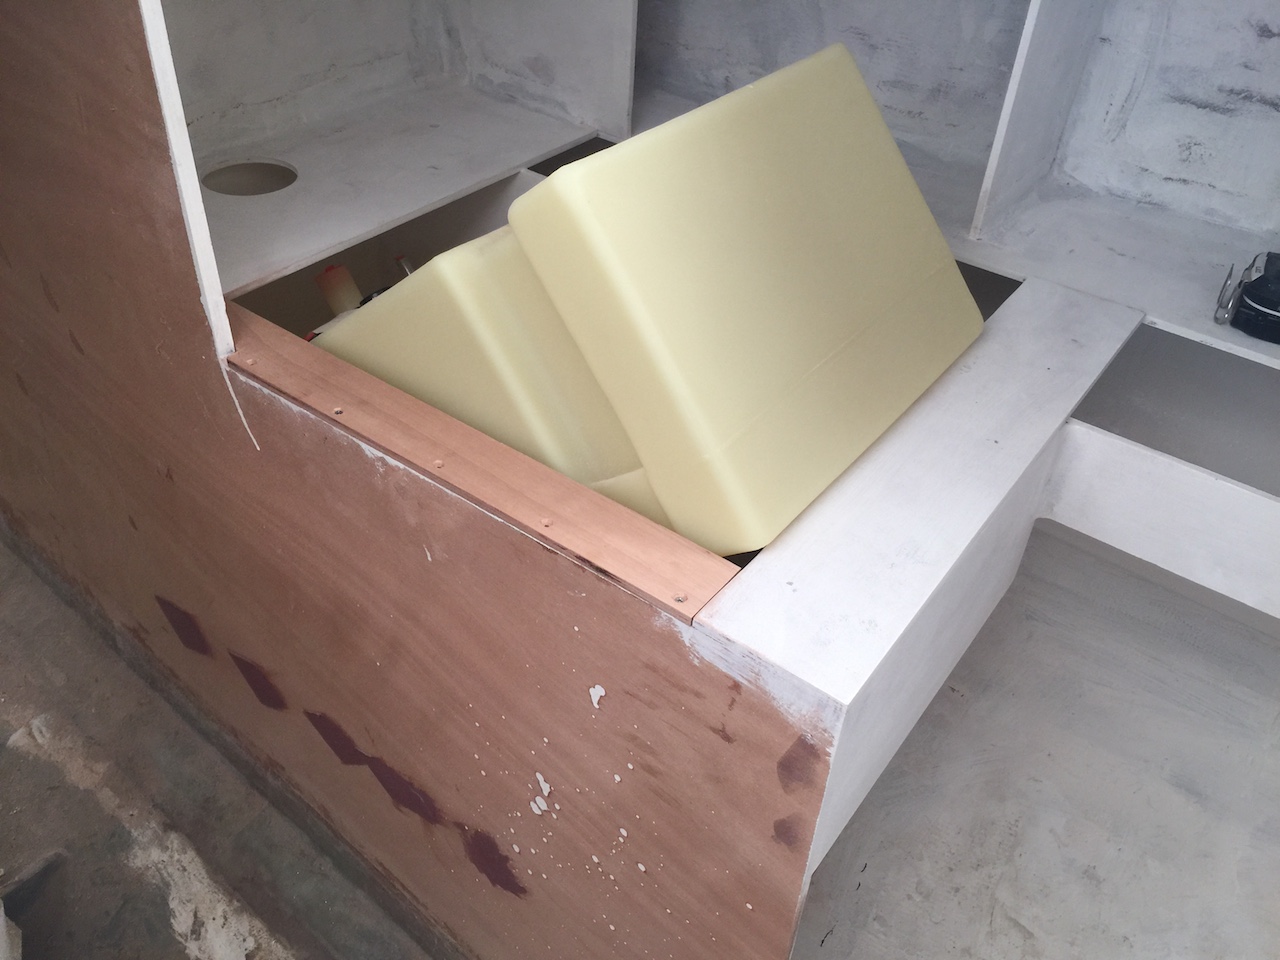
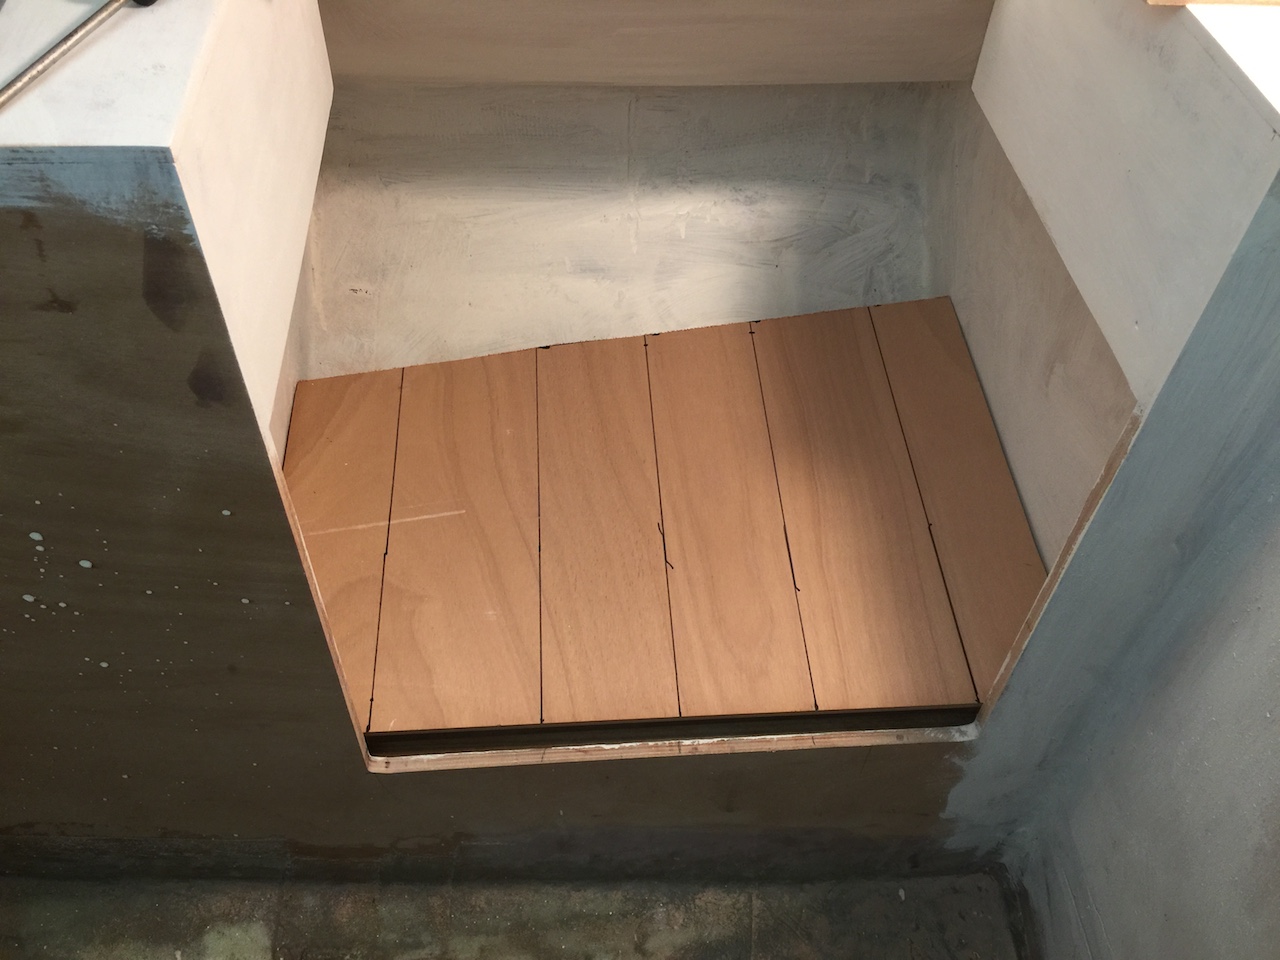
The following photo shows a test fit. The space here is not as rectangular as the tank, so shims were permanently attached to two of the supports (those on the aft and port sides).

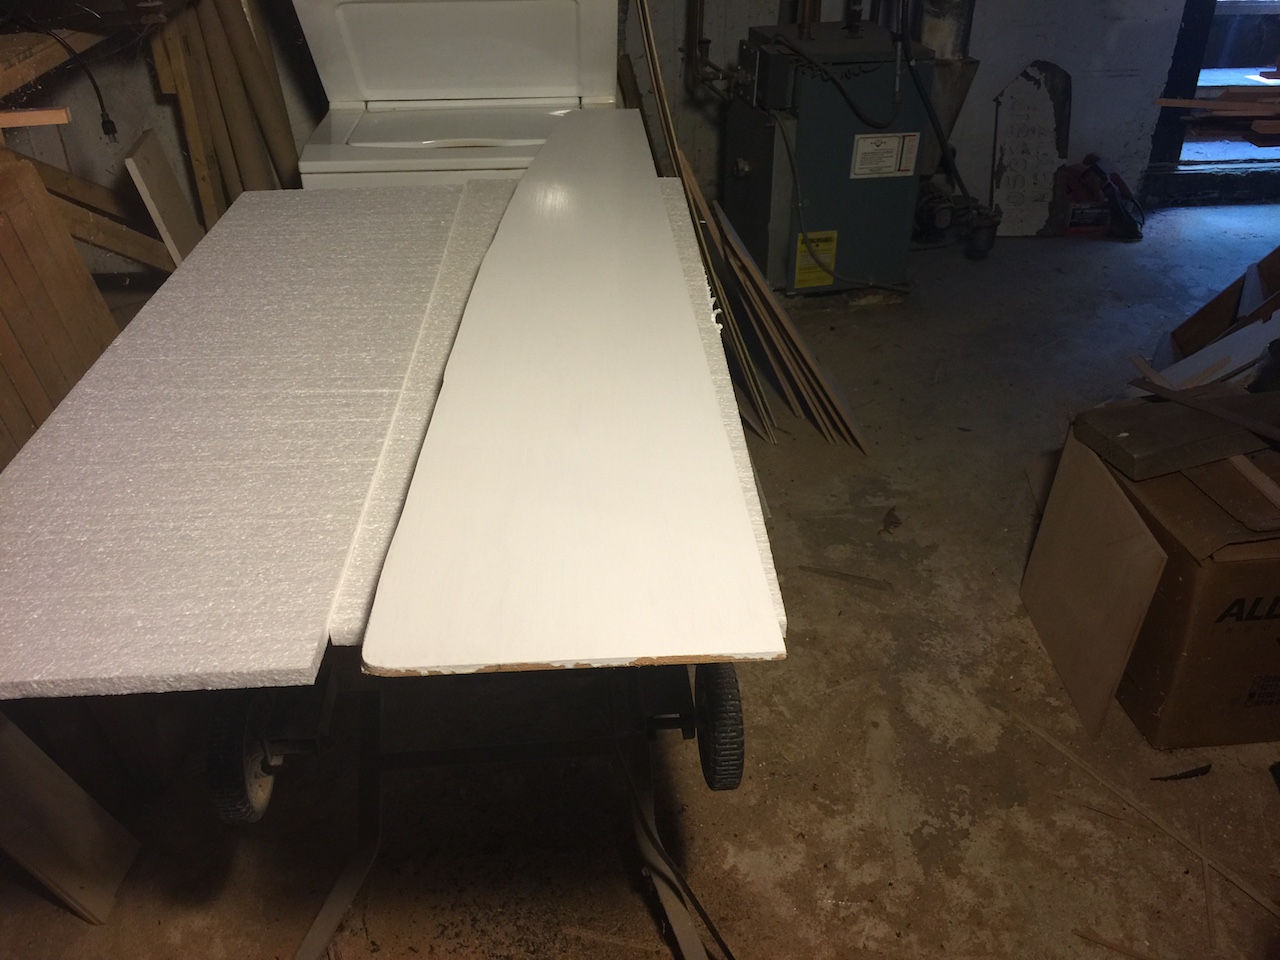
Next, I primed and painted the supports (not the neoprene, or course), and the beam and platform. I also painted the underside of the outboard shelf.
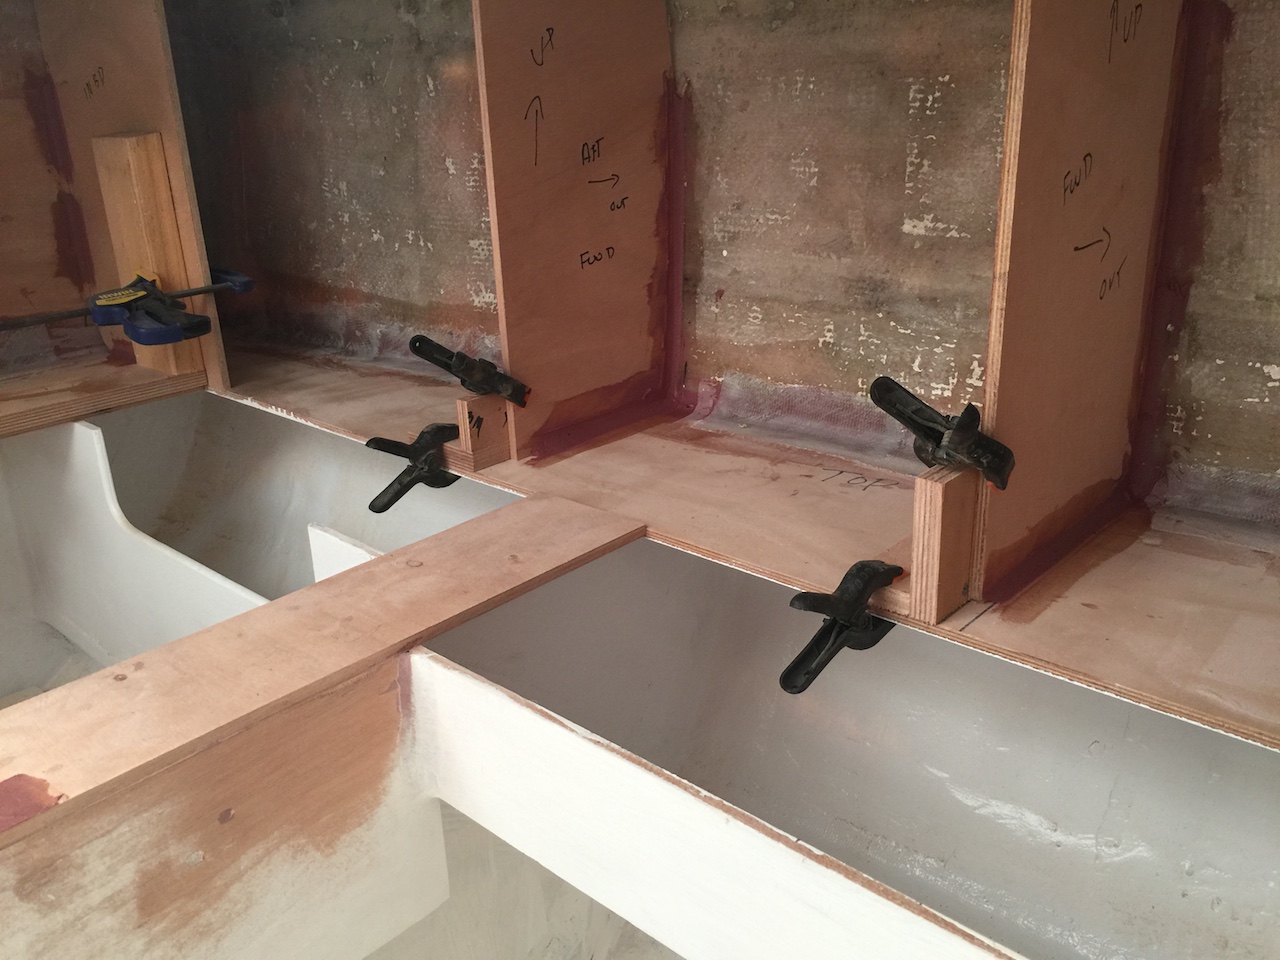
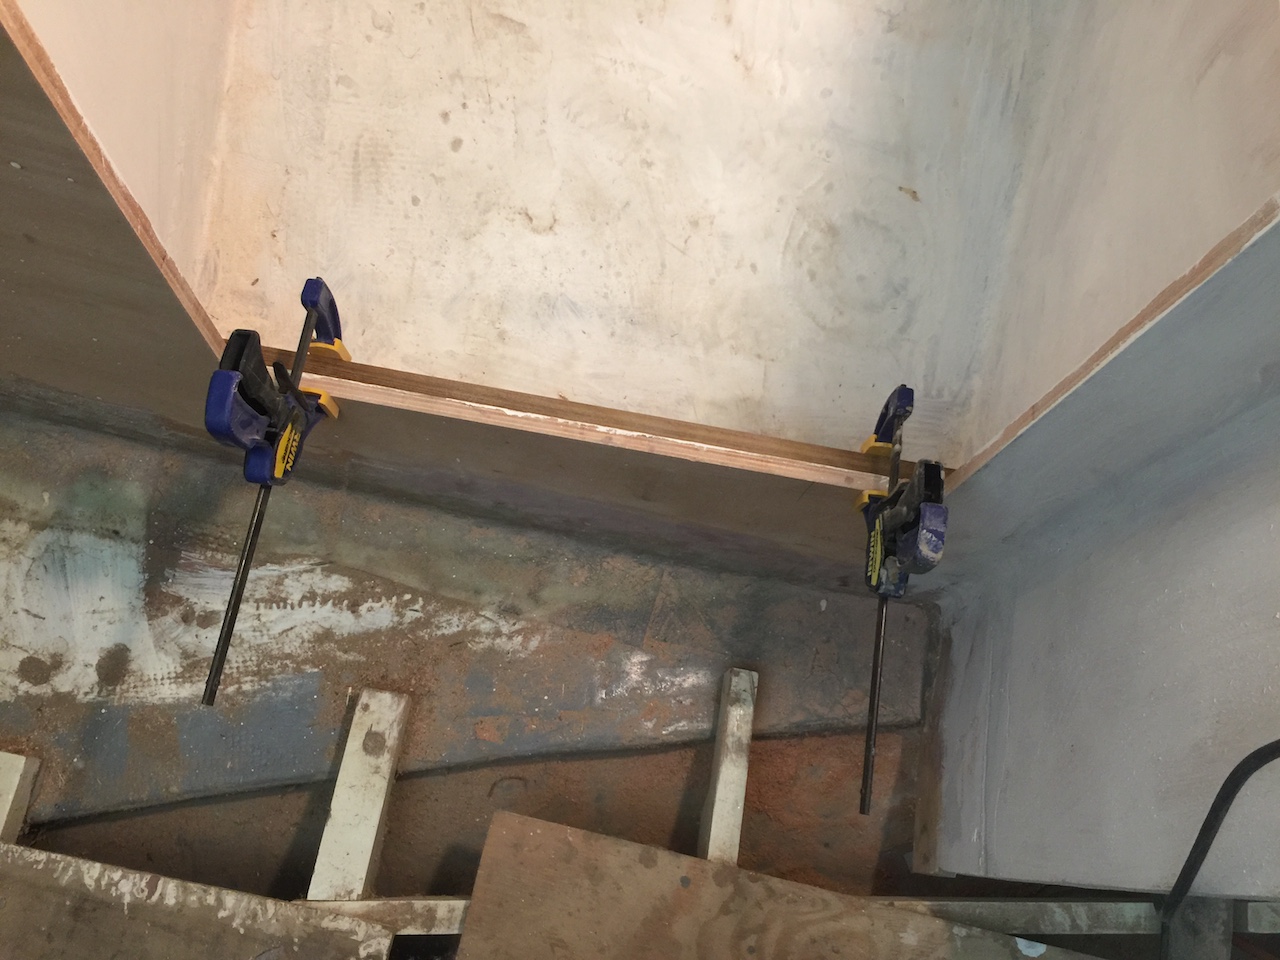
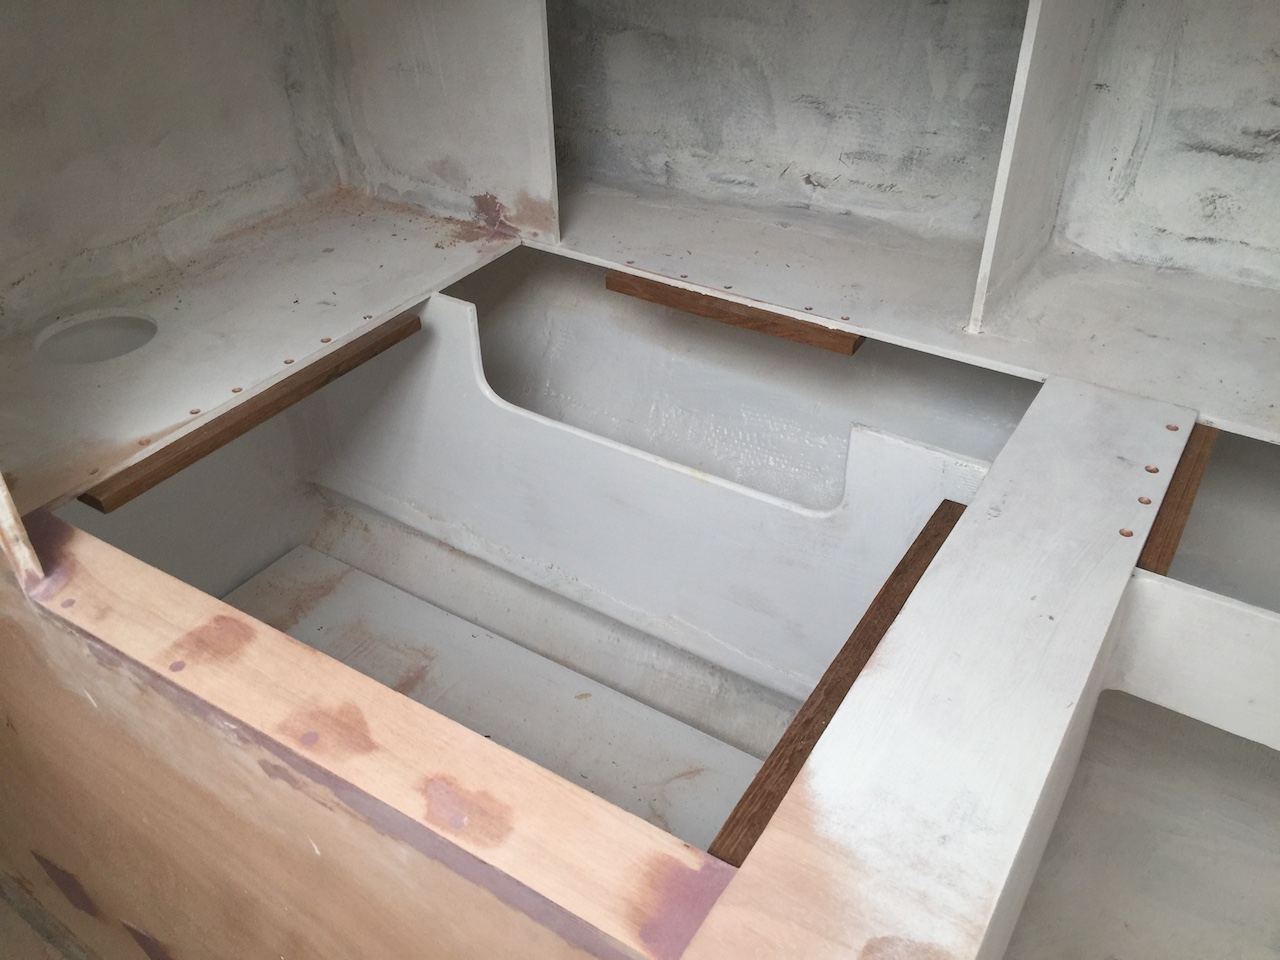
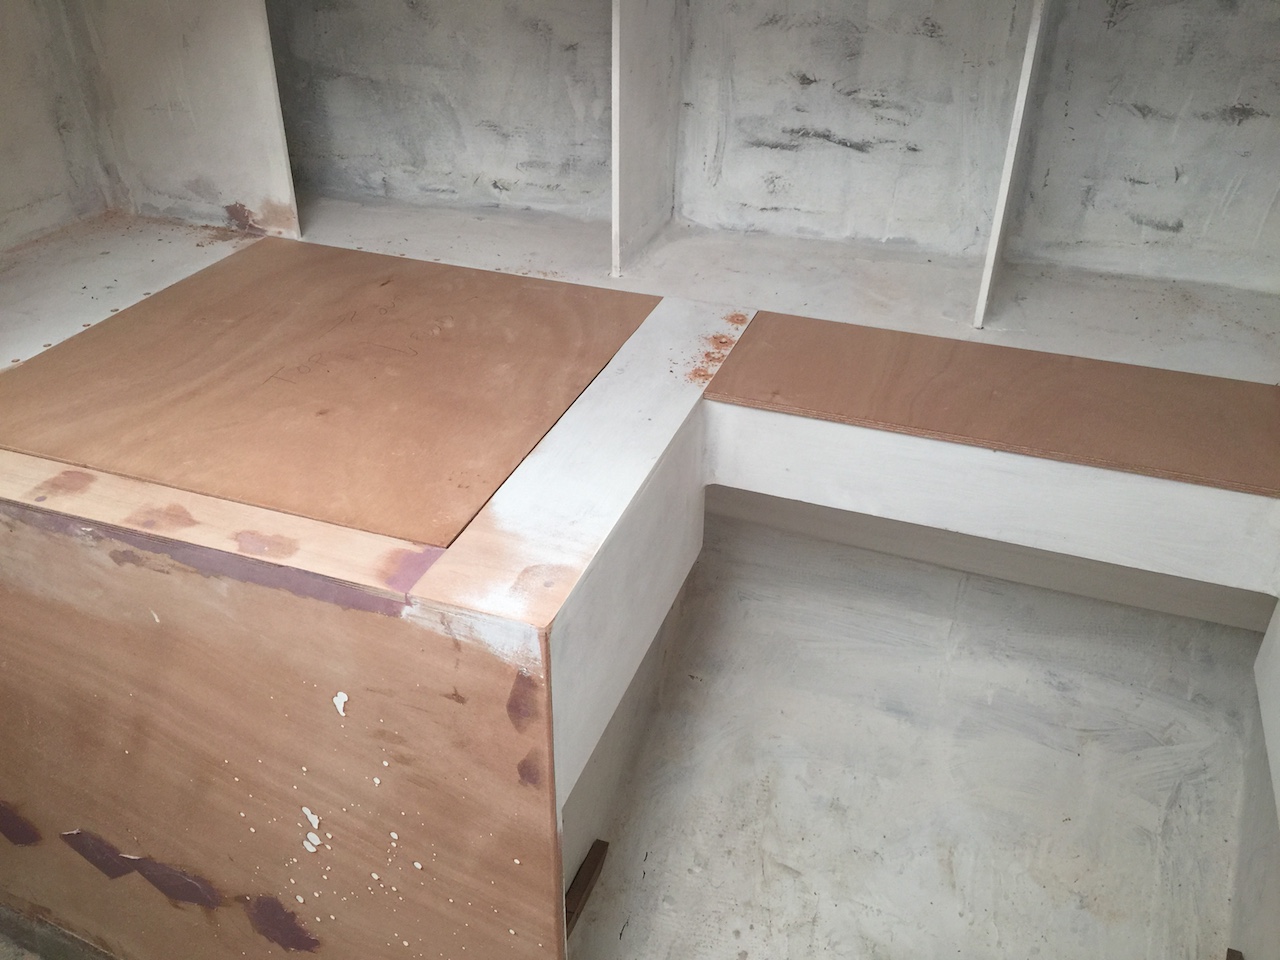
In the following photos I am installing the permanent horizontal pieces (leveling everything with the help of clamps and straight edges). The partial fillets of thickened epoxy tack everything in place in preparation for finishing the fillets and then tabbing.

I made the mini-bulkhead partitions for the storage areas in the usual way.

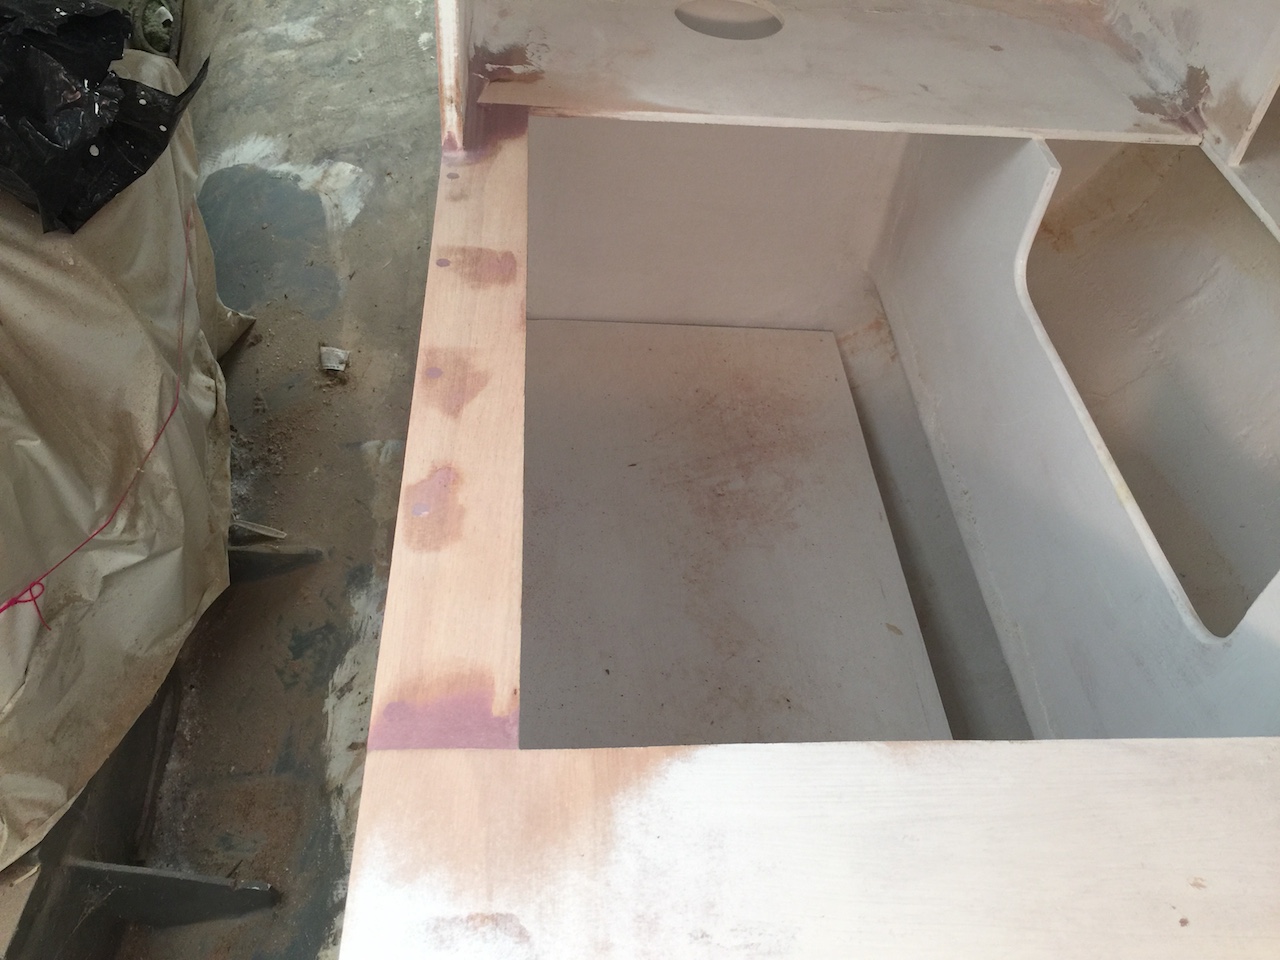
After a few coats of primer and paint, I decided to add a thin, horizontal strip to the inboard edge of the fuel-tank compartment. One of several reasons for doing so is to create a symmetry with what’s happening on the starboard side in preparation for finishing the engine room structures.
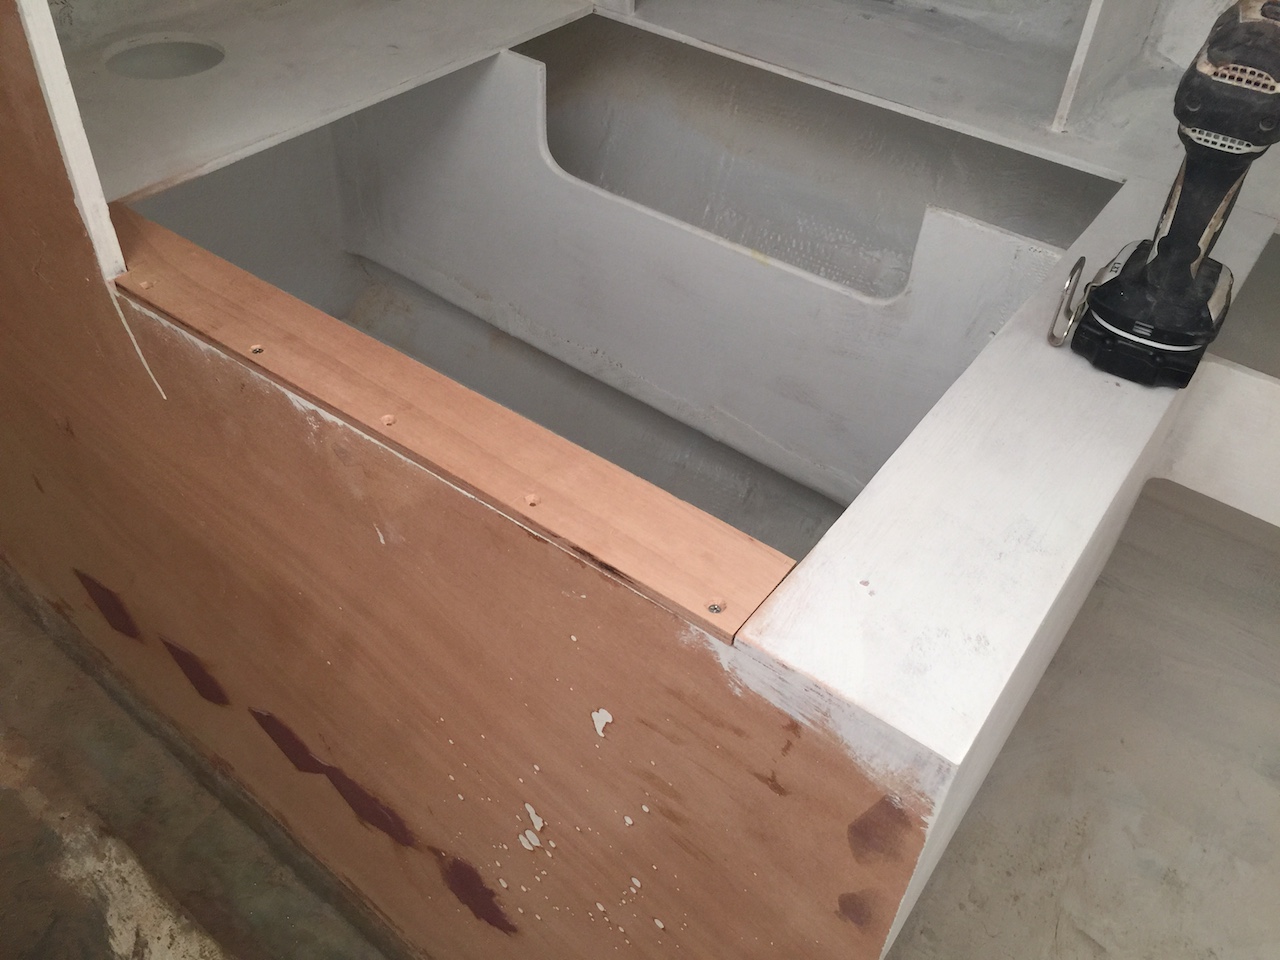
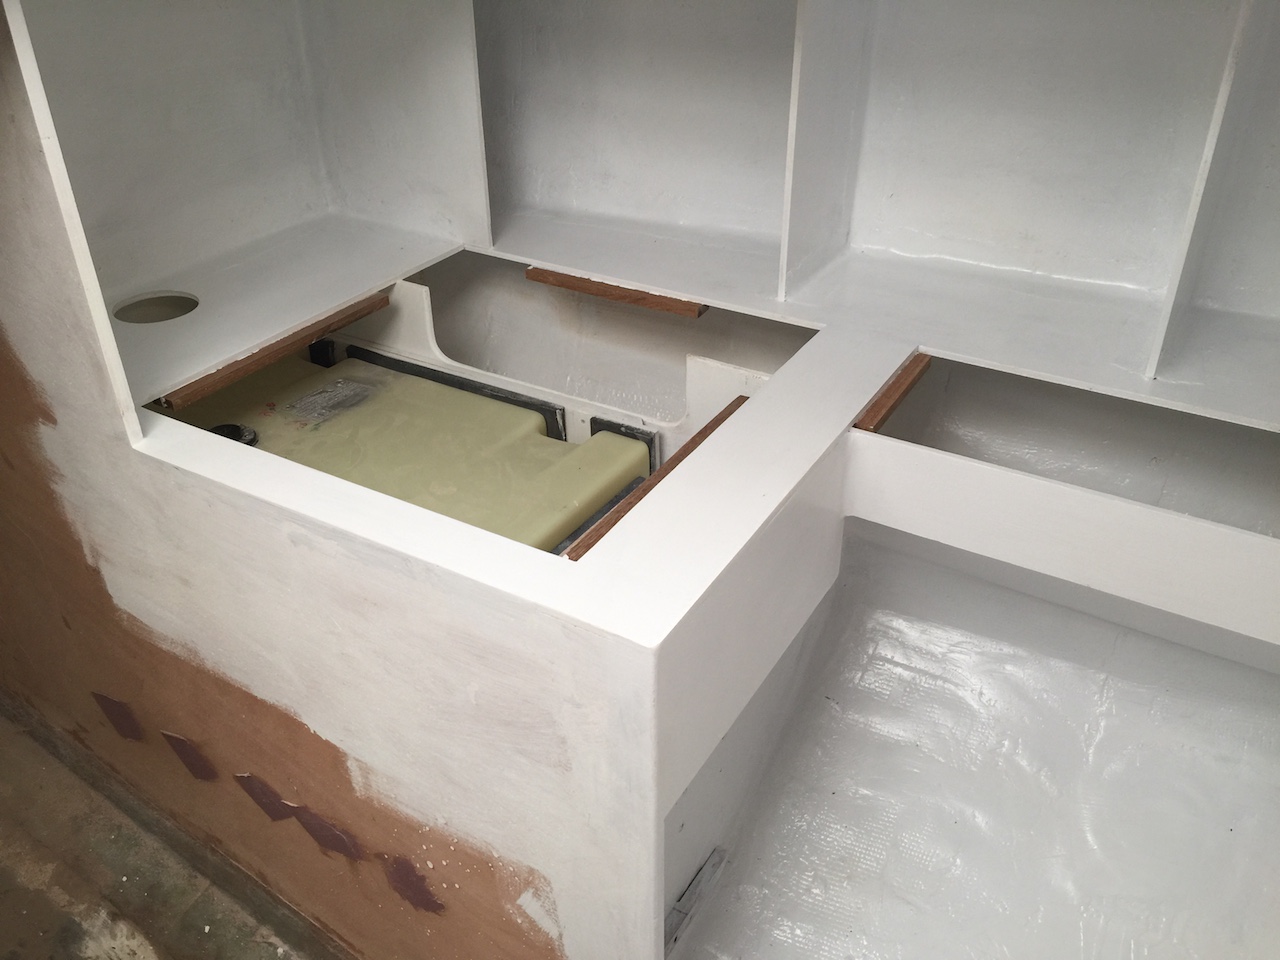
Before going too far, however, I made a final check that the fuel tank can be installed here. (Note the circular hole in the shelf through which the fuel-tank plumbing will pass.)
The thin strip was screwed, epoxied, and fiberglassed in place. The fiberglass tabbing is under the lip, and cannot be seen here.
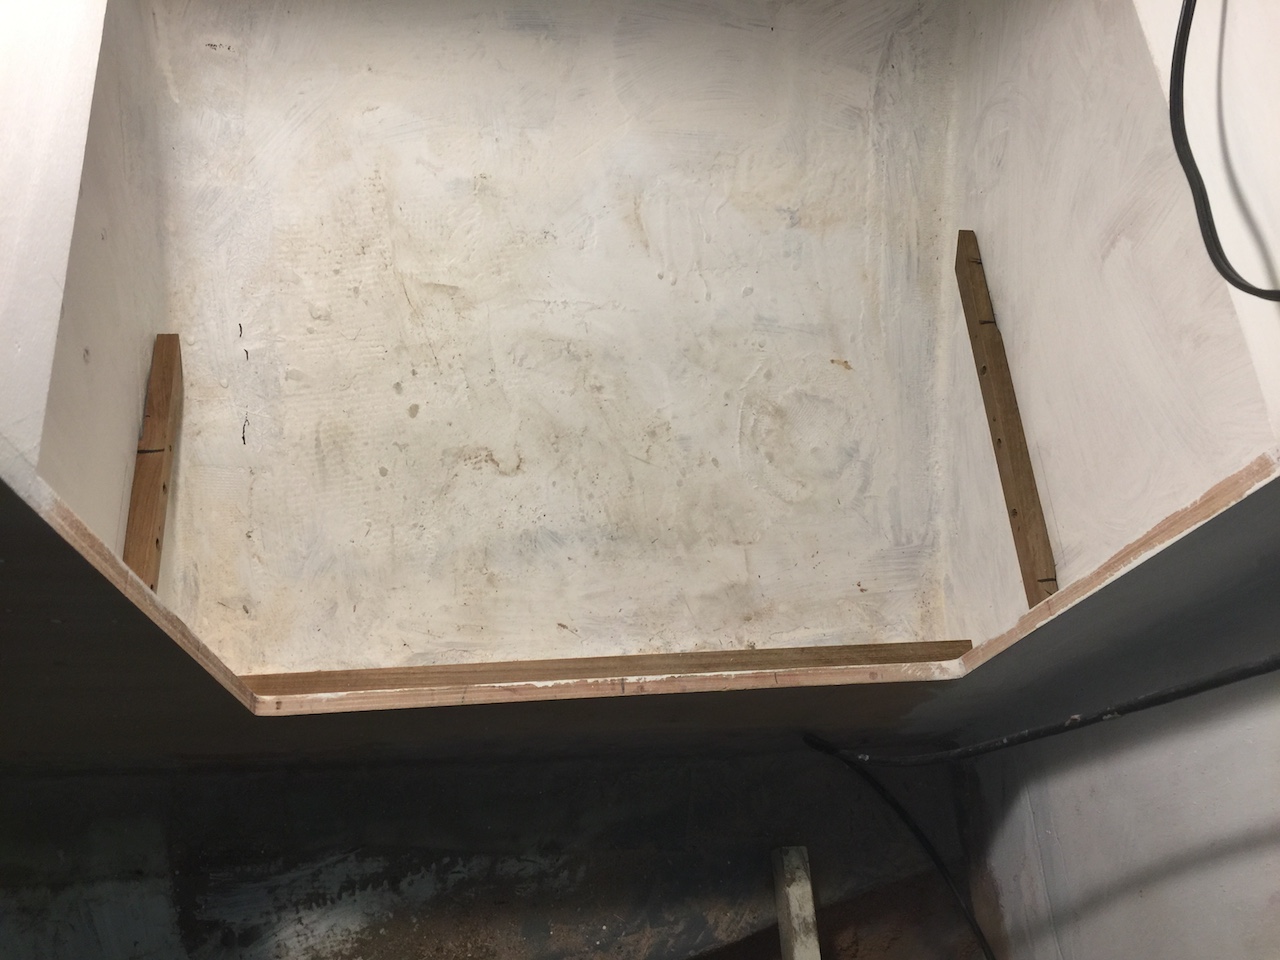
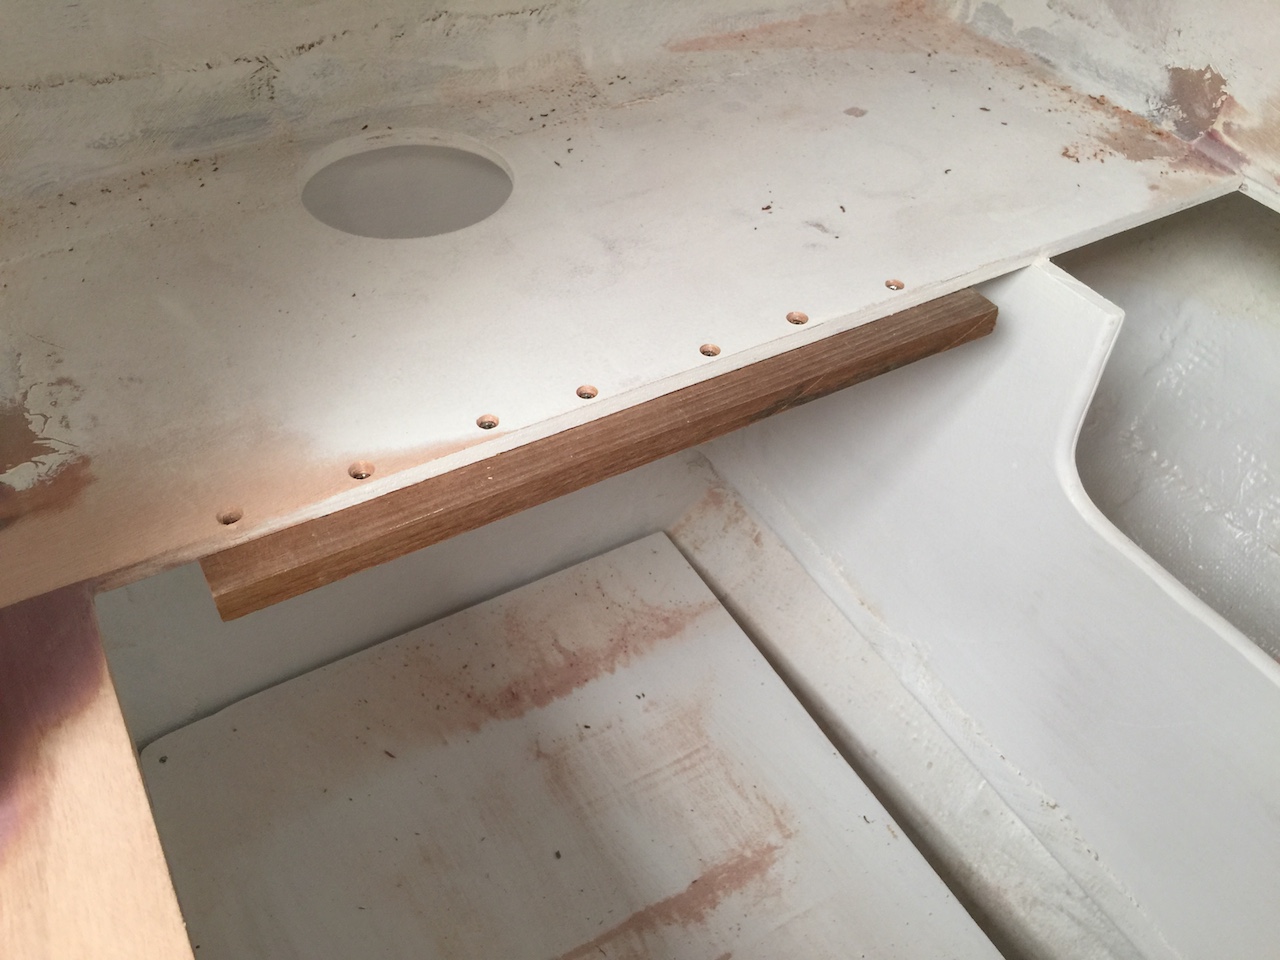
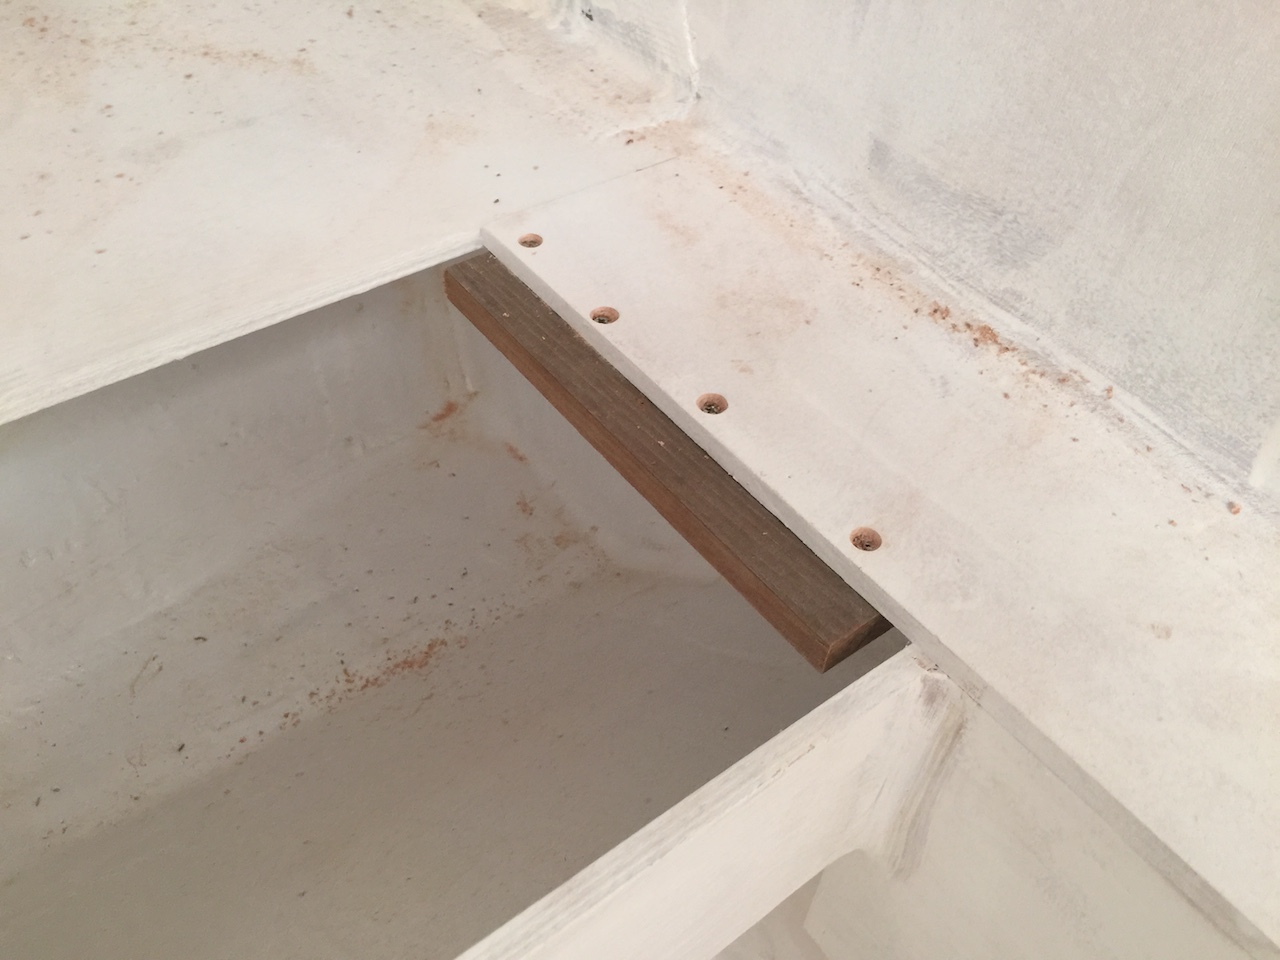
Next, I installed the teak cleats that will support the shelf under the oven.
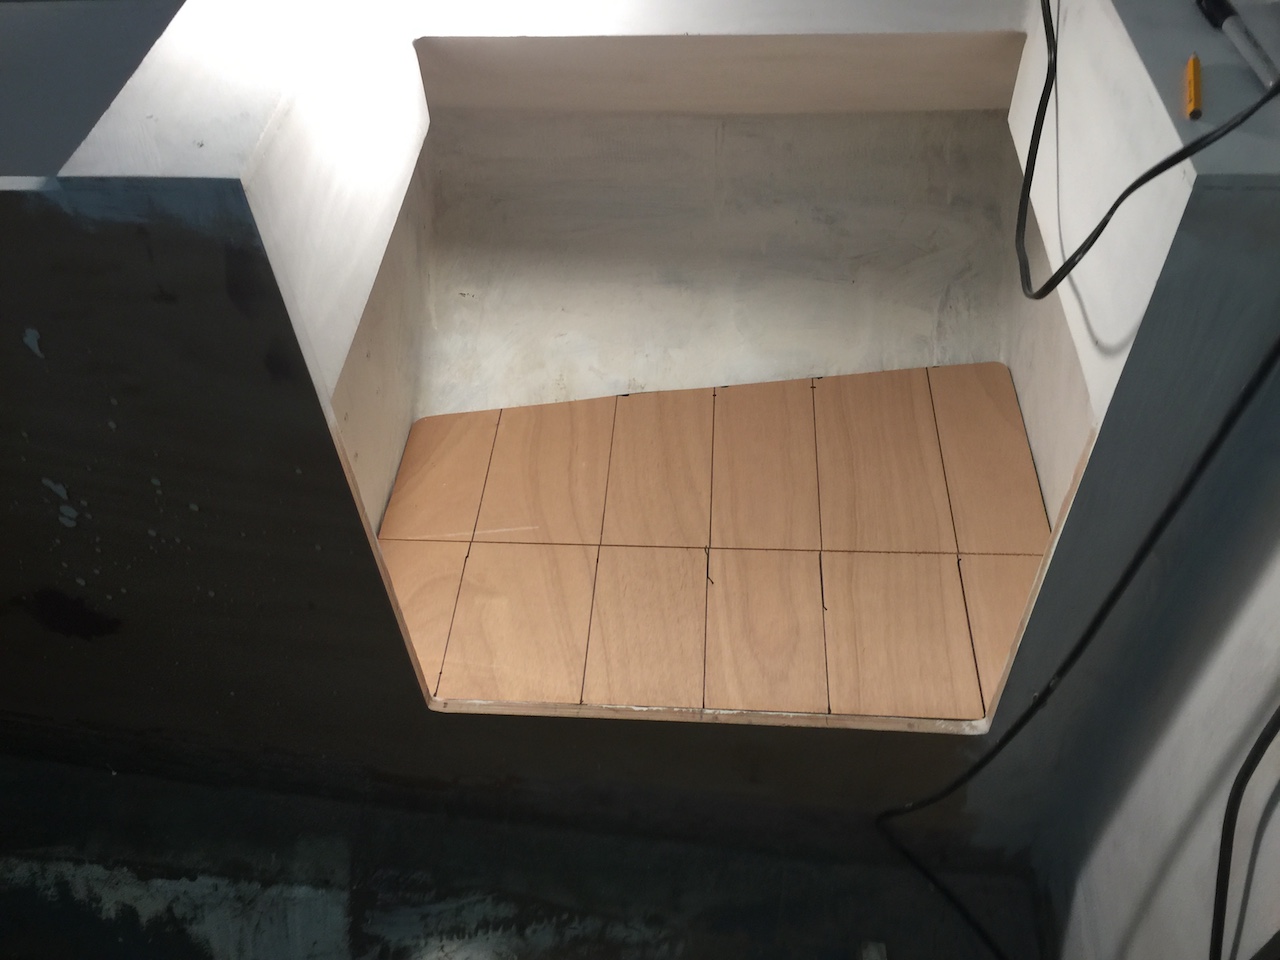
The following photo shows my first attempt at fitting the shelf. It was obvious that a one-piece shelf was not going to be able to be removed with the oven installed, so I cut the shelf in half….
….which facilitated setting up the cleats in the fore and aft sides of the compartment.
Here is the two-piece shelf sitting on the cleats.
Additional cleats were installed to support the storage lids.
Next, I measured and cut out the storage lids, and tested them for size. It is difficult to get these lids to fit even and snug everywhere, which raises the concern of unsightly gaps. I addressed this by slightly beveling the edges of the lids and surrounding shelves, creating a small “on-purpose” gap, which hides other imperfections.
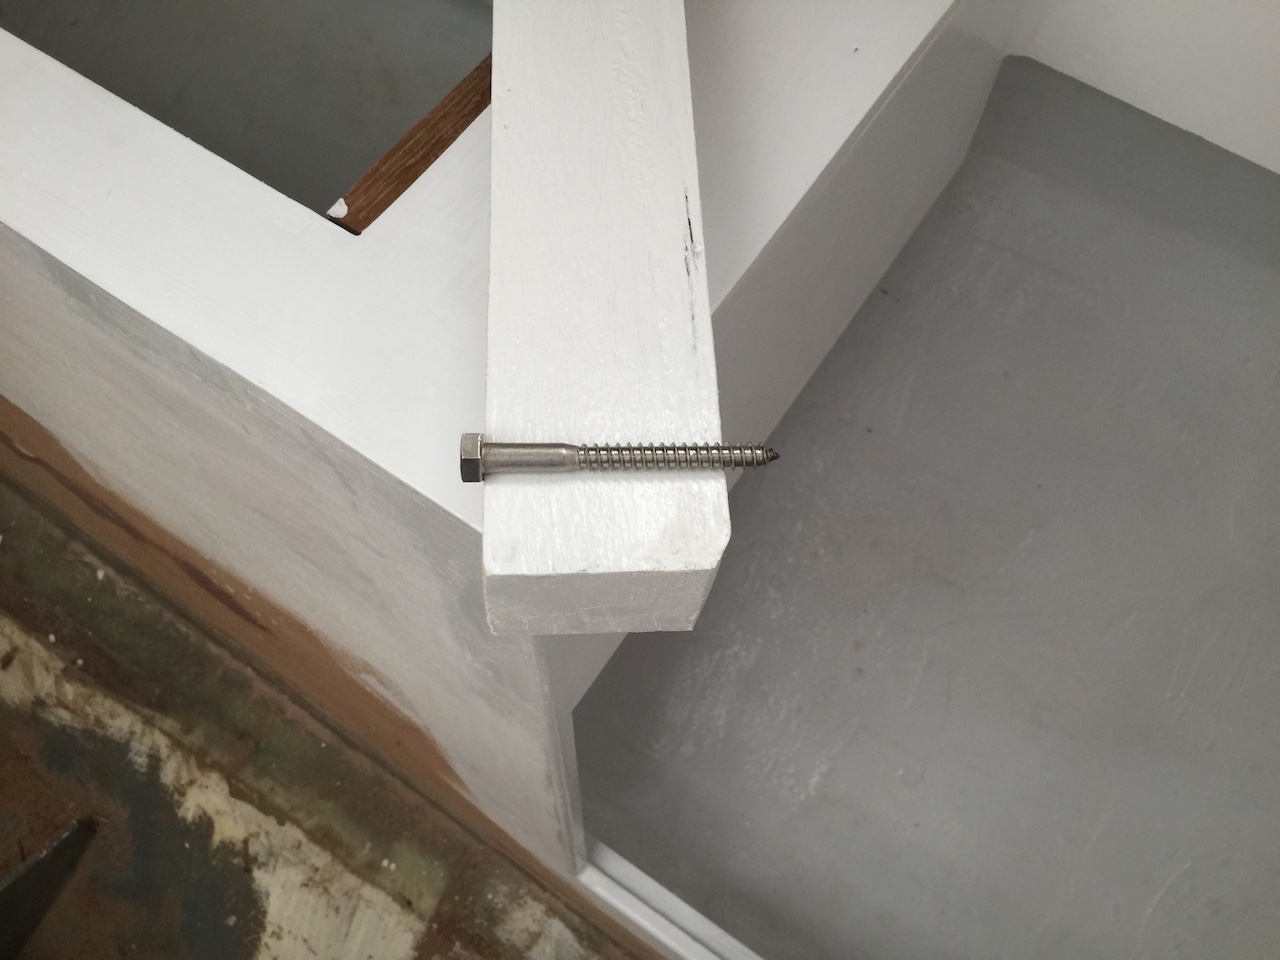
After more priming and painting, I continued with final installation of the fuel tank (minus plumbing). The beam was bolted to its supports.
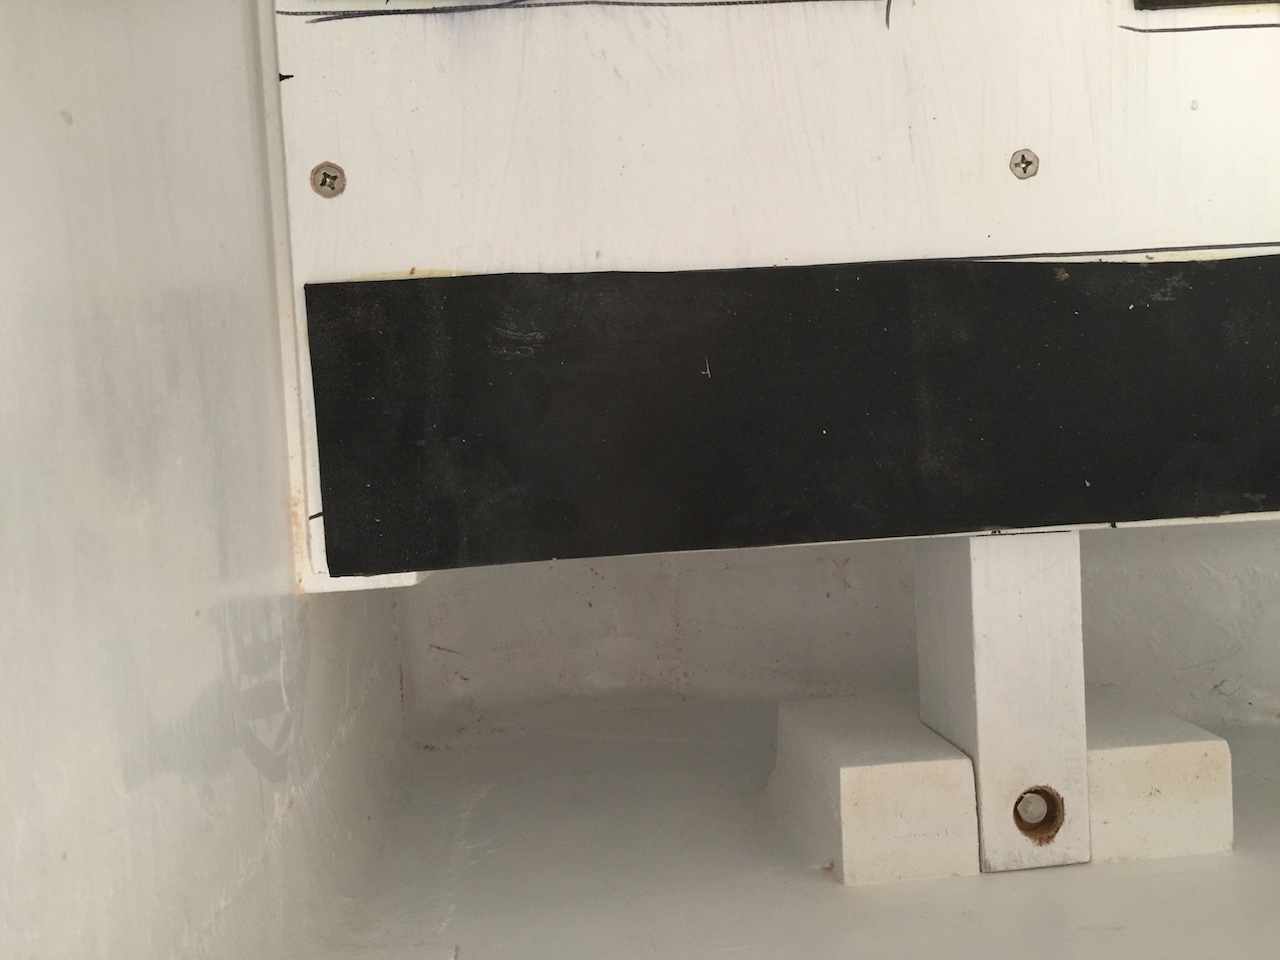
I glued some leftover gasket material to the shelf for increased friction and abrasion resistance.
Next, I put it all together. Note in the photo below that there is limited access to the space below the shelf. At a minimum, I will be able to get down there with a towel or rag or a hand-held pump.
The following photos show the situation after final installation of all components of this job.

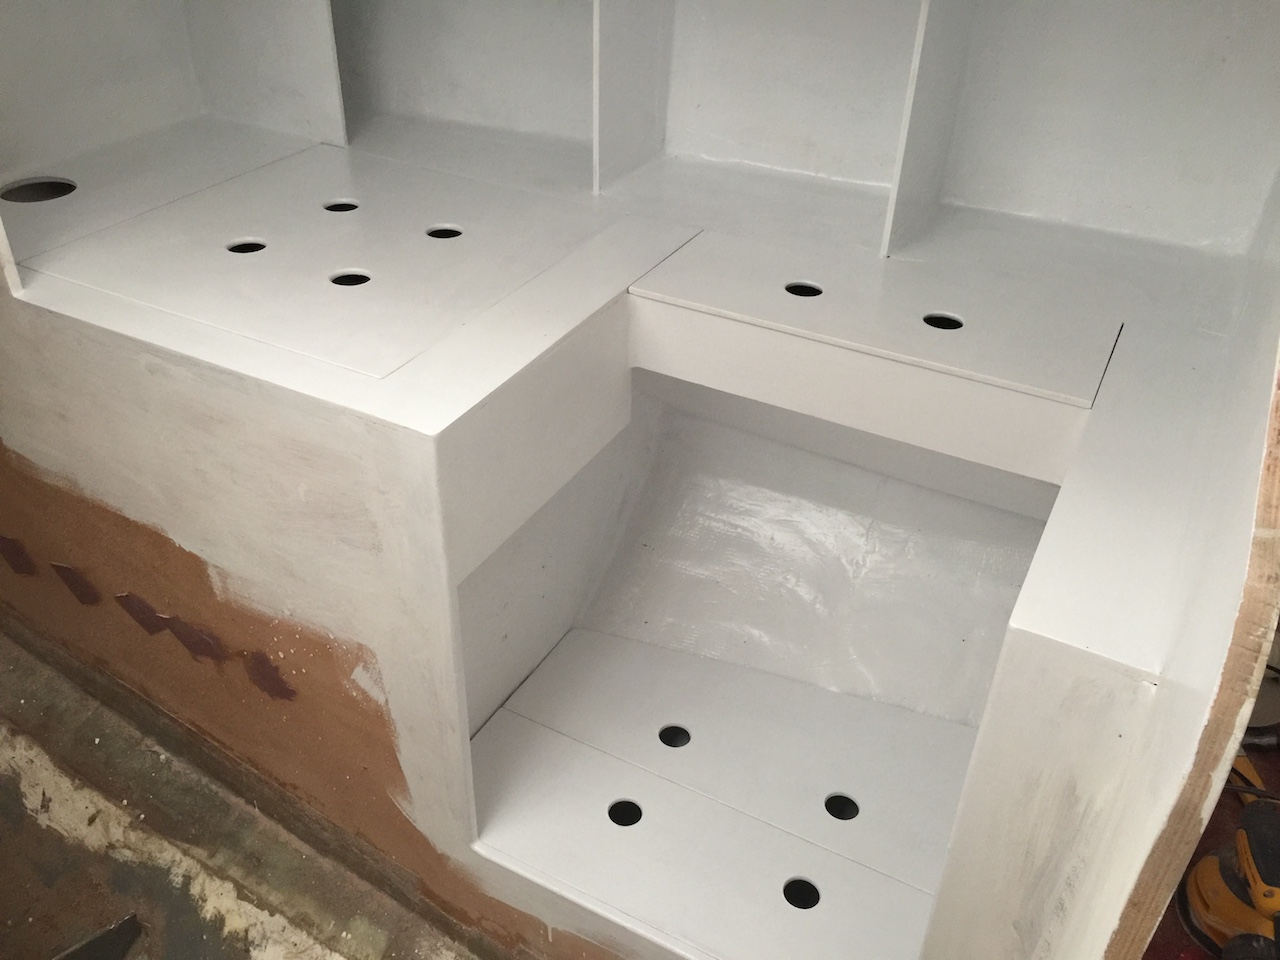
The under-stove shelf and the storage lids received ventilation/finger holes, paint, and primer, and the following photo shows the final assembly.
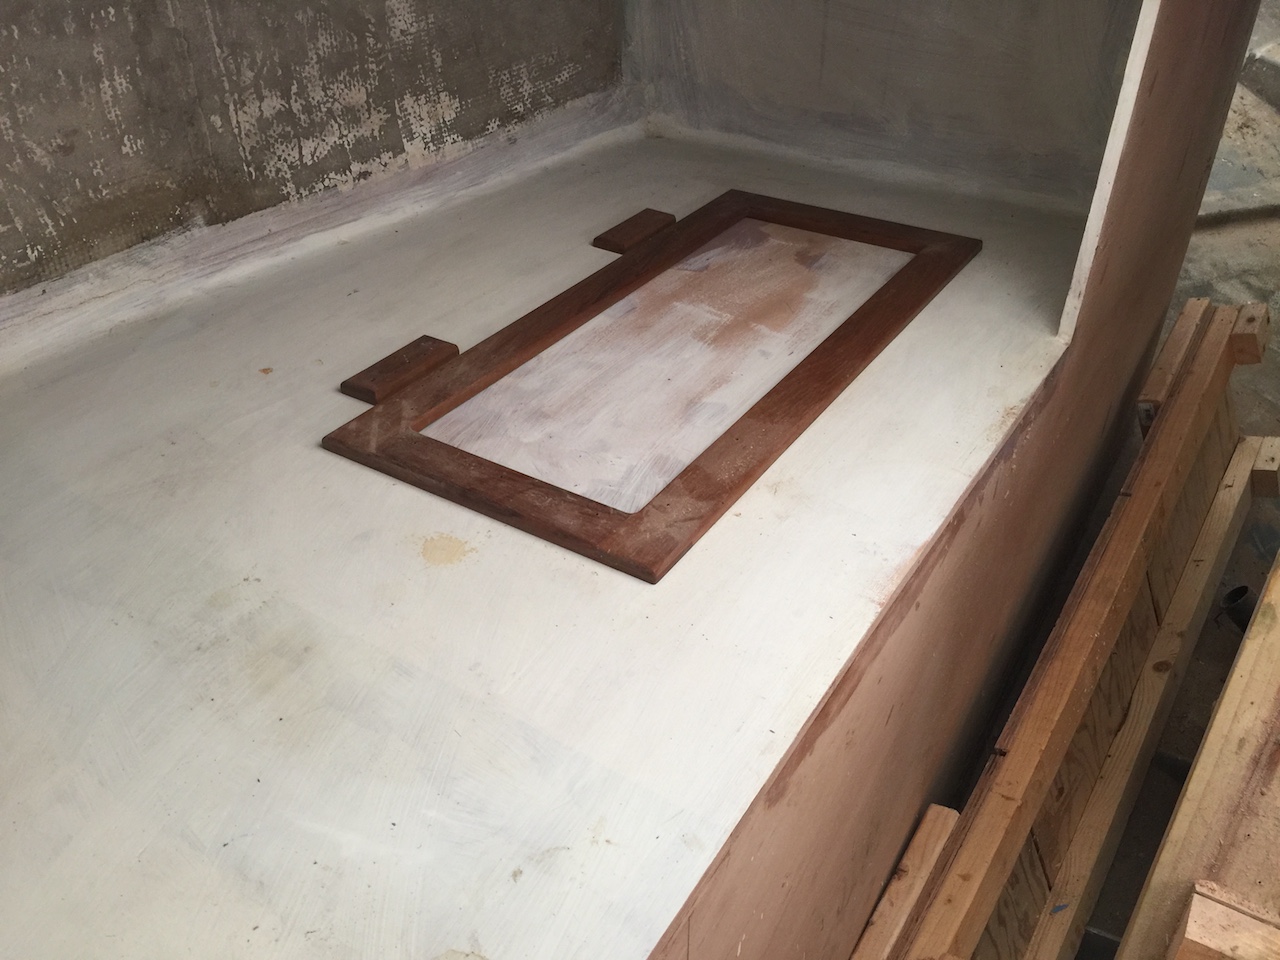
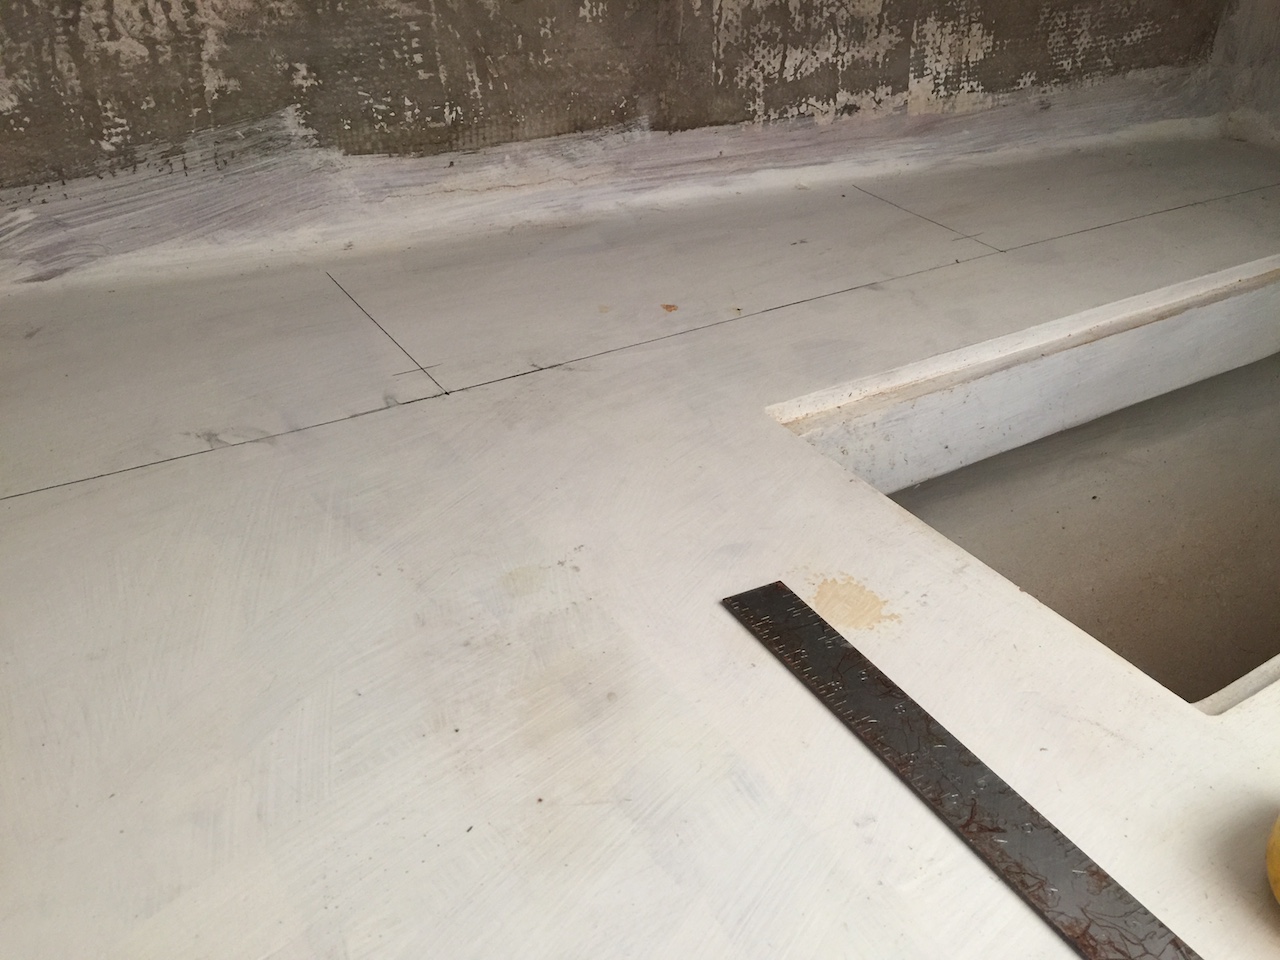
Meanwhile, on the starboard side, I dry-fitted the ice-chest lid (again) as a means to determine how far inboard the storage shelves/cabinets here should extend. Note that the teak pieces here are not yet permanently attached to the lid. Incidentally, the icebox and lid were built early last summer (2016).
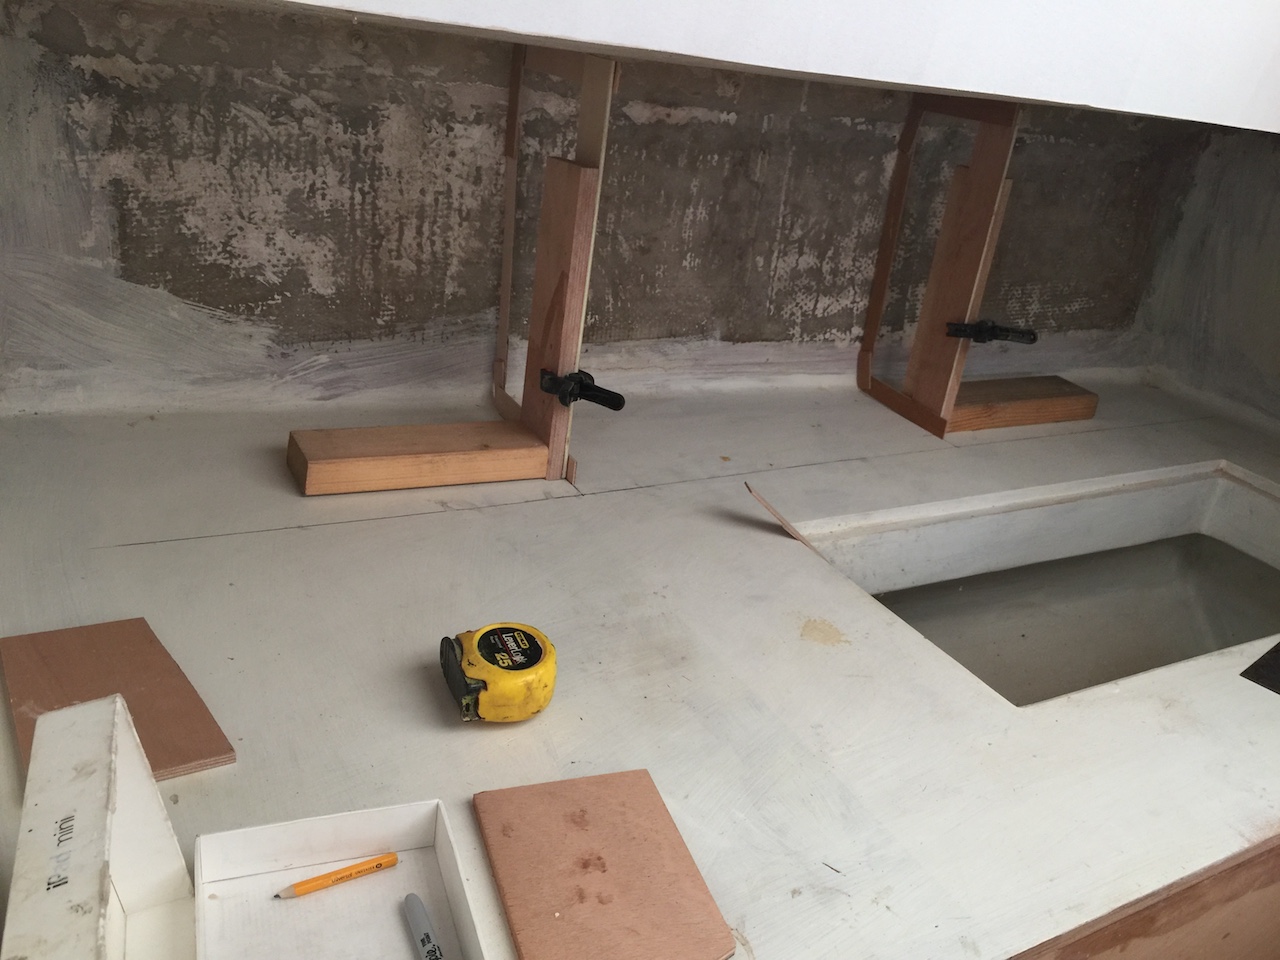
I decided to make three cabinet units of equal size, and the following photo shows the penciled-in marks.
The mini-bulkhead partitions were made in the usual way–patterns first. (I have no pictures of their construction and installation, but you will see them as we continue.)
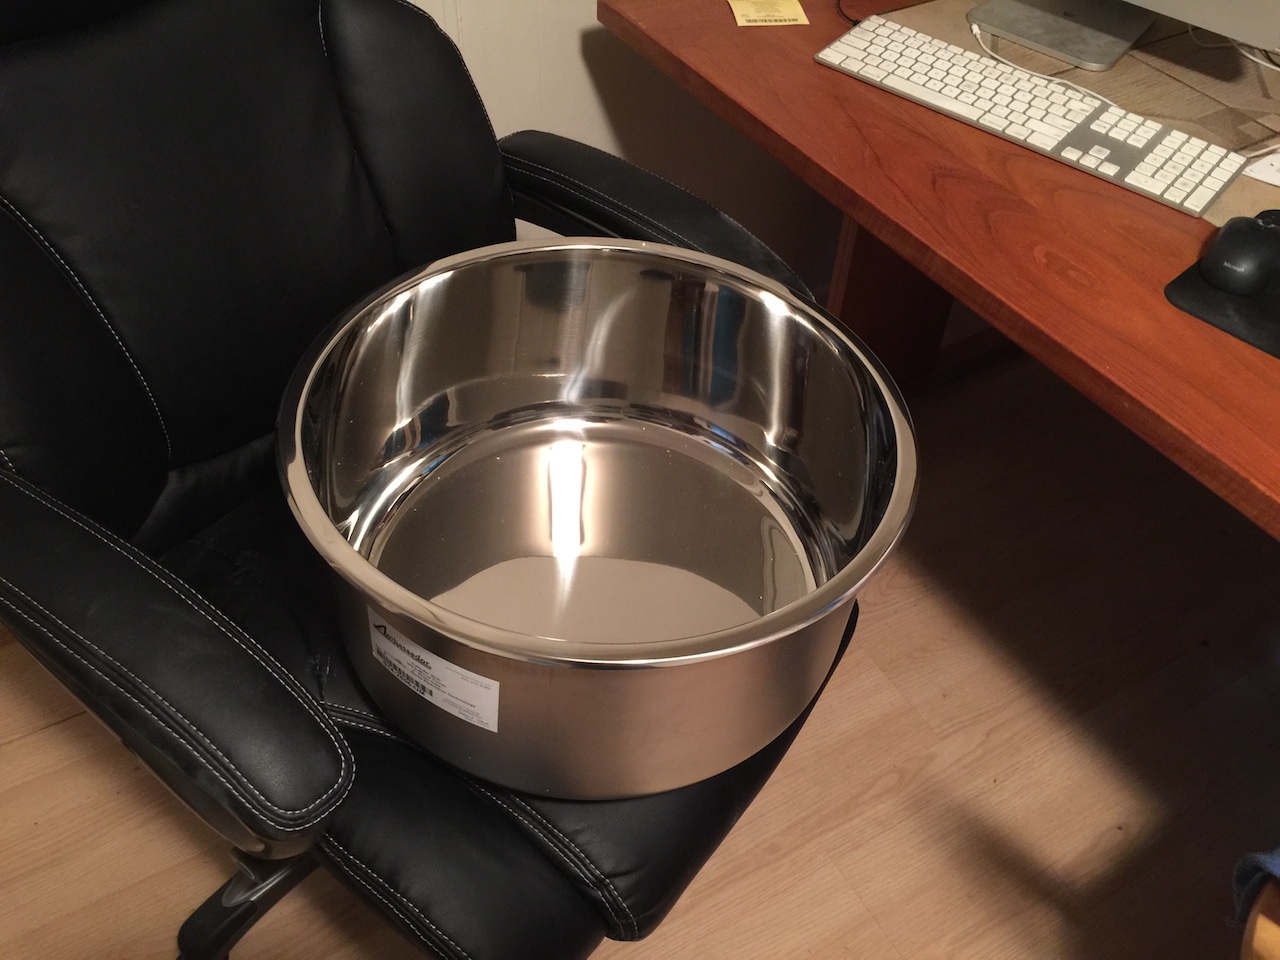
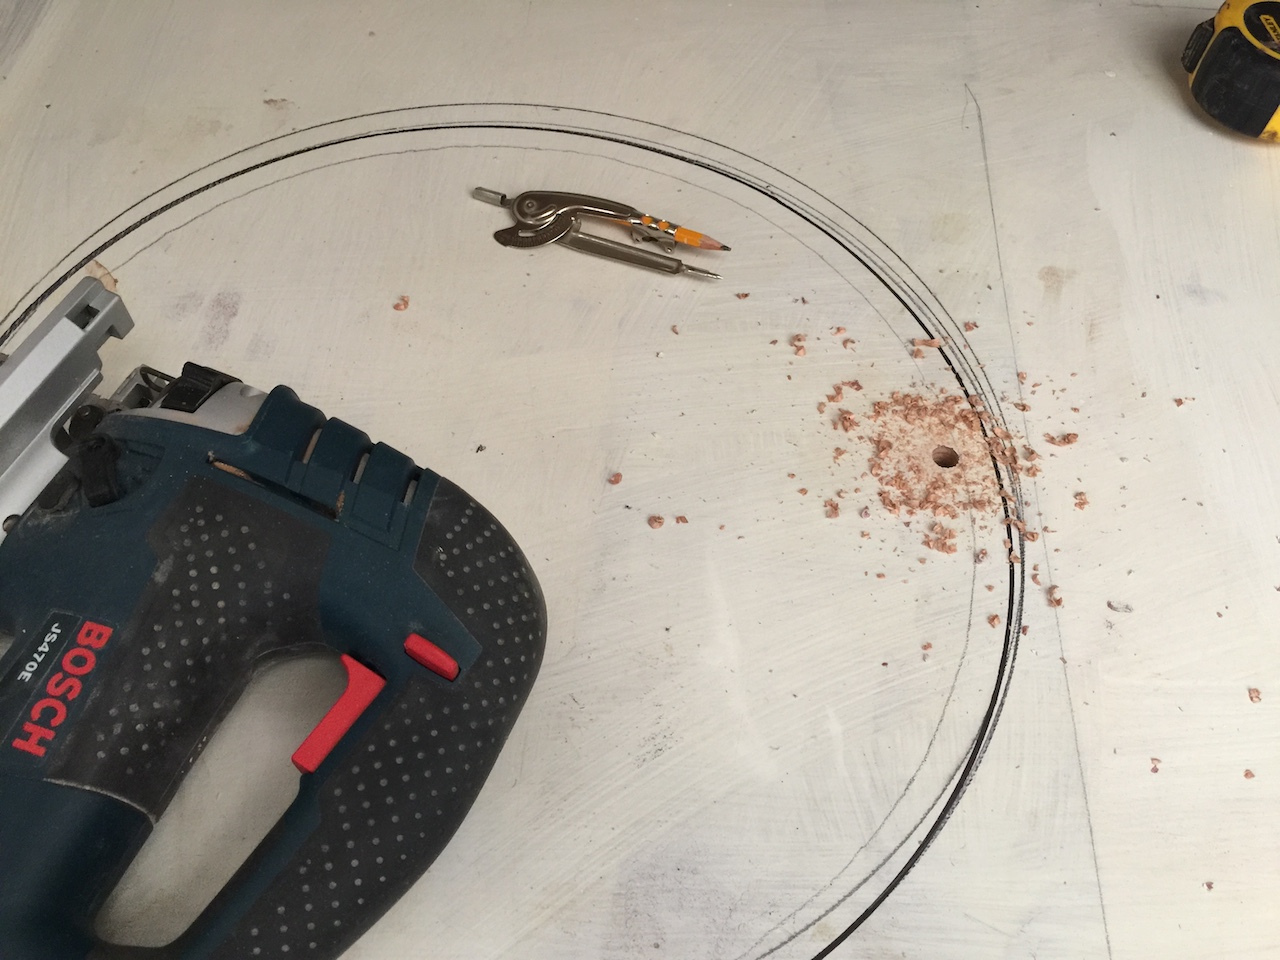
The following photo shows the galley sink, manufactured by Ambassador Marine. They manufacture rectangular sinks, too, but the circular shape actually allows more sink area and flexibility in faucet location. (A faucet at the corner of a rectangular sink would look awkward, but there are no corners to a circular sink.) This sink has an inside diameter of almost 18 inches, which large by typical standards in 40-foot pleasure yachts.
I traced the outline of the sink, then used a compass to draw a line 5/8 inch inside the trace.
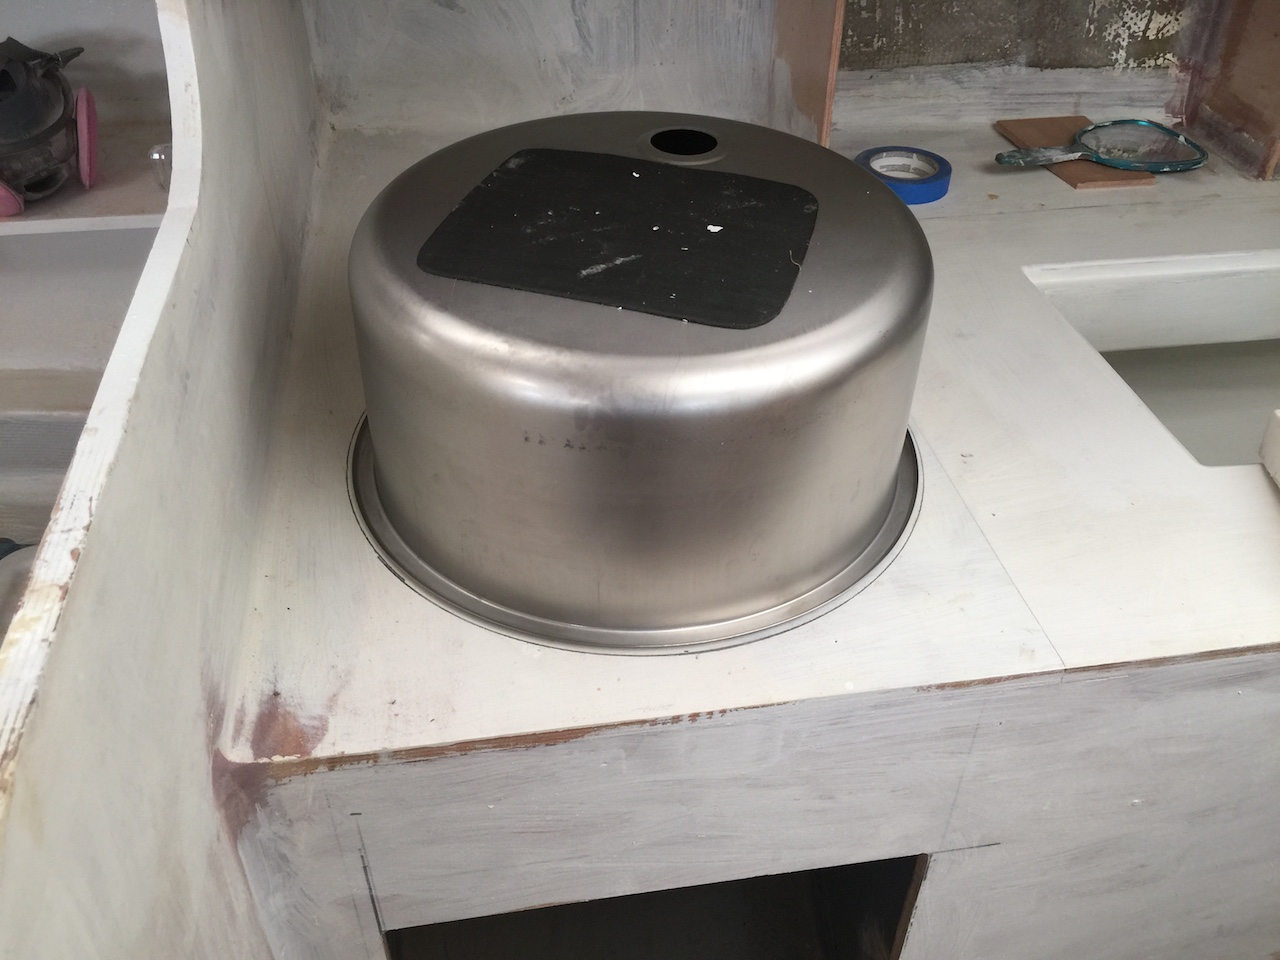
Next, I drilled a pilot hole and cut out the circle.
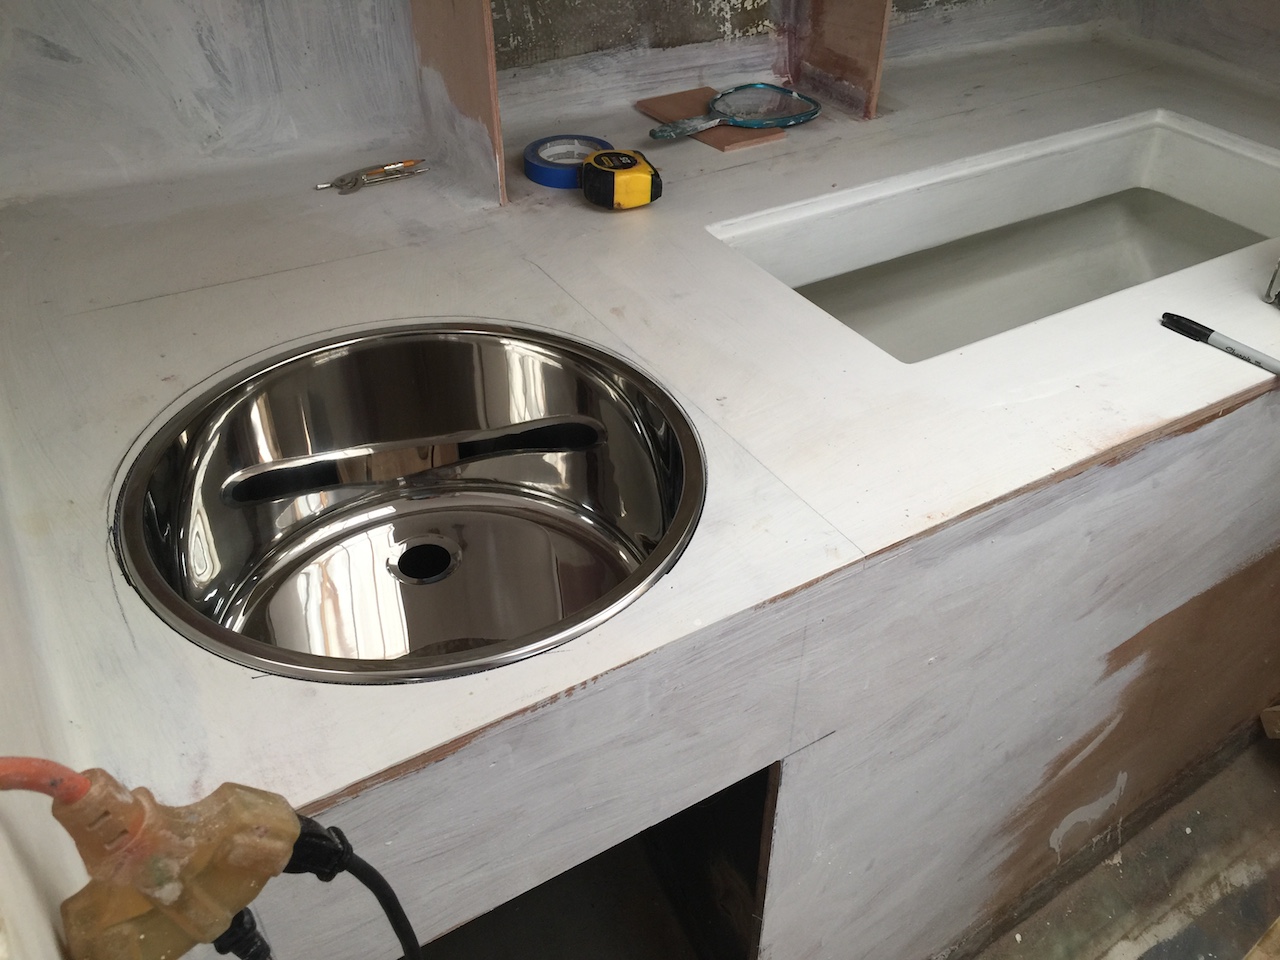
After cutting out the hole, I dry-fitted the sink and it was a perfect fit.
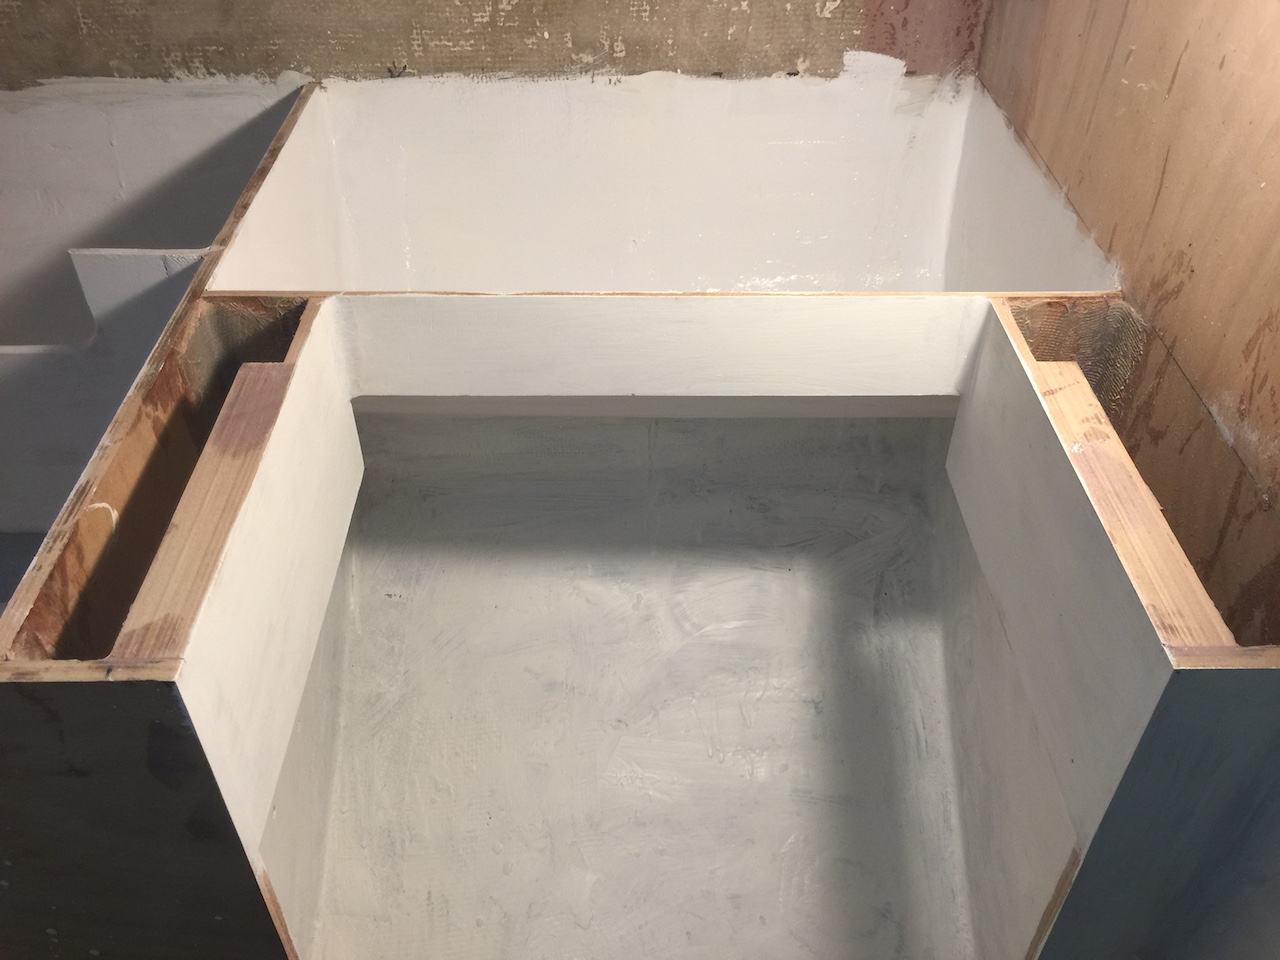
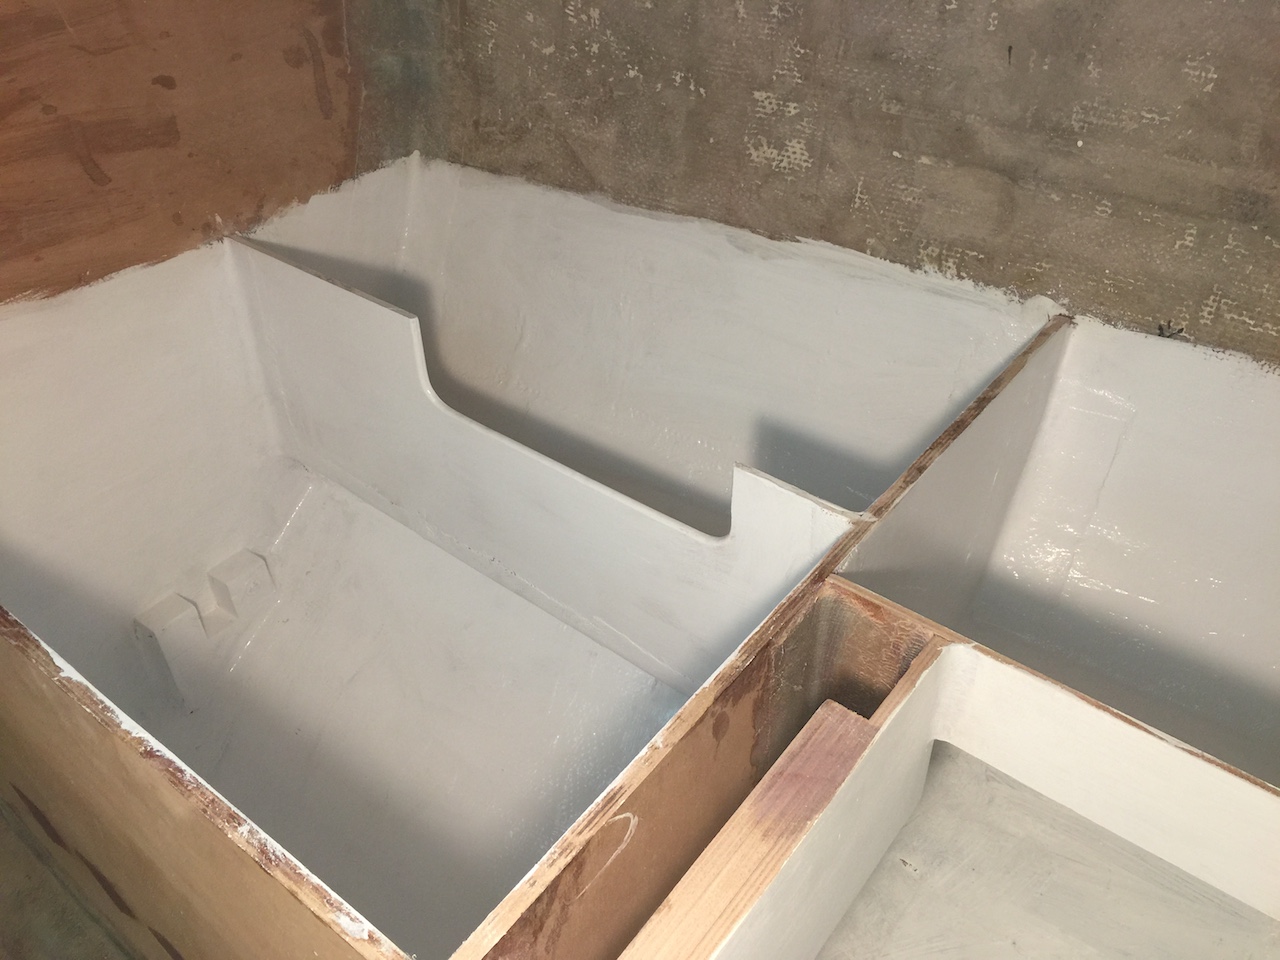
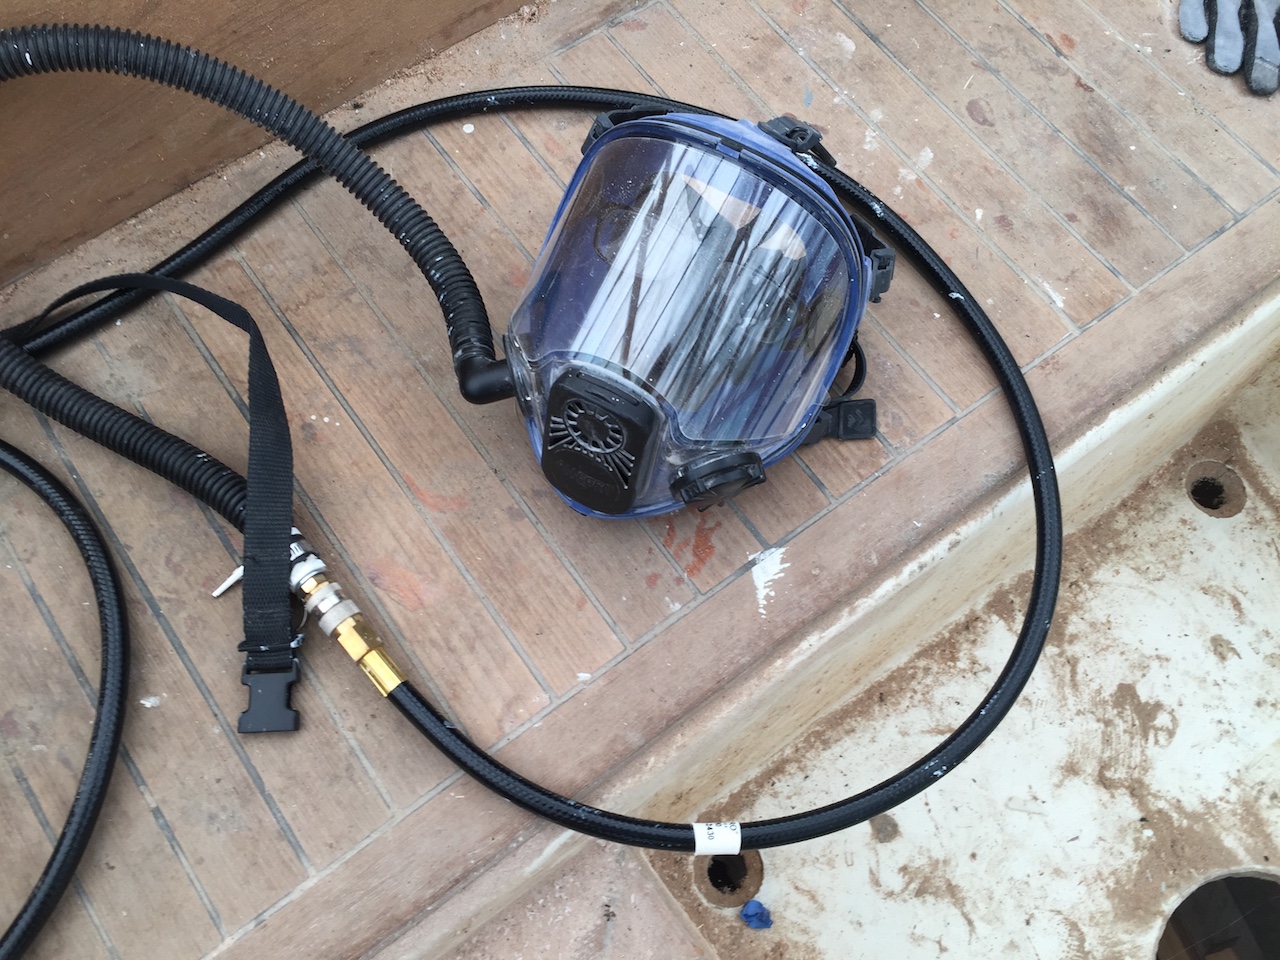
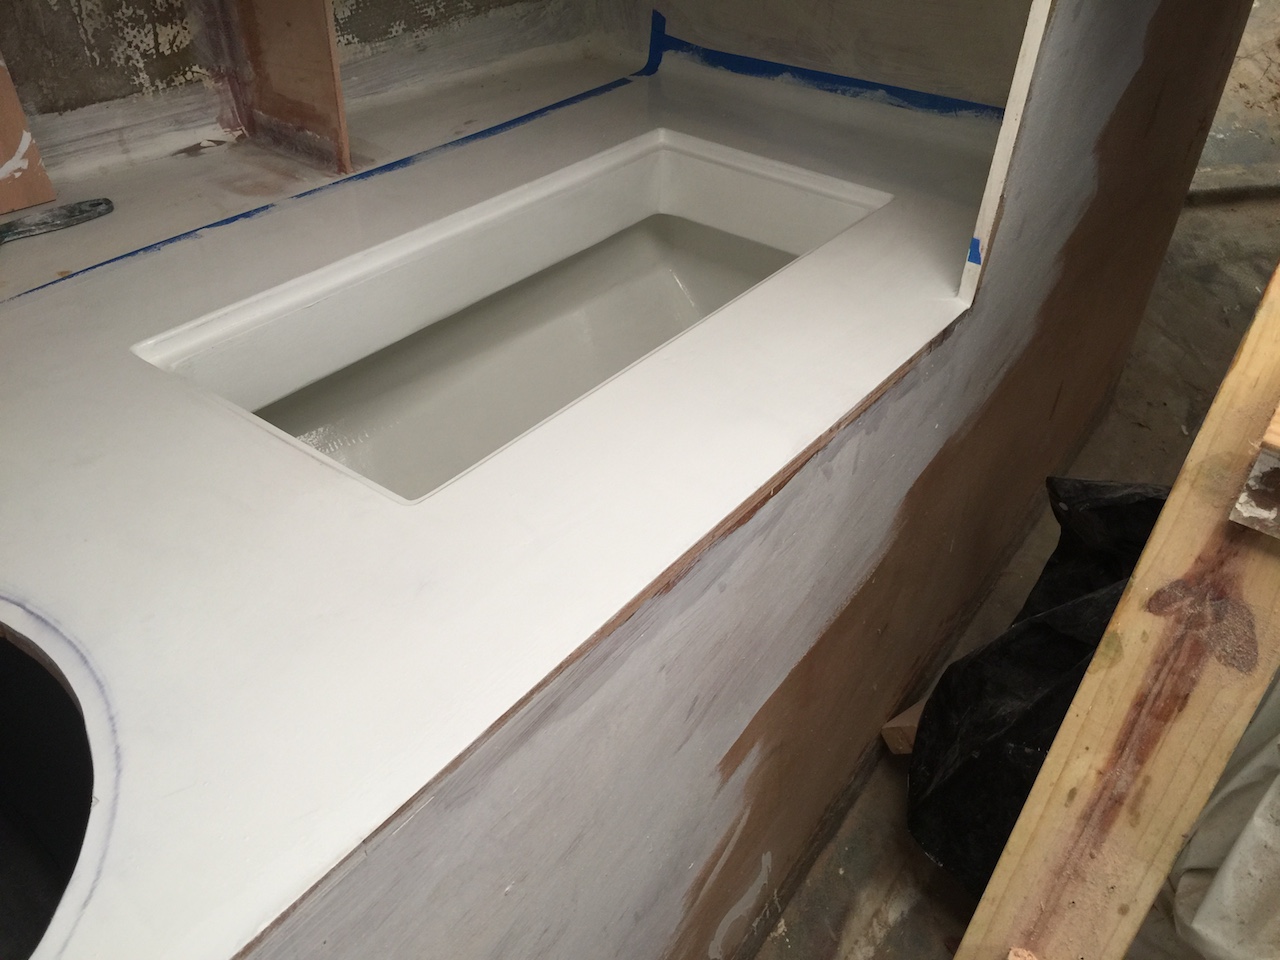
It has been more than a year since I applied the first coat of primer to the inside of the icebox. Recall, that am finishing the inside of the icebox and the countertop here with two-part primer and two-part paint, due to its high durability. I continued with a second coat of primer, but now with the advantage of having a supplied-air respirator. The fumes (particularly from the primer) are very strong.
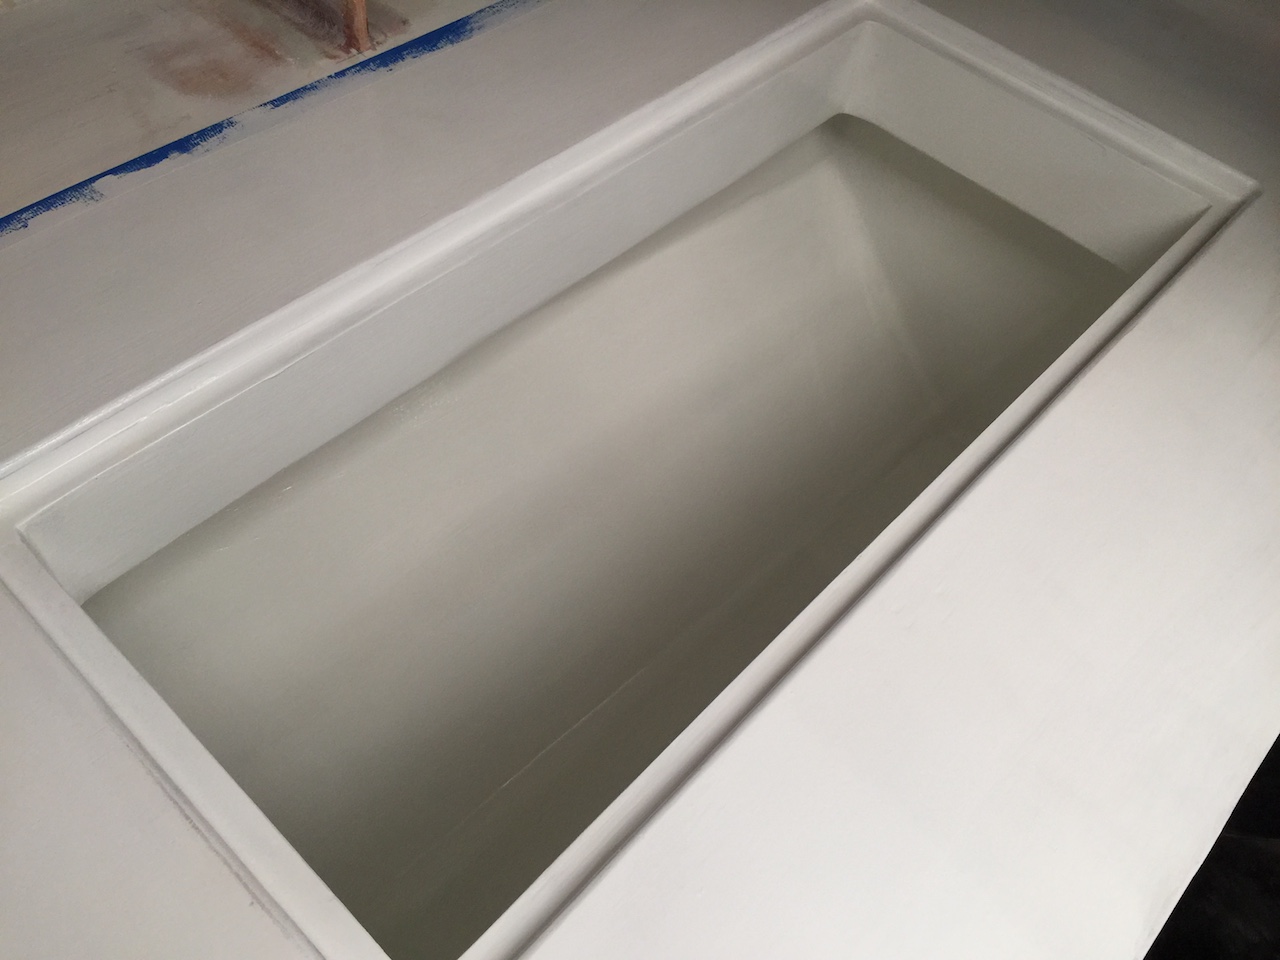
I masked off the transition line outside of which there will be one-part paint, and applied a second coat of primer to the inside of the icebox. Next, I applied a coat of two-part paint to the inside of the icebox and the countertop.
In the mean time, I applied a second coat of two-part primer and a first coat of two-part paint to the icebox lid.
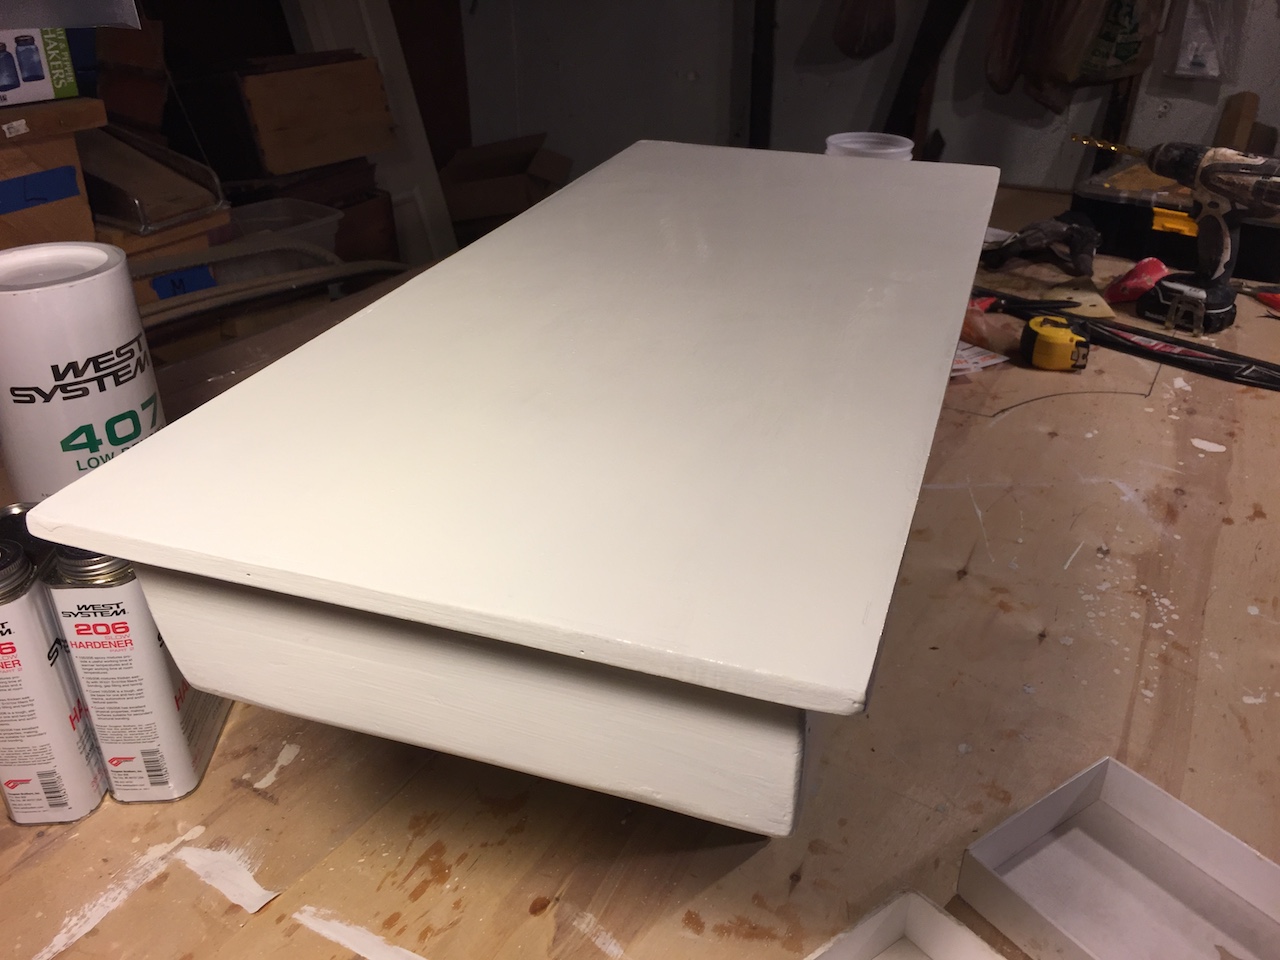
The next steps will be a second coat of two-part paint and then final assembly and installation of the icebox lid.