10/23/24: The Cabana
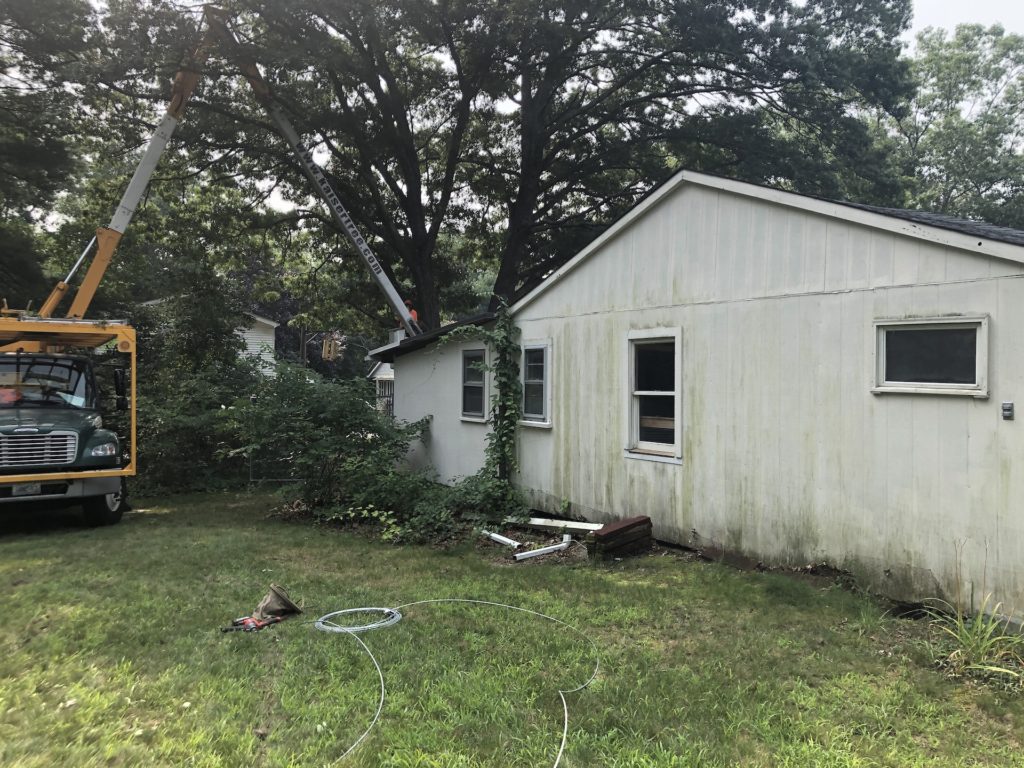
The garage structure was originally a 2-car garage, built in 1957. It was approximately 800 ft^2 in area. In the 1980s a pool was installed in the backyard and five rooms were built onto the garage. Here is the garage structure from behind (a few months ago when I was having tree work done).
From what I can tell, three of the five rooms were built first, and then two more later. First (1) a screened-in patio, (2) a kitchen room (containing a double kitchen sink, counters, cabinets, a small bathroom, a refrigerator, stove, microwave oven, storage shelves, and changing stall), and (3) another small room with a toilet and sink. This third room was accessible only from the original garage. The last two rooms built onto the garage were (5) a 3rd garage bay, and behind it (4) a room whose door key is labeled “woodshop”. The diagram below shows the layout roughly.

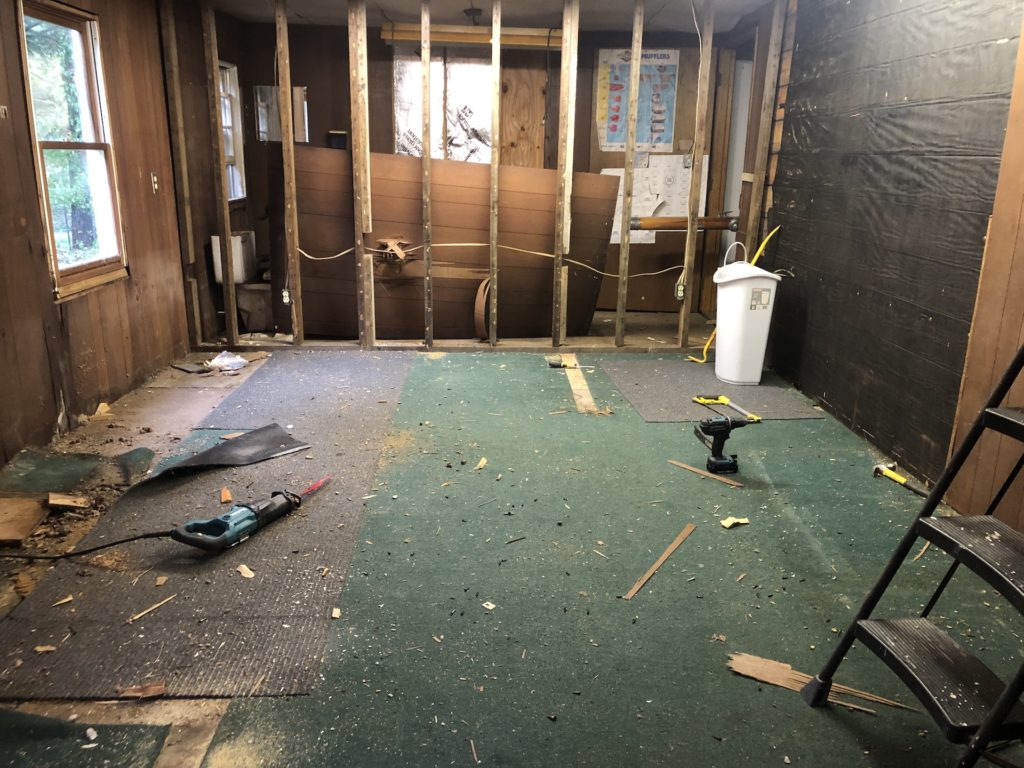
These added-on rooms have issues that make them unsuitable for their original use, but my vision for them all along has been for storage. In the photo below room (2) has been gutted, and the wall paneling that separated it from the room (3) has been taken down. You can see the toilet in room (3) on the left.
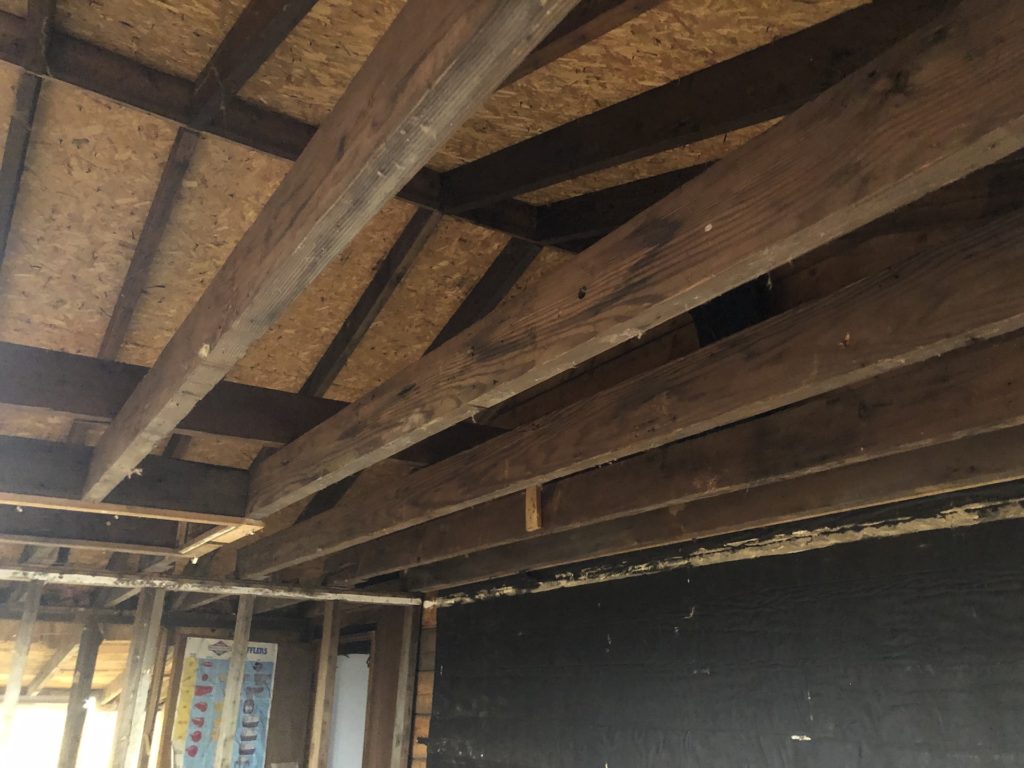
The ceiling was drywall, and I took that down to expose the rafters.

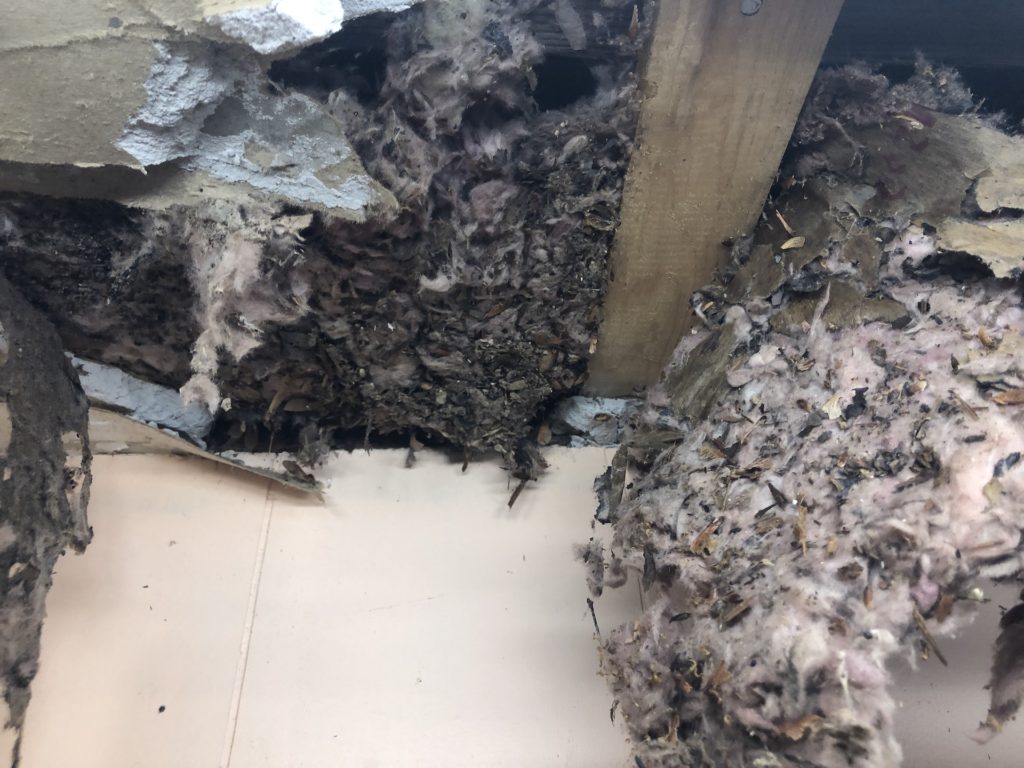
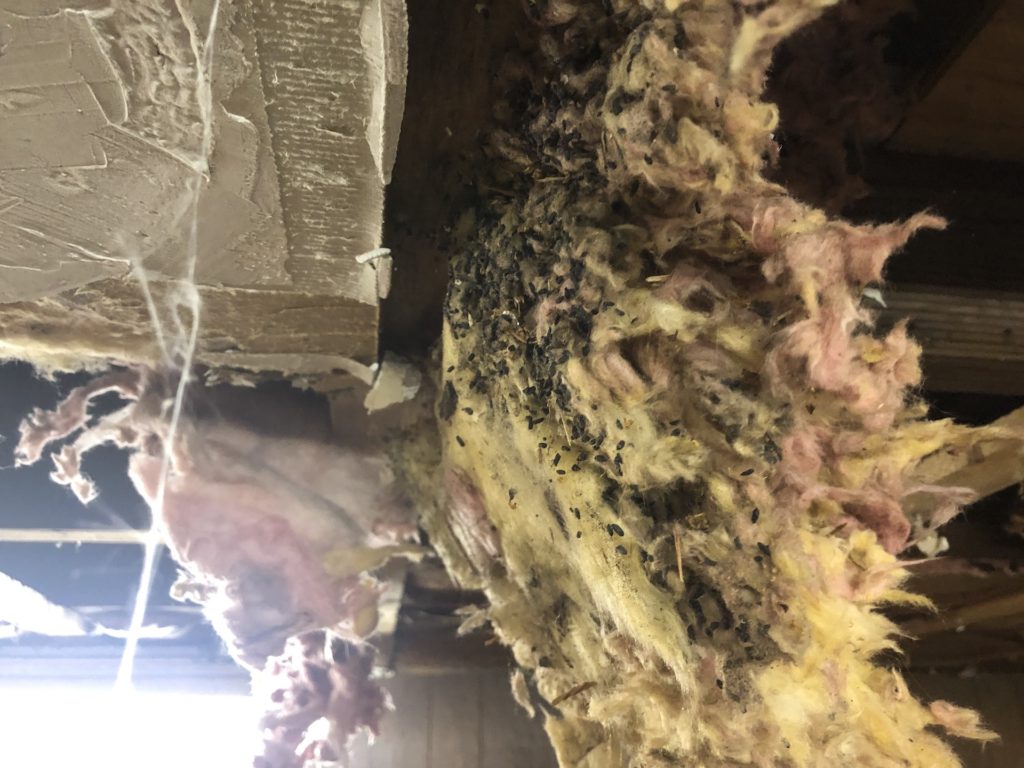
As in the basement, fiberglass insulation was stuffed into every nook and cranny.

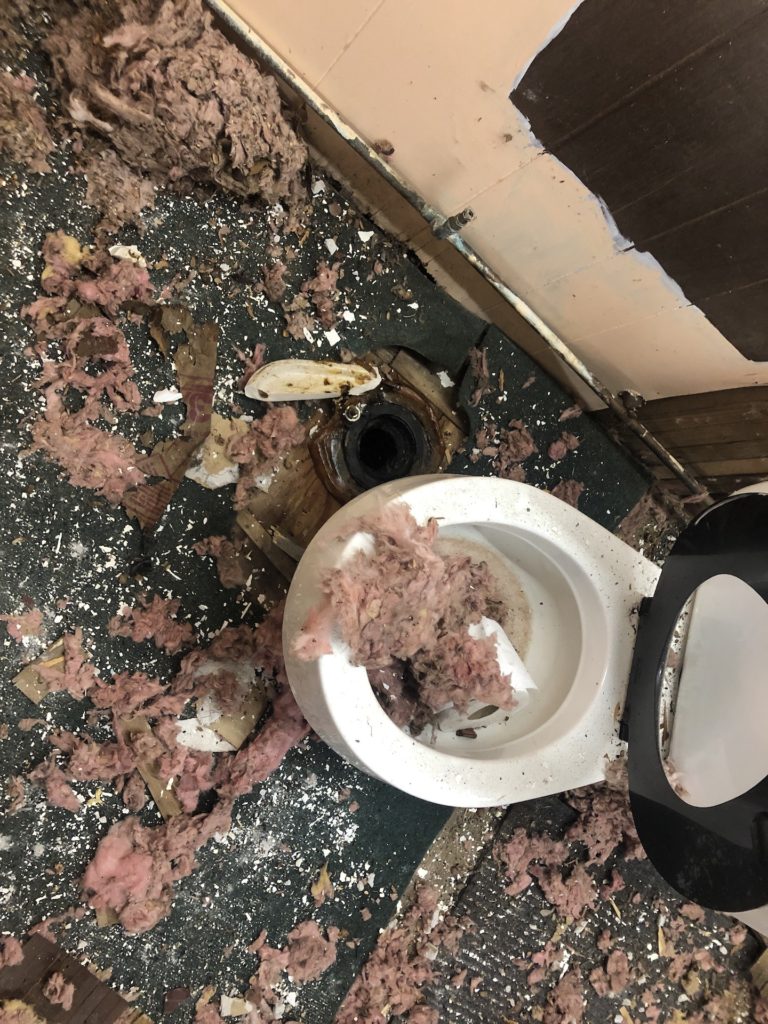
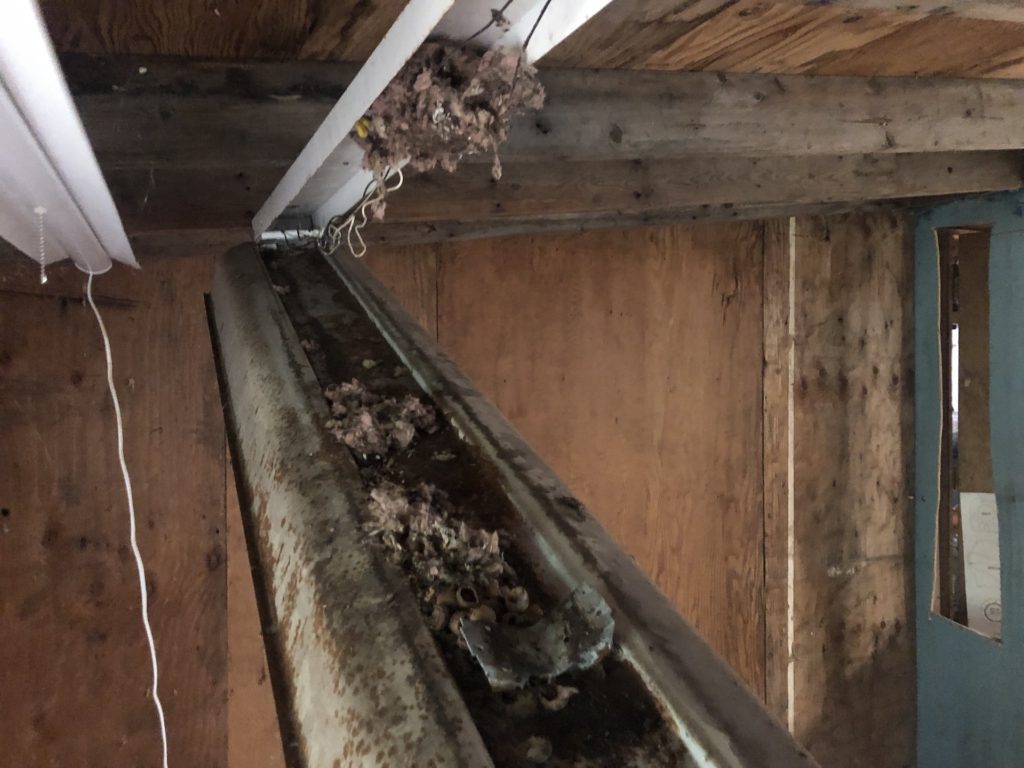
Unlike in the basement, however, these rooms were a haven for critters in the wintertime. The evidence was clear. Each time I removed a piece of the ceiling there was a hail of acorn caps. The image below shows the other toilet and some of the fallen debris.
In the ceiling:
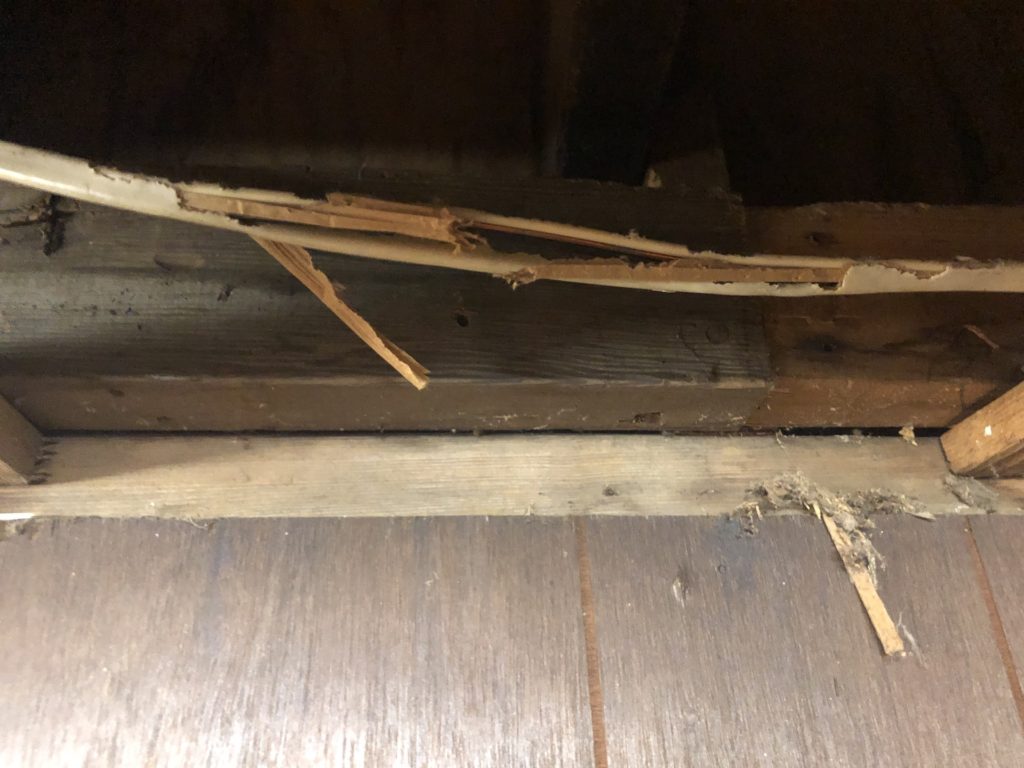
Some of the wiring was gnawed on as well:
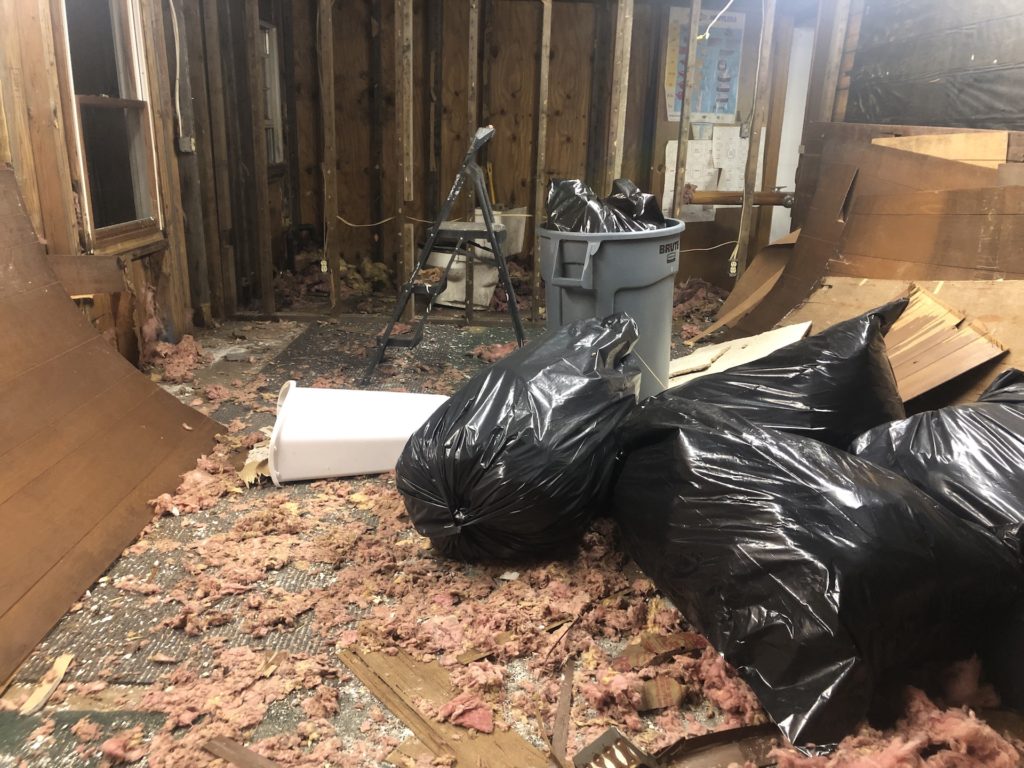
As with the basement, demolition produced plenty of waste:
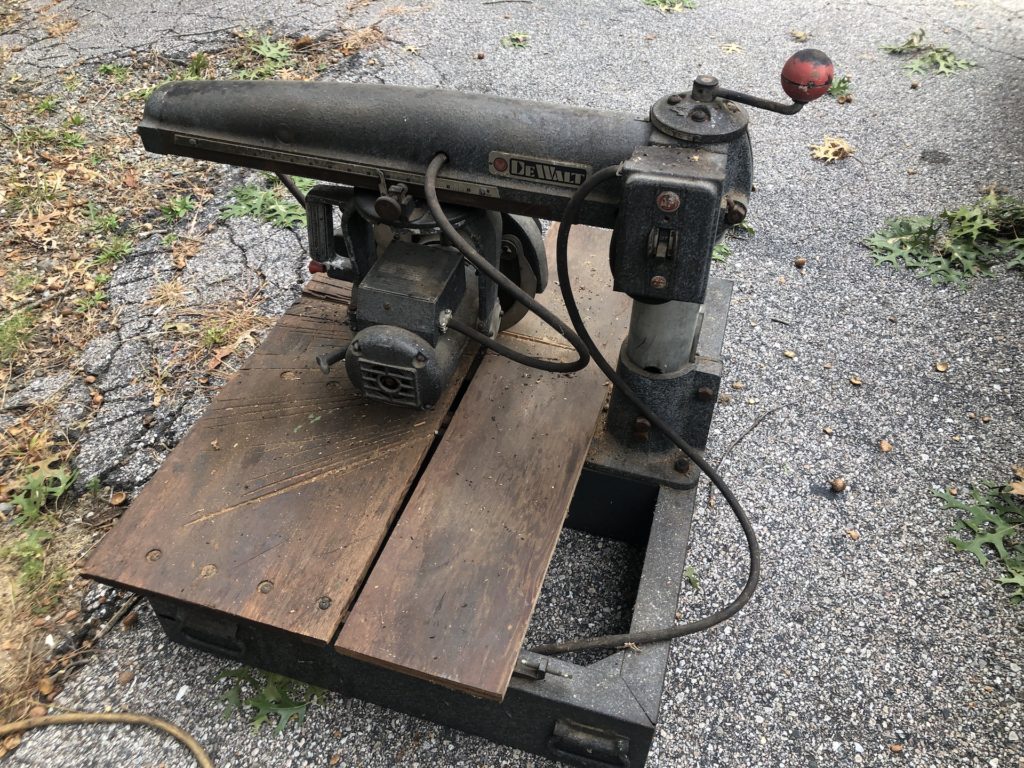
In the woodshop, there was a 1950s Dewalt radial arm saw that must have weighed 150 lbs. I’ll be recycling this for its metal and motor.
Inside the woodshop, and everywhere else in the garage structure, are very old fluorescent lights. You can see that critters even found their way into the lighting:
These lights, and all the wiring, have to go. Most of these lights offered a disconcerting buzzing sound when turned on. I’ll swap them out for LED lighting. More on that later.
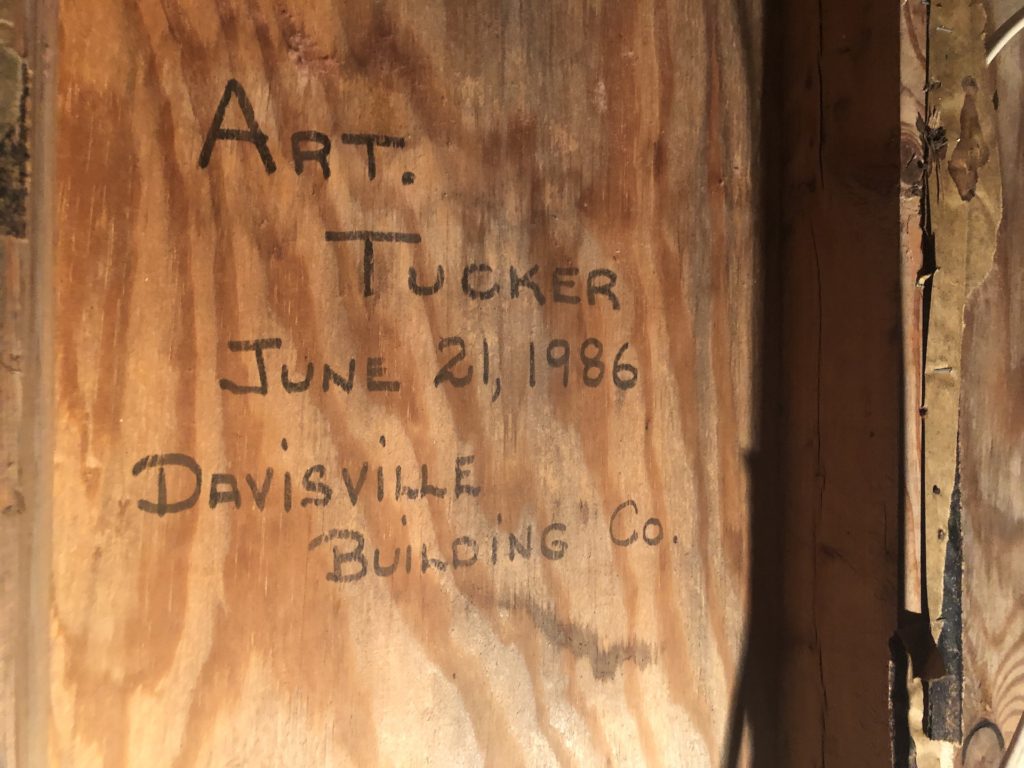
The original owner of the home must still have had some connection to it in 1986:
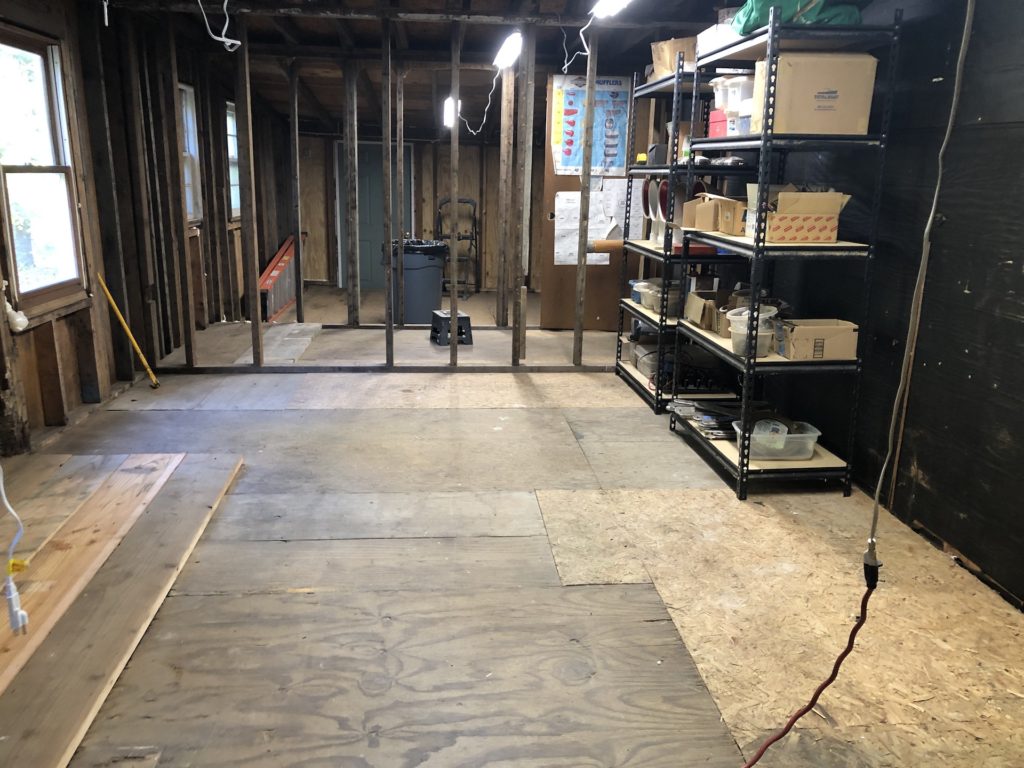
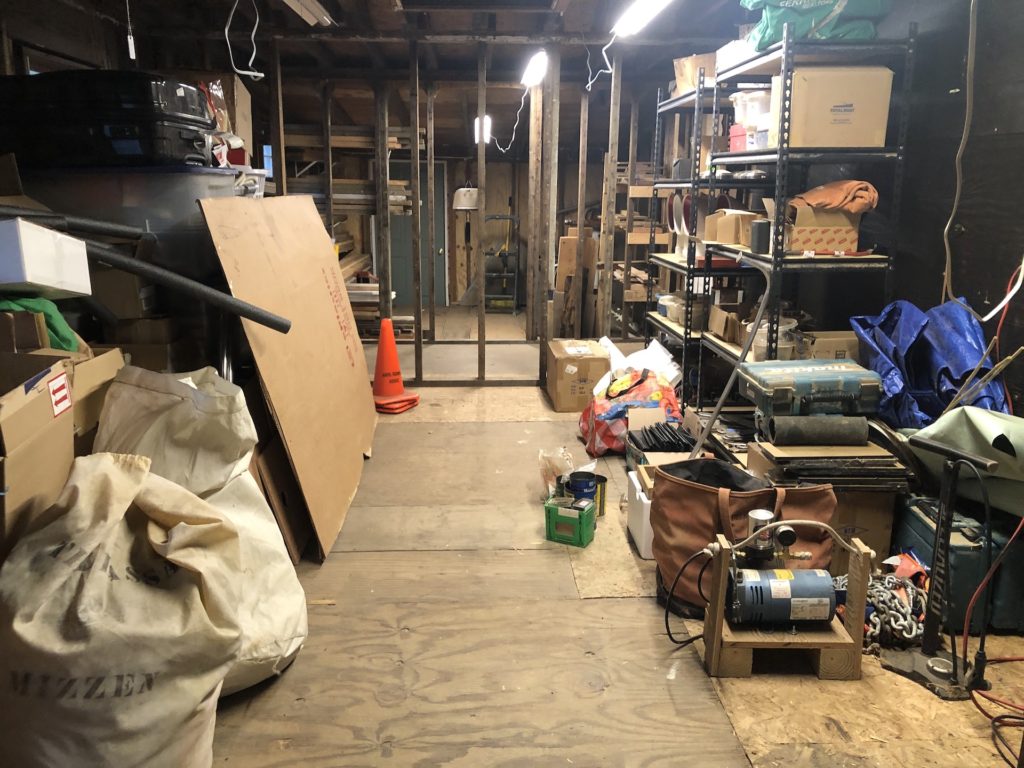
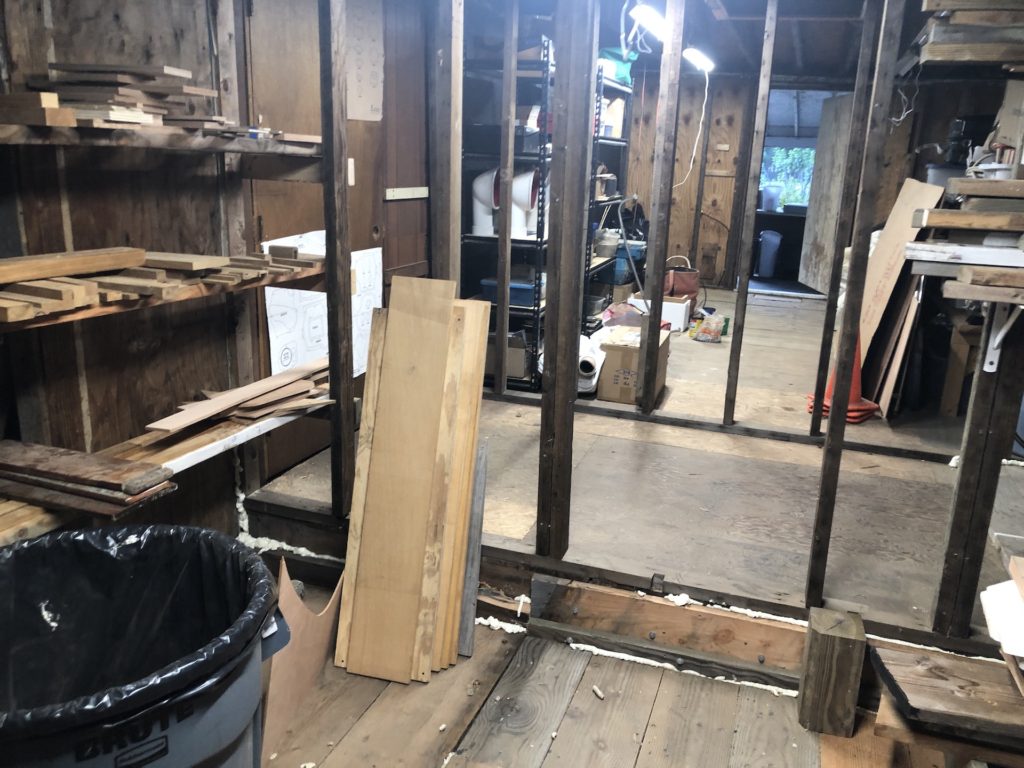
The rooms were now basically cleared out and cleaned up.
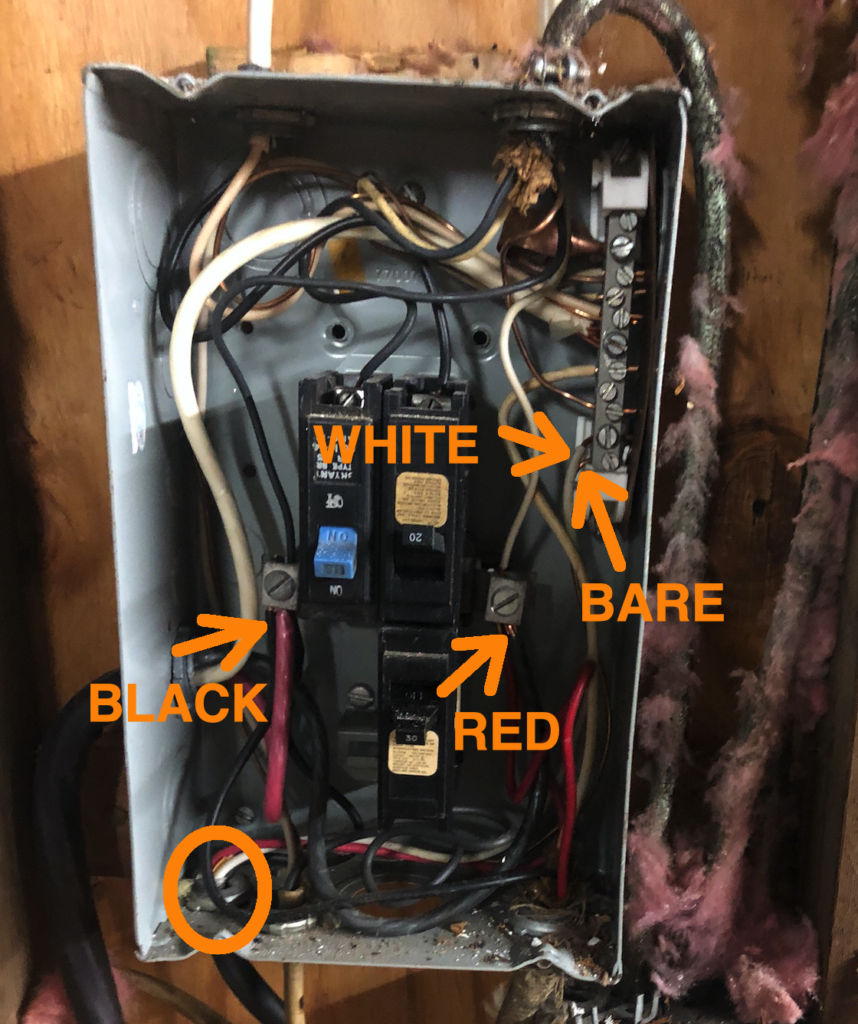
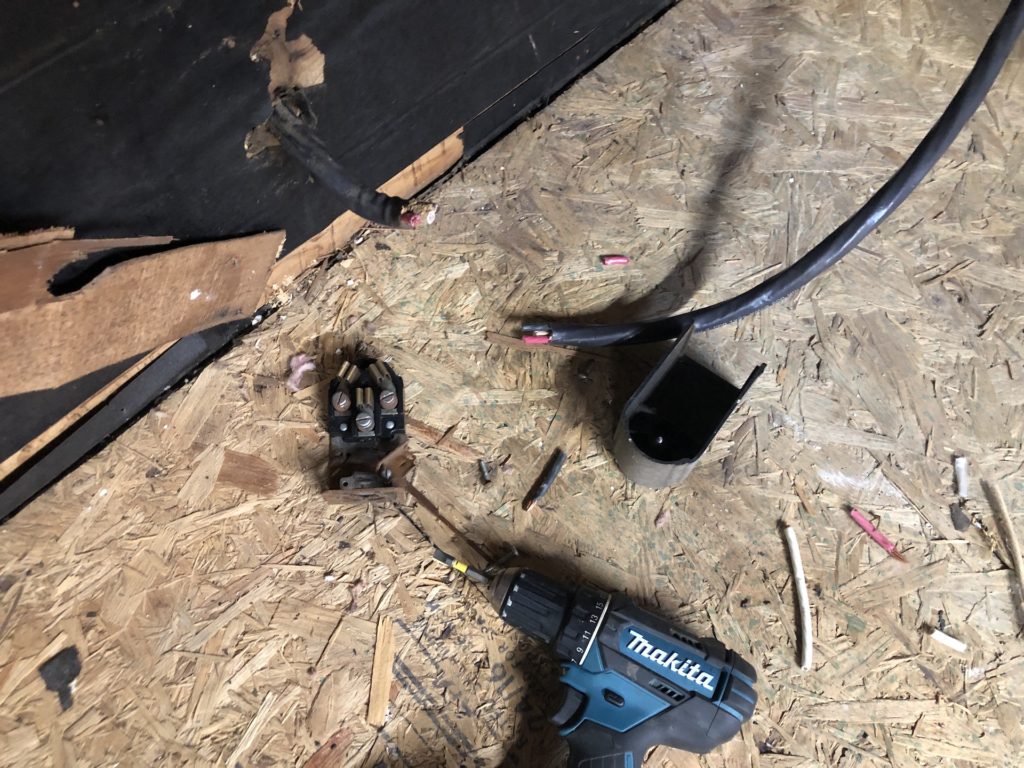
Rooms (2), (3), and (4) were fed electricity from a breaker in the basement labeled “Cabana”. The Cabana breaker is a double-pole 60-A breaker that led to this electrical box in the main Cabana room:
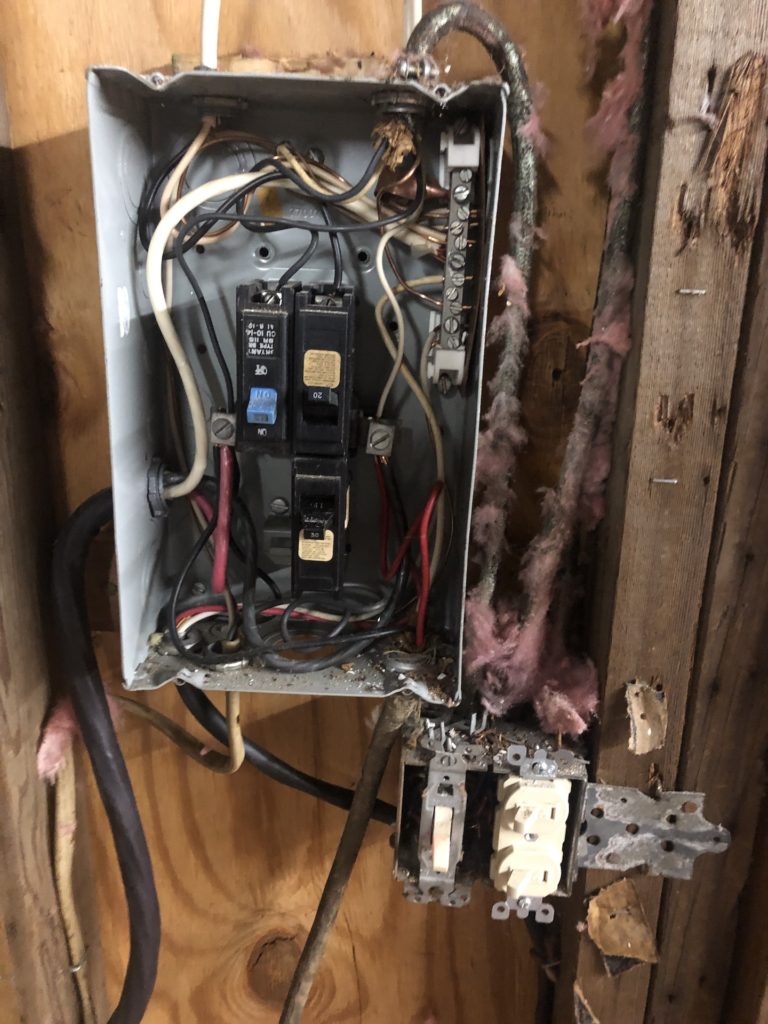
Upon close inspection (see below) the “feed cable” was clearly the large one coming in from the left. It contained the heaviest gauge wires and the two hots (red and black) were connected directly to the hot lugs and the neutral (white) was connected to the neutral bus bar. There were other smaller wires fed into the main lugs, and this is bad practice. Everything should run off breakers.

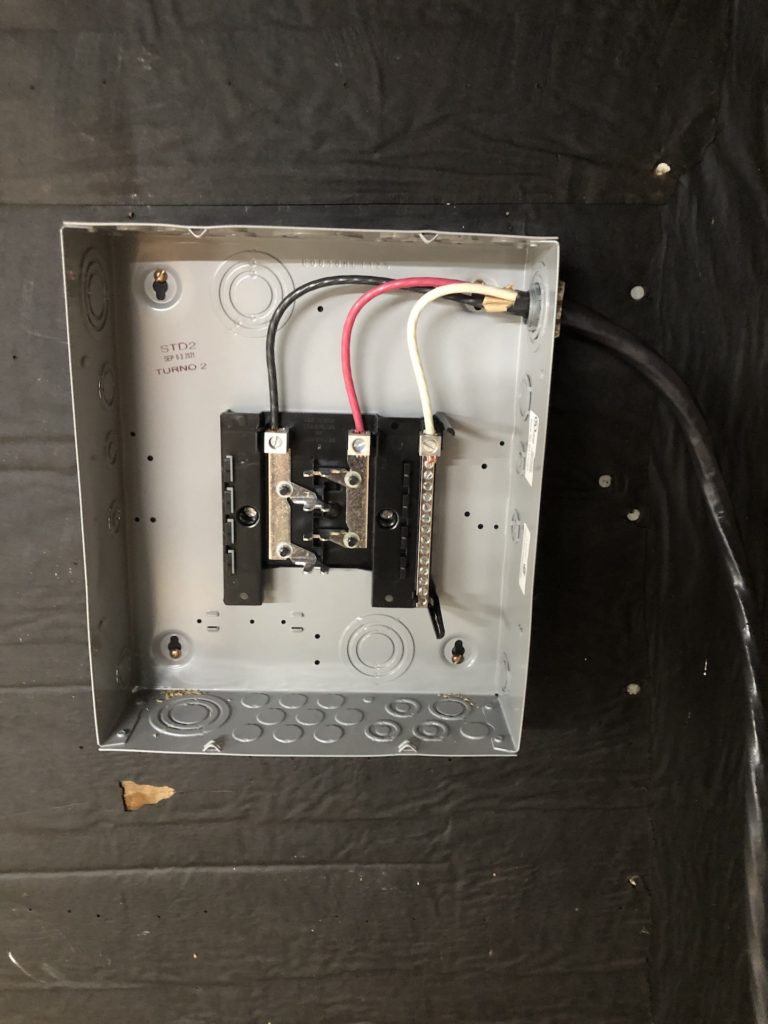
I turned off the Cabana breaker in the basement and begun work removing all the related wiring, which led to various lights, switches, and outlets in these rooms. Next, I removed the panel and led the main feed to a new panel that has 8 spaces, not 4 as in the panel above. You can see in the image below that I’ve neatly run the wires to their respective lugs in the new panel.
Next, I turned flipped on the Cabana breaker and tested the panel voltage with a multimeter. Testing the two hots should give about 240 V and testing a hot and the ground should give about 120 V. I got zero. I flipped the Cabana breaker on and off again and still nothing. I considered that the breaker might have gone bad, but eventually discovered the real problem. The wire you see below was one of the smaller wires whose hots were improperly connected directly to the main lugs.
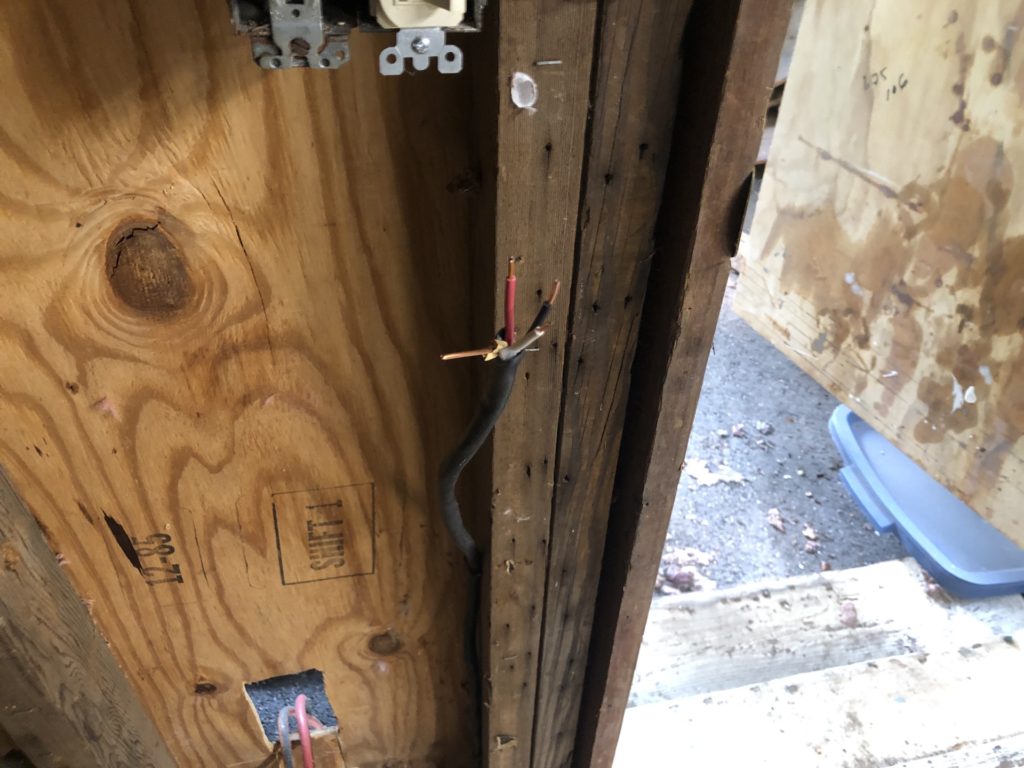
As it turns out, however, this is the wire that leads to the basement and to the Cabana breaker I confirmed this by stripping some of the insulation, turning on the Cabana breaker, and testing with multimeter. I then switched off the breaker and cut the ends of the wire and added wire nuts. The Cabana breaker will remain off indefinitely. The photo below shows how the ACTUAL feed wire was wired.
What was the big cable that I mistakenly assumed was the main panel feed? It turns out that it led to the 240-V outlet that the stove was plugged into. The cable ran through a wall, but I was able to verify using a simple resistance test. In the image below, for example, if testing the resistance of the red wires leads to a near-zero resistance reading, then those two red wires are the ends of the same wire.
So now there is a change of plan for the electrical situation in the Cabana. More on that later.
I removed the plywood wall that separated the toilet room (3) and woodshop (4). Doing so revealed some soft wood and I took up some of the floor to investigate, and eventually removed more planks, made some repairs/reinforcements, then put it back together.
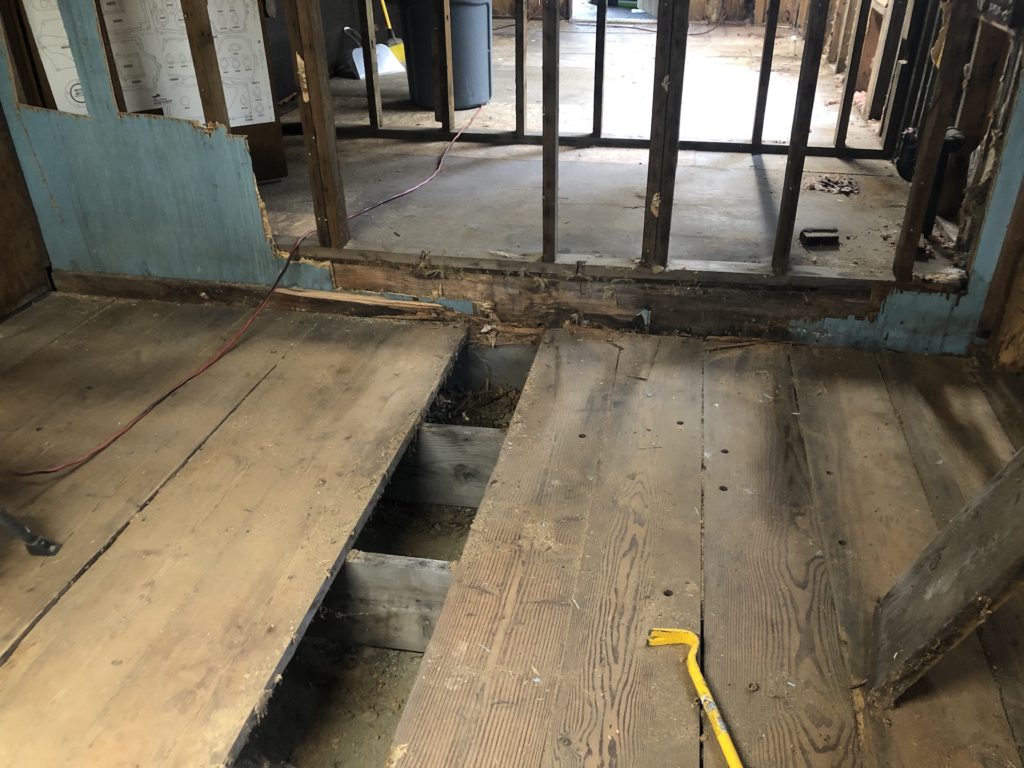
Back in the cabana, the plywood floors were soft under the toilet and sink area.
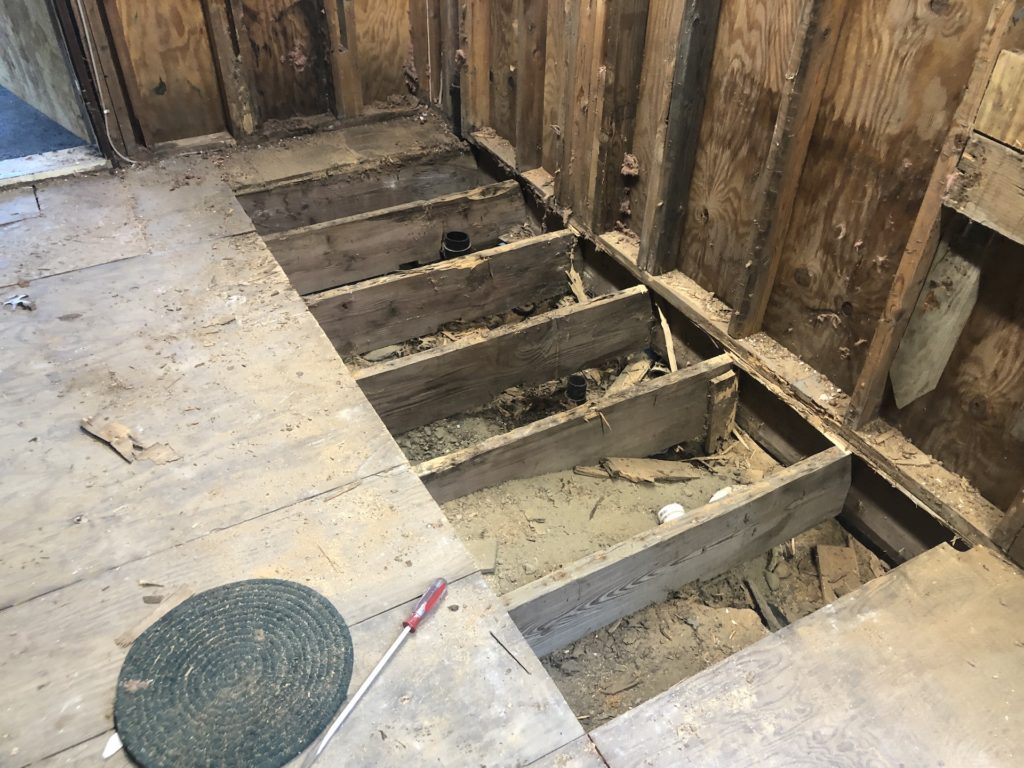
Removing them allowed me to cut and cap the plumbing below floor level.
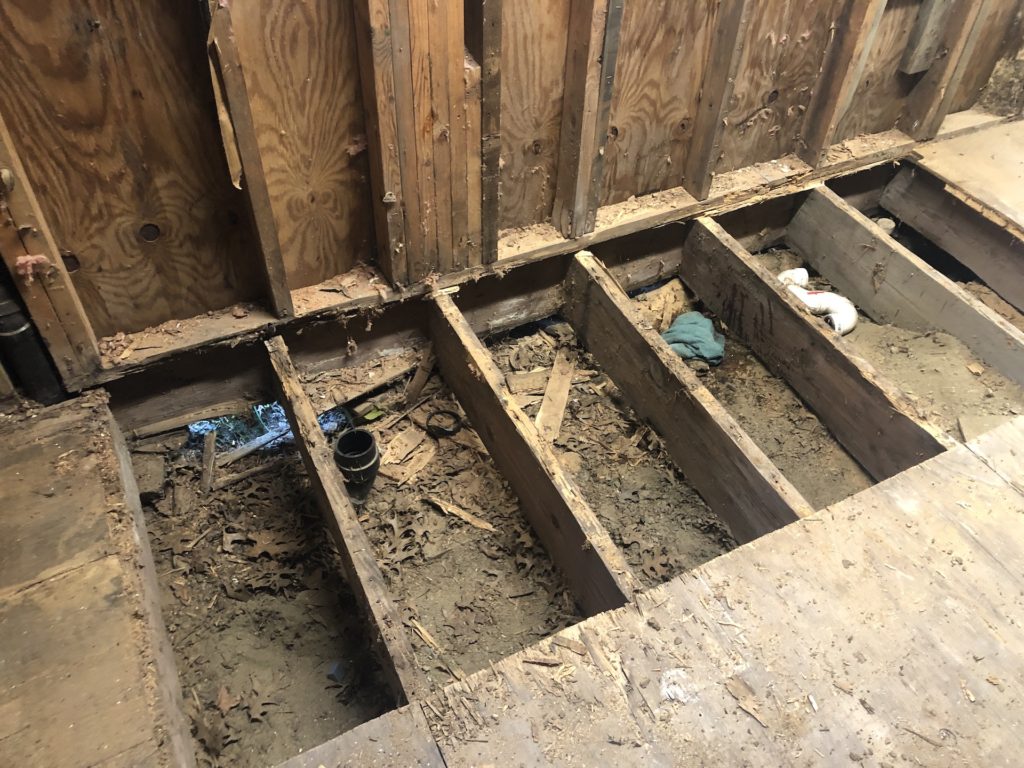
I used 2x10s to make the new floor (on the left in the image below), and Now I was ready to start moving things from the garages back into these storage areas.
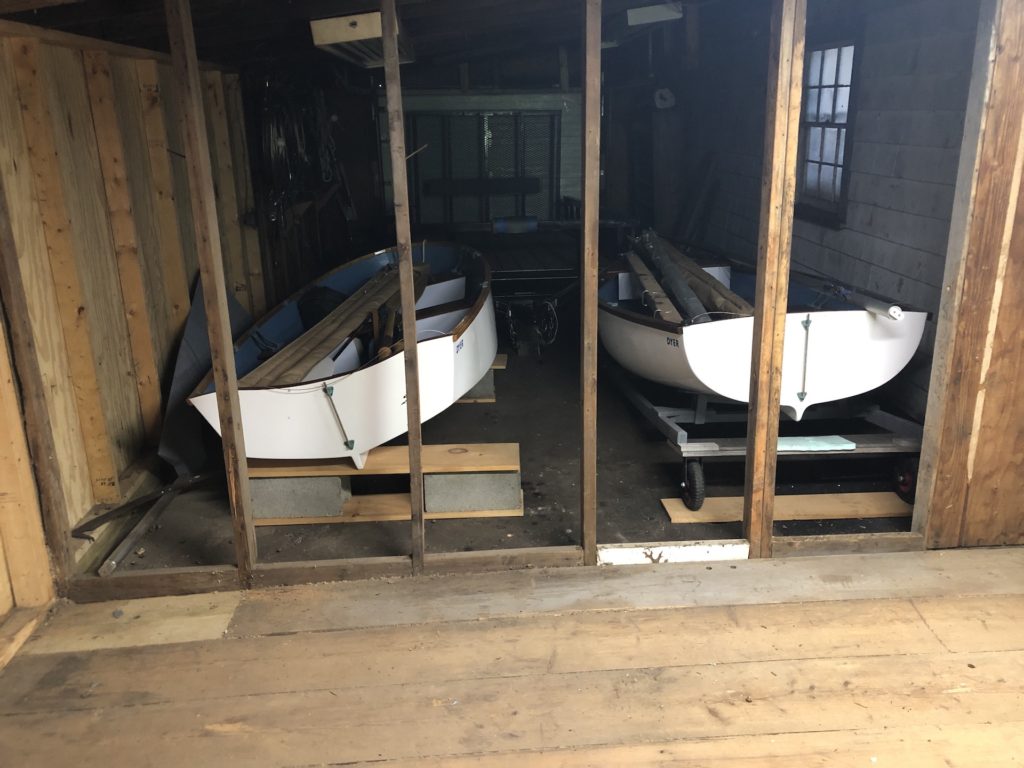
I removed the plywood panels that separated the third garage bay and the woodshop. Here we’re looking toward the street. The garage door is closed.
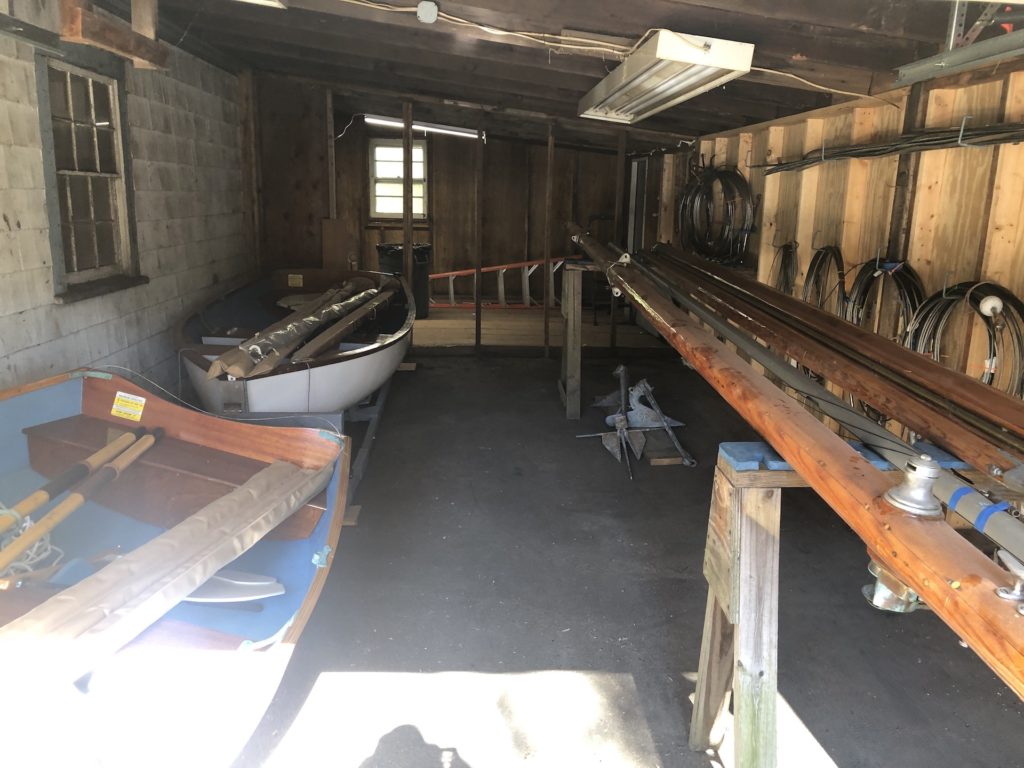
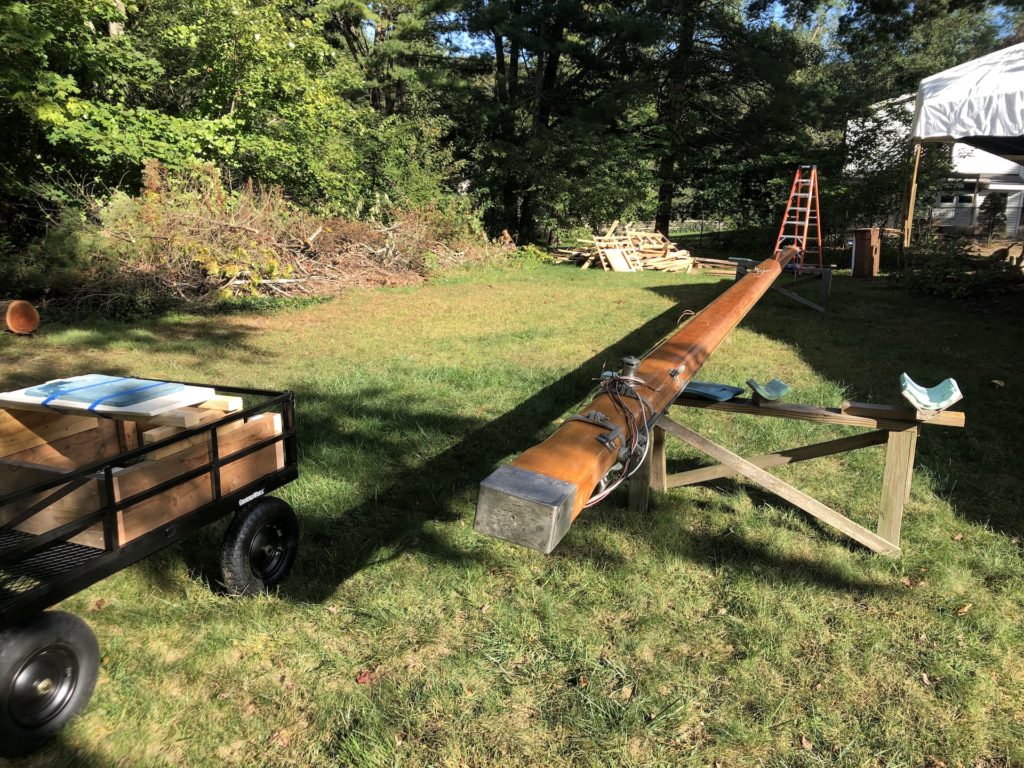
I rearranged the space so that my mizzen mast, main boom, and whisker pole could be stored in the third bay. The mizzen mast is a little too long, so it pokes out into the woodshop.
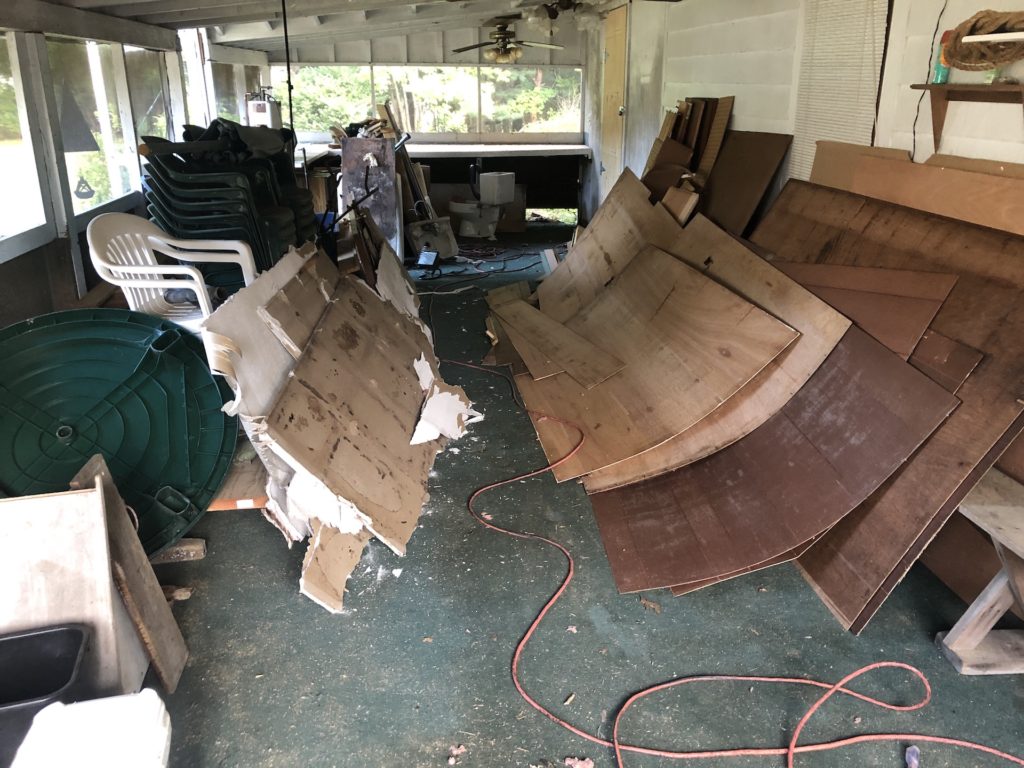
The screened-in patio–finally seeing some breathing room:

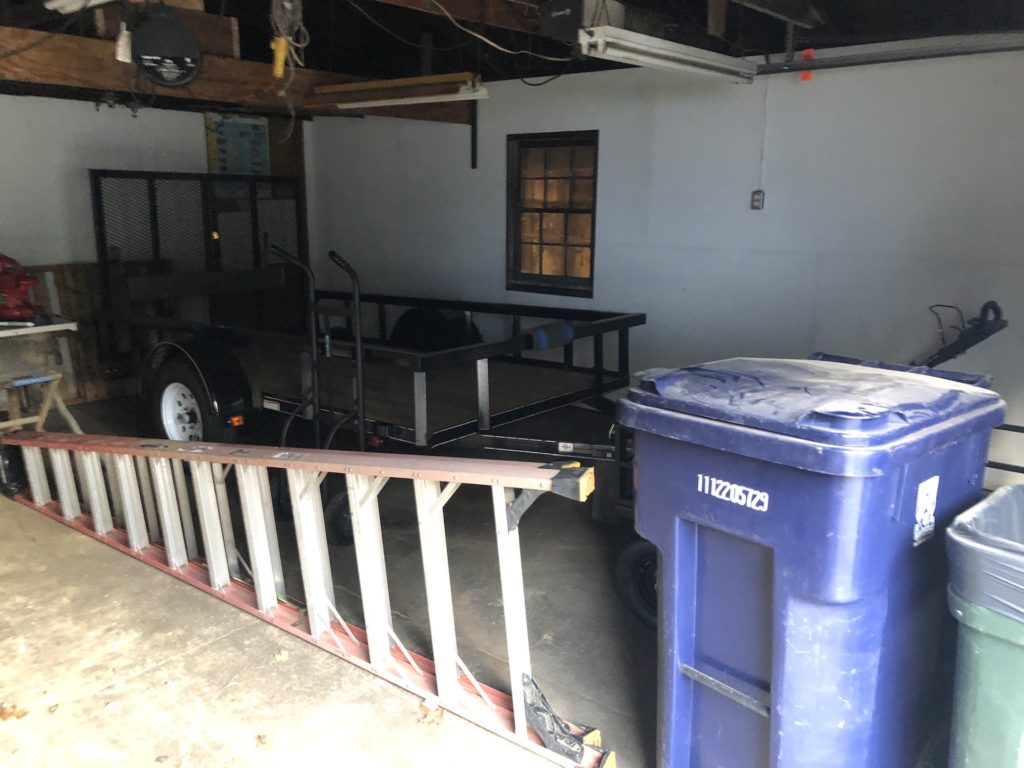
I moved my utility trailer from the 3rd garage bay to the 2nd:
Looking into the cabana from the patio. More storage shelves will soon yield a better-organized space.
In the toilet room I build a shelf over where the toilet and sink was:
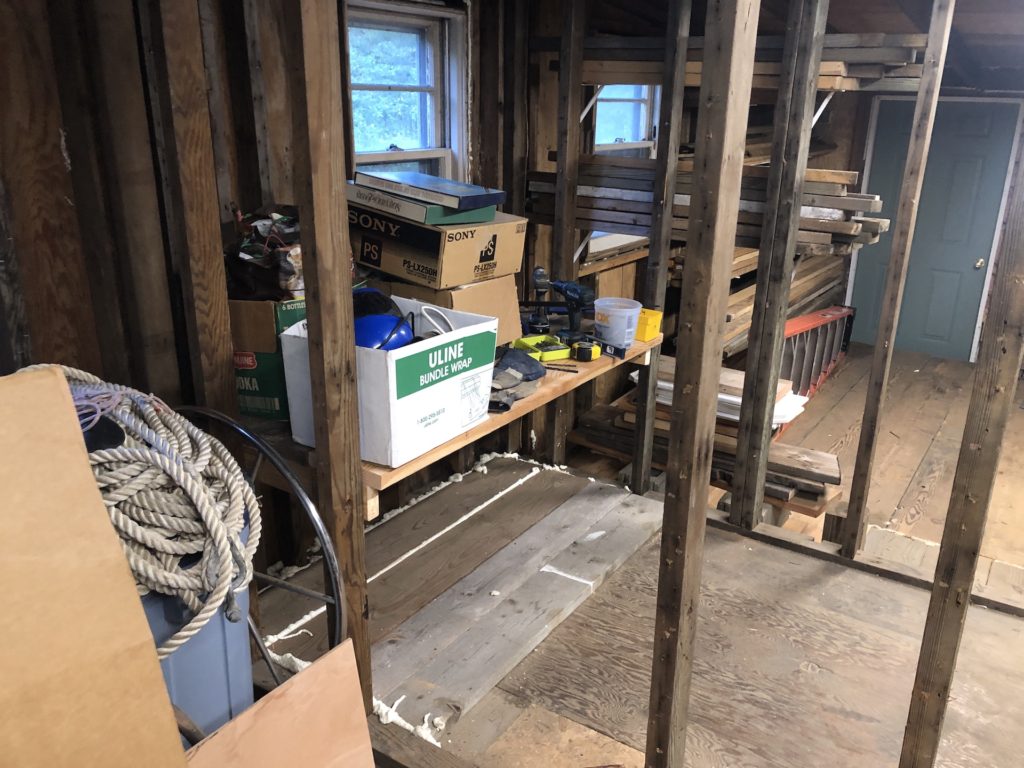
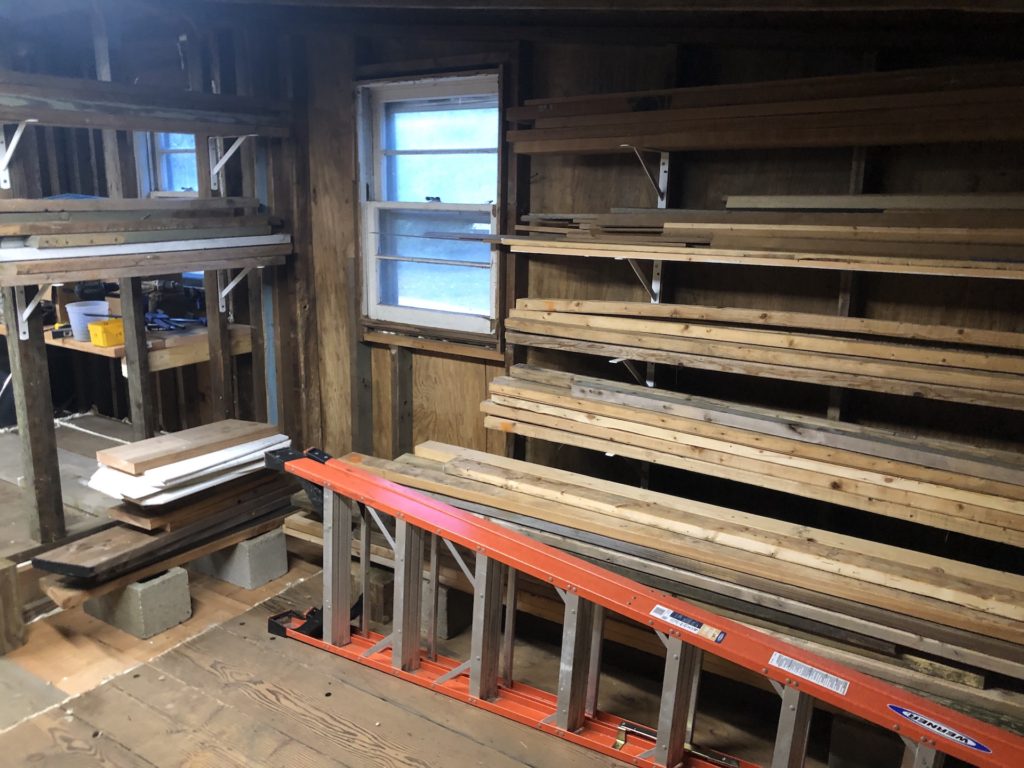
The woodshop will be primarily for wood storage.
In other news, the main mast was finally moved behind the garage. I bought a good-sized garden cart, with oversized wheels for ease of rolling. Then I built a box and topped it with a padded platform. With a helper, I put the heavy end on the padded platform, and walked the other end.
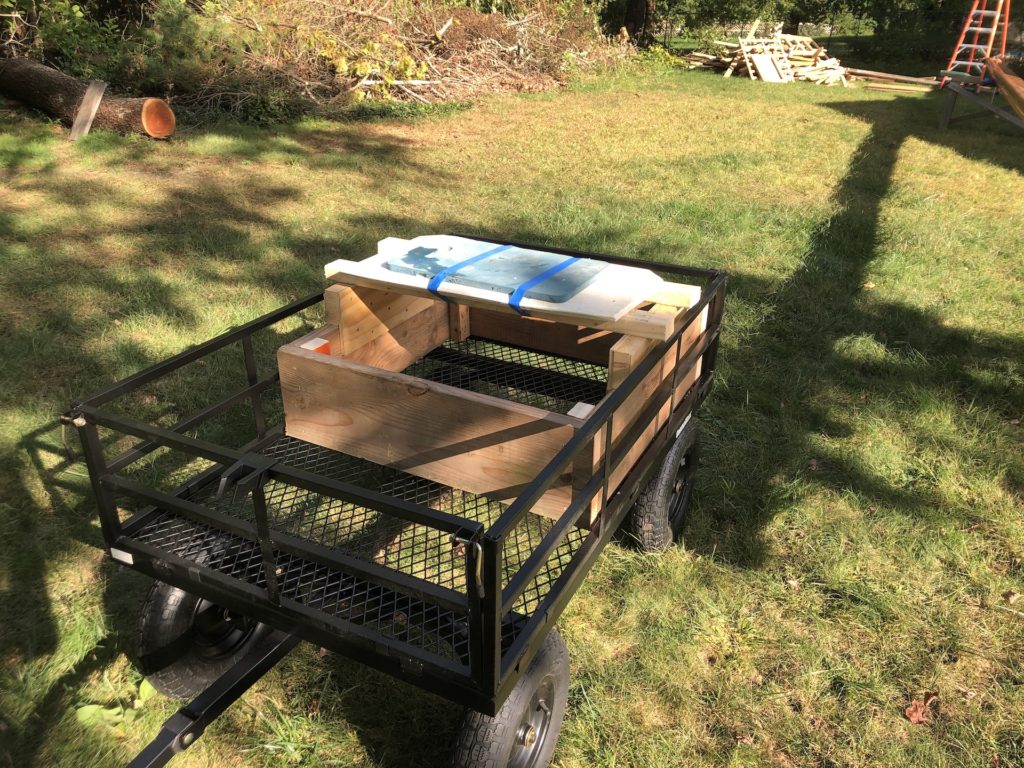
It is an effective and not-too-difficult way to move the mast around. Soon I will be working on getting it covered.
Mom
10/24/2021 — 11:20 pm
Whew! I’m exhausted reading about it. Way to go Miquel!
Linda Tammaro
10/25/2021 — 12:16 am
Unbelievable, Mike. How do you find time. I’m just hoping to get my plants in before frost. 🤔. Linda
Kath
10/25/2021 — 12:30 am
Just incredible, Mike! WOW… Just WOW.
bill.Heagney@gmail.com
10/26/2021 — 12:50 am
Great job, Mike. Your removal of existing partitions and modifications has been well worth the efforts. Now you have plenty of room for storage in a secure and structurally sound area. Congrats!