12/27/21: Upholstery, Electrical
You may recall from THIS POST that back in March I made some decisions regarding the upholstery. I picked up the upholstery last week, and did some test fitting. Here is the forward cabin.
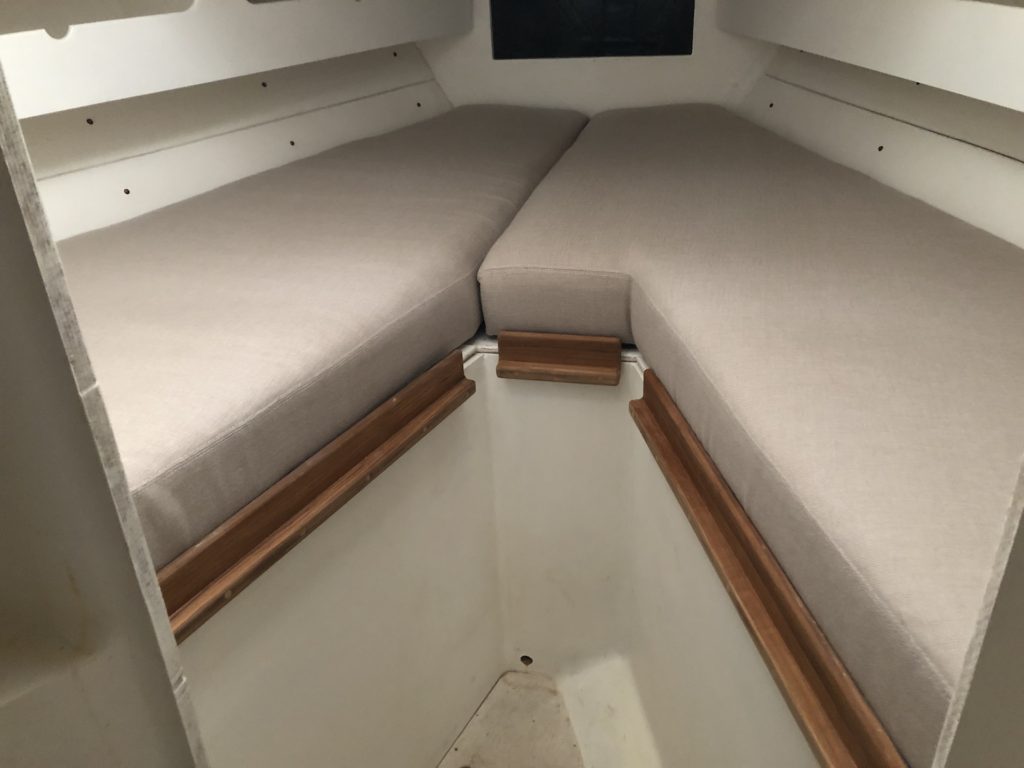
There will be a board for the cushion insert to lay on, but here I’ve balanced the insert in place. This insert will likely make rare appearances on board, but will be nice to have when needed.

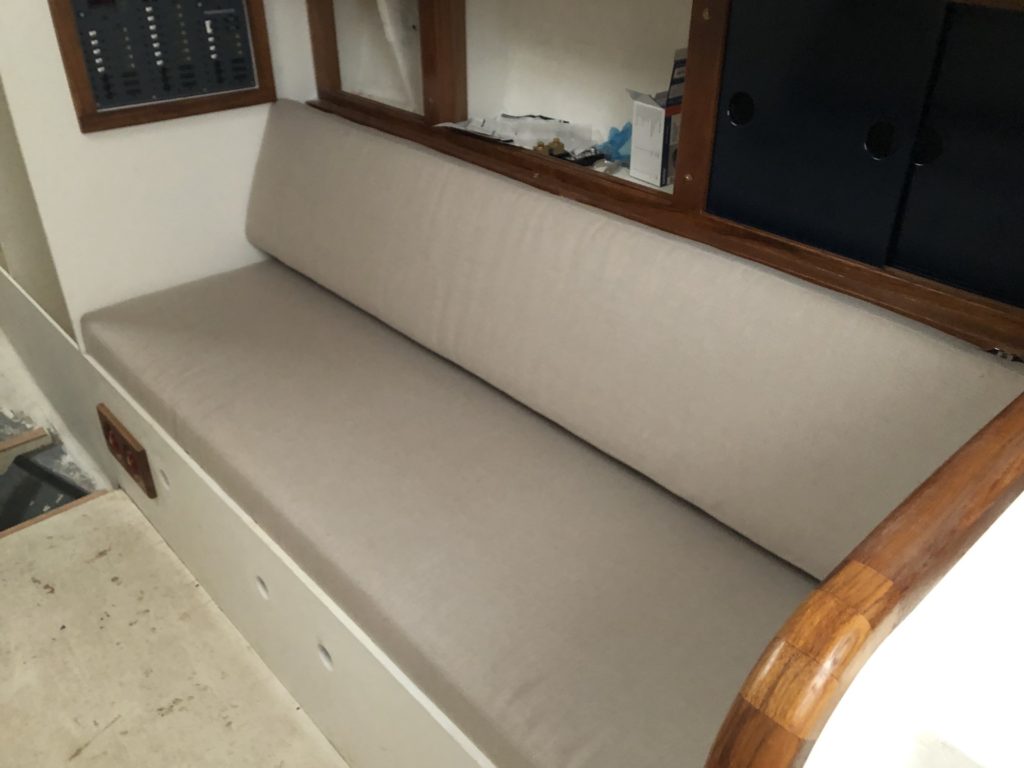
On the starboard side in the salon:
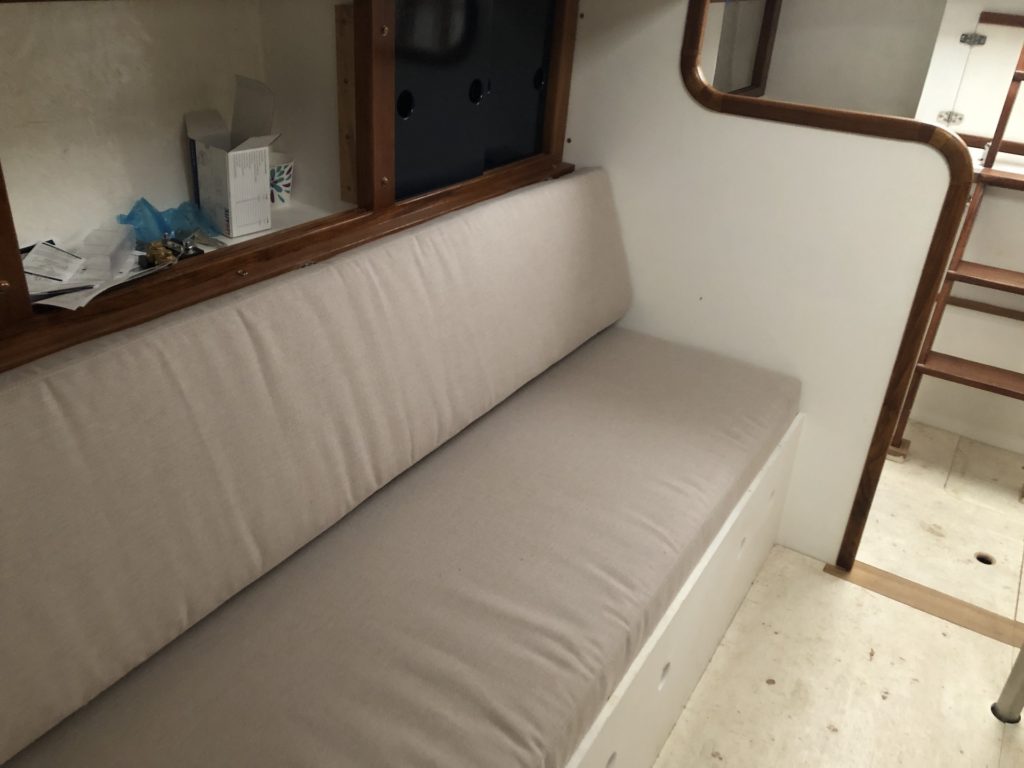
Looking aft:
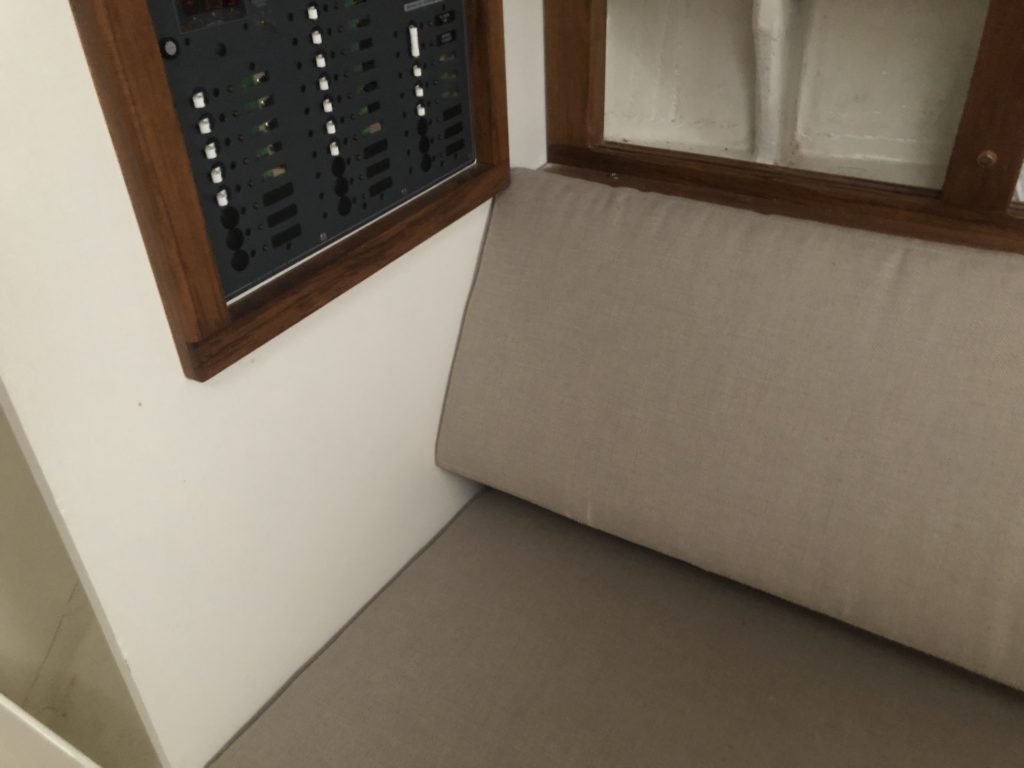
Recall that the backrests on each side will swing up to make full berths out of the settees on starboard and port. Overall, the cushions fit perfectly, with the one exception that the backrest cushions were supposed to be fitted to the backrests, not be the full width between bulkheads. You can see below that the cushion will not swing past the electrical panel. This is a minor problem, and S&S Fabric Products will make the necessary adjustments.
The cockpit cushions:

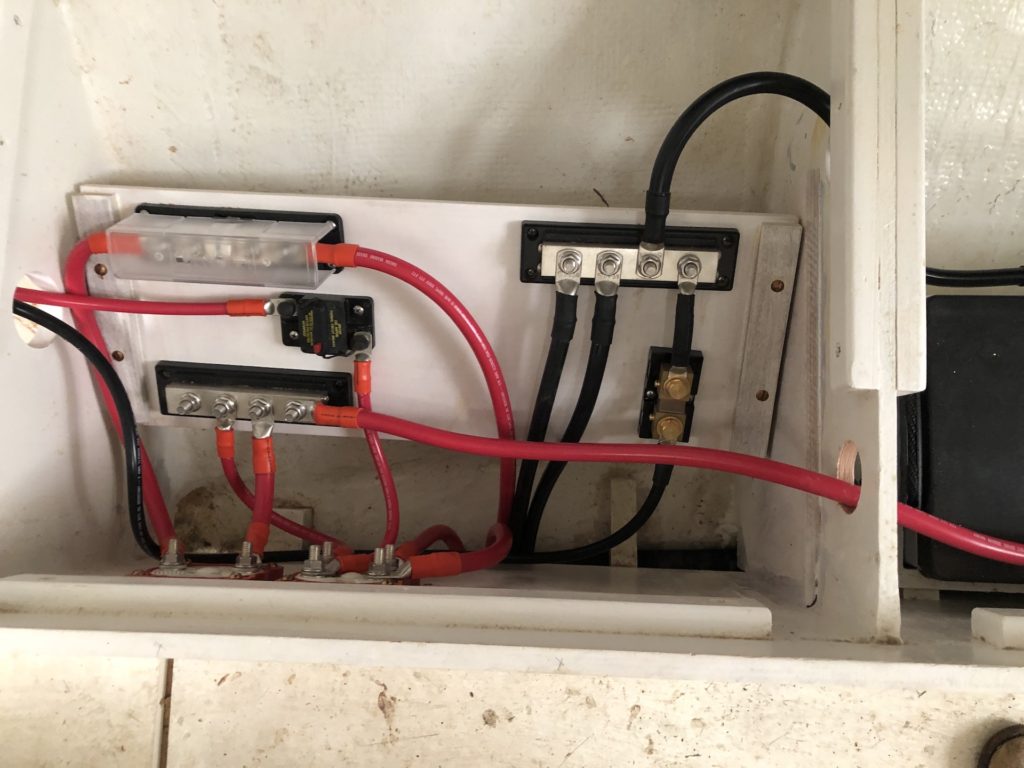
Meanwhile, down below, work on the electrical system resumed with a few visits from my systems guy. I had installed the battery switches previously in frame, as you see below. what lies behind, however, is new.
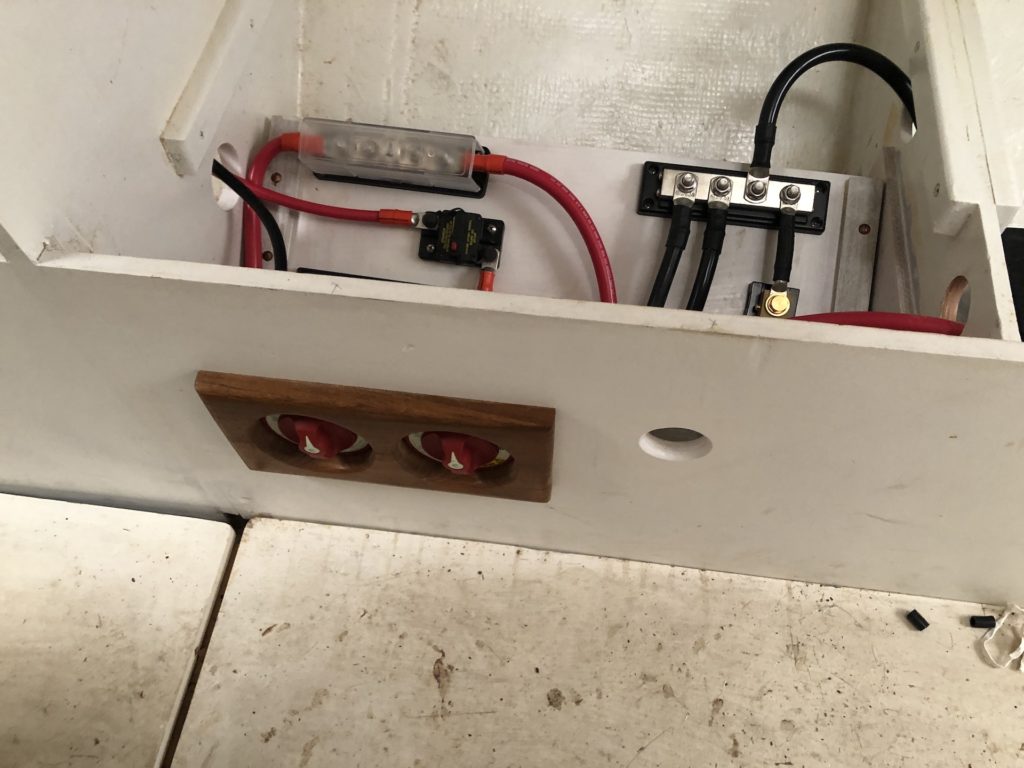
The forward-starboard locker under the settee is where the battery switches connect to positive and negative busses. Also pictures is a fuse and a so-called shunt. More on these another time perhaps. The position of these circuit elements is coordinated with the location of the switch panel. You can see the wires leading to the switch panel leading through a bulkhead on the left in the photo. On the right, the heavier-gauge wires lead to the house batteries.
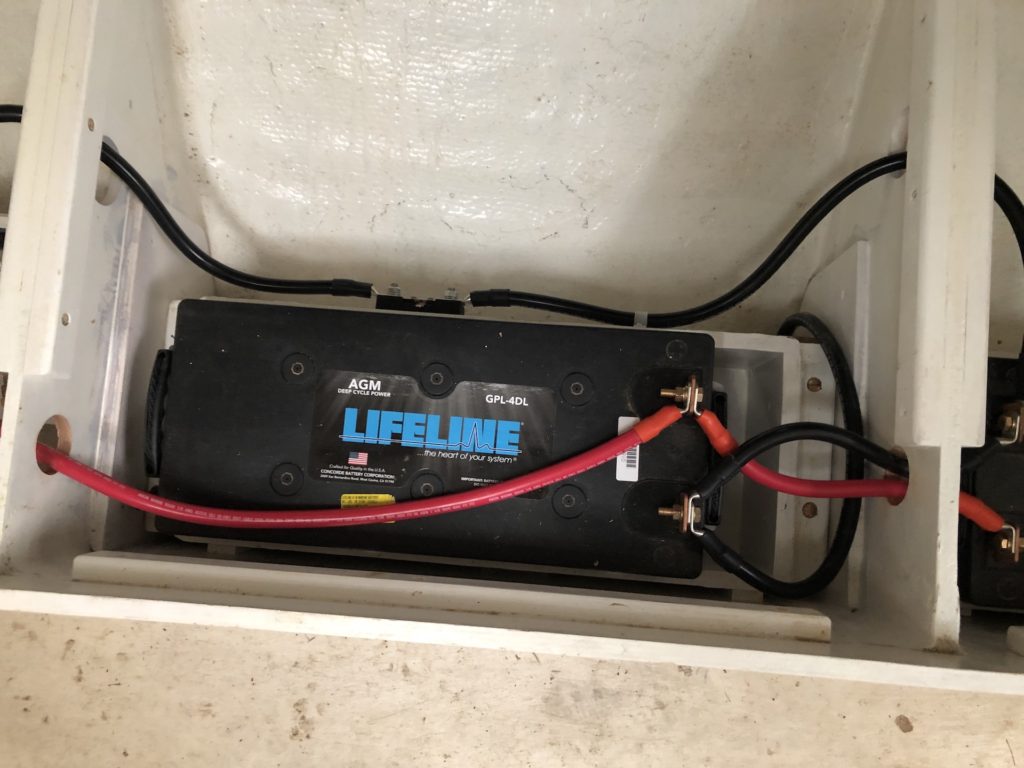
House battery #1, and just aft, to the right, is house battery #2.
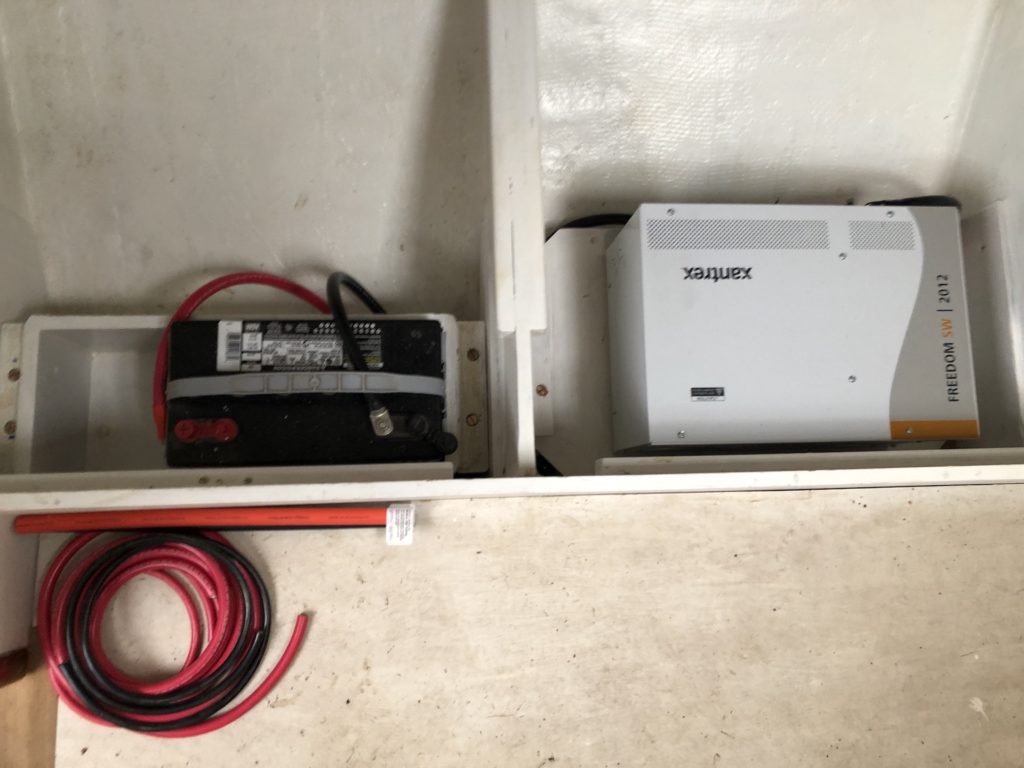
On the port side, as you might remember, are the engine battery and inverter.
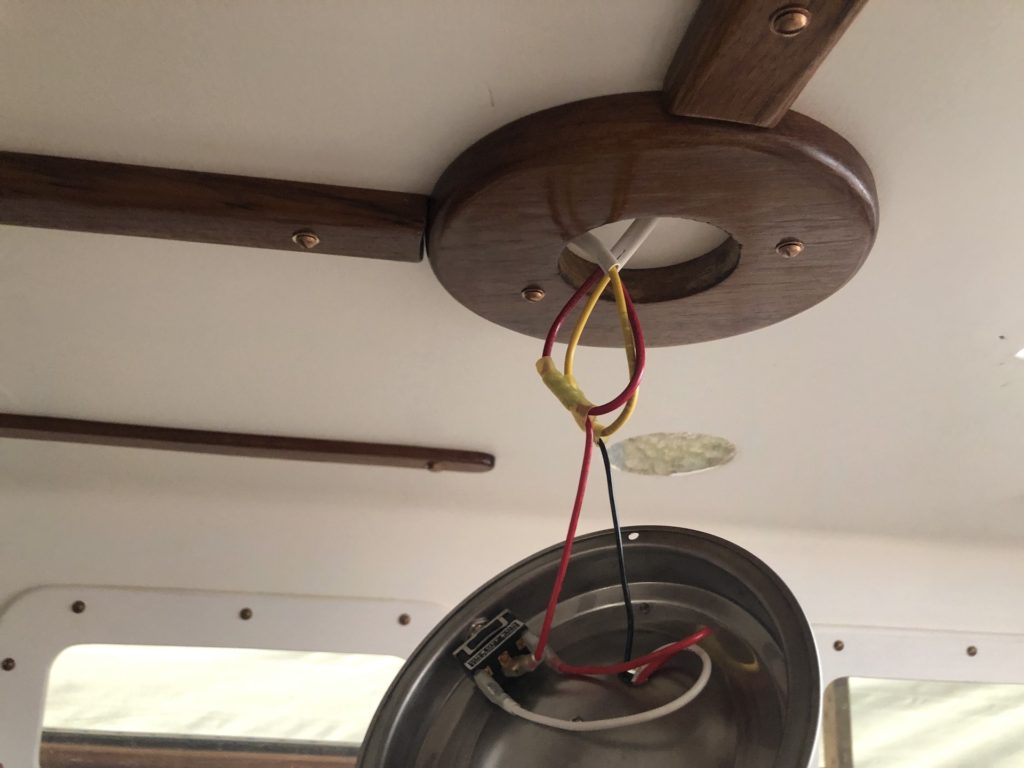
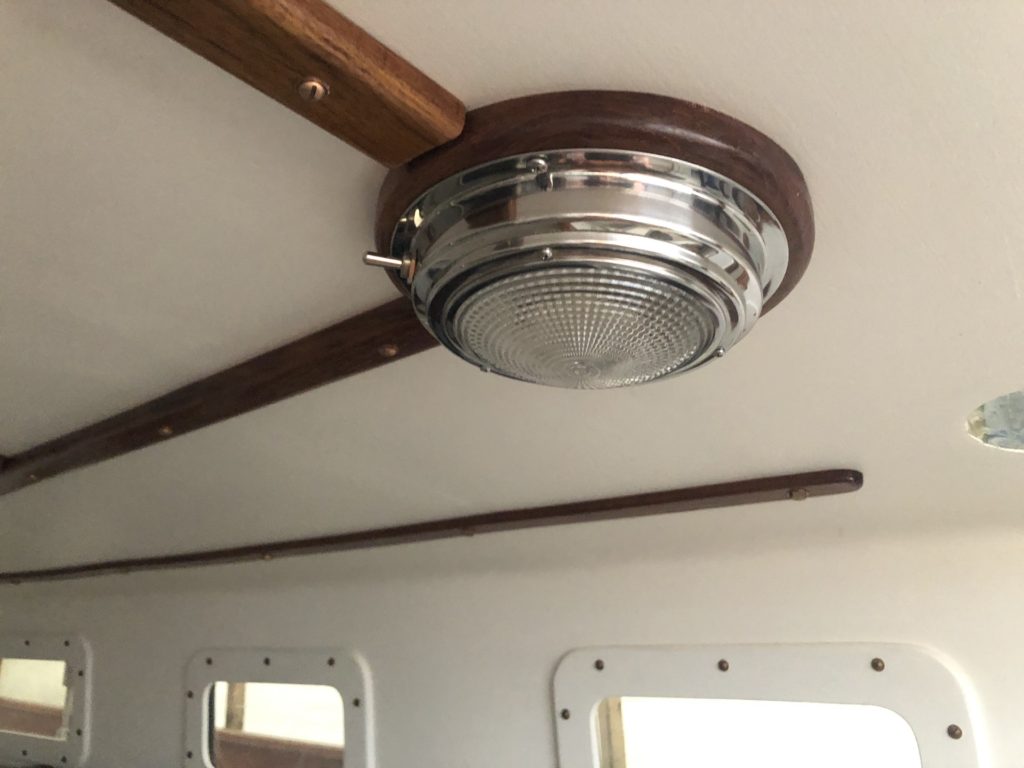
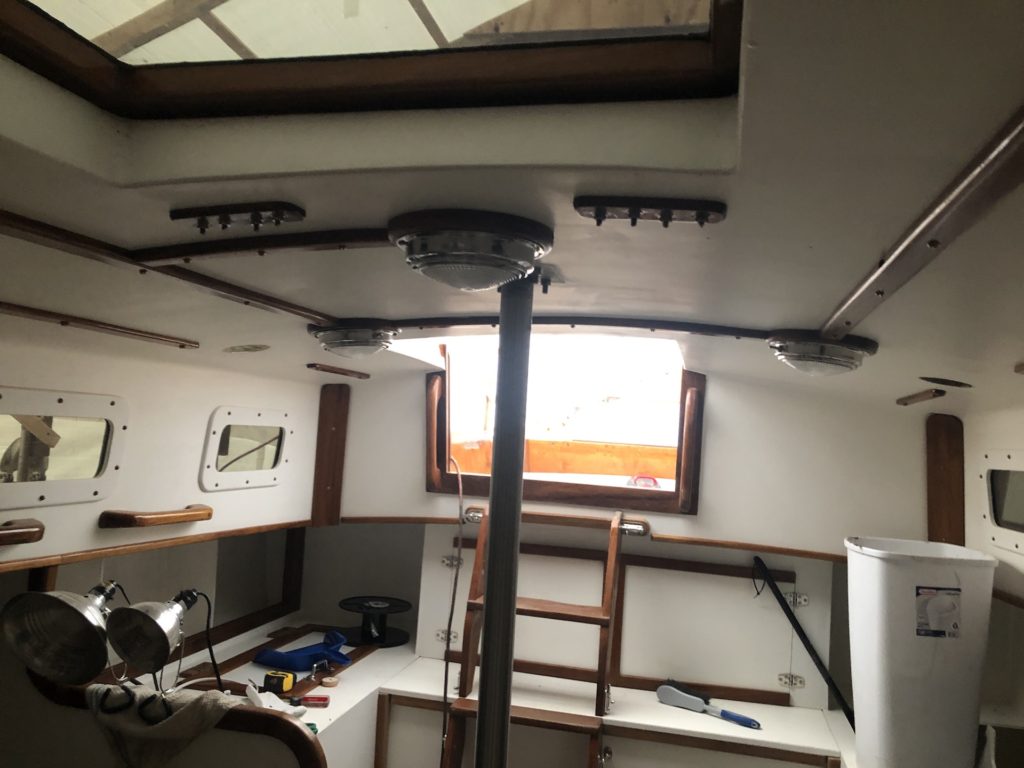
There’s still lots to do with setting up the electrical power system, but the panel is now hot, so I was able to start wiring the dome lights in the main cabin. You might recall from THIS POST that I had made teak pads for the dome lights as well as decorative teak conduits to hide the wires. Finally, some of this has been installed:
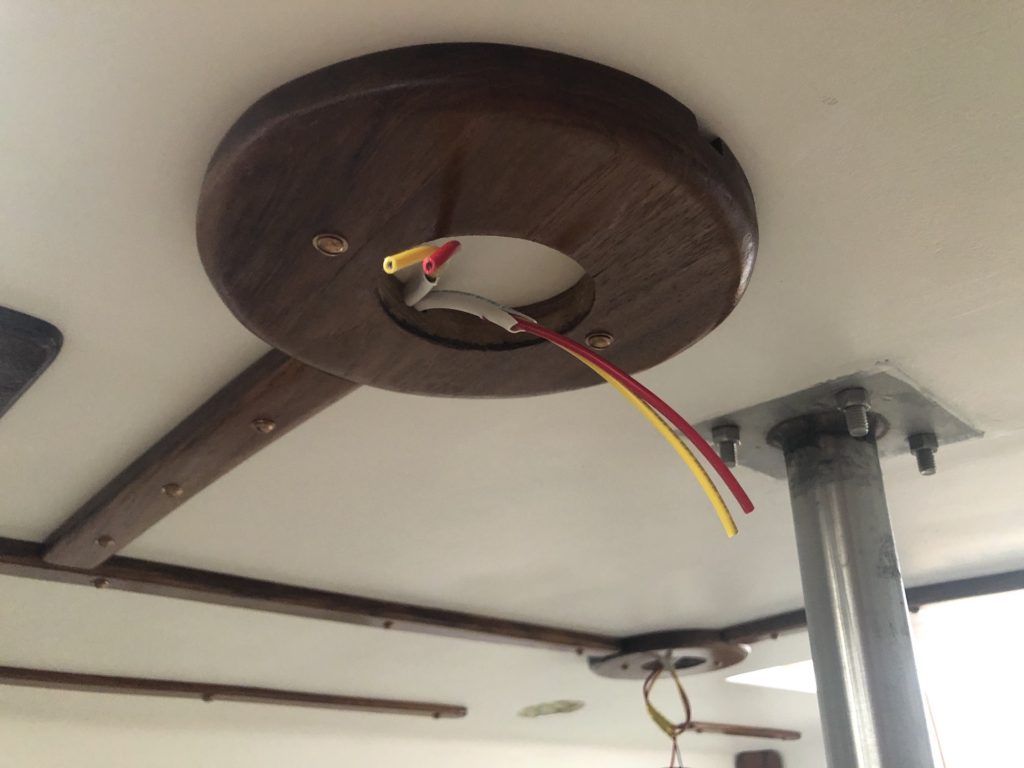
DC wiring is very basic:
The dome lights are strategically place as to not interfere with headroom. The one below directly over a partial bulkhead separating the salon from the galley.
Looking forward, these lights straddle the salon hatch along the centerline. They are over where the table sits.
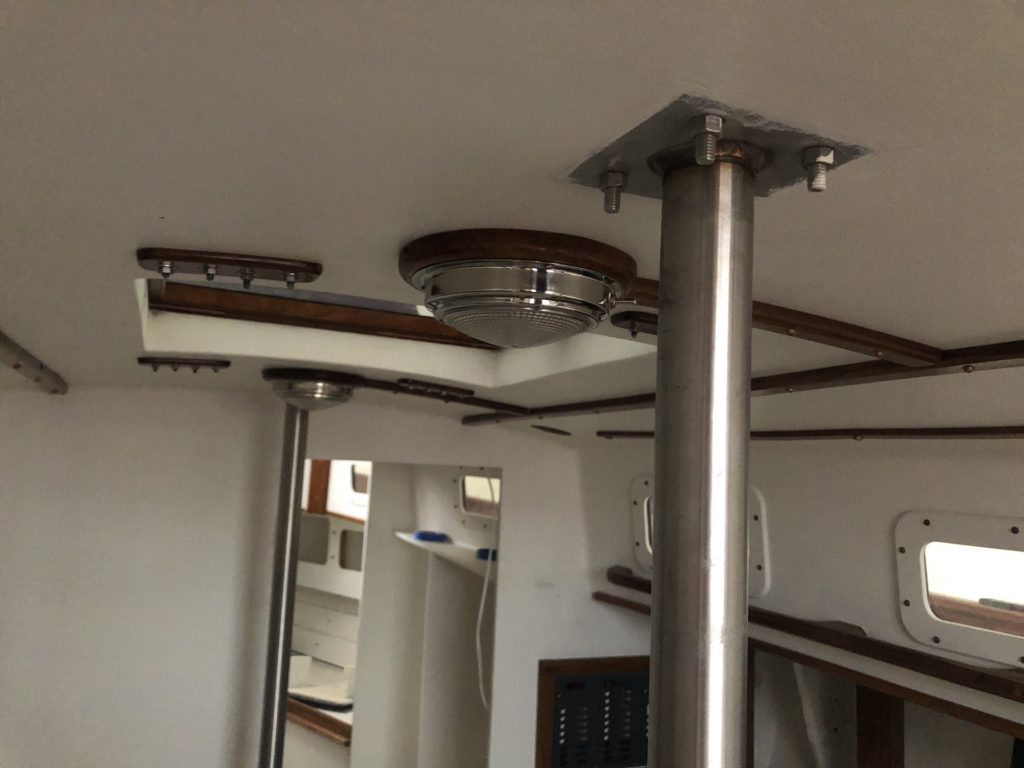
Looking aft, you can see the two after-lights that will illuminate both the galley and aft end of the salon. There will be more lights to come, but these are the first working electrical devices installed in the restoration.
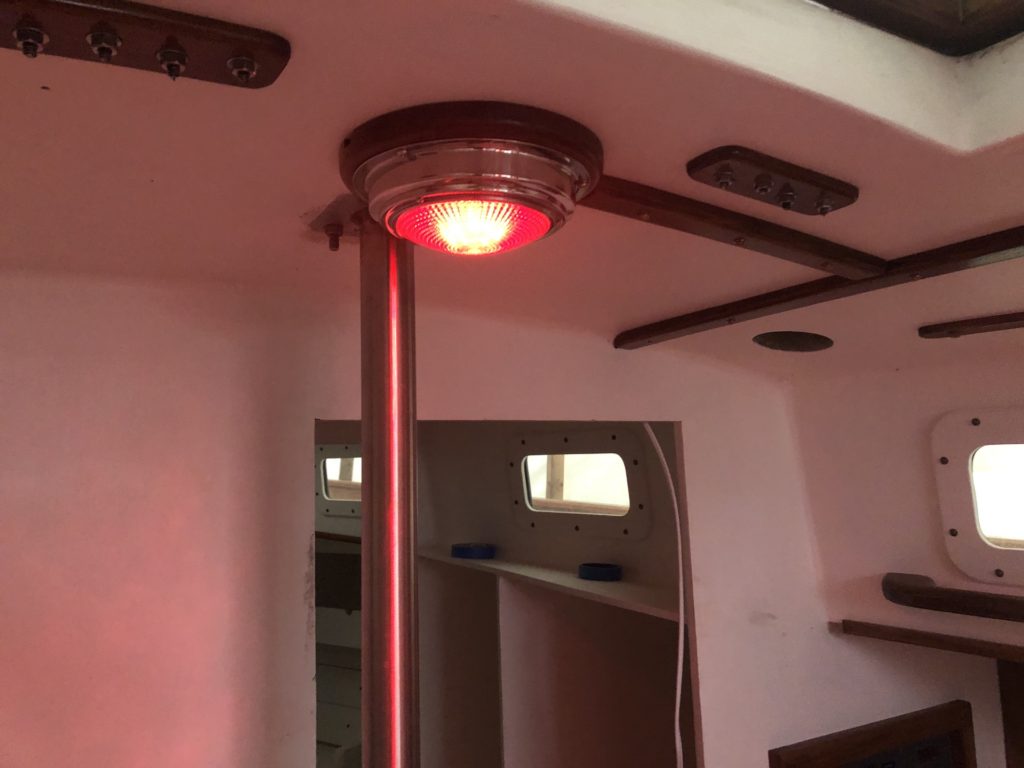
Obviously I tested them:
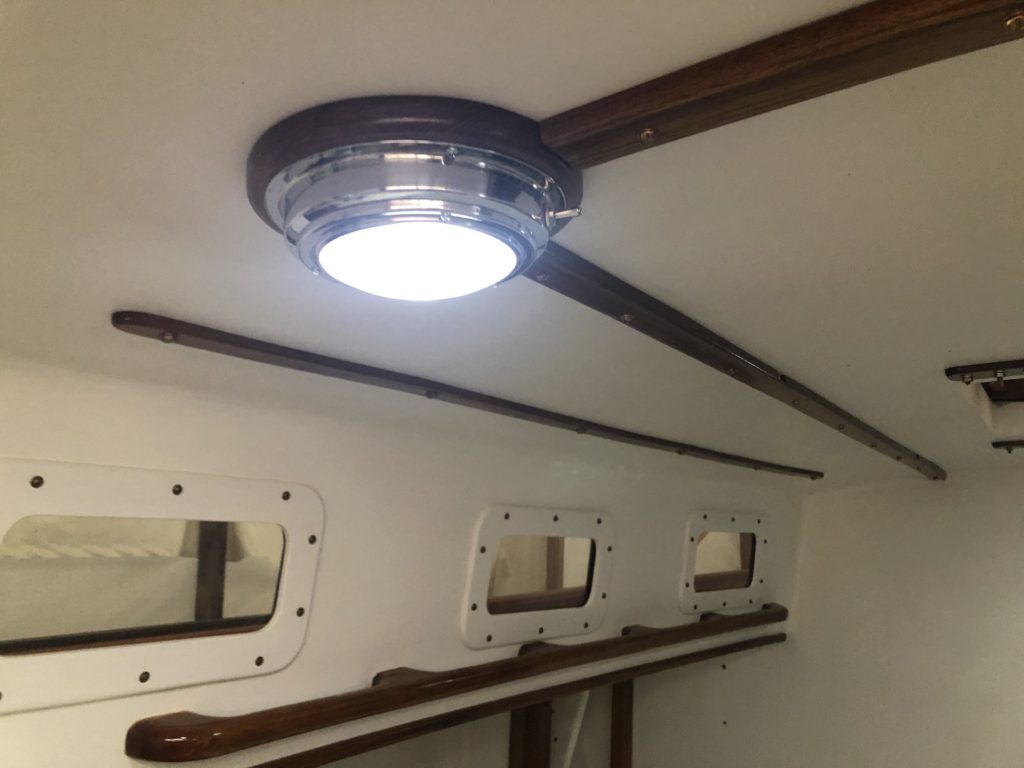
These lights have three settings: Off, on-white, and on-red.
Jean Tammaro
12/28/2021 — 7:06 pm
Looks great!