4/10/16: Bulkheads, Floor Beam
Cutting bulkheads out of 4×8 sheets of plywood often leaves large scraps that are sometimes too small for another piece. In particular, the scrap from a recent cut was just a bit too small to make the forepeak bulkhead. The ability to join pieces of plywood, then, becomes a potential time-saving and money-saving measure (and in this case, an opportunity to practice a scarf joint on a small piece). The image below shows the scarf in the big piece.
Next, a scarf was cut into the smaller piece, and this piece was then trimmed to fit the scarf in the larger piece. These pieces were then “glued up” and the bulkhead was cut out after the epoxy had dried. (Not shown)
More on the forepeak bulkhead later.
For now, recall that the port-side bulkhead that separates the head and the forward cabin must be installed in two pieces. The first piece has been secured with light tabbing and glue blocks (see page dated 4/4/2016). A second, vertical piece must now be attached to widen the bulkhead, thus defining the door opening to the forward cabin. There is one untouched 4×8 sheet of the plywood in the workshop, but there are a few big scraps that might be scarfed together so that the big piece can be saved for other parts. Thus, this add-on piece will be made from two big scraps.
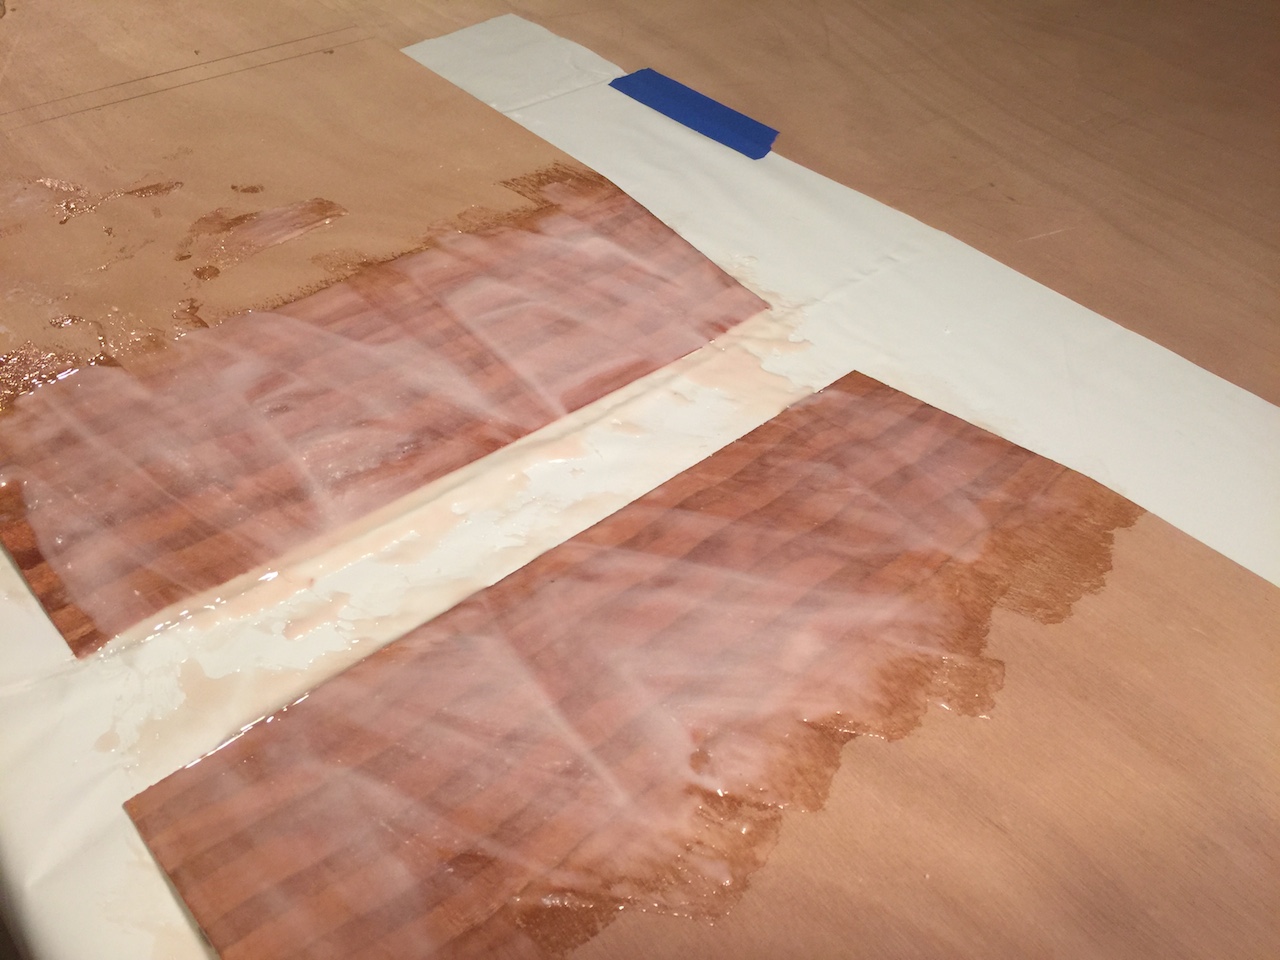
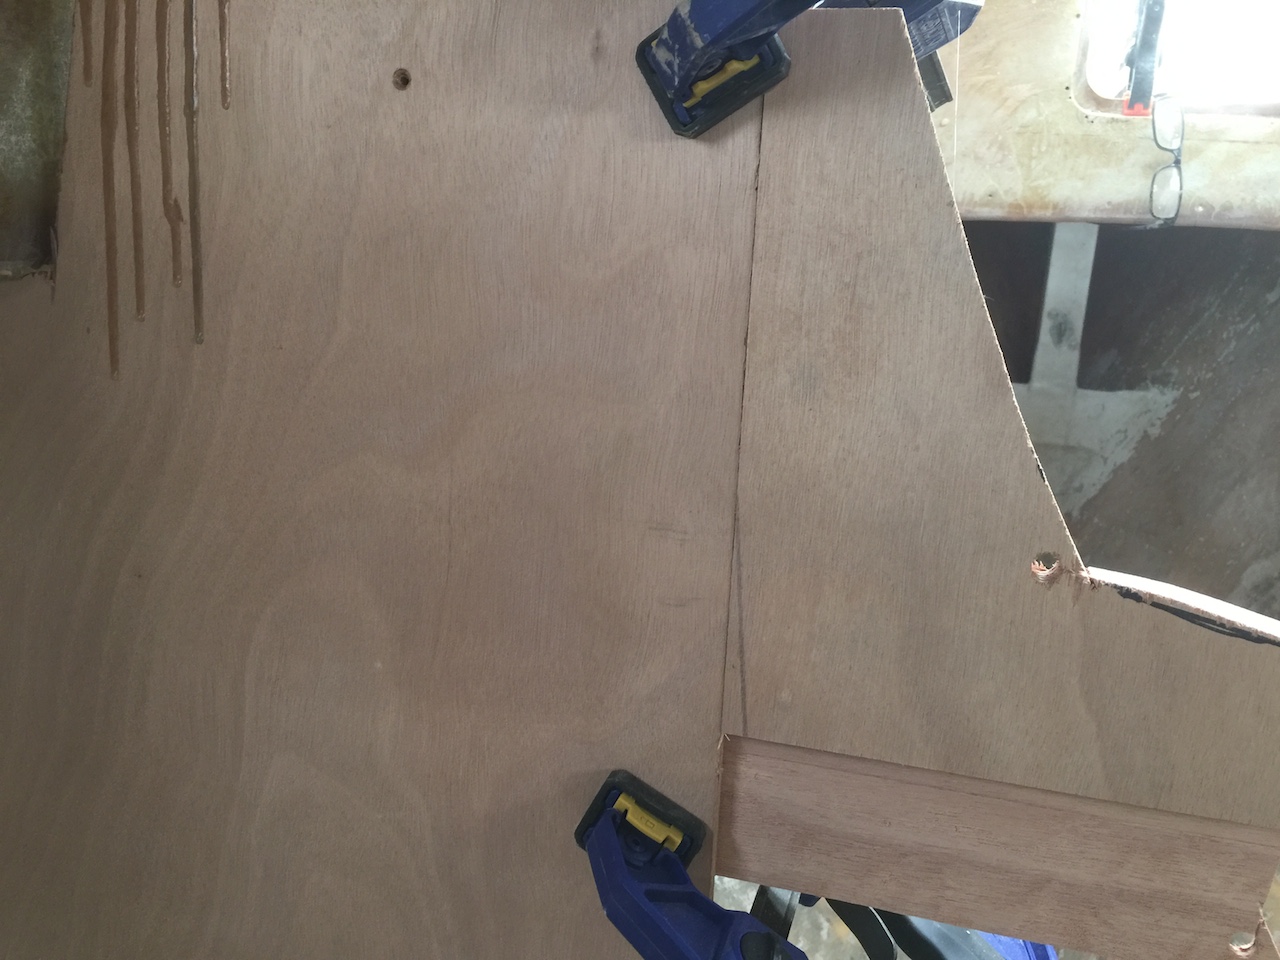
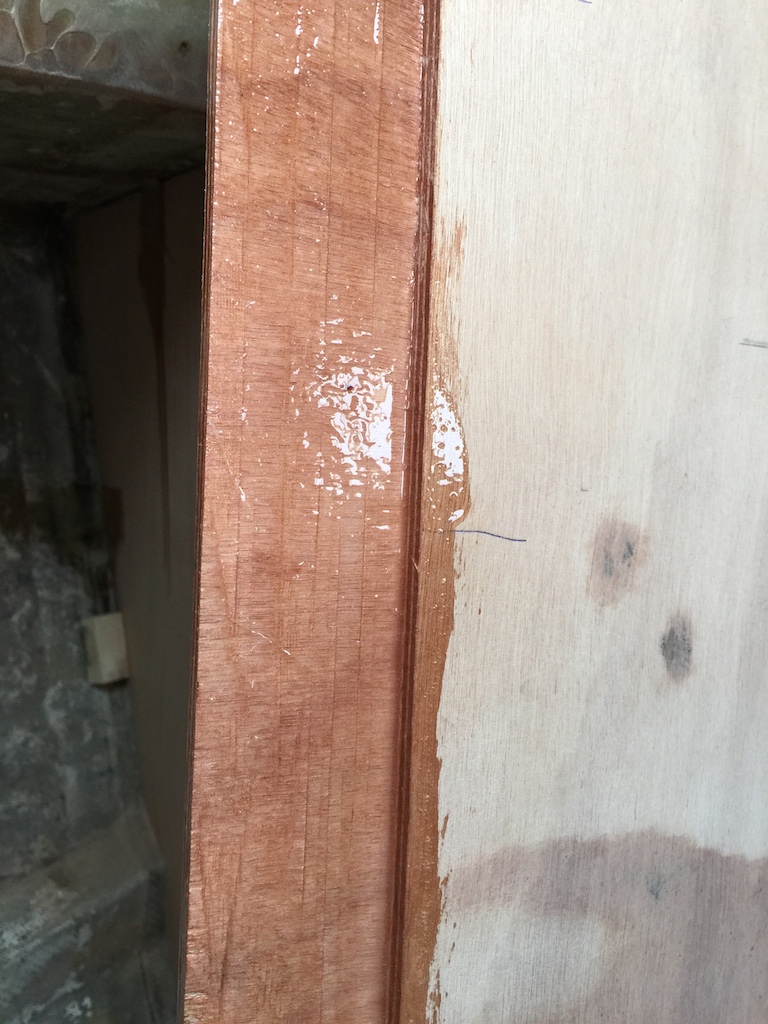
The following image shows the scarf in one of the two parts. The mess on the right is a mistake that was caused by improper placement of the scarf jig.
Here are the two pieces, where the scarfs have received a layer of un-thickened epoxy, which will be absorbed by all that exposed end grain. The mixing cup contains (too much) thickened epoxy that was applied to the joint with a chip brush.
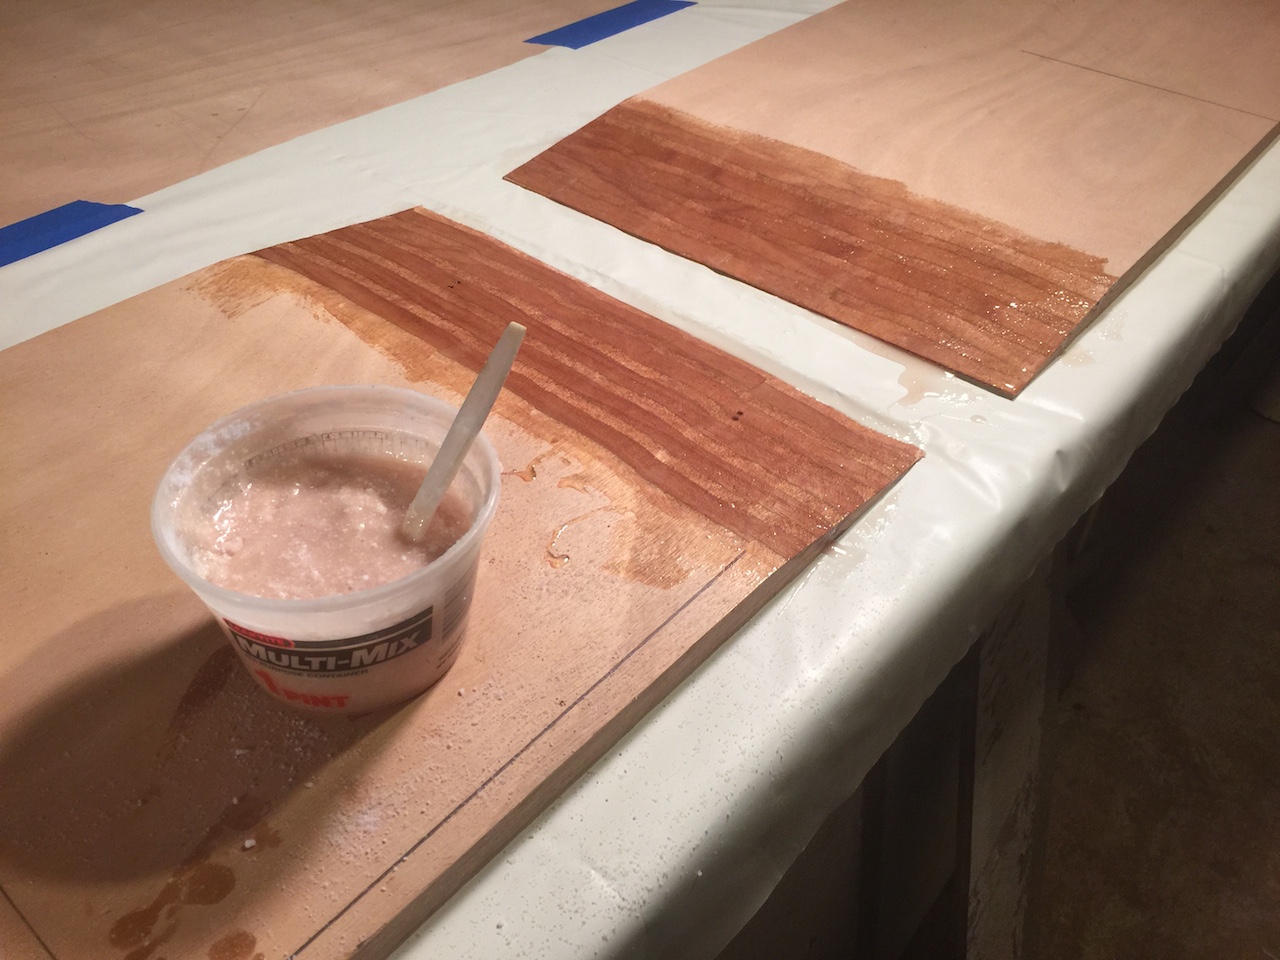
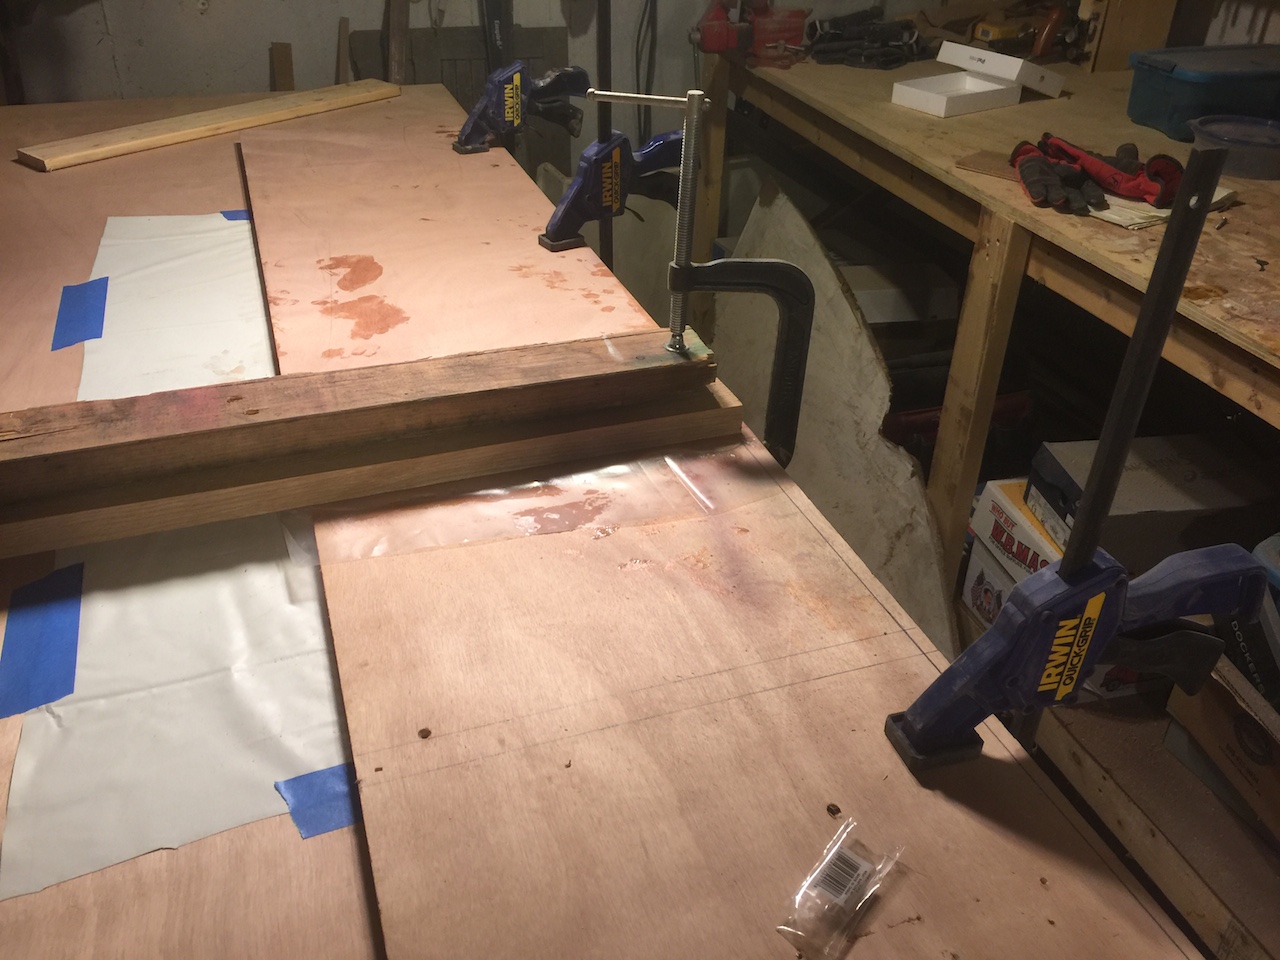
The board were then aligned and clamped up and left to dry.
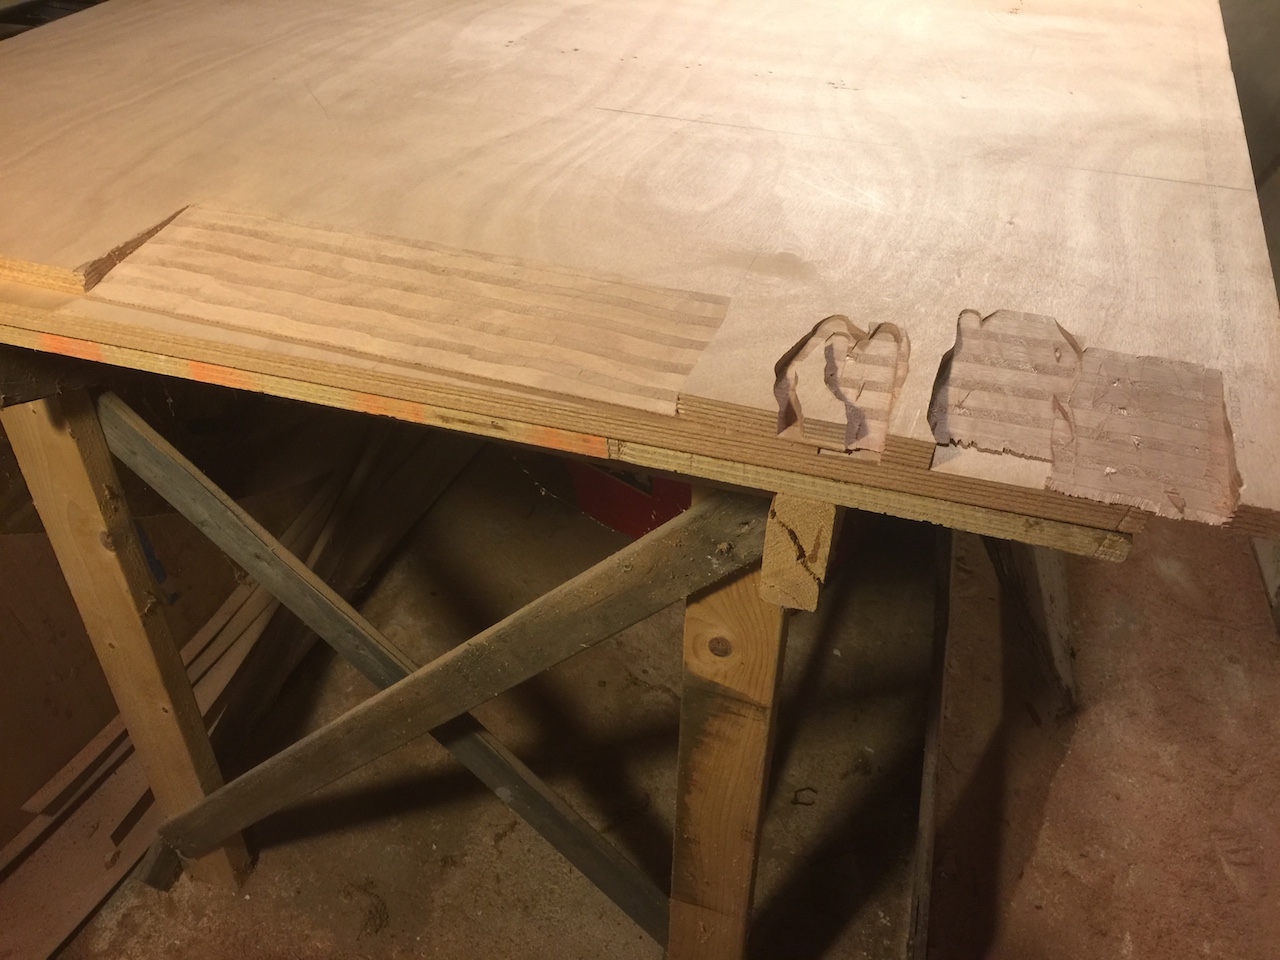
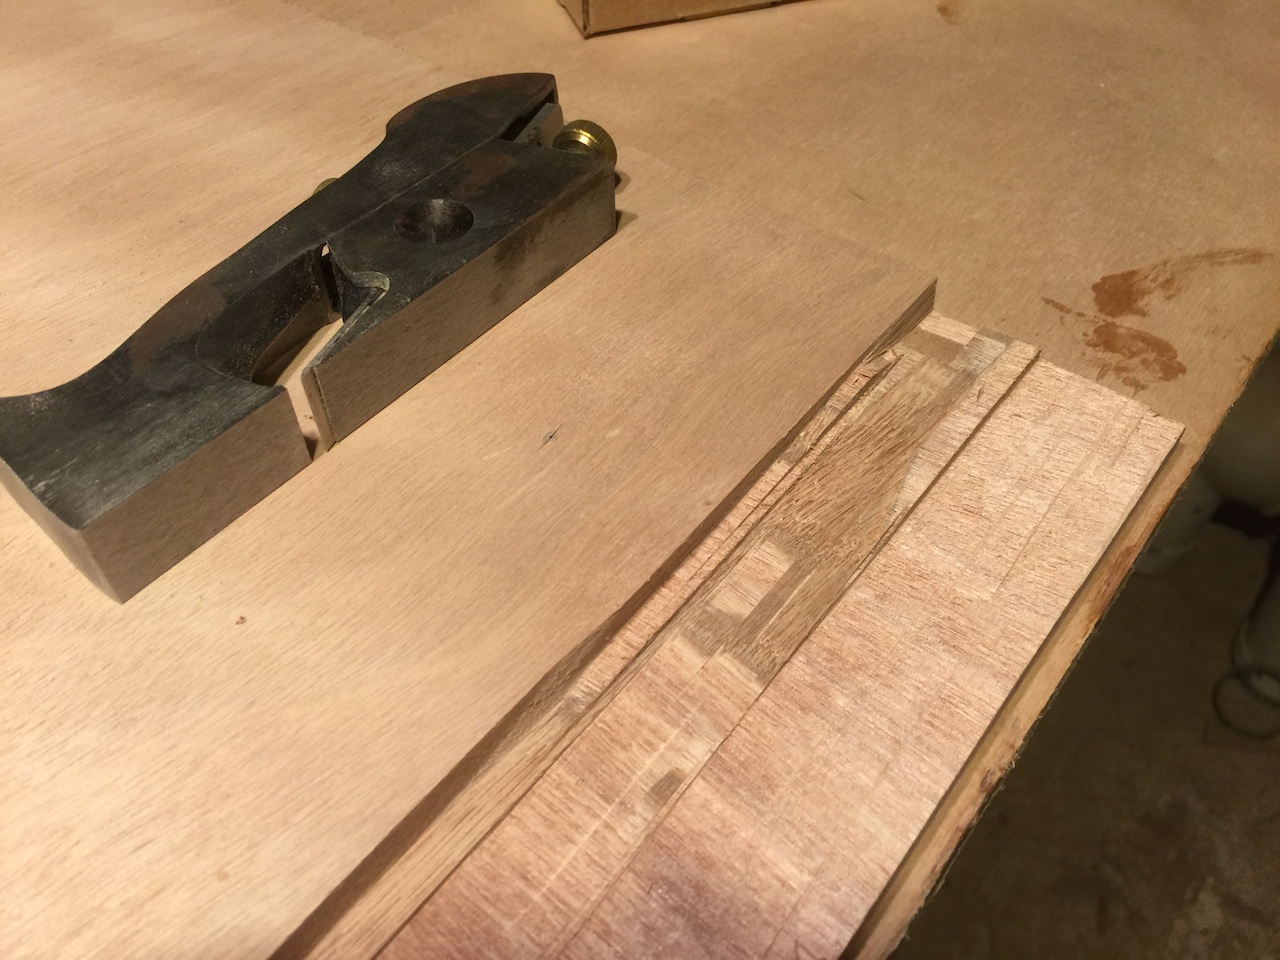
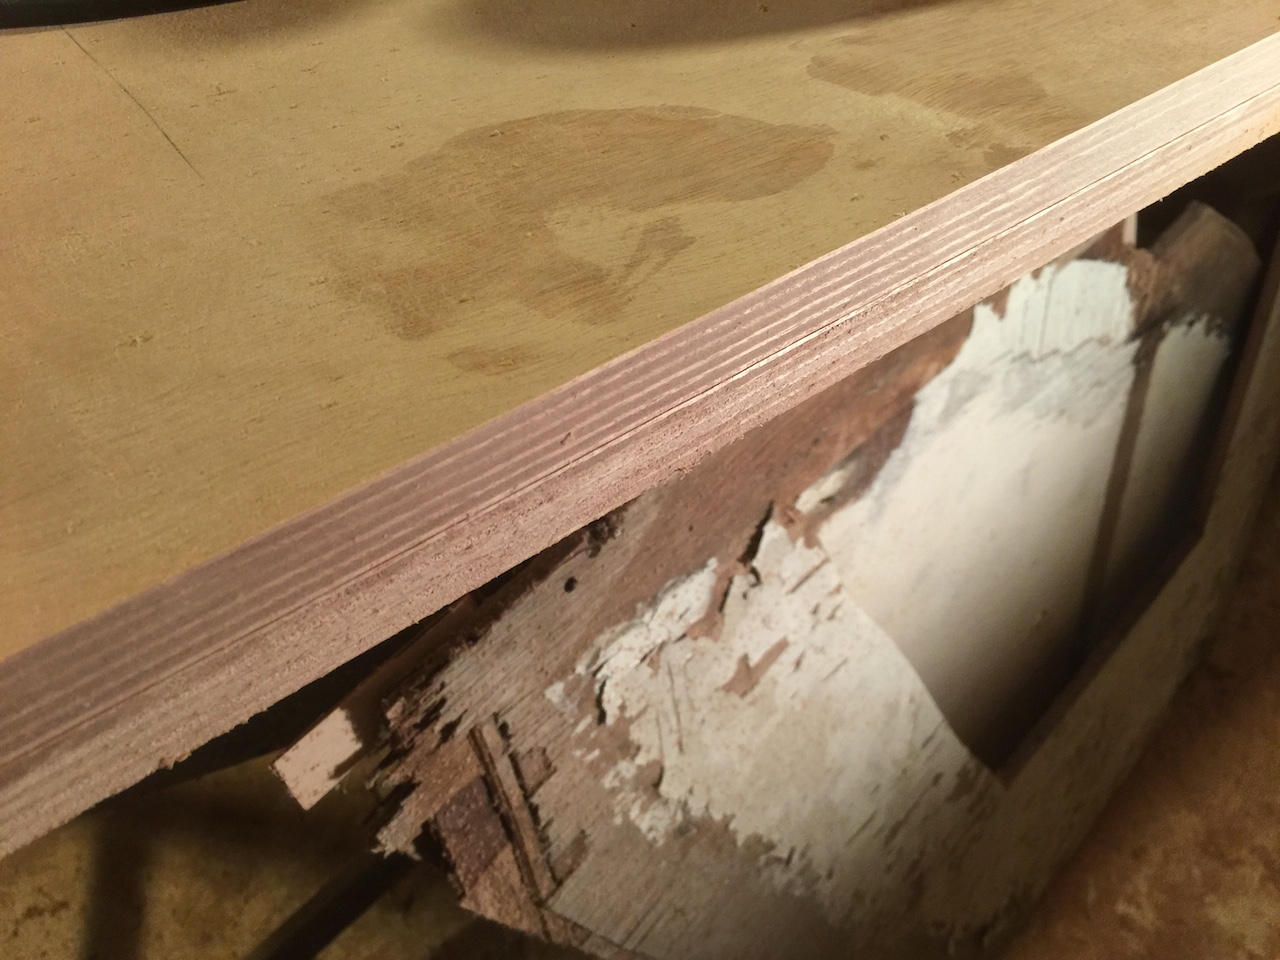
Here is one side of the finished scarf. The jig makes a 12-1 scarf, whereby the joint is 12 times longer than the board thickness, resulting in a big “glue” area and a very strong joint. This piece will be glued to the bulkhead with a wide rabbet joint, where the rabbets were made with the table saw and dado set.
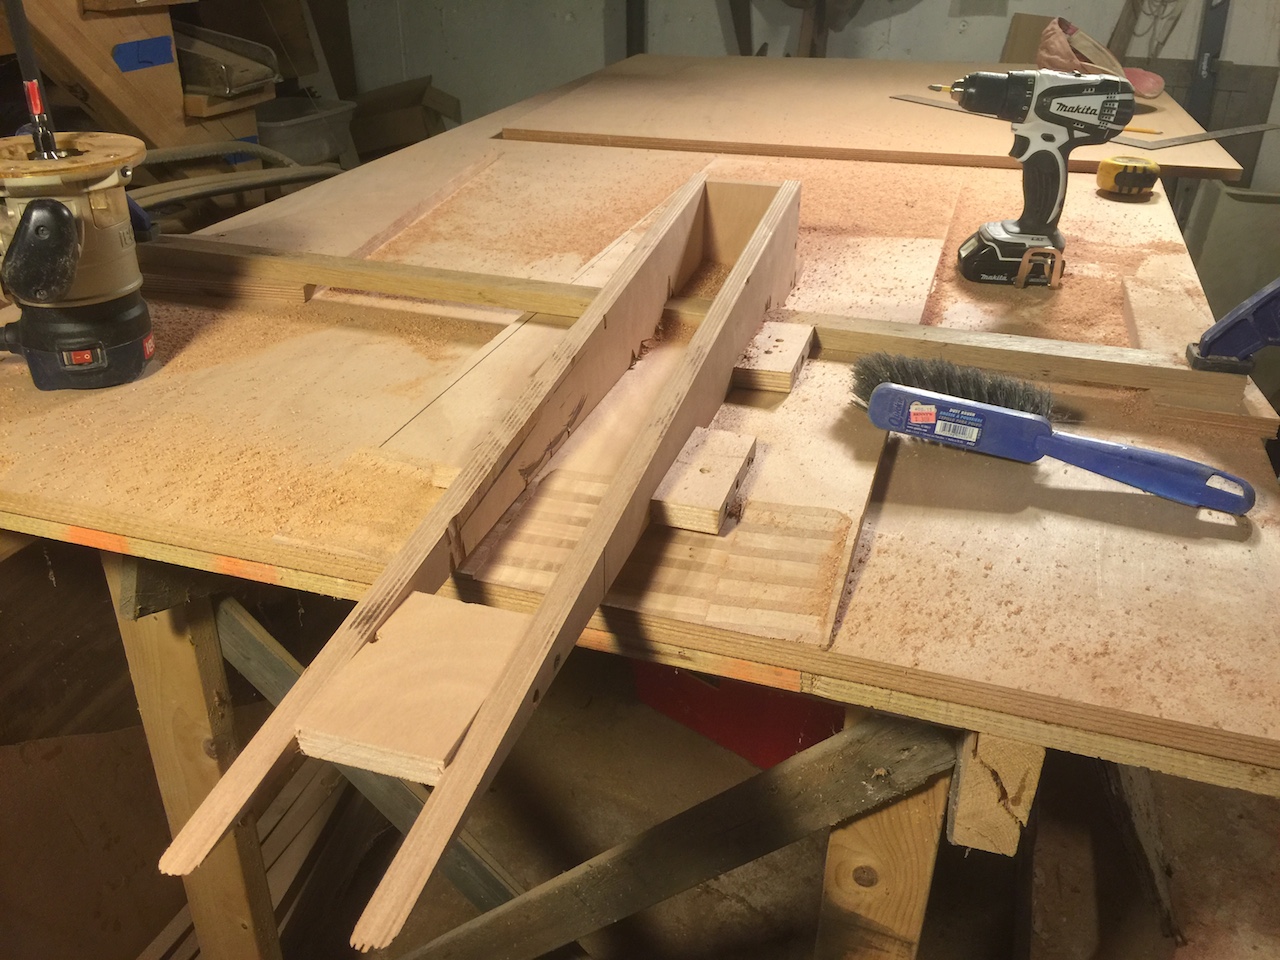
Before making the rabbet on the real thing, however, a scrap piece was used to ascertain the proper width and depth of the rabbet. “Measure twice, cut once” we say, but this time it was measure, test, measure again, test again, then on to the real thing.
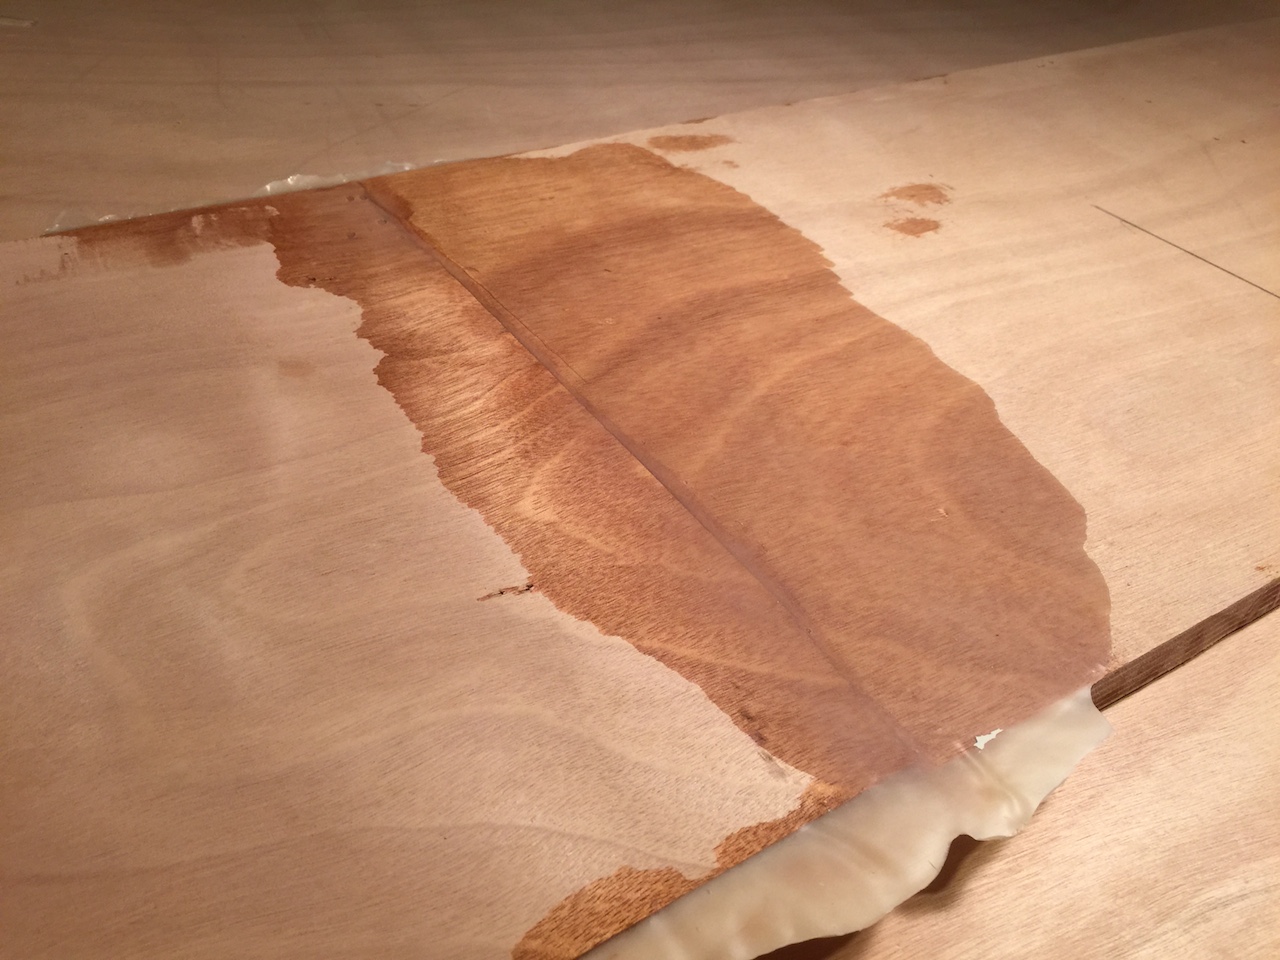
The next photo shows the rabbet, where the discolored area marks the location of the scarf.
Running long boards over the dado set on a relatively short table saw will usually result in some raised areas at the end of the rabbet. The rabbet plane, whose blade spans the whole width of the plane, is a great tool for taking down these raised spots.
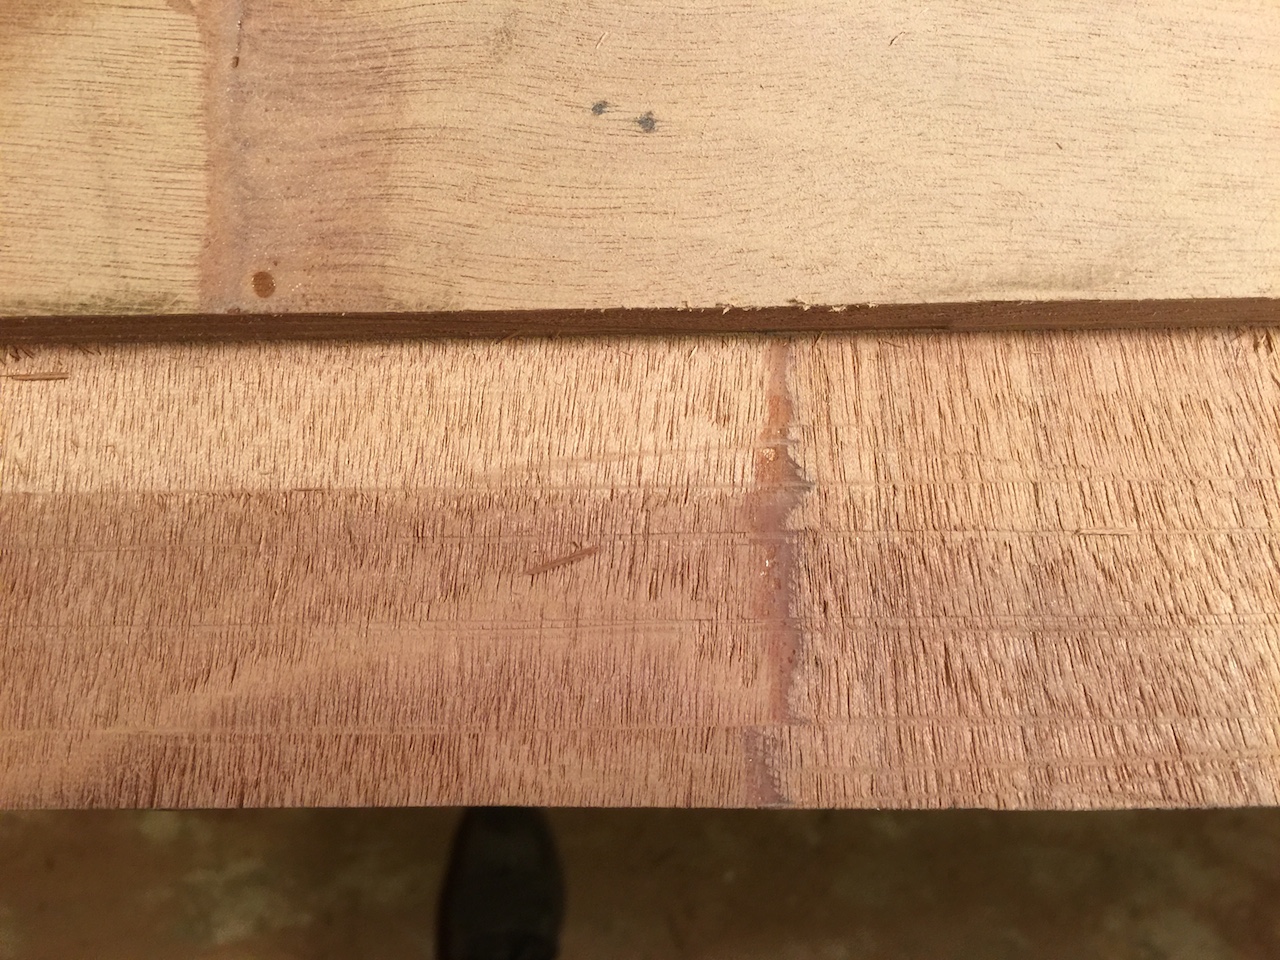
Incidentally, here is the rabbet at location of the scarf, where the glue lines are, obviously, offset.
Next, the piece was dry-fitted to the bulkhead, and measurements were made to determine a cut that would make the door opening vertical and square to the starboard bulkhead.
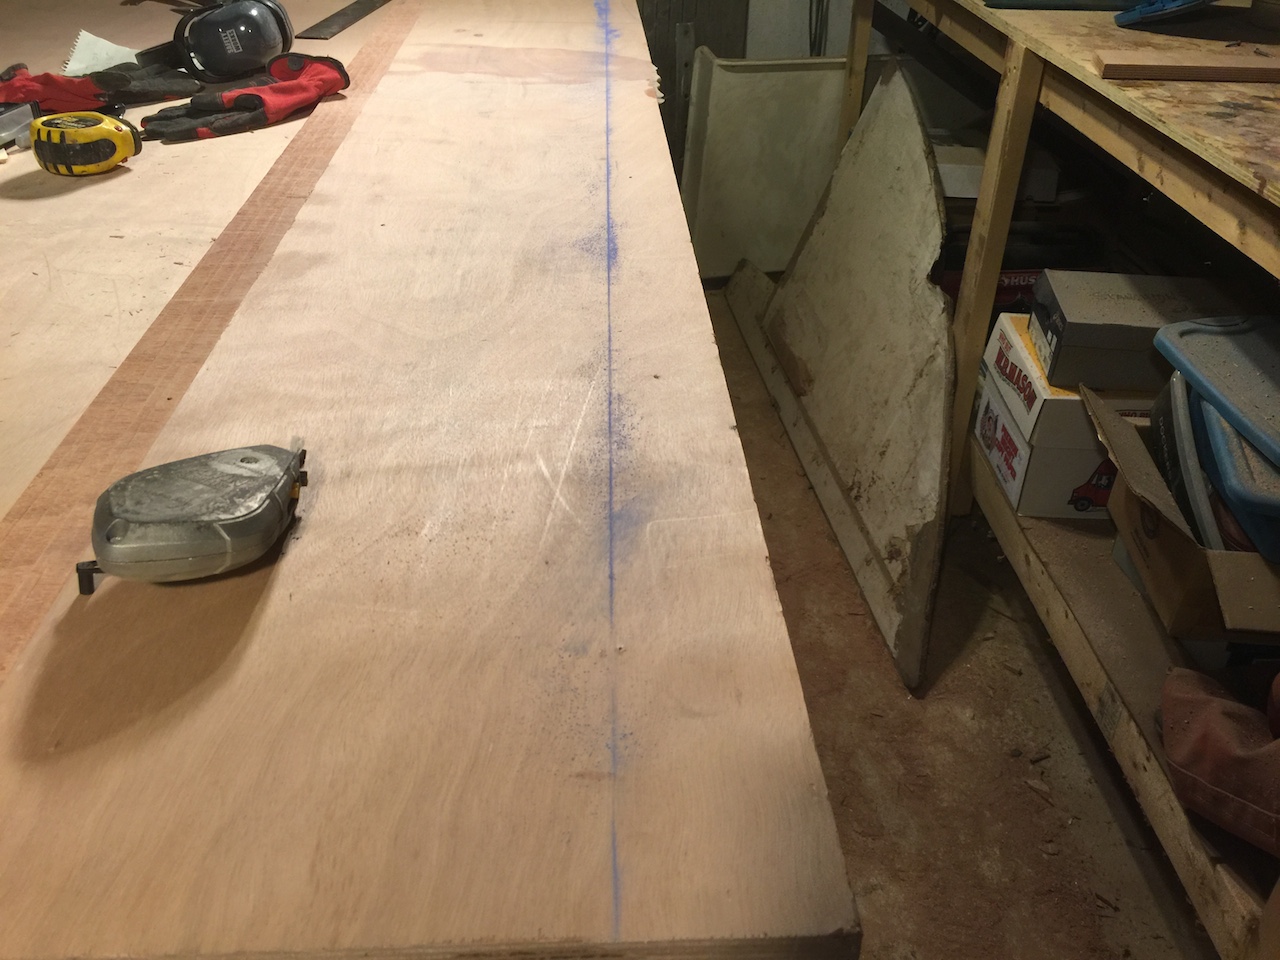
Once back in the workshop,a chalkline was snapped onto the board to define the part to be removed. Most of the unwanted material was removed with the jig saw.
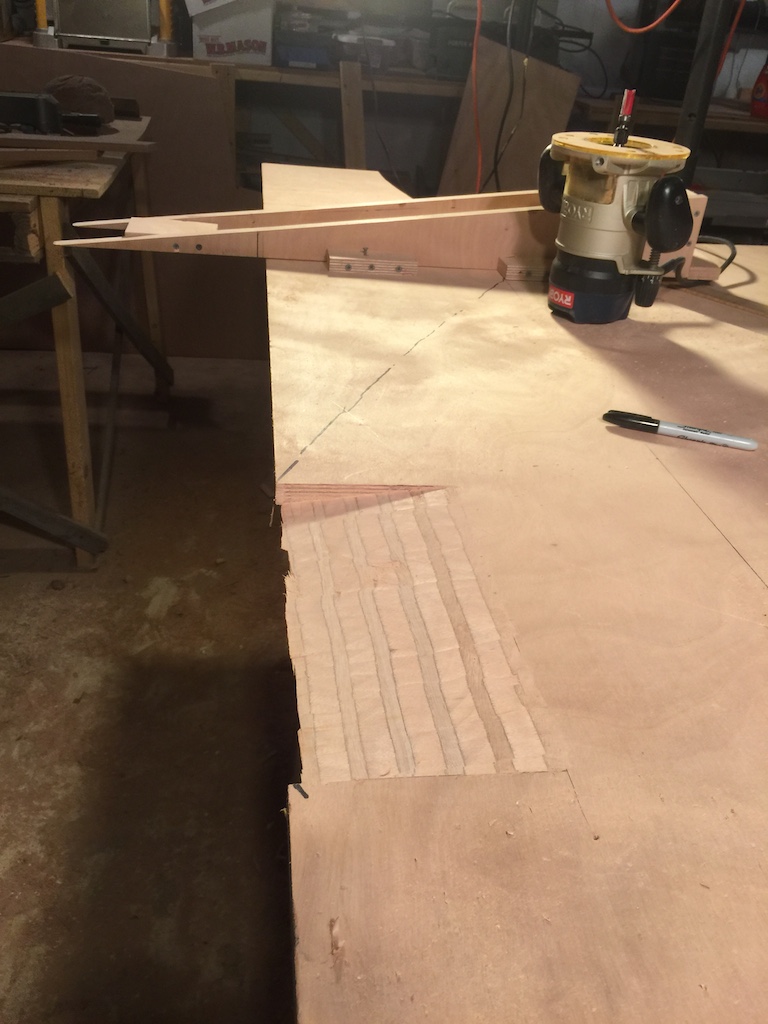
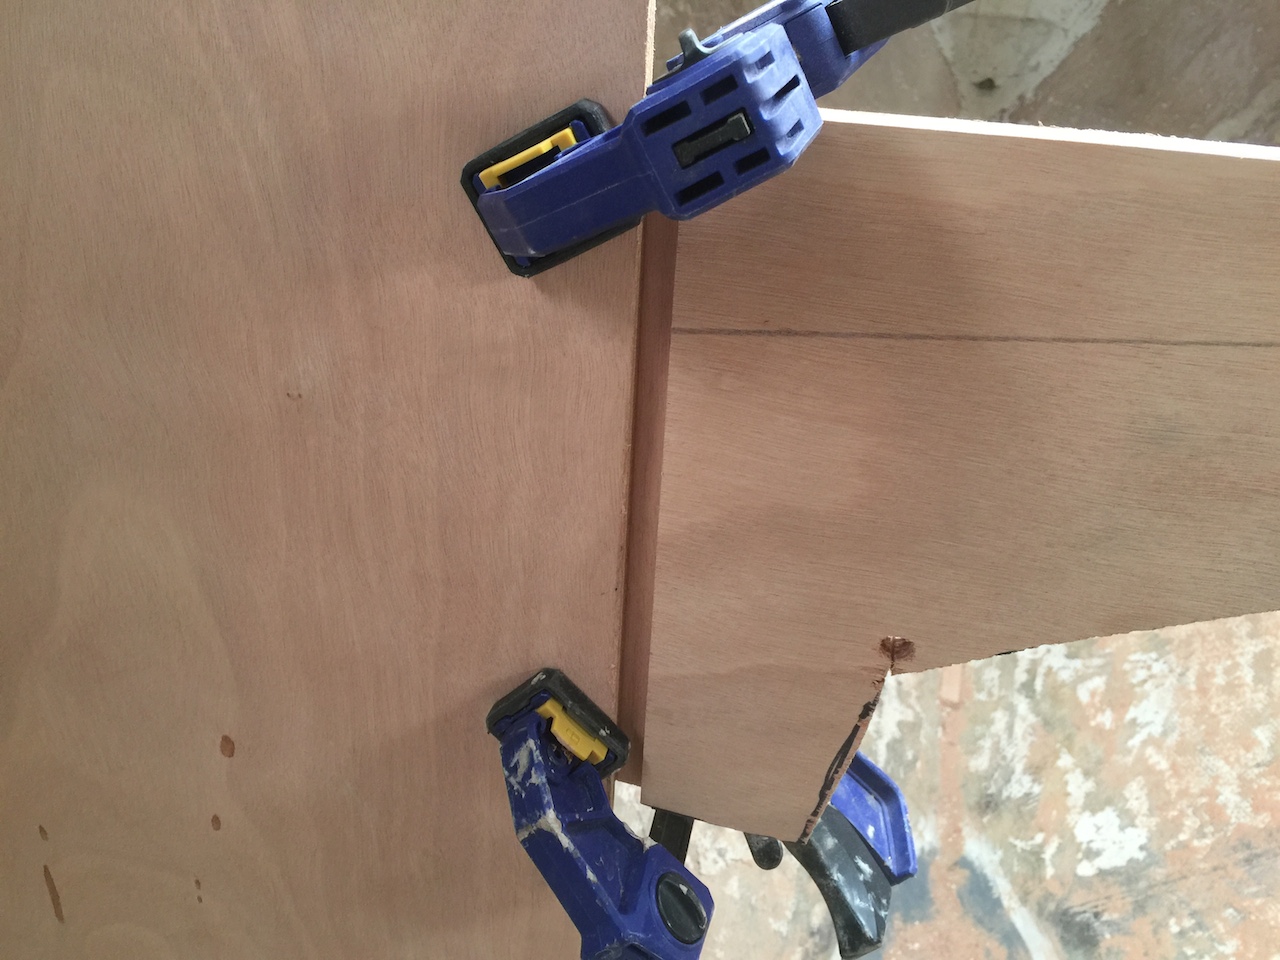
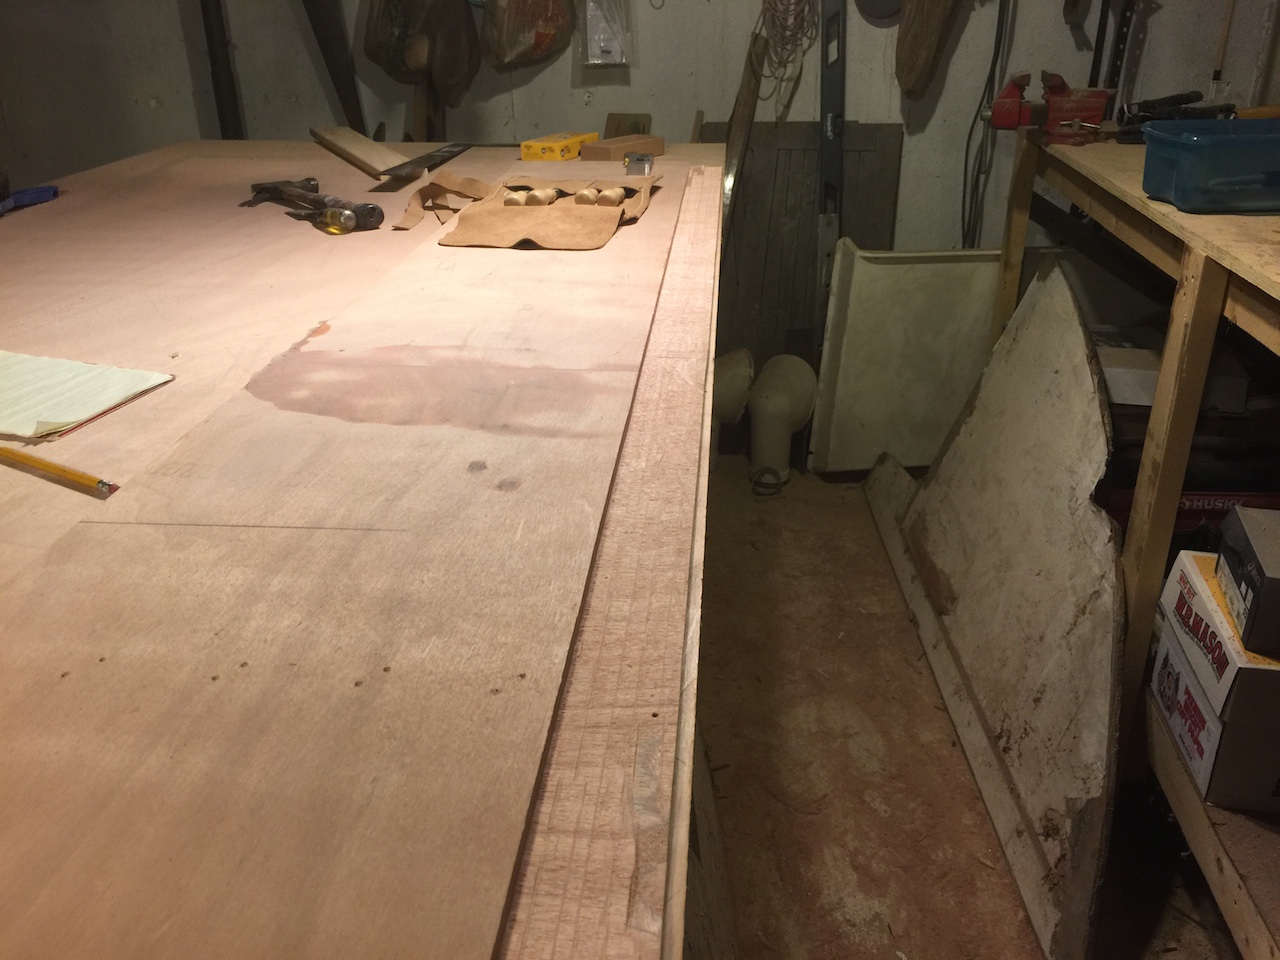
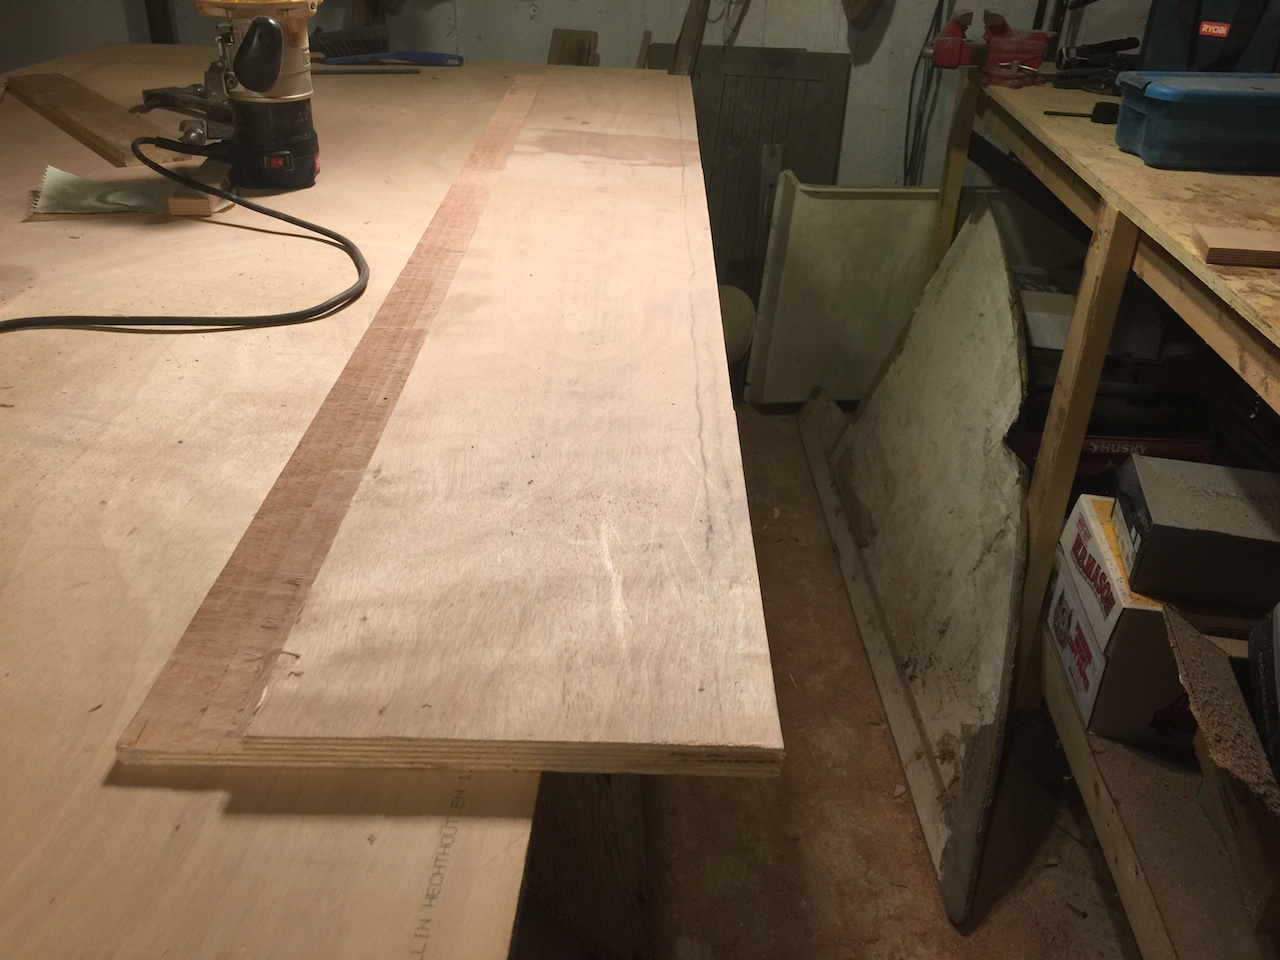
The rest was taken off with a router, using a straight bit with a roller-bearing guide. In the photo below, the upper board is the piece, which sits on a a straight edge (also plywood) along which the bearing rolls. The straight edge is aligned with the chalk line, and had to be moved three times to make up the whole length of the piece. (Note the old bulkheads underneath the workbench.)
The following photo shows the finished piece, ready to be moved up the boat and glued up.
First, a coat of un-thickened epoxy is applied to each piece, then thickened epoxy (not shown).
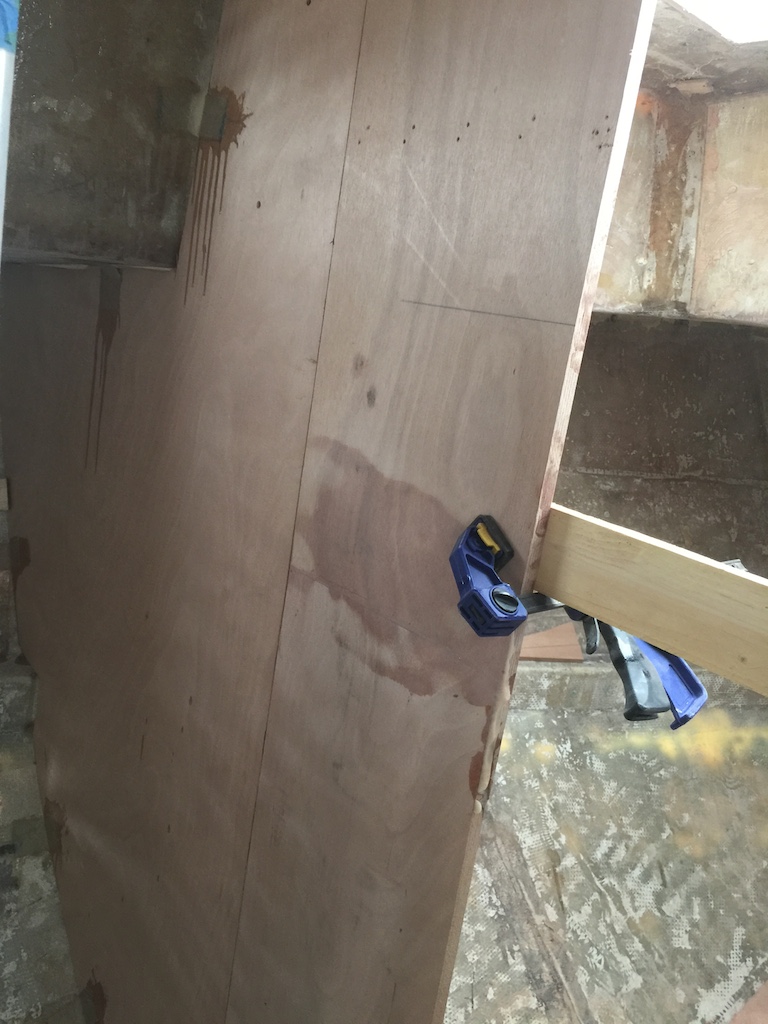
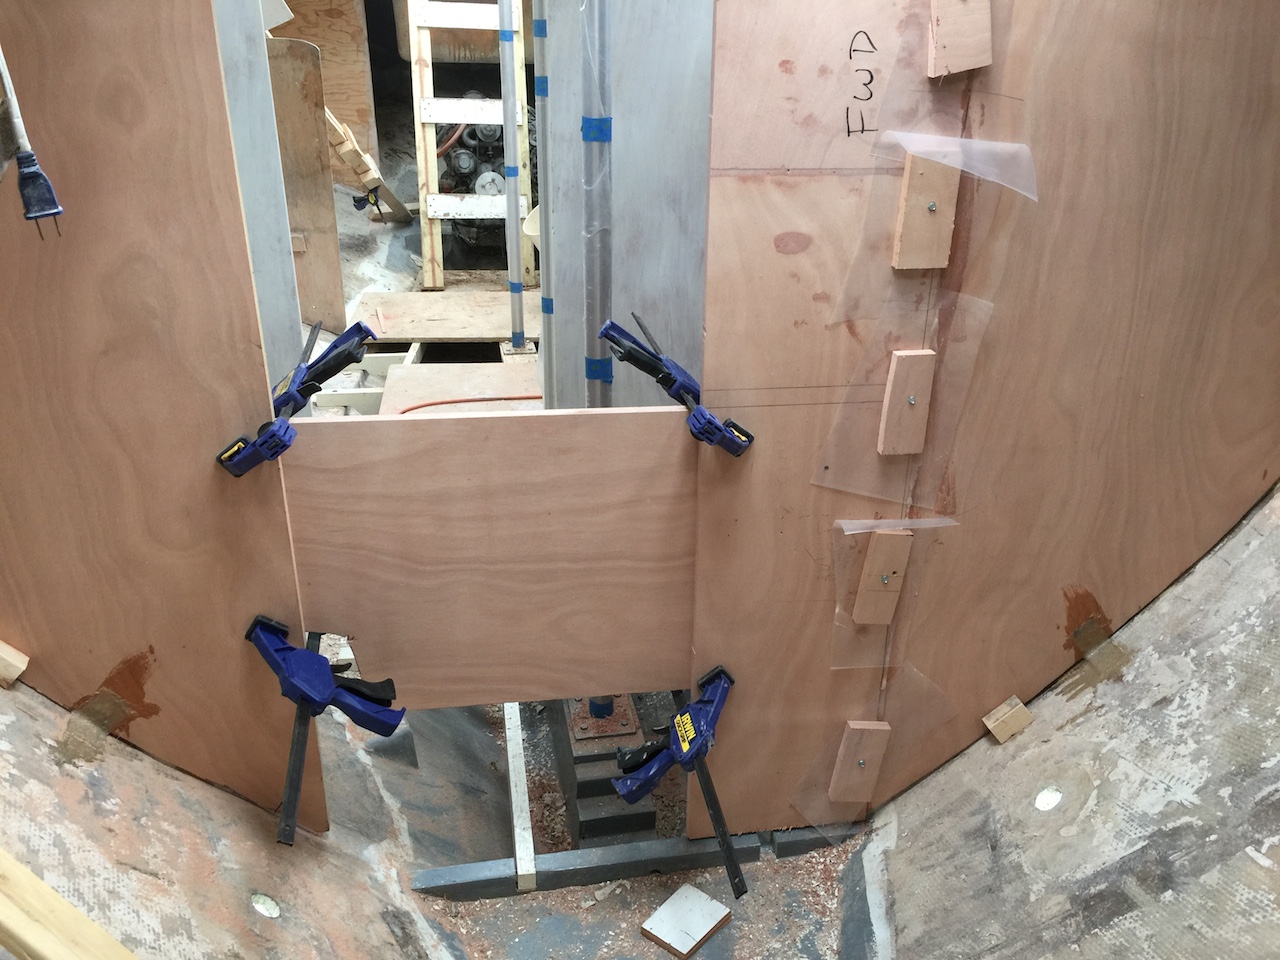
Glue-up proceeded by first through-bolting scrap blocks at intervals along the joint. These were eventually tightened as clamps for the joint. First, however, a long, wide board (shown) and a straight edge (not shown) were clamped up so that they overlapped both bulkheads, ensuring that the opposing bulkheads are in the same plane. Next, the bolts were tightened and all was left to dry.
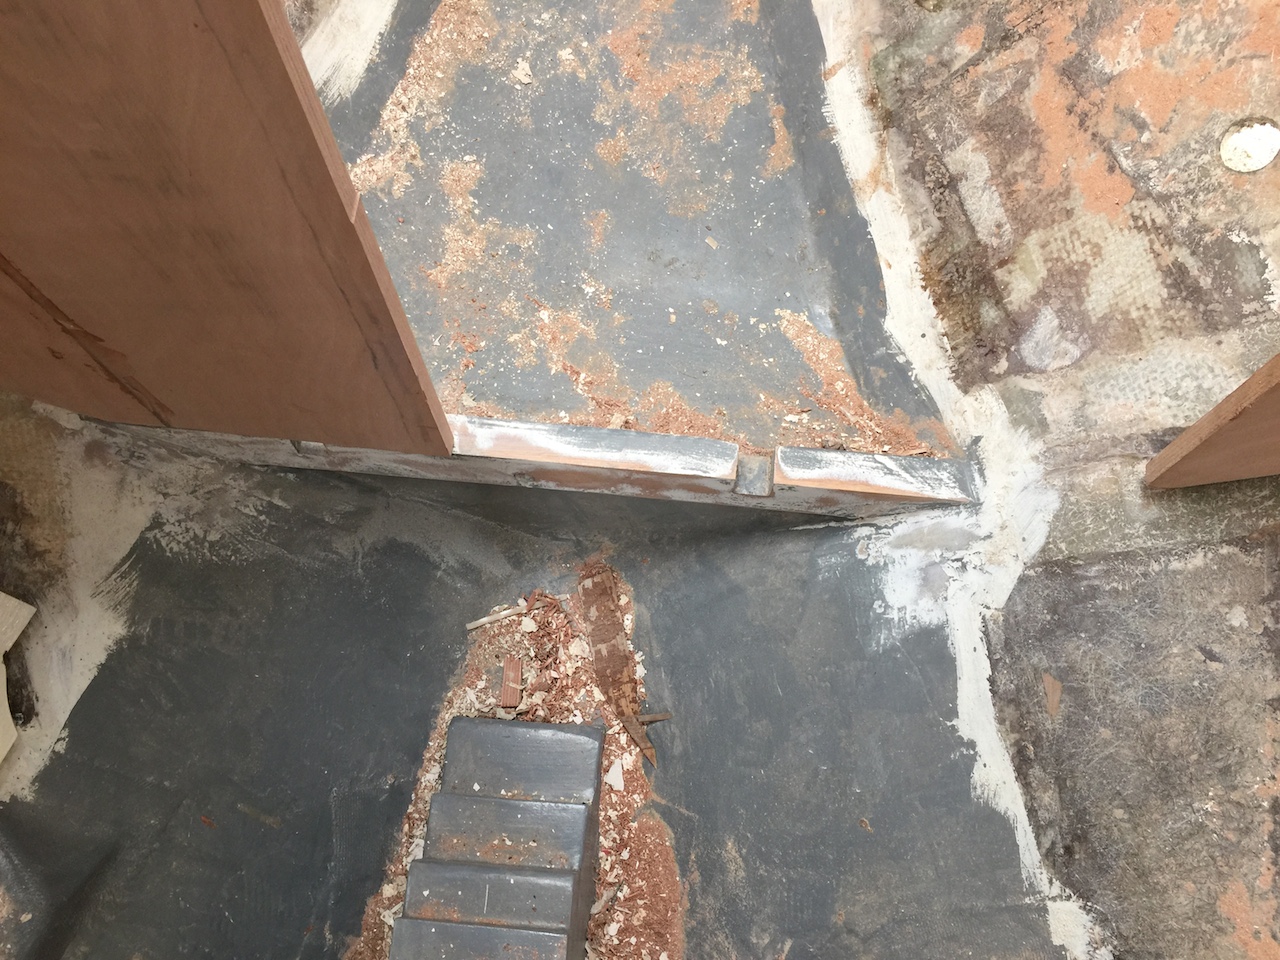
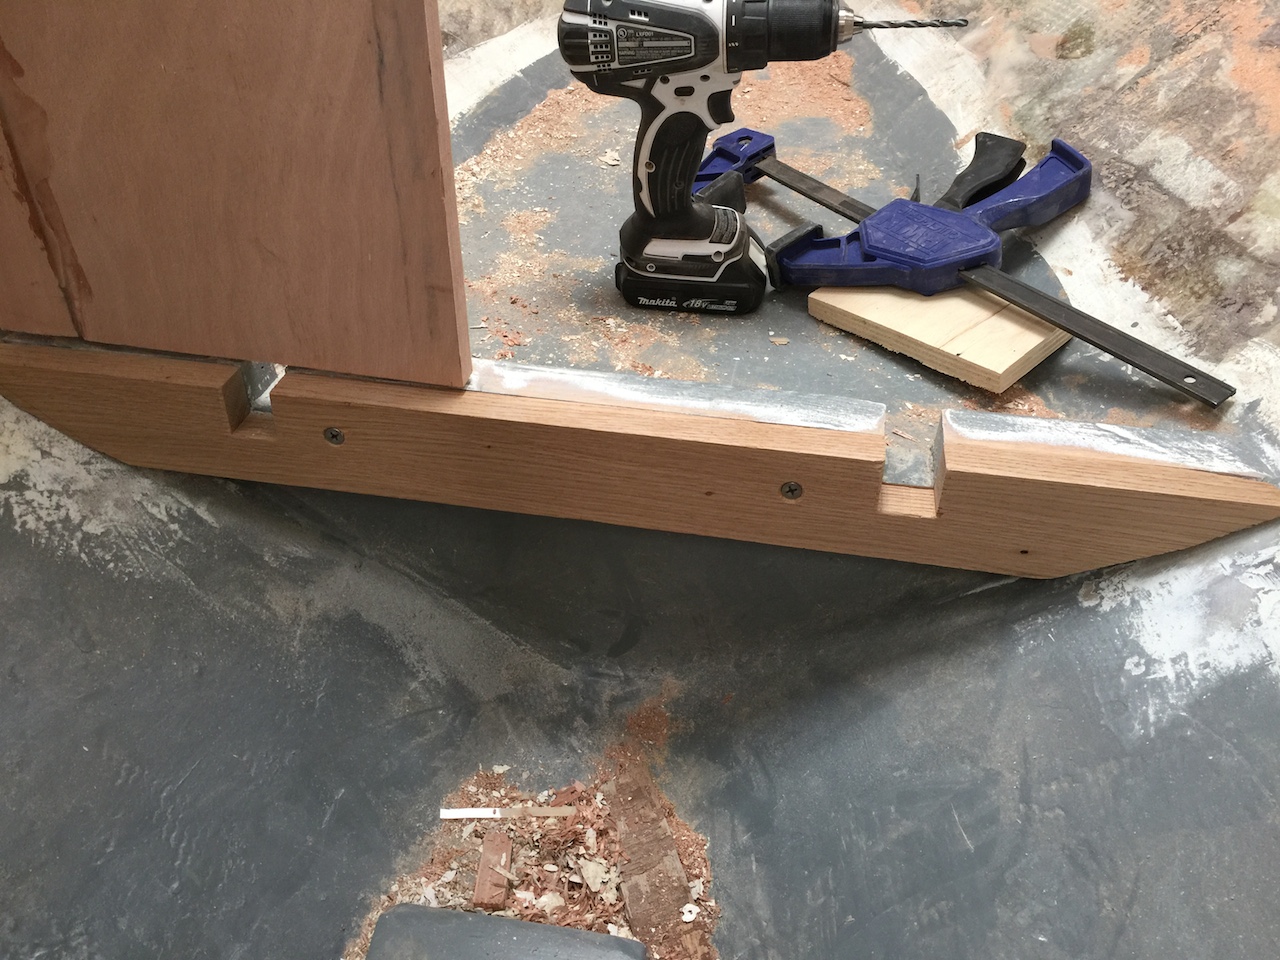
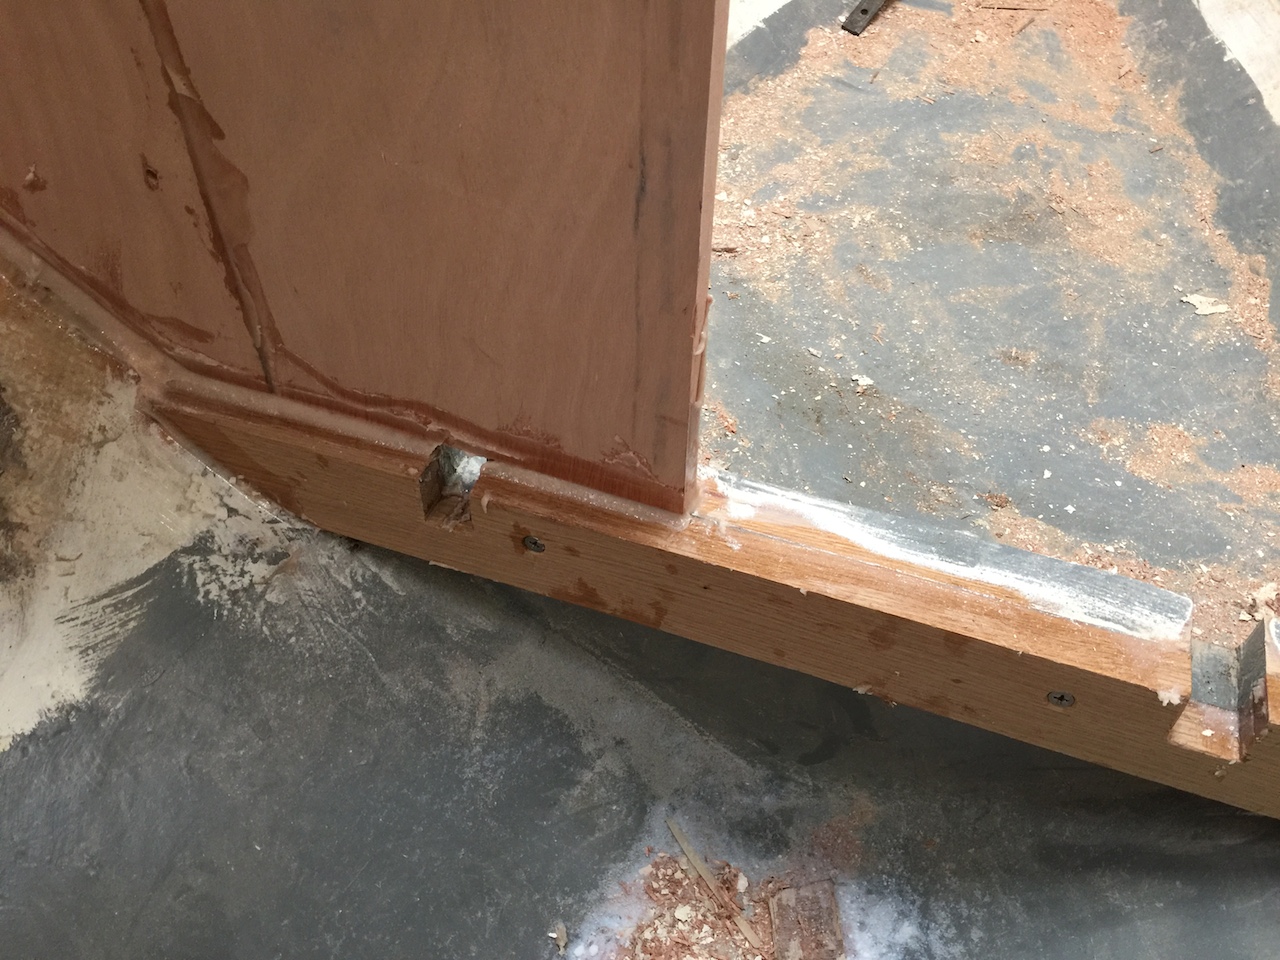
It would be nice for the bulkhead to lay directly on the floor beam here, which was wishful thinking. You can see below that the bulkhead lies a bit aft on the floor beam. It would be easy enough to mill up a piece of white oak and fasten it to the other beam. You can see the dry fit in the second image below.
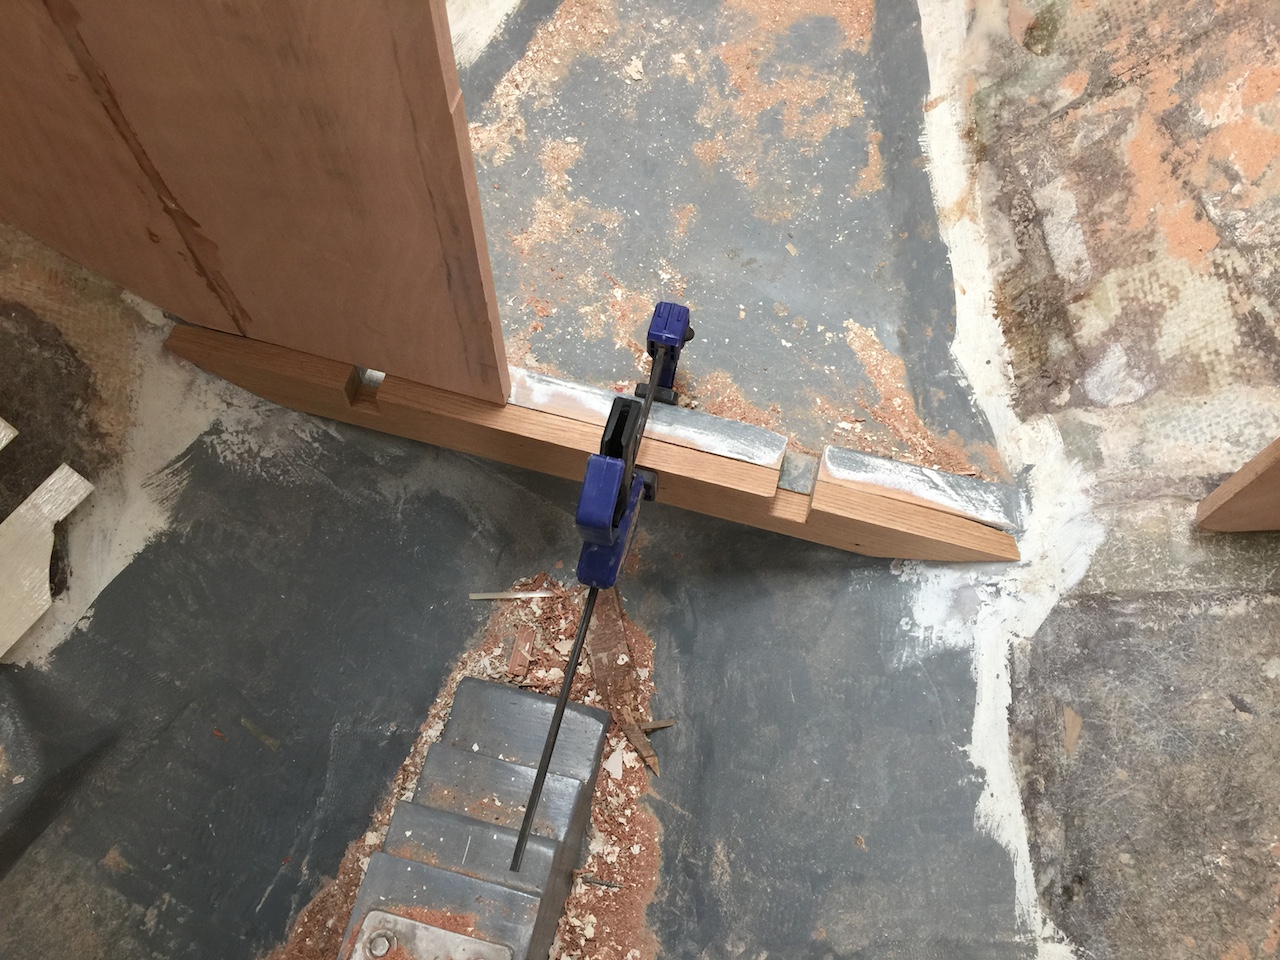
The plan was to join the two pieces with epoxy and bond the new piece to the hull with epoxy. Wet epoxy is very slippery, however, so first two holes were drilled and countersunk so that screws would hold everything together instead of clamps.
Here is the assembled job. Since the epoxy production was already in swing, it was convenient to make epoxy fillets around the edges of the two new bulkheads.
Next, all this epoxy will be washed, then sanded in preparation for fiberglass tabbing, and eventually primer. Meanwhile, work will continue in the forepeak, preparing that area for paint so that the forepeak bulkhead may be installed.