5/31/20: Hatches III
The plexiglass arrived from California.
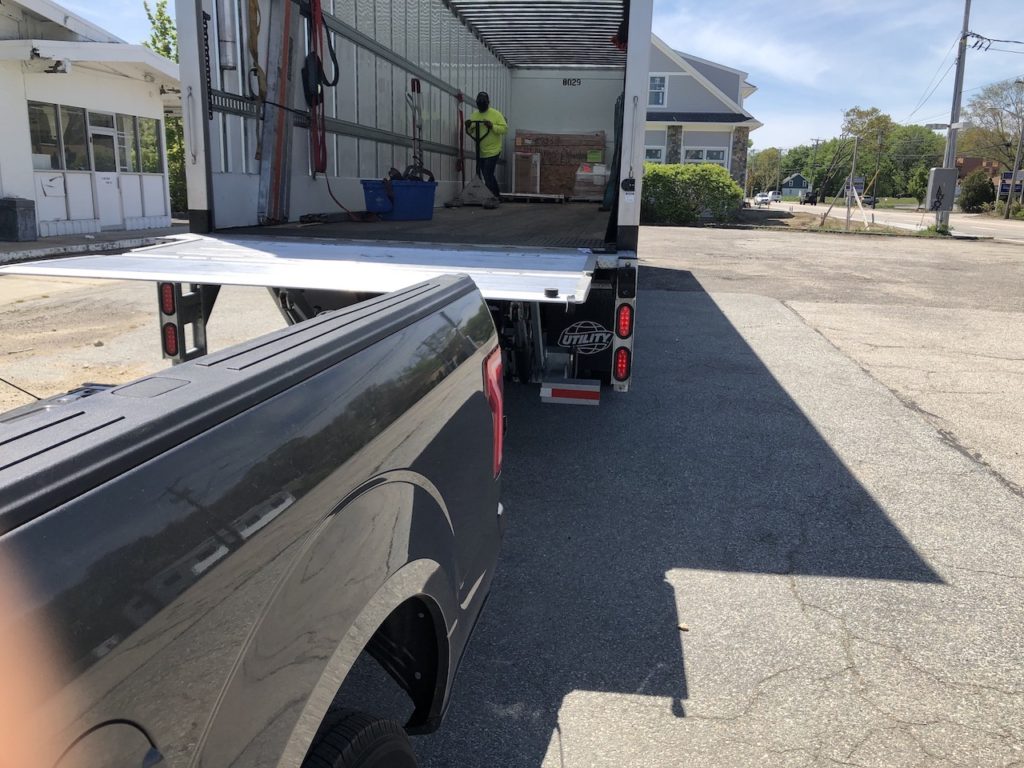
Two sheets of “gray” plexiglass, 1/2 inch thick, 4 foot by 7 foot sheets.
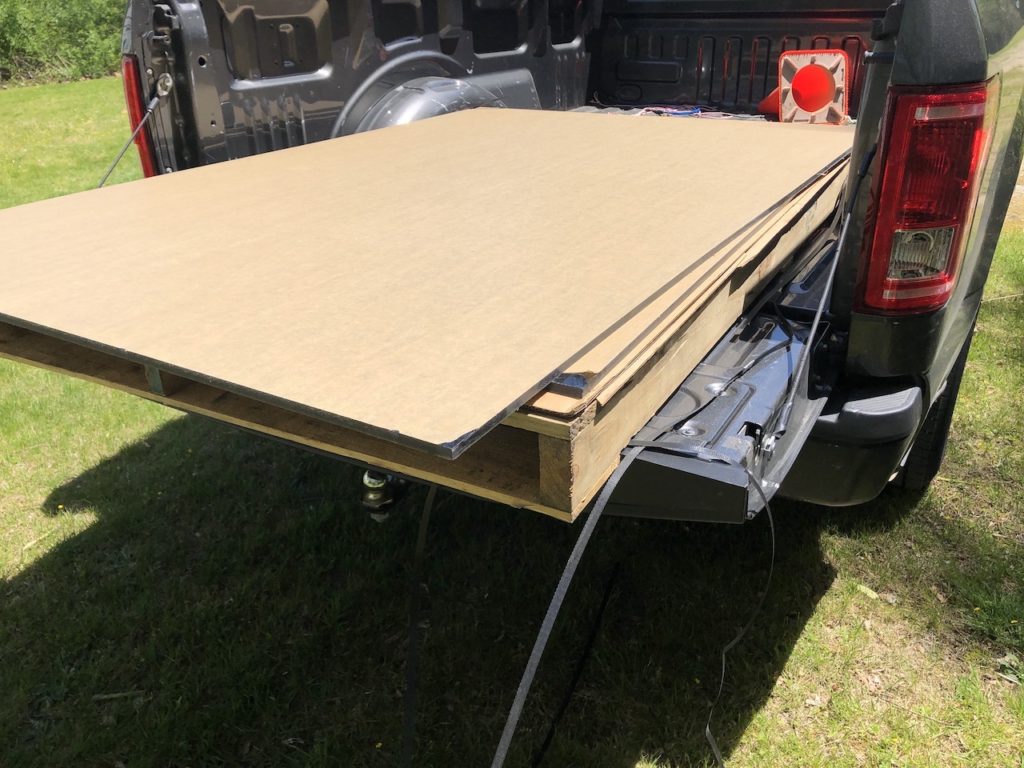
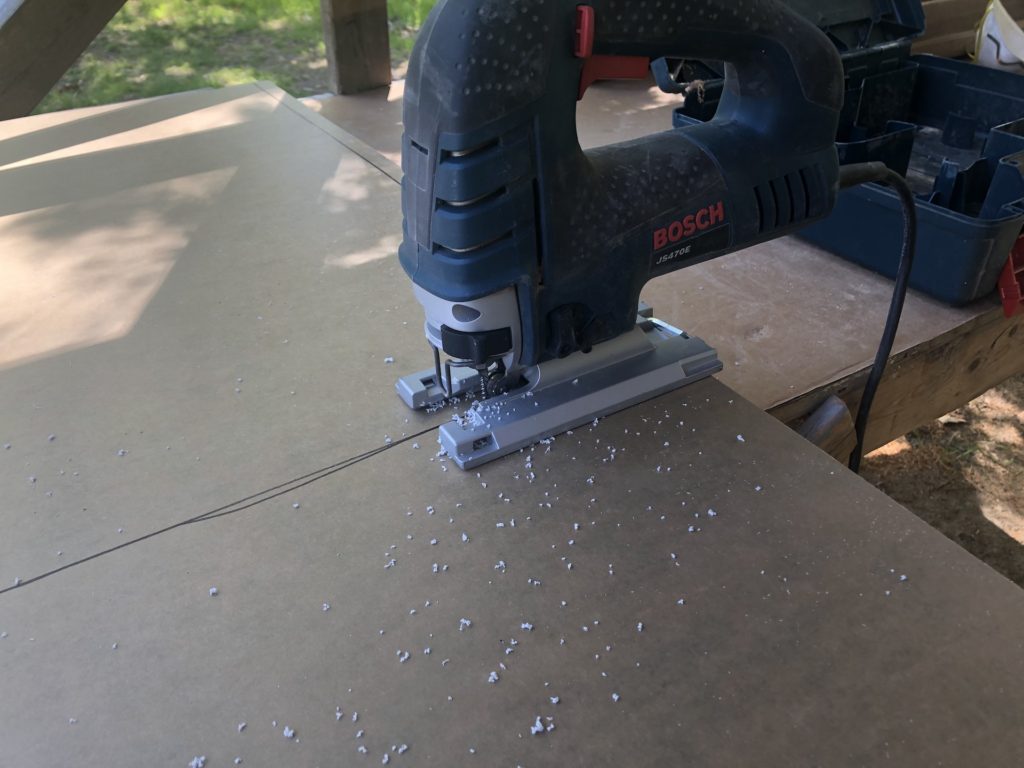
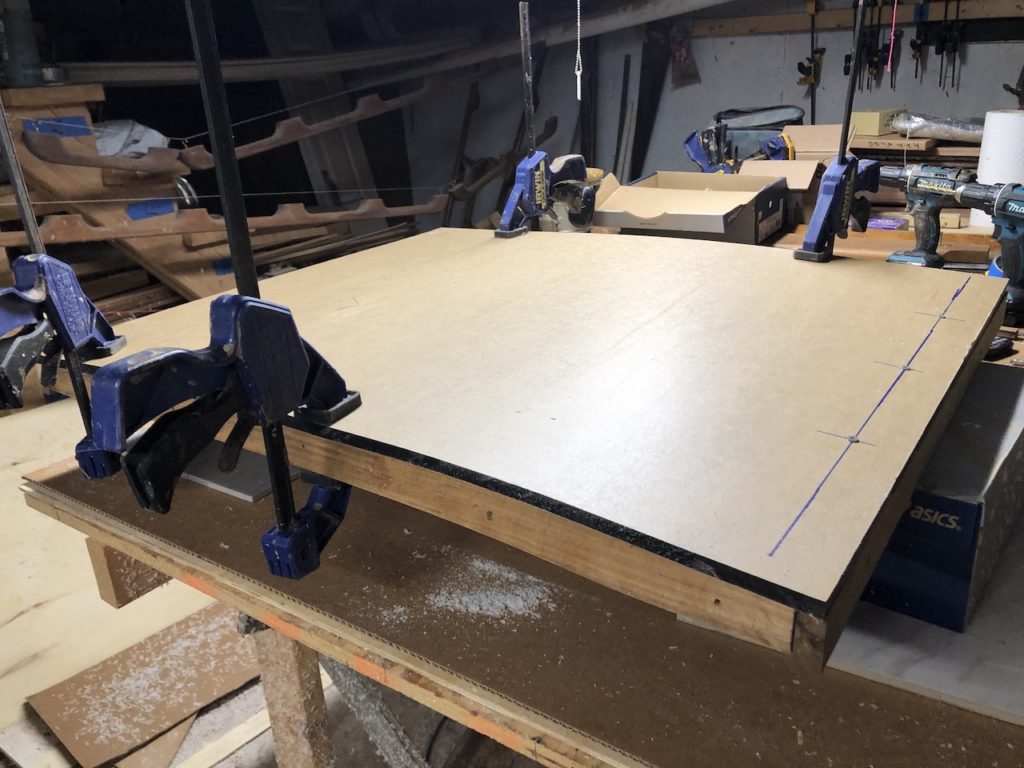
I began by cutting the pieces for the three hatches slightly oversized. I’m using a jig saw below, but quickly abandoned that for the circular saw, which was much faster. The jig saw blades were dulling too quickly.
I securely clamped each piece to the top of its hatch and used the router with a trim bit, moving clamps as necessary, to take off the excess.
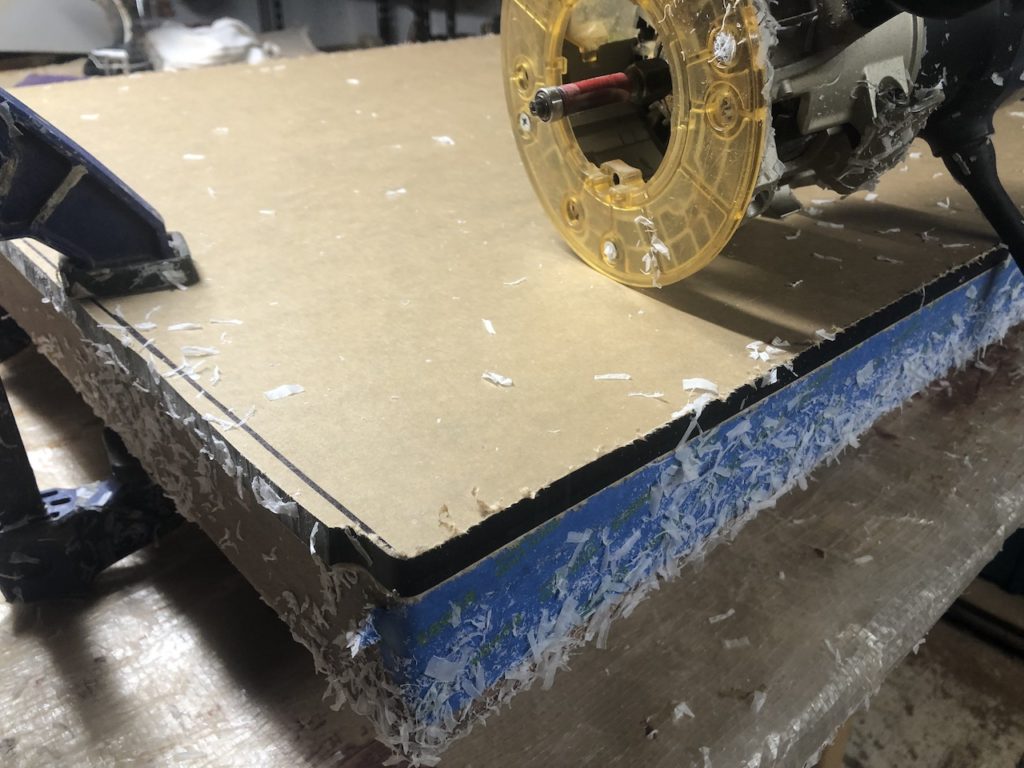
I marked out the location of the screws and fixed with a few temporary screws so I could remove the clamps.
I used a round-over bit to clean make a nice radius around the perimeter.
Eventually I will peel off the protective brown paper mask.
Meanwhile, there’s a fourth hatch that hasn’t been discussed here in about two years.
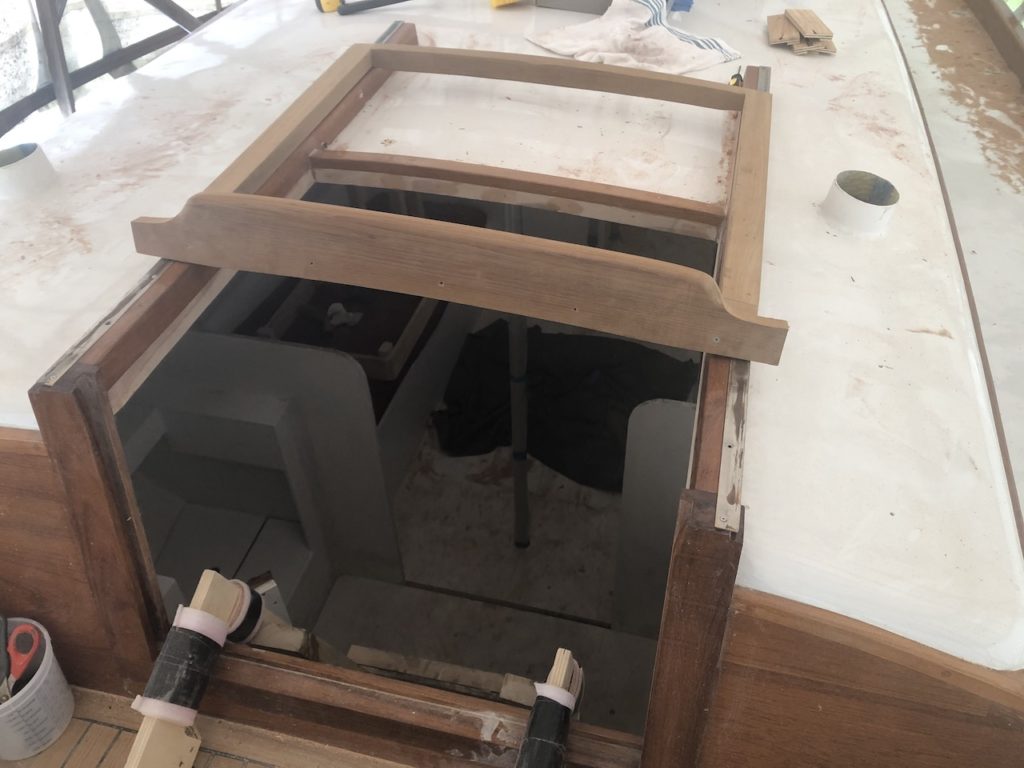
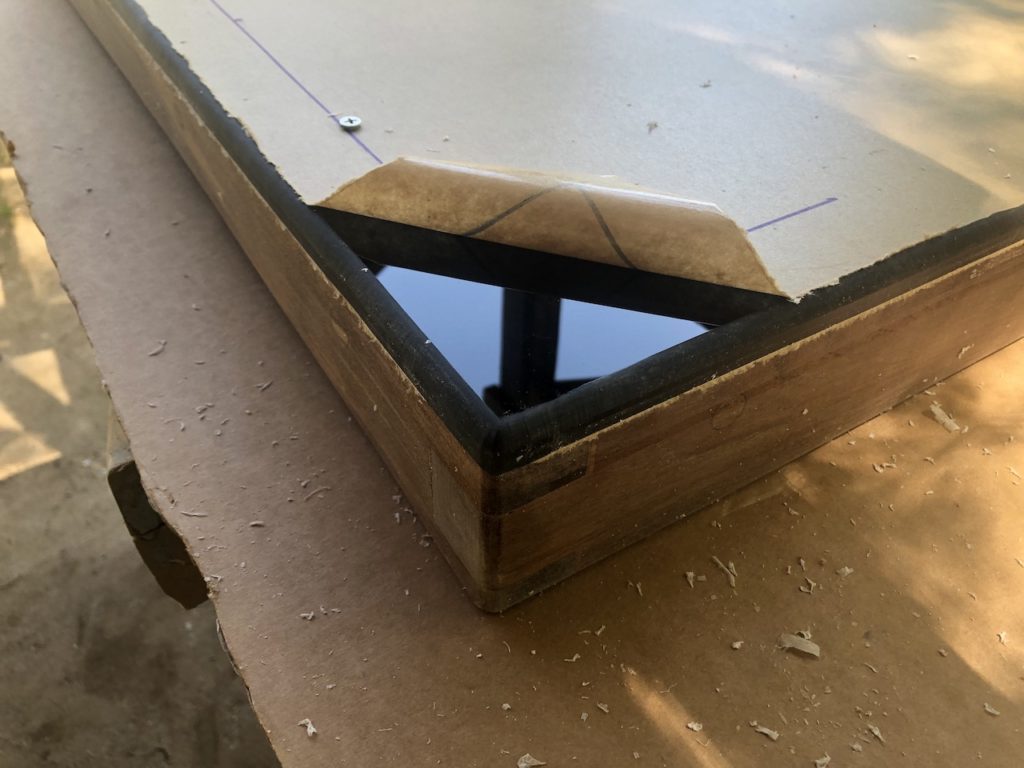
Here I’ve temporarily installed the sliding-hatch hardware to remind myself how everything fits. The hatch is a little snug on its rails, but that will be easy to address, and there will be a little more on that another time.
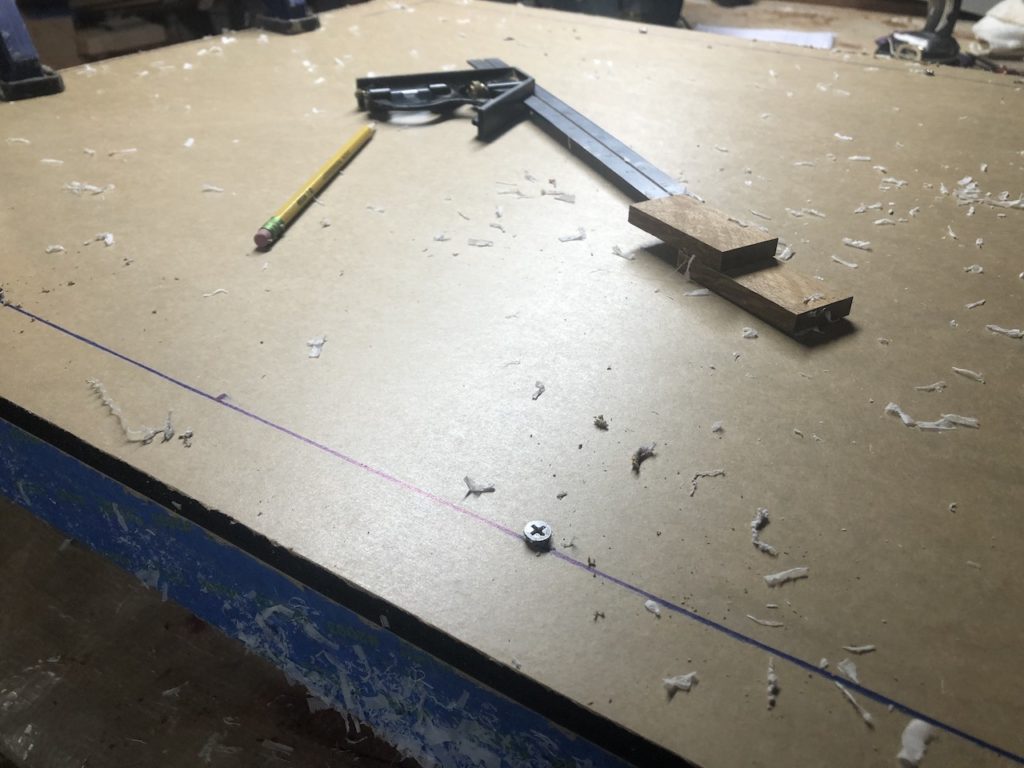
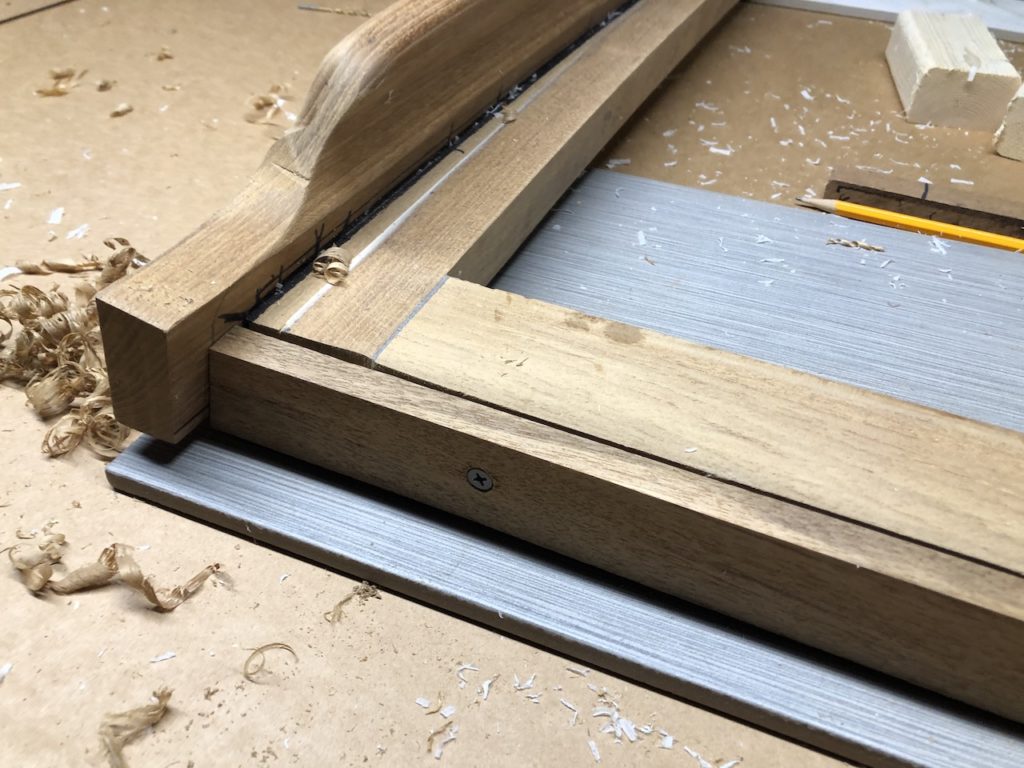
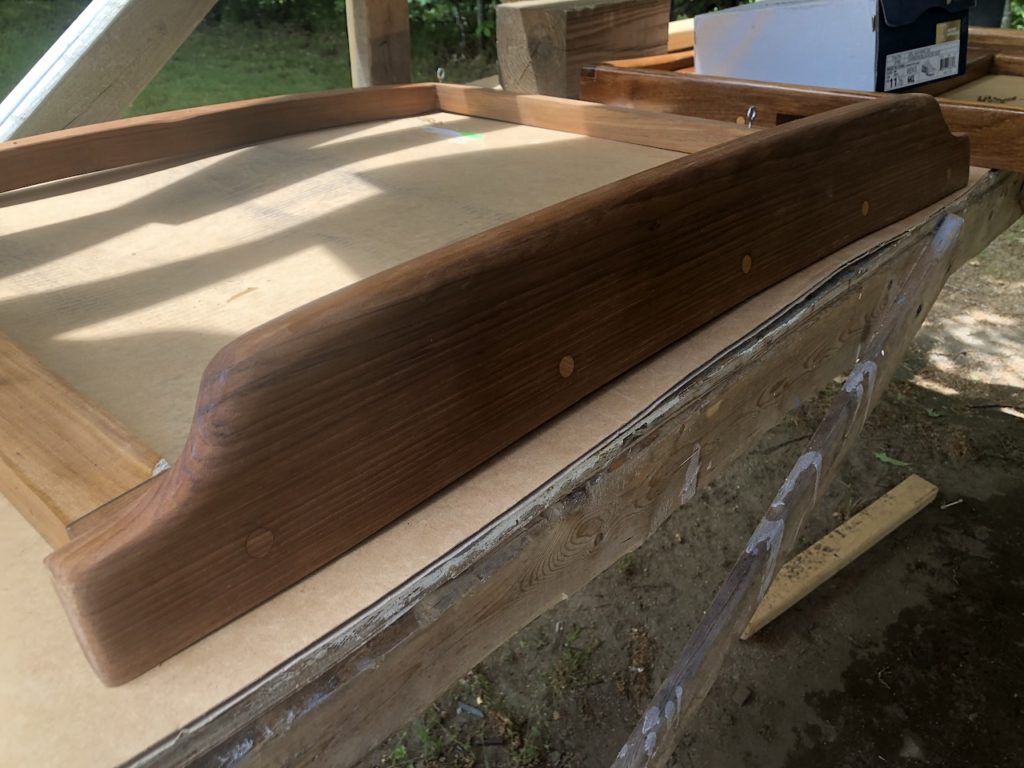
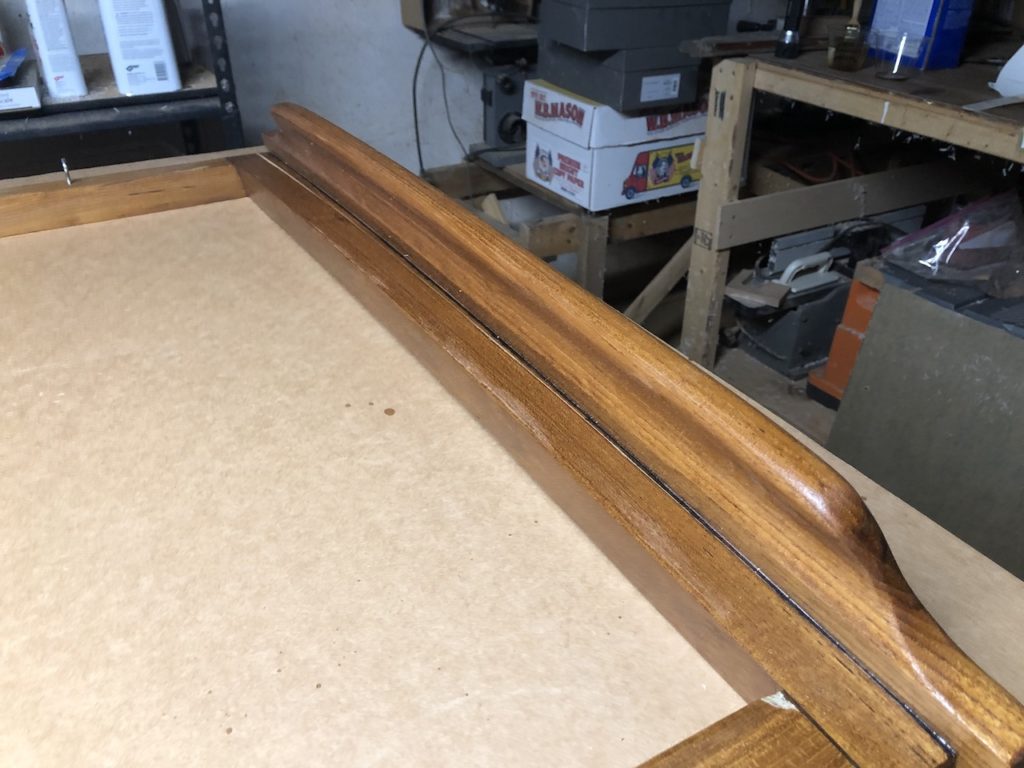
In the picture above some of the stainless hardware is exposed. In the original build, this hardware was covered with strips of teak that were essentially permanently installed–screwed and plugged with a mitered joint with the grab face. (If there is terminology for the wide board that you pull or push on to close or open the hatch, then please let me know.)

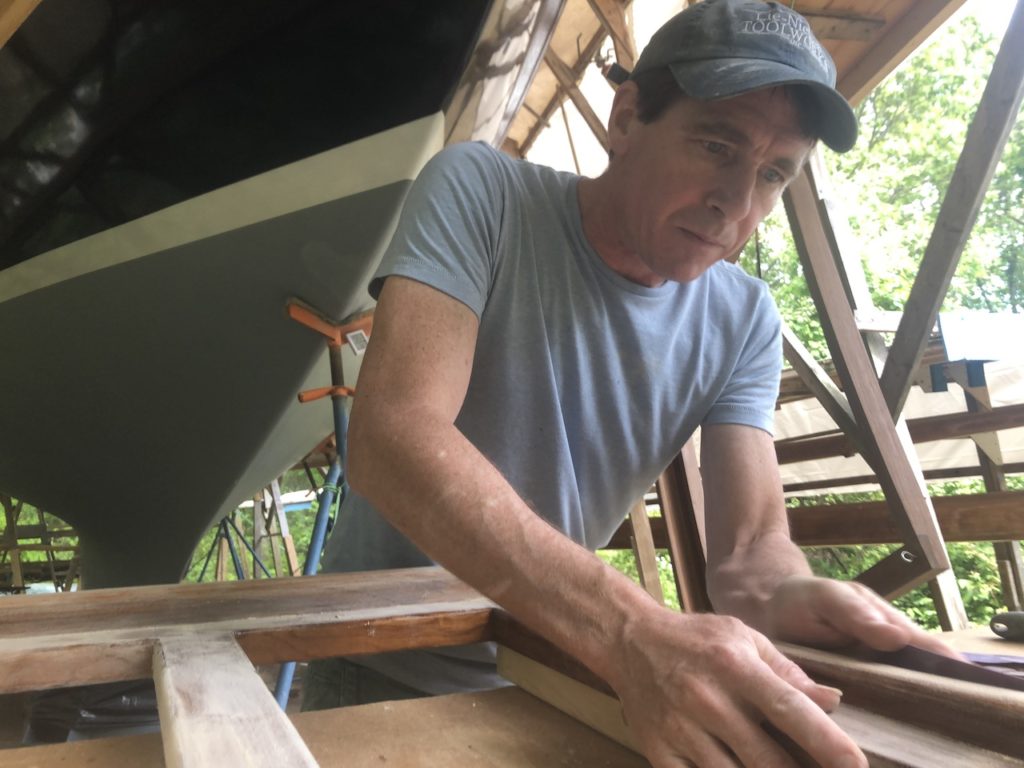
I cut the side strips so that they mate cleanly with the grab face, and used the block plane to take town the tops so they are flush with the beams on which they lie. The screws here are temporary, and the final screws will be stainless. they will not, however, be plugged. I will always want to be able to remove these strips, whether for refinishing, hardware maintenance, or whatever else.
I took the grab face off and more or less duplicated the procedure with the flat hatches.
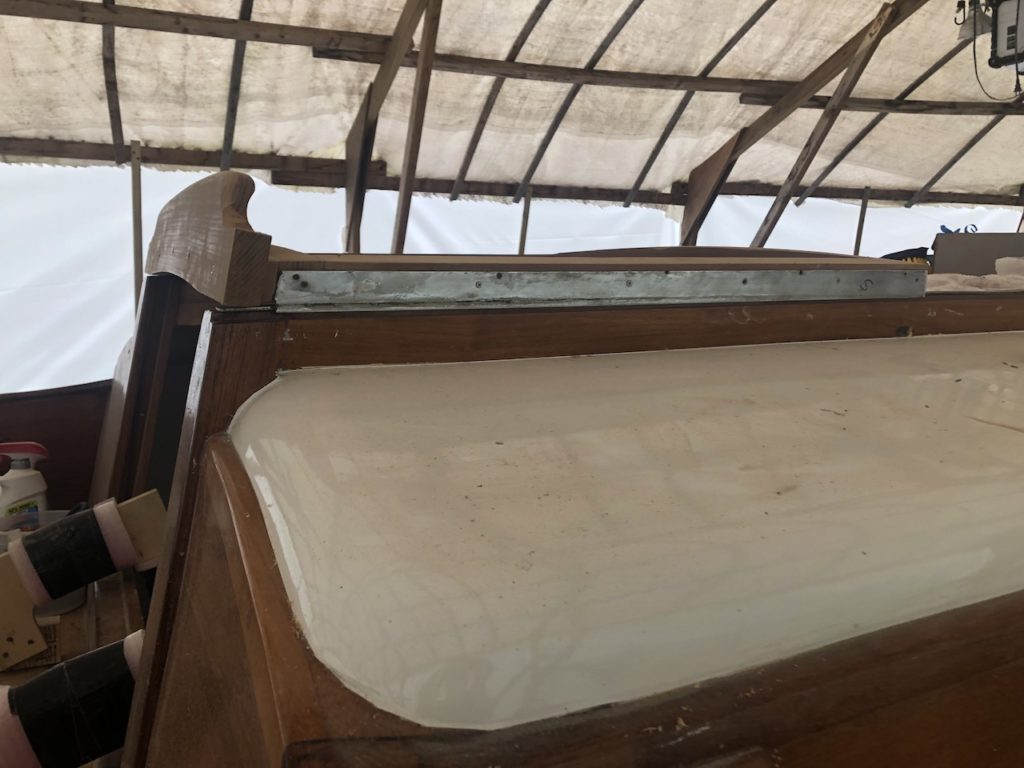
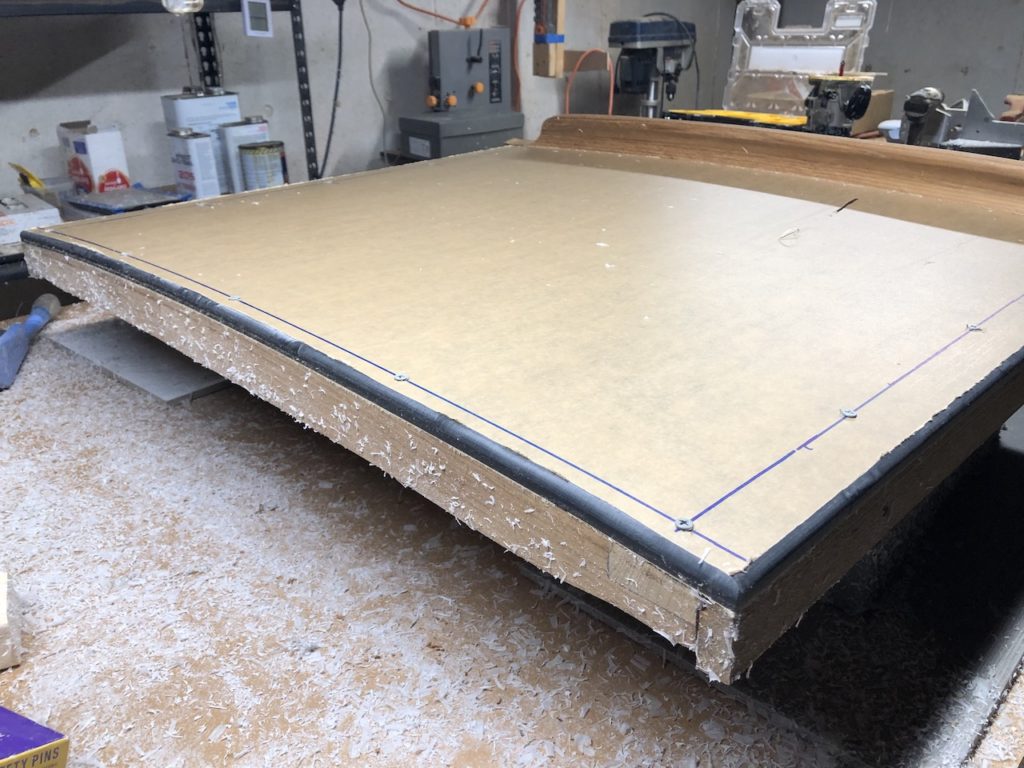
The plexiglass sprung nicely over the gentle curve. Where the grab face meets the frame, however, is slanted to match the slant of the aft end of the deckhouse–a vertical grab face would look bad.
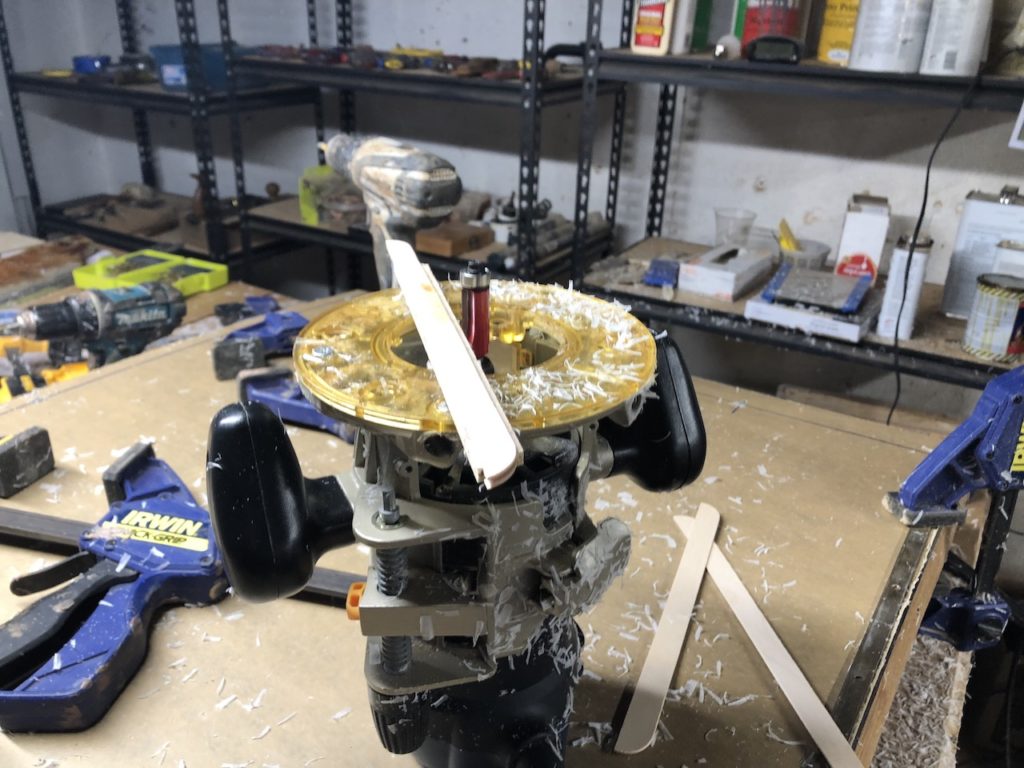
I glued some thin strips to the router, which facilitated trimming the plexiglass on the aft end to be flush with the frame there. Elsewhere I trimmed flush and used the round-over bit.
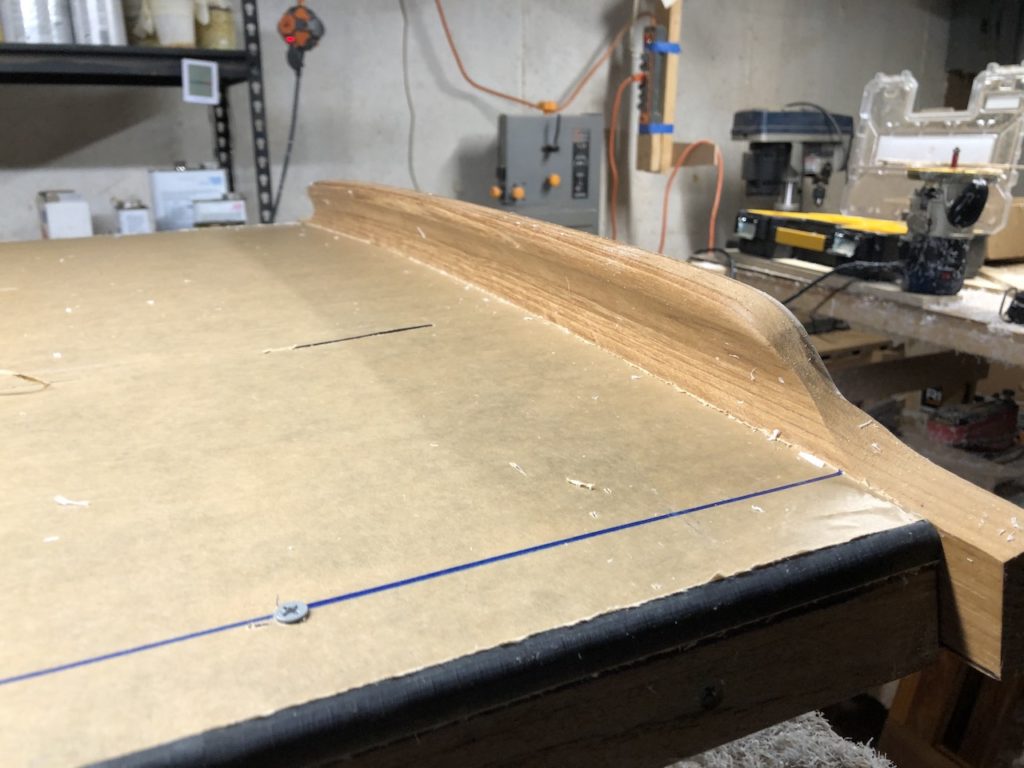
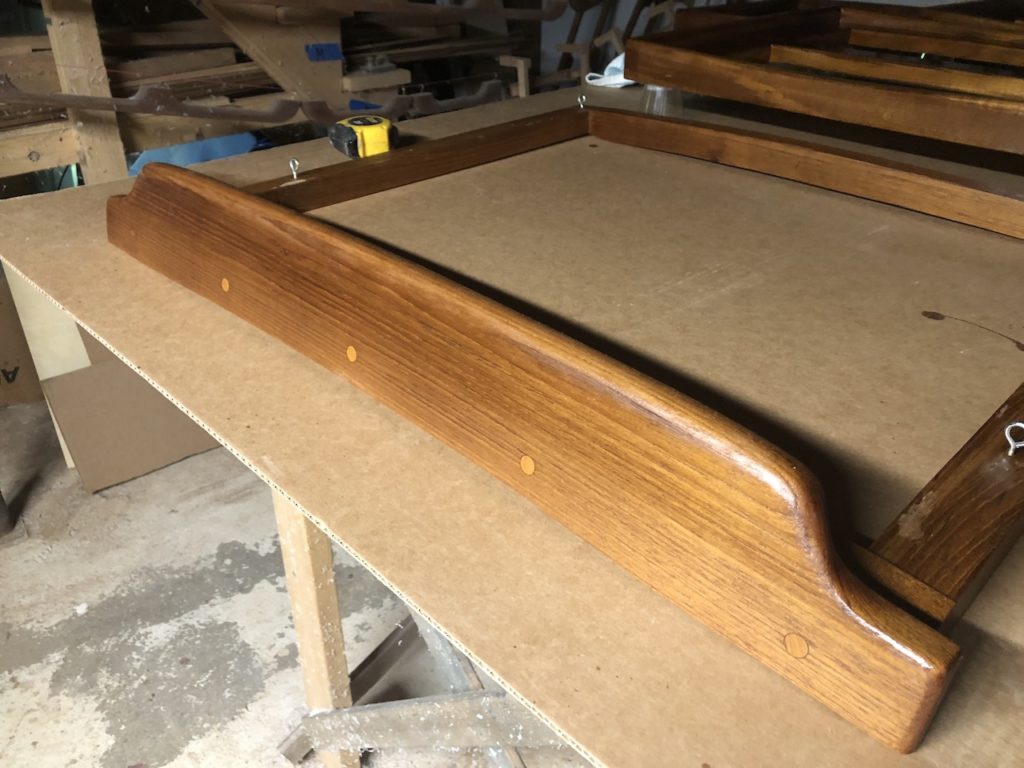
The result was a perfect fit on the aft end. Note, though, that the ends of the grab face are too long and boxy. They were left this way on purpose because I need to match the shape with the side strips…,
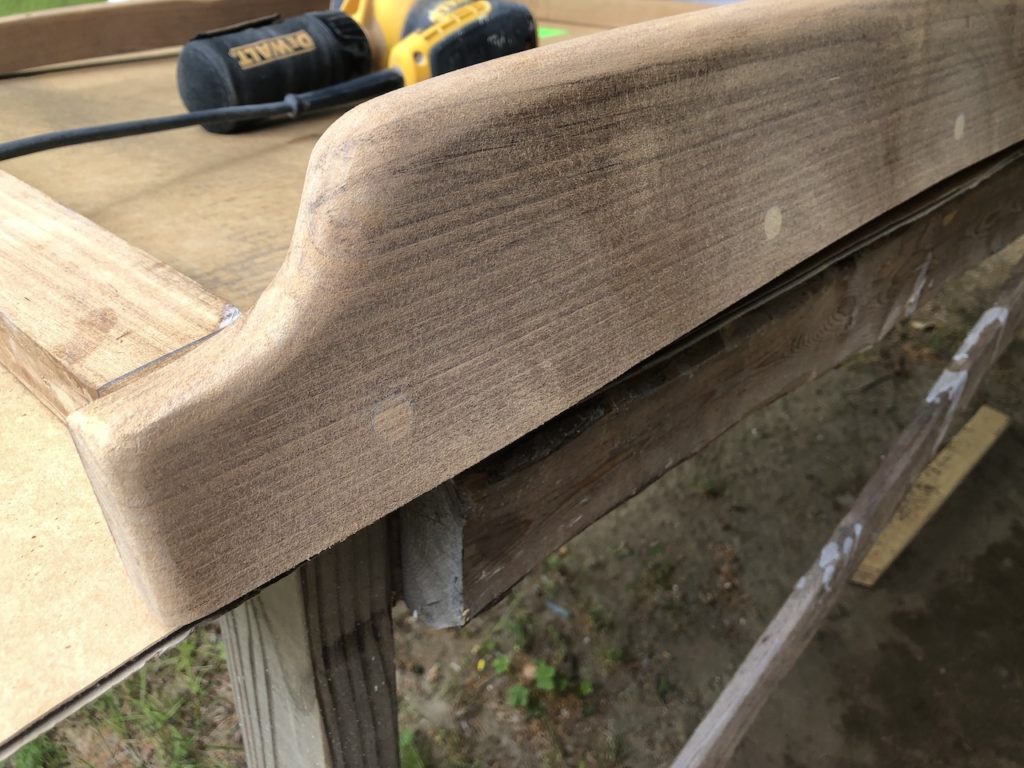
…which I’ve done here.
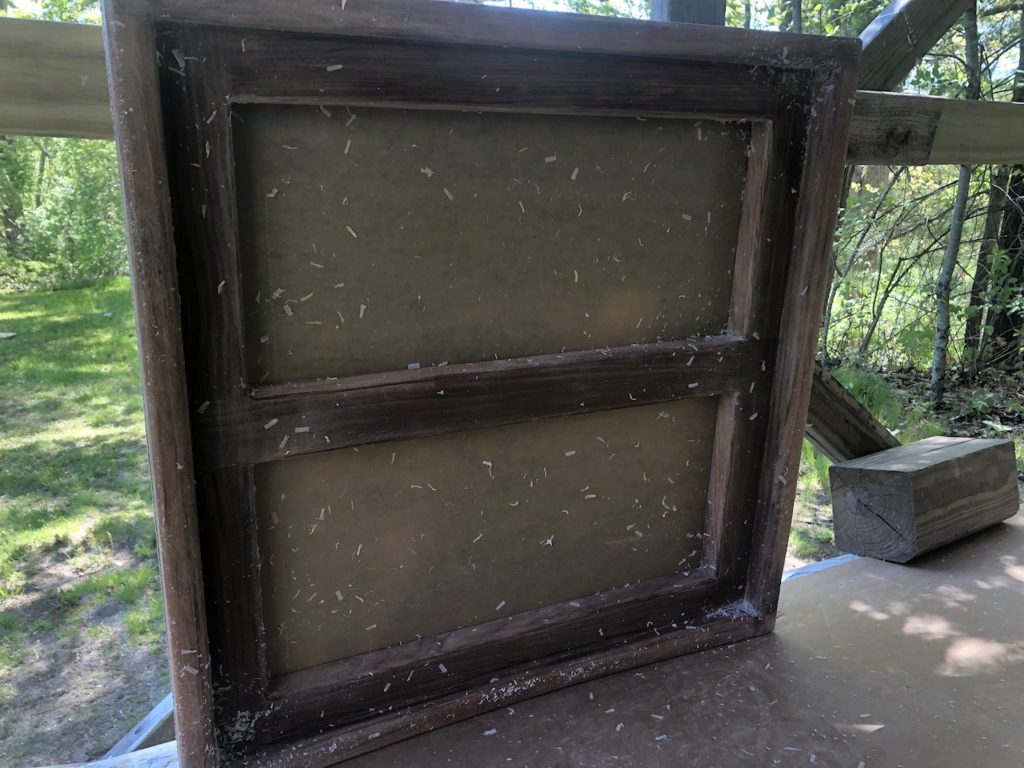
After one coat of varnish:
Sanding the flat hatches between coats:
For the 4th+ coats on the flat hatches I will not varnish the tops, which will eventually be under plexiglass.
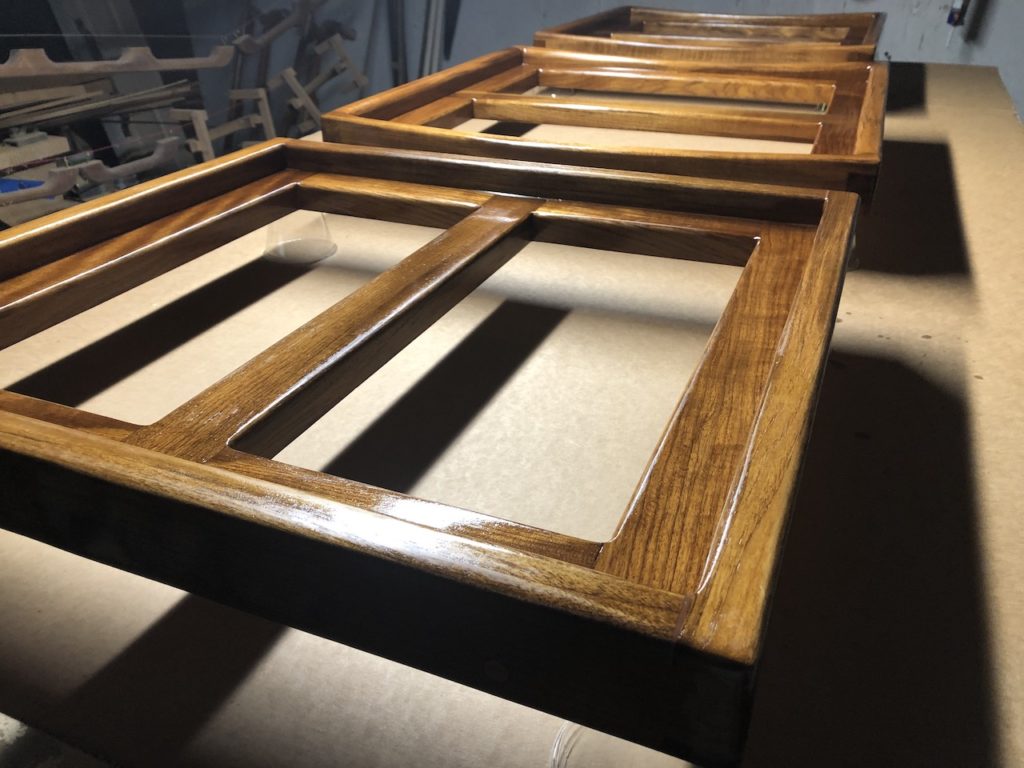
After a second coat:
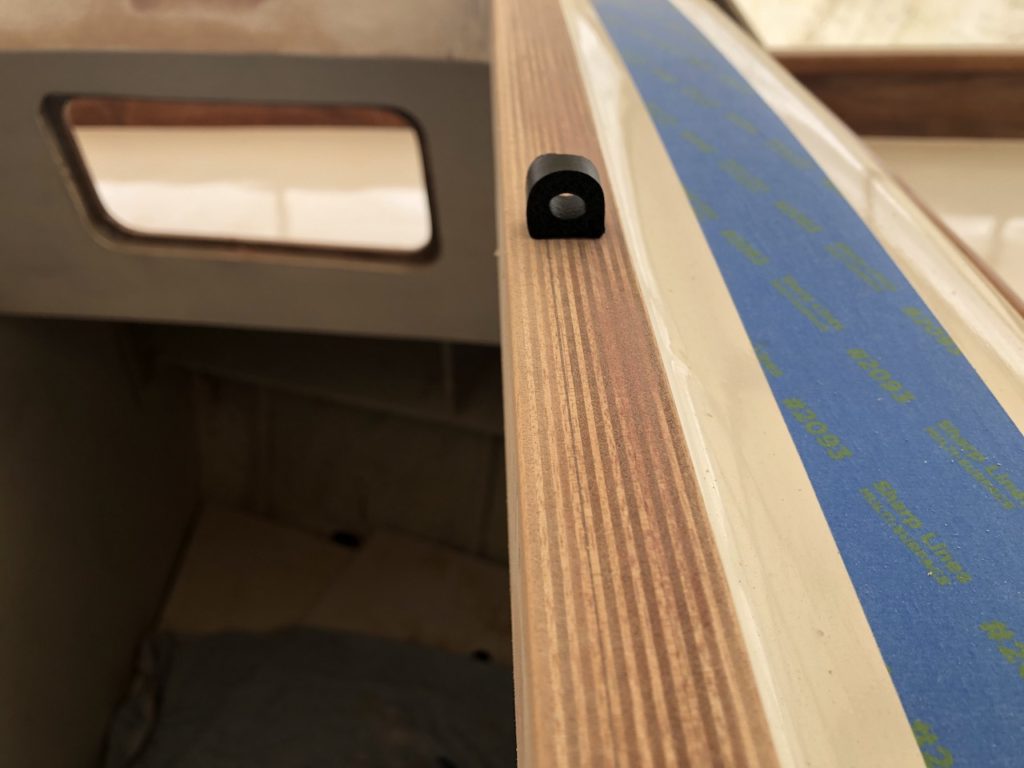
The flat hatches will close and sit flush on teak trim around the inside of the coamings. Outside of this trim will be rubber gasket material that the hatch will compress, which will make the seal. You can see a small piece of the gasket material sitting on the coaming below. This is TRIM LOC D-profile, 0.625″ wide by 0.625″ high. The gasket will perform best if the hatch compresses it by 25-50% of its height when fully closed. More on that later.
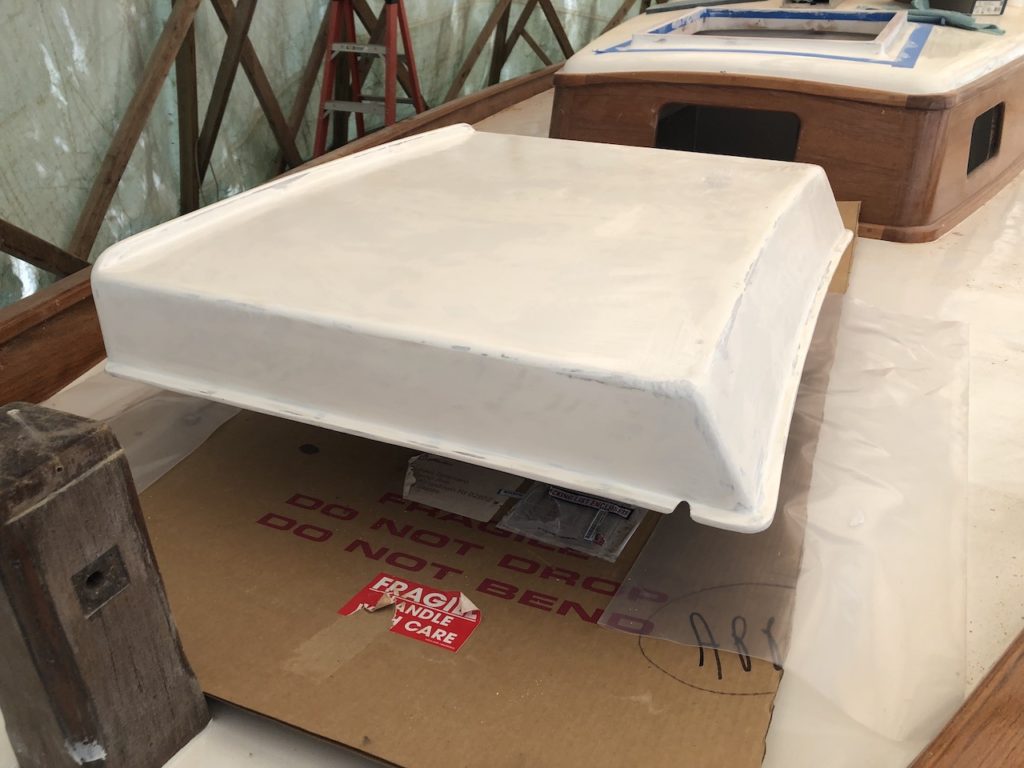
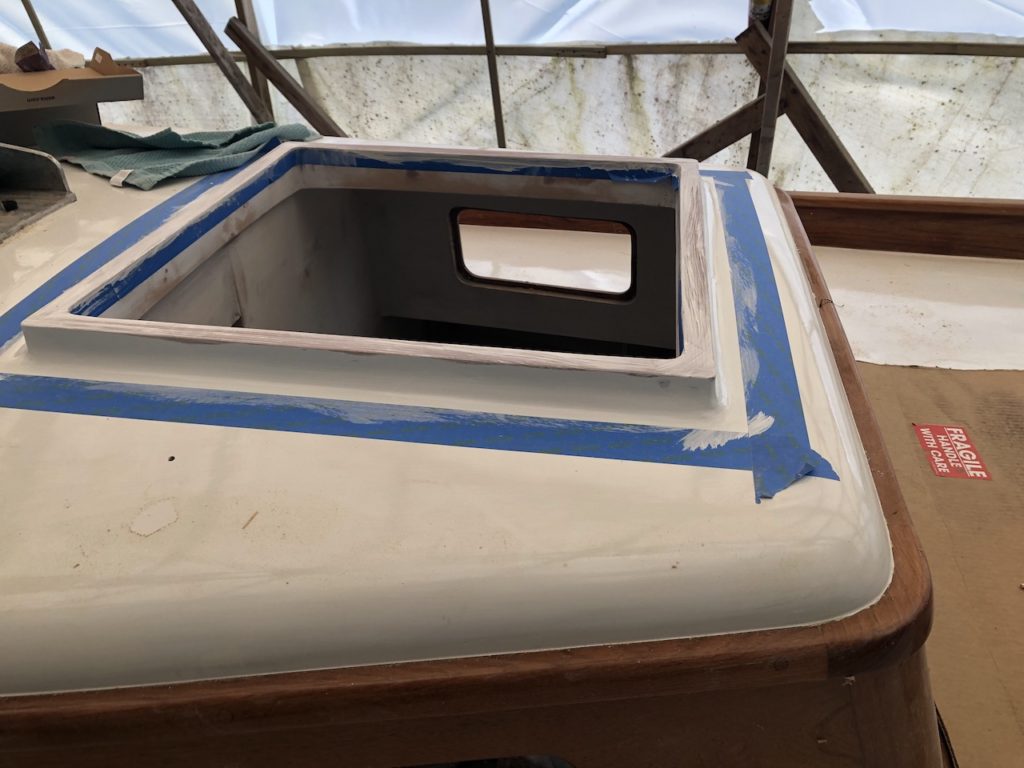
In the meantime, I put some primer on the coamings…
…and the spray hood, which sits partially over the sliding companionway hatch, but here is on the bow being supported by a plastic milk crate.