5/10/20: Hatches II
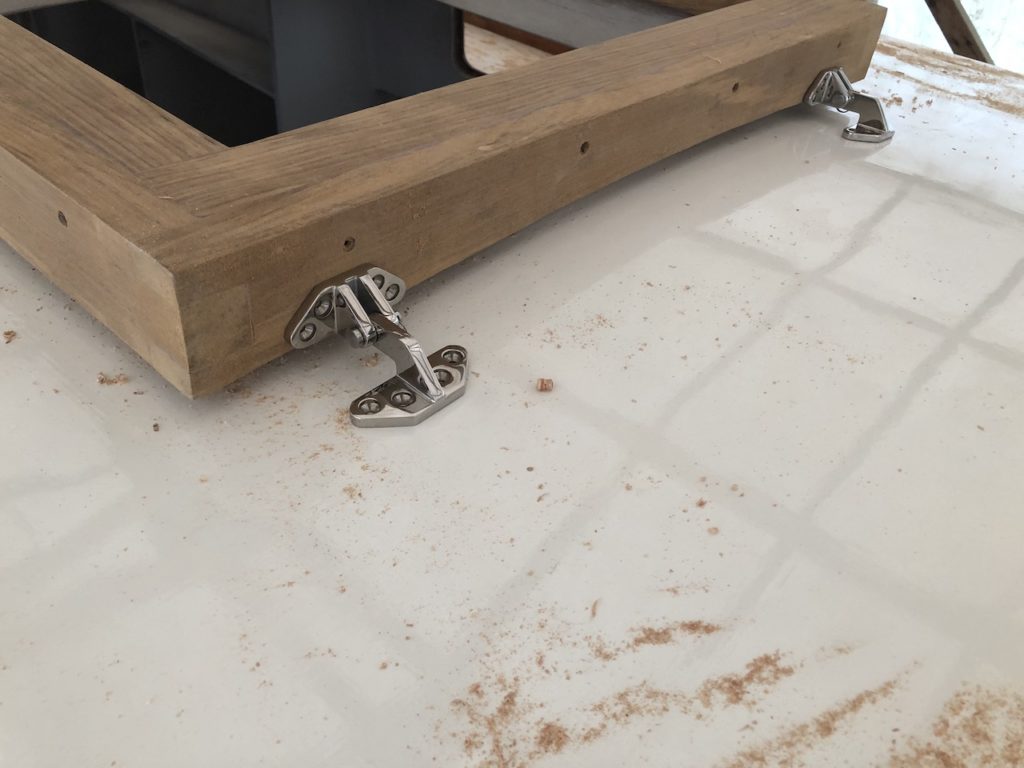
I decided I wanted the coamings to be a bit lower, but not for the purpose of making the height work with the hinges. I can get different hinges, or make bases for them to raise them up.
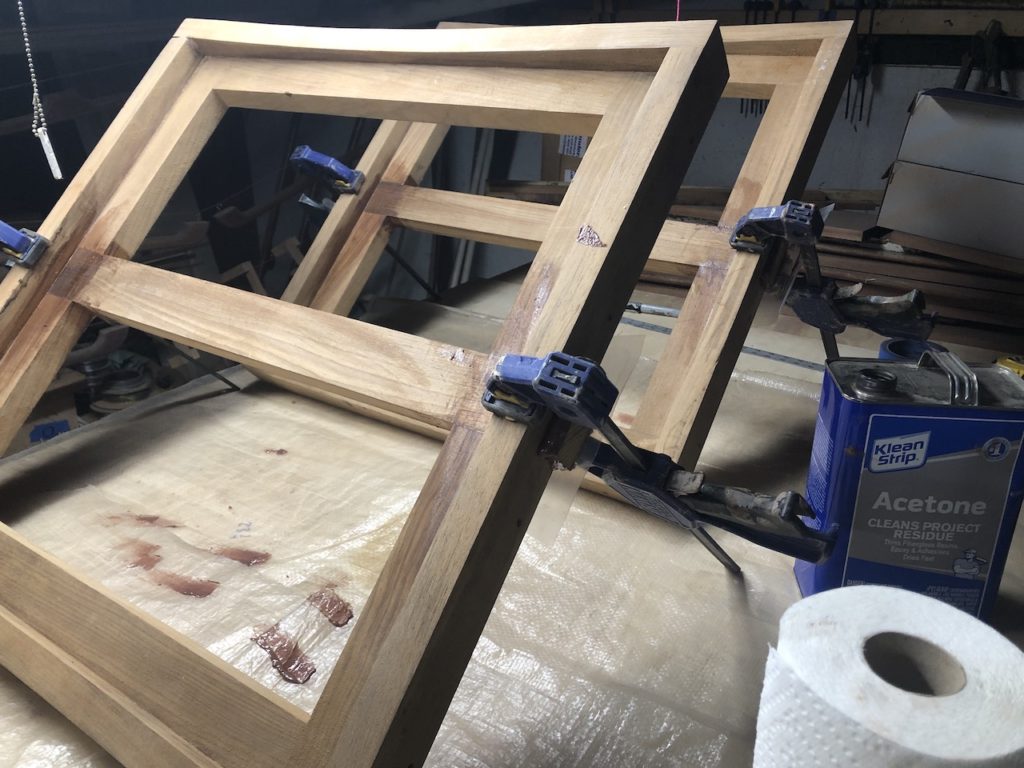
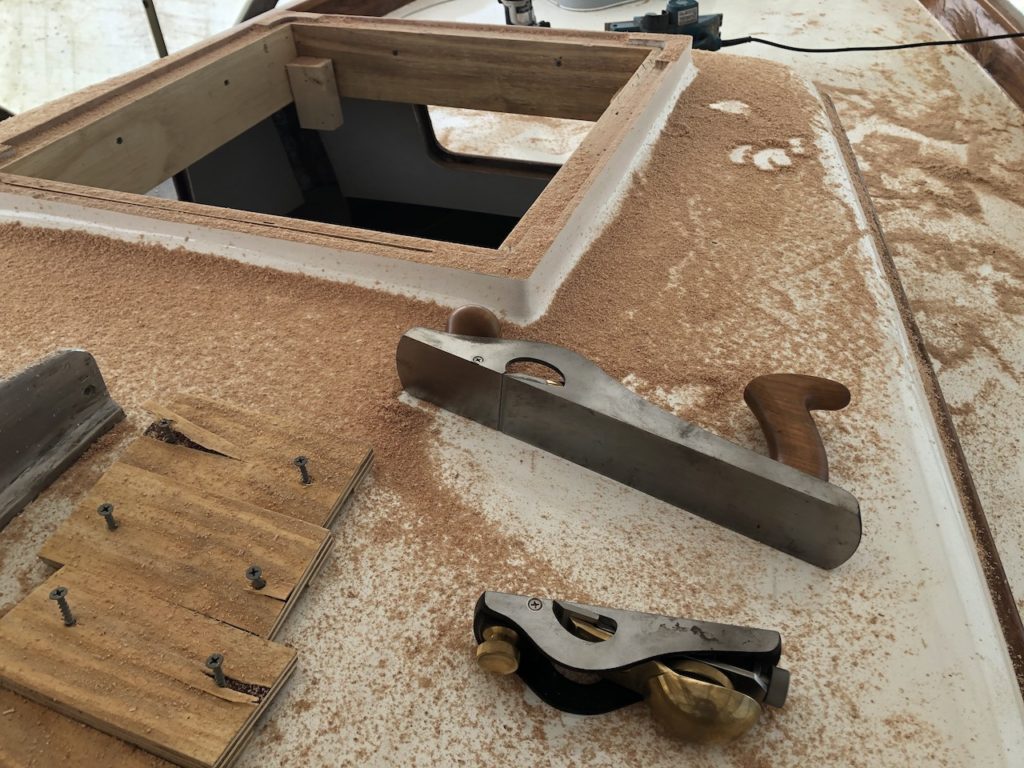
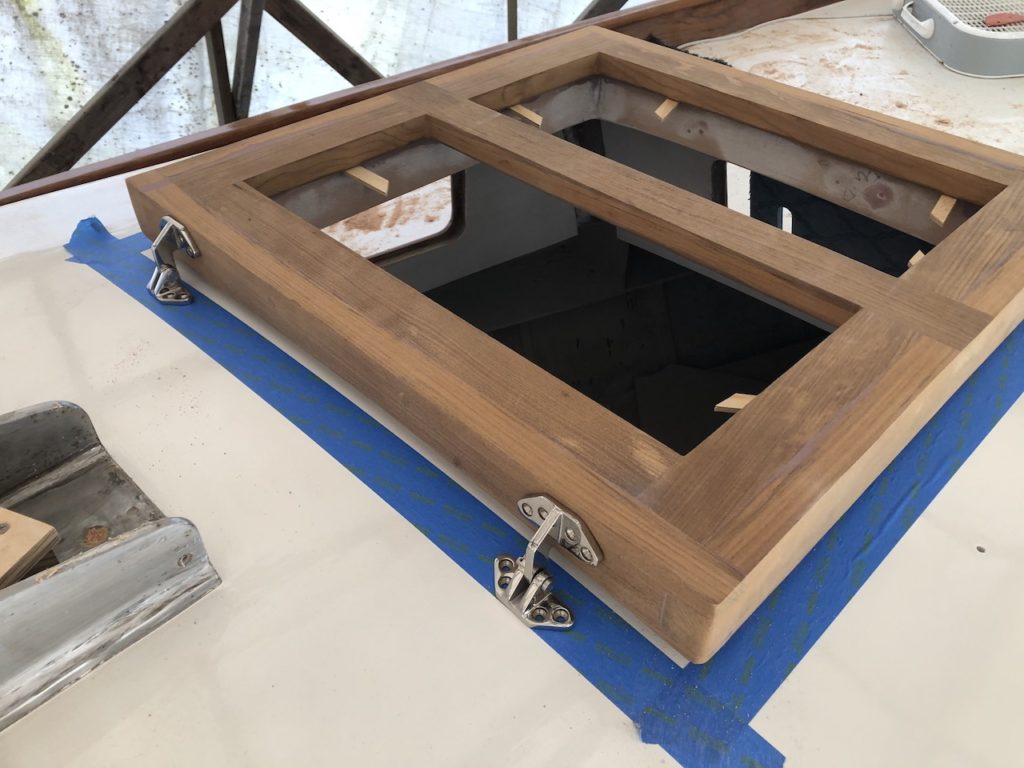
The hatches will be covered with plexiglass. I found a thickness calculator HERE. I opened the “center loaded flat plate” calculator entered the dimensions of the inner square inside which the plexiglass will be unsupported. I determined that 3/8″ would not be sufficient. With 1/2″ thick plexiglass, a 400-lb load at the center would cause about a 1/2″ downward deflection. I decided to go with 1/2″ thick plexiglass, and put a beam down the center of the hatches. Below you can see a dry fit for one of the hatches, with plenty of undocumented work leading up to this photo.

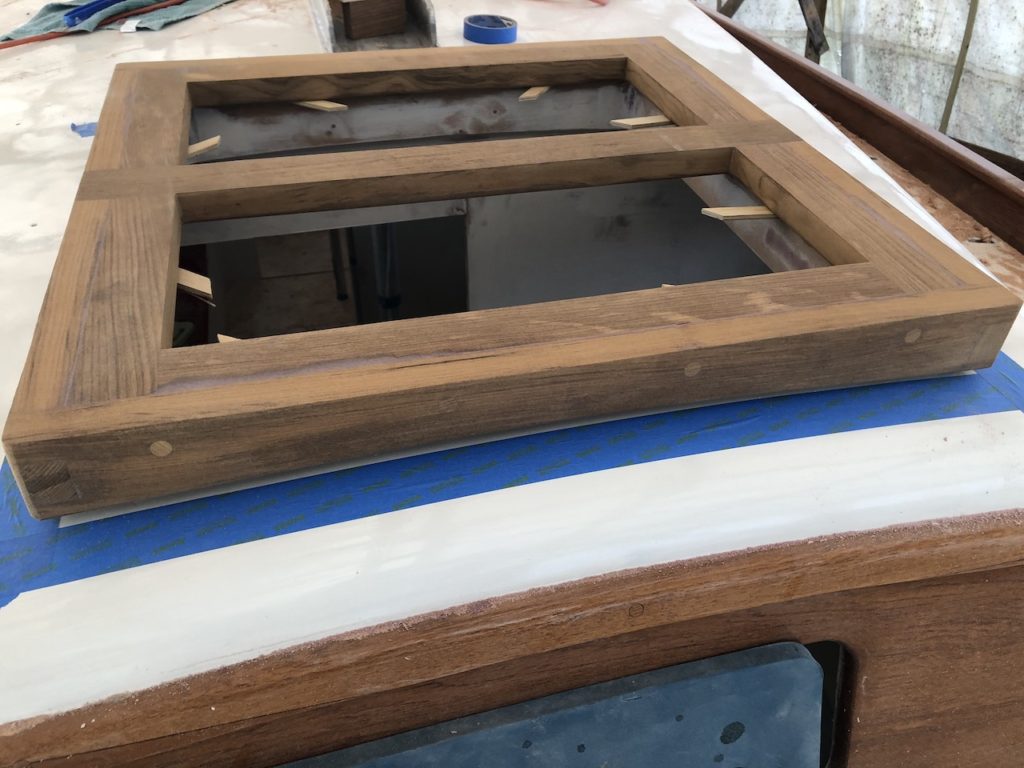
The glue-up:
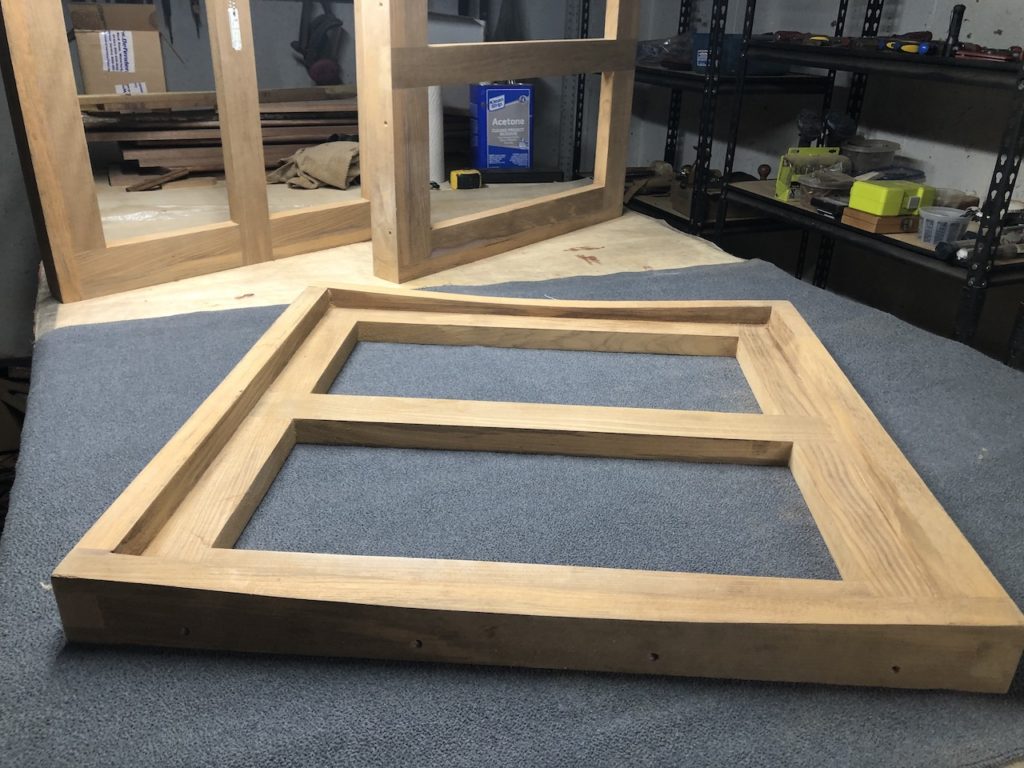
Out of the clamps, and sanded.
X
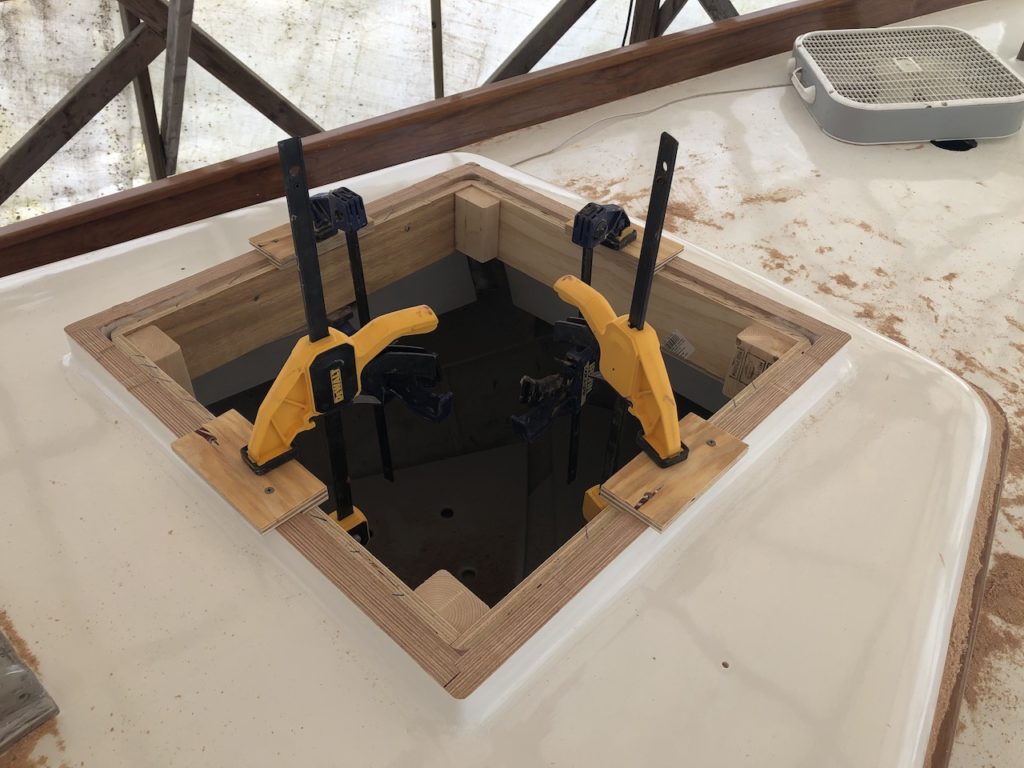
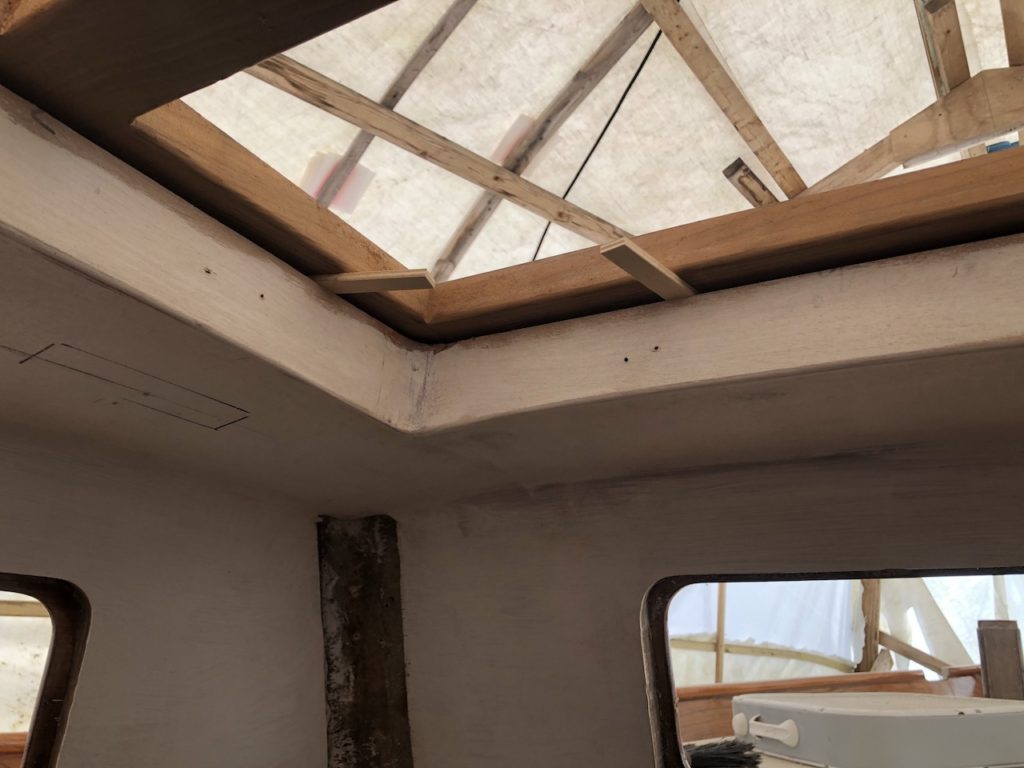
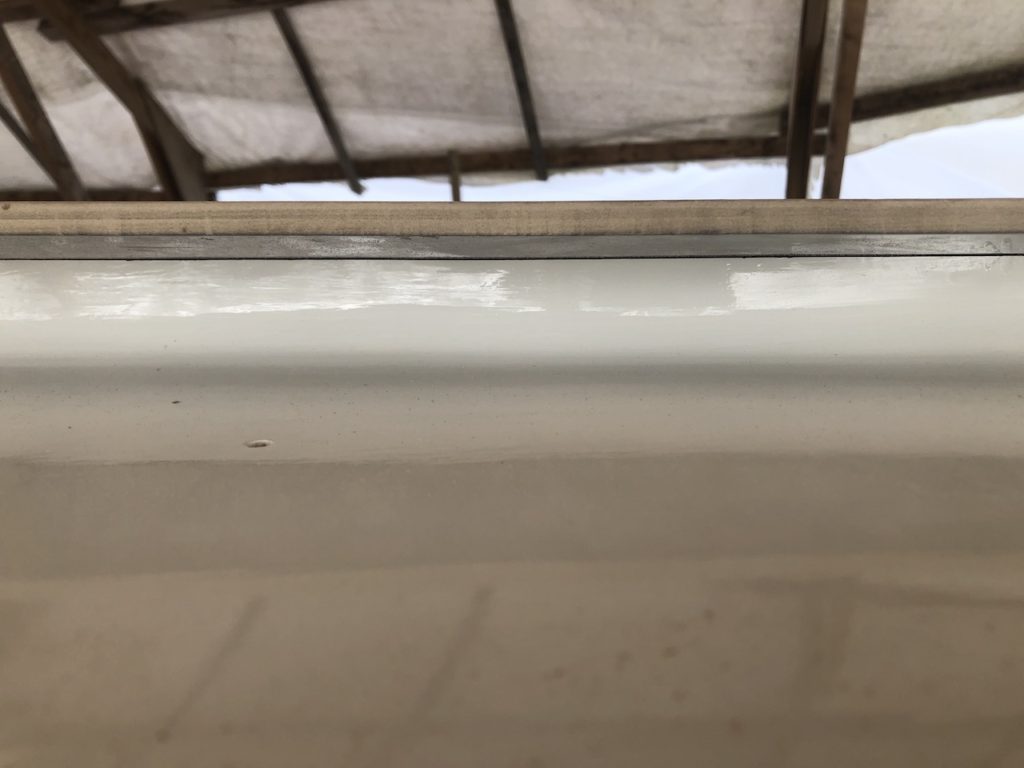
Meanwhile, I took down the coamings a little more:
Now the hatch “bottoms out” on the deck rather than the coaming. This is fine because there will be a gasket and a raised lip on which the hatch will rest when the gasket is compressed about half its height. More on that later.
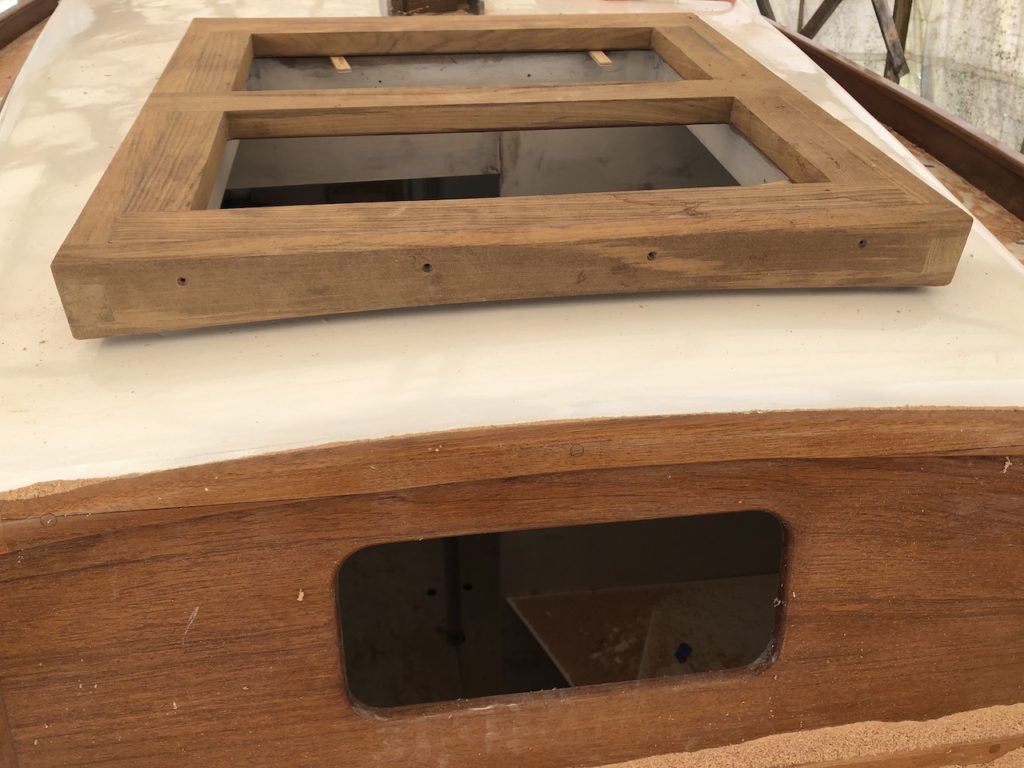
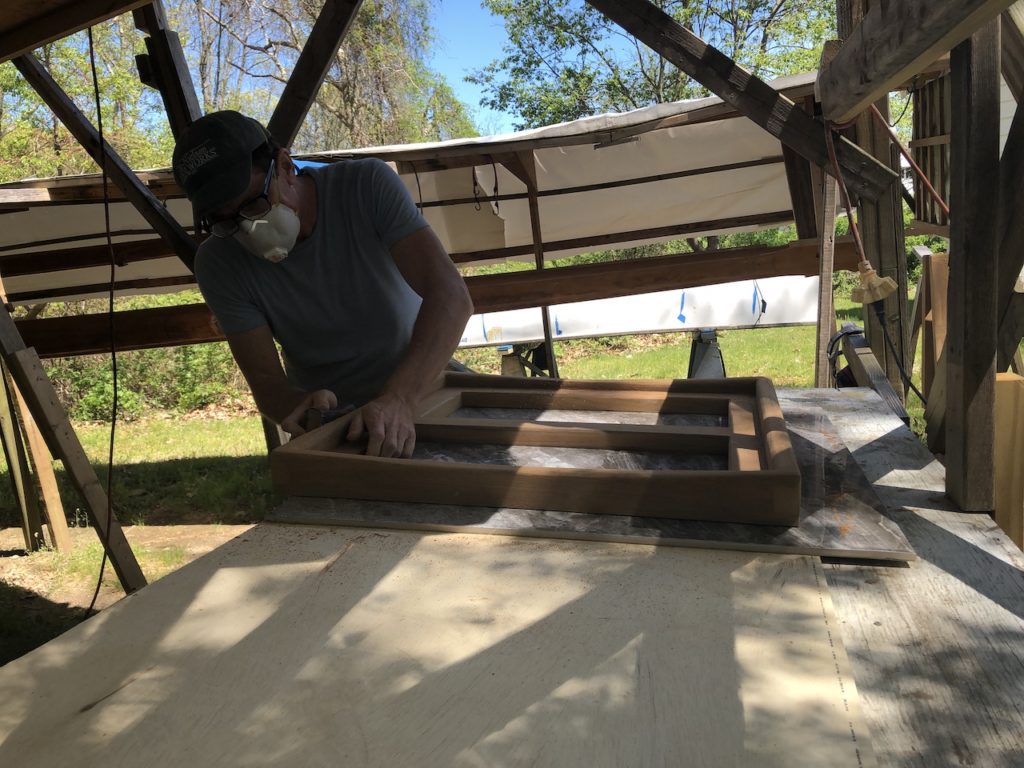
I used the router with several round-over bits to round off the sharp corners.
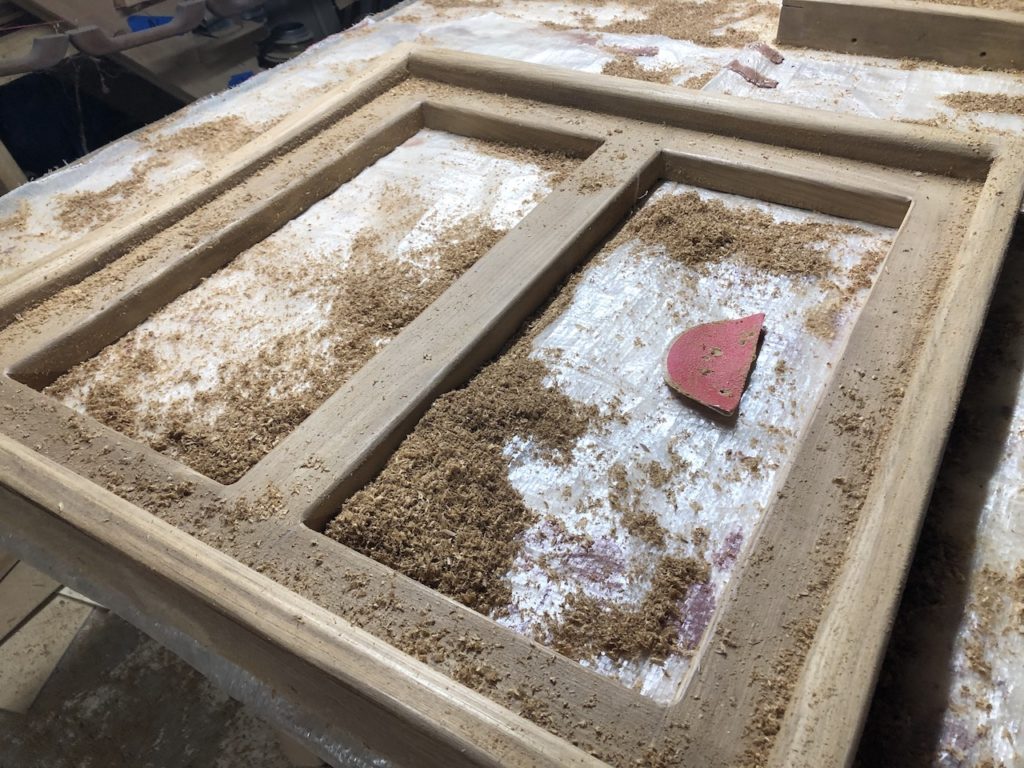
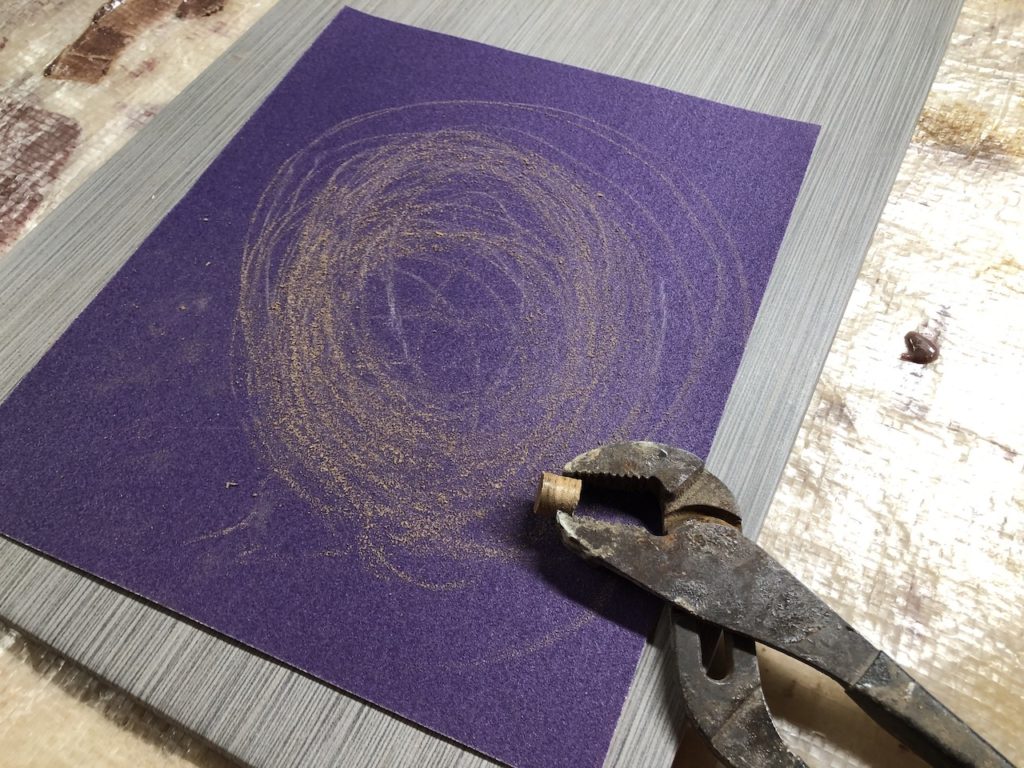
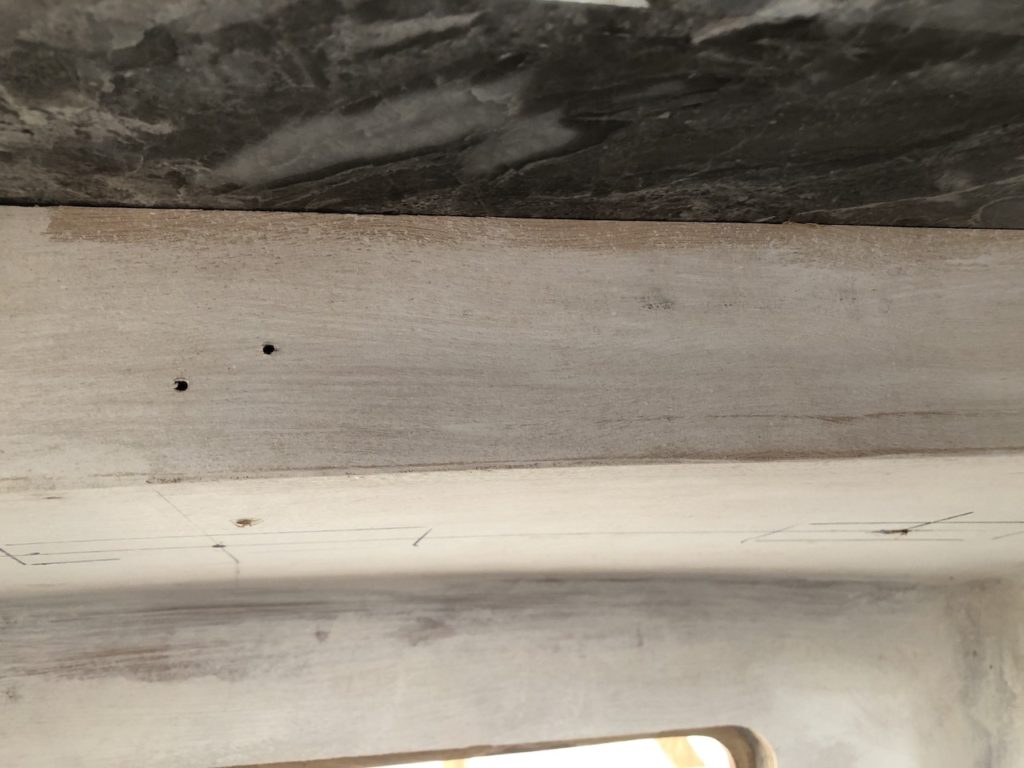
Next up was plugging the screw holes, in the usual way.
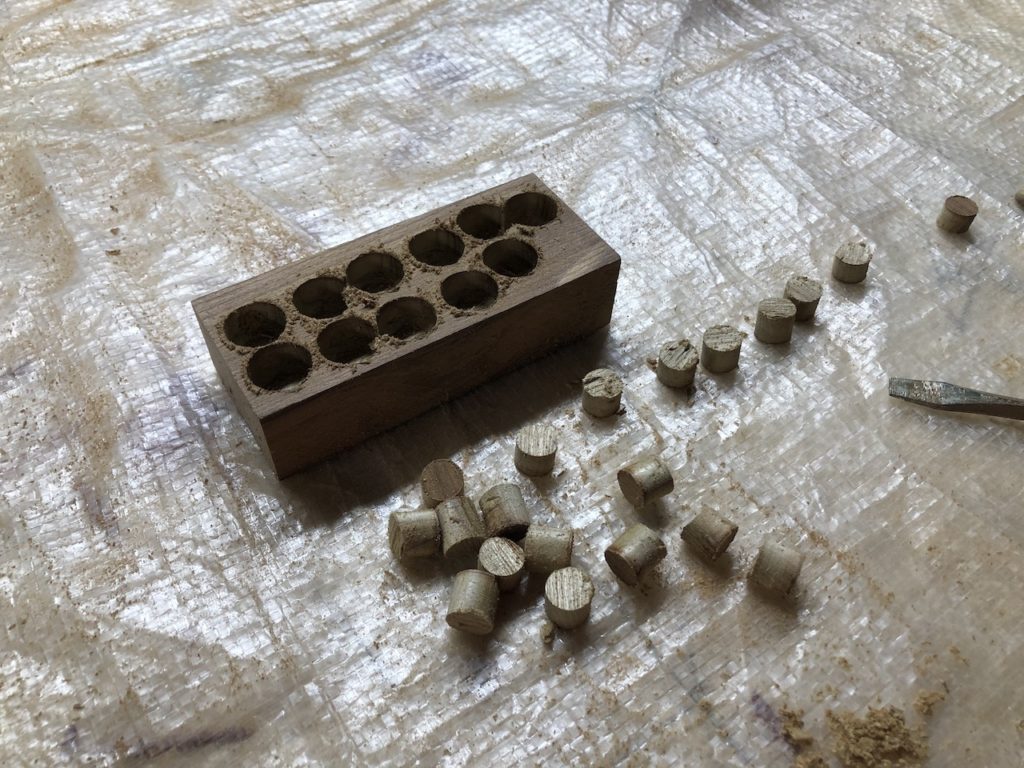

The plug cutters and countersink bits are a set, so the diameter of the plugs is almost exactly equal to the countersunk holes. A little sanding ensures I can get the plugs started before sinking them with a rubber mallet.
The temporary screws were for alignment during glue-ups. The permanent screws are stainless steel.
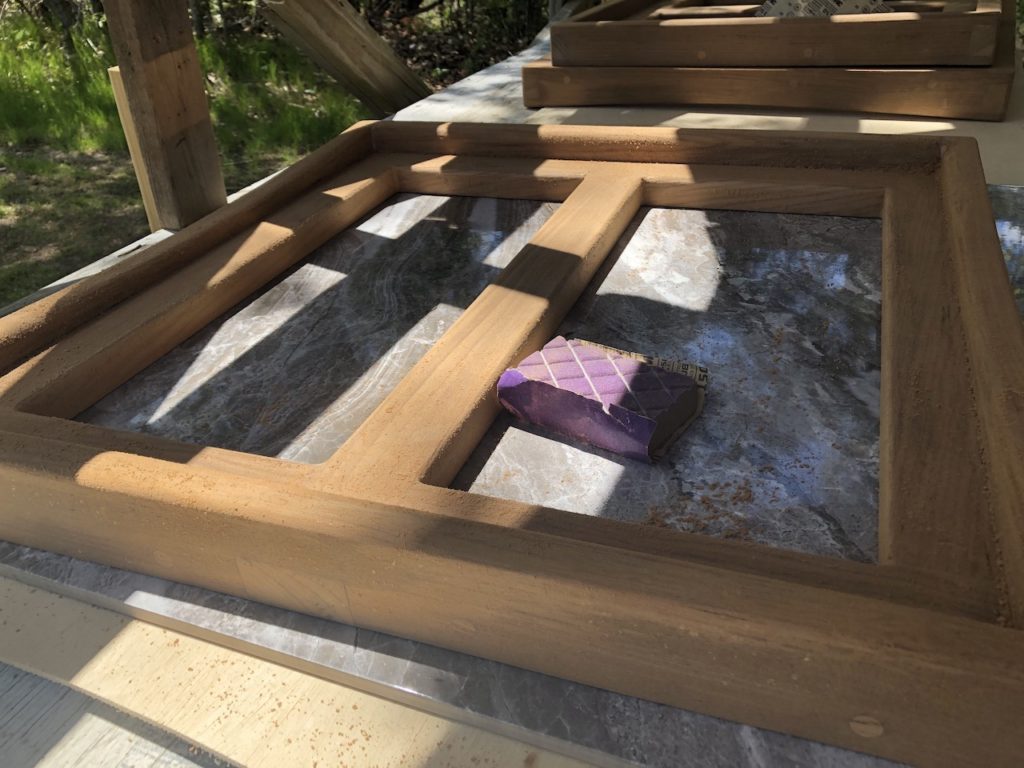
Below the plugs have been sanded and one of the hatches is lying on a 31″ by 31″ granite tile. I bought the tile from The Tile Shop. I brought a 3-foot straight-edge to the store and the first tile they showed me was not flat enough. The second was not perfectly flat, but was fine.
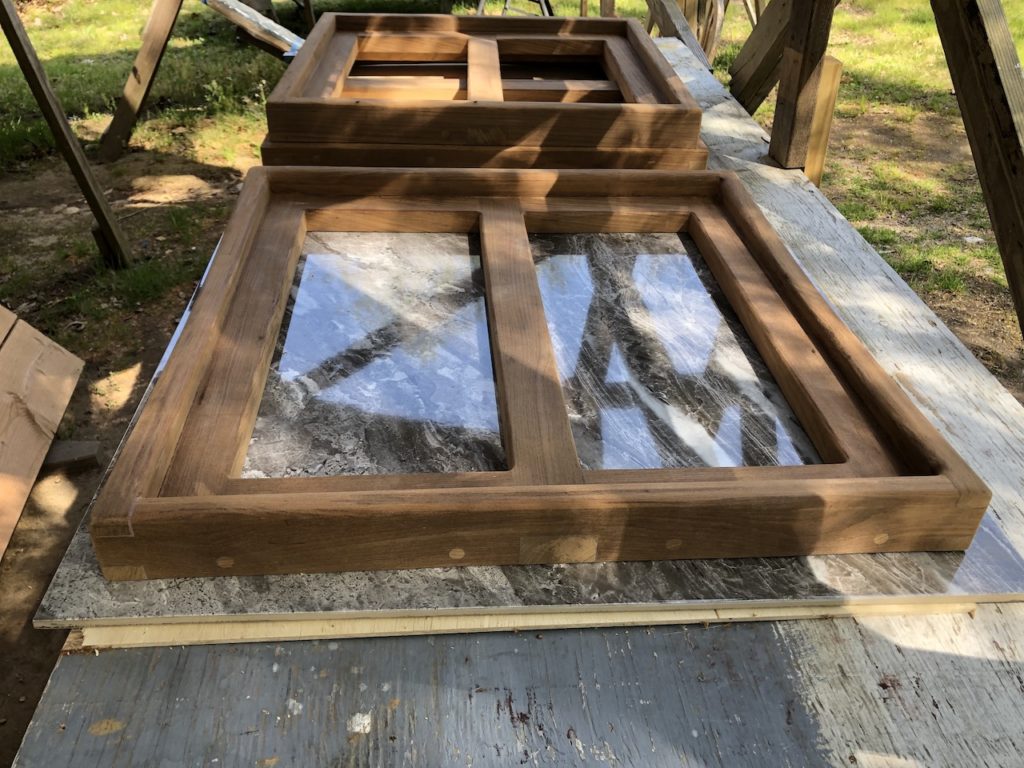
I used the tile as a reference surface to check the trueness of the coamings.
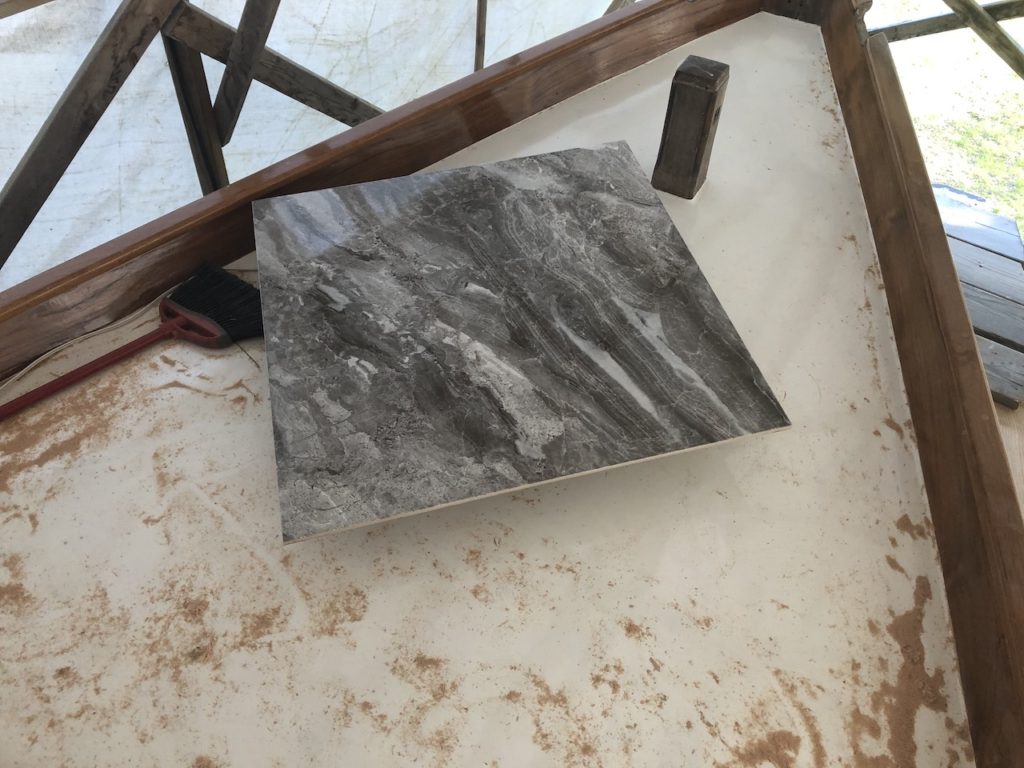
By lying the tile face down, I was able to identify the places that needed adjusting.
I achieved that by squishing the tile down onto thickened epoxy, then letting the epoxy dry before removing the tile. (The tile was protected by tape and plastic of course–otherwise it would have been nearly impossible to remove.) After much sanding…
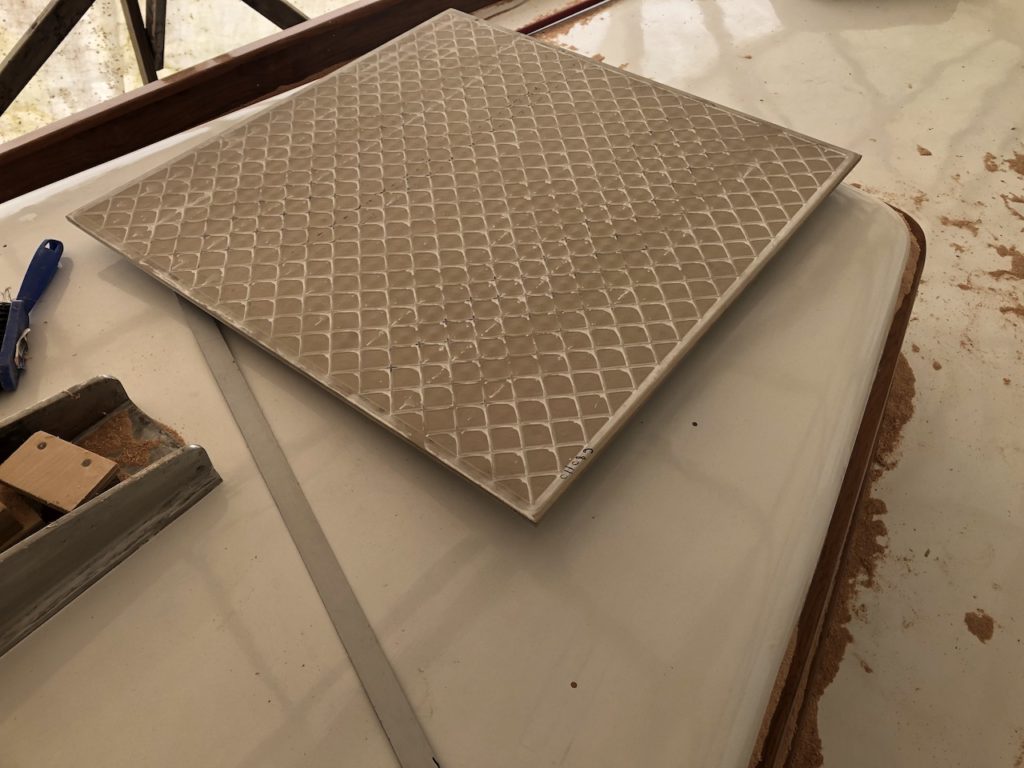
I was able to use the tile again to verify the method. Looks good from the outside…
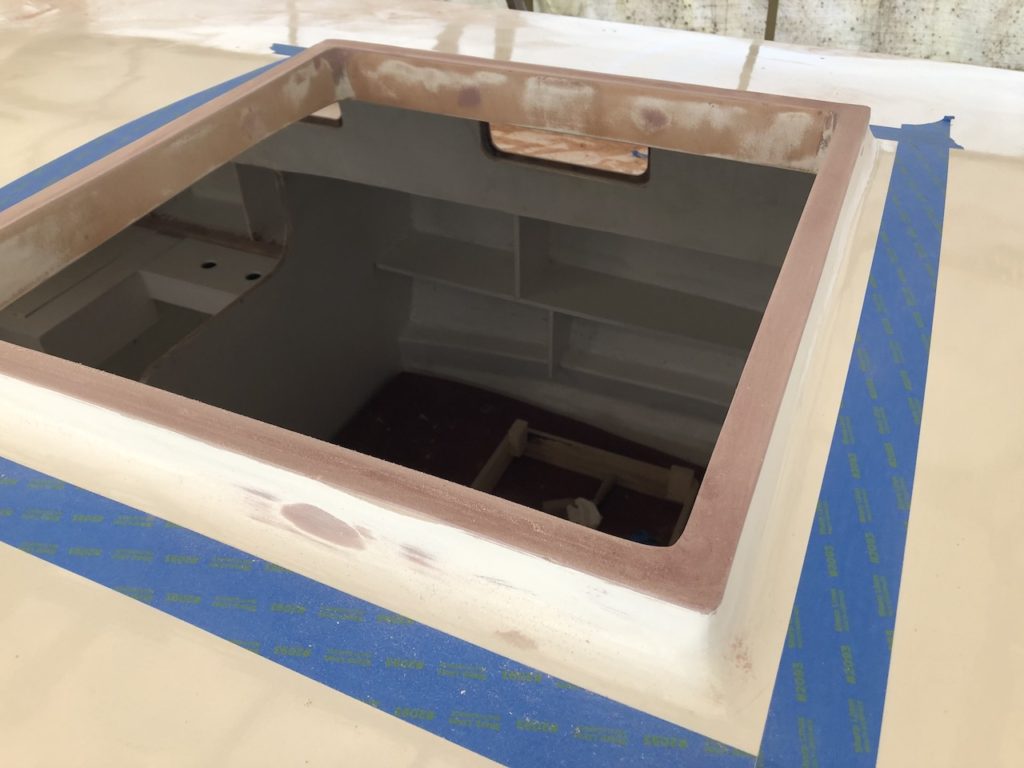
…and the inside of the boat.
I checked things again on deck.
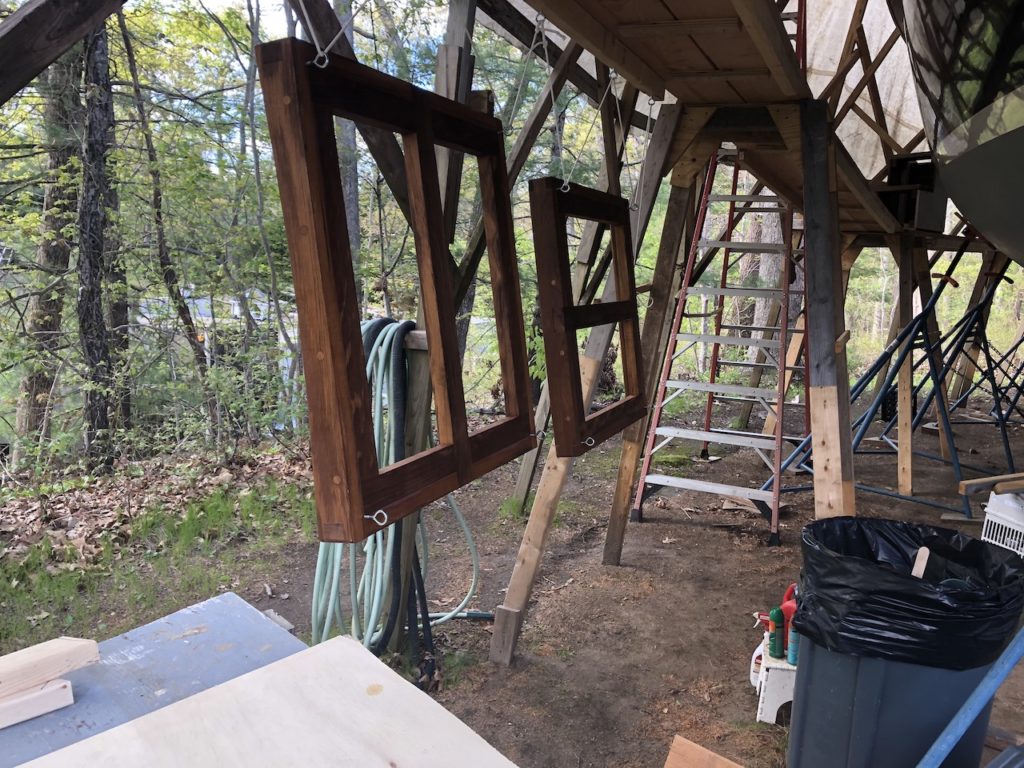
Finally I decided it was OK to move on to varnish. After a last round of orbital sanding with 100-grit…
…I moved on to hand sanding with 150.
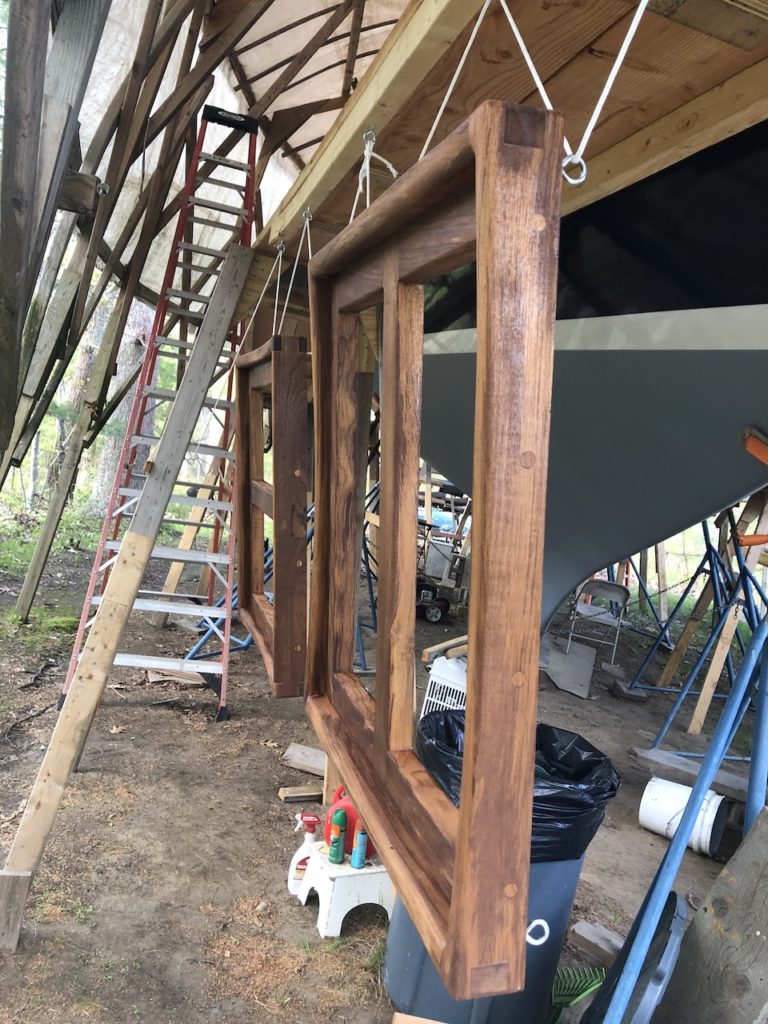
The first coat of varnish is very thin (50% varnish, 50% mineral spirits), which facilitates the oily teak absorbing the finish.
The splotchy appearance of the wood is no cause for alarm. Time, sunlight, and more varnish will even this all out.
Jean
05/17/2020 — 11:32 am
Beautiful, Mike!
Tom
05/18/2020 — 11:49 am
Mike Beautiful work! Tom