12/13/20: Windows
On the outside, the 13 windows are held in by a 1/2-inch overhang of the teak covering boards. A different solution is required for the inside. I considered making frames of teak, but painted plywood would be cheaper and, more importantly, much less labor, and will look just fine. Another reason to go with “quick and cheap” is that at some point in about 3-4 years (maybe less) I will be replacing all the ports with a different style in which some are opening, some are not, but all are stainless steel inside and out.
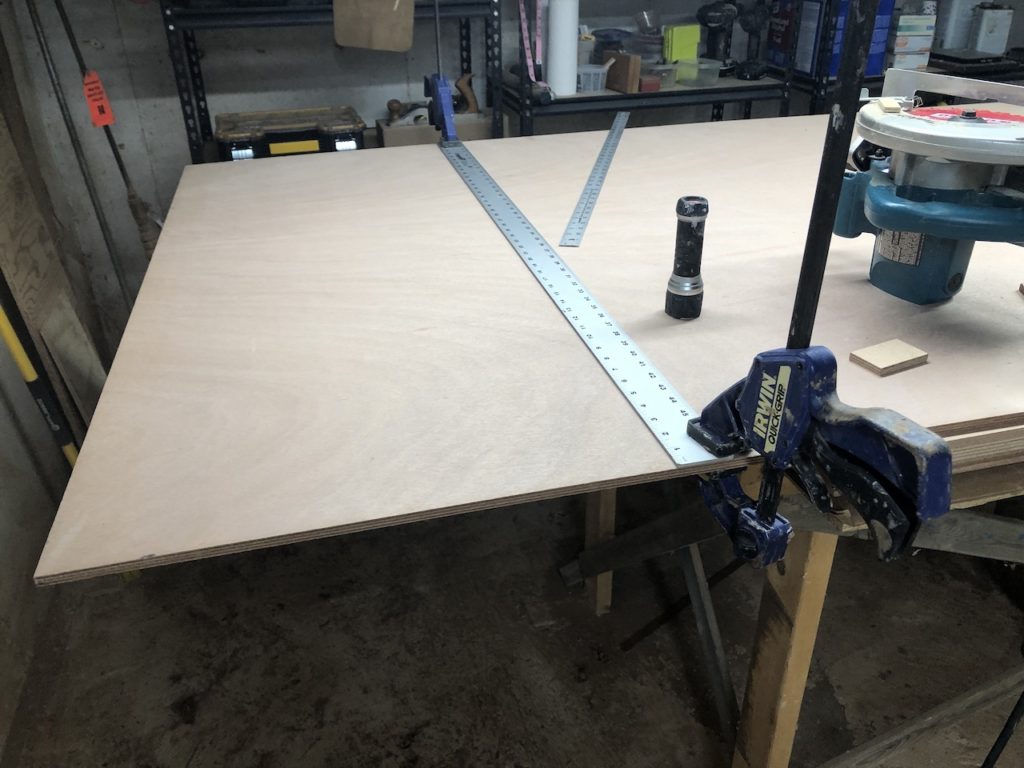
I began on the boat with various measurements both inside and outside the windows. I used the circular saw and a fence to take slabs off of a 4×8 sheet of 3/8-inch Okume marine ply.
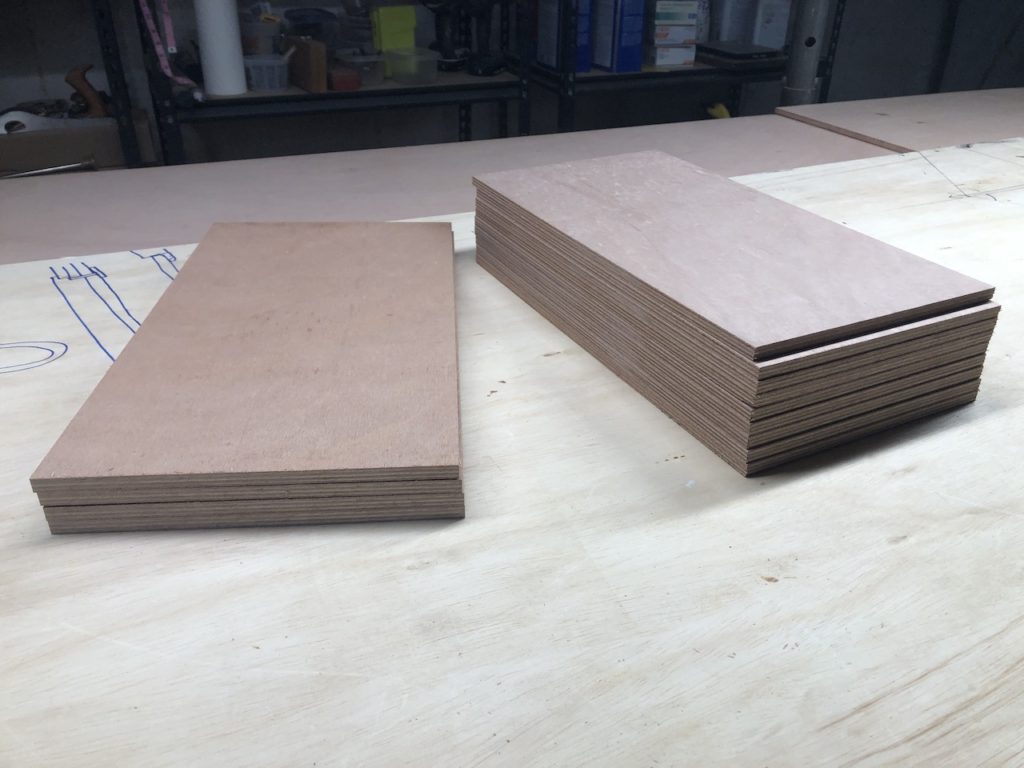
There are four ports of one size, and 9 of a slightly smaller size.
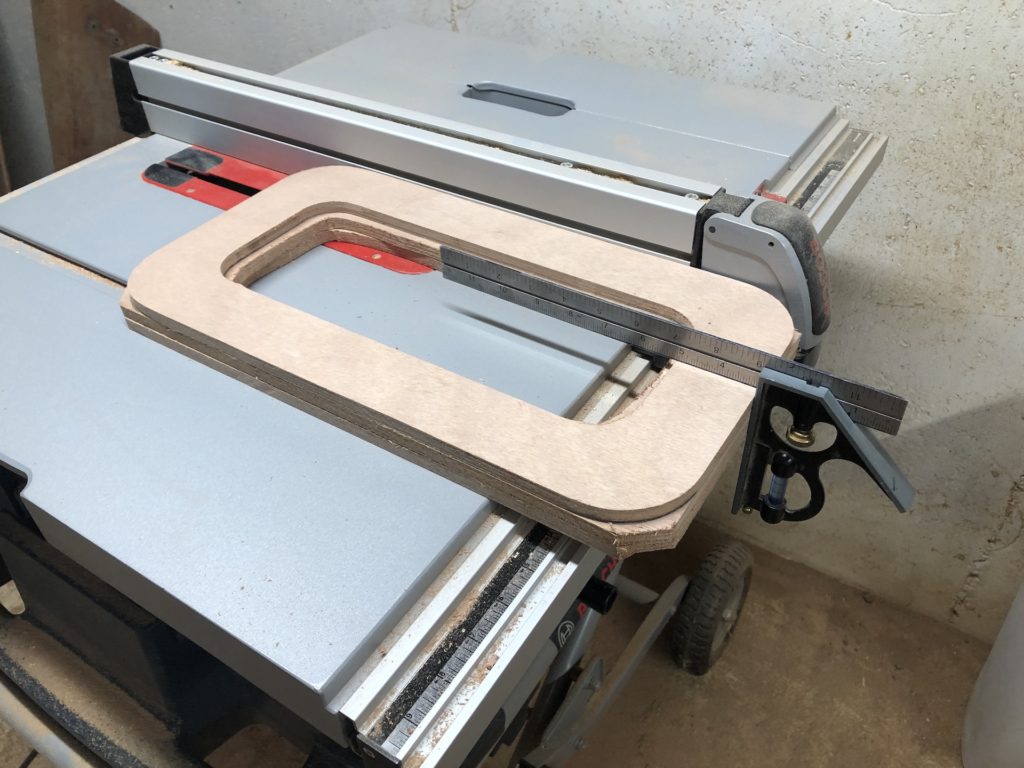
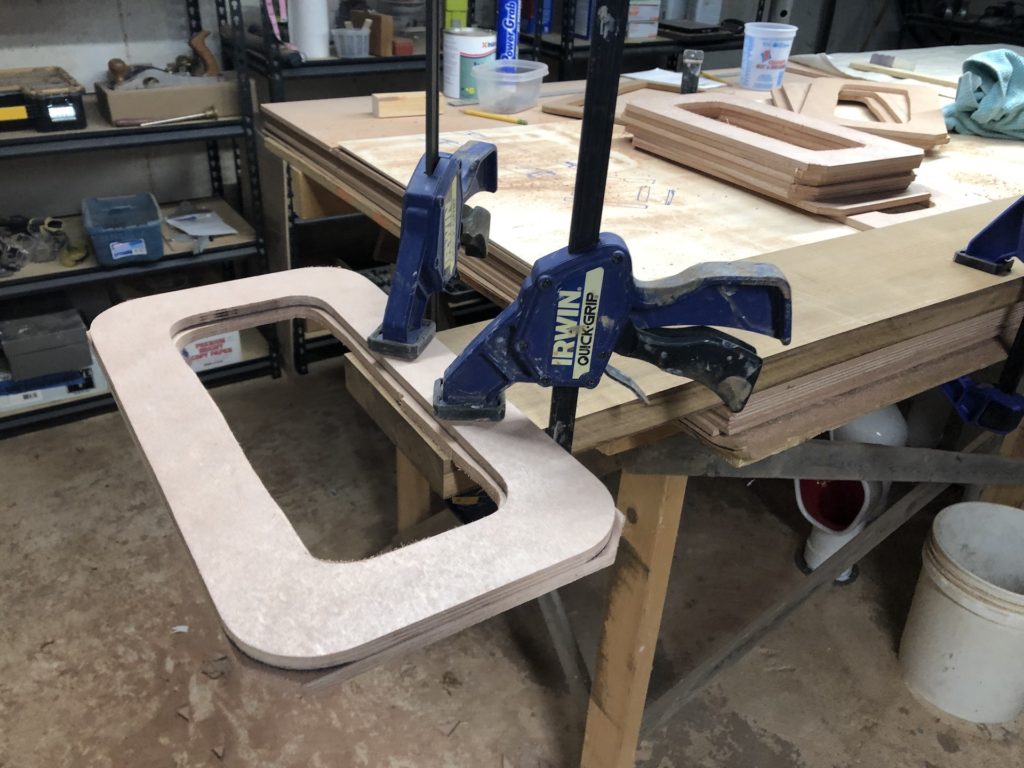
The teak frame you see below is something I made years ago and is part of the picture accidentally. I traced rectangles for the inside boundaries, then collected various circular objects with which to test out various radii of curvature for the inner and outer curves.
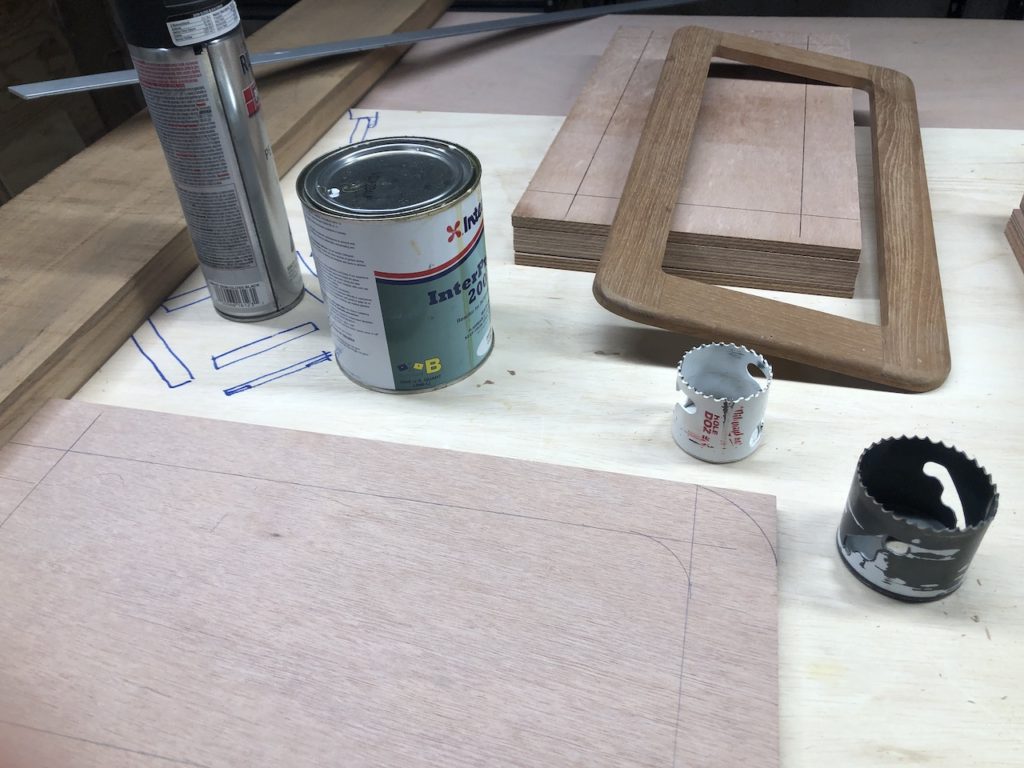
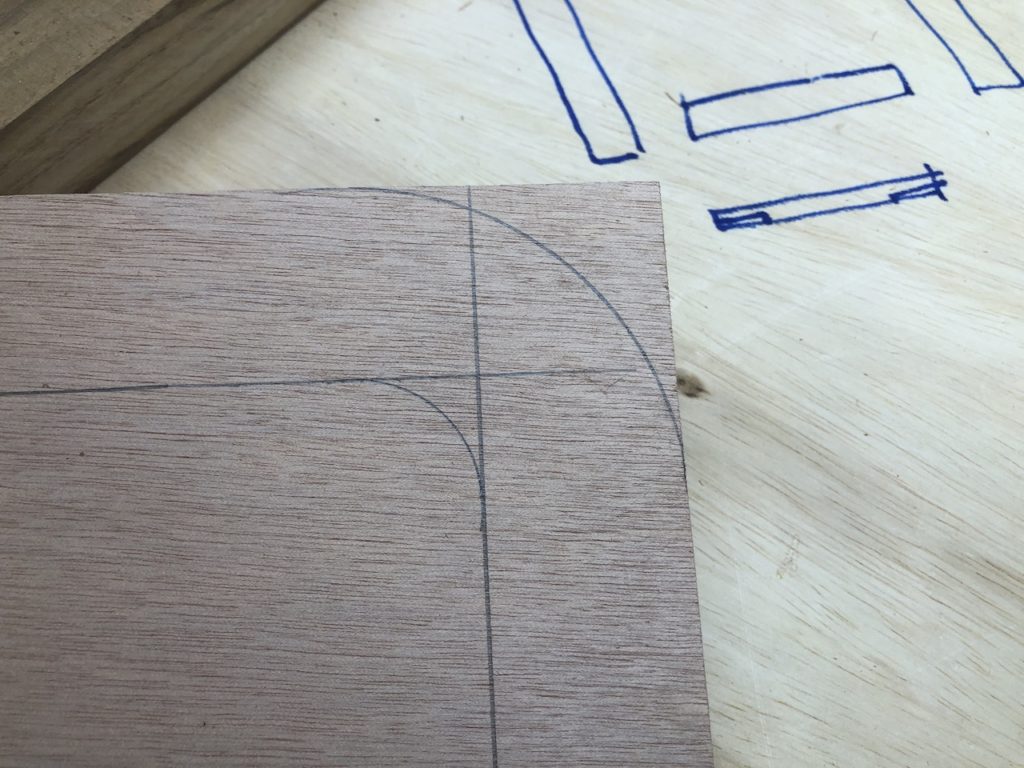
After settling on the shape of the curves, I cut close to the pencil line on the inside and use a router to make the straightaways, and the small spindle of the bench belt sander for the inside and outside curves.
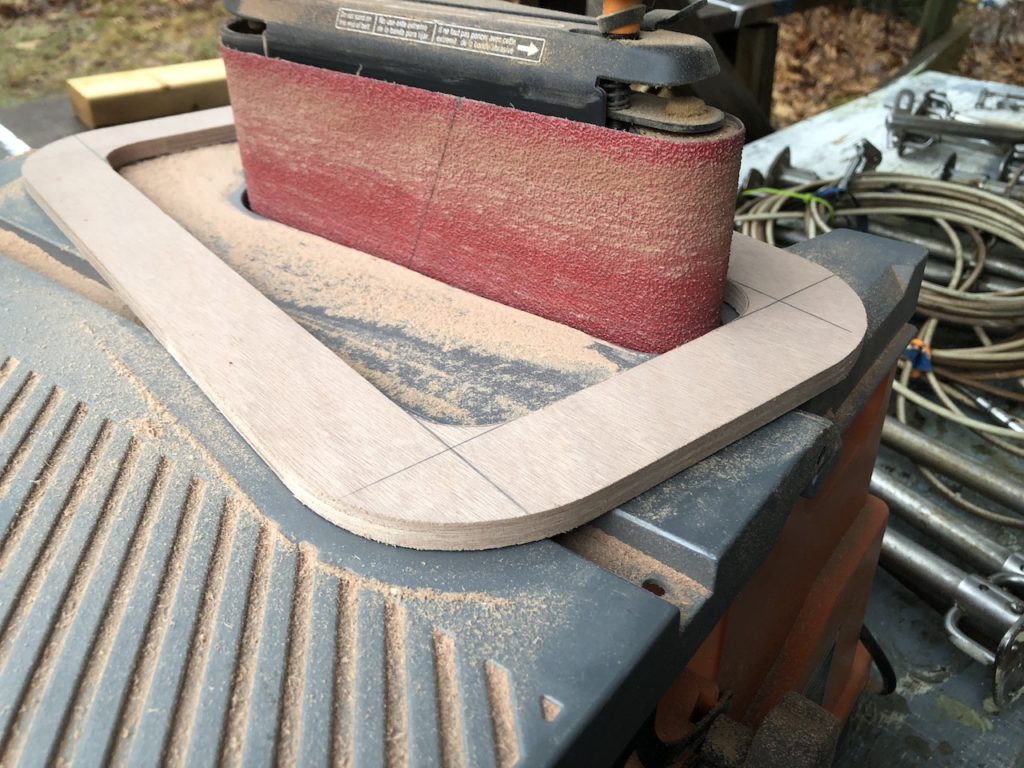
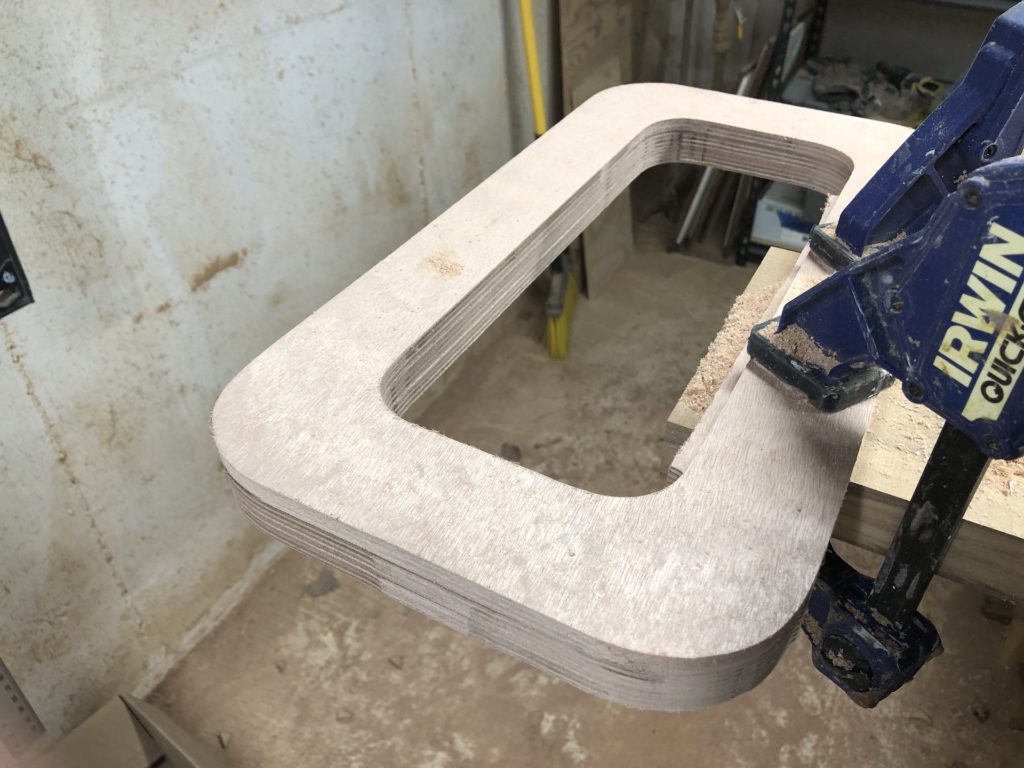
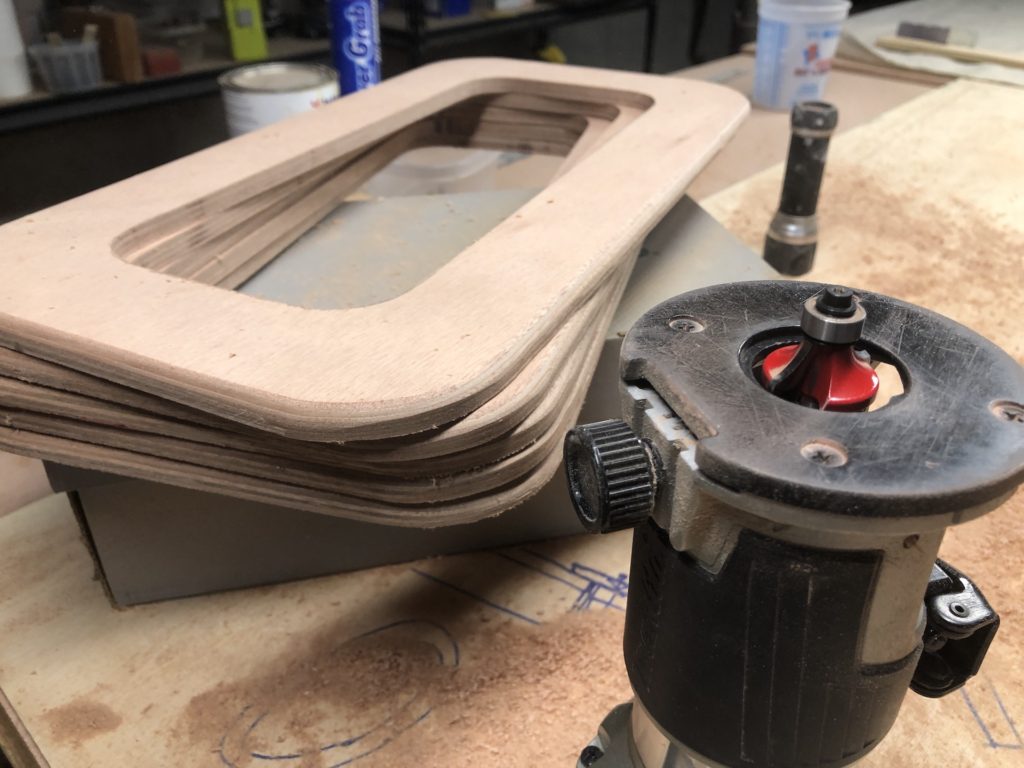
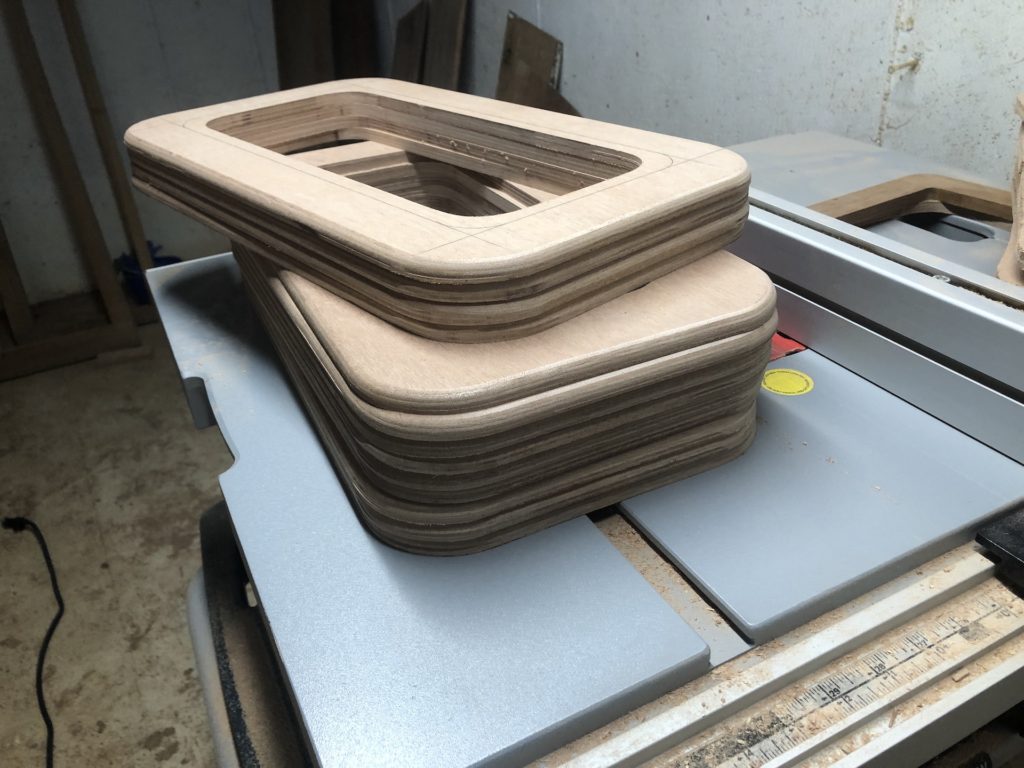
The prototype above was too narrow, and did not sufficiently cover up the lip on the outside of the window (you could see it through the plexiglass looking out from the inside). I made another prototype with 1/2 inch more overhang on the inside and that was just fine. The final prototypes for the two sized frames are shown below.
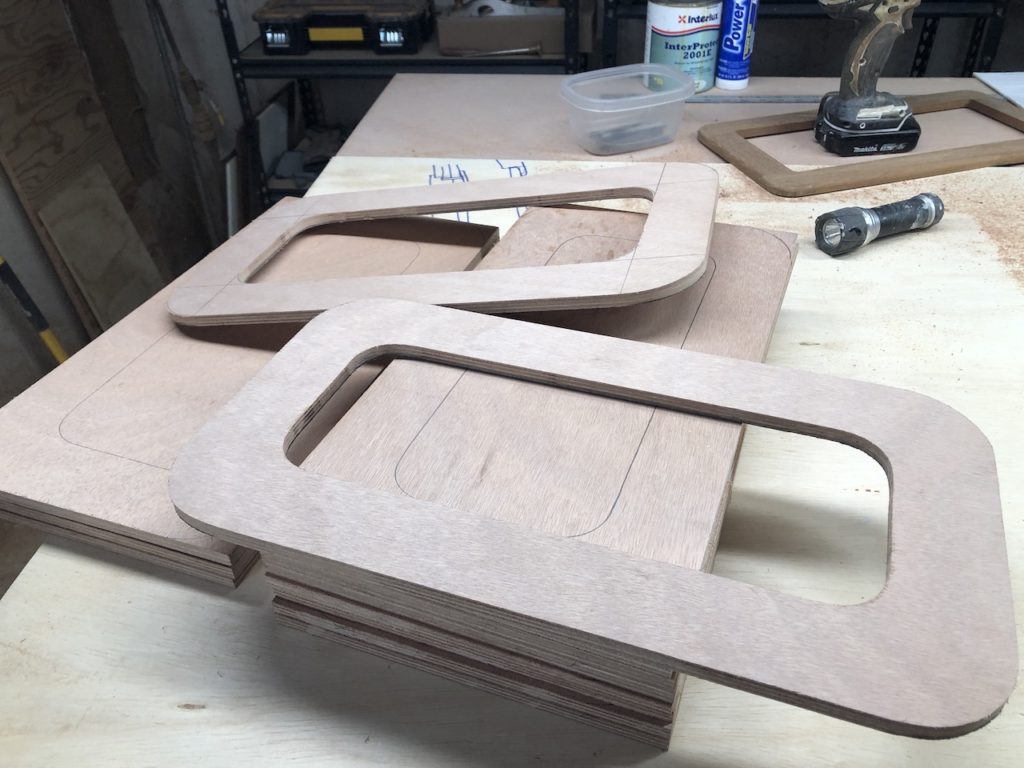
Next, I cut close to the pencil lines on the rest of the blanks and used the prototypes as routing templates.
After the first I started doing two at once:
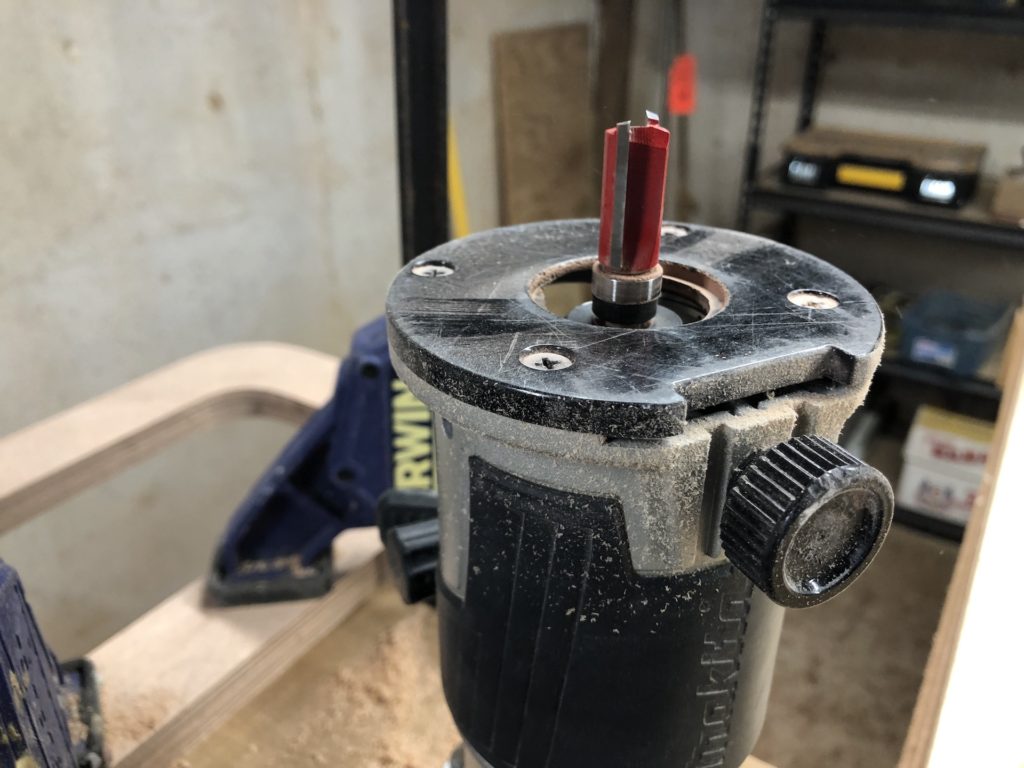
A round-over bit was applied only on the outside edge. The inside got a light sanding only.
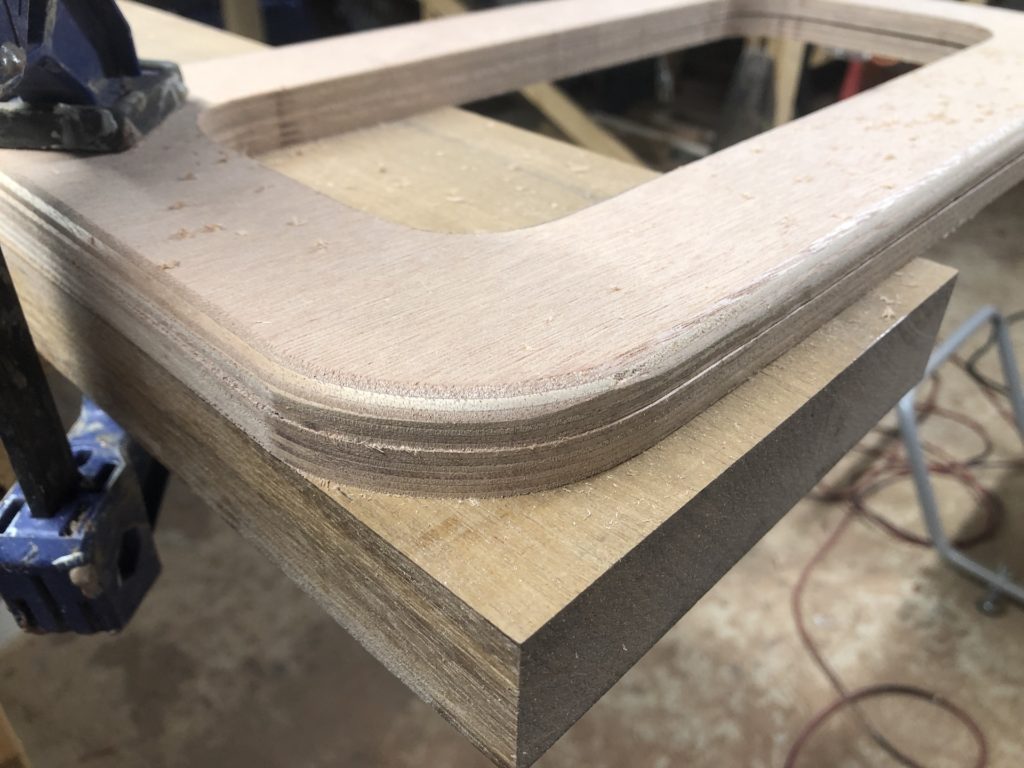
Sanding is always required after using power tools. Tools leave “machine marks” that must be removed to clean the surface and smooth out the marks. The 13 frames below are ready for sanding (not shown).
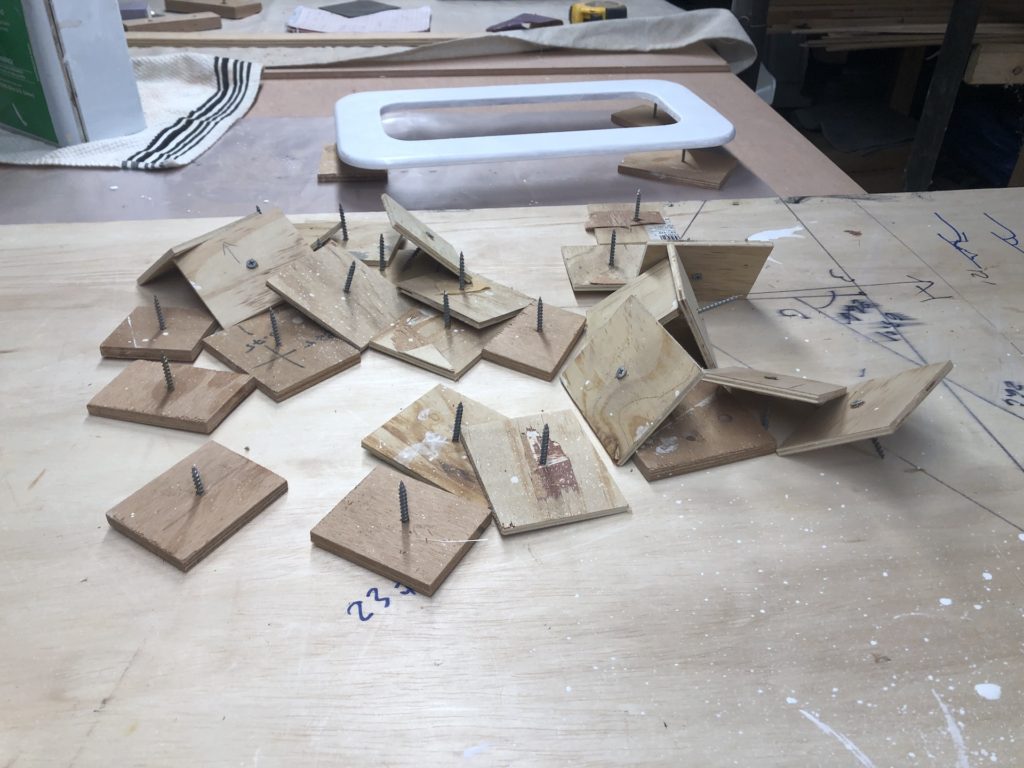
After sanding comes painting…first with a white primer. In order to paint both sides at once I supported the underside of the frame on the points of three screws. From previous projects I had exactly 39 of these little screw stands made up–exactly the number I needed for the 13 frames.
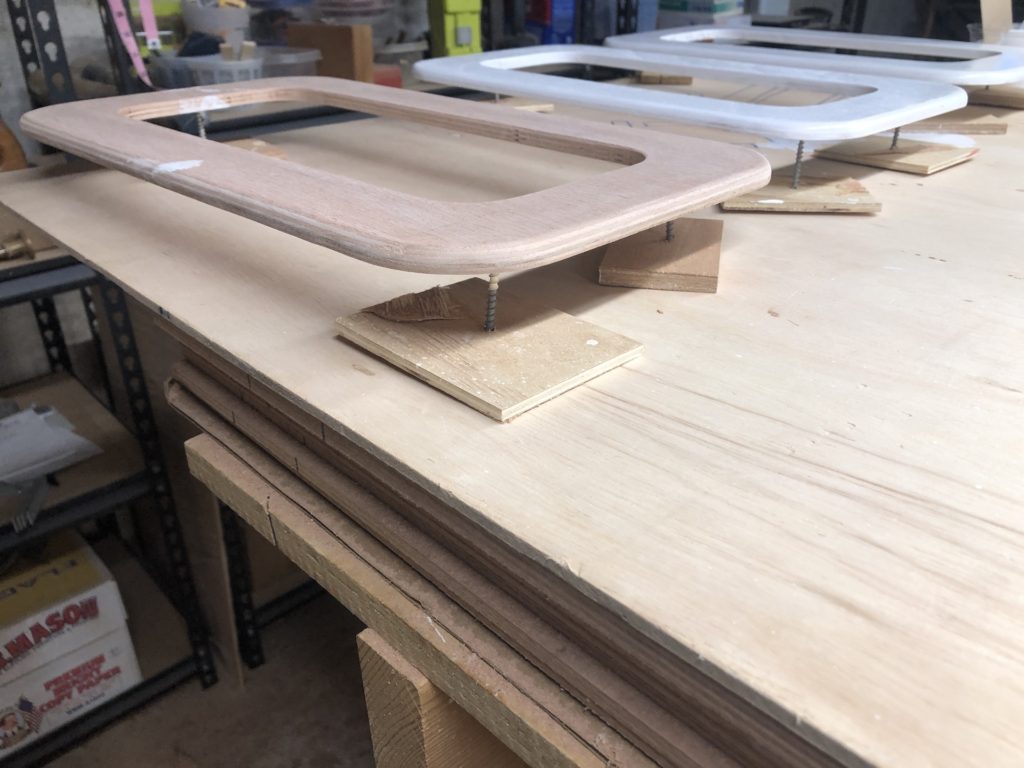
Here they all are after the first coat.

The port dimensions on the inside are either 15″ x 7″ or 15.5″ x 7.5″. There are four of the larger openings, and nine of the smaller. The frames (pictured above) are made of 3/8″ plywood, and are 2″ wide all around. The small frames have outside dimensions of 17″ x 9″ and the larger are 17.5″ by 9.5″. Thus, the overhang is 1″ and 1″ wide blue tape was used as a guide for positioning the frames for drilling pilot holes.
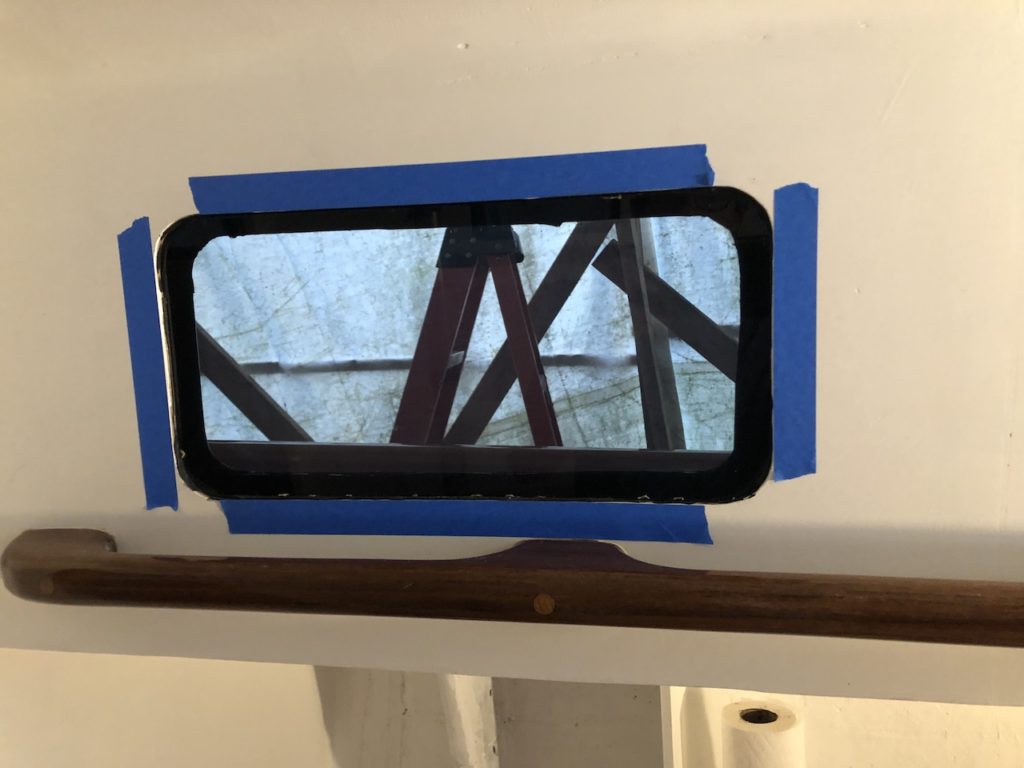
The fasteners will be set 3/4″ in from the outside edge of the frame, leaving about 1/4″ of meat for pilot holes in the house.
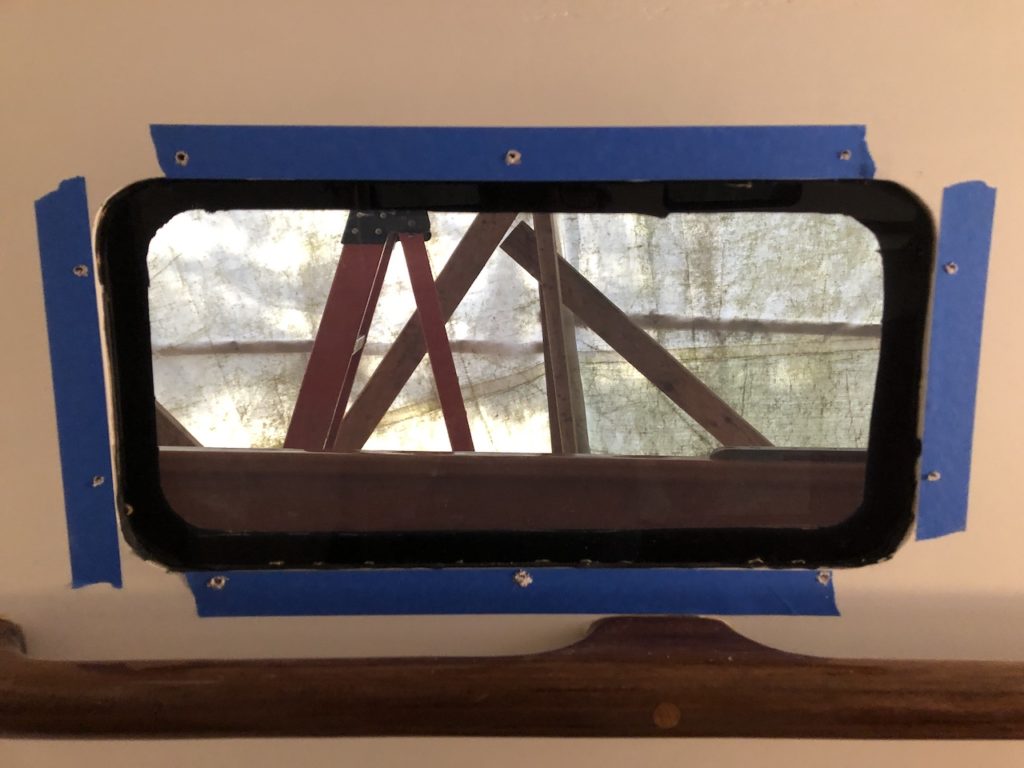
Below is the first dry fit. The frame has just one coat of primer, so the color will change somewhat before final installation.
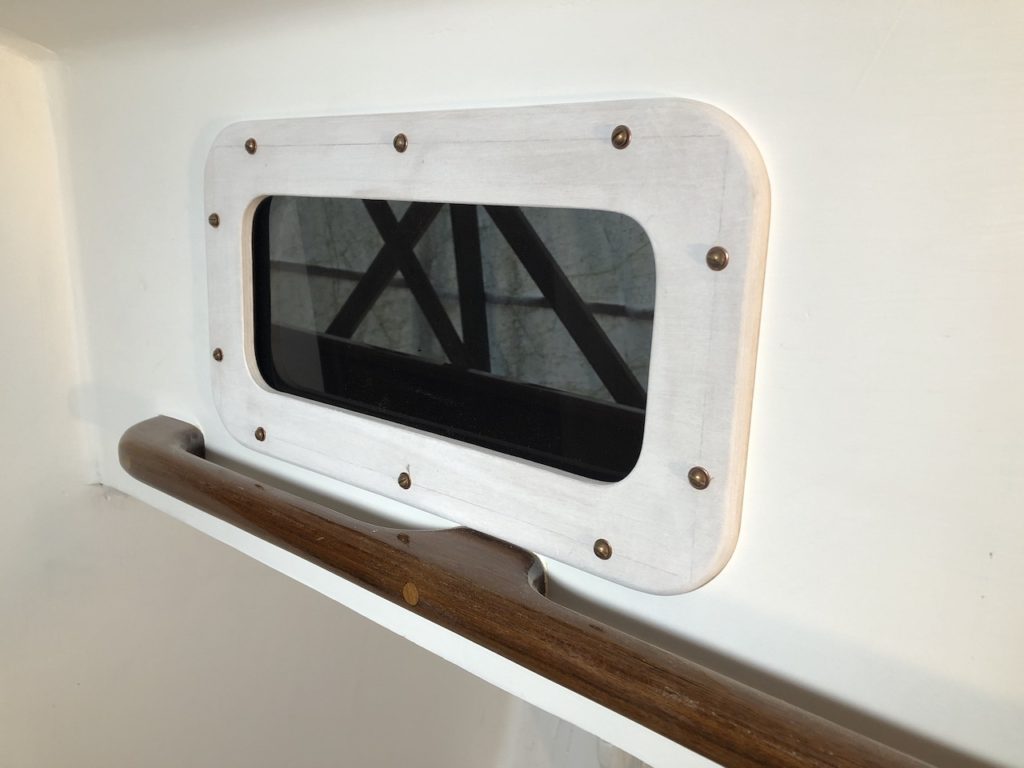
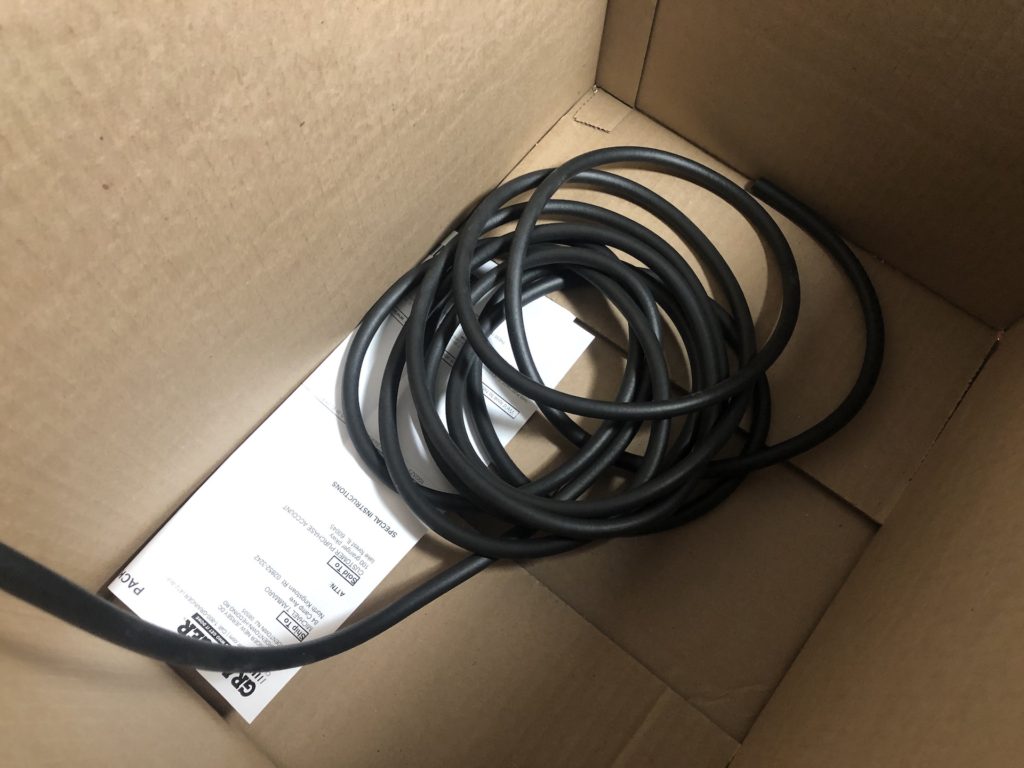
After two coats of white paint in the basement, they are ready to go. I used 0.4-inch diameter round, black, foam gasket material between the frames and the windows.
X
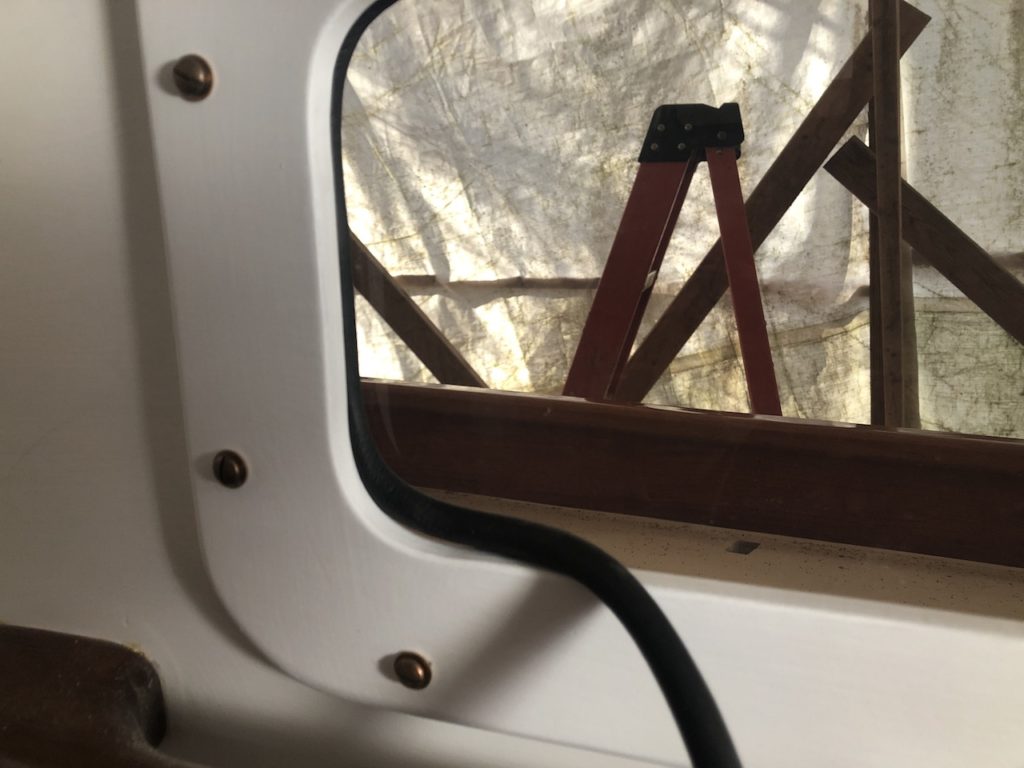
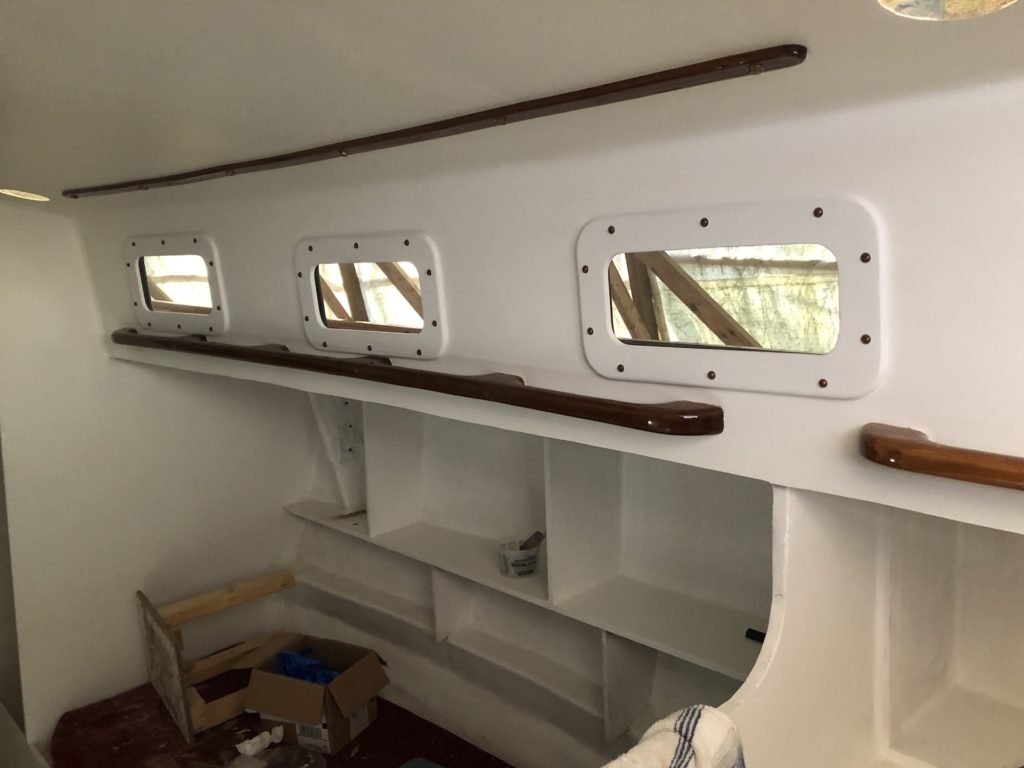
The purpose is both to cover the recess between the window and frame (cosmetic), and to press the window into the outer frame. The protocol was to bring the screws down to about 1/4-inch to go, insert gasket material, tighten screws. It took only about 2 hours to do all 13 frames. Windows are now completely done. Here is above the starboard-side galley:

Starboard-side forward of galley:
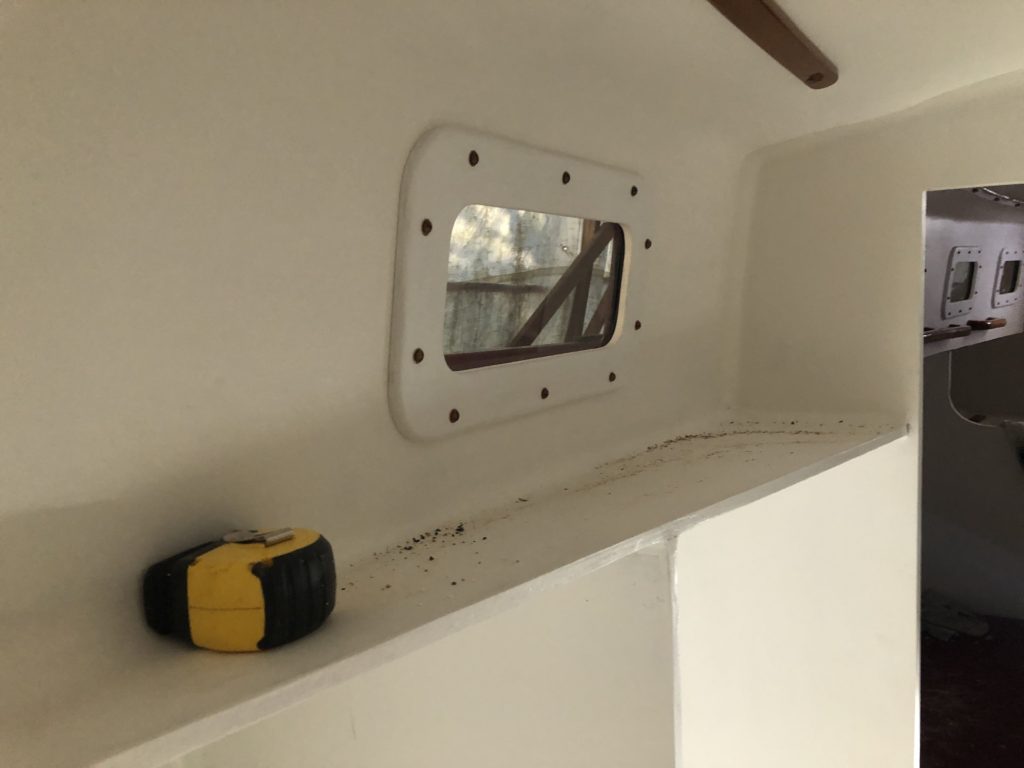
The shelf above the hanging lockers in the head area:
There have been other projects underway, but those will be discussed in the next installment.
Tom
12/10/2020 — 10:04 pm
Mike As always beautiful work. Tom
Mike
12/11/2020 — 3:09 pm
Thanks Tom!