5/22/16: Icebox
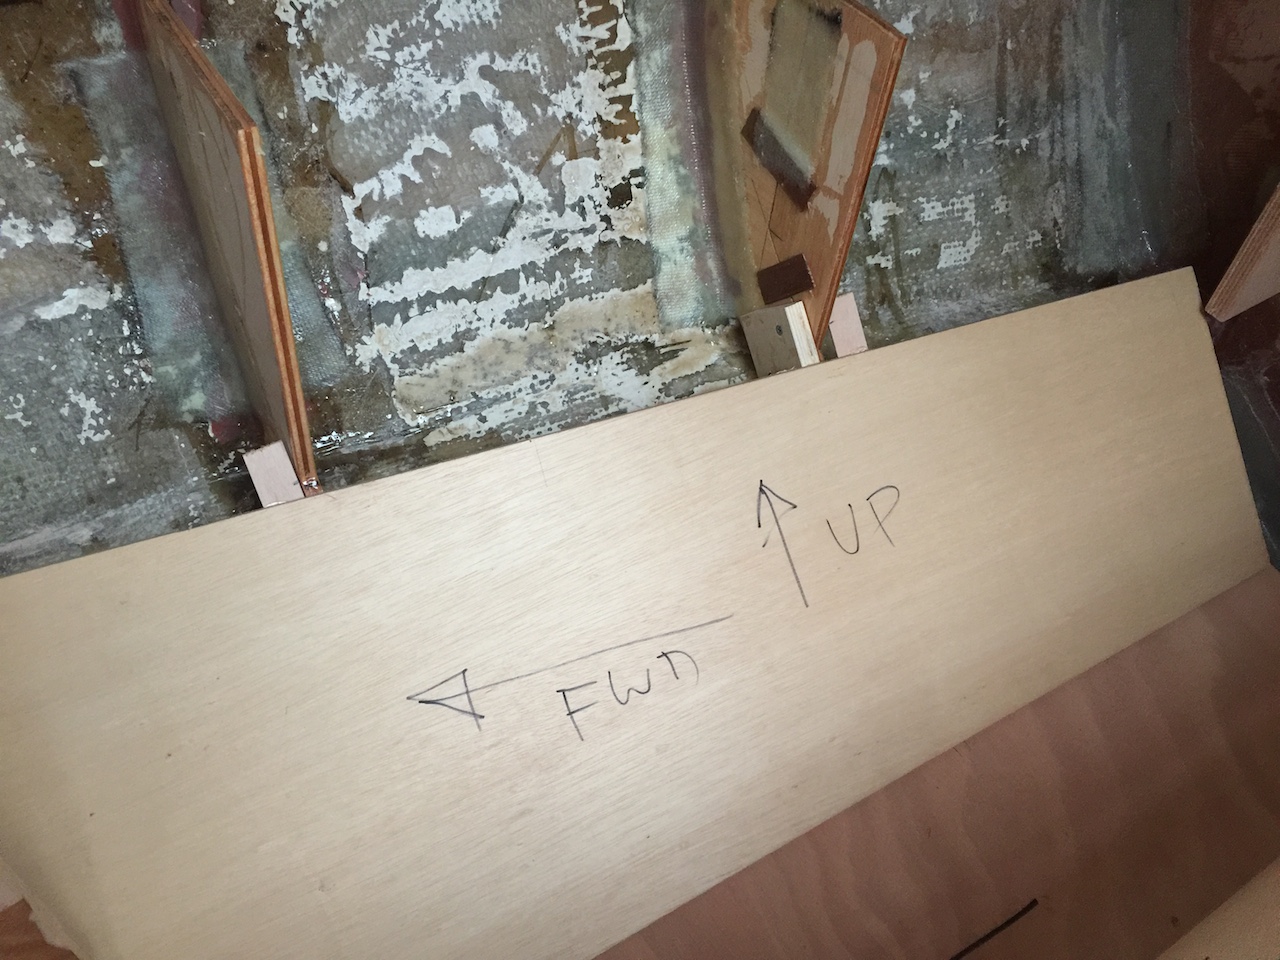
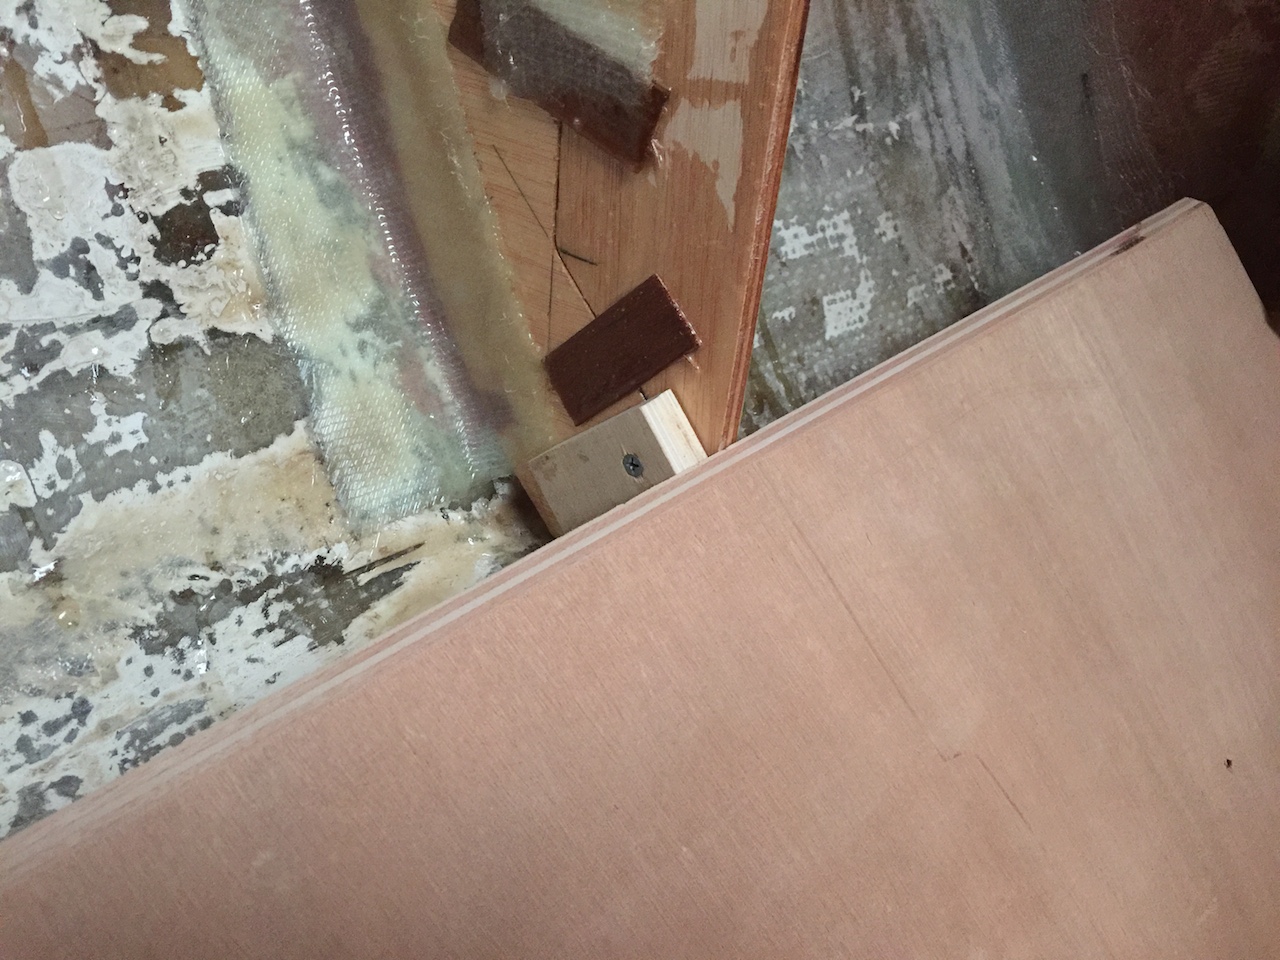
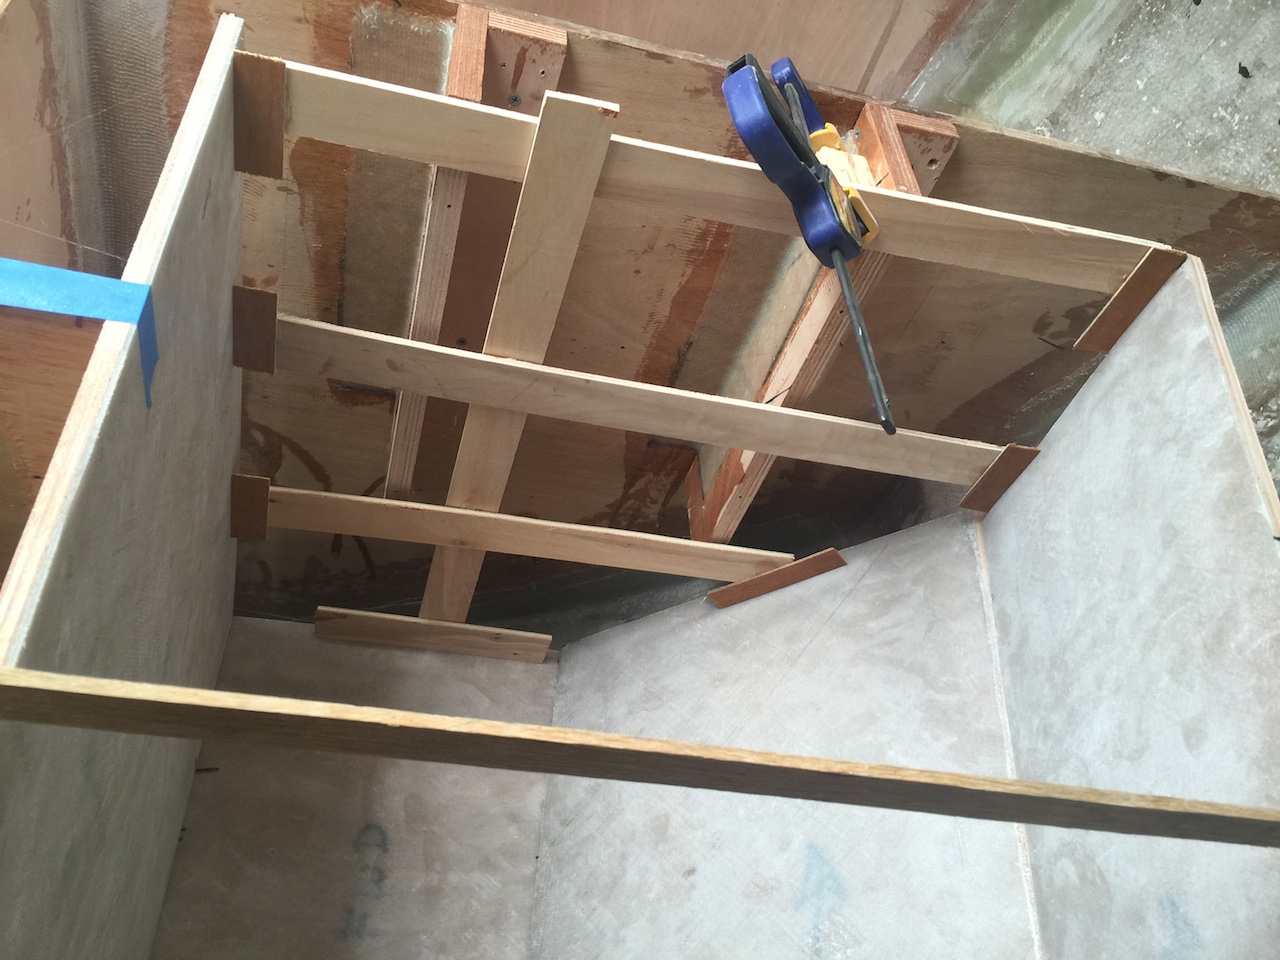
The icebox build continues. I made no blueprints or detailed drawings of the design. Instead, I simply stared at and sketched on the frame templates until a basic plan emerged. Minor adjustments were required as the patterns and templates for the plywood panels were made, and the following photo shows some of those adjustments. A piece has been added to the aft frame to bring that edge inboard, and a block has been screwed to the same frame to adjust the angle of the piece you see here (we’ll call this “the slanted panel”). The frames are very strong, and the original icebox had no frame at all. This new icebox, with the tabbed in frames, will be stronger than the original. (Recall, though, that the original icebox was on the port side and more aft.)
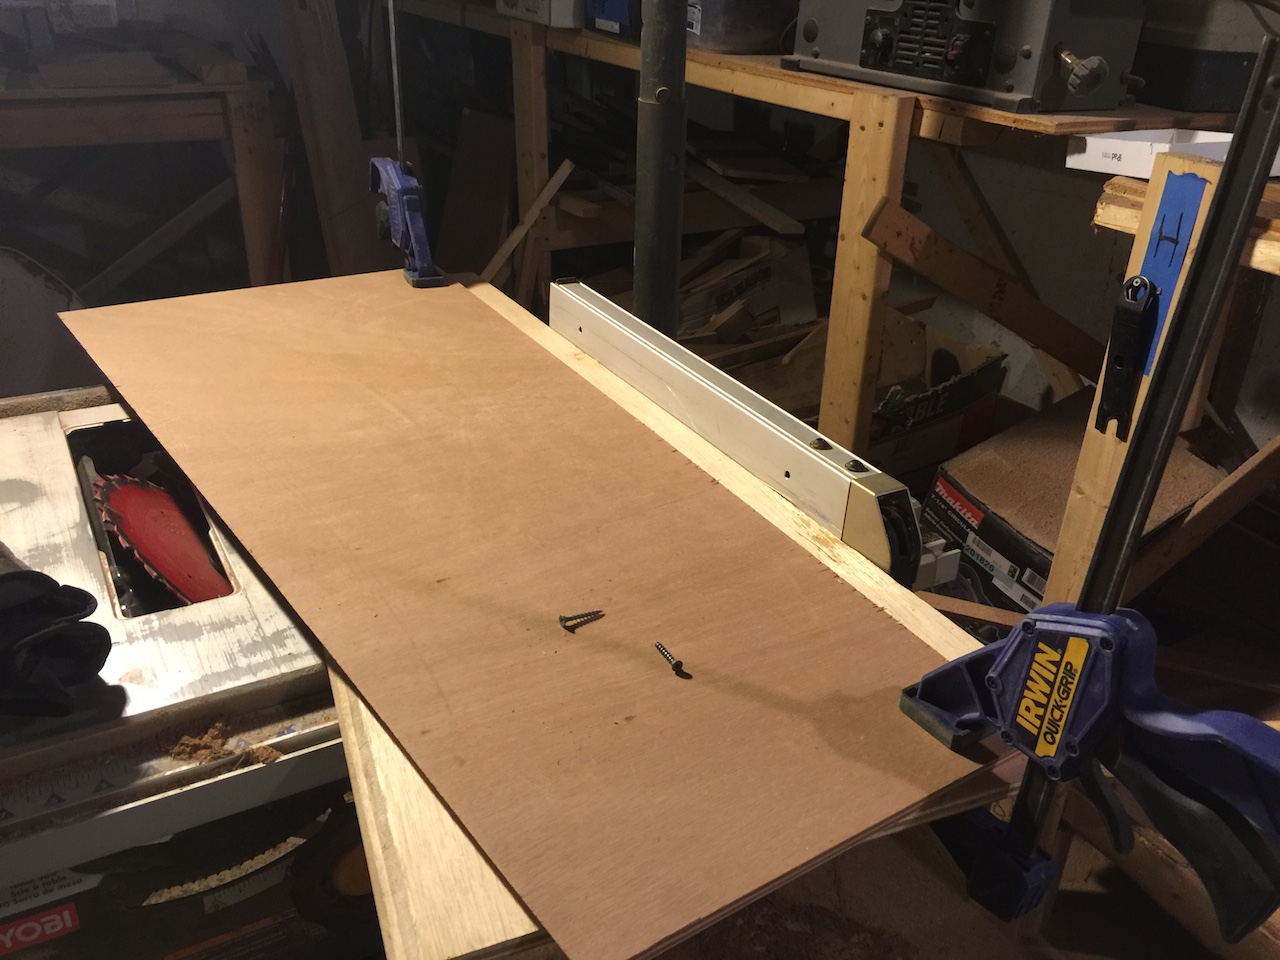
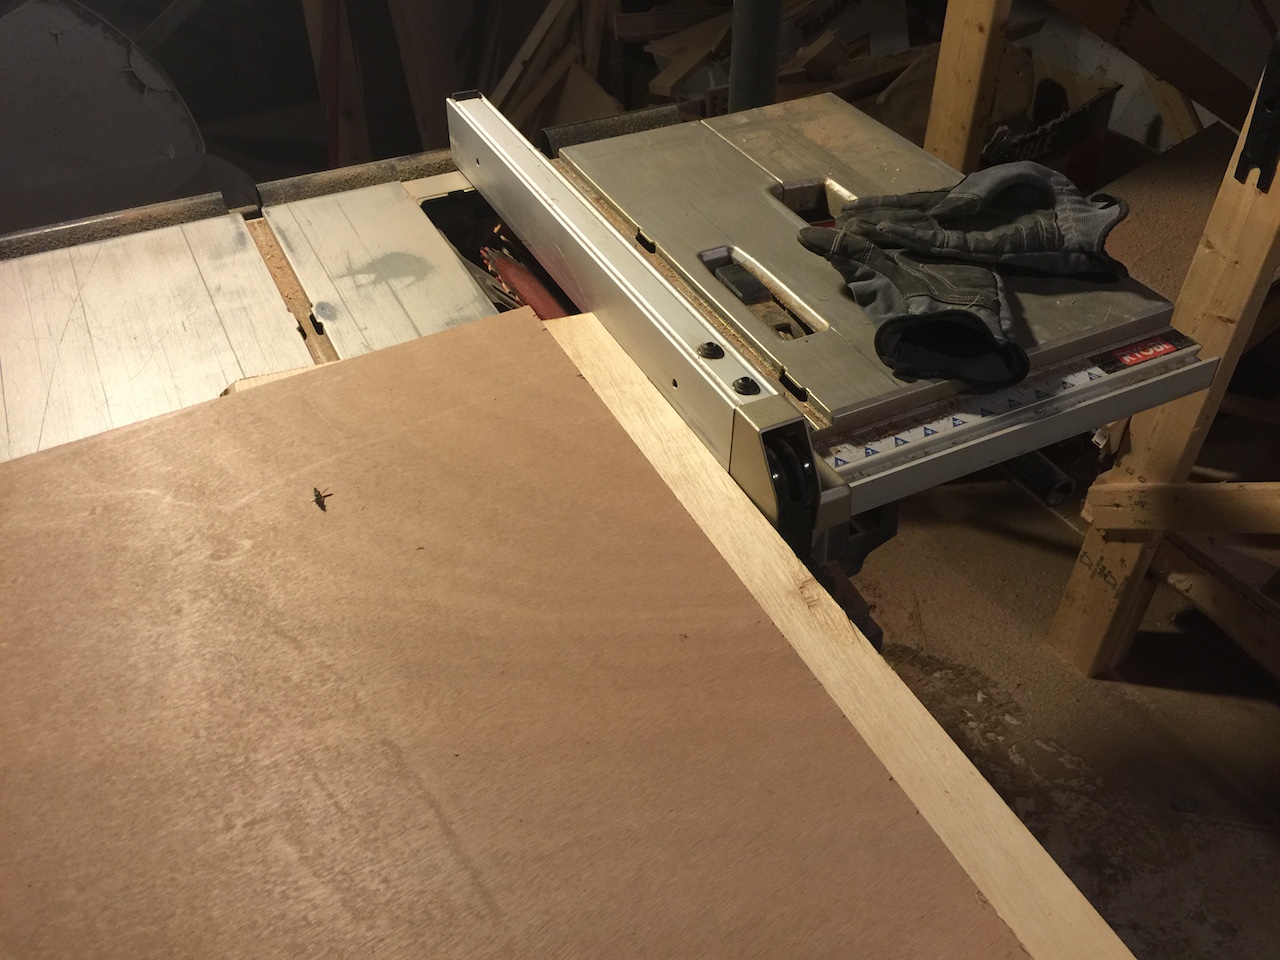
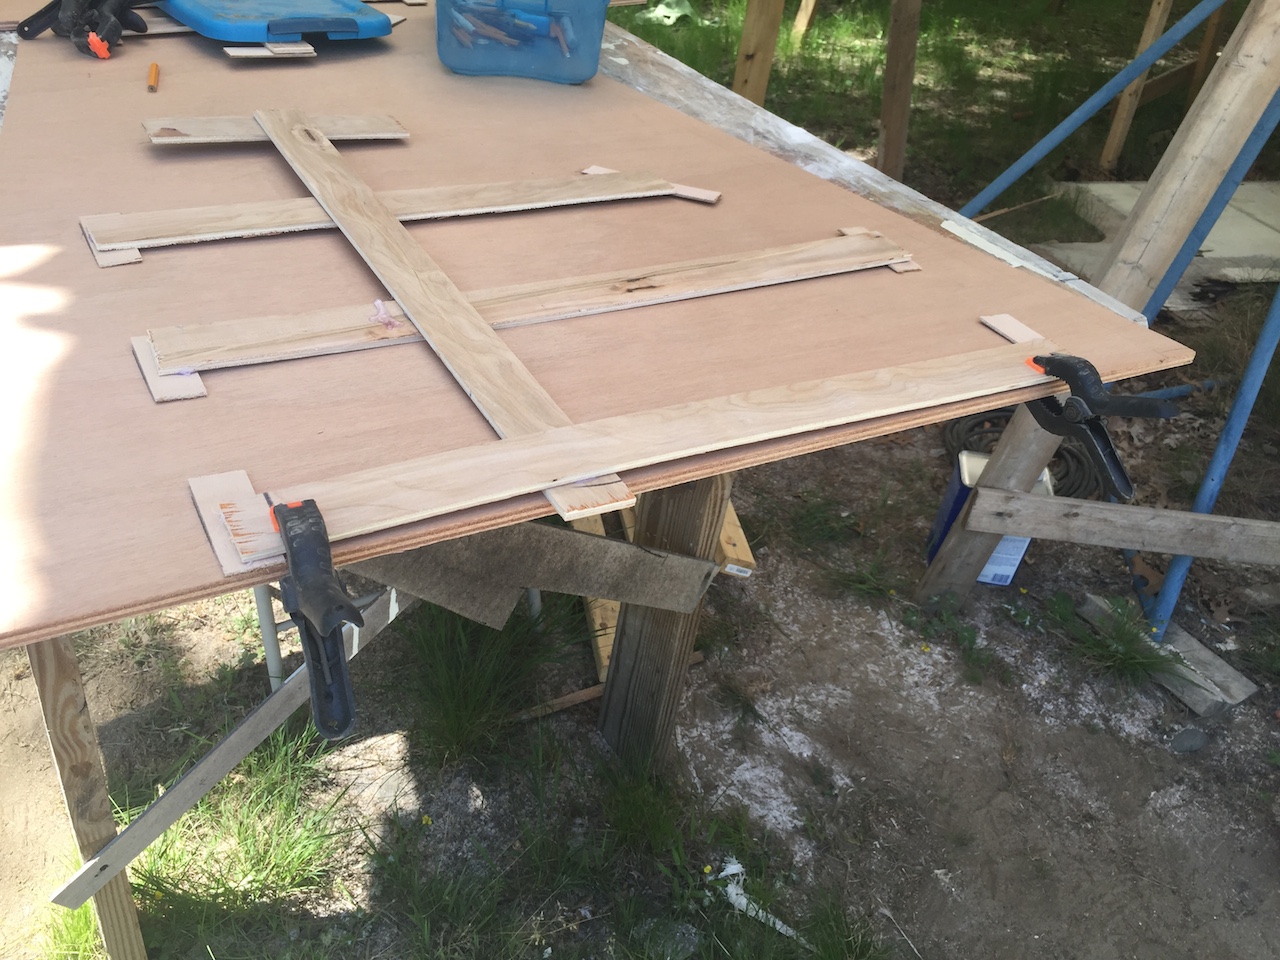
I bought a 4×8 sheet of 3/8-inch Okume for the panels. There are six panels: four are vertical, one is slanted (see the previous photo), and one is the bottom, which is almost horizontal, with a slight downward slope toward the bow. Most of the panel-to-panel intersections are perpendicular, except two, which both involve the slanted panel. Basically, the top and bottom edges of the slanted panel must be horizontal so that they meet the other panels “cleanly” so that a epoxy fillet can be run along the edges. The table-saw blade can be tilted to the correct angle, but the sides of the panel aren’t parallel, so I couldn’t simply run the panel along the table saw fence. The following photos show some of the tricks I used to overcome this difficulty. Basically, a piece of scrap plywood was used as a sort of jointing jig. The edge of the panel was aligned parallel to the rip fence, then clamped to the scrap, then screwed to the scrap, then the clamps were removed. (The screws, of course, were sunk deep enough so that they didn’t scrape across the table-saw surface.)
Next, the rip fence was moved, and adjusted until just the right amount of material would be removed from the panel.
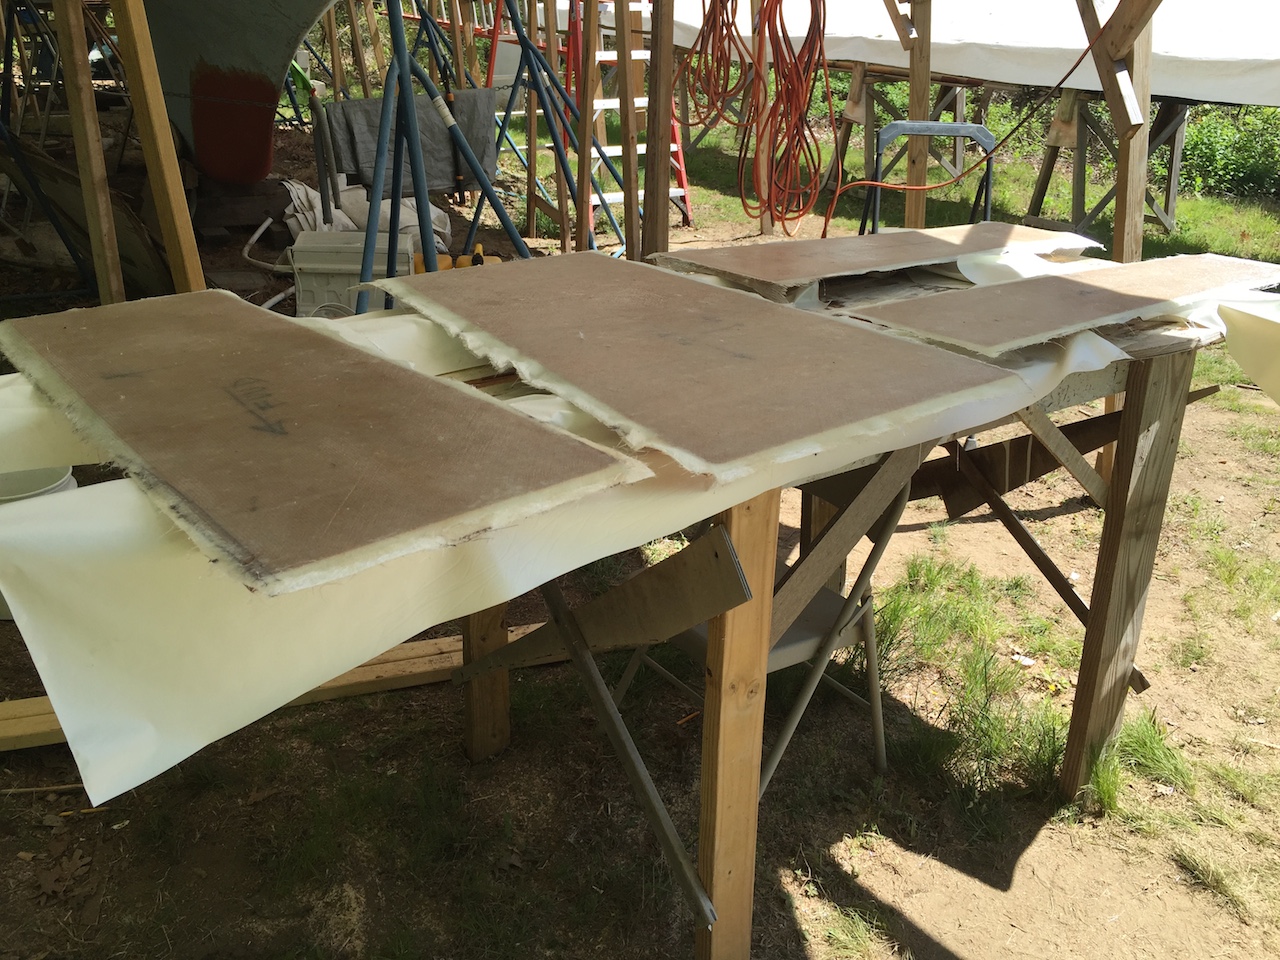
Next, the four panels were glassed with two layers (one mat, one biaxial).

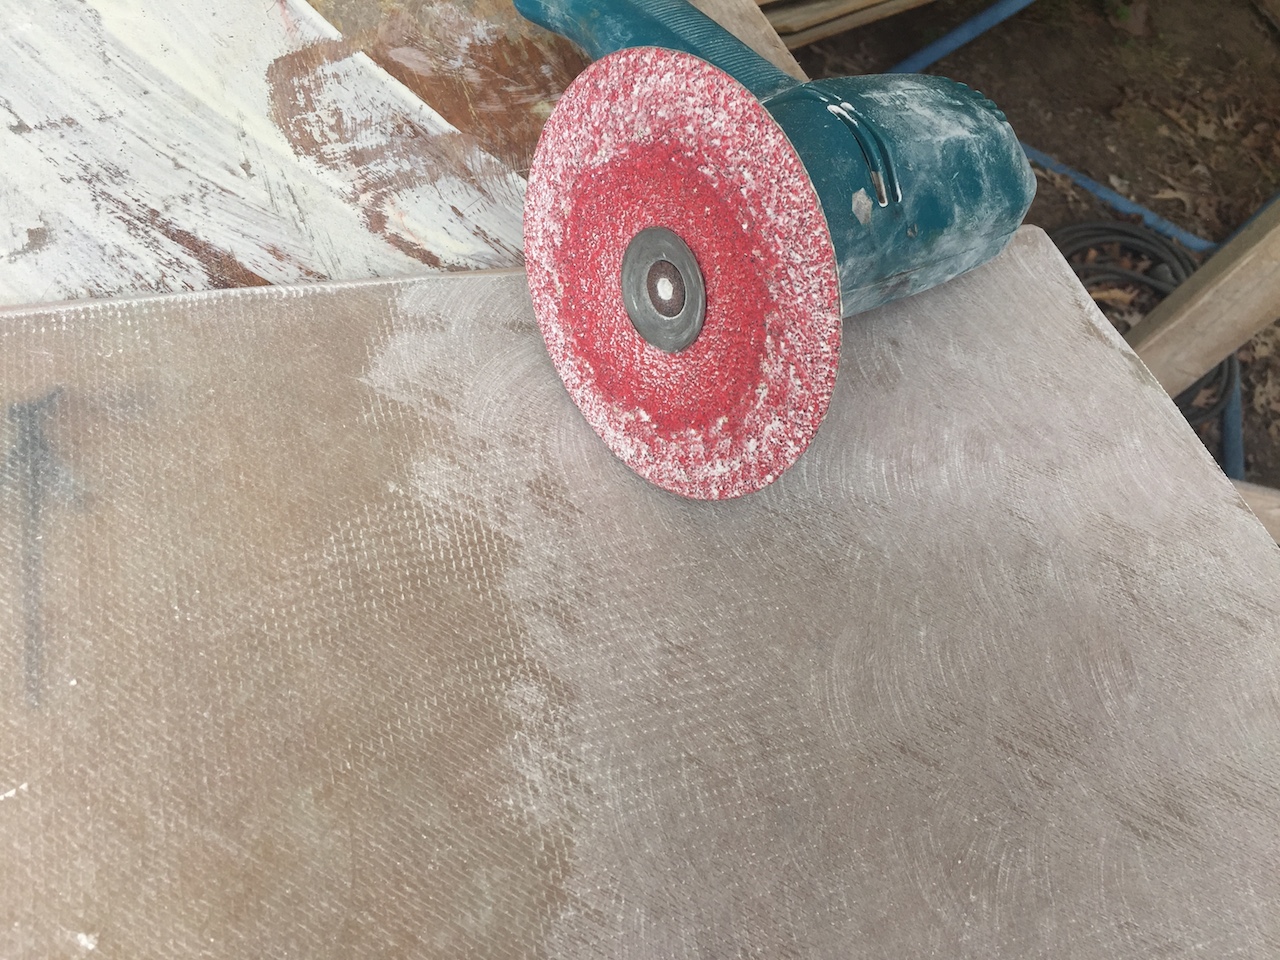
The next day, when everything was dry, I used the disc sander to remove the texture of the glass, then the 5-inch orbital to make everything smooth.
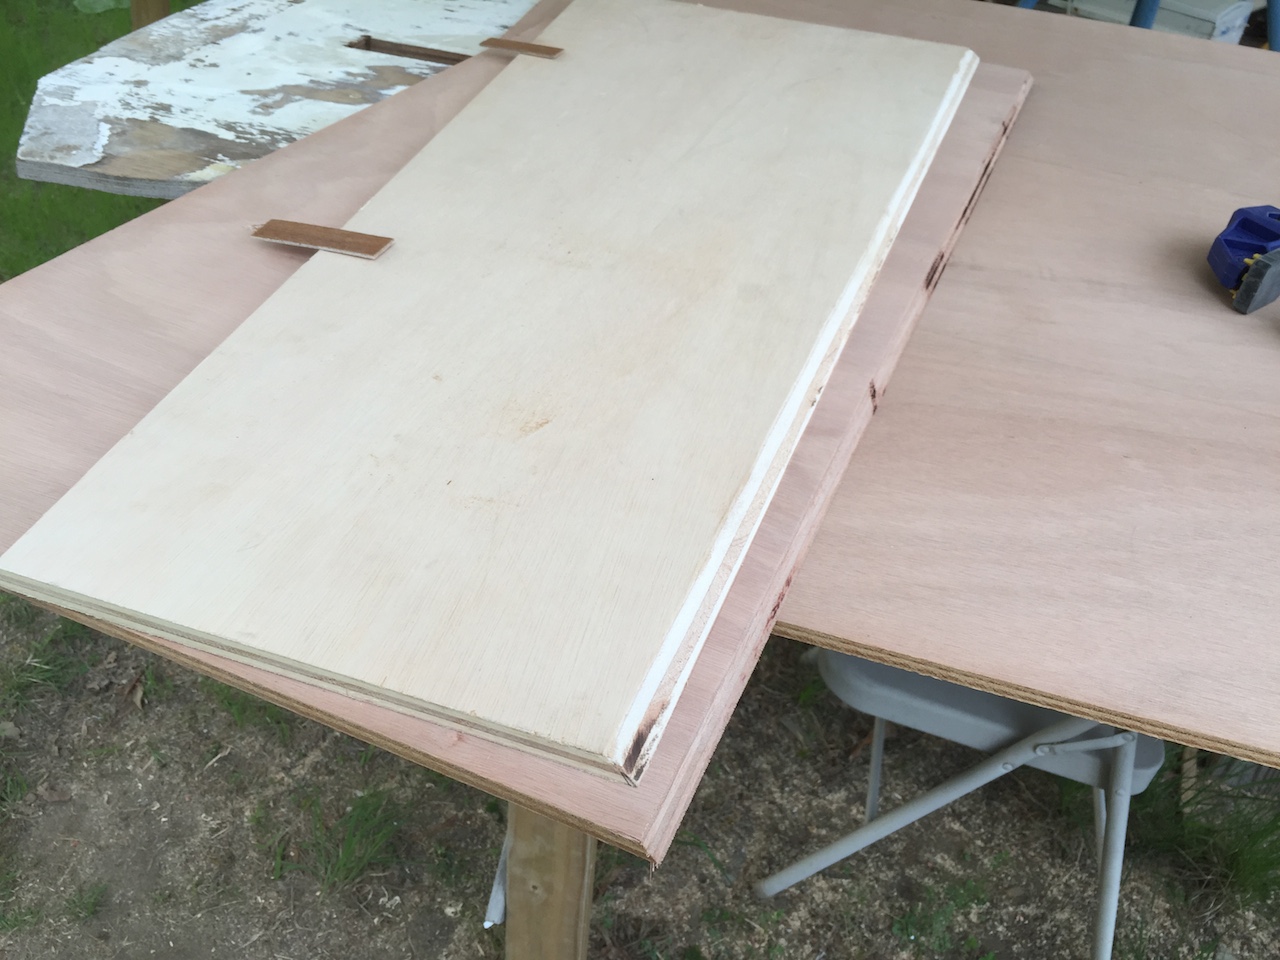
The next photo shows a dry-fit of two of the panels, and here you can see the layer of glass in the cross-sectional view.
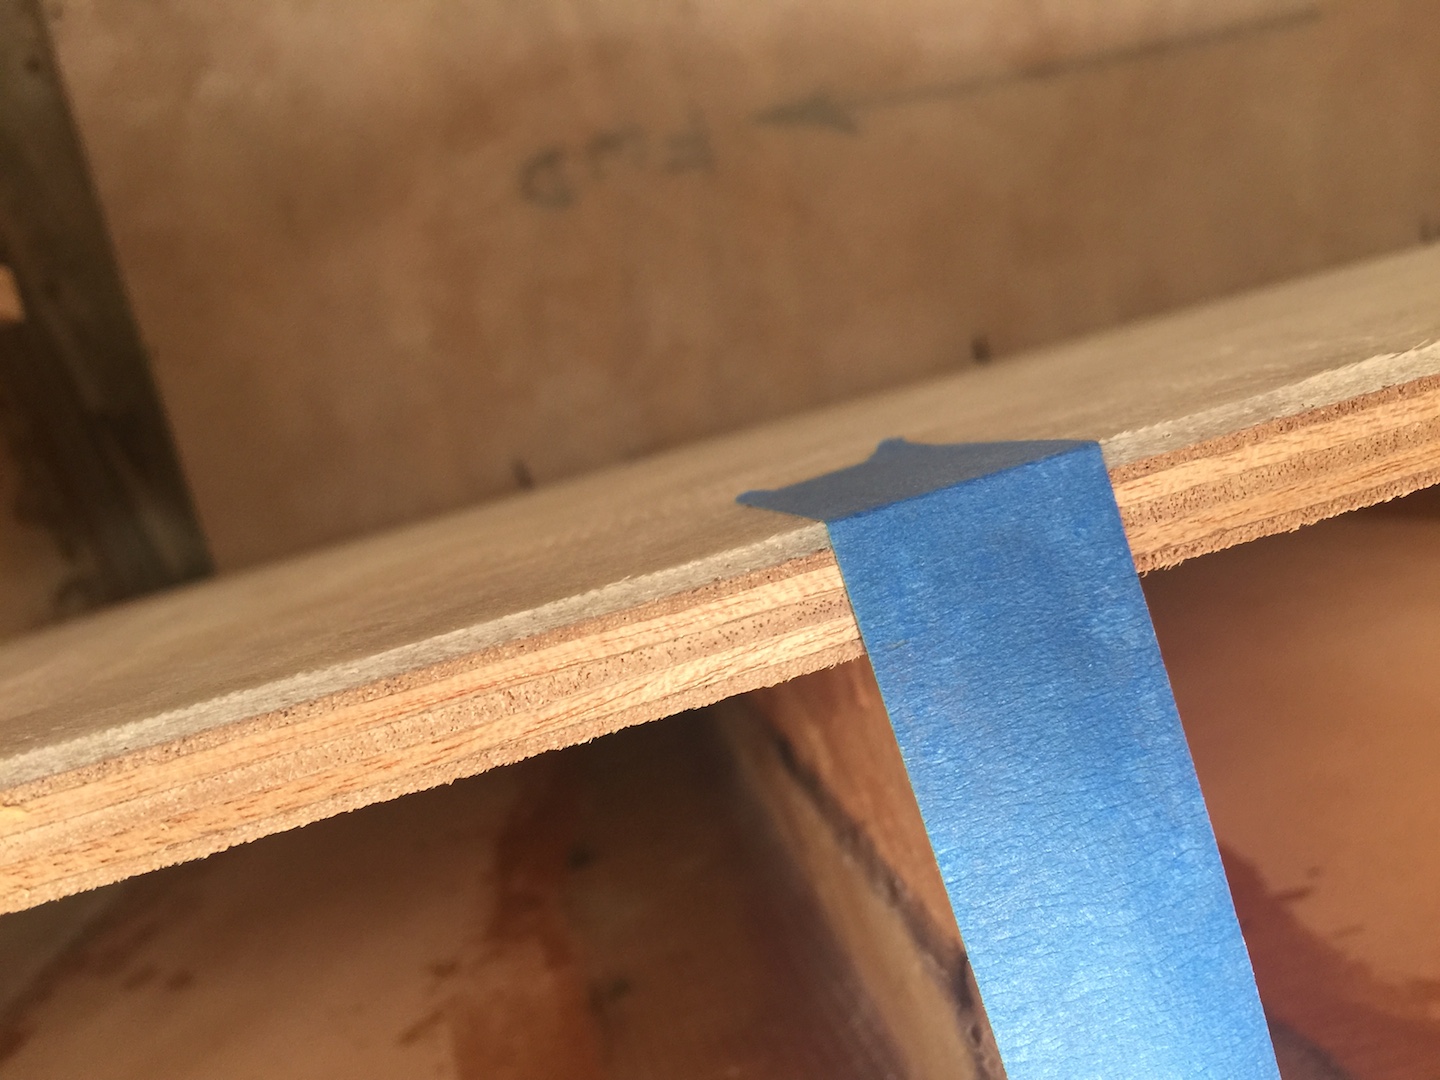
During the dry fit, a few tests were done to be sure the top edges of the panels are at countertop level.

Next, I made patterns for the fore and aft panels. These patterns simple because each edge of these panels is a straight line.

Instead of making a template, I transferred the shape straight from the pattern to the plywood.
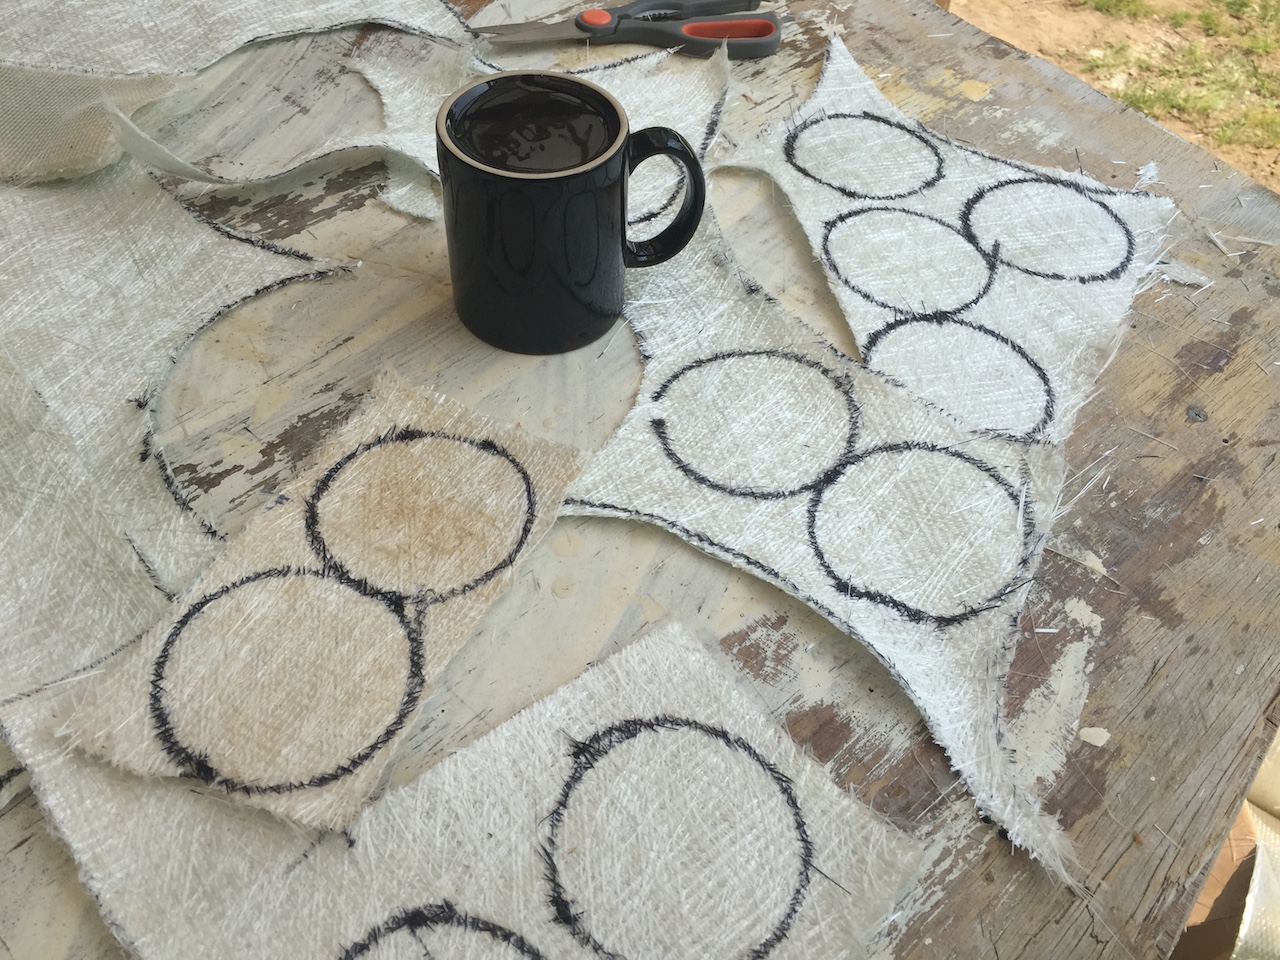
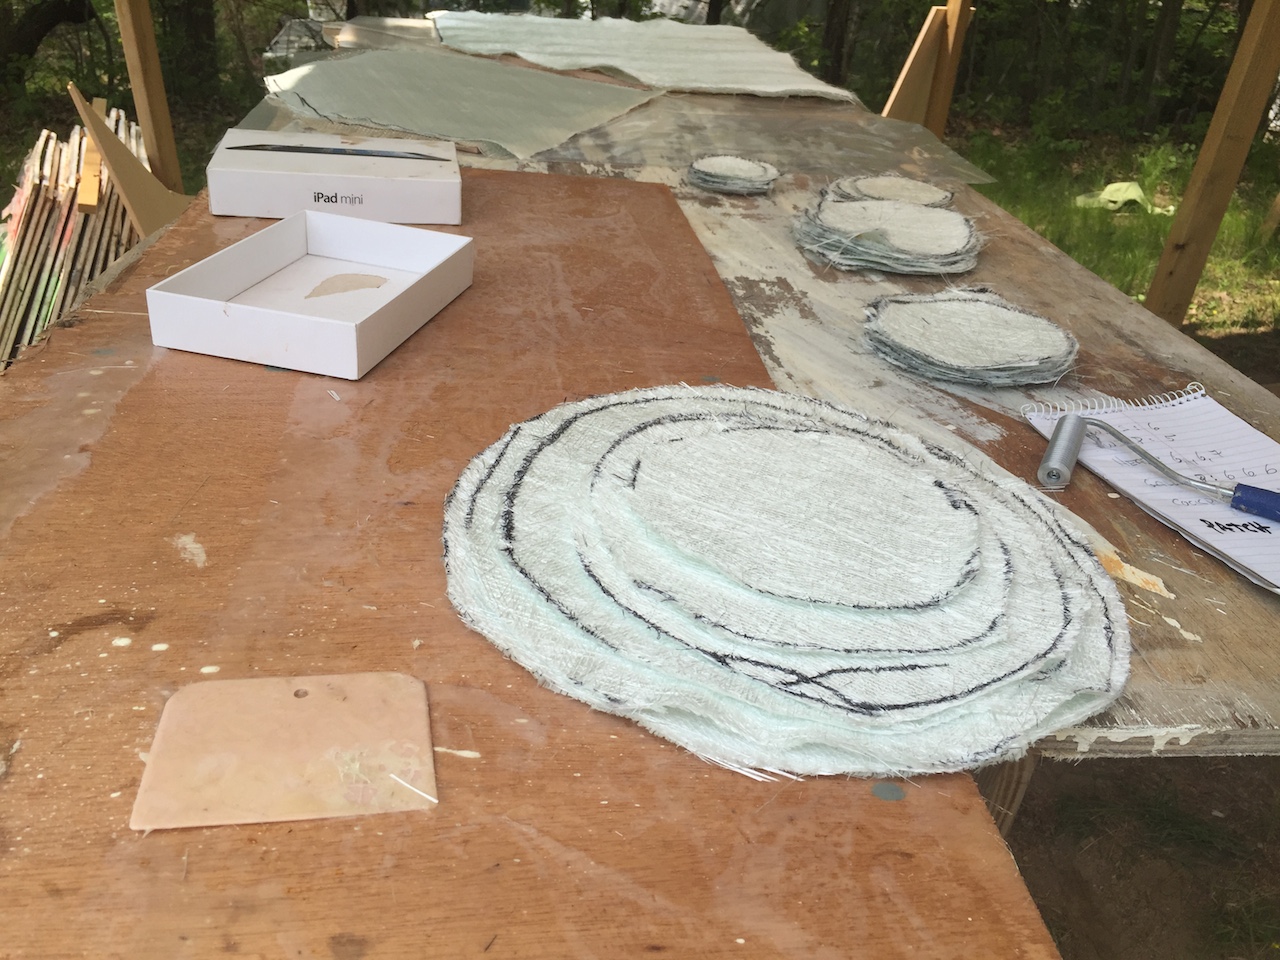
While I was cutting the glass for these panels, I tool the time to make some round pieces that will be used to fill the through-hull holes and other areas (to be discussed another time).
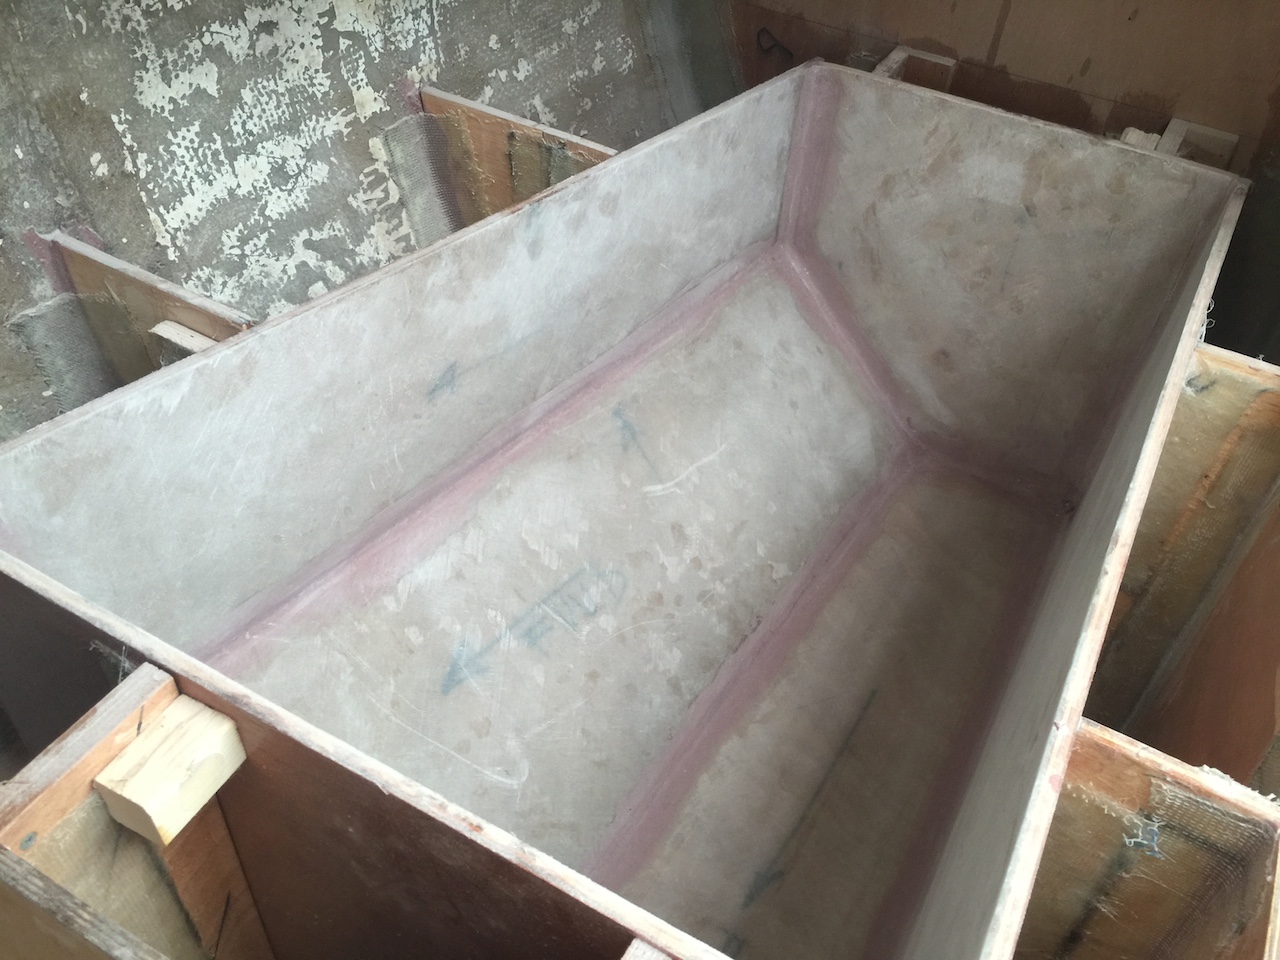
Once the last two panels were sanded, all six panels were assembled for a dry fit, then a “wet” fit. The back sides and edges of each panel were given a coat of epoxy, then, with the panels clamped in place, a fillet of thickened epoxy was run along all the inside corners. In addition, I also tabbed all of the vertical panels to the frame.
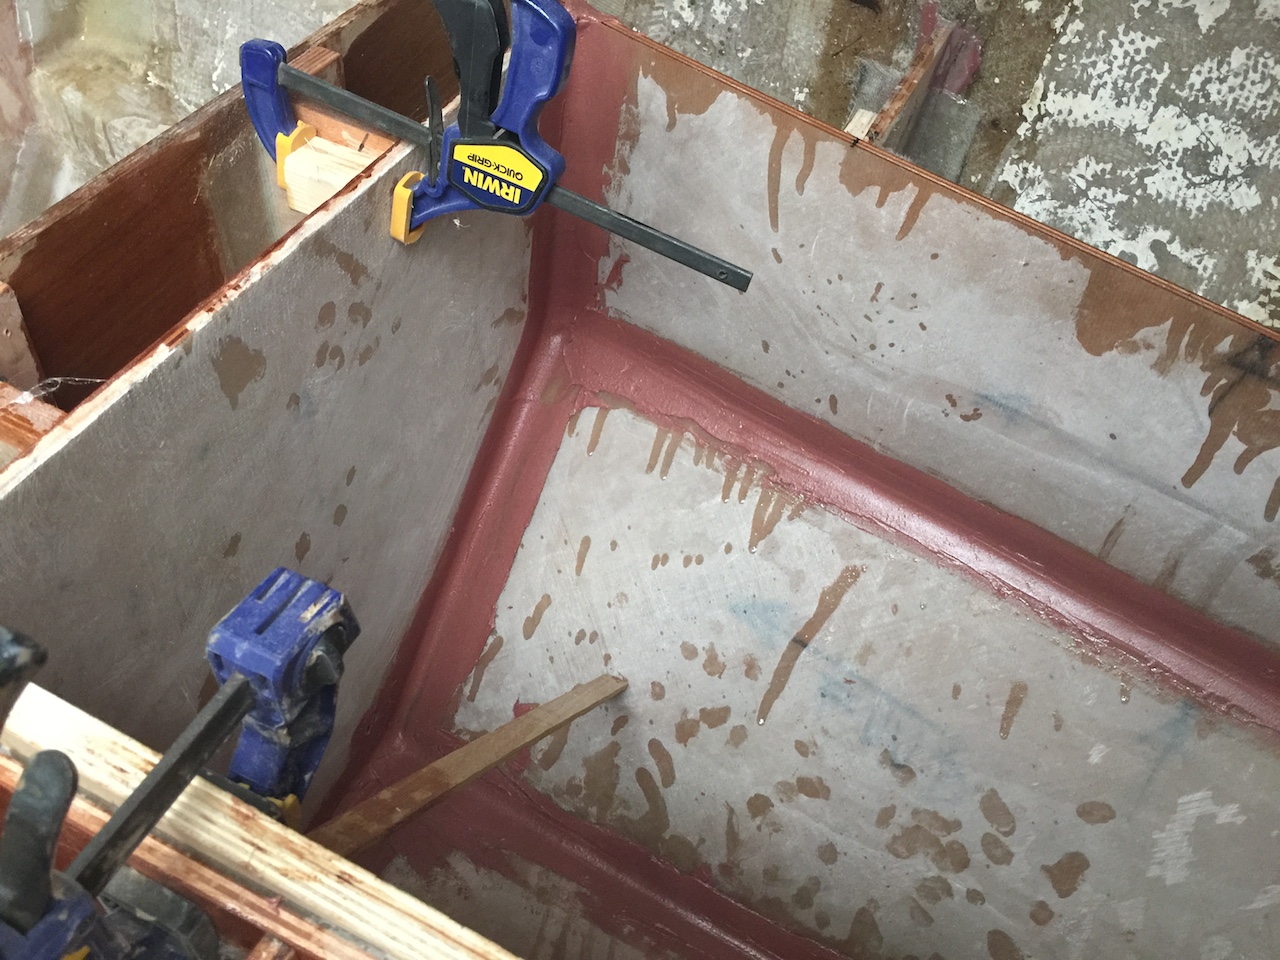
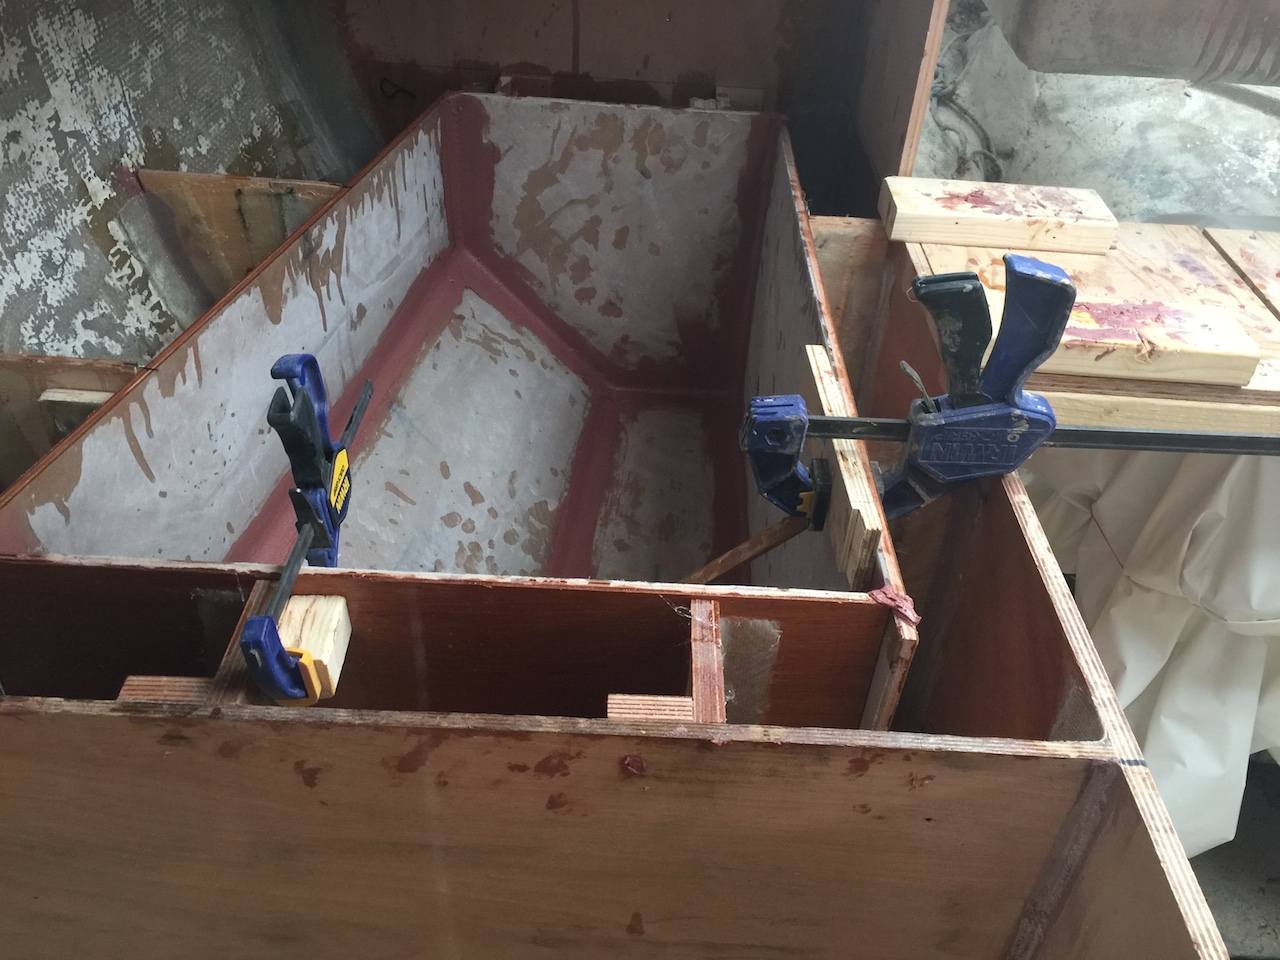
In the next photo, the fillet has dried and is ready for sanding.
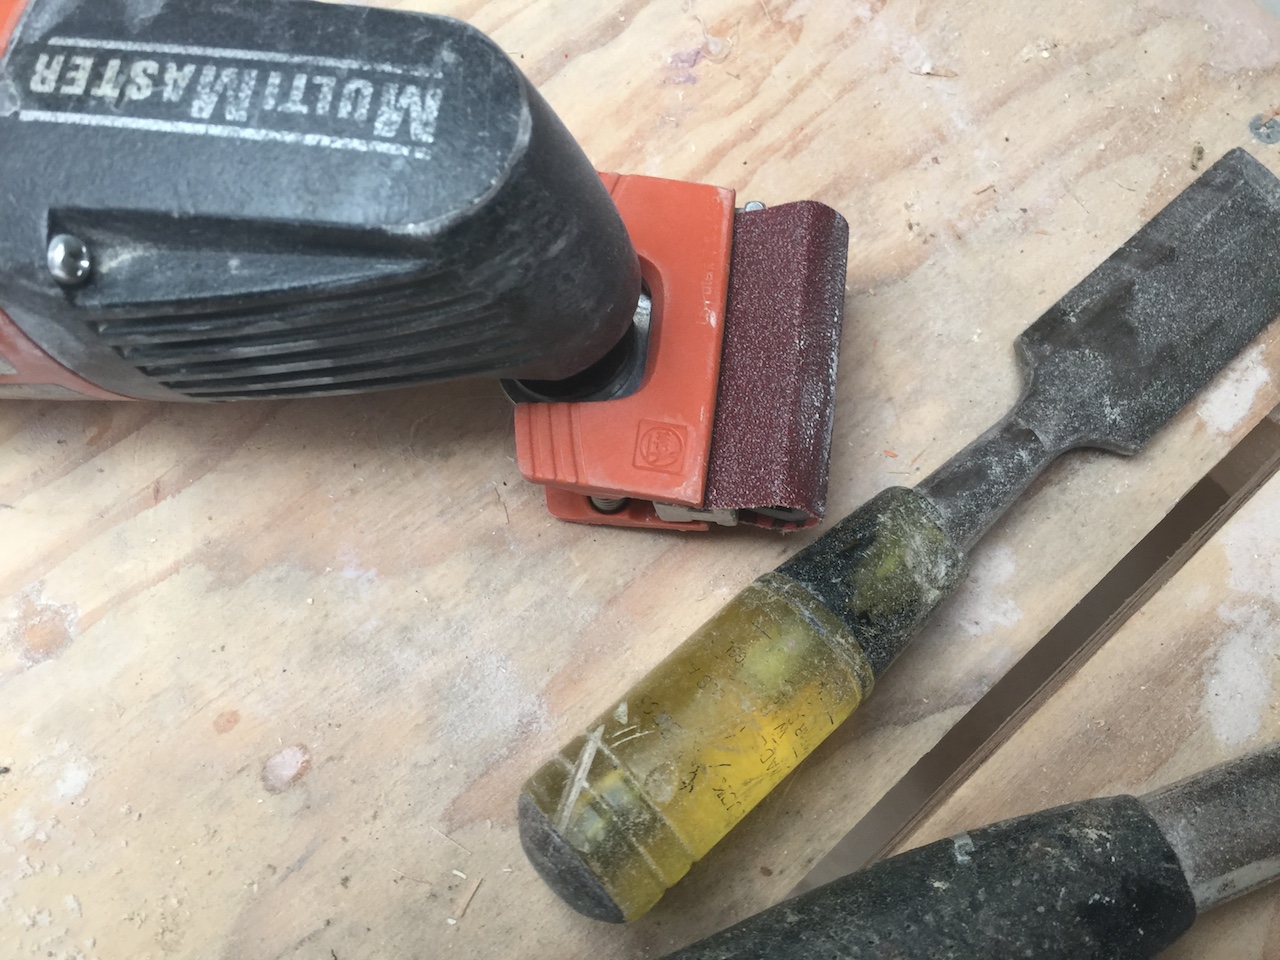
For sanding fillets, I typically use a combination of disc sander, orbital sander, and detail sander. These fillets won’t receive any tabbing over them, so I wanted to be neater than usual. The following photo shows a clever sanding attachment for the Fein Multimaster. I’ve had this attachment for years, but have almost never used it. Here, however, it was very handy for smoothing out the corners.
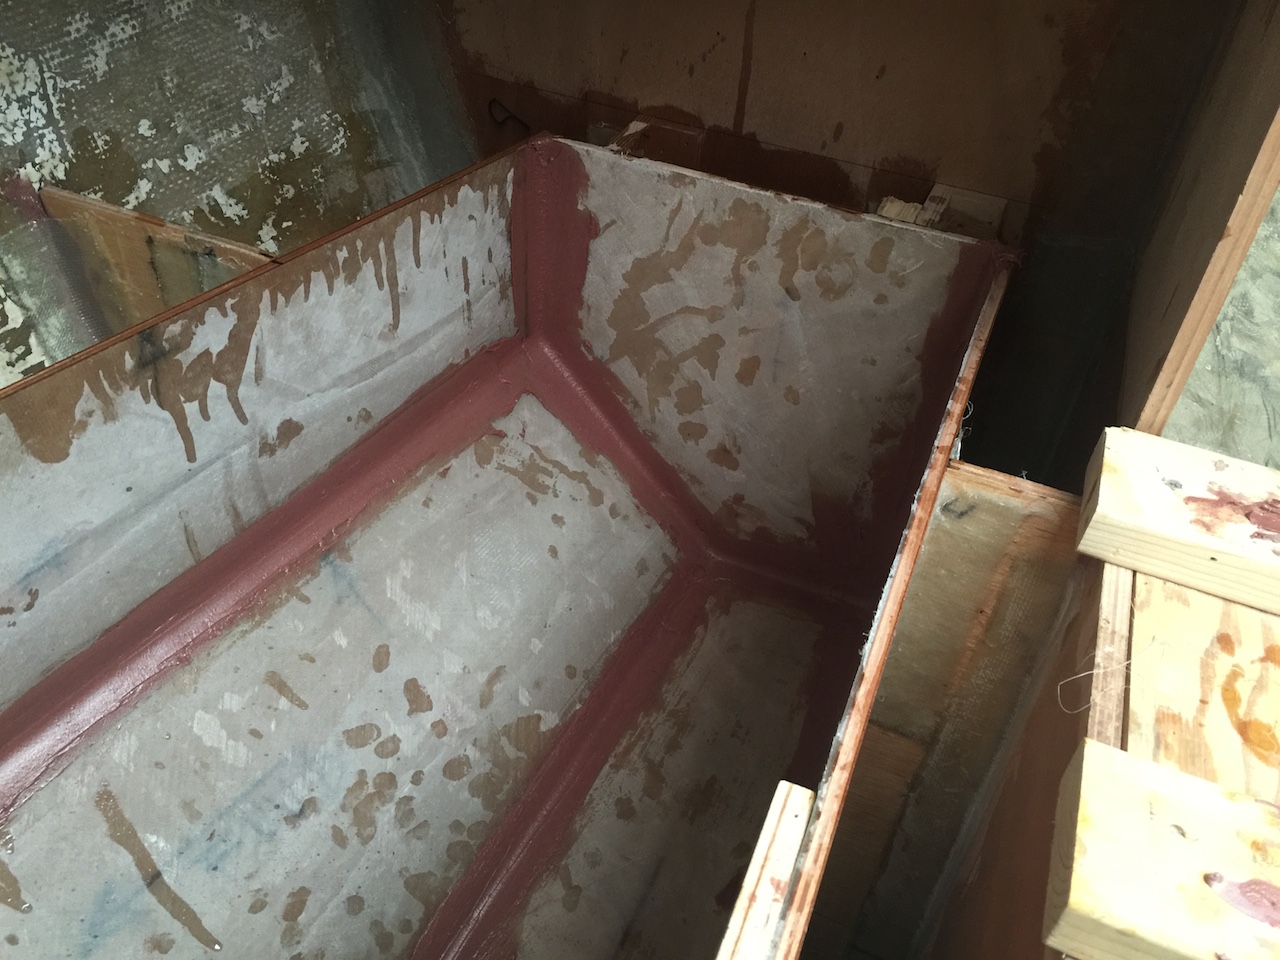
In the next photo, everything is sanded and smooth.
The top edges might need to be adjusted (either by routing or sanding), but this might wait until I have a countertop. Sometime next week I will buy the two-part insulating foam that will fill the space between the panels and hull/bulkheads. A drain for the icebox will be installed after the foam.